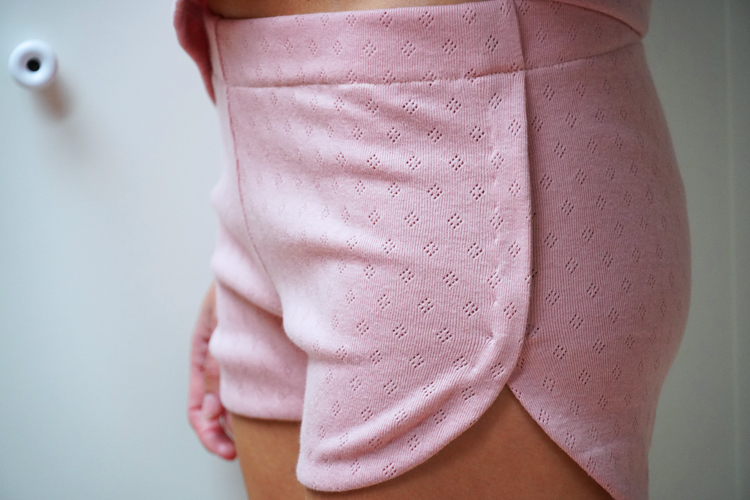
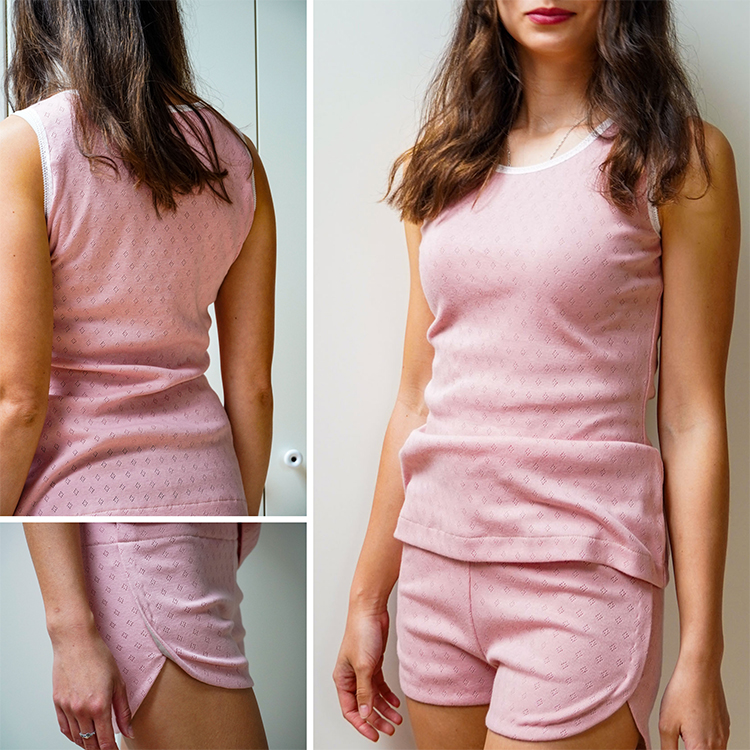
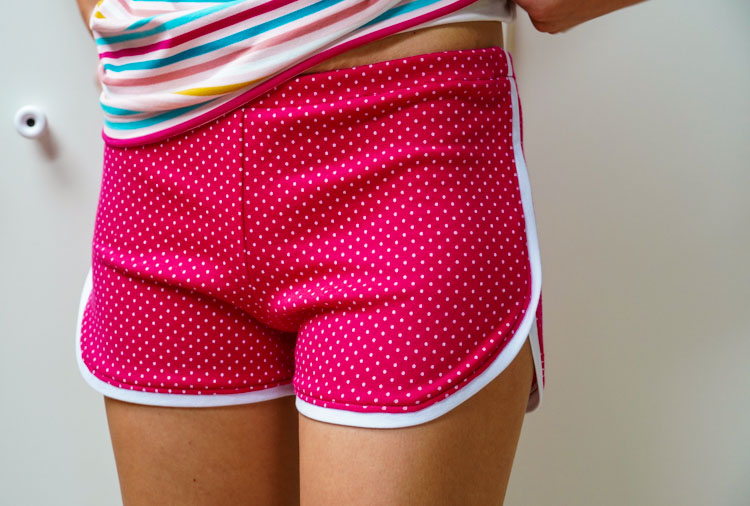
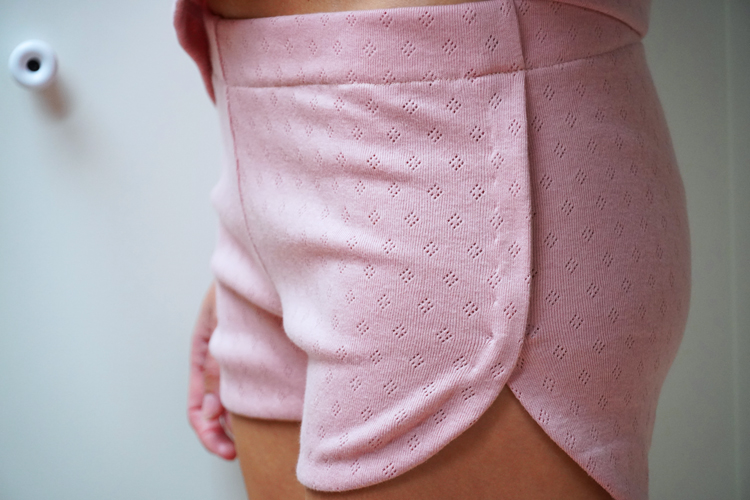
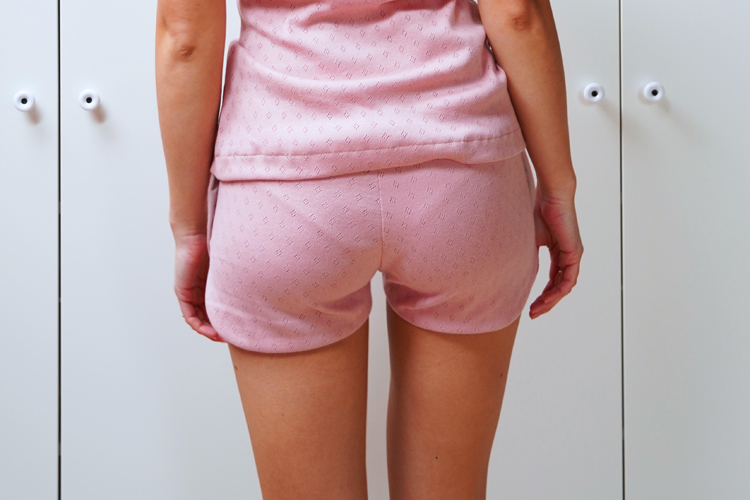
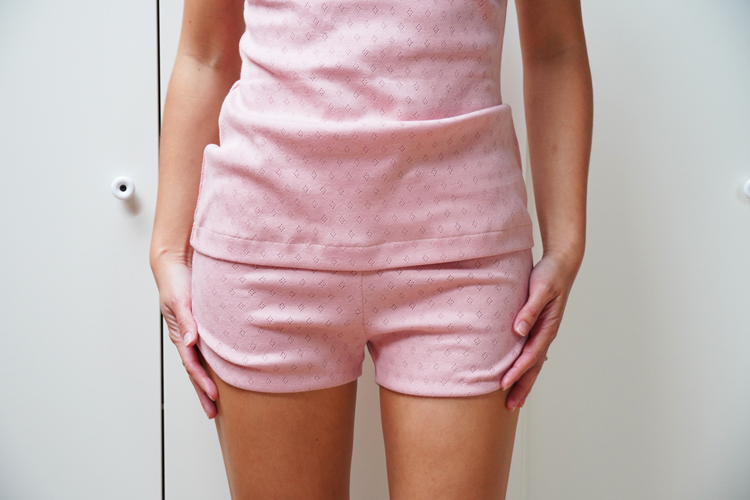
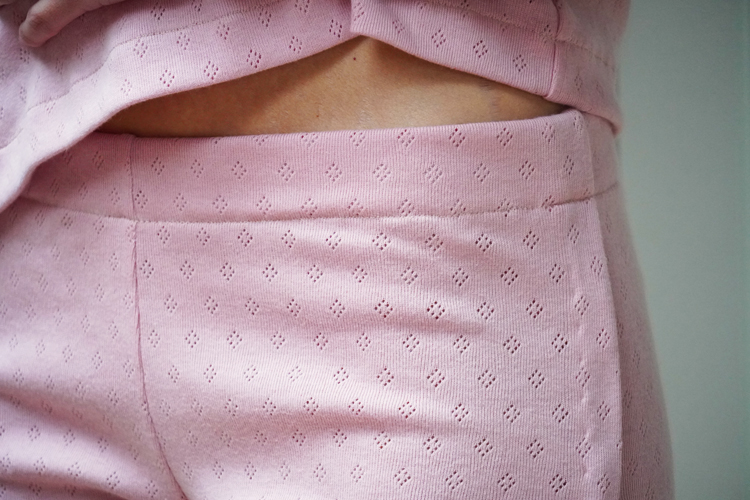
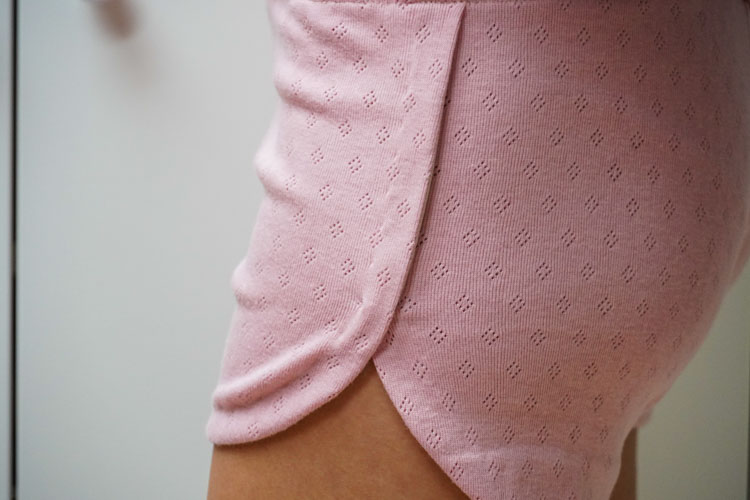
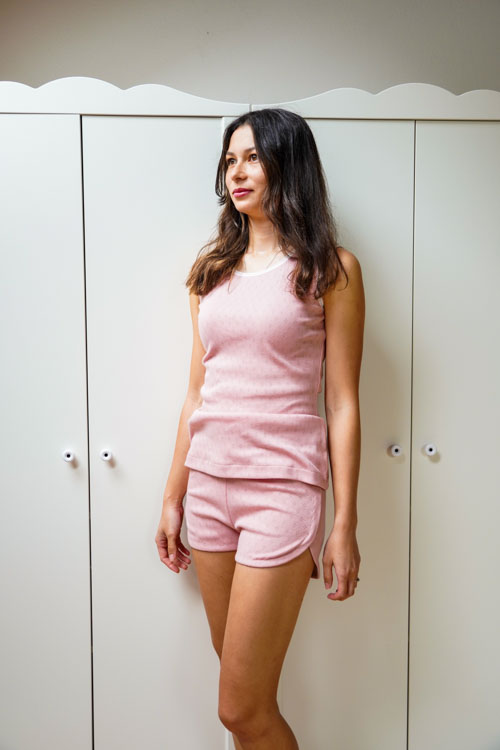
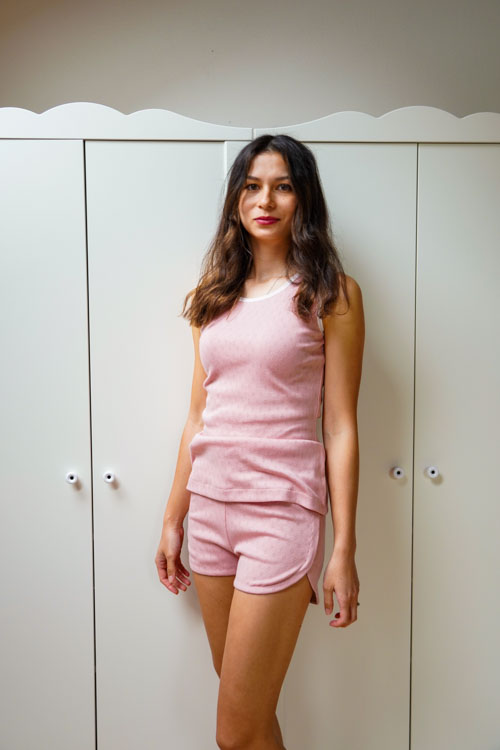
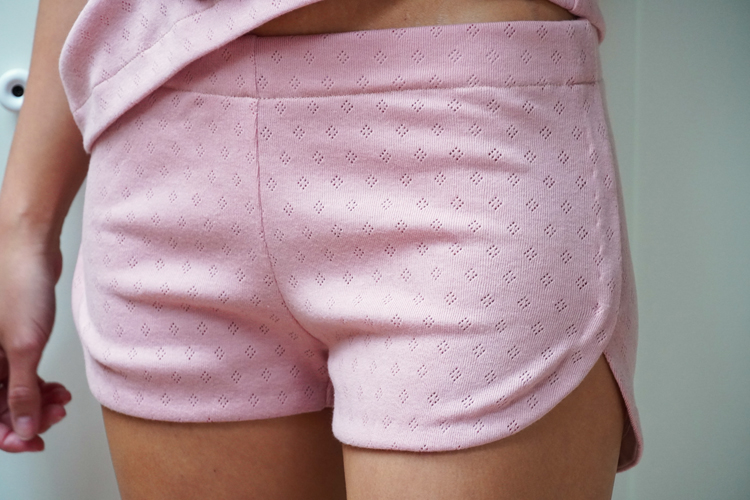
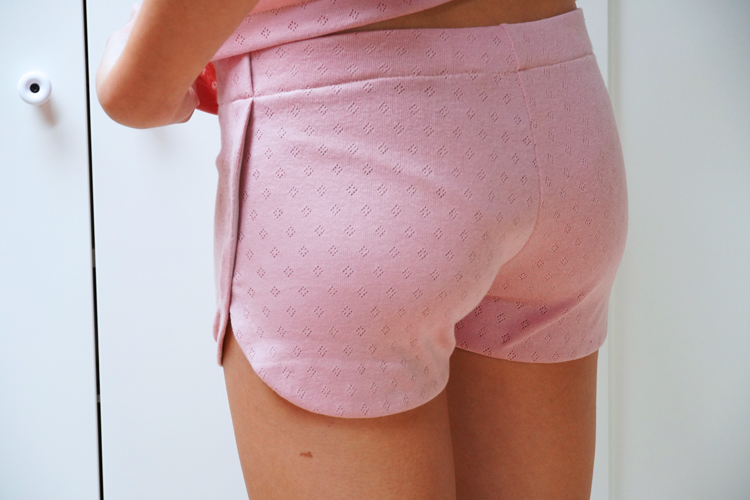
I’ve made another new pattern and photo tutorial for you. This time it’s a pattern for women’s shorts designed for thinner knits. Shorts are simple and elegant with rounded sides. There are no pockets and structured parts, this makes shorts very comfortable and suitable for leisure, sleep, and exercise.
The pattern
You can get the pattern for women's short shorts ROSES here:
This pattern is also available as part of women's leisure set ROSES:
Recommended material
I recommend using single or double knit of medium thickness (about 200 g/m2). You can also use thinner uncombed laid-in knit (with elastane!), sports knit, premium functional knit, etc. You also need about 2.5 – 3 cm (1 - 1 1/4") wide elastic waistband.
My shorts are made from knit I bought at Dumlatek.cz, this one: Cotton knit – Light pink.
Facing can be made from the same fabric as the rest of the shorts, but you can also use lining fabric or different (thin) fabric. I used thin lining fabric (which is not elastic) and it worked out fine.
Sewing instructions
Suggestions
I recommend reading this article (if you are going to use a regular sewing machine):
Sewing elastic fabrics on a regular sewing machine – 4 steps to success
If you are interested in how to sew a version of shorts with classic hems, take a look at this article:
Pattern layout
Prepare:
- 2x back piece
- 2x front piece
- 2x front facing
- 2x back facing
Iron facing pieces. I recommend reattaching paper pieces to all facing pieces so you don’t mix them up.

Clean the sides that will remain free (inner curves) and the two shorter sides of all facing pieces.
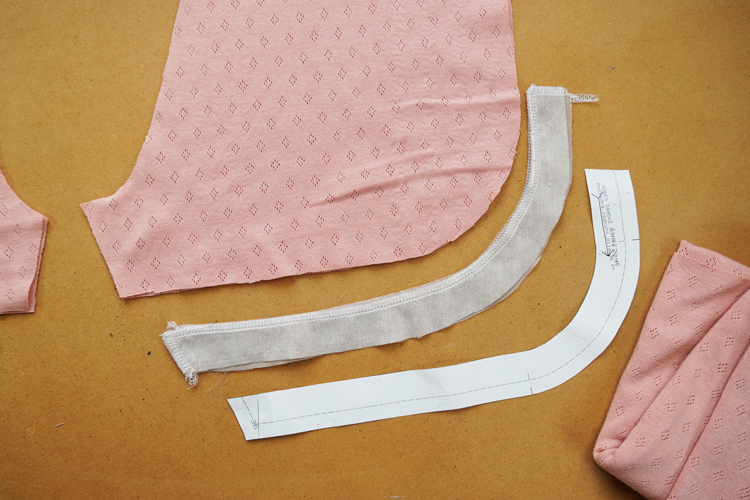
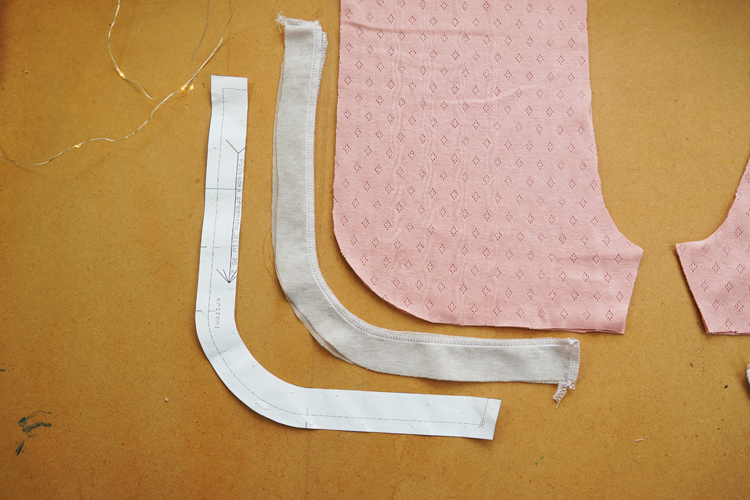
Place all facings on their respective pieces (face side to face side) and pin them.
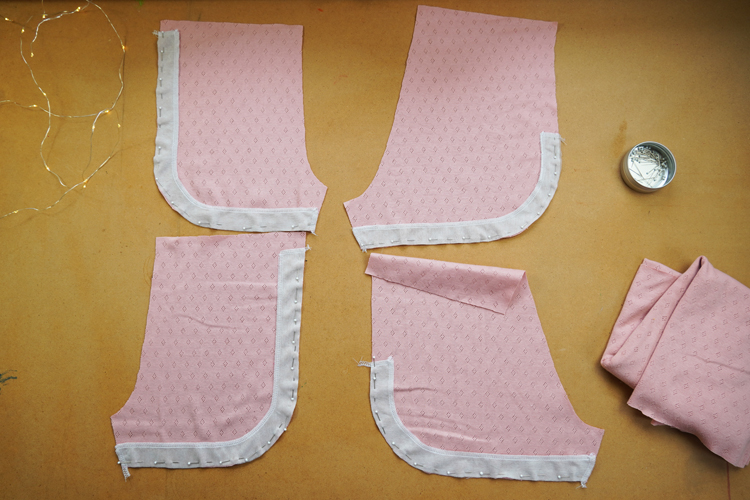
Sew pinned facings.

I recommend trimming the seam allowances – cut seam allowances of all facing pieces in half.
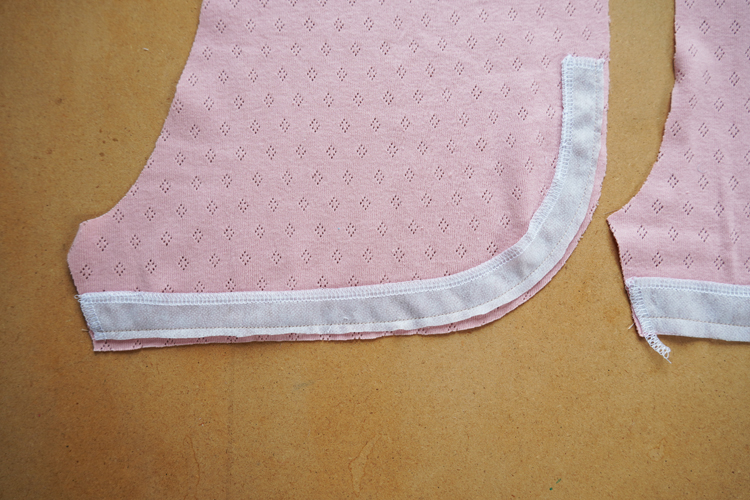
Prepare the curved parts of the seam allowances as shown below. Jagged seam allowances will create a smoother edge once you flip the facing over to the inside of the shorts.
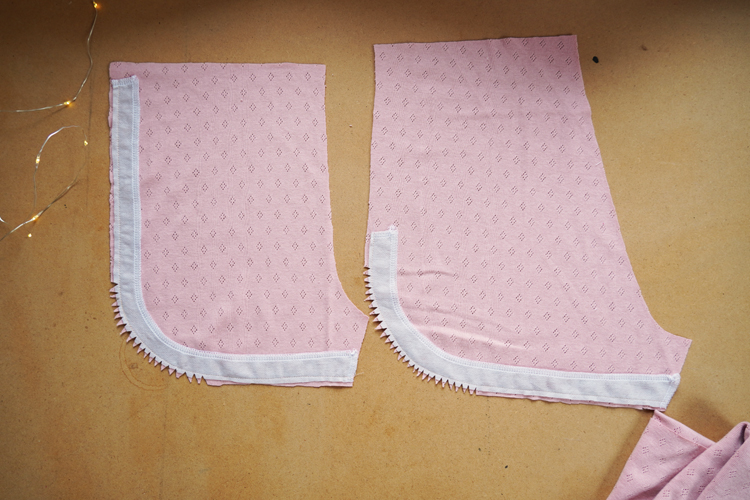

Flip facings over to the reverse side and iron the edges thoroughly.
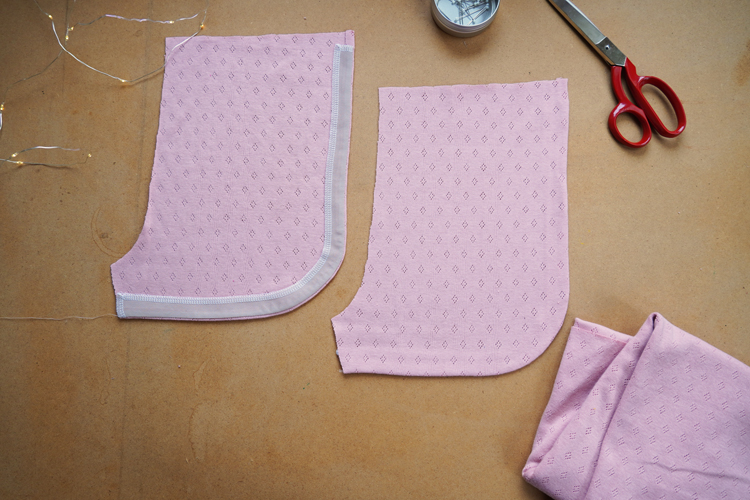
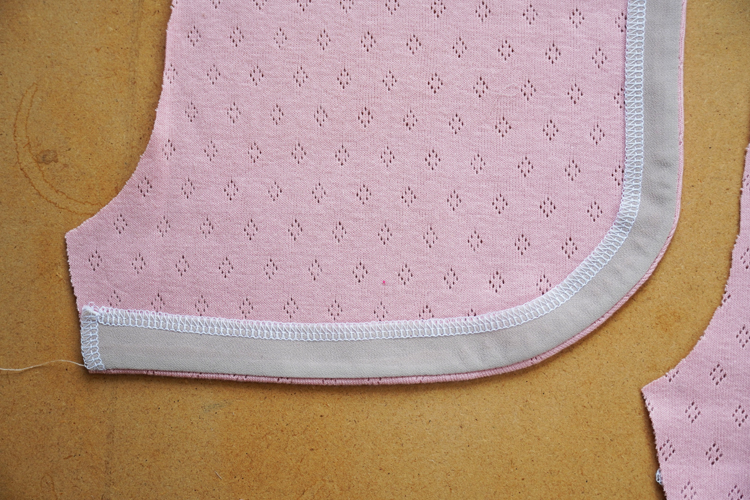
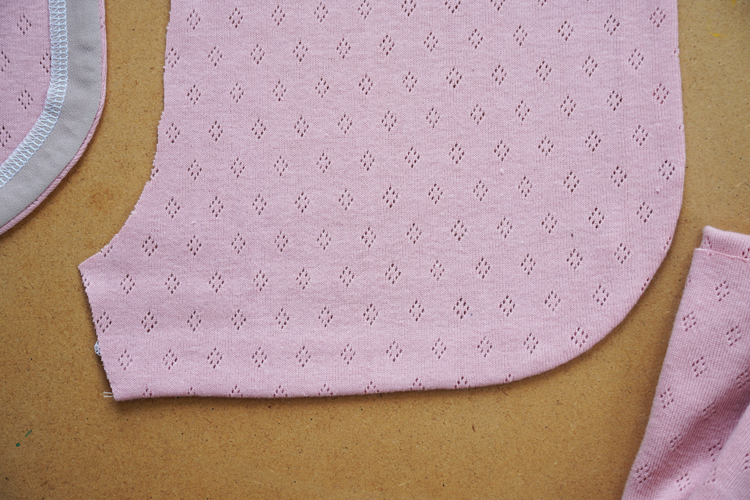
The procedure is the same for all 4 pieces.
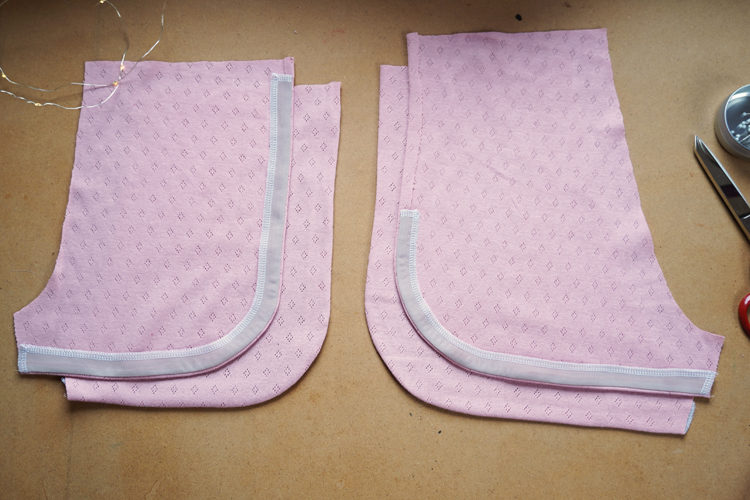
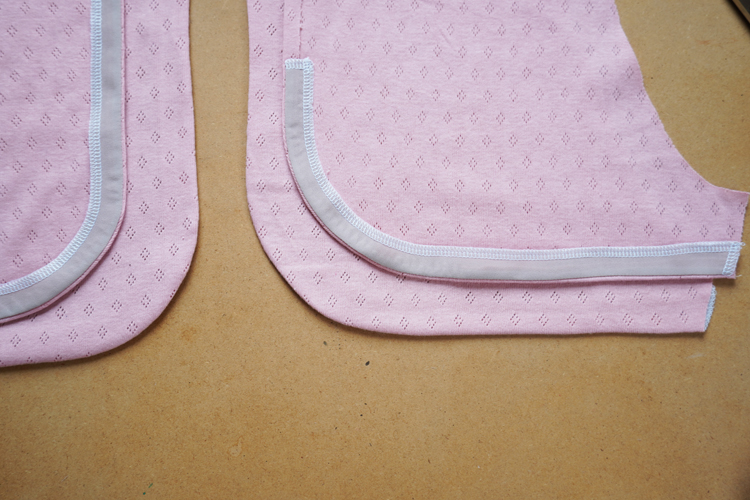
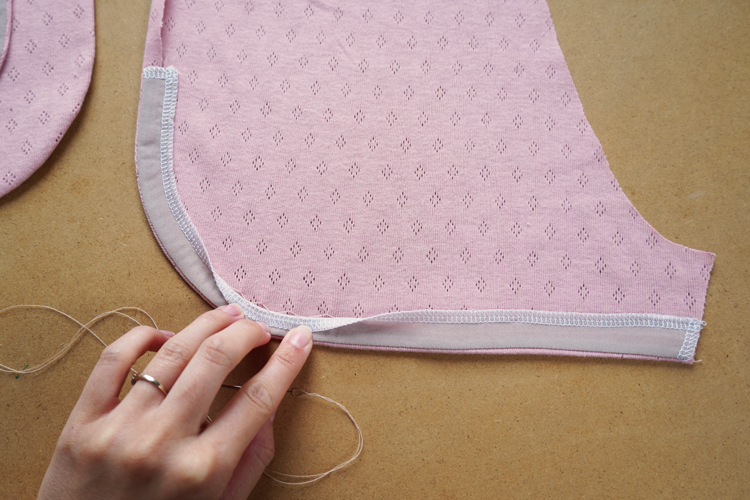
You can make the inner seams (which attach facings to shorts) invisible if you sew them by hand. Pick one thread from the reverse side of the shorts at a time – stitches won’t be visible from the face side view. Attach the facings by sewing through the left side of the overlock seam.
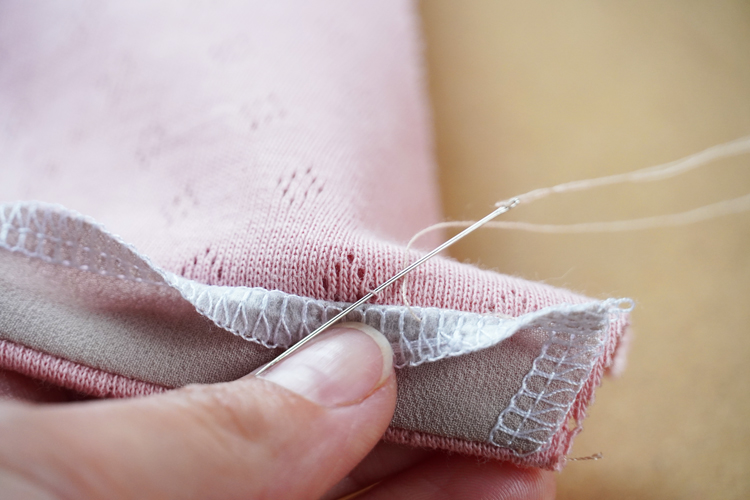
This is how hand-sewed facings look - you can't tell that there's a seam underneath.
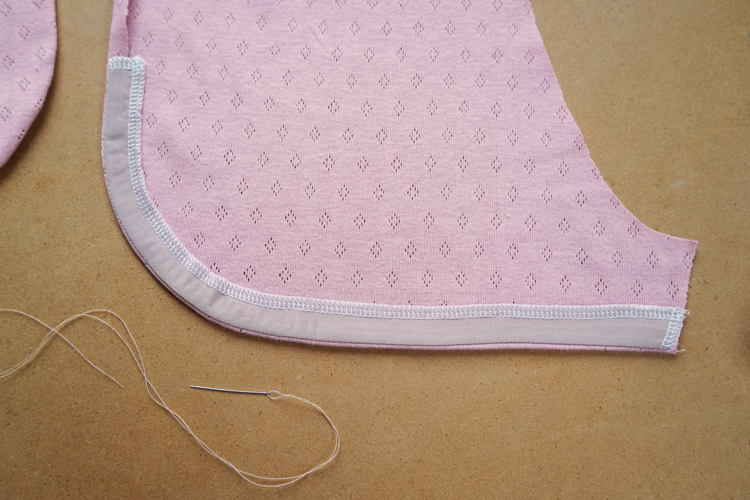
The seam runs along the cleaned part of the facing piece and attaches it to shorts one thread at a time.
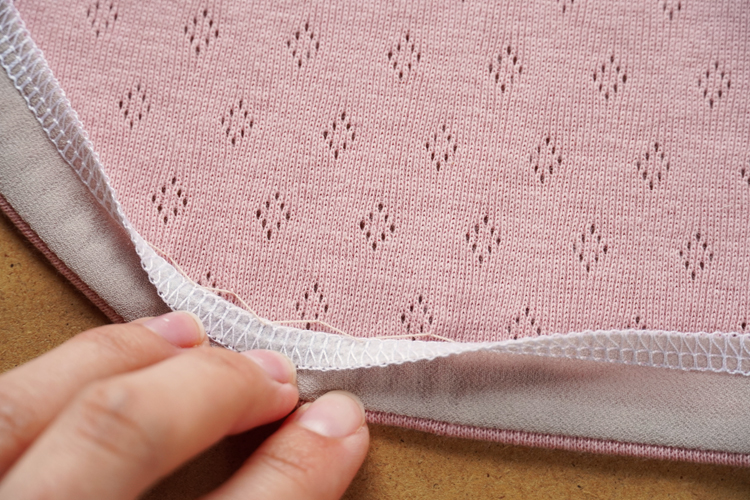
Face side view - the seam isn't visible from this side either.
If you don’t want to deal with hand-sewn stitches, you can just topstitch facings. Sew from the face side of the shorts, about 1.5 cm (5/8") from the edge.
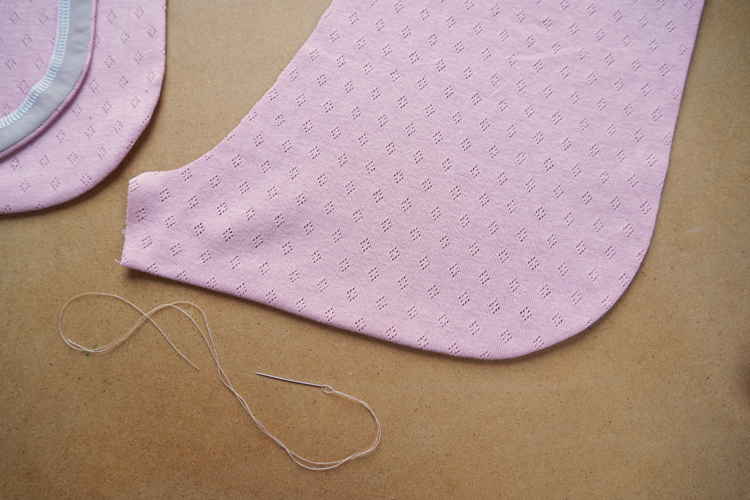
You can sew the hems in many different ways. You will find inspiration and instructions for sewing different types of hems in this chapter of my online course, which is dedicated to sewing panties: How to sew panties - Hems
Mark side seams of front and back pieces in the area where they cross each other (these points are indicated in the paper pattern).

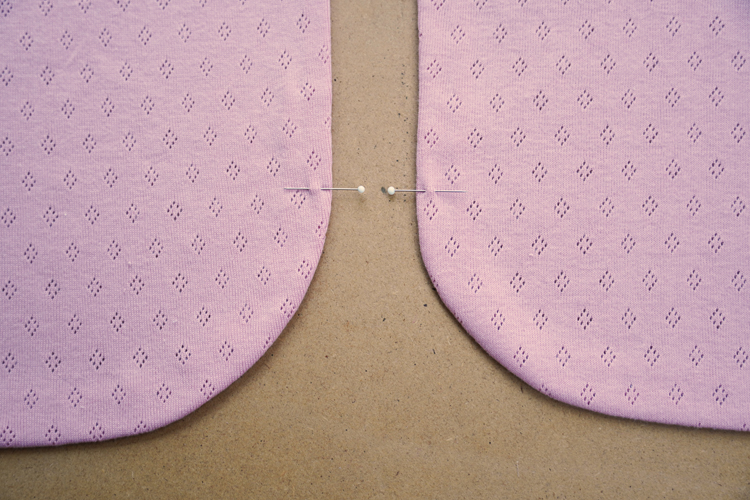
Lay front and back pieces next to each other (face sides up) and then slide the edge of the front piece over the back piece.
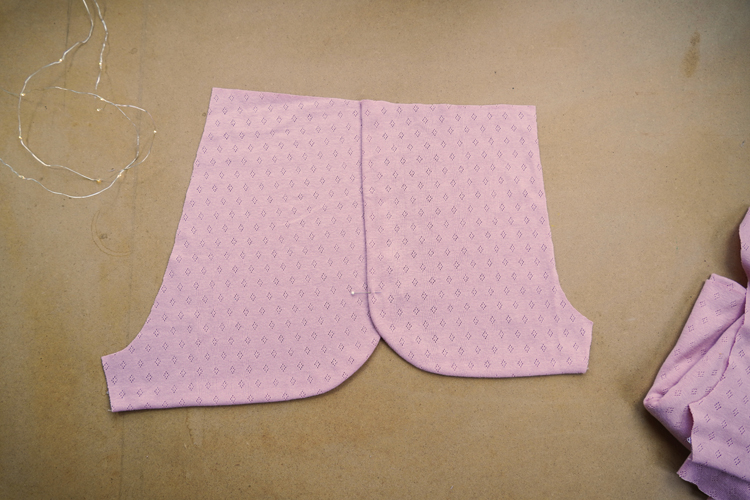
Now carefully fold the front piece over the back piece. The seam allowance of the front facing should be sticking out.
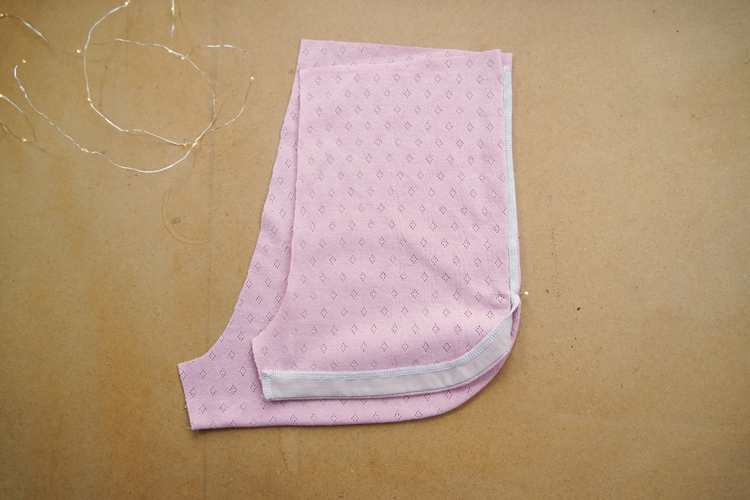
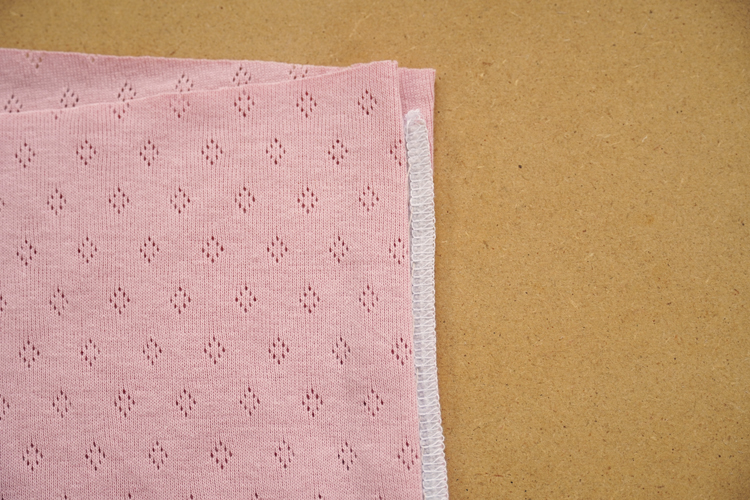
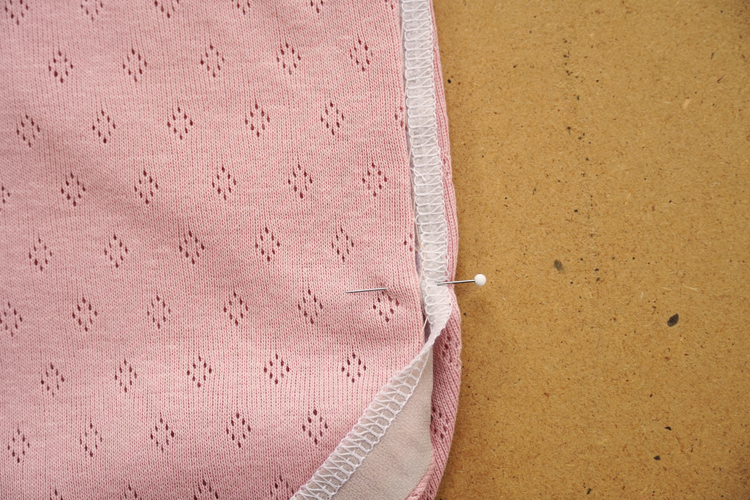
Pin the seam allowance of the front piece to the back piece.
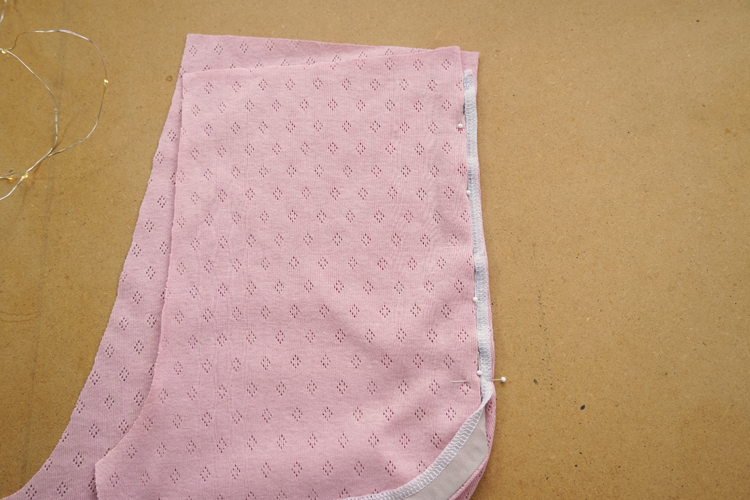
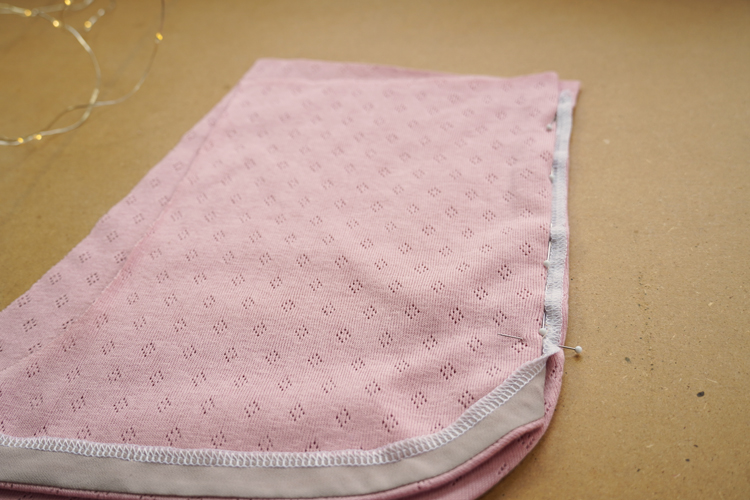
Sew the facing of the front piece to the back piece. Sew near the fold of the front piece.
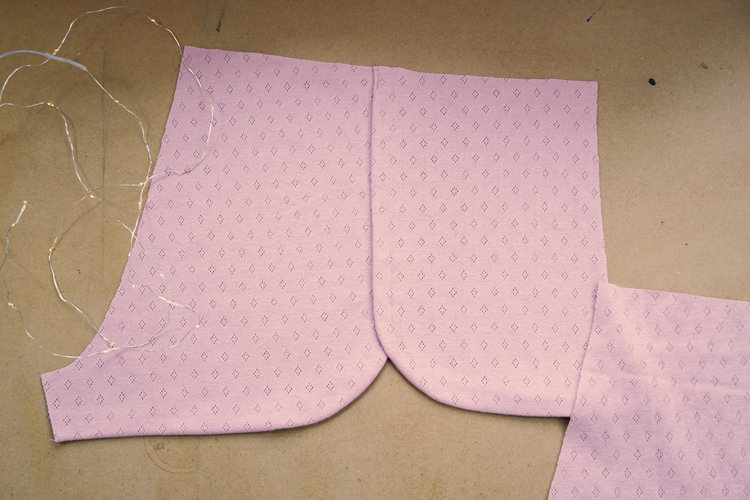
Use a short seam near the waistline to fix pieces in place.
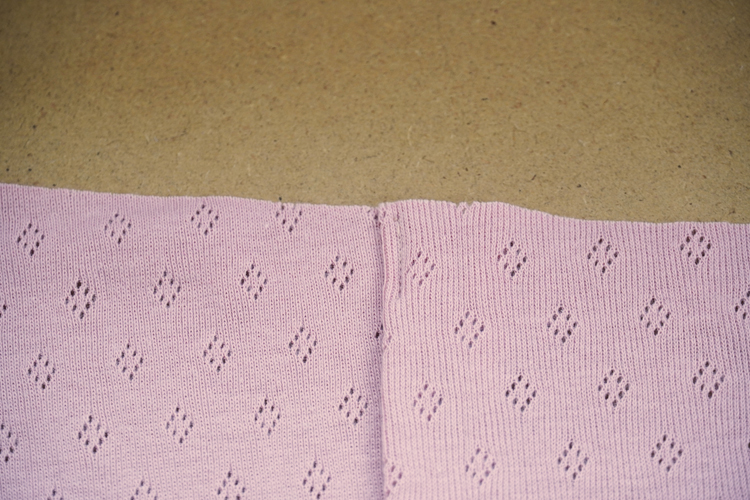
This is how the side seam of the overlaid pieces looks like. The front piece is on top of the back piece.
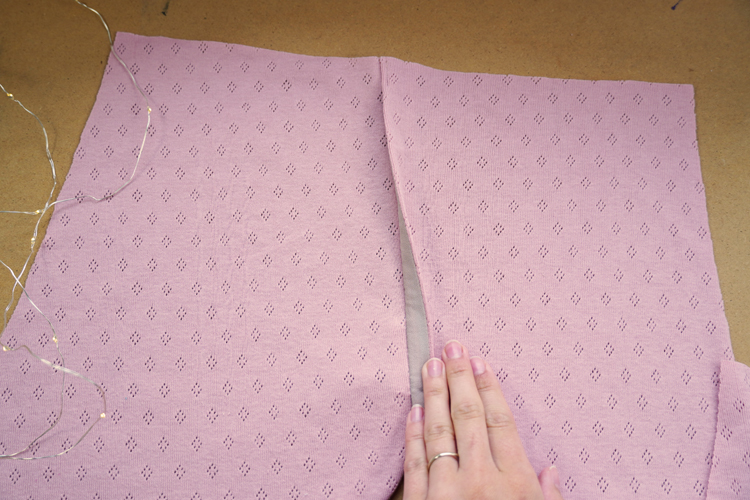
The other side:
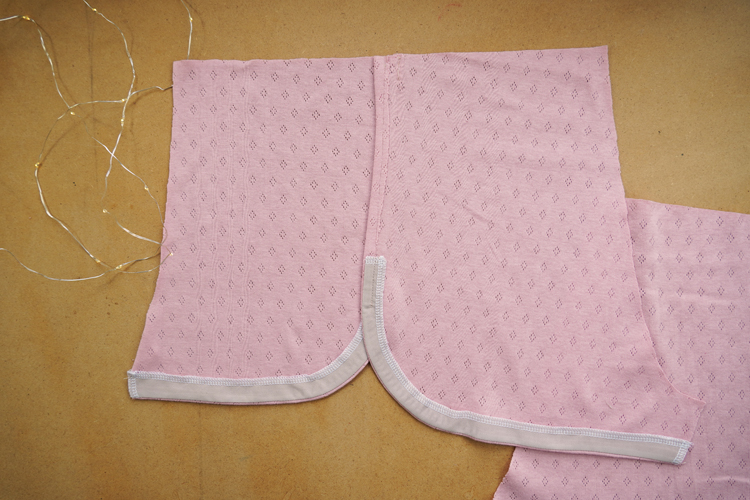
Cut off excess seam allowance of the back piece.
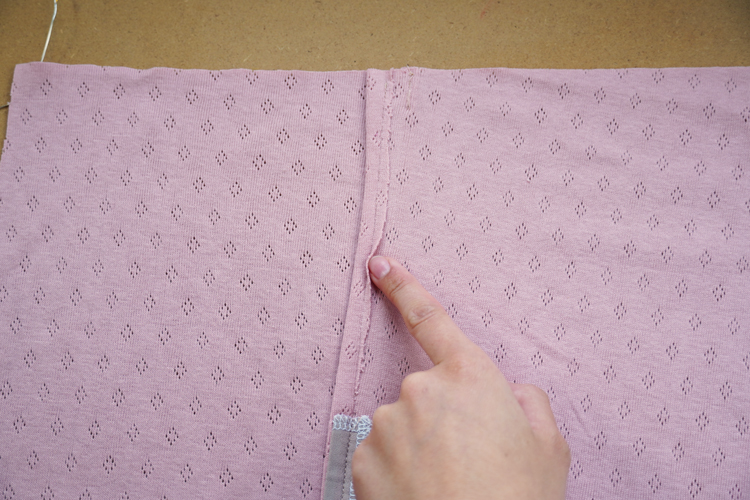
Sew the other set of front and back pieces in the same way. Fold legs face sides in so you can pin the instep seams.
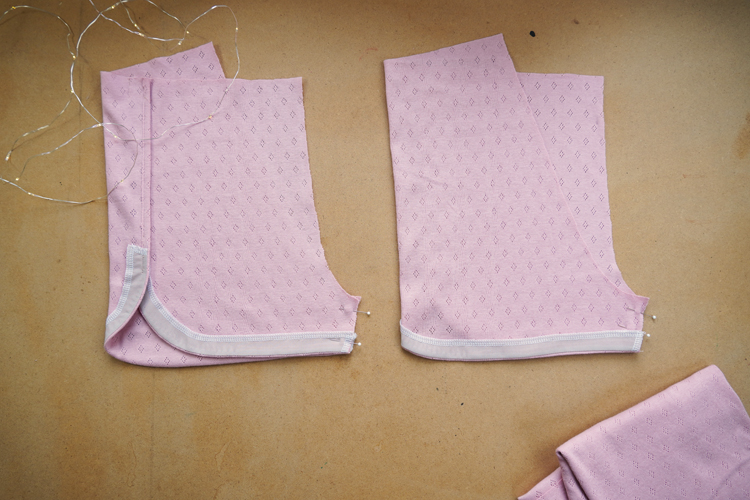
Take care to align corners of both instep seams precisely. Use your regular sewing machine first if you are worried that you won’t be able to prevent layers from shifting around when sewing with the overlock.
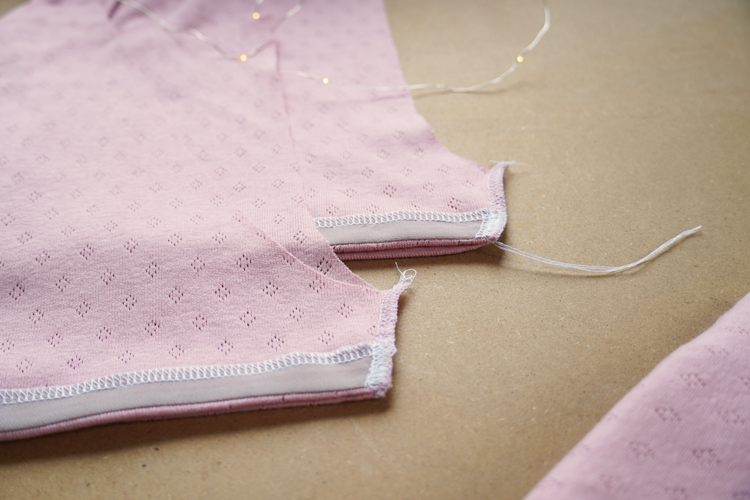
Press the seam allowances of the instep seam towards the back piece and fix them in place near the bottom hem (using a few straight-stitches). This will strengthen and flatten the inseam. Leave a longer thread chain near the bottom hem and pull it under the loops if you are using your overlock machine.

Now is the time to do the crotch seams. Turn one leg inside out and insert the other leg (which isn't turned inside out) into it. Align both crotch seams (front and back) and pin them.
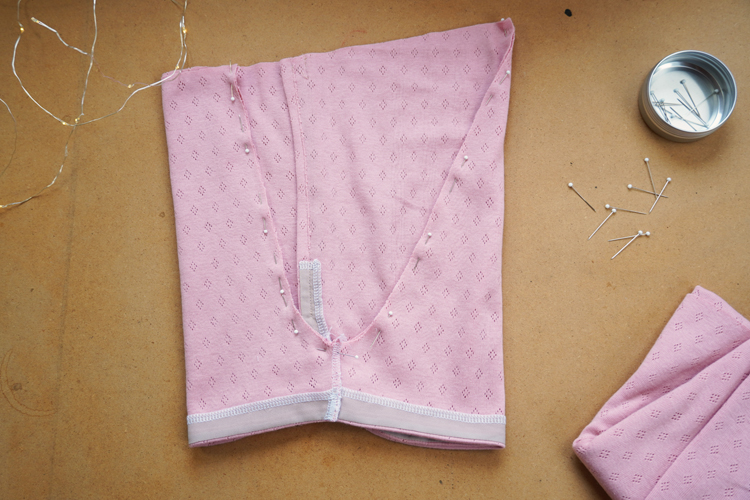
Sew both crotch seams in one go.
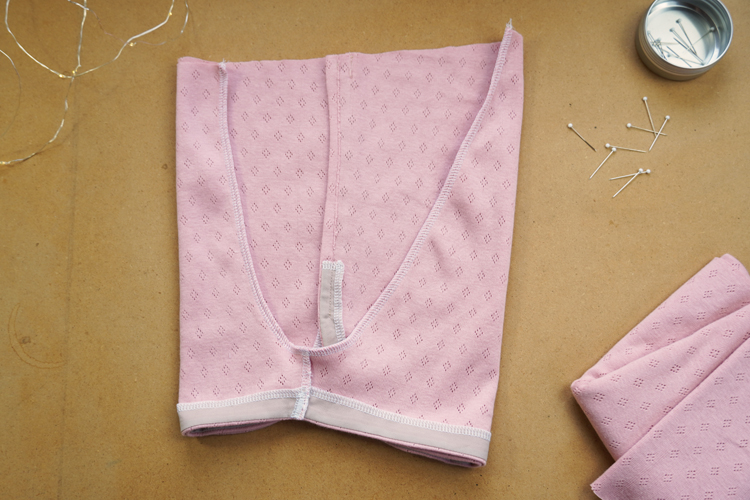
Clean the cutting edge of the waistline. I always start and end at the back crotch seam. Again - leave a longer thread chain and pull it under the loops if you are using your serger.
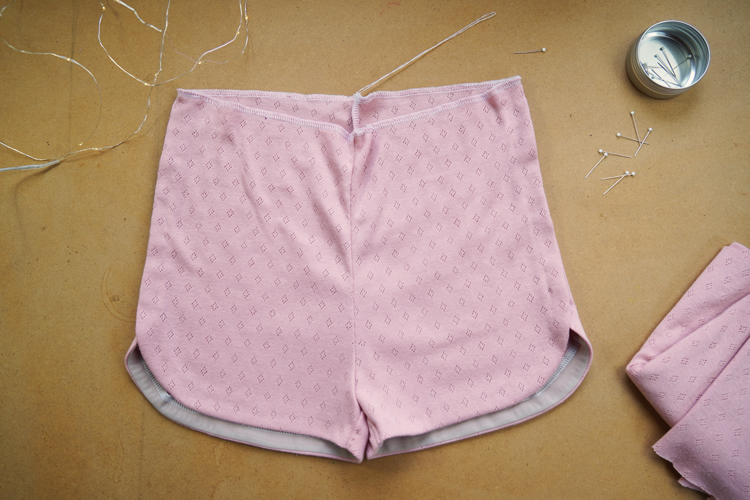
Now fold the waistline to the inside of the shorts and pin it. The size of the folded part depends on the width of your elastic band – fold the top 3.5 cm (1 3/8") if you are using a 2.5 cm (1") wide waistband and 4 cm (1 5/8") for 3 cm (1 1/4") wide band.
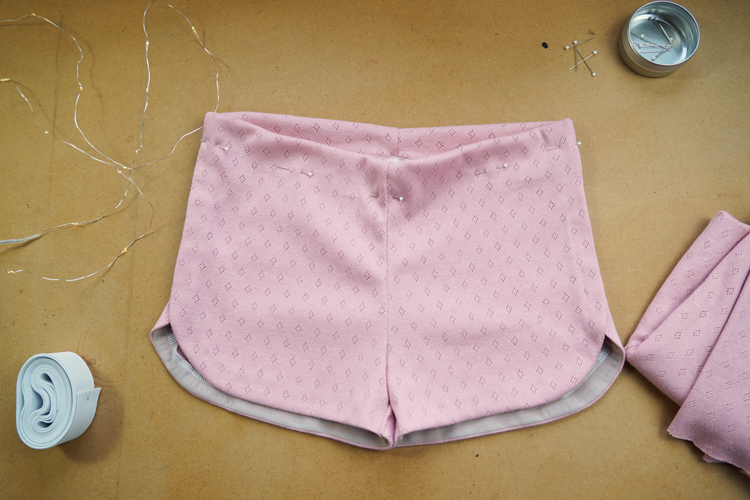
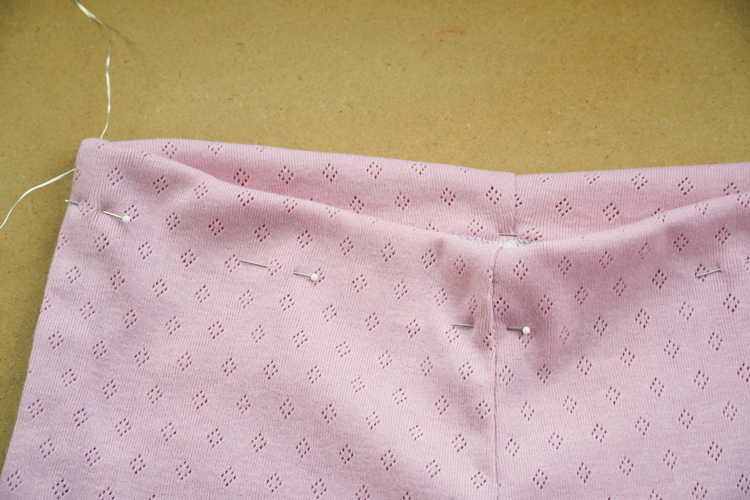
Topstitch the waistband - use some kind of an elastic stitch and sew 3 cm below the fold if you folded the waistline by 3.5 cm (1 1/4") or 3.5 cm (1 3/8") below if you folded it by 4 cm (1 5/8").
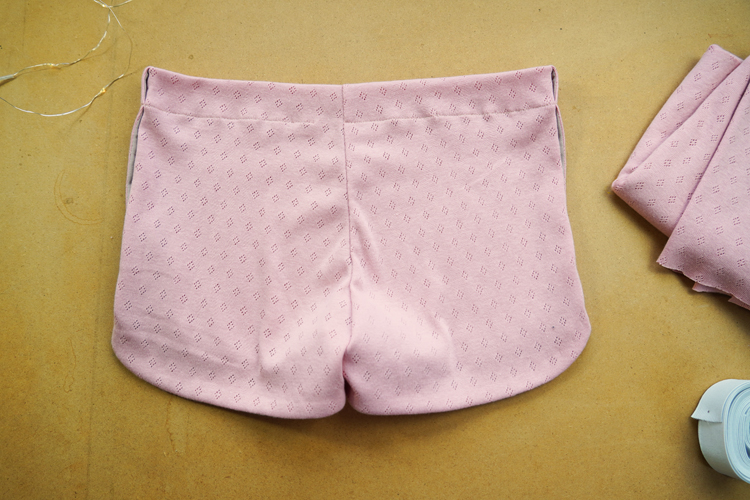
Don’t forget to leave a small opening so you can insert the waistband later. I usually leave this opening somewhere near the back crotch seam.
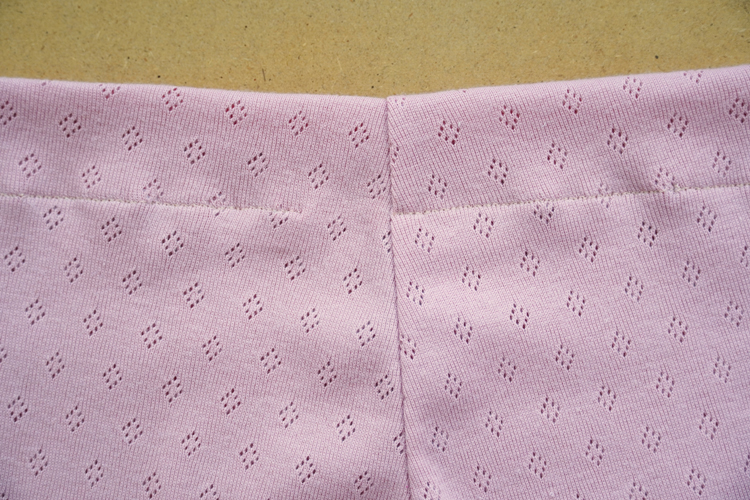
Determine the correct length of the waistband by wearing the shorts and winding the band around yourself. Stretch the waistband around your waist so it is neither loose nor too tight. Cut the waistband and insert it through the opening. Be careful not to twist the waistband when inserting and sewing it. Sew the ends of the waistband flat and close the opening.
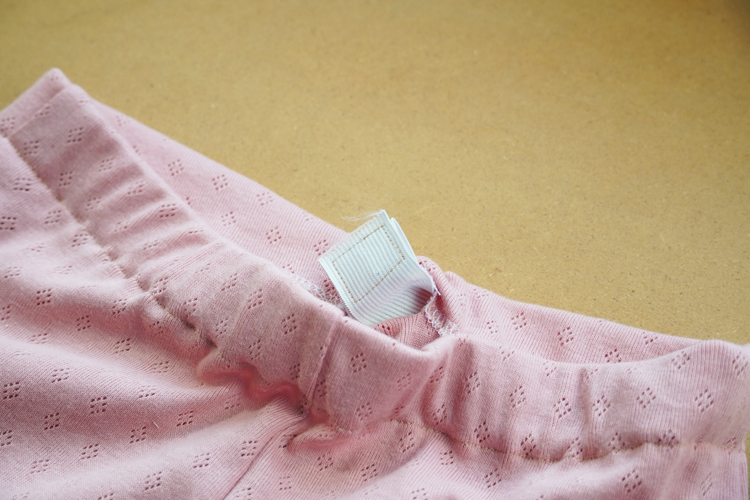
Hooray! Your shorts are finished!
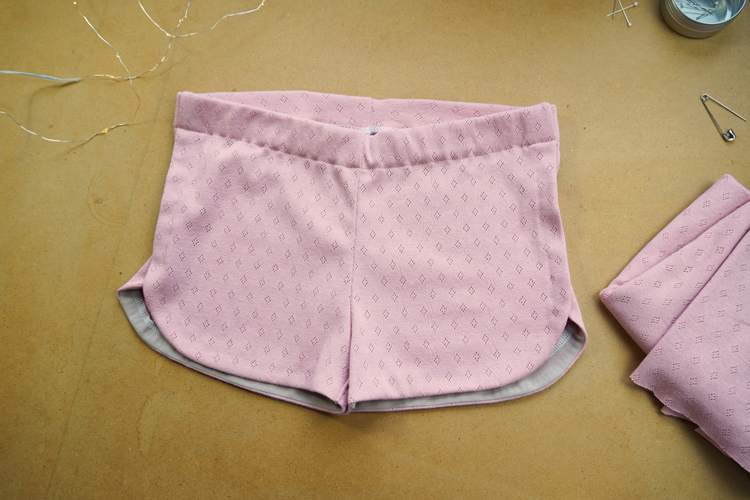
What do you think of this pattern? Are you going to try it?
You can take a closer look here:
This pattern is also available as part of women's leisure set ROSES:
Have a lovely day, Petra

Don't forget to share your joy with others!
Do you like this article? If so, share it with your friends and tell me about it in the comments section below. I will be glad for any feedback! ♥
PS: Did you know that there are FREE PATTERNS available on my blog?


