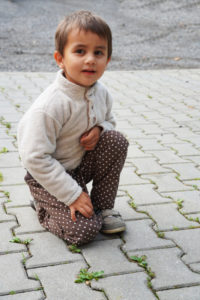
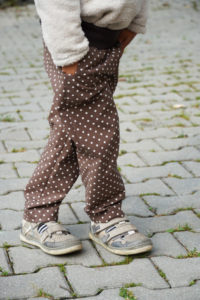
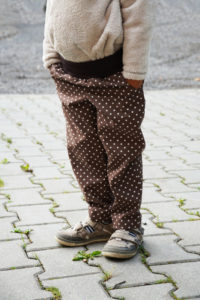
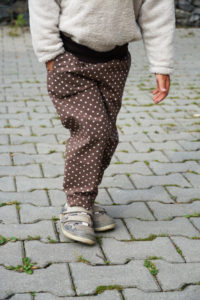
I’ve prepared simple universal pattern for children's trousers for you. It will be great for this autumn. This pattern is very versatile, you can use it with wide range of fabrics and sew many different pairs of pants. It is suitable for sewing plain cloth pants, urban pants and, last but not least, for softshell trousers. I believe that you will find your own ways to use and adjust this universal pattern. In this article, we'll look at how to sew simple children’s pants step by step. I can recommend this pattern (and its sewing) even to absolute beginners, it is basic pattern for pants with knit waistline, nothing too complicated.
You can now get this pattern in our online store:
Universal pattern for children's pants BASIC

This pattern is intended for fabrics, i.e. firm materials, and it is therefore “wider” so that children wearing the pants can move around comfortably, bend their knees freely, sit down, play, run, etc.

If you want to sew simple softshell pants for your kid, then check out my tips on sewing here:
How to sew children's softshell pants (+ pattern)
Recommended material:
- fabrics of medium thickness:
- cotton cloth
- pants fabrics
- corduroy
- softshell (many different kinds)
- twill
- denim
Required amount of material:
(for fabric width of 140 cm)
- sizes 80 - 98: 60 cm
- sizes 104 - 122: 80 cm
- sizes 128 - 140: 100 cm
- sizes 146 - 164: 120 cm

Sewing instructions for simple children’s pants.
Cuts preparation:
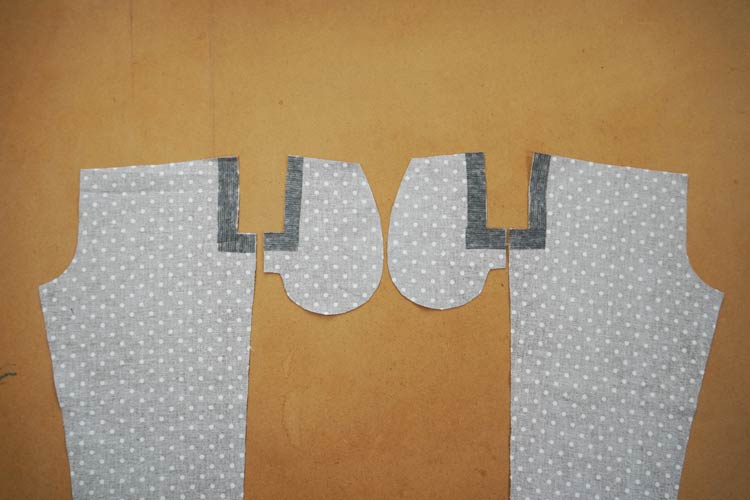
According to the paper cut prepare:
- 2x front piece
- 2x back piece
- 2x whole pocket piece
- 2x pocket piece with opening

I recommend interfacing the pocket openings of the pocket pieces and the front pieces of the pants with fusible facing.
Sewing the pants:
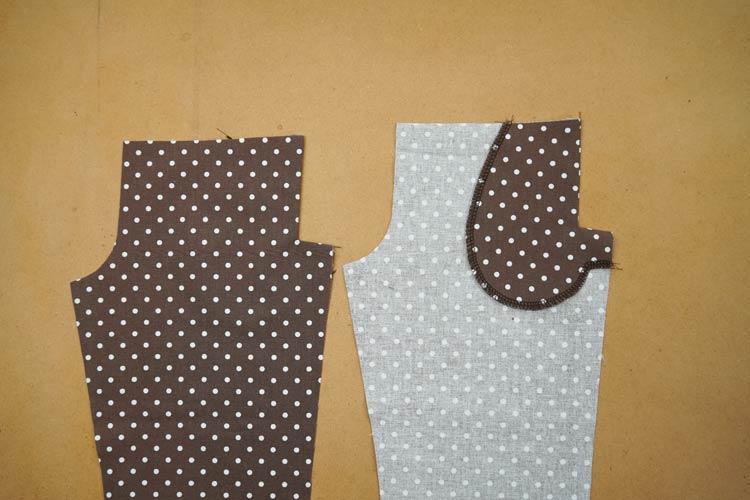
If you are not that great at sewing curves with the overlock, then I recommend cleaning the rounded parts of the pocket pieces before sewing them to the pants. Otherwise, of course, you can clean the whole pocket pouch after sewing it.
Now lay the corresponding pocket pieces on the front pieces of the pants and pin them in the openings (face side to face side).

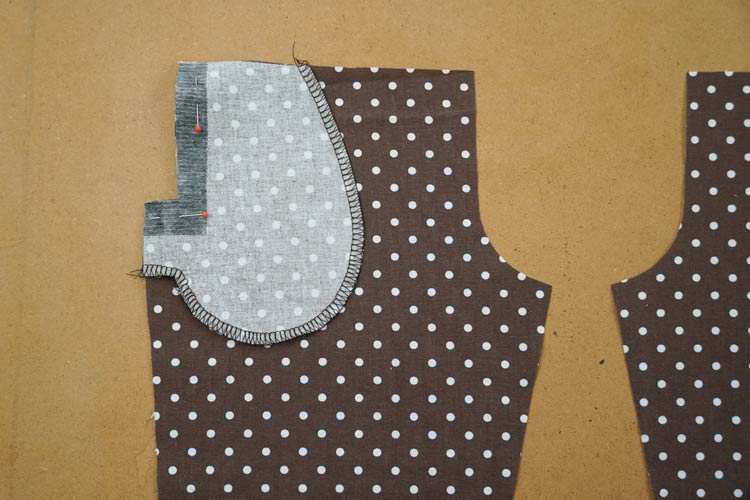
And sew.
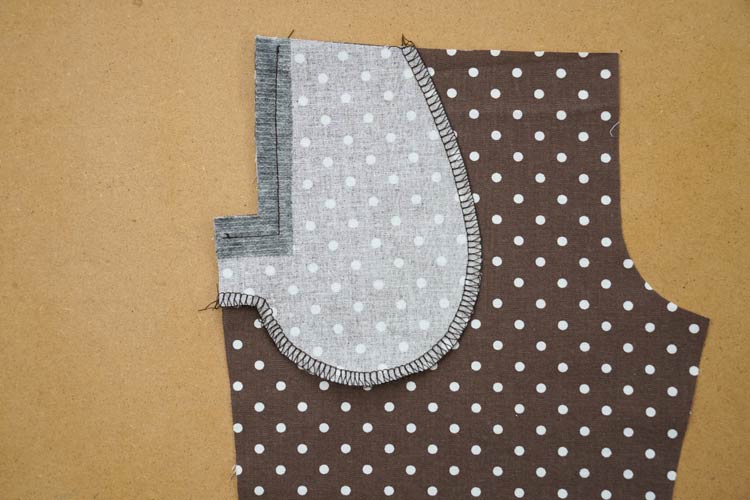
You need to cut the seam allowance in the corner of the pocket opening to the seam itself.
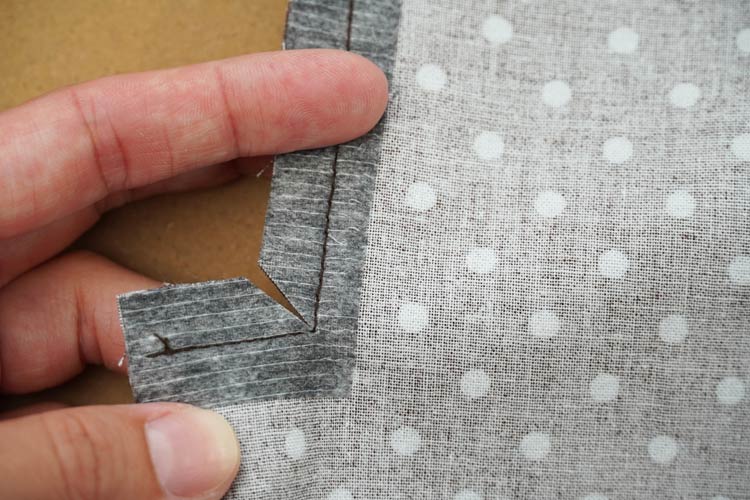
Flip the pocket piece to the inside of the front piece of the pants and iron the opening thoroughly.
Make sure that the pocket pouch is not peeking out to the face side of the pants…
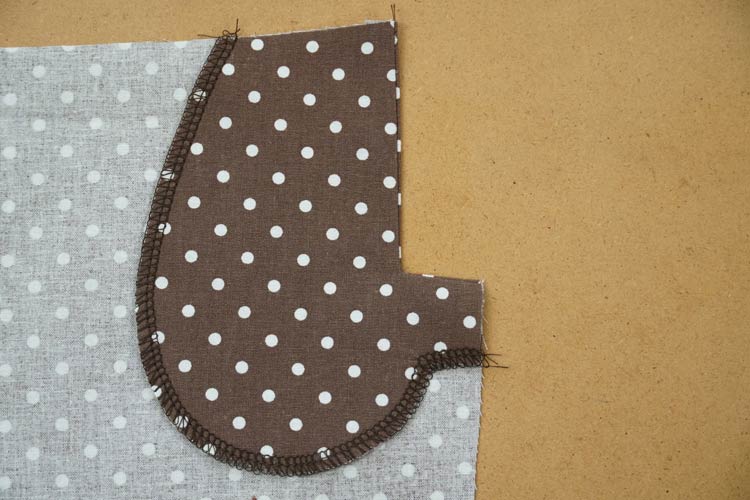
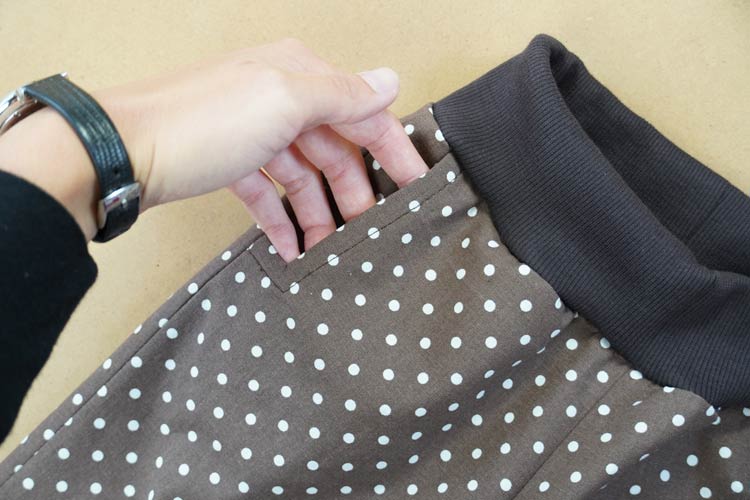
Topstitch the pocket opening.

Lay the whole pocket piece over the sewn-in pocket piece with the opening. I cleaned this piece in advance too. As I got into it, I accidentally cleaned even the part that belongs to the side seam (see the arrow). You don’t need to do that, of course.
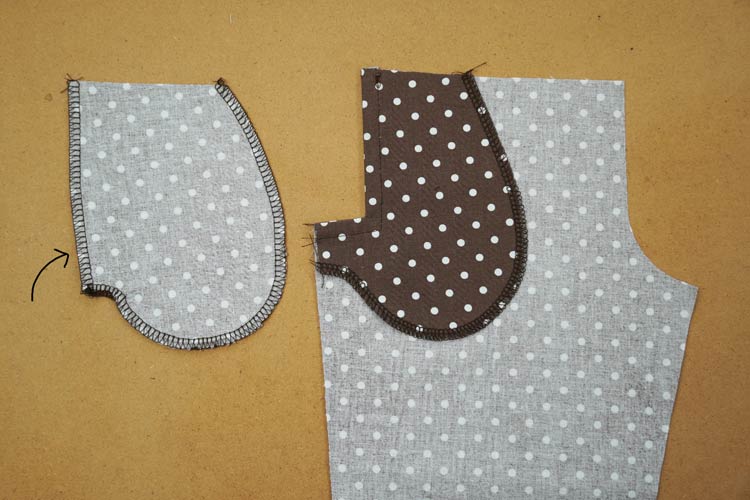
Pin pocket pieces too form the pocket pouch.
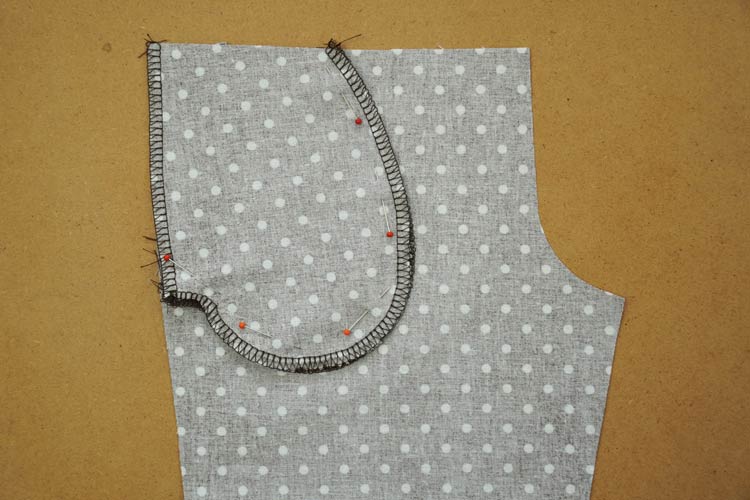
Pouch itself should not be pinned to the front piece of the pants.
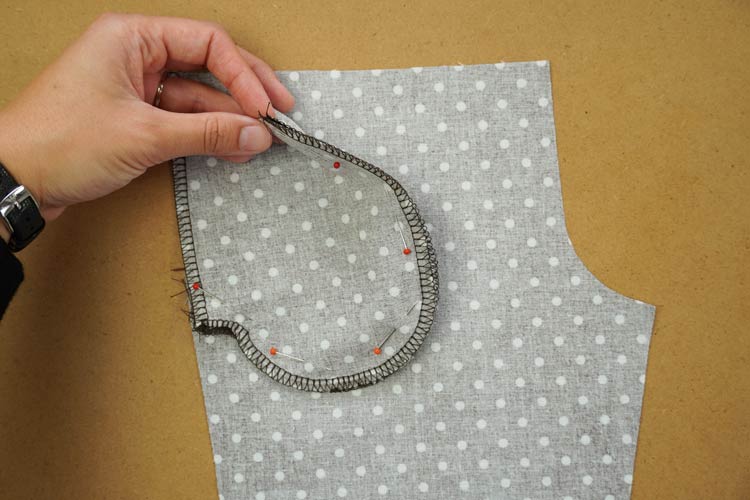
Sew the pocket pouch.
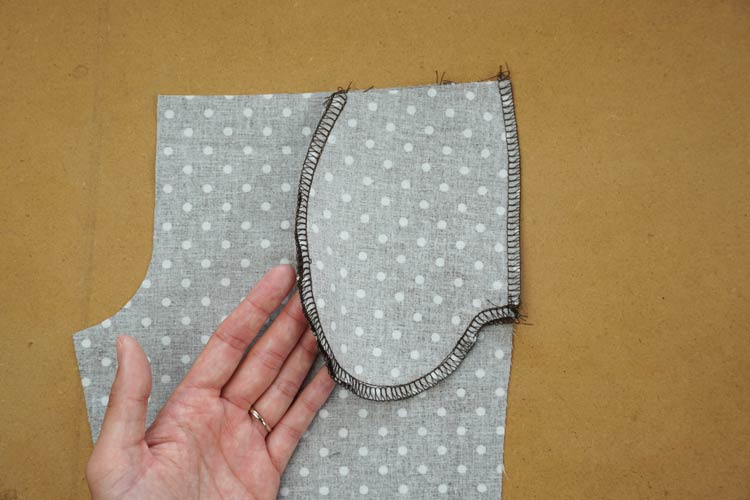
Clean the entire side seam of the front pieces of the pants, including the pocket piece edge.
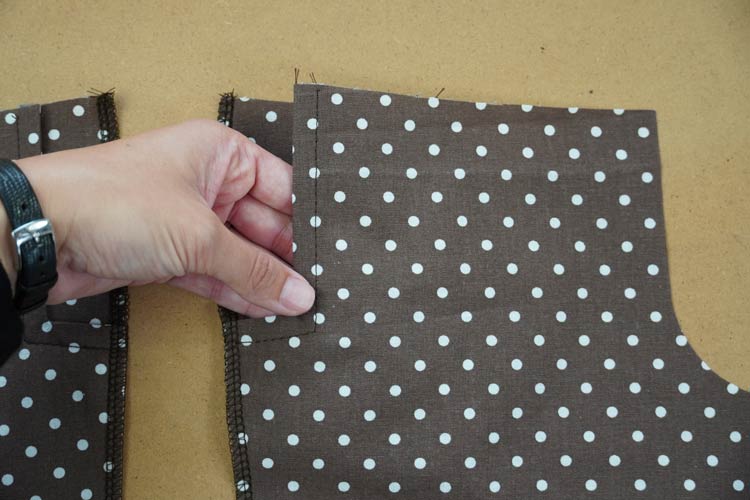
Clean side seam of the back pieces of the pants too.
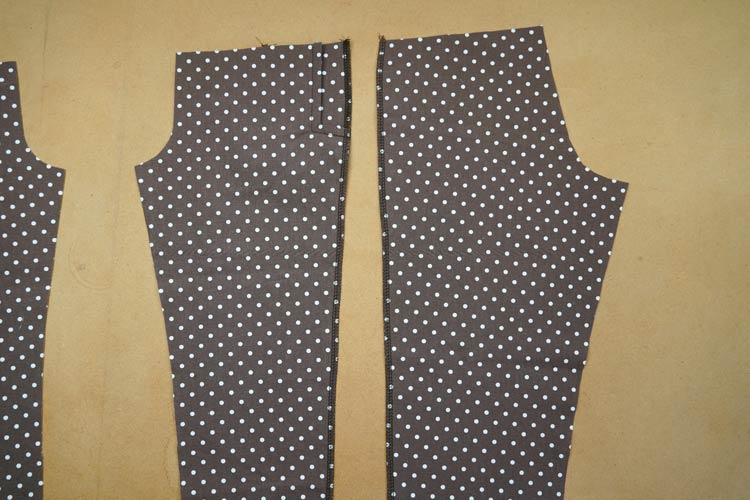
Lay back pieces of the pants over the front pieces (face side to face side) and pin the side seams. Marks on the paper pattern will help you align the side seams and later the instep seams.

Pin the side seams around the pockets carefully. You will avoid any mistakes involving the pocket pouch when sewing the side seams.
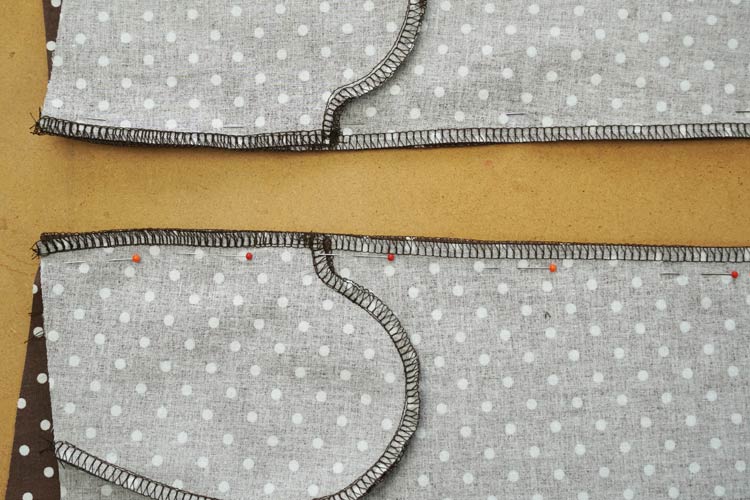
Sew the side seams and press the seam allowances open.
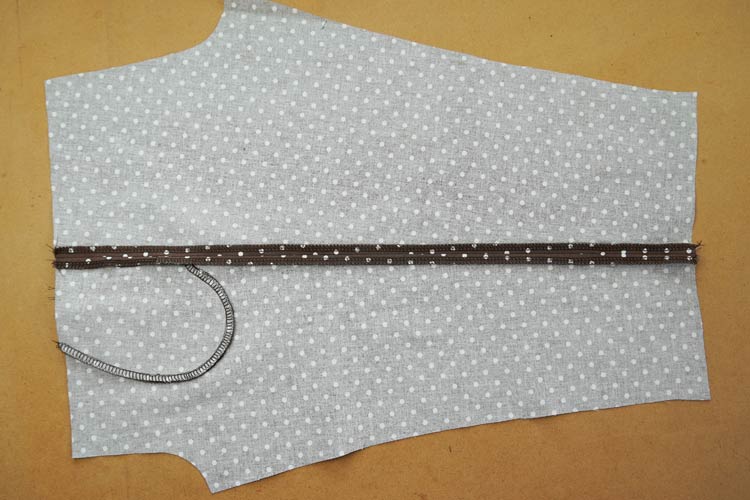
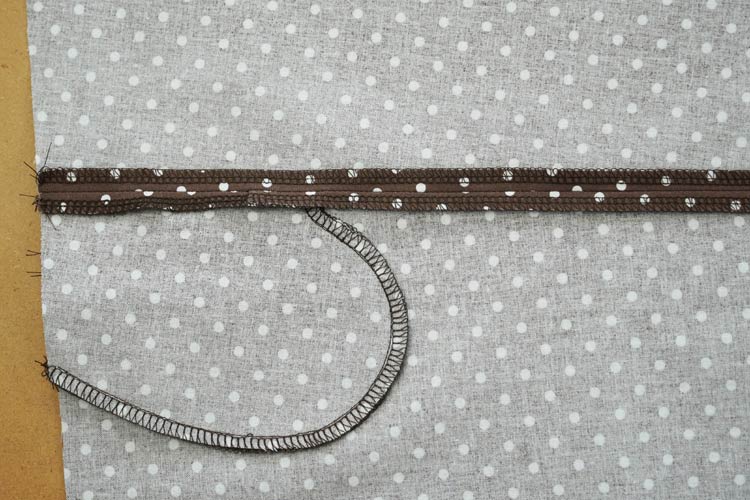
Position the leg pieces so that you can pin and sew the instep seam. You need to stretch the front piece a little in the part between the crotch the knees, so that it aligns with the back piece nicely. Marks on the paper pattern will help you with that.
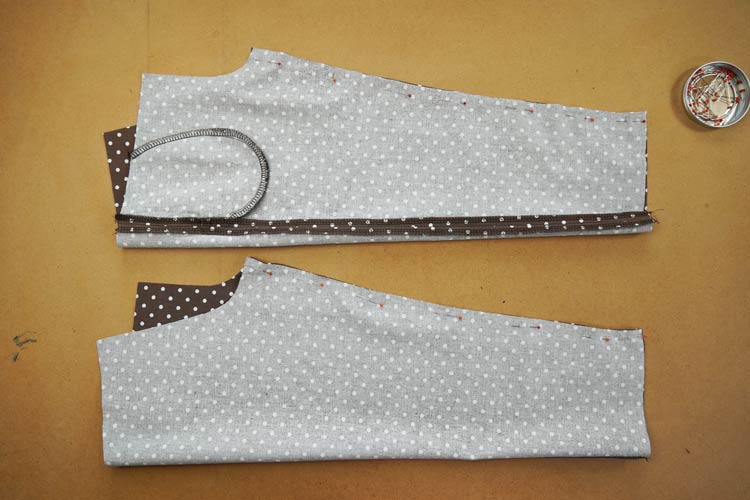
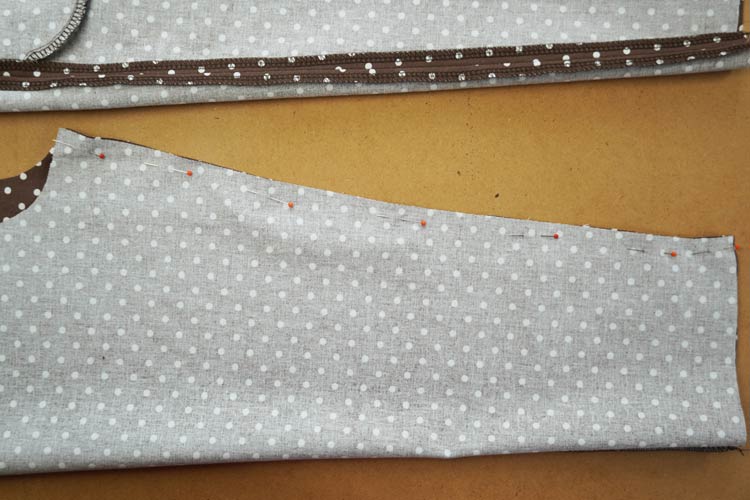
Sew instep seams of the both legs.
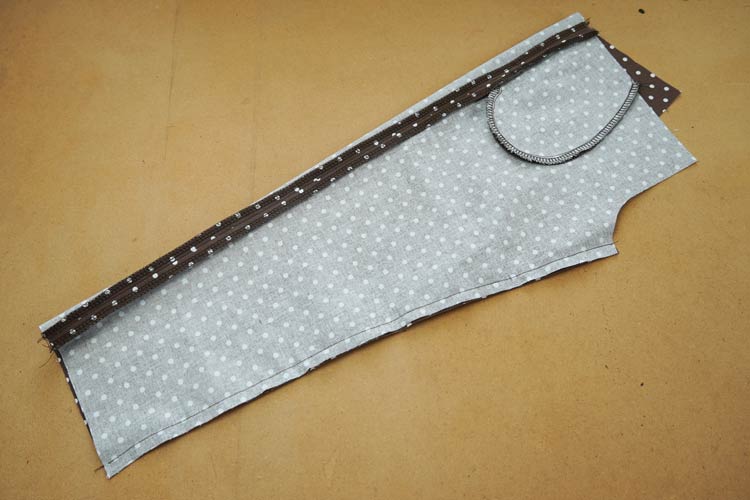
Clean the seams afterwards.
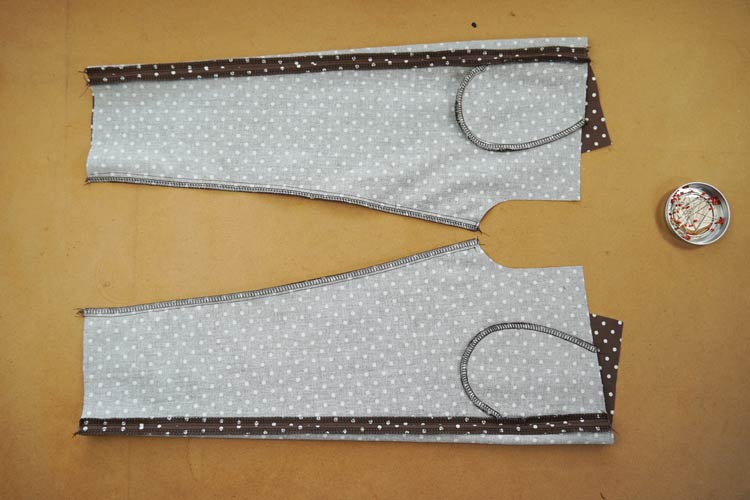
Press the seam allowances of the instep seam towards the back piece.
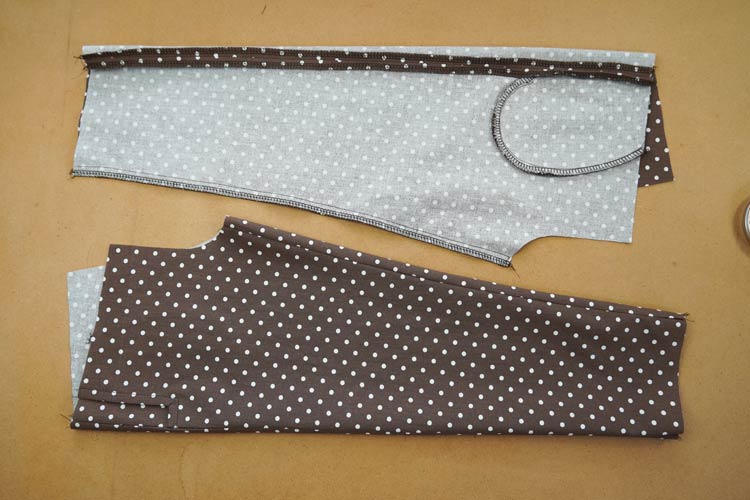
Turn one leg face side out.
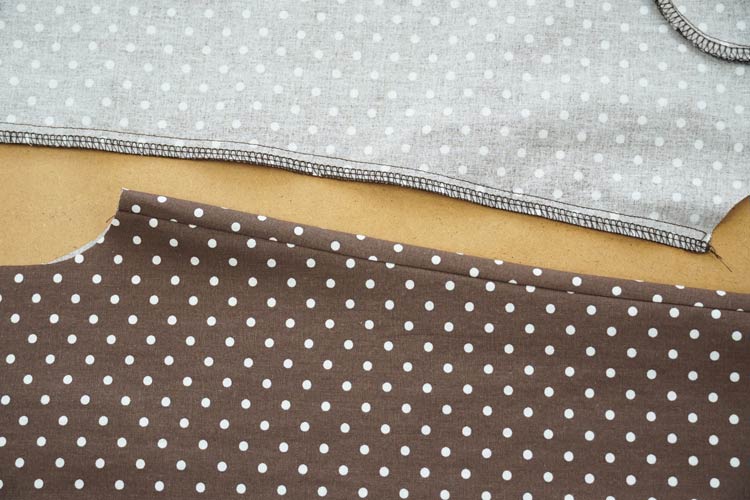
It is a good idea to press part of the seam allowance near the crotch to the other side - towards the front piece, as shown in the picture bellow. Do this on only one of the legs.
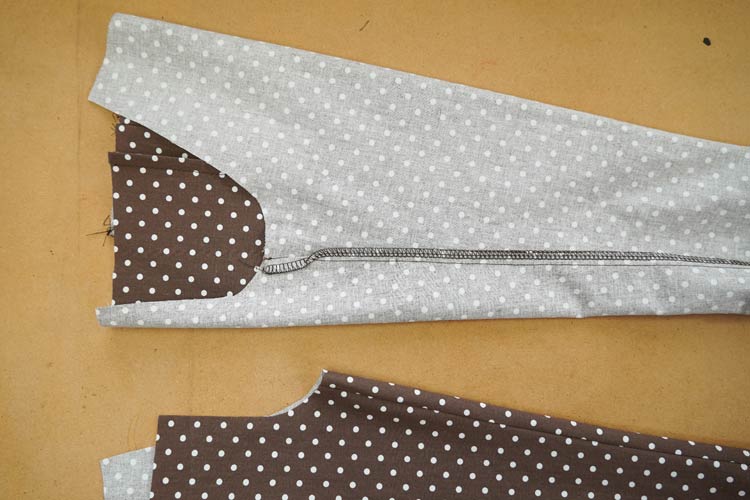
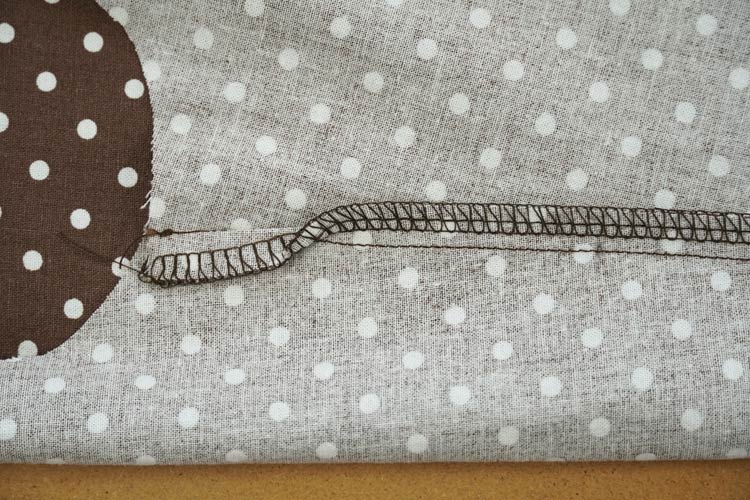
Insert one of the legs to the other (face side to face side) and pin the crotch seam.
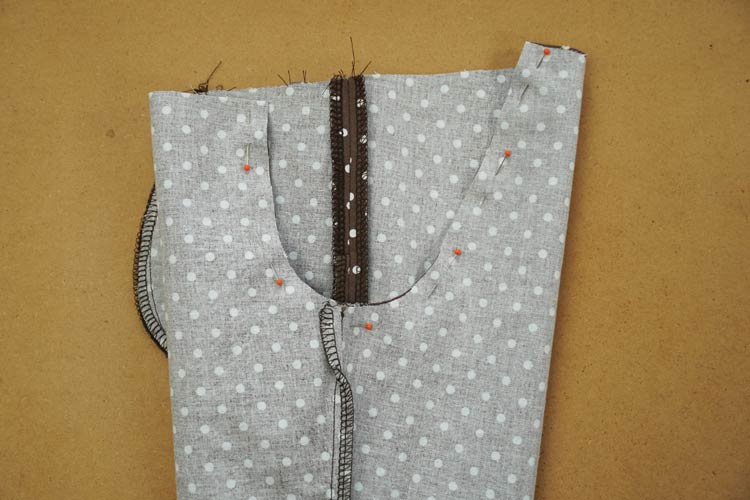
Notice that there isn’t any uncomfortable bulge on the crotch seam, that is thanks to the part of the seam allowance that was pressed towards the front piece earlier.
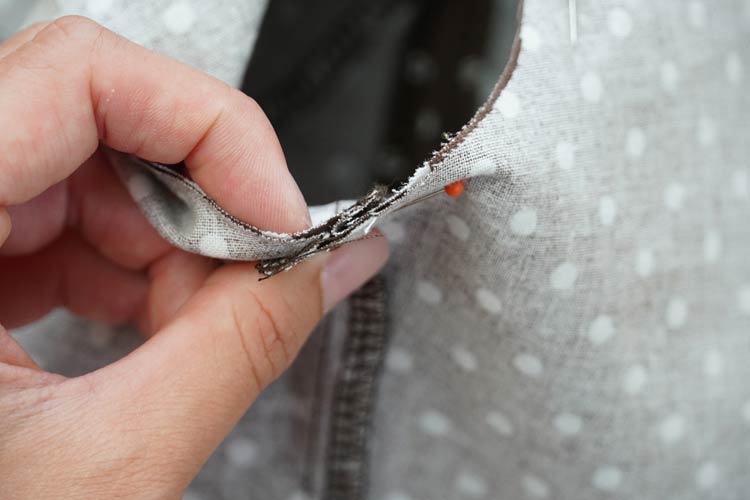
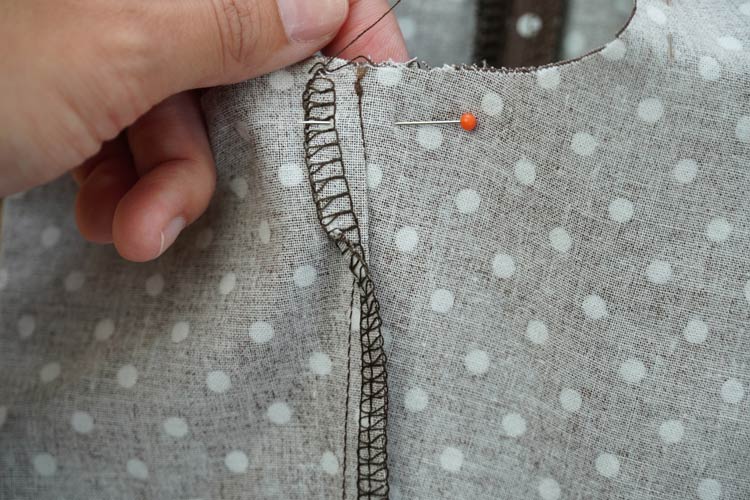
Sew the entire crotch seam.

Clean the seams afterwards.
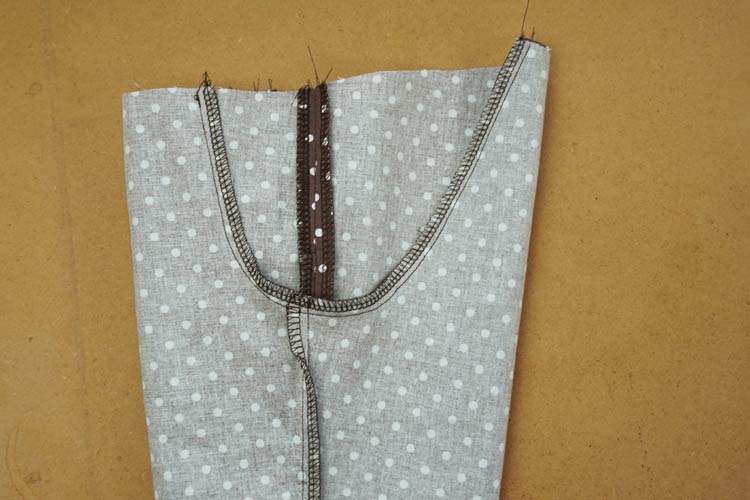
This is the base of the pants. I’ve used a few pins to hold the pocket pouches in place. It is necessary to place pins about 2 cm away from the cutting edge so that they do not interfere with sewing the knit to the waistline.
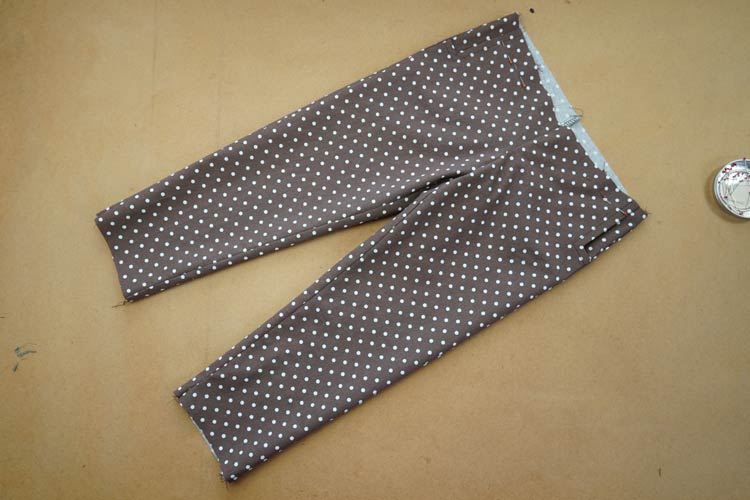
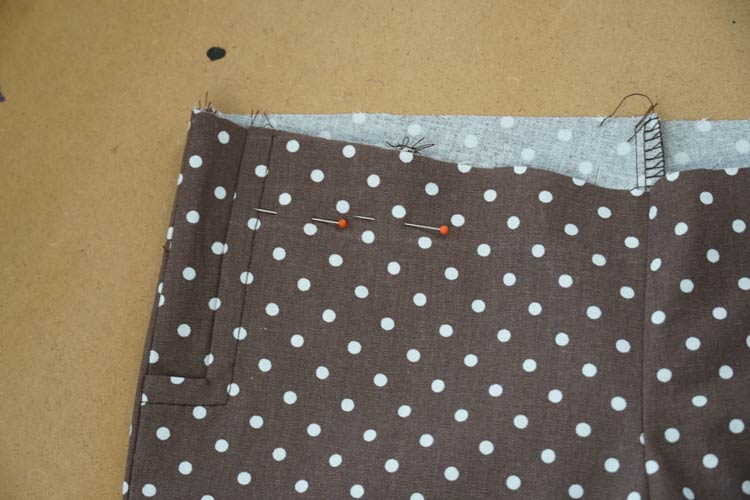
Let’s prepare the knit for the waistline now. It’s about 12 cm wide (for sizes 104 - 122), choose suitable width according to the size of the pants. Length of the knit stripe is the circumference of child’s waist minus 2 cm. But it also depends on the elasticity of the knit.
Let’s prepare elastic waistband too. Its length should be circumference of child’s waist minus 4 cm. Again - it also depends on the elasticity of the band.

Sew the shorter ends of the knit stripe together and then do the same with the elastic waistband.
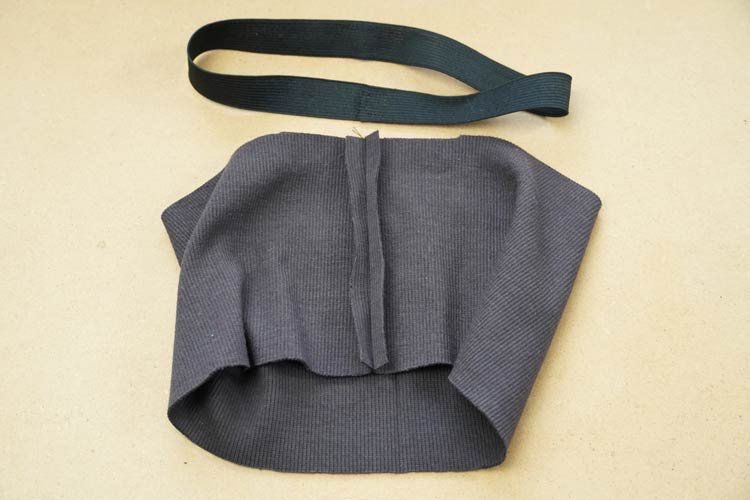
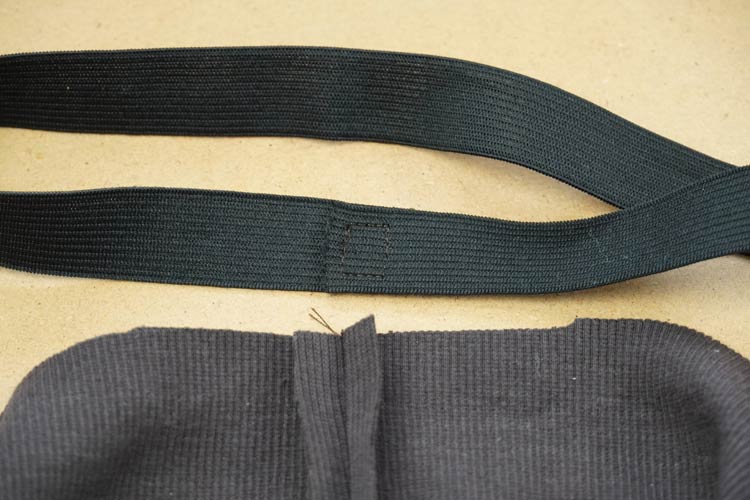
Put the waistband around the hem (which is turned inside out)...
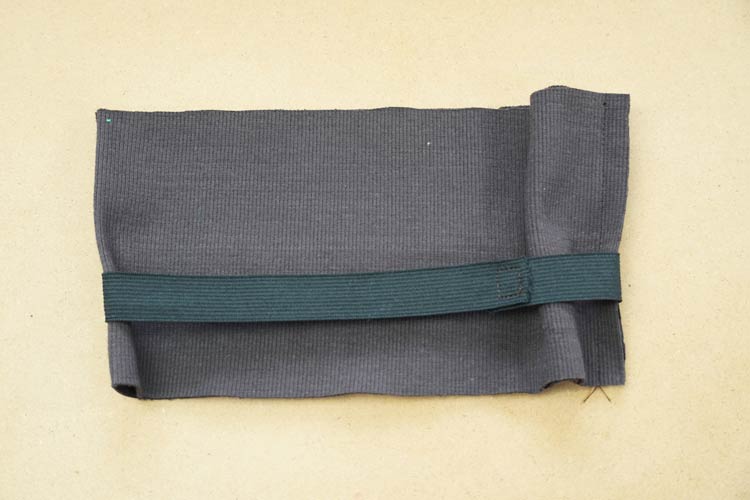
...and fold (“roll”) the hem in half.
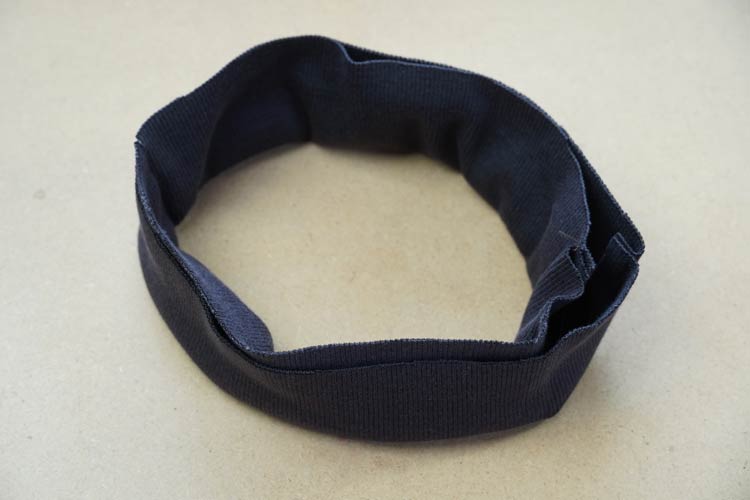
(waistband is inside)
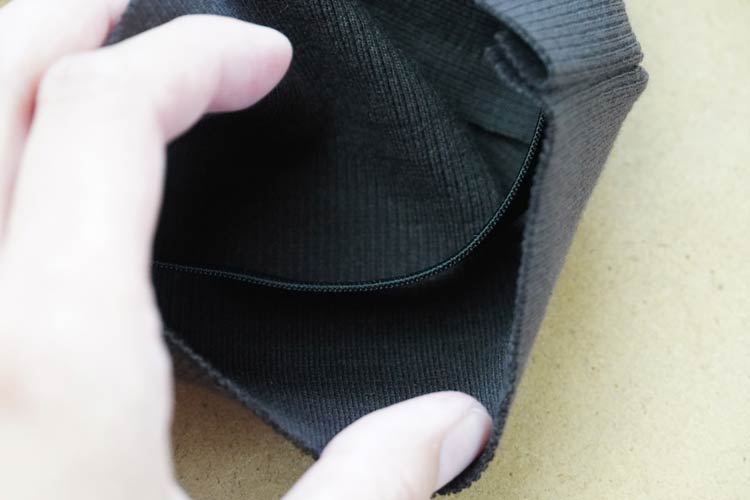
Pin the hem with the waistband inside to the pants along the circumference of the waistline evenly.
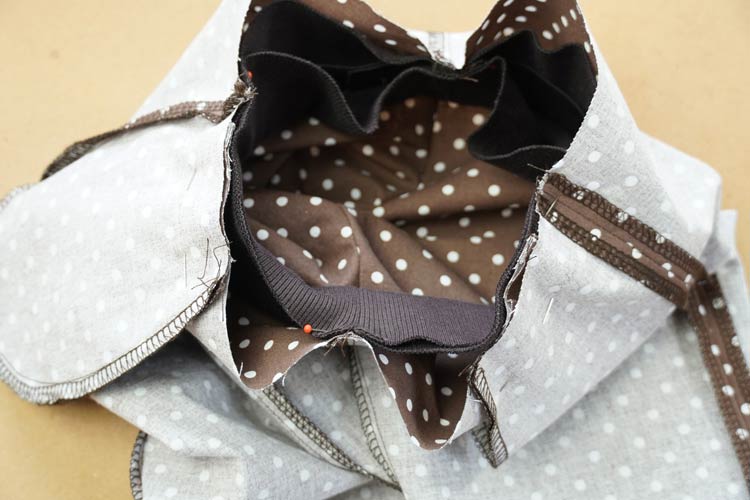
Sew the hem. You will need to stretch the hem a little while sewing, so it fits nicely to the pants. Pull free ends of thread chain under the loops when sewing with the overlock.
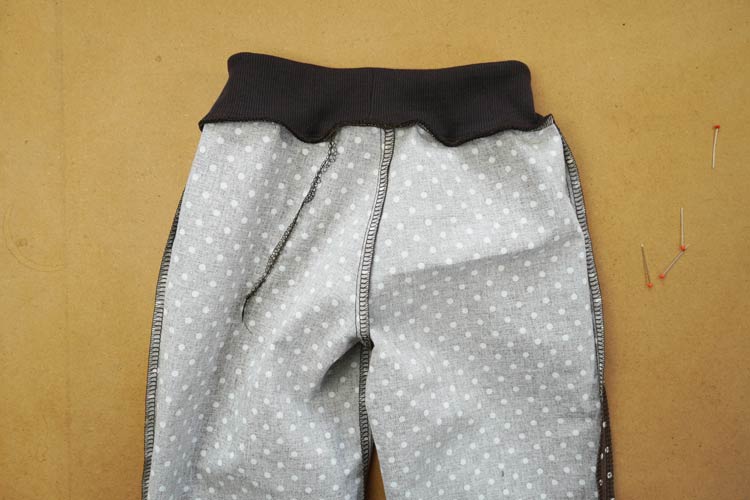
Now we just need to do bottom hems of the legs. Clean the cutting edges and pull free ends of thread chains under the loops.
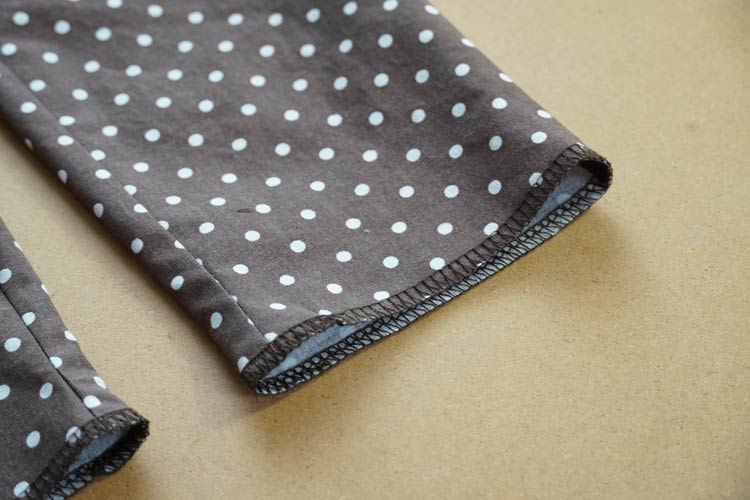
Fold the hem flap 3 cm to the inside of the pants and iron the fold.
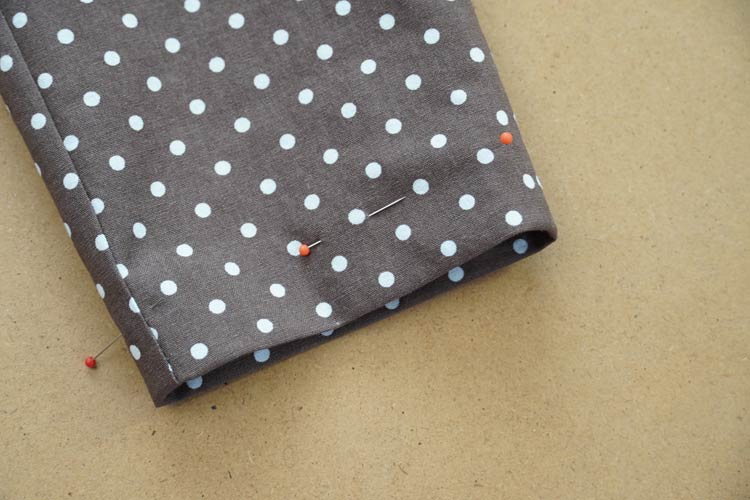
Sew through the leg hems with the straight seam using regular sewing machine.

And your children’s pants are ready.
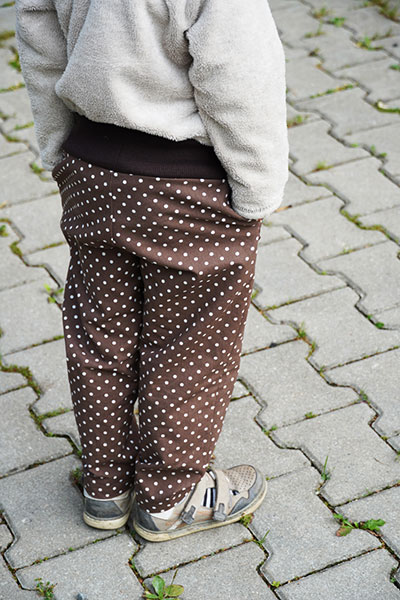
Did you like today's instructions and pattern? Please let me know in the comments and share the article with your friends. I will be glad for any feedback and support.
Have a nice day, Peťa

