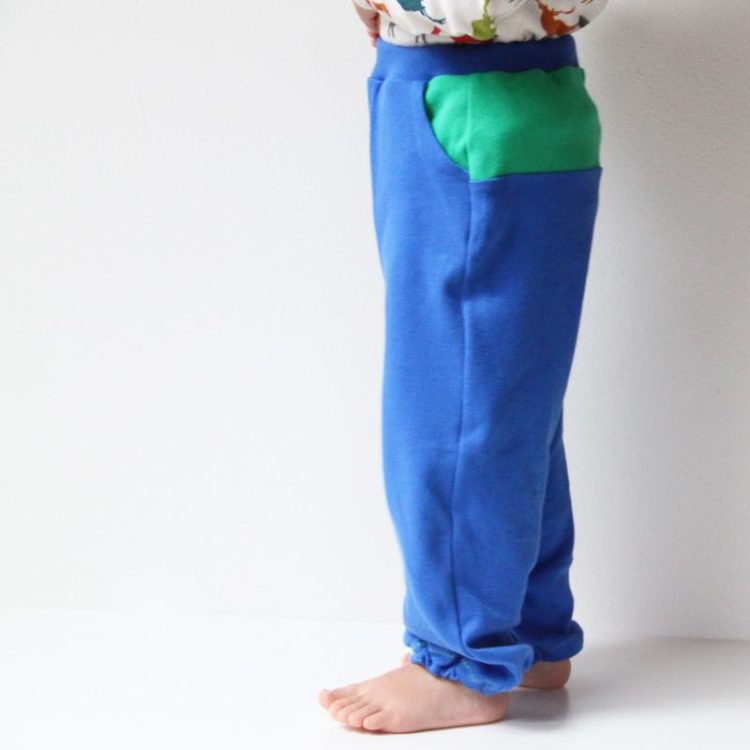
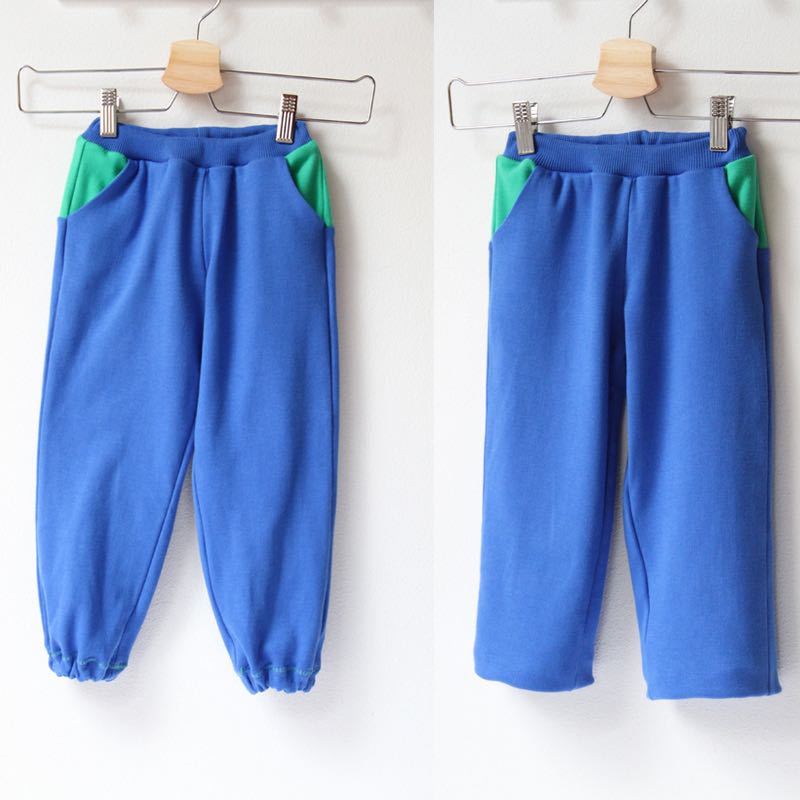
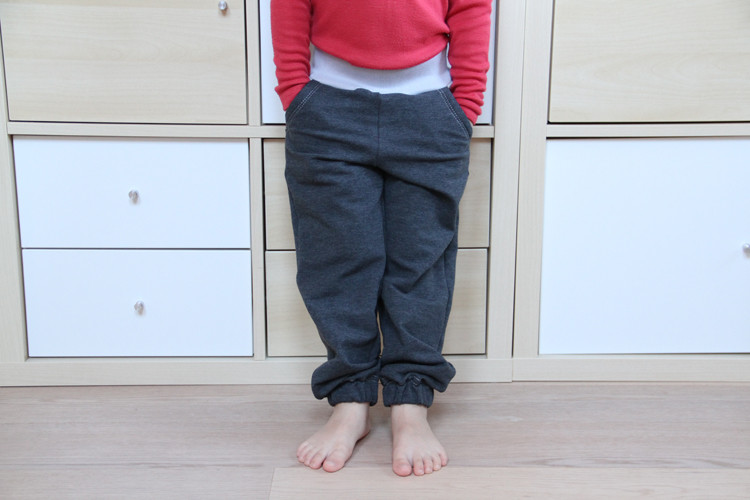
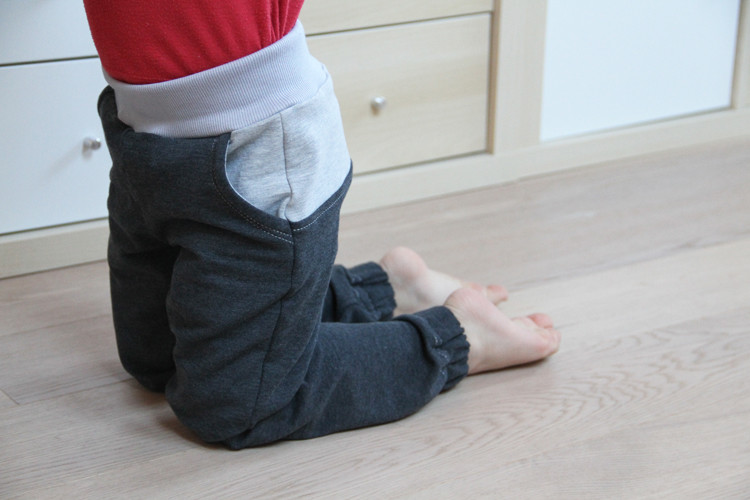
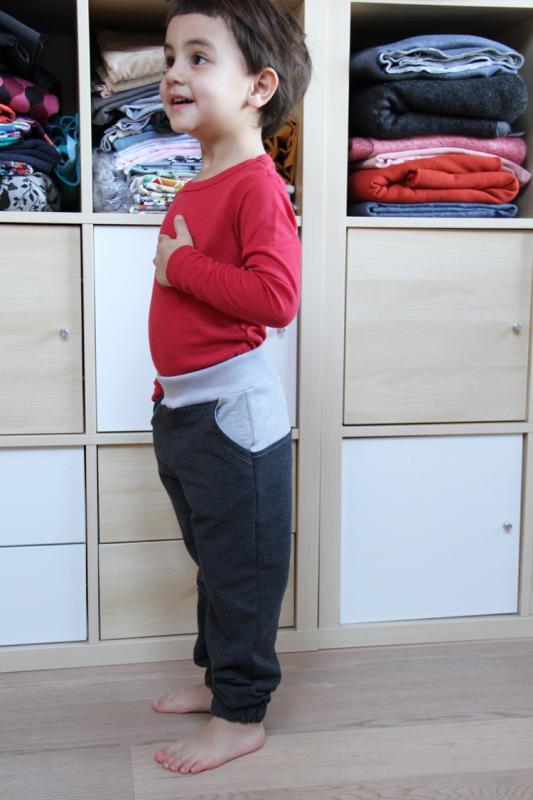
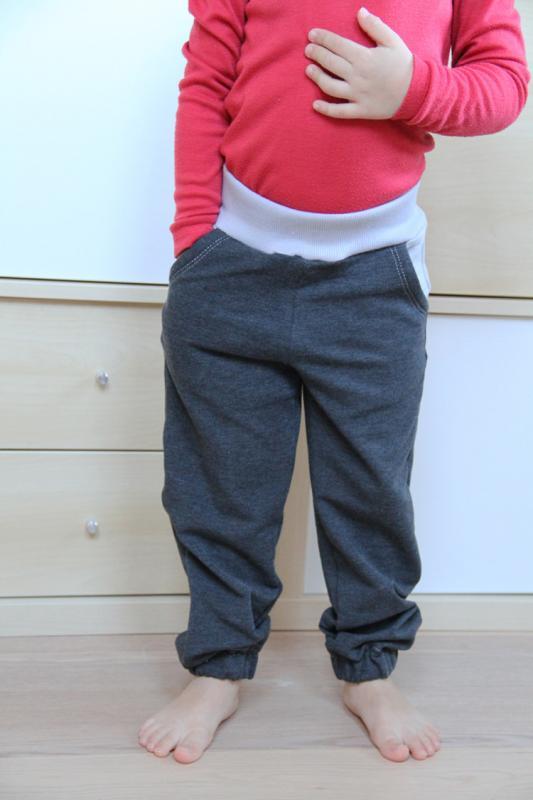
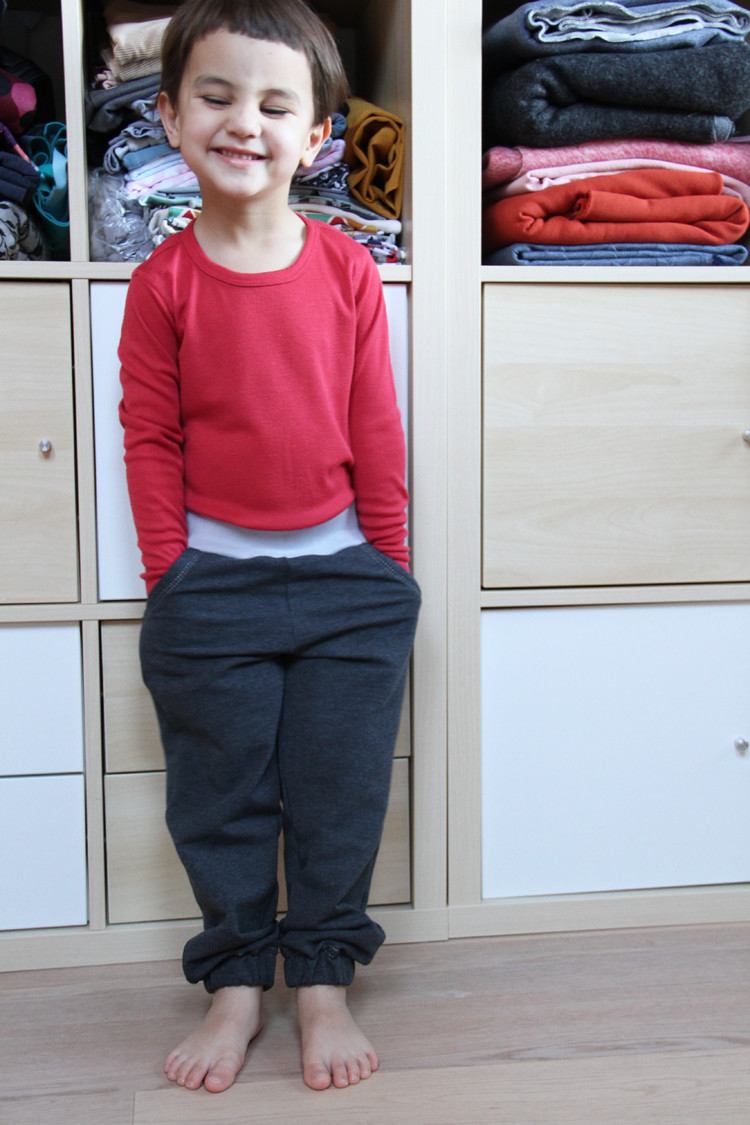
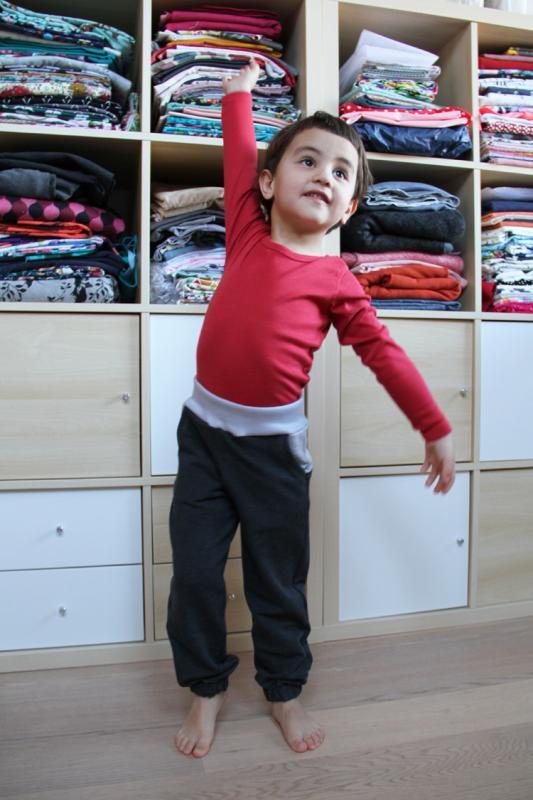
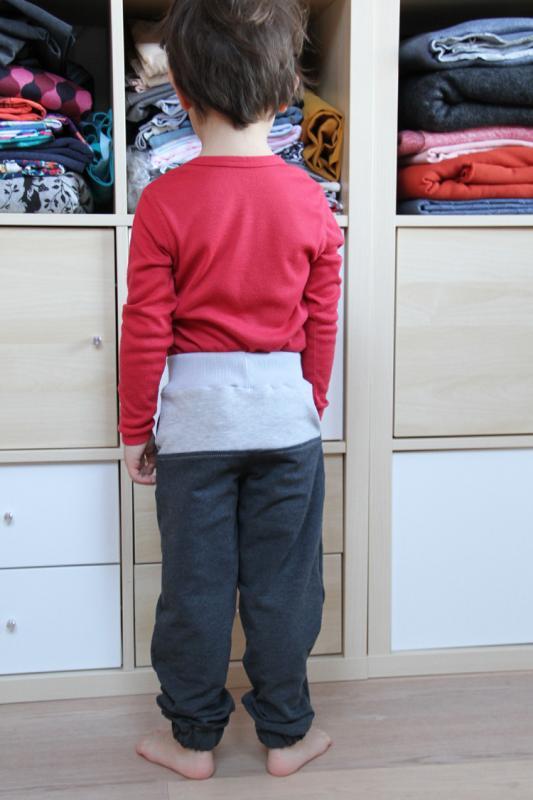
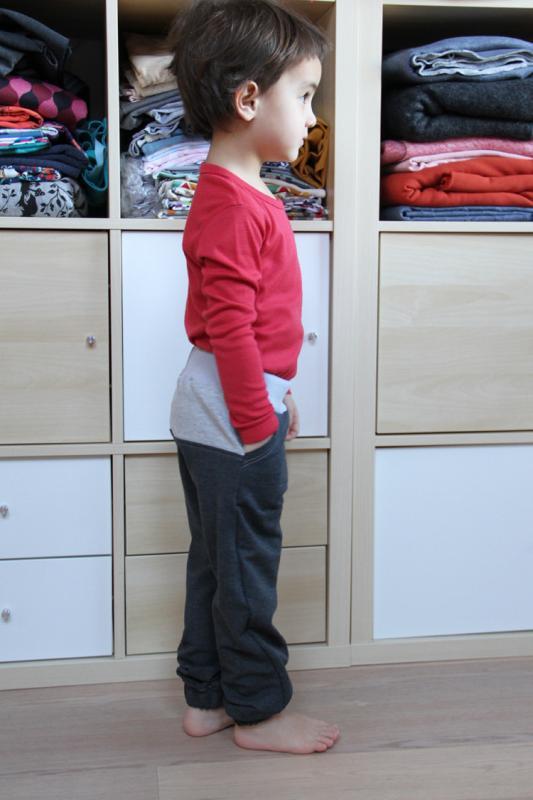
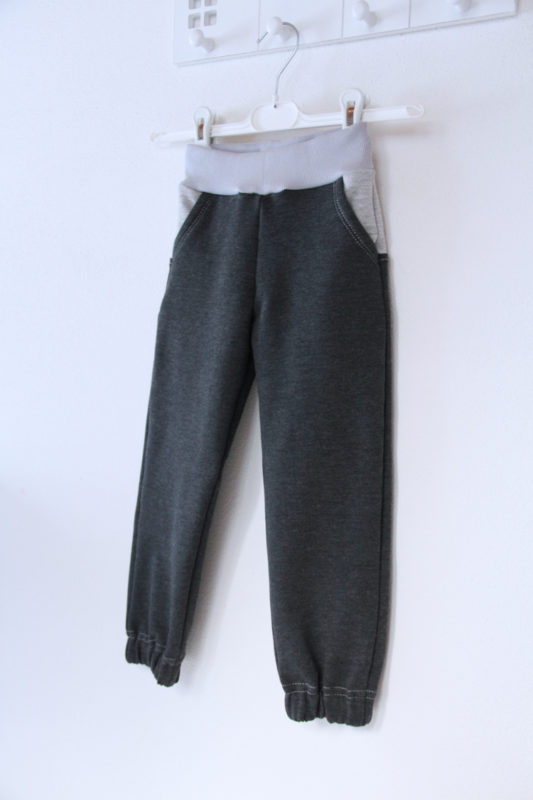
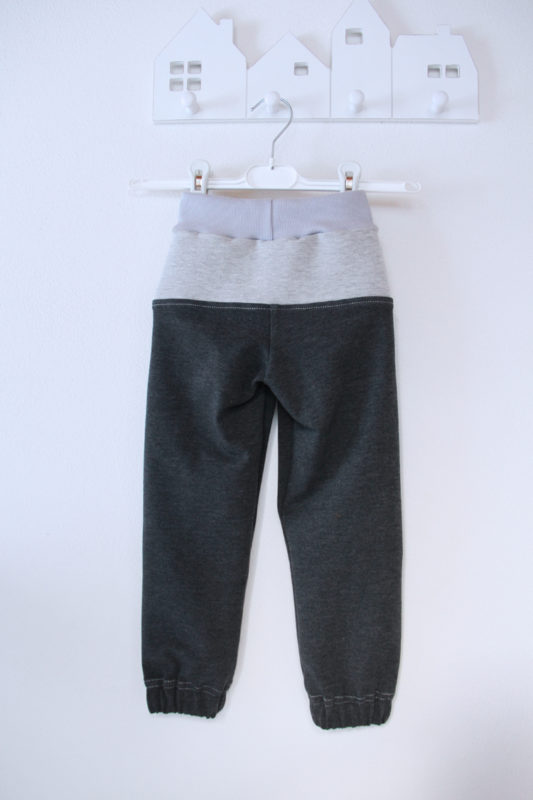
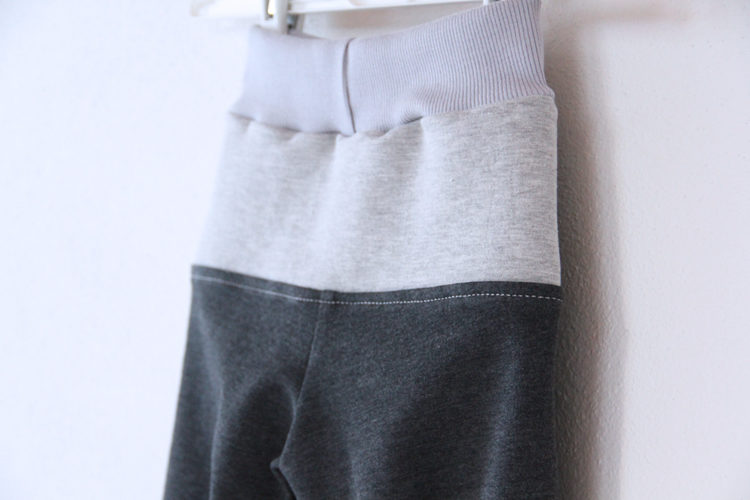
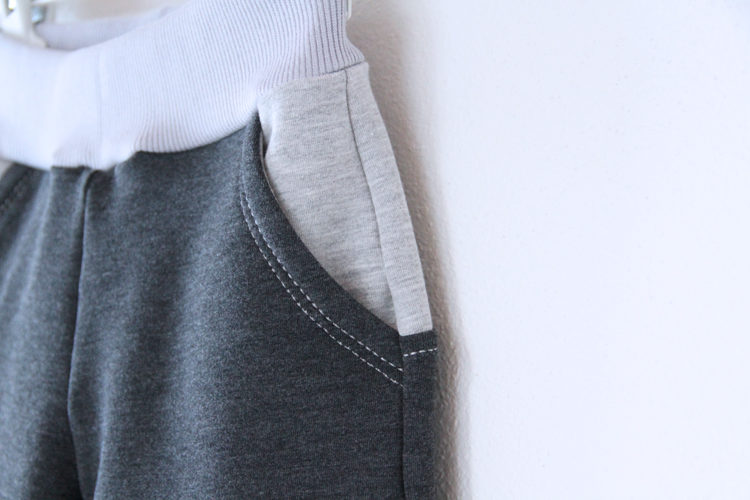
Today we will look at how to easily sew sweatpants with side pockets and yoke. This pattern for kid’s sweatpants is suitable for beginners and it’s available in sizes 80-164.
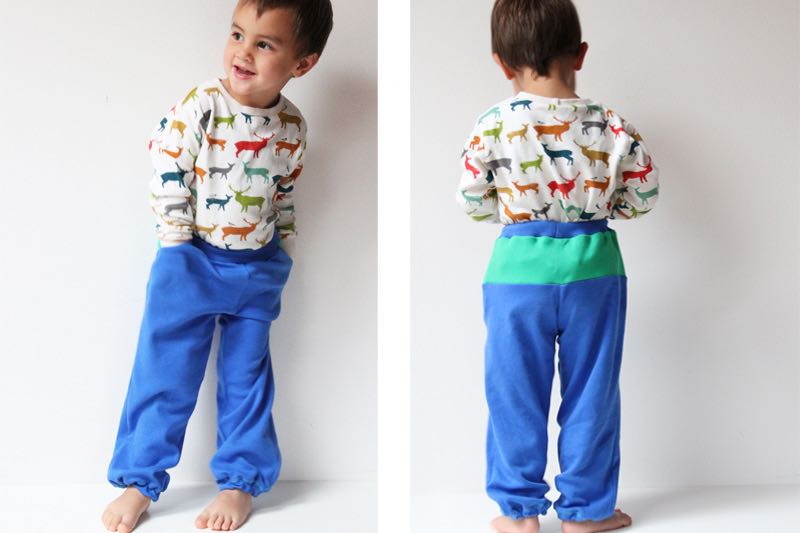
You can find more photos of various sweatpants sewn according to this pattern in the gallery at the end of the article (below the sewing instructions).
The pattern for children’s sweatpants
Střih na dětské tepláky se sedlem můžete pořídit v e-shopu zde:
Střih na dětské tepláky FORESTomrknout střih na tepláky
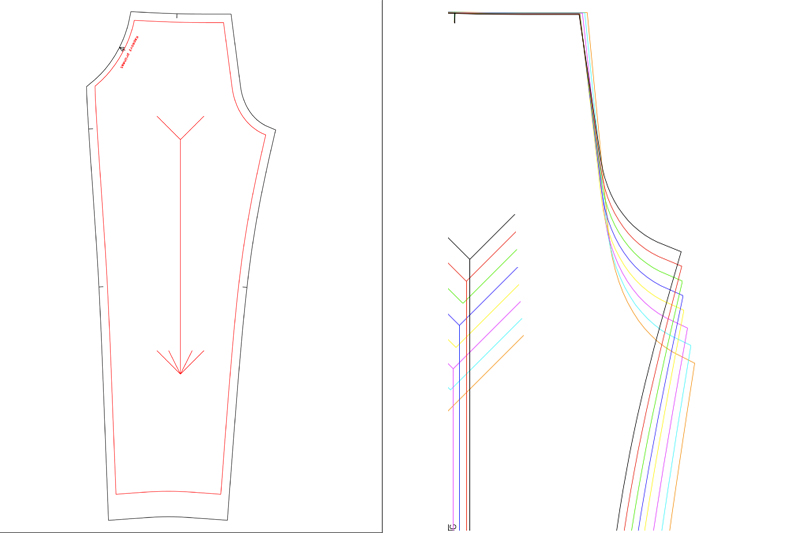
This pattern is available in one size view (with seamlines and seam allowances outlined for each size separately) and in the classic view, where you can see seamlines of all sizes at once - each in a different color for better clarity. You can choose what works best for you. The advantage of the classic view (where all the sizes are shown) is that you can easily adjust your pattern to fit body types in between the chart sizes. One size view saves time during preparation - you do not have to think where and how much to add for the seam allowances, because everything is already there.
Recommended material
Use elastic materials - laid-in knits, fleece, double knits, etc. I recommend using a rib knit waistband. You will also need a wide elastic band for the waist (I recommend 3 cm wide) and elastic bands for leg openings. I bought the material for sweatpants featured in this article from Unuodesign.cz and Dumlatek.cz.
You will need different amounts of fabric for different sizes of sweatpants. The required amount of material (for 140 cm wide fabric):
- 80-104 0.7 m
- 110-122 0.9 m
- 128-140 1.1 m
- 146-164 1.2 m
Tips:
You can sew the sweatpants on an overlock or a regular sewing machine. If you are going to use a regular sewing machine, I recommend using a needle suitable for sewing elastic fabrics (take a look at this article for more information on sewing machine needles: Sewing machine needles) and flexible seams (narrow zig-zag stitch, three-step straight stitch, etc.). I also recommend lowering the foot pressure and reducing bobbin tension slightly if your sewing machine allows it. You can read more about sewing elastic fabrics on a regular sewing machine in this article:
Sewing elastic fabrics with a regular sewing machine - 4 steps to success
Sewing instructions
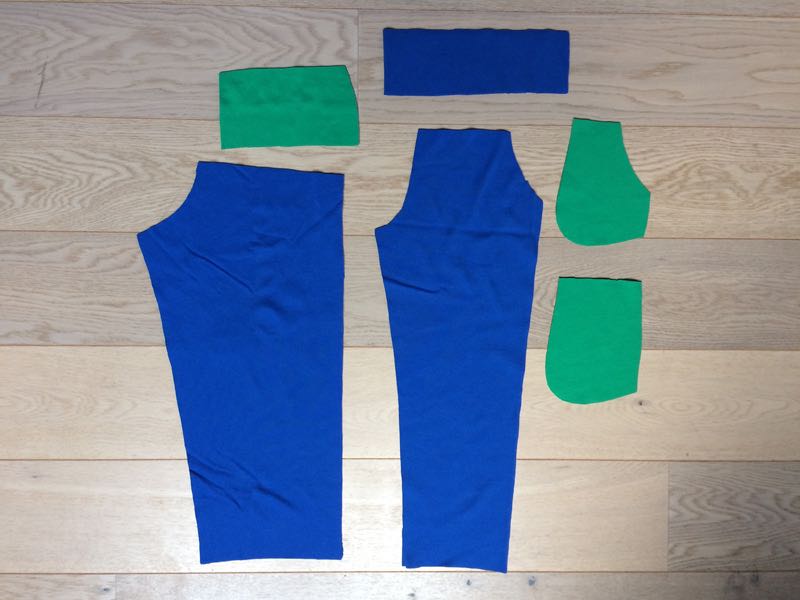
1. Position & prepare the pieces:
- 2x front piece
- 2x back piece
- 1x yoke piece (cut on the fold)
- 2x pocket piece with the opening
- 2x whole pocket piece
- 1x waistband (cut on the fold, rib knit works best)
I recommend reinforcing pocket openings (on pocket pieces and front pieces) with strips of one-sided fusible interfacing.
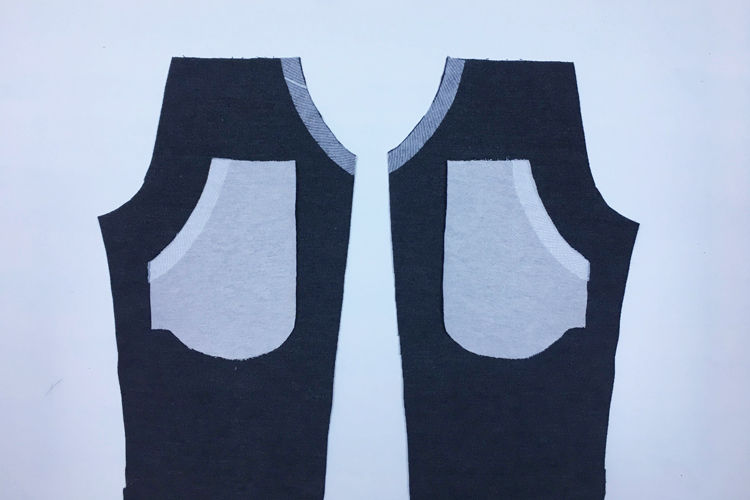
Pockets
2. Pocket pieces with openings
Let’s work on the pockets first. Lay the pocket piece over the front piece (face side to face side), pin, and sew the pocket opening.
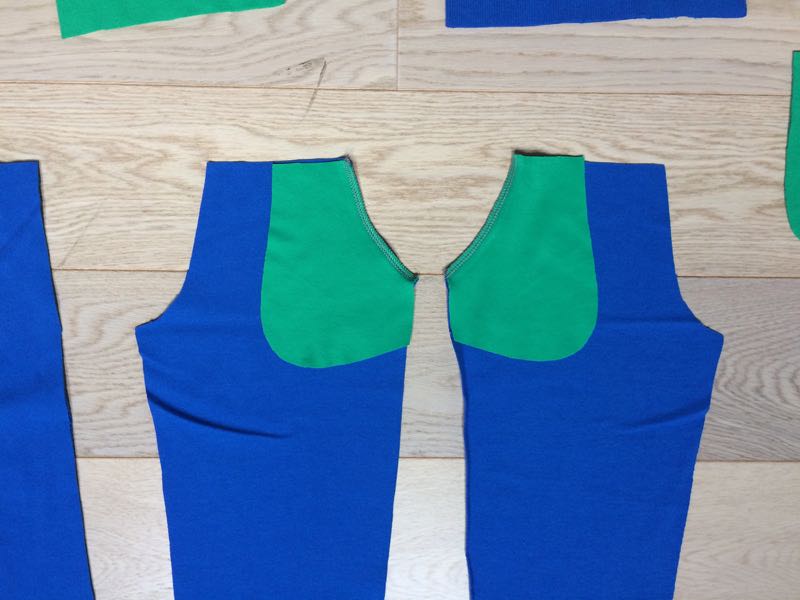
Flip the pocket piece to the reverse side of the sweatpants and iron the seam. Slide the pocket piece about 1 mm into the sweatpants (so that the seam is inside the pocket). As a result, the pocket piece will not be visible. Pin the pocket piece in this position to keep it in place.
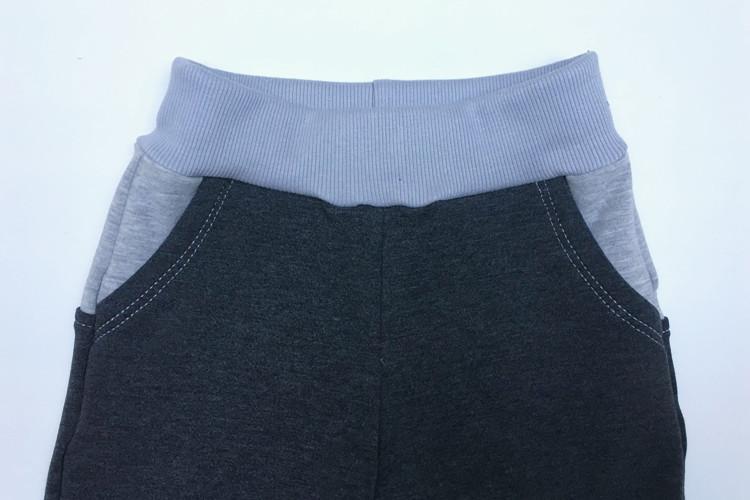
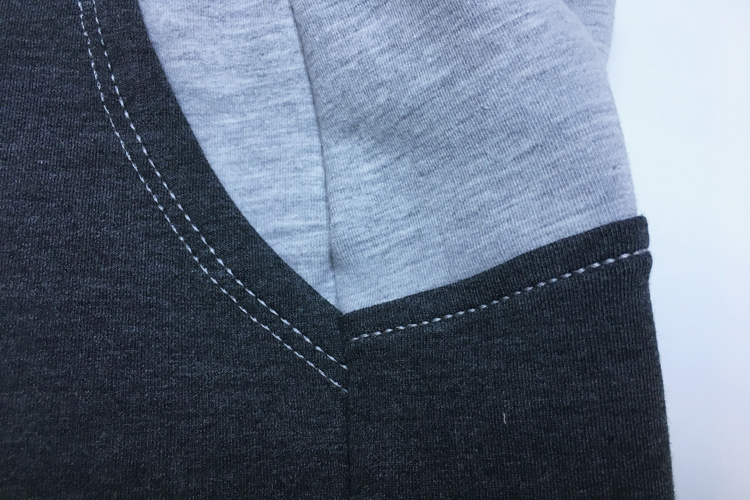
Topstitch the pocket opening. You can use one seam or two parallel seams like I did. I topstitched with a slightly elastic stitch - a three-step straight stitch. Prepare the other pocket in the same way.
3. Pocket pouches
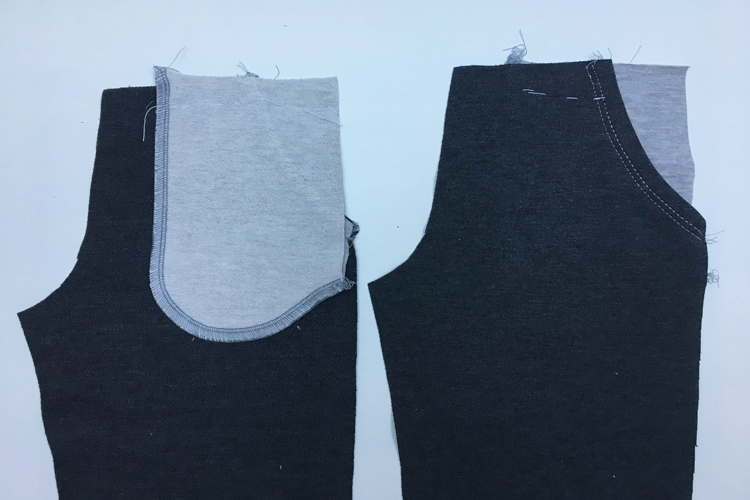
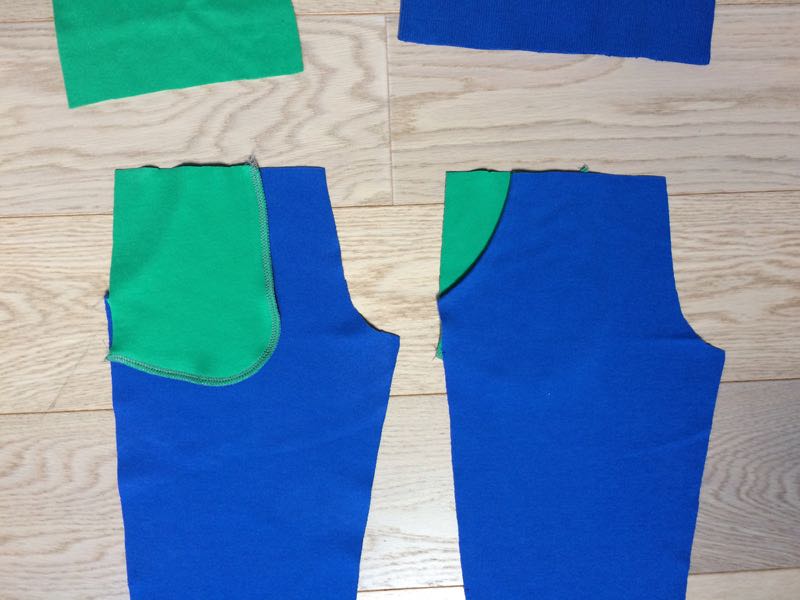
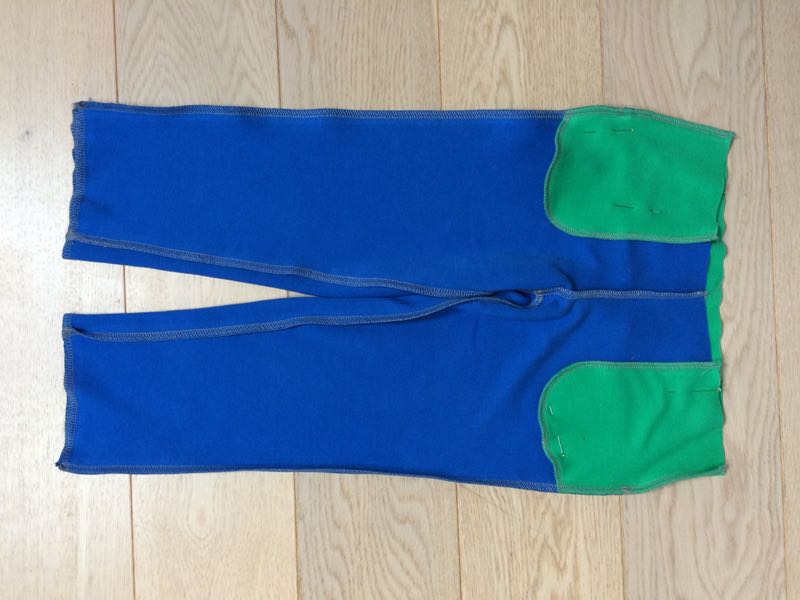
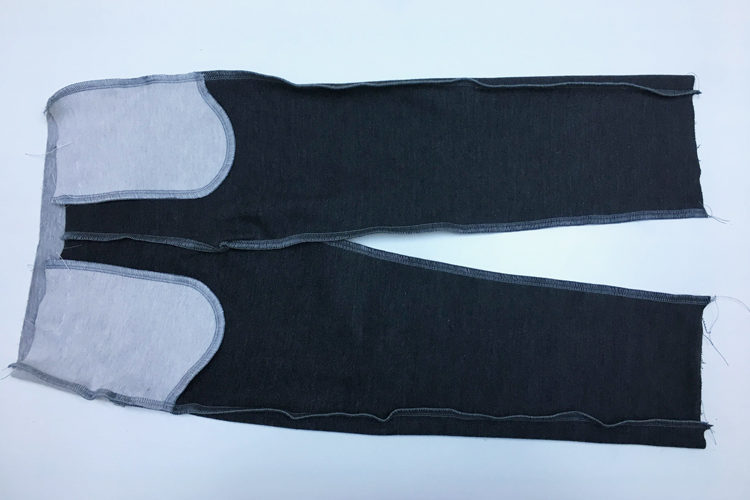
Now place the front pieces face side down. Lay the whole pocket pieces over the pocket pieces with openings (face side to face side), pin, and sew both pocket pouches. Don’t sew through the front pieces of the sweatpants.
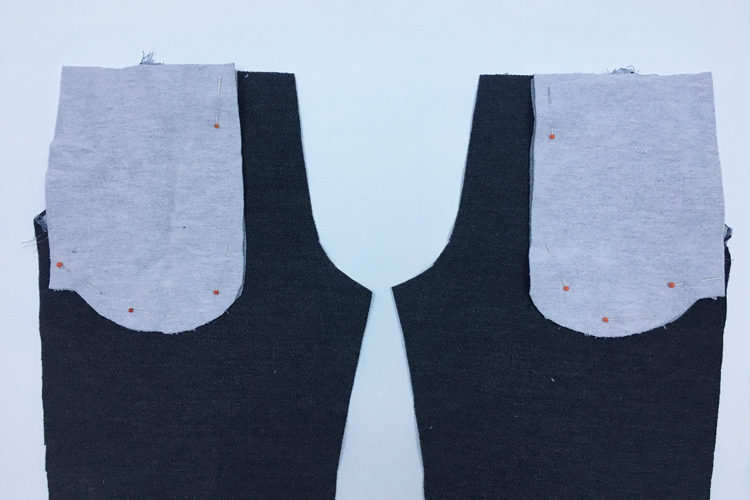
This is what the finished pocket pouches look like:
I basted (temporarily stitched) the top part of the pouch to the front piece to keep it in place. This makes the front pieces easier to handle. You can also do this with the sides of both pocket pouches.
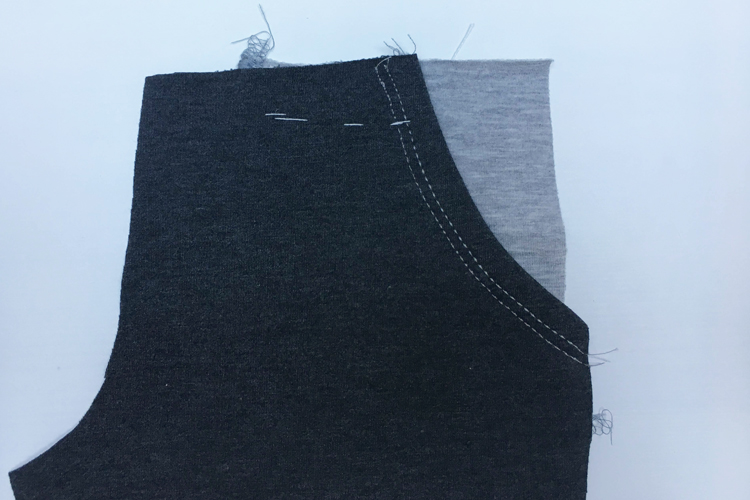
My tip:
When using this procedure, sewing a yoke may seem a bit complicated, but it’s the correct way to do it. Therefore, please follow the steps below, even though these steps are in a different order for sweatpants without yokes.
Legs
4. Instep seams
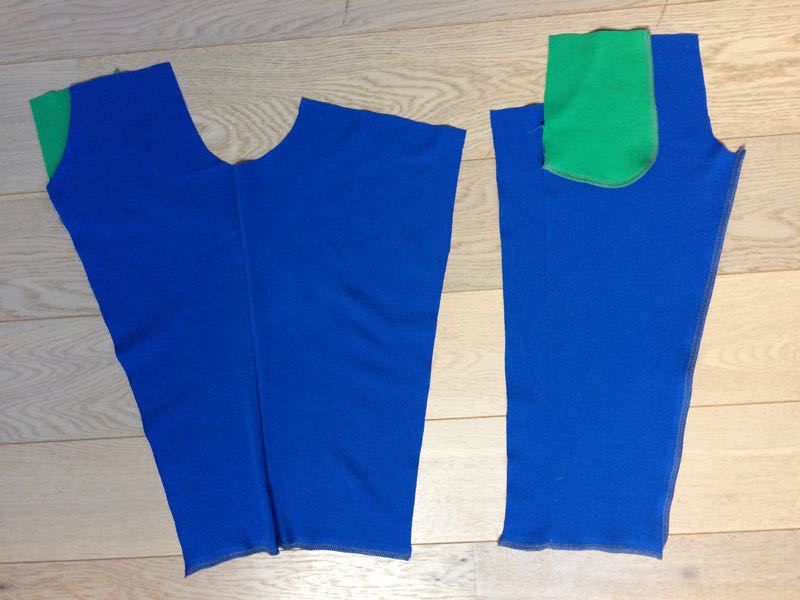
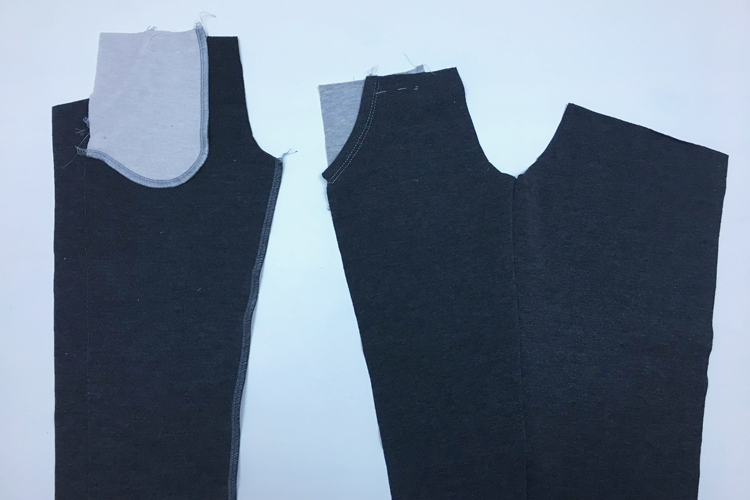
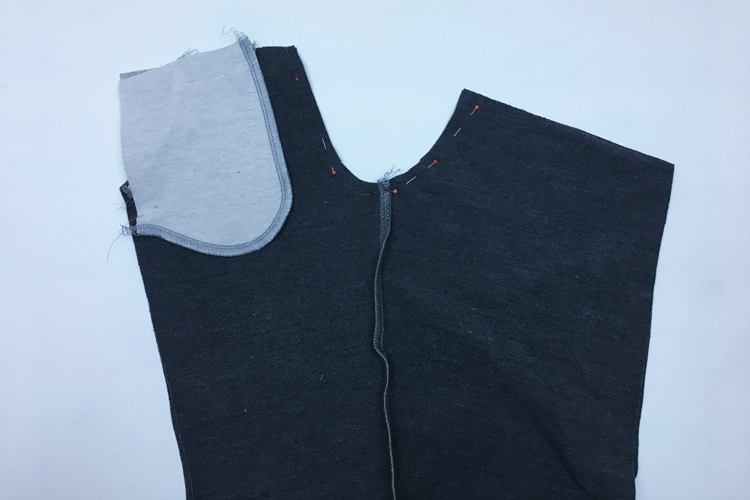
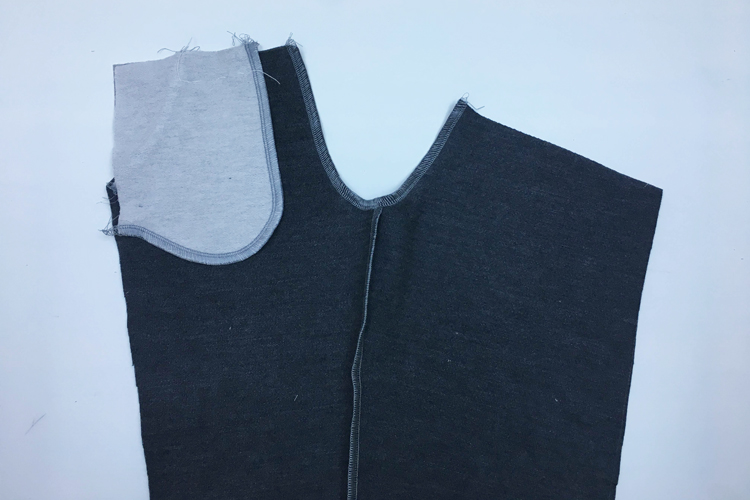
To sew the yoke, you first need to sew the instep seams. Lay front pieces over the back pieces (face side to face side). Align, pin, and sew the instep seams.
5. Crotch seams
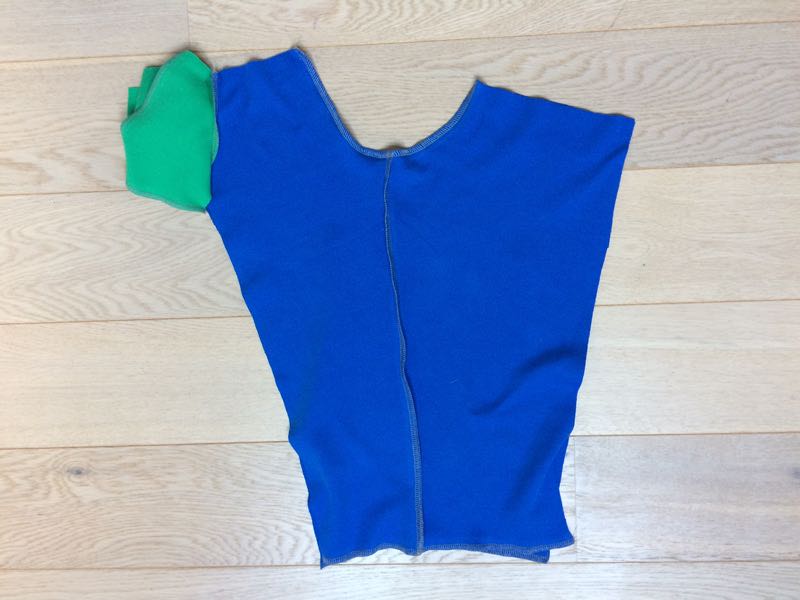
Put the two legs on top of each other (face side to face side) and sew both crotch seams in one go.
Yoke
6. Yoke - Connecting seam
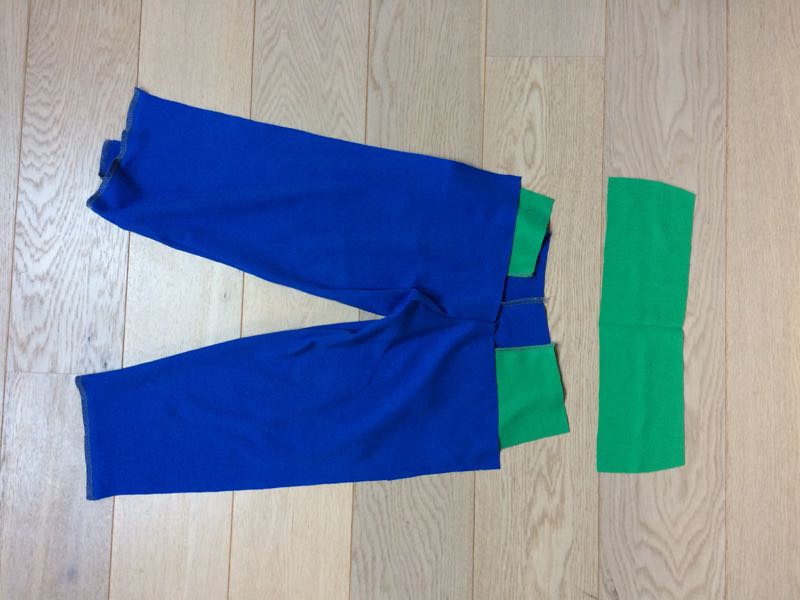
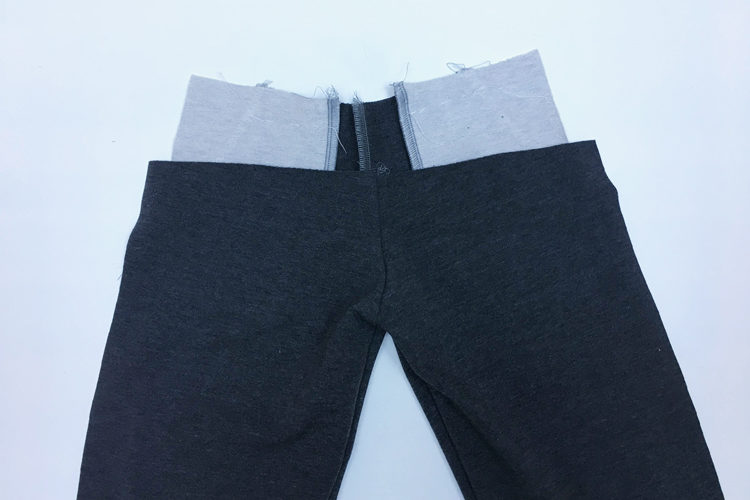
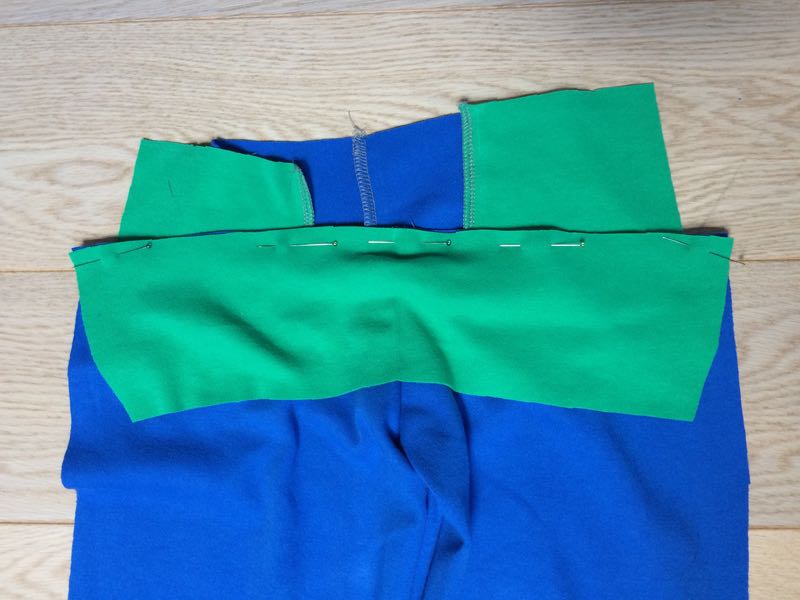
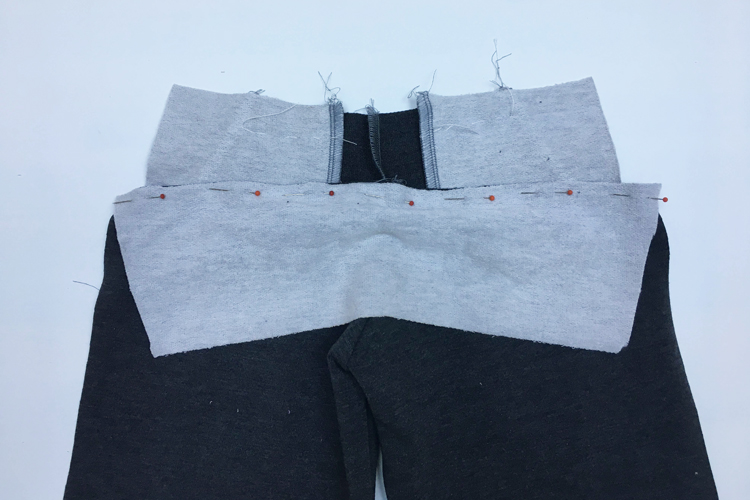
You can now pin the yoke to the back pieces (face side to face side).
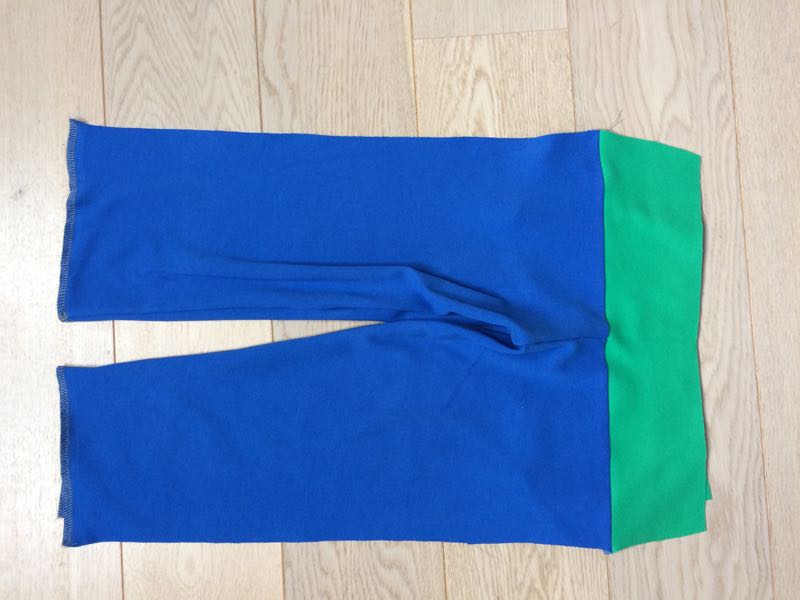
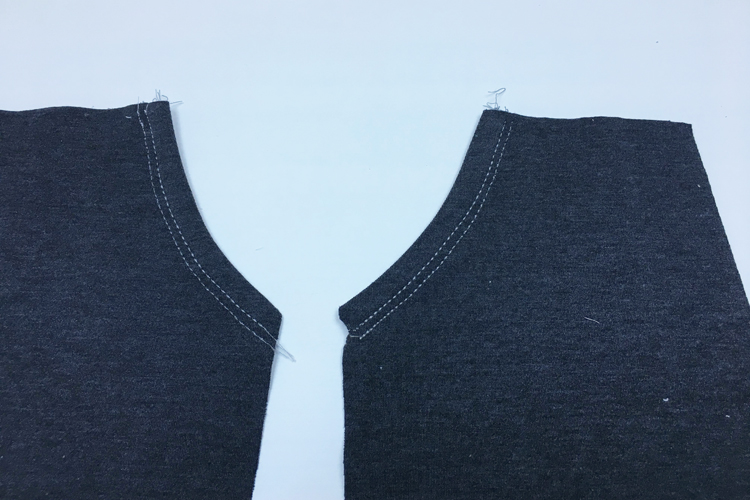
Sew the yoke to the pants and flip it away from the pants. Press the seam allowances down (away from the yoke) and baste along the seam to attach them.
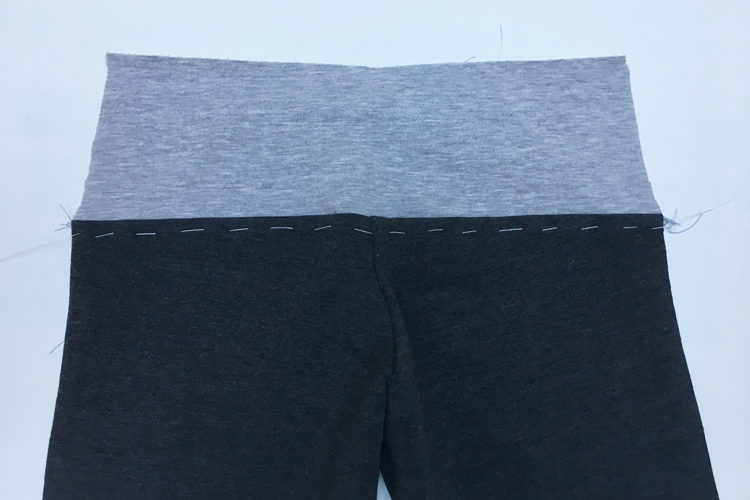
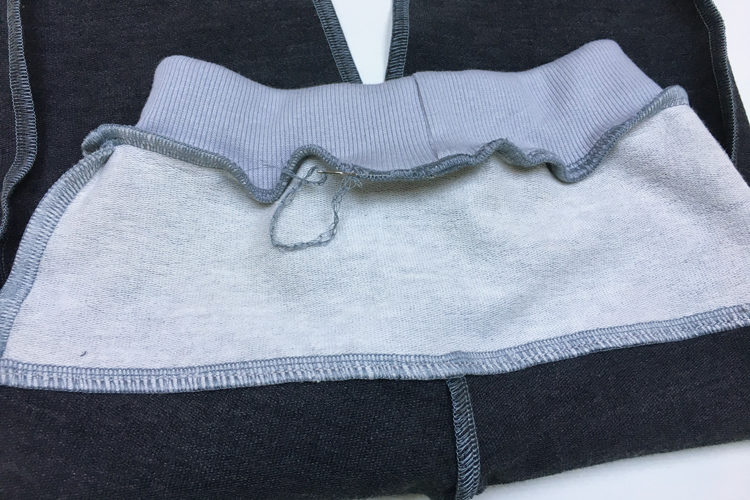
Topstitch the connecting seam using some elastic stitch - I chose a three-step stitch again. The picture below shows how the whole connecting seam curled awkwardly after topstitching. If this happens, reduce the pressure of the presser foot and the tension of the bobbin thread.
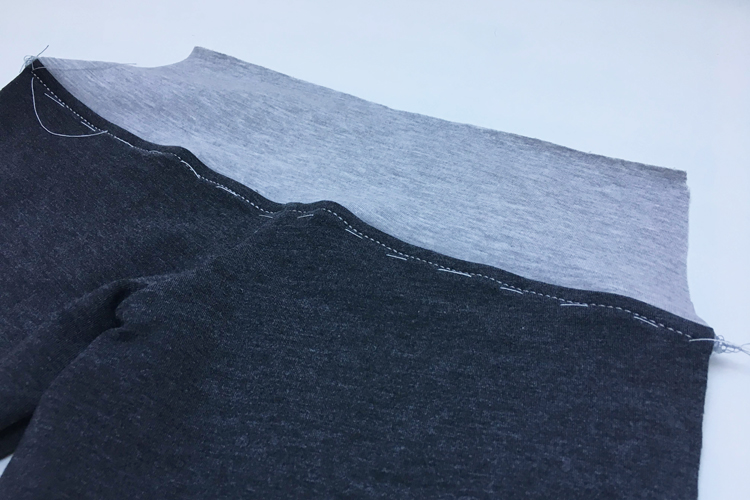
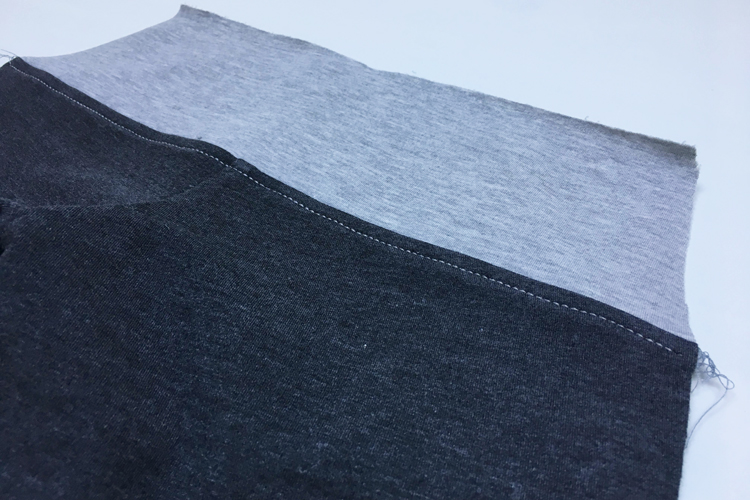
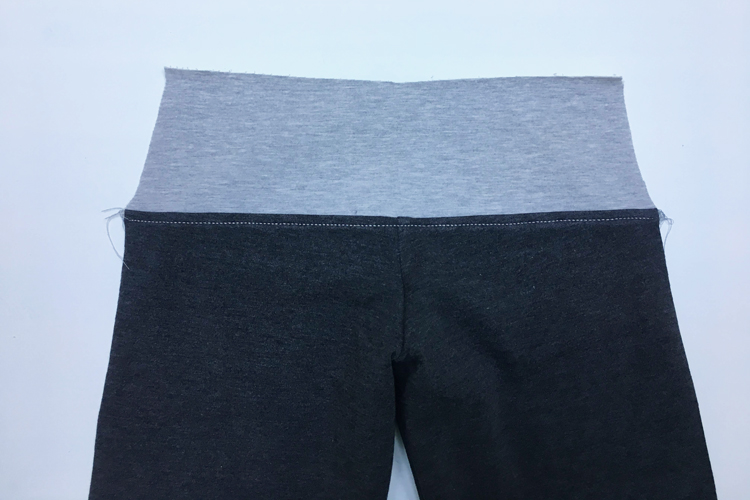
Ironing will also help a lot - this is what my sweatpants looked like after ironing:
Connecting back and front pieces
7. Side seams
You can now sew the side seams.
It is important to align the yoke with the pockets.
Waistband
I recommend using rib knit knit, but if you don't have any, you can also use the fabric from which you sew the rest of the sweatpants. The length of the waistband should be about 85% of the circumference of the upper edge of the sweatpants - measure the circumference and multiply it by 0.85.
You can sew the waistband in two ways. You can leave a small gap in it, through which you will later insert the elastic band, or you can first insert the elastic band and close the waistband completely. If you use the first method and leave the gap open, you will be able to replace the elastic band at any time.
8.1. - Waistband with a gap
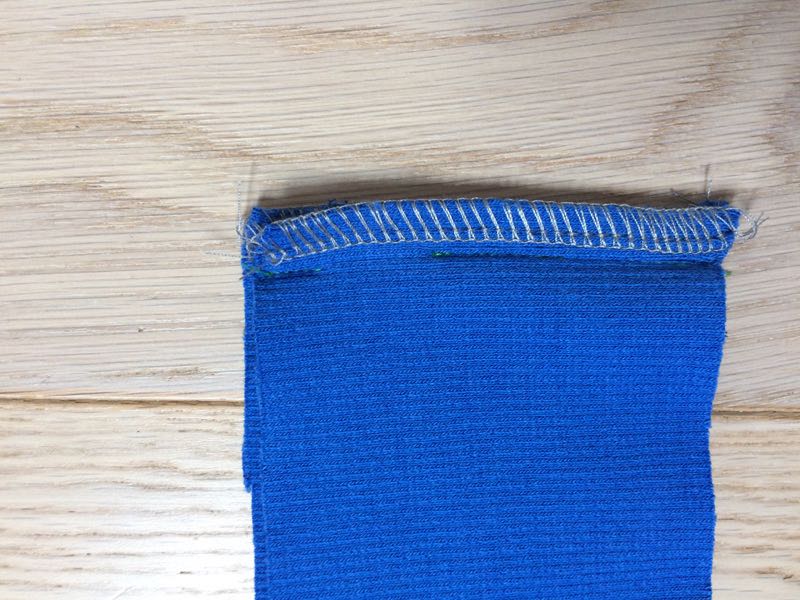
Clean the two shorter sides of the waistband and sew them together leaving a small gap (2 cm wide). The gap should be about 1.5 cm away from one of the longer sides.
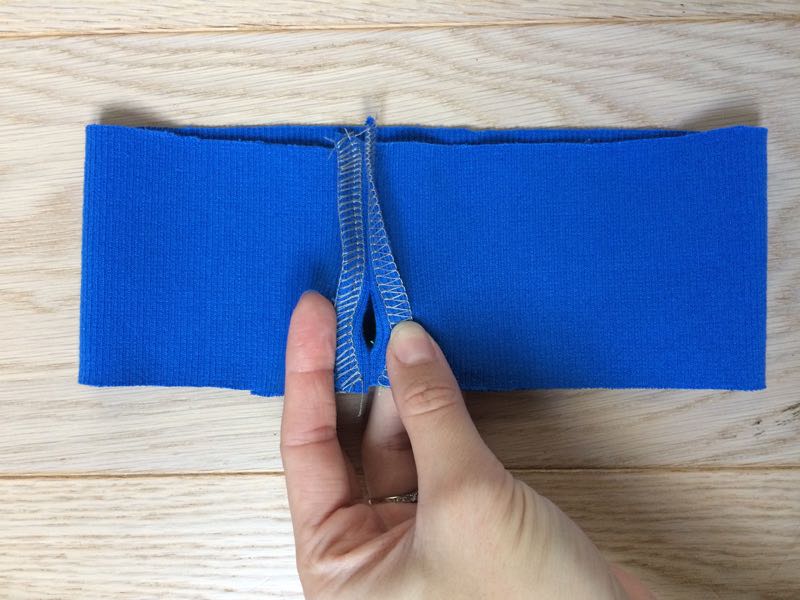
Fold the waistband in half (lengthwise) and pin it to the face side of the sweatpants. First, align the seam on the waistband and the center point of the yoke, then pin the rest of the circumference evenly. The side of the waistband on which the gap is located should now point outwards (when you turn the sweatpants face side out, it will point inwards).
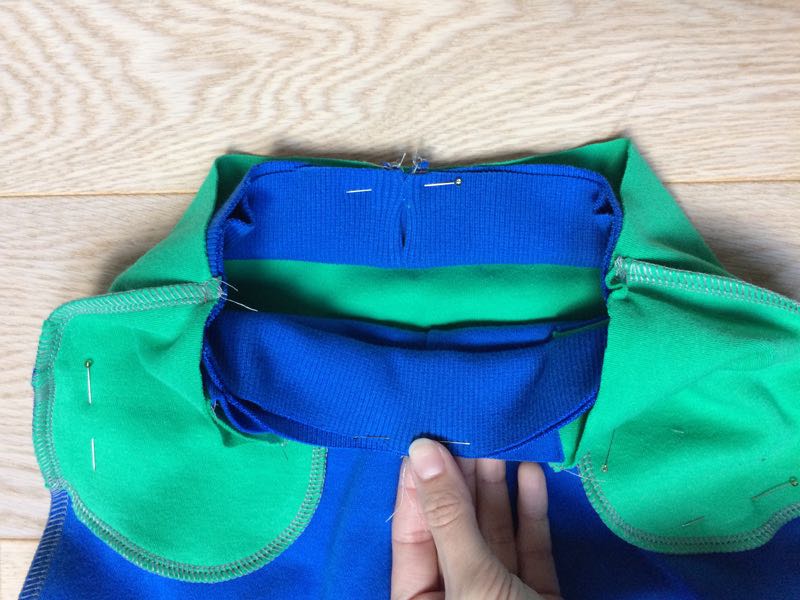
Sew the waistband to the pants and insert the elastic band. You can now close the gap or keep it open - if you plan to replace the elastic band in the future.
8.2. - Closed waistband
This way is faster, but you won’t be able to easily replace the elastic band.
I recommend using this method if you know exactly how long elastic band you will need. You can measure the exact length by wrapping the band around the kid's waist so that it is not too tight or loose. You can also determine the appropriate length of the elastic band based on sweatpants that fit the child well.
Fold the waistband in half (face side in) and sew the shorter sides. Sew the elastic band - make the connection as flat as possible.

Put the elastic band around the waistband (which is turned inside out)...
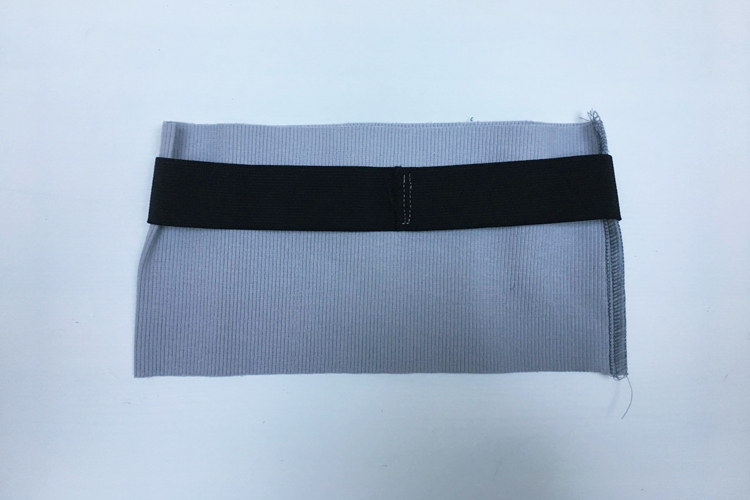
Fold (“roll”) the waistband in half (lengthwise) to hide the elastic band inside.

Pin the edges of the waistband.

Pin the waistband (with the elastic band inside) to the pants.
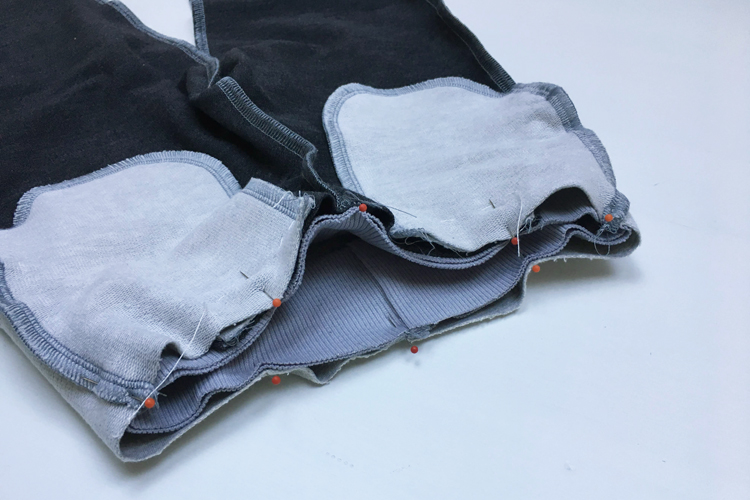
When sewing the waistband, I recommend having the sweatpants turned inside out and sewing “inside” the waistline.

Thanks to this, you will be able to pull on the waistband and sew it to the pants evenly.
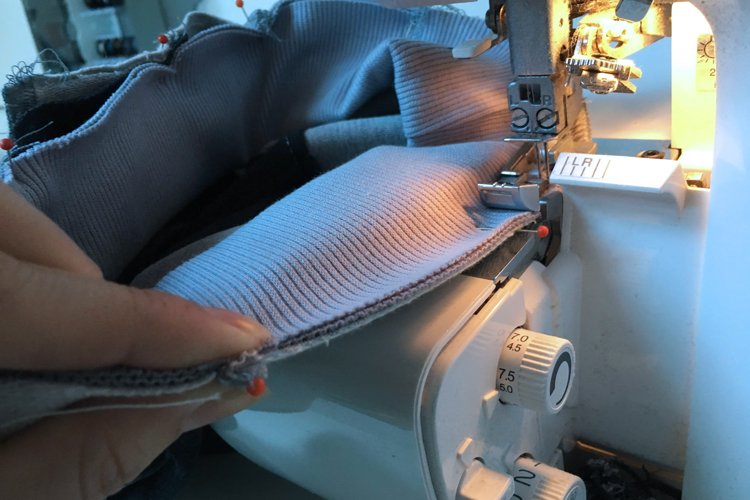
This is the result:

Pull free ends of thread chain under the loops (when using an overlock machine).
Leg openings - Hems/cuffs
9. Cuffs
Clean the cutting edges of the leg openings (you can use a regular sewing machine or serger). Pull the free end of the thread chain under the loops.
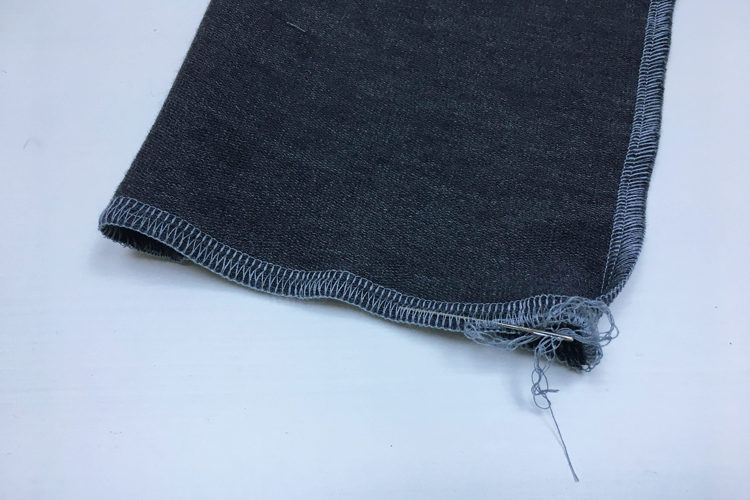
One way is to fold the edges (depending on the size of the hem allowances - 4 cm in my case) and topstitch the hem while leaving a small gap near the instep seam. You can then insert the elastic band through this gap. Measure the appropriate length directly on the child - around the ankle - the band should be a little looser, for about 1-2 fingers depending on the selected size of the sweatpants.
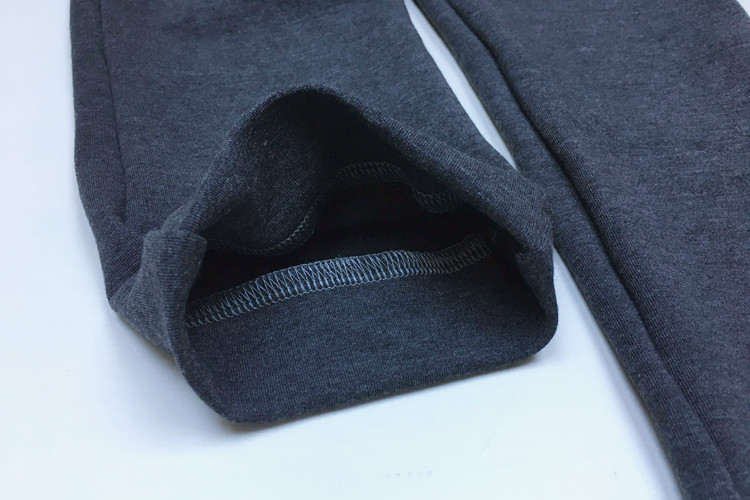
The second way is to insert the elastic band right away and close the entire circumference. I recommend this way only when sewing larger sizes of sweatpants (from size 122 up), and only to more experienced sewers. You may also not be able to use this method at all - it requires you to stretch the leg opening over the bed of the machine and you may not be able to do that.
If you decide to try this method, sew the ends of the elastic band first. Try to make the connection as flat as possible.
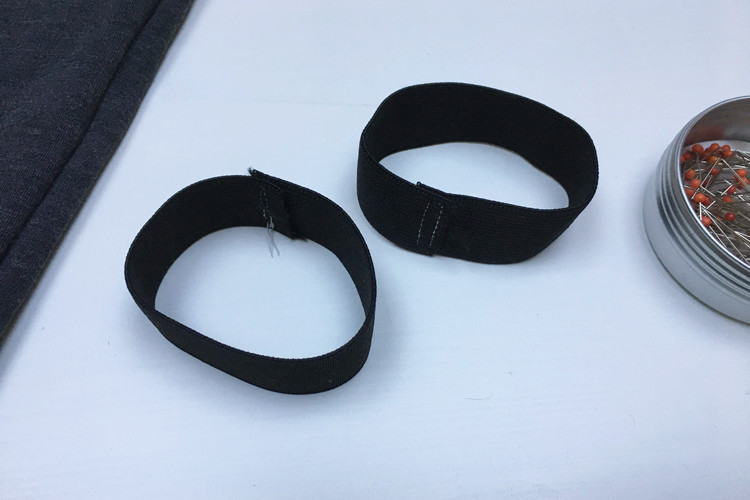
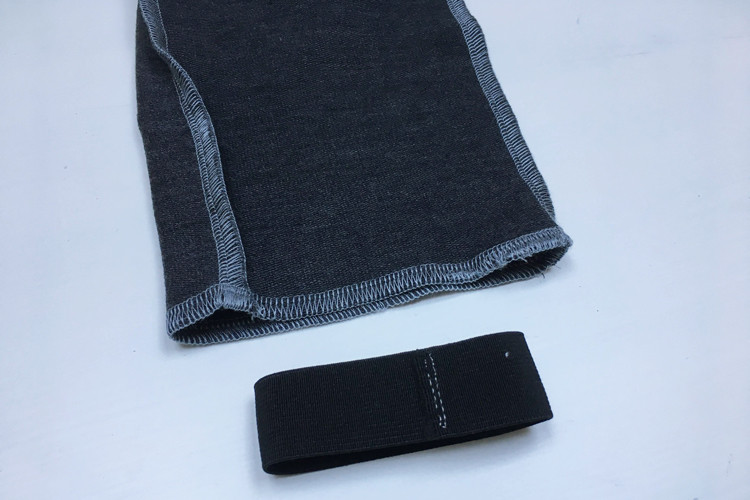
Put the elastic band around the leg (which is inside out)...
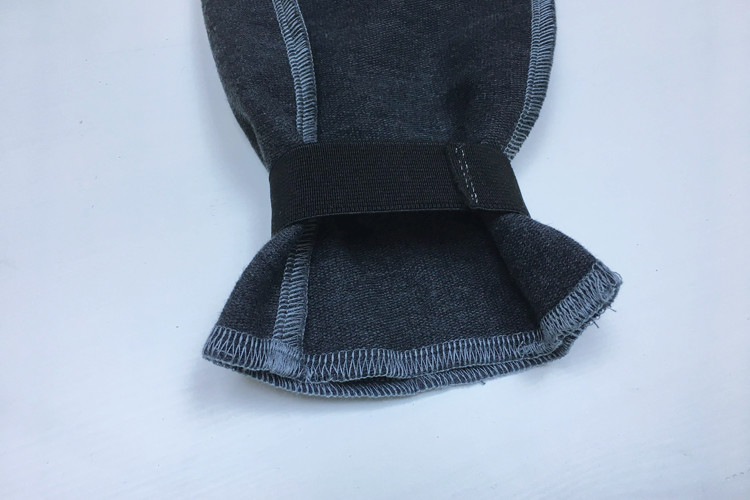
...and fold the hem to hide the band inside.
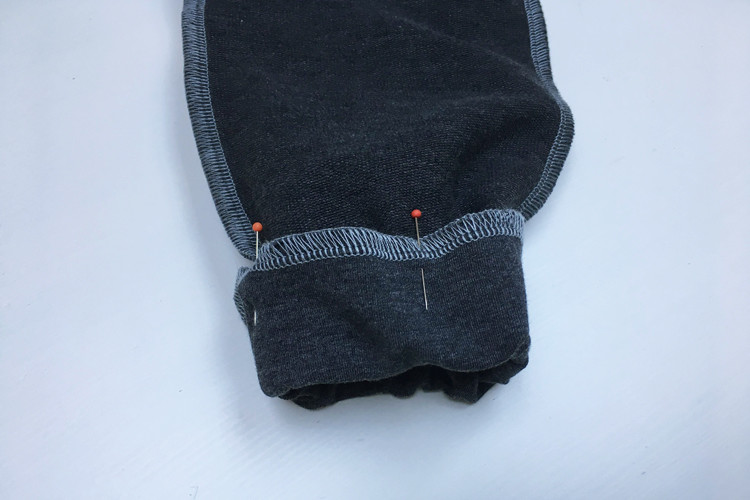
Topstitch the cuffs (use elastic stitches).
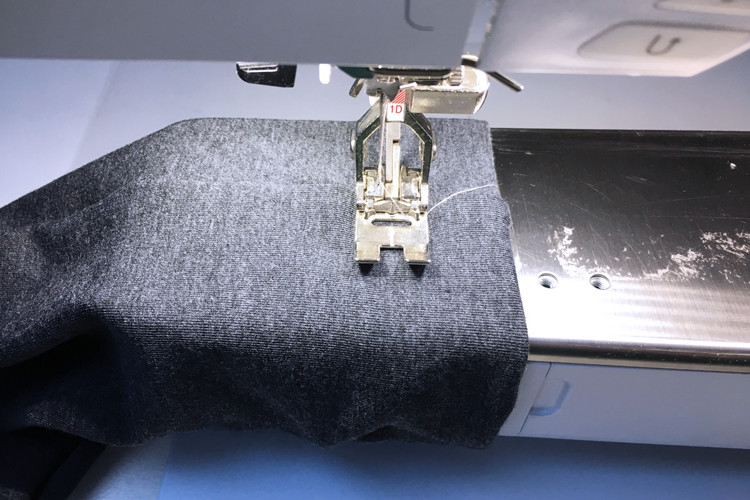
You can sew one line of topstitching or maybe two parallel lines like I did.
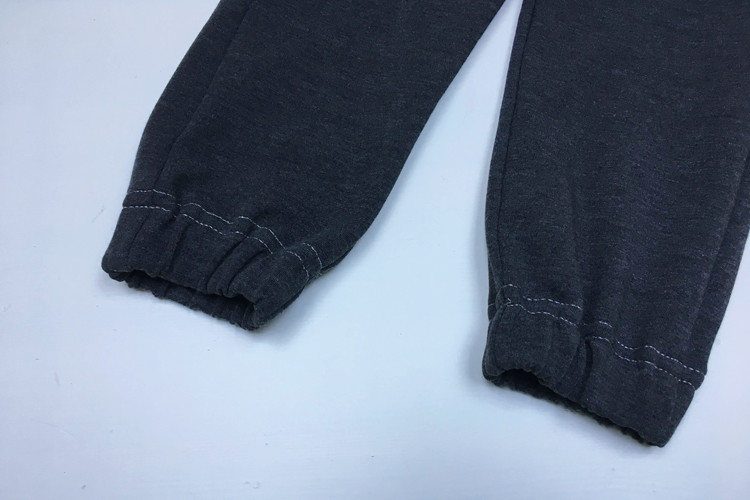
For smaller sizes, use the previously mentioned method - leave a gap in the topstitching, pass the elastic band through it and close it afterward.

10. Simple hems
If you do not want to use an elastic band, then simply fold the edges to the reverse side and topstitch them.
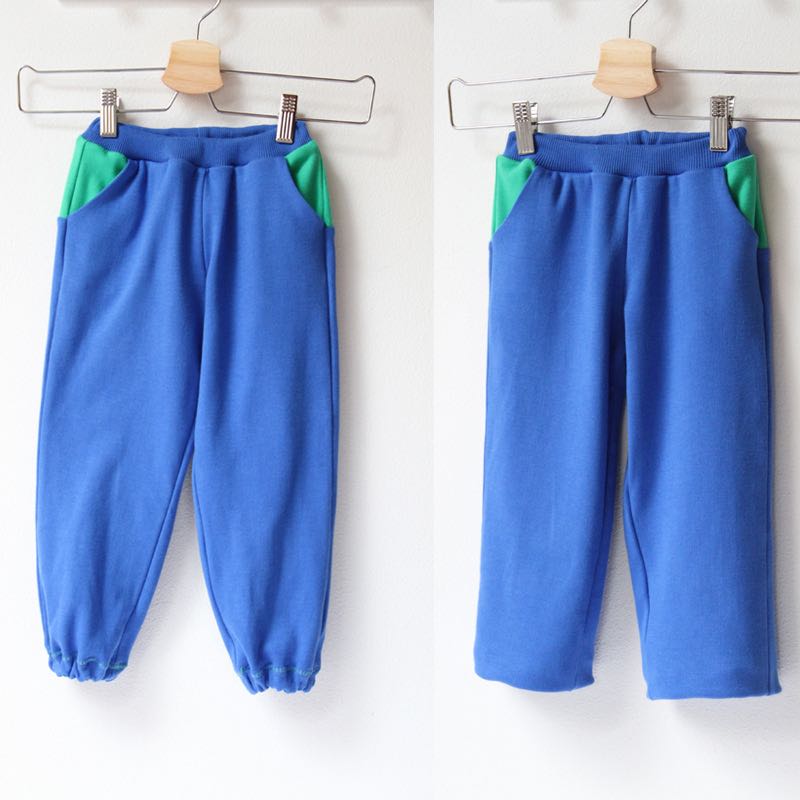
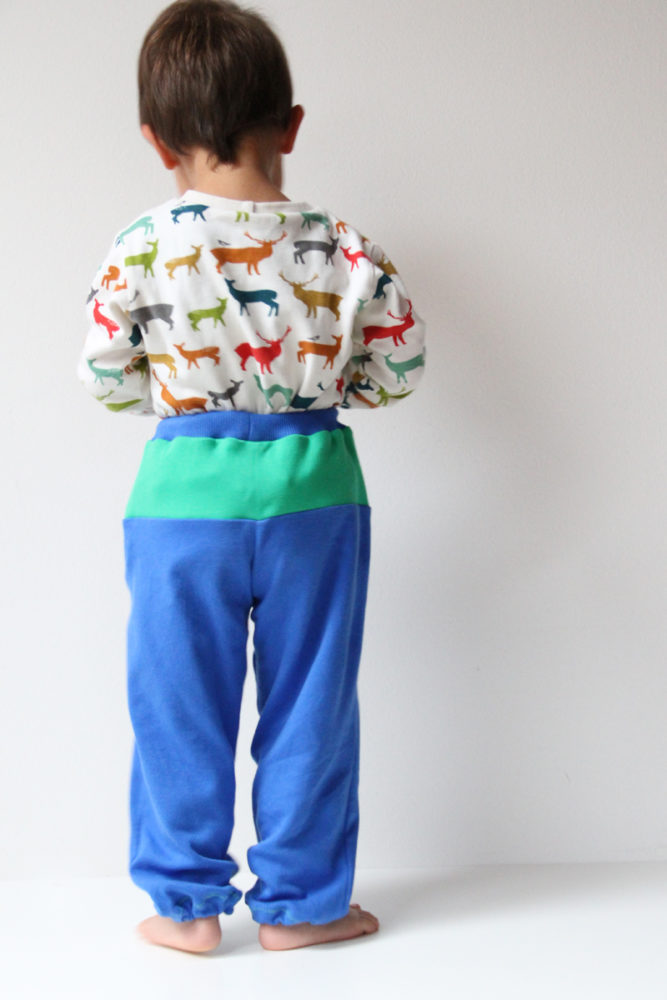
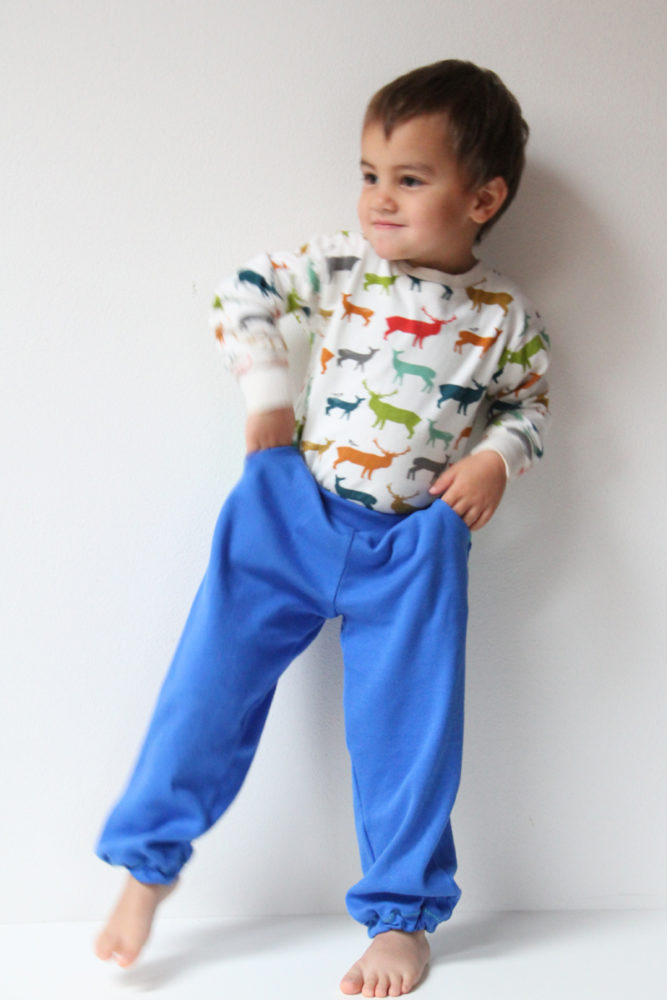
Galleries Tom's blue sweatpants seem to be too wide and large because I chose a larger size, but the gray sweatpants are exactly his size, so you can see what they look like. :)
Your sweatpants are ready!
You can find the pattern featured in this article here:
Don't forget to share your joy with others!
Do you like this article? If so, share it with your friends and tell me about it in the comments section below. I will be glad for any feedback! ♥
Have a nice day, Petra
PS: Did you know that there are FREE PATTERNS available on my blog?


