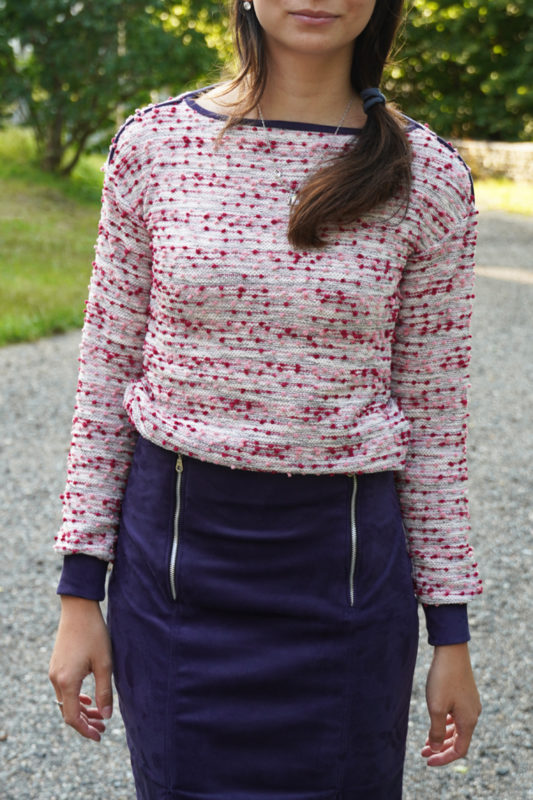
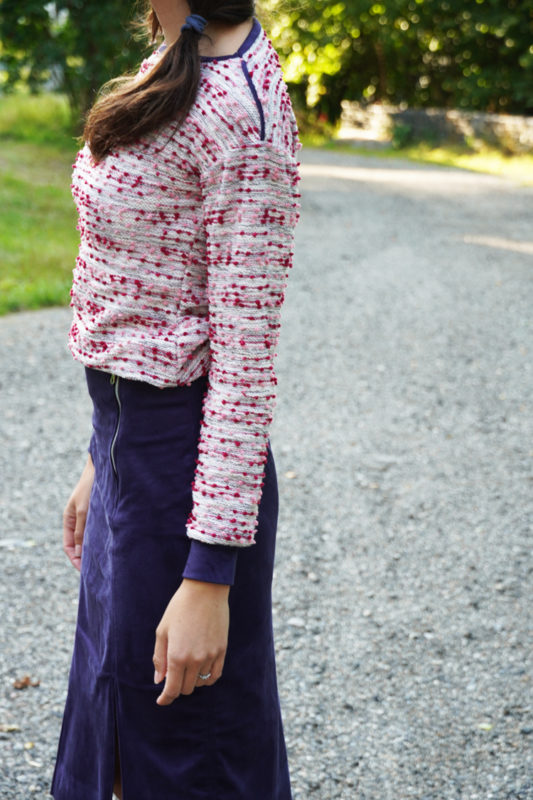
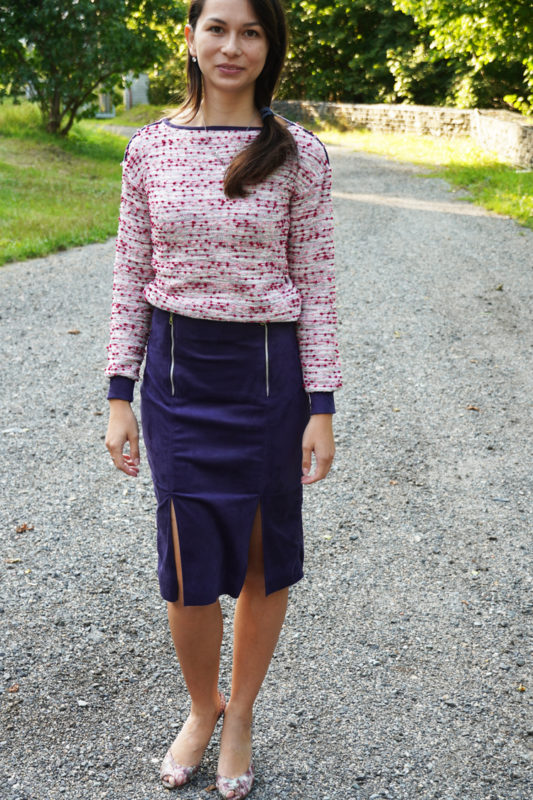
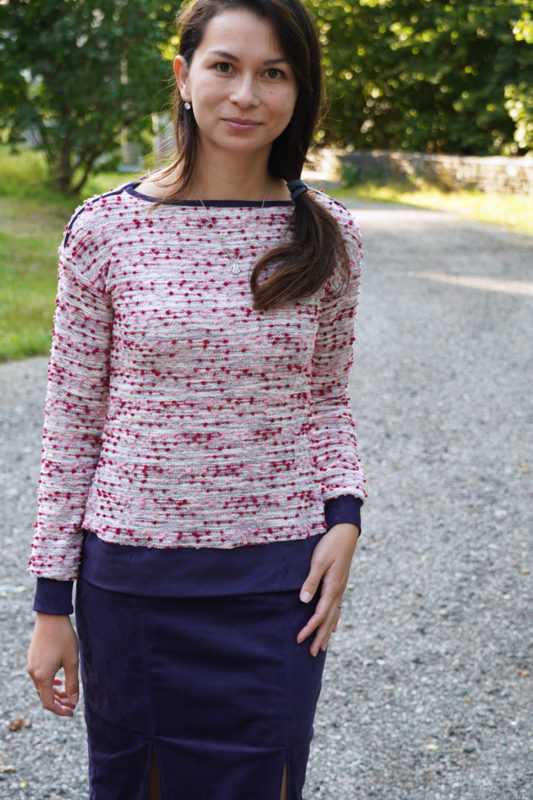
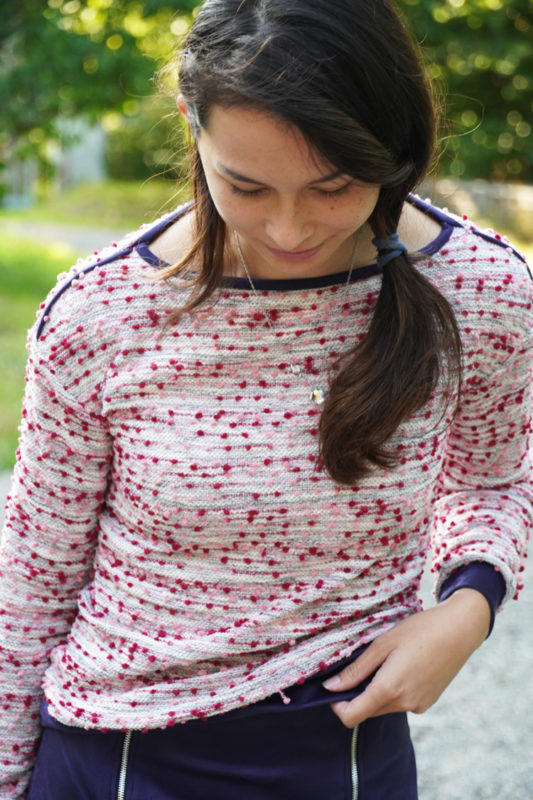
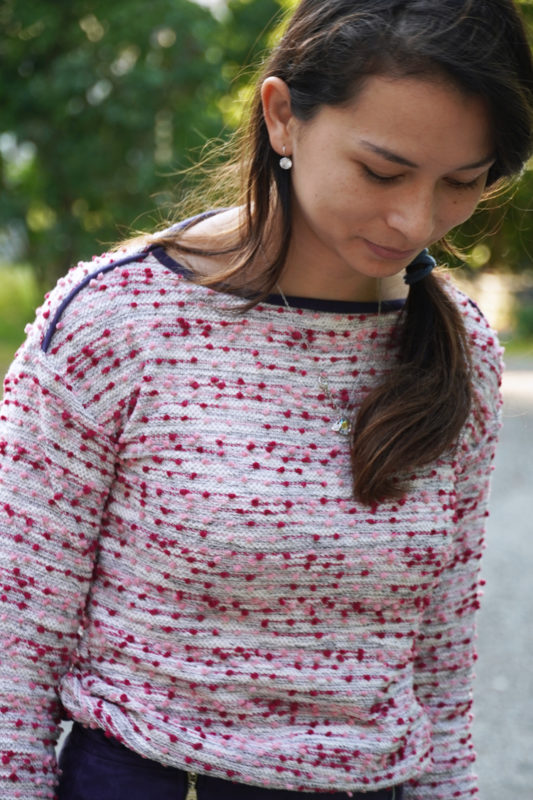
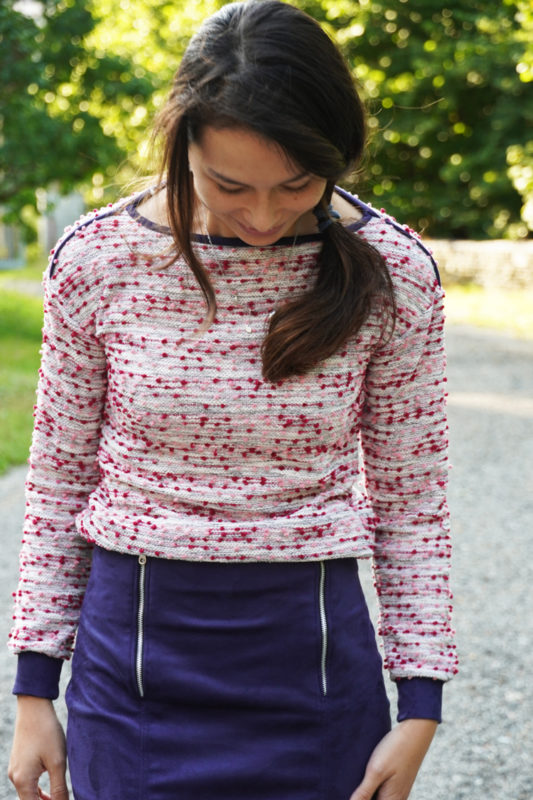
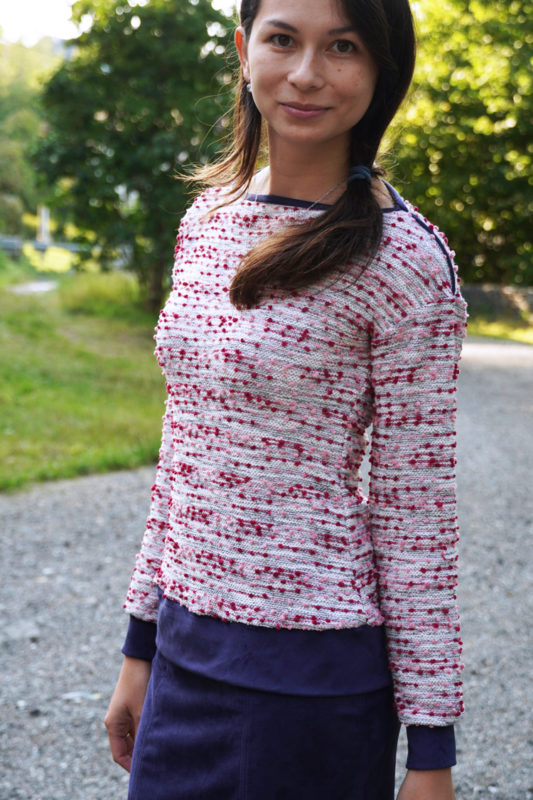
This article is about TO THE CITY women's t-shirt / sweatshirt pattern, which I recently introduced to you in this article: Pattern for women’s t-shirt / sweatshirt TO THE CITY – crop top version with wide sleeves. This time, however, we will be looking at the version of the t-shirt (sweatshirt) in the classic length and with semi-tight sleeves.
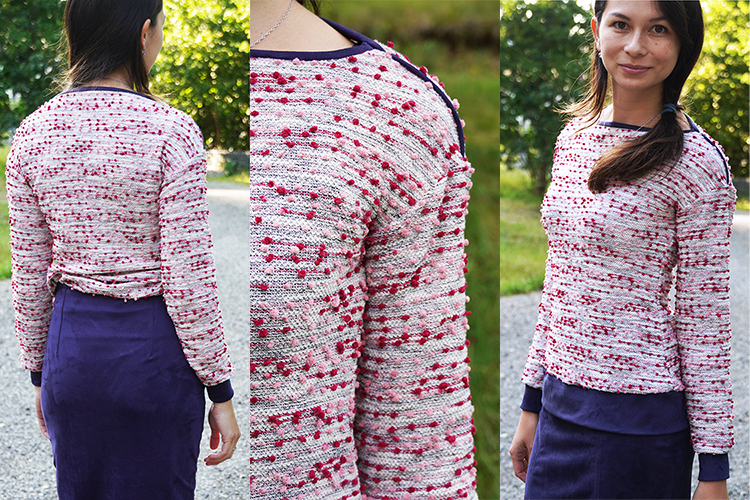
You can get pattern for this women’s t-shirt (or sweatshirt) in our online store:
Pattern for women’s t-shirt / sweatshirt TO THE CITY
This pattern can also be purchased in a set with a pattern for skirt:
Even though it is a classic-length t-shirt, you can wear it tucked in to show your waistline…

Or wear it on top, as is usual today…
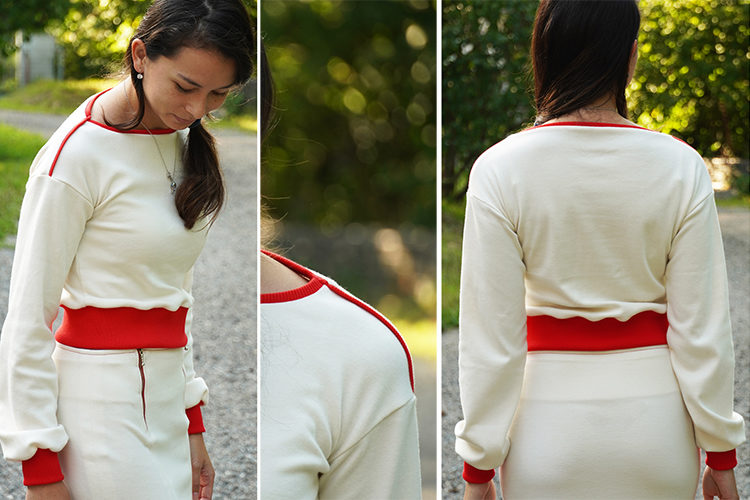
I’ve also used the pattern to sew these two t-shirts:

TO THE CITY t-shirt – crop top version
Recommended material
I’ve used thin sweatshirt fabric to sew this sweatshirt. You can get it here for example:
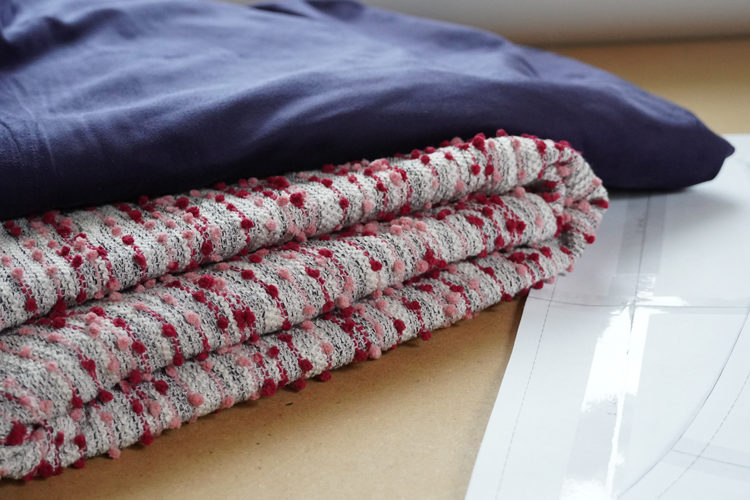
I need to tell you that the fabric is rather thin, so do not imagine a fluffy sweater, but rather a lighter elegant piece ideal for spring / autumn days.
Hems (bottom, sleeves and neck opening) are from strips of elastic material. Dark blue hems are from this elastic material:
You can use almost any type of knit to sew this t-shirt / sweatshirt. Depending on the thickness of the material (its weight), you will create either a t-shirt or a sweatshirt. You can buy suitable fabrics here: Důmlátek.cz :
- Knits,
- Use something like this for comfortable t-shirt version:
- For thicker sweatshirt version:
Required amount of material (for fabric width of 140 cm)
- Sizes 32 - 36: 0.7 m
- Sizes 38 - 46: 1.4 m
- Sizes 48 - 60: 1.5 m

What else do you need to sew this t-shirt / sweatshirt
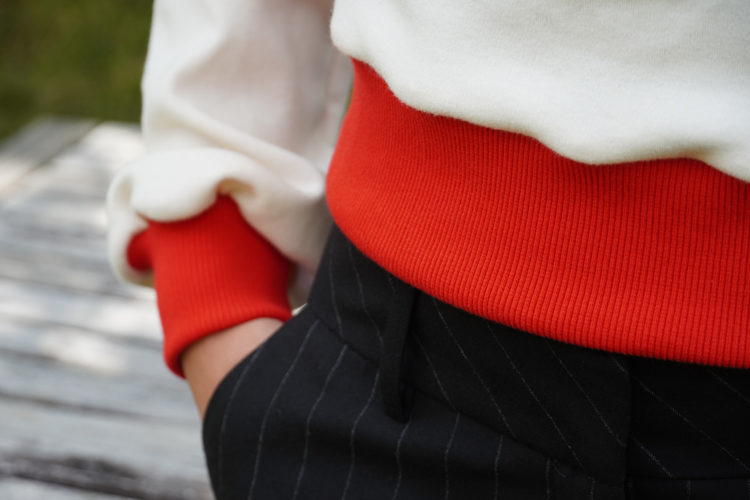
T-shirt with contrasting red hems is finished with ribbed hem knit:
Because sleeves are draped to their hems quite a lot on this version, it is necessary to choose really elastic material for the hems. Ribbed hem knits are an ideal choice.
Sewing instructions for women’s t-shirt / sweatshirt

Because the top fabric of this sweatshirt is structured and streaked, sewing itself is a bit lost in the photos. If you do not know what to do according to the instructions or the photos, please refer to this article, where I sewed the t-shirt in a crop top version with wide sleeves according to the same pattern:
Pattern – women’s t-shirt / sweatshirt TO THE CITY Crop top version with wide sleeves
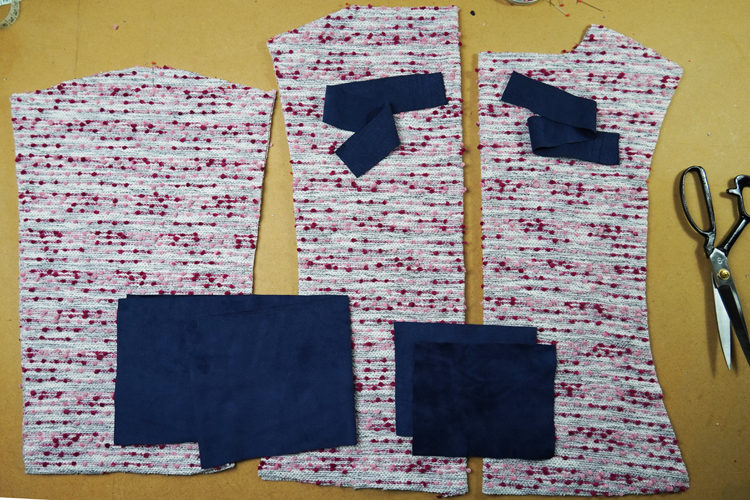
Cuts preparation

According to the paper pattern prepare:
Do not forget to add 1 cm seam allowances to all pieces (excluding hems). If you are using the pattern version with the seam allowances already outlined, you don’t need to add anything, just cut the fabric according to the paper pieces.
My tip
If you are going to sew with similar material, I recommend you make seam allowances 2 cm wide everywhere except neck opening and sleeve connecting seam. Because this type of fabric tends to shed fibers from the cutting edges. Once you clean the pieces on the overlock, then you don’t have to worry that something will unravel somewhere, but in the meantime, it might be a bit difficult to manipulate the parts.
- 1x front piece (folded fabric cut)
- 1x back piece (folded fabric cut)
- 2x sleeve - wider and slightly longer version
- Stripe for the bottom hem - its width is 14 cm (but you can make it wider or narrower) and length is the waist circumference x 0,9
- Sleeve hems – length should be wrist circumference + about 3 cm (it depends on the elasticity of the material). Don’t add anything for slack and seam allowances If you are going to use ribbed hem knit (which is very elastic). Sleeve hem width is 16 cm (again, you can choose a larger or smaller width, but make sure the sleeve is not too long or short)
- Two strips for neck opening hem - width is 3 cm and length is length of the neck opening of the corresponding piece (front or back) x 0,9
Sewing
Work on the neck opening hems first, do both back and front piece. My hemming material is quite rigid, so I’ve determined the strip length as 0.95 x length of the neck opening of the corresponding piece.
I’ve done the hems with the stripe folded in quarters (similar to the bias tape / strip hemming).

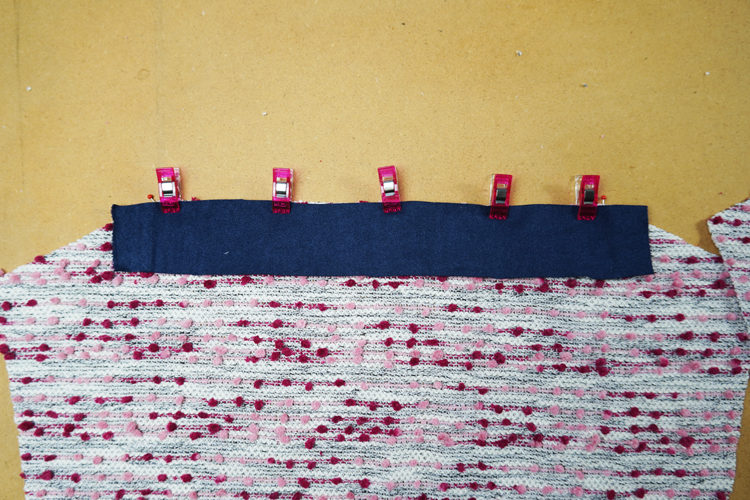
It is very important that the stitching stays hidden from the face side view.

The key is to pin or stitch the strip so that you are sewing outside it (from the face side)…

while on the reverse side, you are sewing through the fold of the strip.
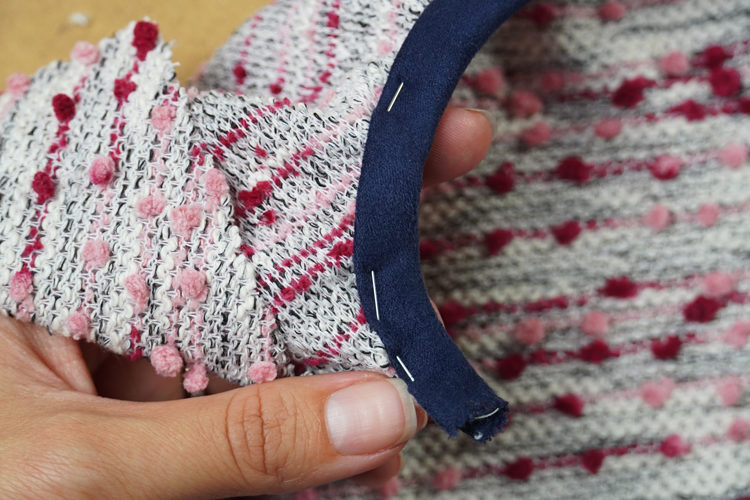
This ensures that you can sew exactly in the original seam - the new seam is not visible from the face side…

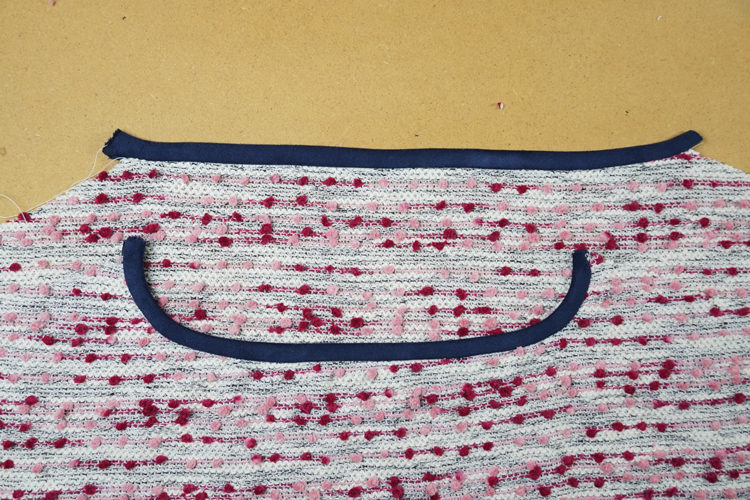

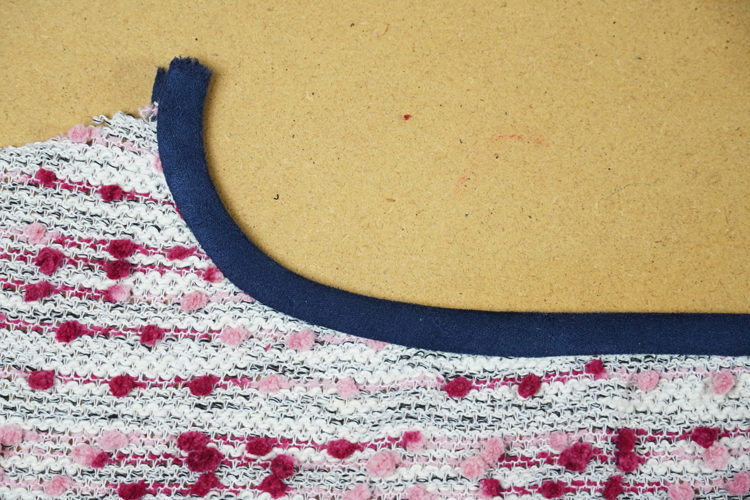
…although you have a strip attached nicely from the reverse side.
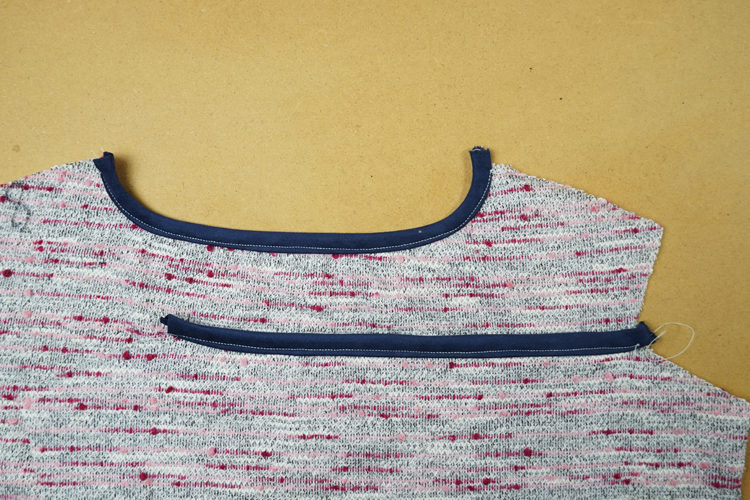

Now you can sew decorative stripe into the shoulder seams. I’ve done this with the same fabric as the neck opening hem.
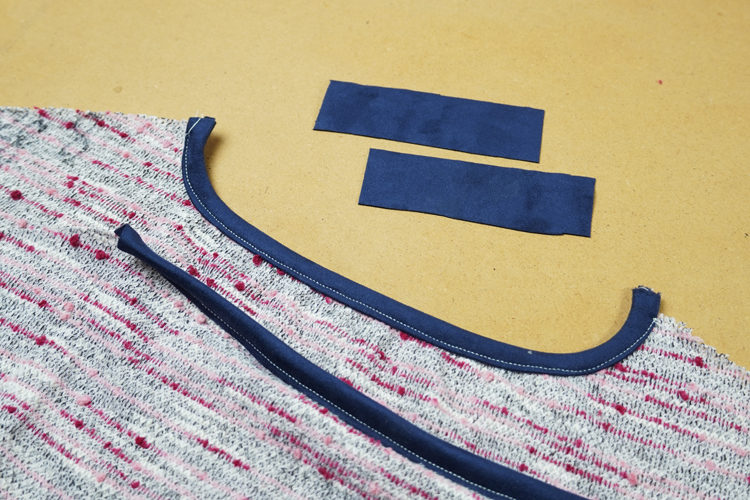
Prepare two strips about 3 cm wide and exactly the length of the shoulder seams (although they may be a little longer than that). Fold the stripe in half lengthwise (face side out) and lay it over the shoulder seam of back piece. Cutting edges are aligned, stripe lays on the back piece (face side to face side).
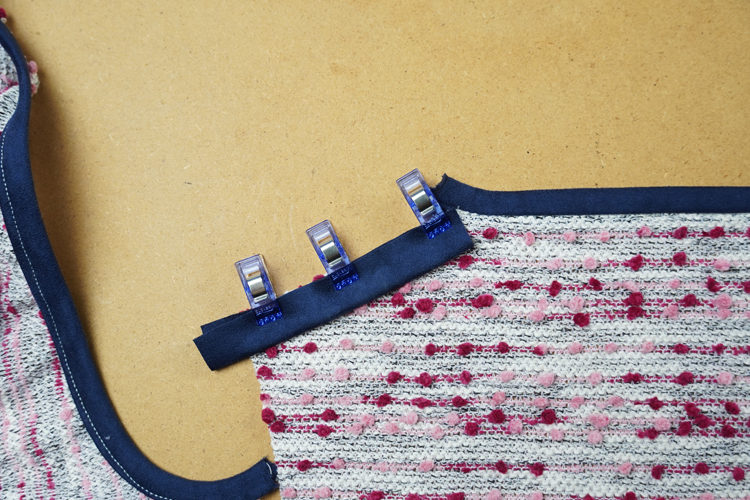
Then lay the front piece over the back piece and the stripe (face side to face side) and pin the shoulder seam.
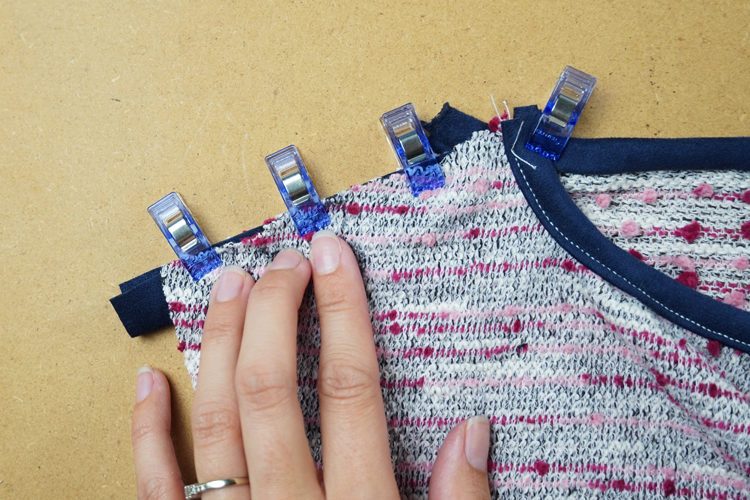
Sew the shoulder seam.
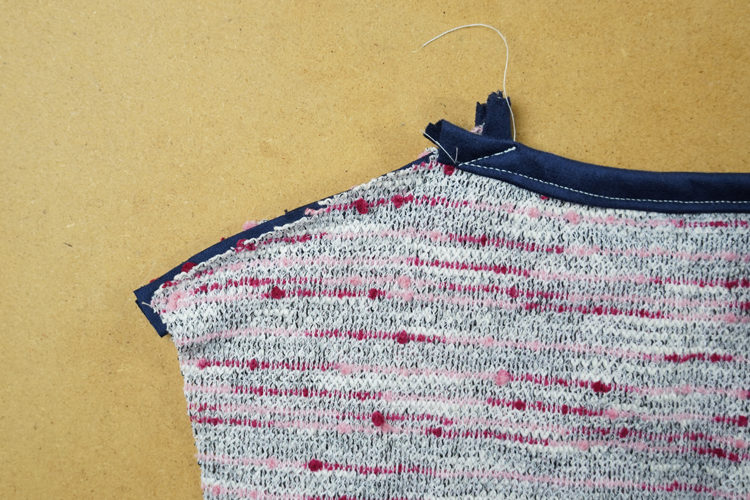
Don’t forget to clean the cutting edges of the seam allowances. You can do this on the overlock (which I highly recommend for this type of fabric), or on the regular sewing machine with some kind of overcast seam.

Fold the seam allowances towards the back piece and fix them in place in place with a few small hand stitches near the neck opening.
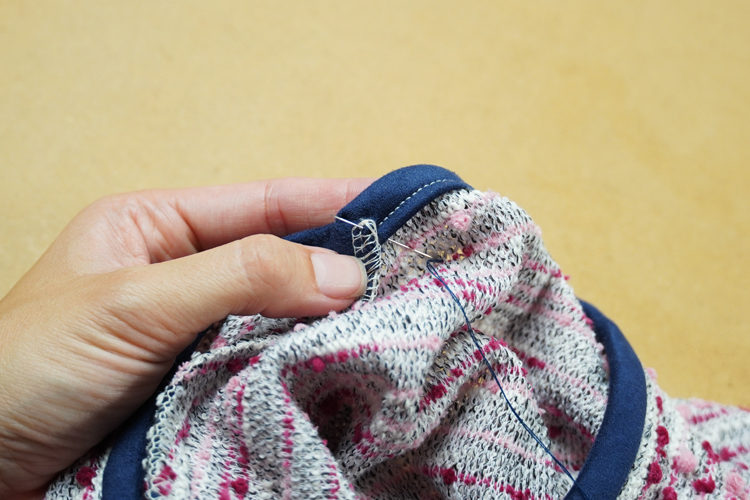
Attach the end of the decorative shoulder strip to the neck opening too.


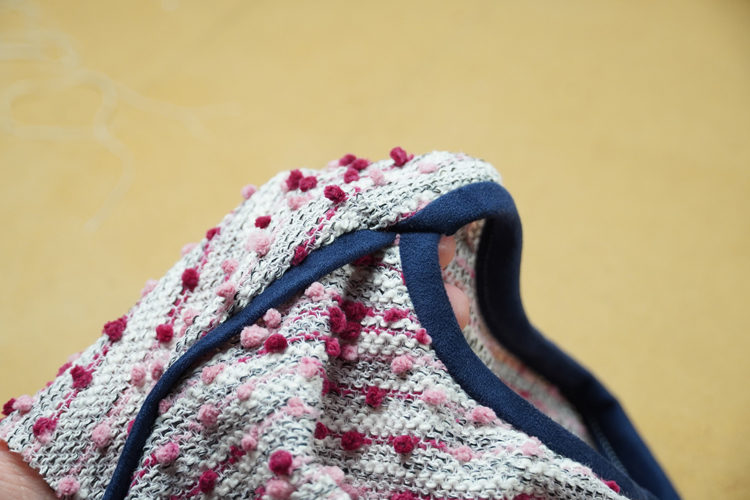
Do the other shoulder in the same way.
My tip
Regular pins with small heads can get lost in such (structured) fabric and it would be very unpleasant to forget the pin in the garment or even to sew it in on the overlock. I can recommend clamps.
Spread torso piece face side up. You are going to sew sleeve into the open armhole.

There are marks on the front and back pieces for correct sleeve placement. They mark the end of the side seam and the beginning of the sleeve seam.
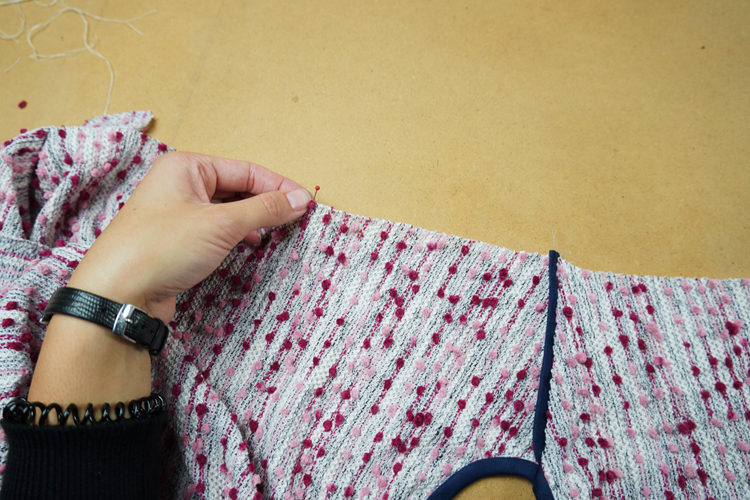
Lay the sleeve piece over the torso part (face side to face side) Pin the sleeve to the open armhole.

1 cm of the sleeve piece (sleeve seam allow.) should extend beyond the marks. You are not going to sew through this last centimeter. This will allow you to sew the sleeve and side seams easily.
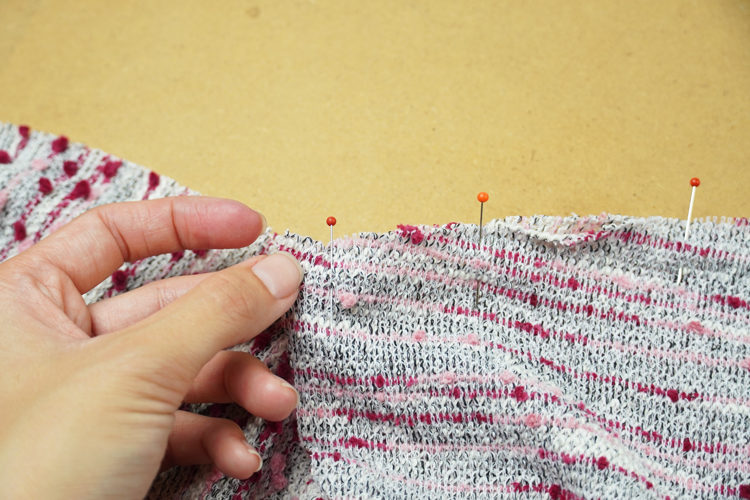
After you sewed the sleeve and cleaned the seam, you can fold the sweatshirt into a familiar shape and then do the sleeve and side seams in one go.
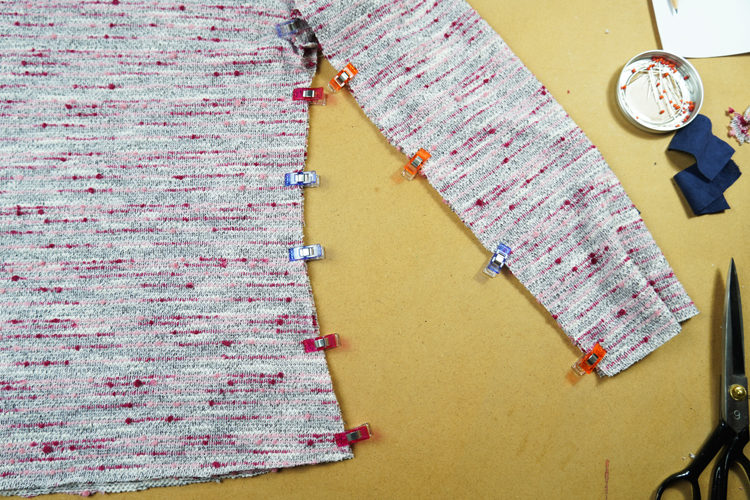
Do not forget to clean the seam allowances to prevent fraying of the fabric.
Prepare hems from the contrasting fabric for the sleeves and the waistline of the sweatshirt.

Fold these pieces (face side in) to create “tunnels” and sew their shorter sides.
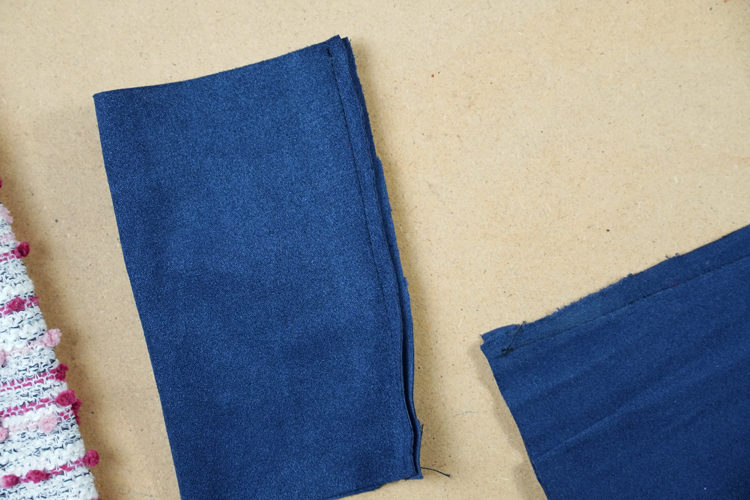
Now fold the hems in half and hem corresponding pieces. Don’t forget to pull free ends of thread chain under the loops when sewing on the overlock.
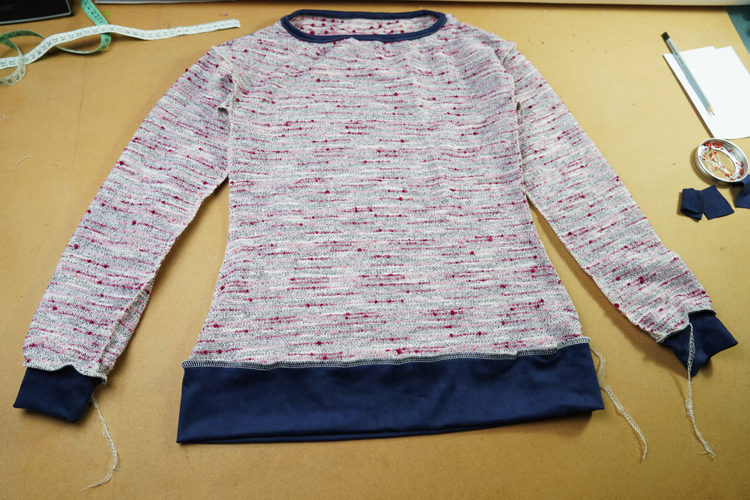
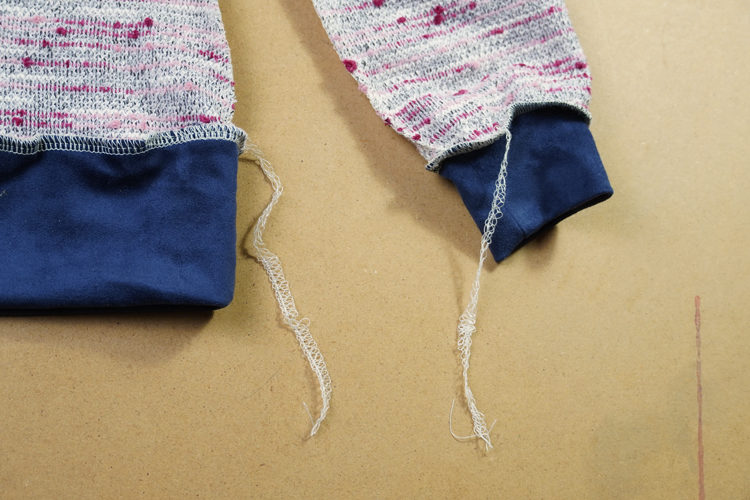
Your sweatshirt is ready!

I hope that you liked today's instructions and pattern and I would be glad if you let me know about it in the comments, or maybe share this article on social networks with your friends…
You can get pattern for this women’s t-shirt (or sweatshirt) in our online store:
Pattern for woman’s t-shirt / sweatshirt with looser shoulders TO THE CITY 2in1
Have a nice day, Peťa
PS: Did you know there are also free patterns on my blog? You can find free to download patterns here:
