I prepared another spring/autumn pattern for you. I will start posting winter ones after this one. It’s a pattern for women’s (sweatshirt)dress RAINY DAY. The dress has a semi-tight silhouette and bust darts.
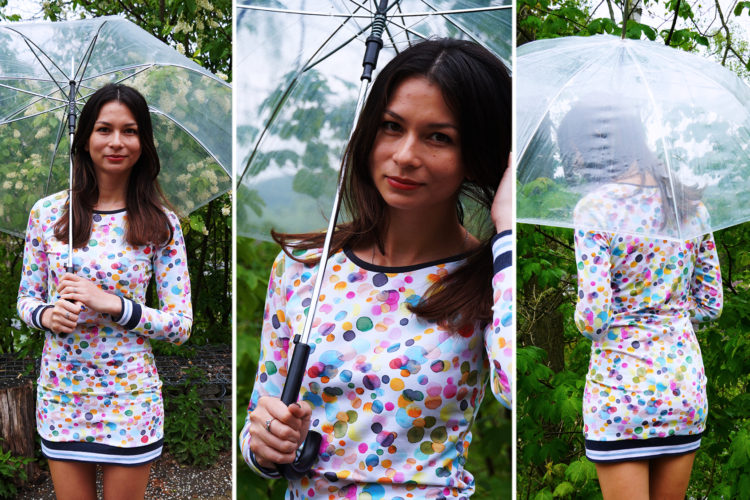
You can get the pattern for this dress in my online store:
The pattern for women’s (sweatshirt)dress RAINY DAY
Recommended material
- This pattern for long-sleeved women’s dress is designed for knits (elastic materials) of medium thickness. You can use uncombed laid-in knits, Ponte Roma knits, French Terry knits, and other thicker knits (at least 220 g/m2).
- I used laid-in knit by Design By Poppy bought at Unuodesign.cz.

Sewing instructions
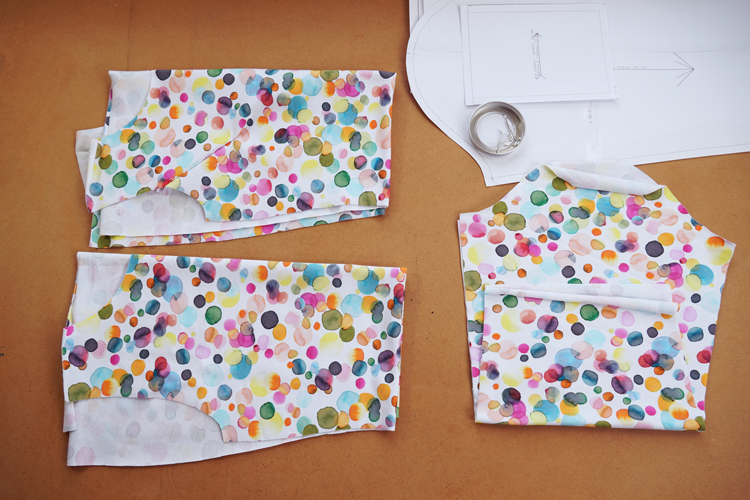
Pattern layout
Prepare:
- 1x front piece (cut on the fold)
- 1x back piece (cut on the fold)
- 2x sleeve piece
- You will also need hem knits (I used ready-made hem knits by Design By Poppy - you can get them here:
Ready-made hem knit) and a knit strip for the neckline hem.
Sewing
Sew bust darts first. I recommend basting (temporarily stitching) the bust darts first - you will be able to make them symmetrical this way.
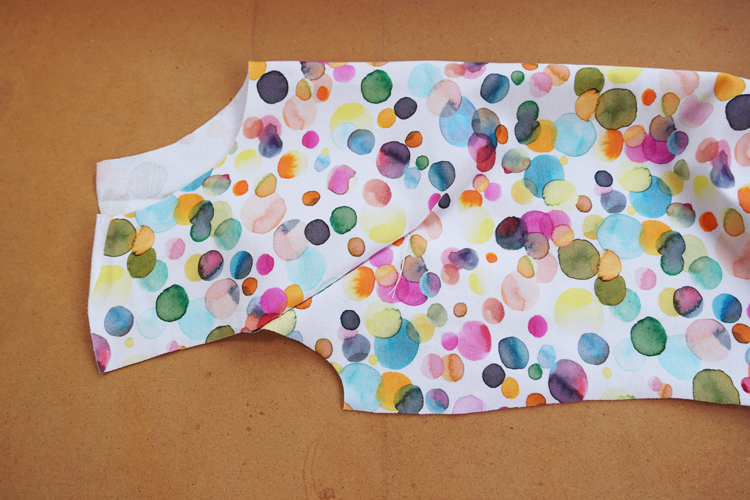
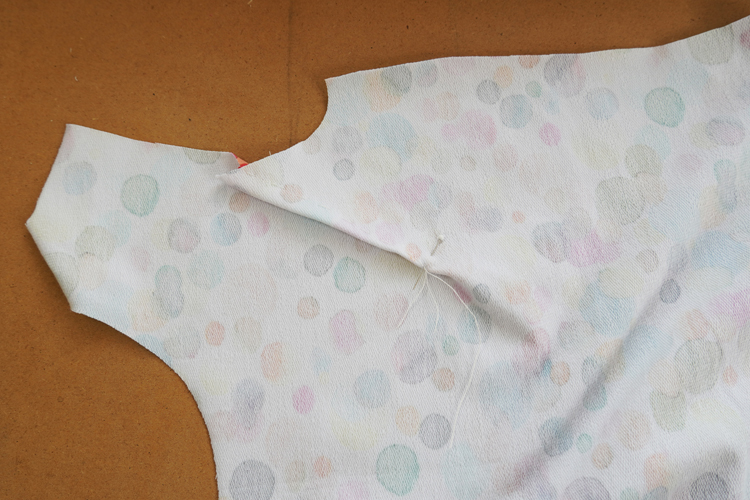
Then sew the bust darts. Take care to make the darts as smooth as possible and press the “dart flap” towards the bottom edge of the dress.
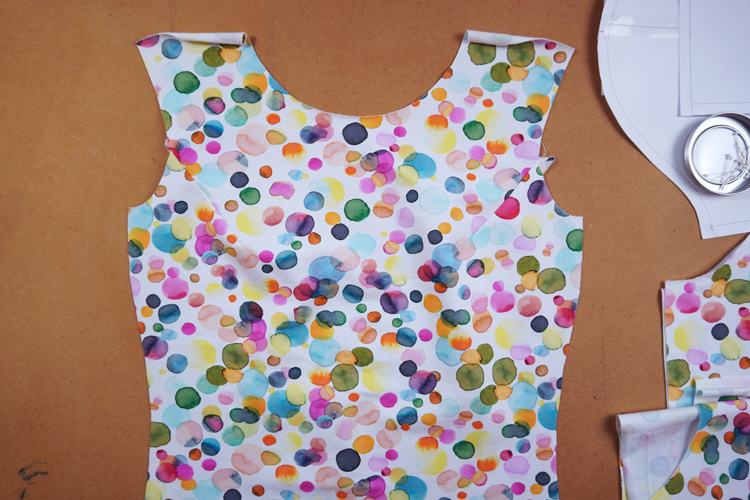
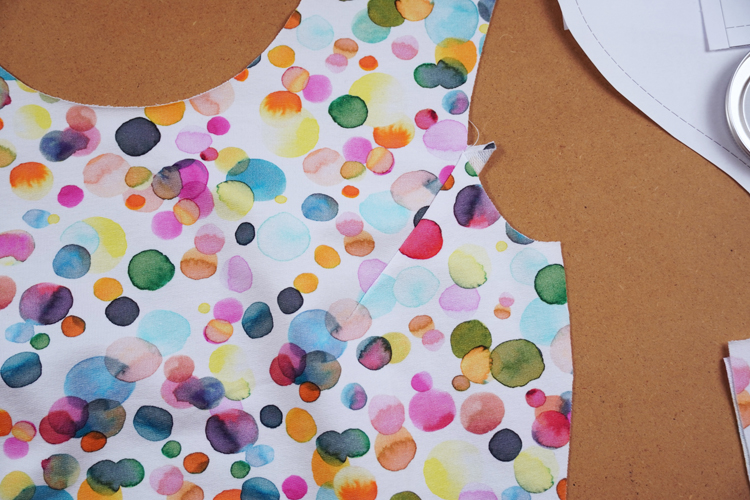
Lay the front piece over the back piece (face side to face side). Pin (or stitch) both shoulder seams. Sew the shoulder seams.
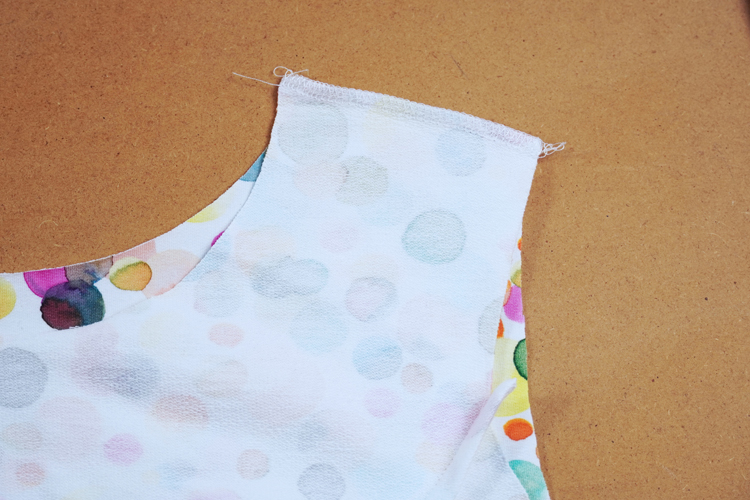
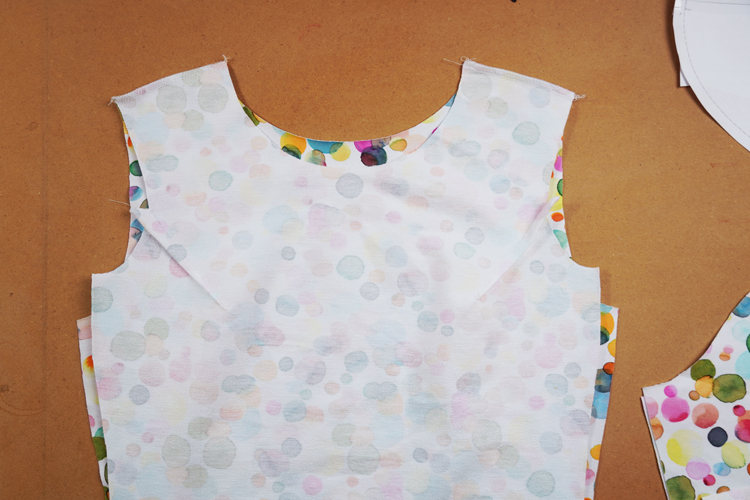
Press the seam allowances of the shoulder seams towards the back piece. Now open the dress up so you can get to the arm openings easily.
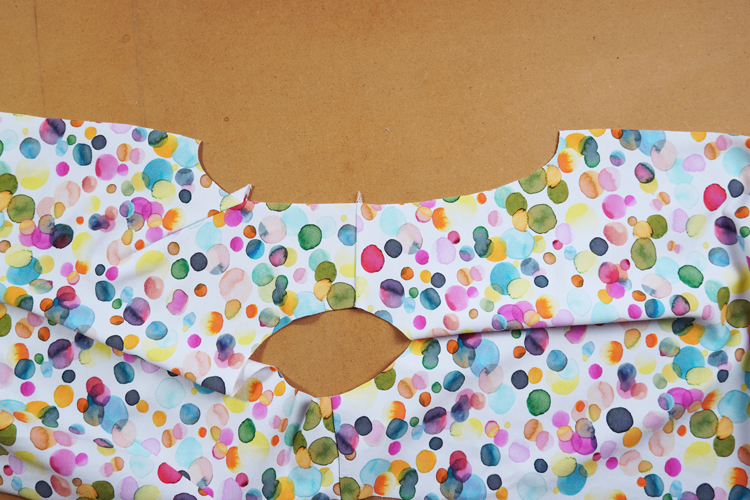
Pin the sleeve to the dress. Use the marks on the paper pattern to find the right position of the sleeve - align the top of the sleeve with the shoulder seam and mark in the front part of the sleeve with the bust dart.
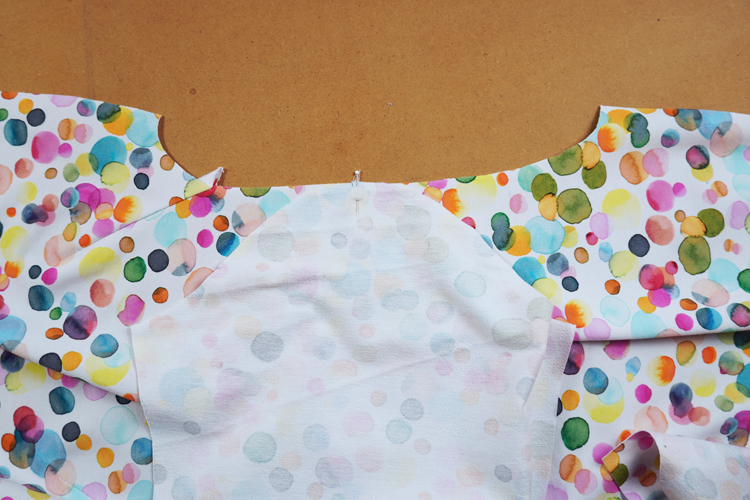
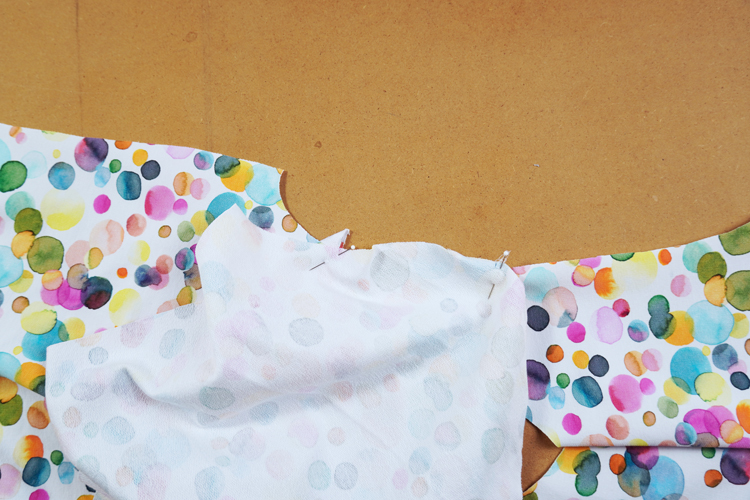
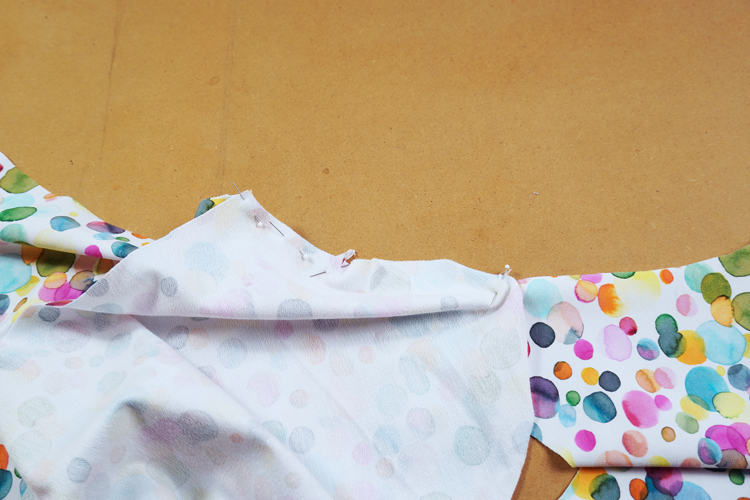
Then pin the rest of the connecting seam.
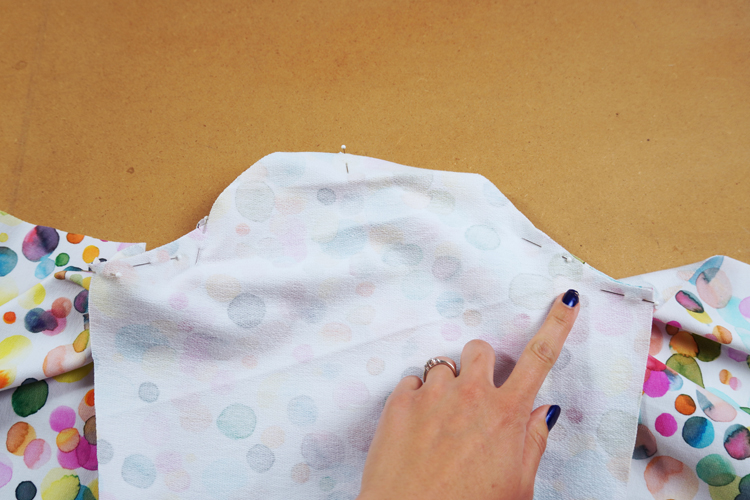
The sleeve is a little bit bigger than the armscye so you will have to lightly stretch back and front pieces when sewing the sleeve in. The sleeve should be looser in the back and around the top (not in the armpit area).
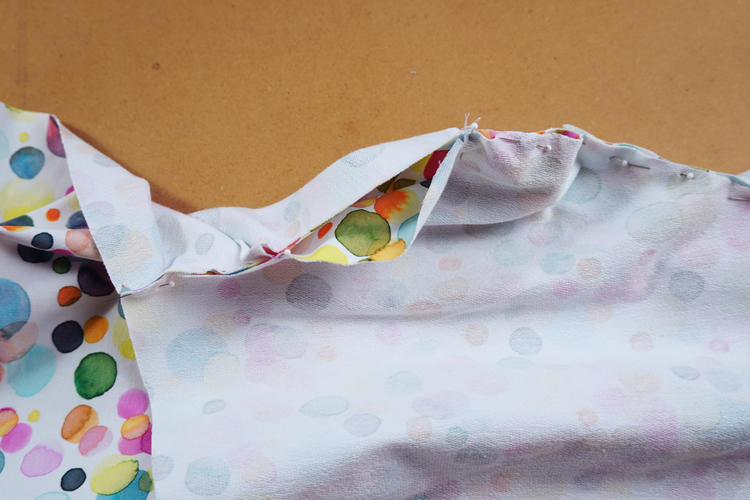
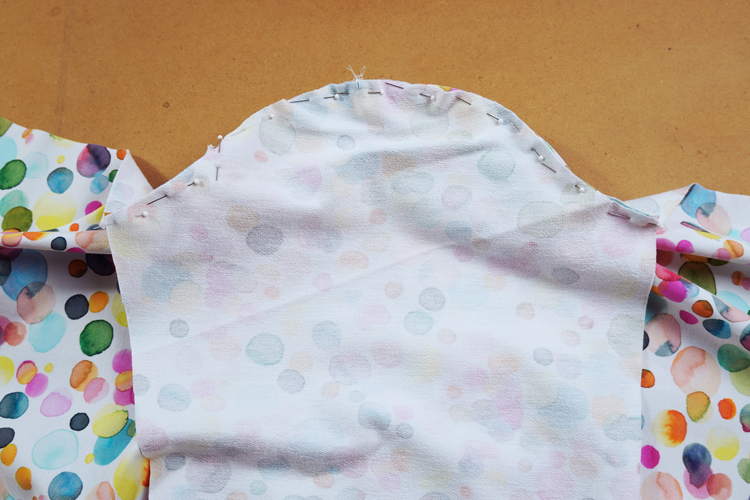
Sew the sleeve in.
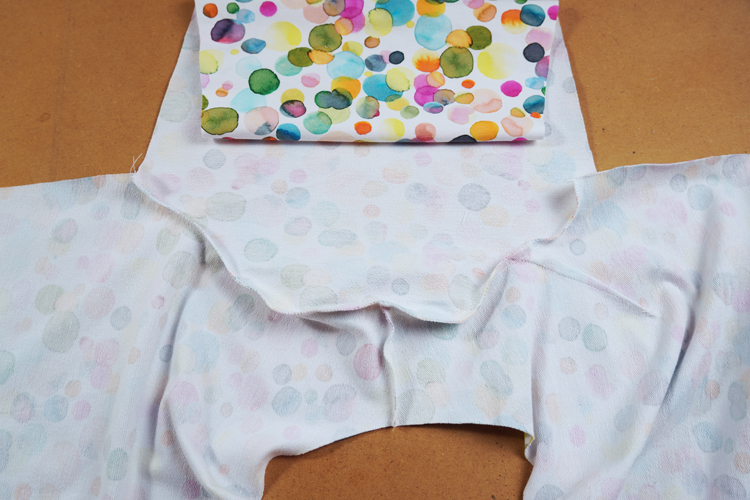
Now is the time to prepare hem knits for sleeves. You can find recommended hem knit sizes in pattern attachments. If you are using a ready-made hem knit (halved), I recommend measuring the correct length by trying it directly on your wrist. It should not be stretched at all. Do not forget to add 2 cm (3/4") - 1 cm (3/8") on each side - for seam allowances.
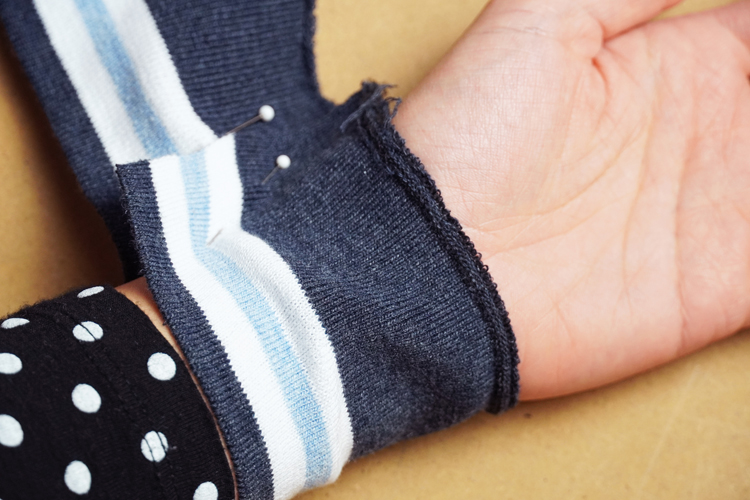
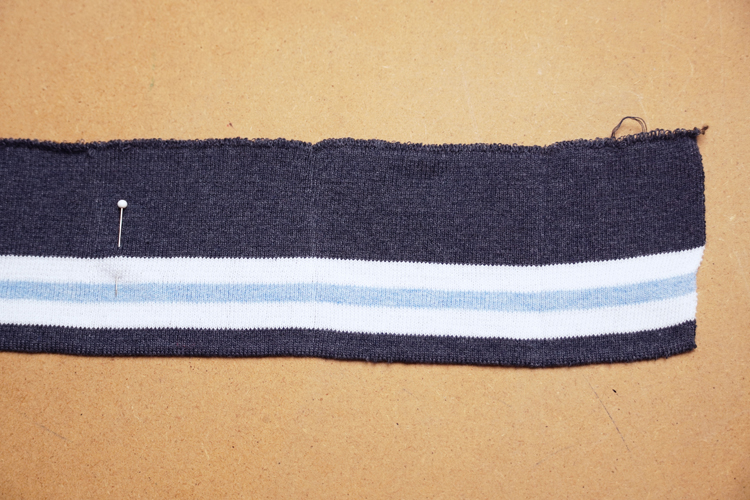
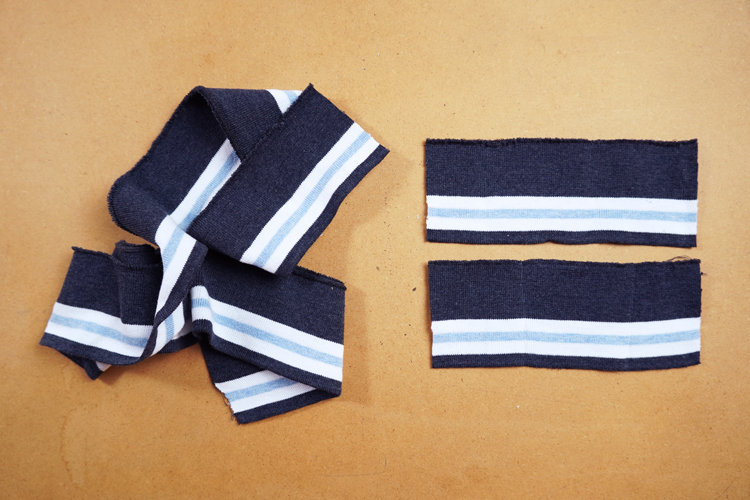
Mark the midpoint of the hem with a pin.

Do the same thing on the cutting edge of the sleeve.
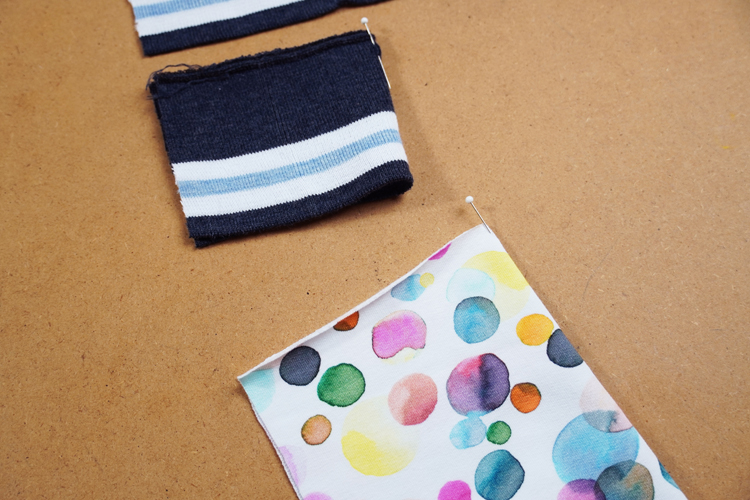
Align these two points before sewing the hem to the sleeve.
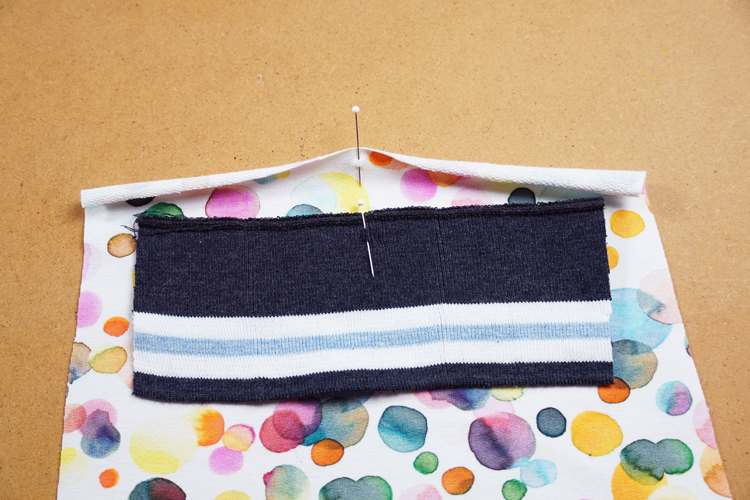
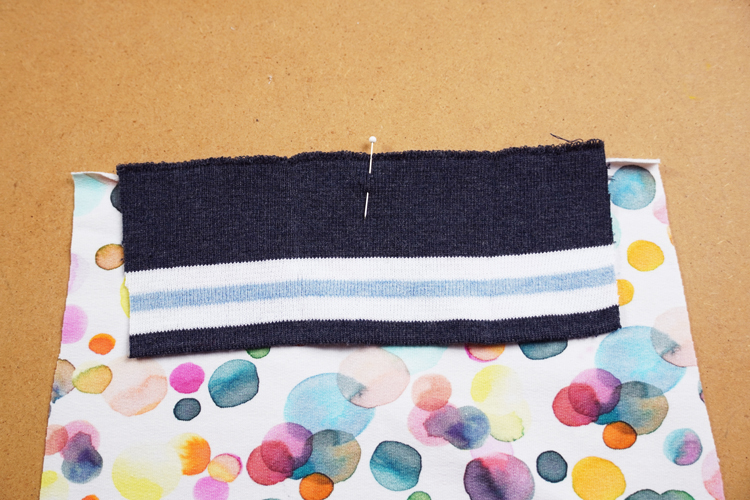
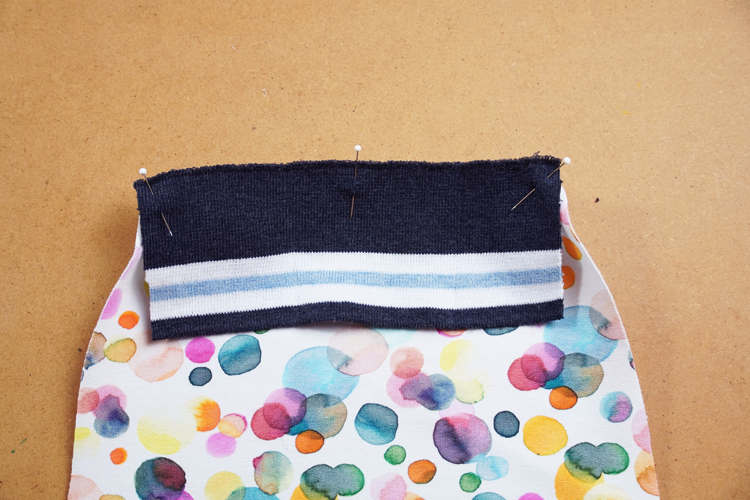
Stretch the hem lightly to sew it to the sleeve evenly.
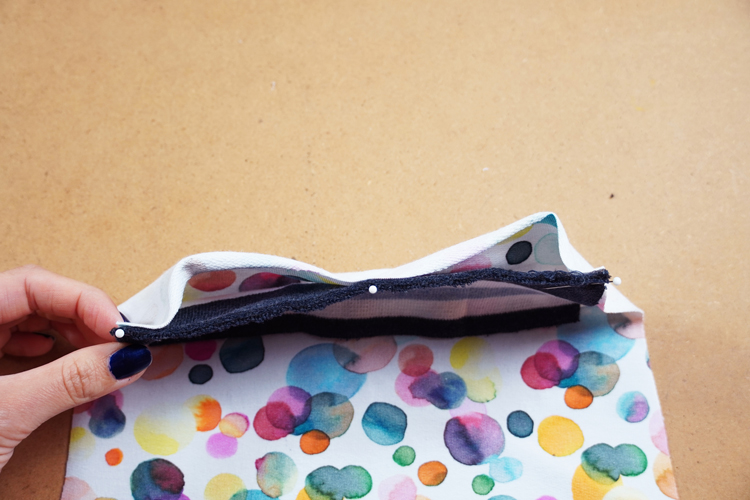
Sew the hem of the second sleeve in the same way.
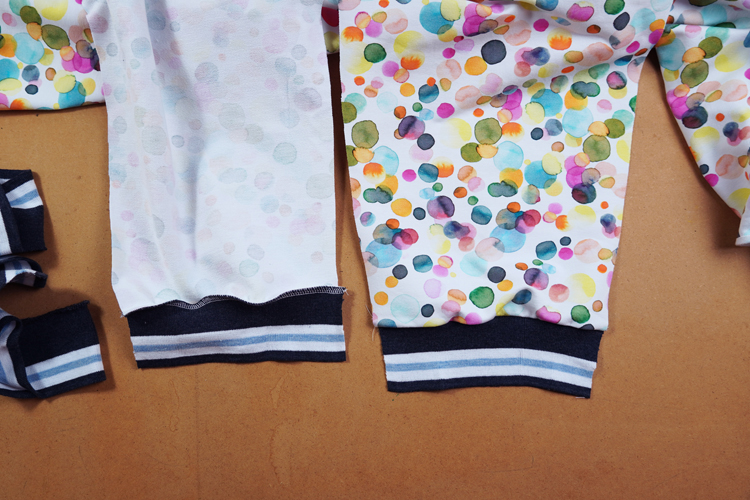
Now sew one side (side & sleeve seam) of the dress. I always start on the right side.
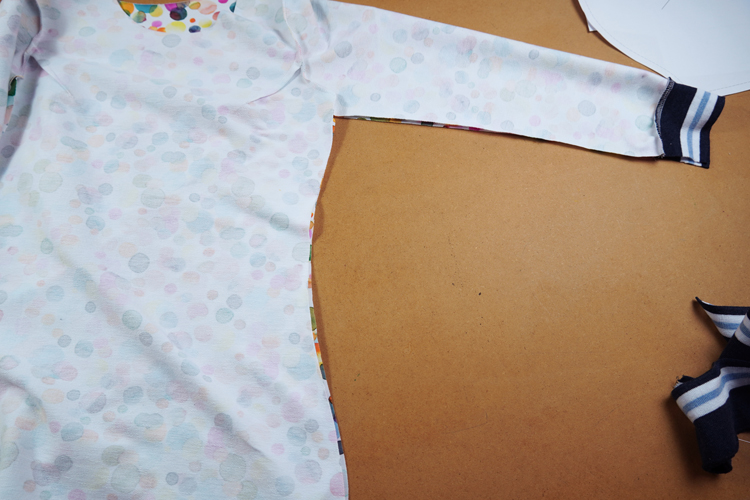
Leave a longer thread chain near the sleeve hem (and pull it under the loops) when using an overlock machine.
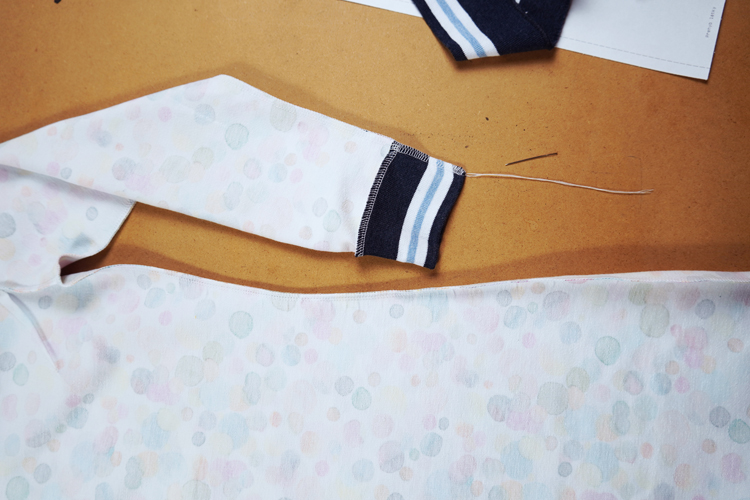
It’s important to align the edges of the sleeve hem neatly.
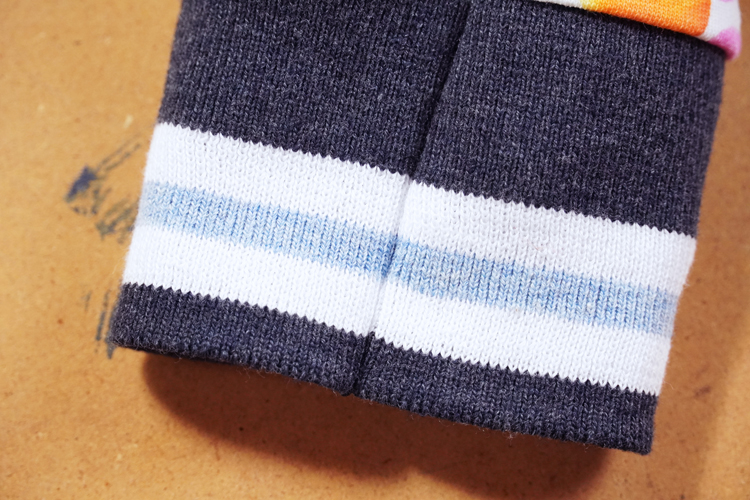
Let’s prepare the bottom hem of the dress.
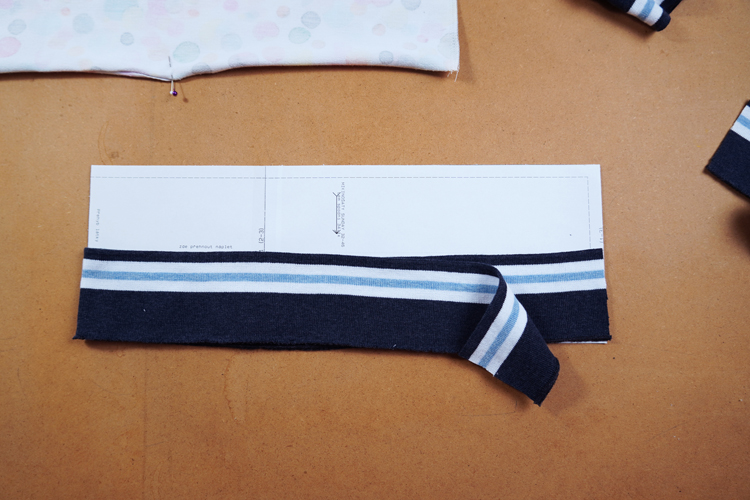
Find midpoints of the front and back pieces. You should have cut these pieces "on the fold", so you are looking for that initial fold.
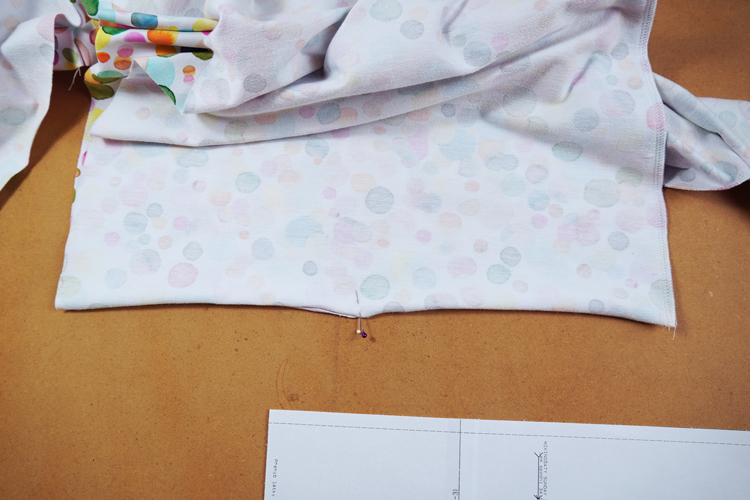
Then find midpoint (opposite to the future seam) and two “quarter points” of the hem knit and mark them with pins. These marks will help you to sew the hem to the dress evenly.
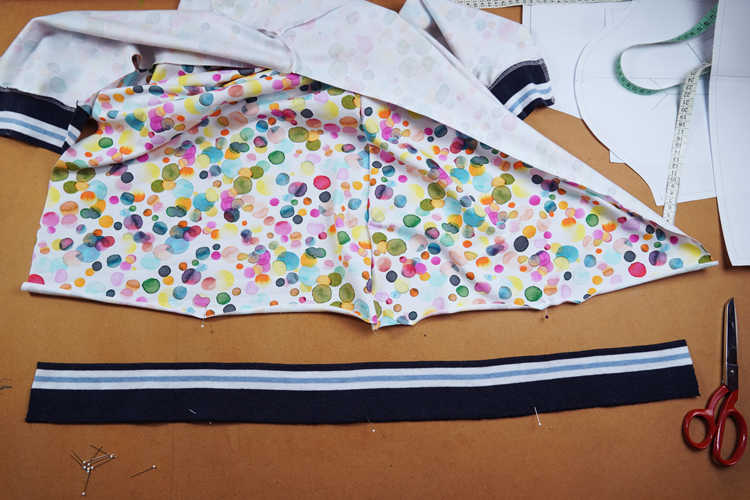
Sew the hem to the dress and then sew the side of the dress (side & sleeve seam).
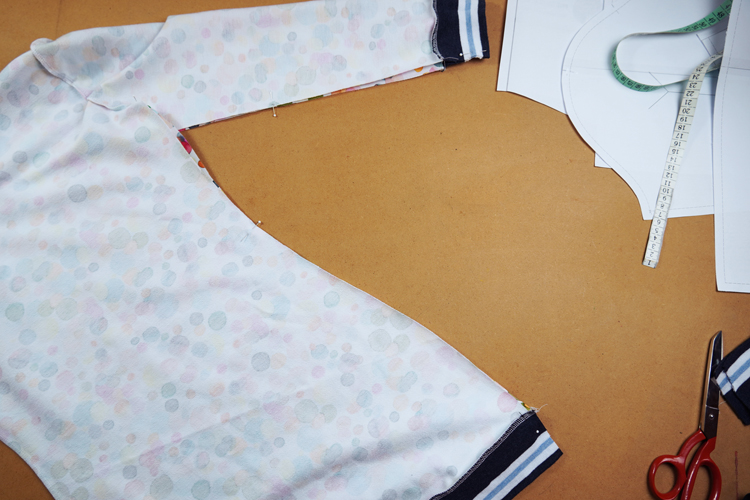
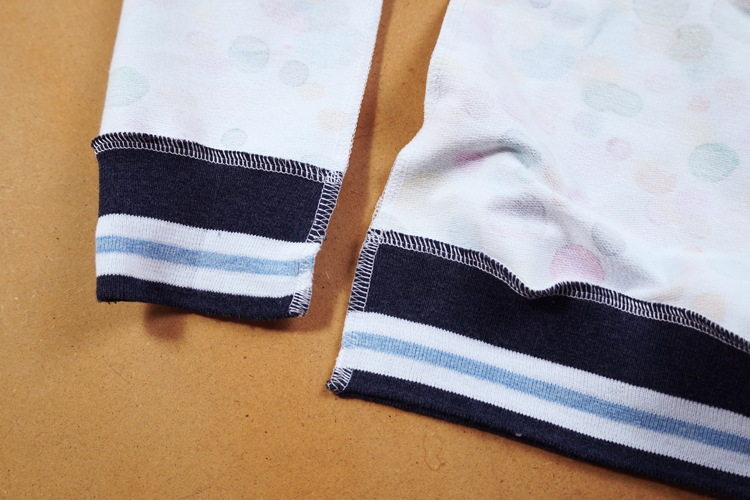
Take care to align the edges of the hems precisely.
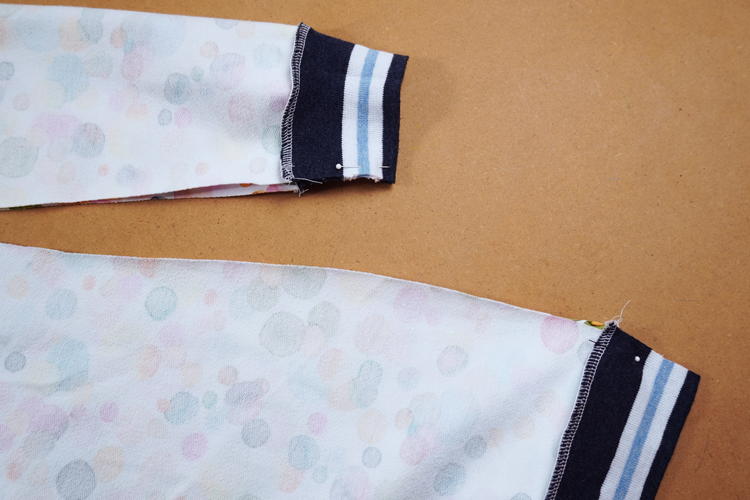
Pull free ends of the thread chain under the loops.
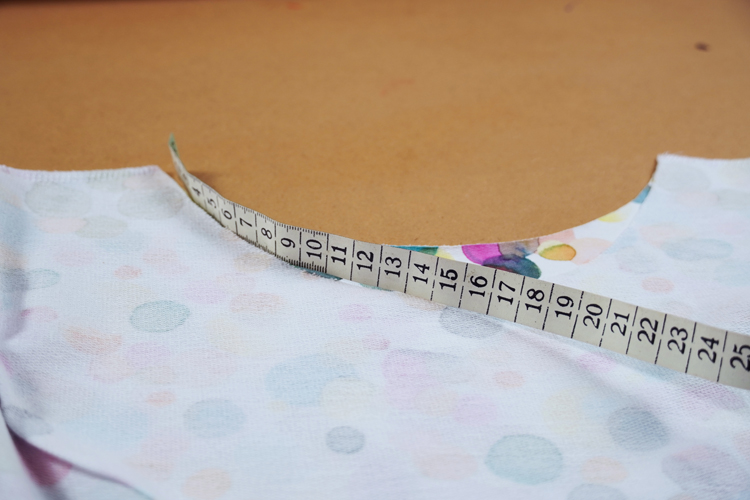
Now you just need to work on the neck opening. Measure with a tailor's tape standing on its side.
Multiply circumference by 0,8 - 0,9 (depends on how elastic your material is). I’ve multiplied it by 0,85, which is in the middle of the range. The result is the required length of the hem. My hem is 3,5 cm (1 3/8") wide.
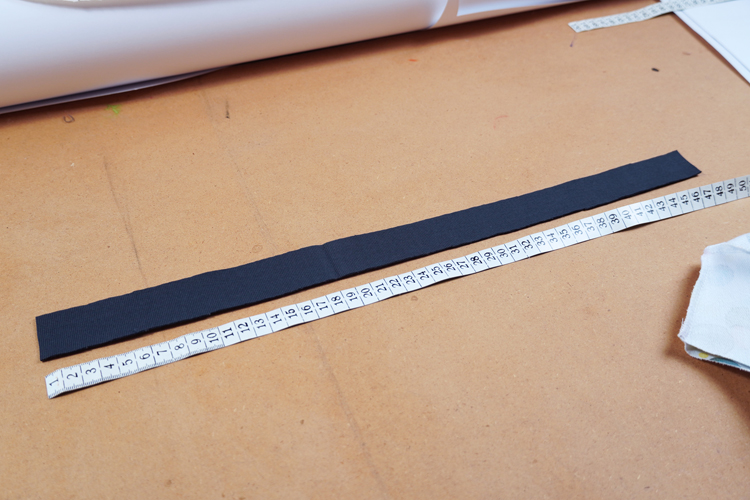
Sew the shorter sides of the hem (face side to face side) to close it.
See on which side you have the seam of the bottom hem - the seam of the neck opening hem will be on the same side.
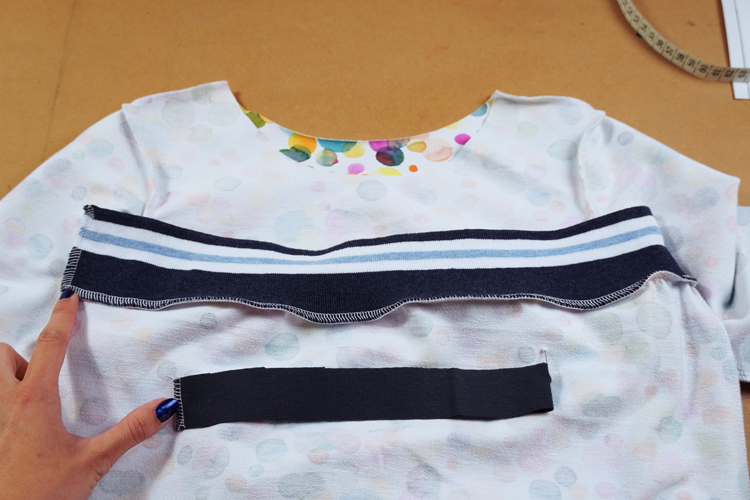
Find the circumference midpoint of the neck opening opposite to the shoulder seam and mark it.
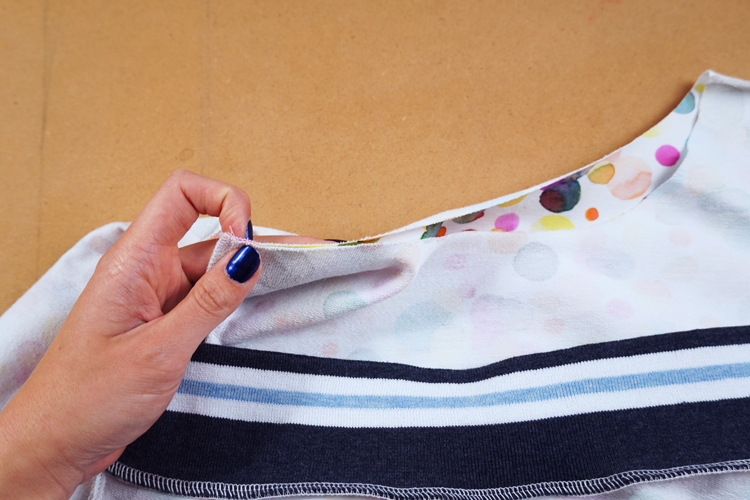
Then mark the midpoint of the hem. Now you are going to pin the hem to the neck opening. Start by pining the seam of the hem to the shoulder seam and aligning the midpoints.
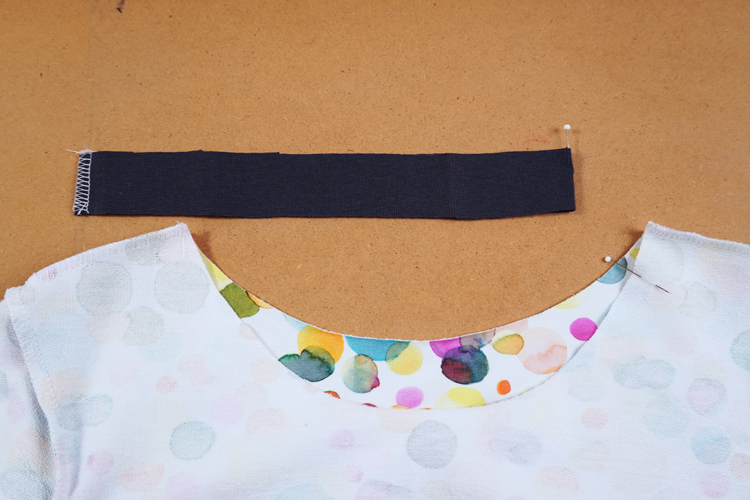
Fold (roll) the hem in half (lengthwise, face side out). Pin it to the dress (face side to face side).
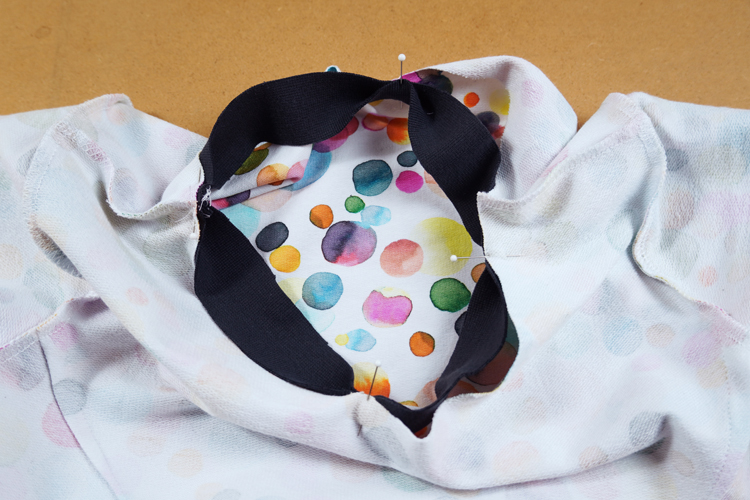
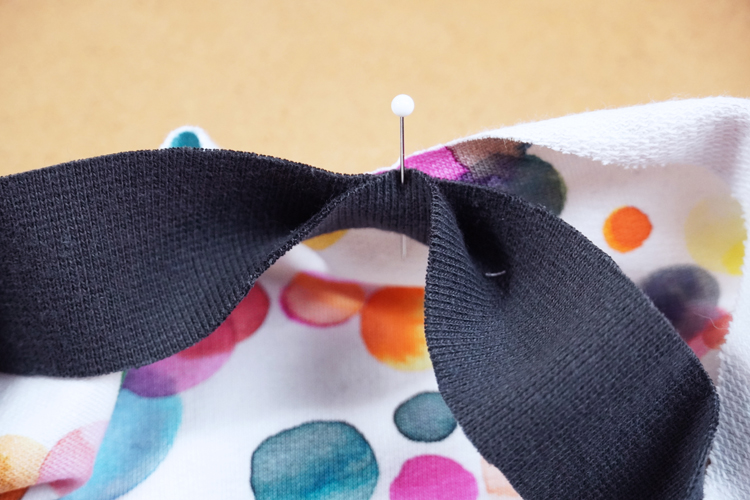
Pull free ends of thread chain under the loops when sewing with the overlock. Your dress is ready!
If you liked today's pattern and sewing instructions, I will be glad if you let me know in the comment below.
Thank you and have a nice day, Petra
You can get the pattern for this dress in my online store:
The pattern for women’s (sweatshirt)dress RAINY DAY
Don't forget to share your joy with others!
Do you like this article? If so, share it with your friends and tell me about it in the comments section below. I will be glad for any feedback! ♥
PS: Did you know that there are FREE PATTERNS available on my blog?


