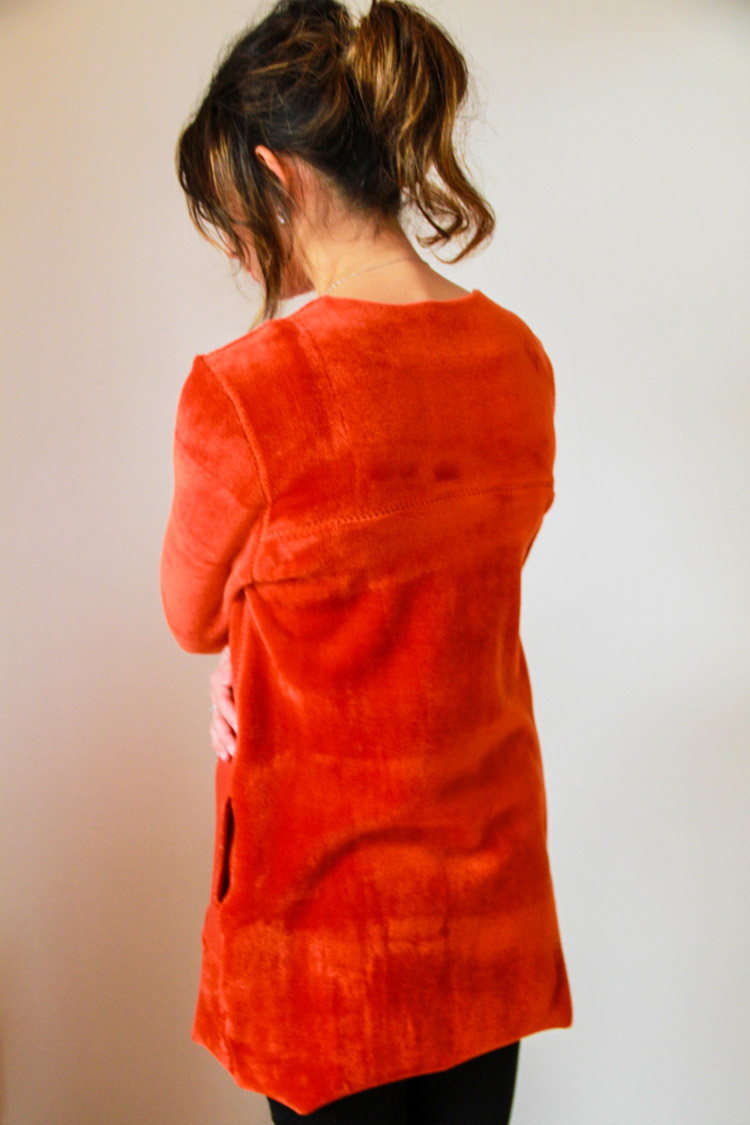
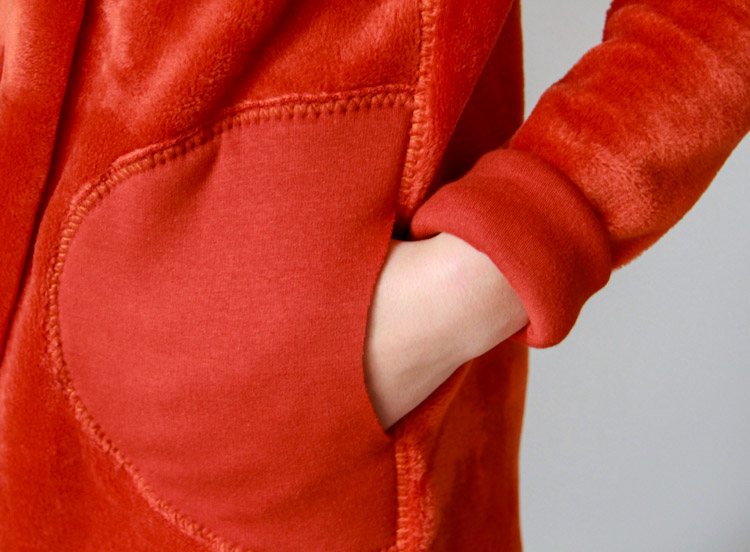
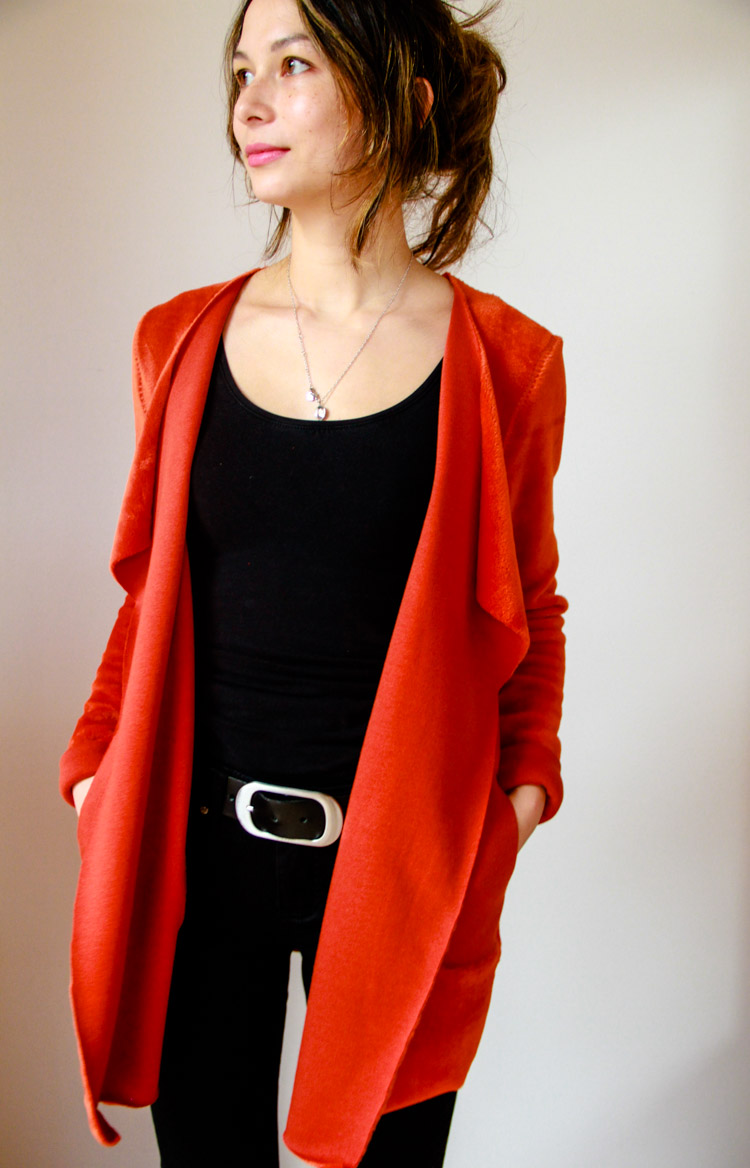
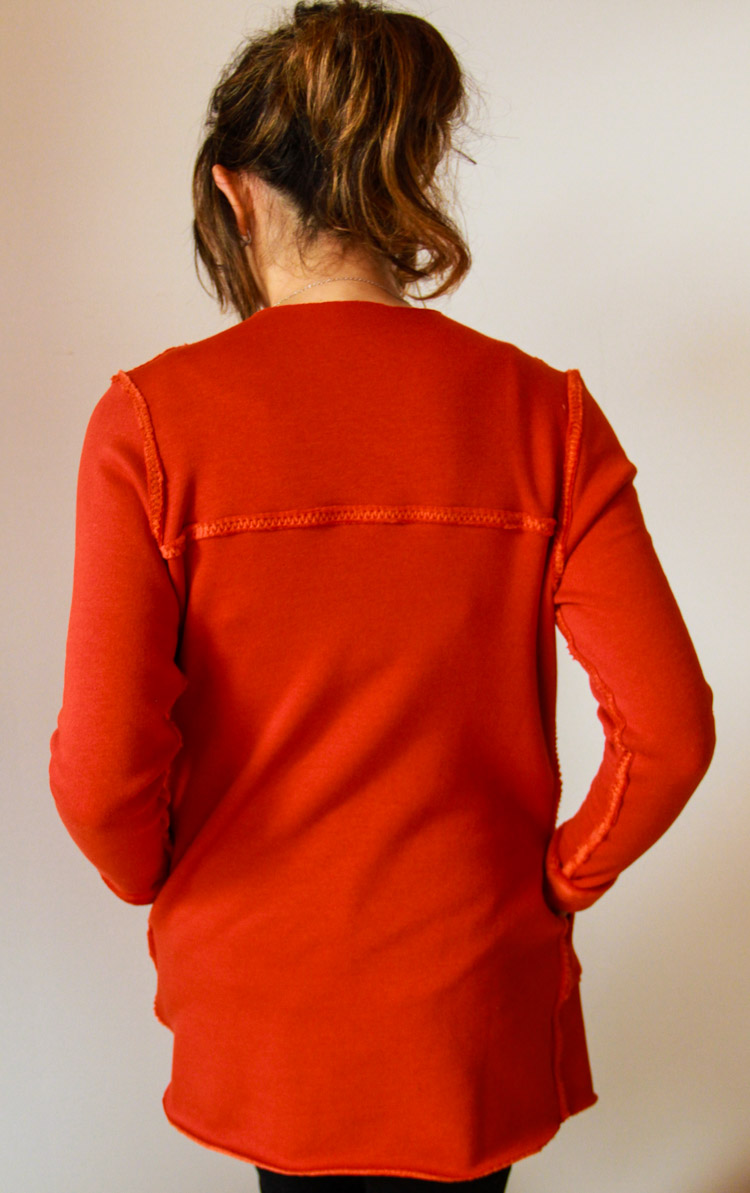
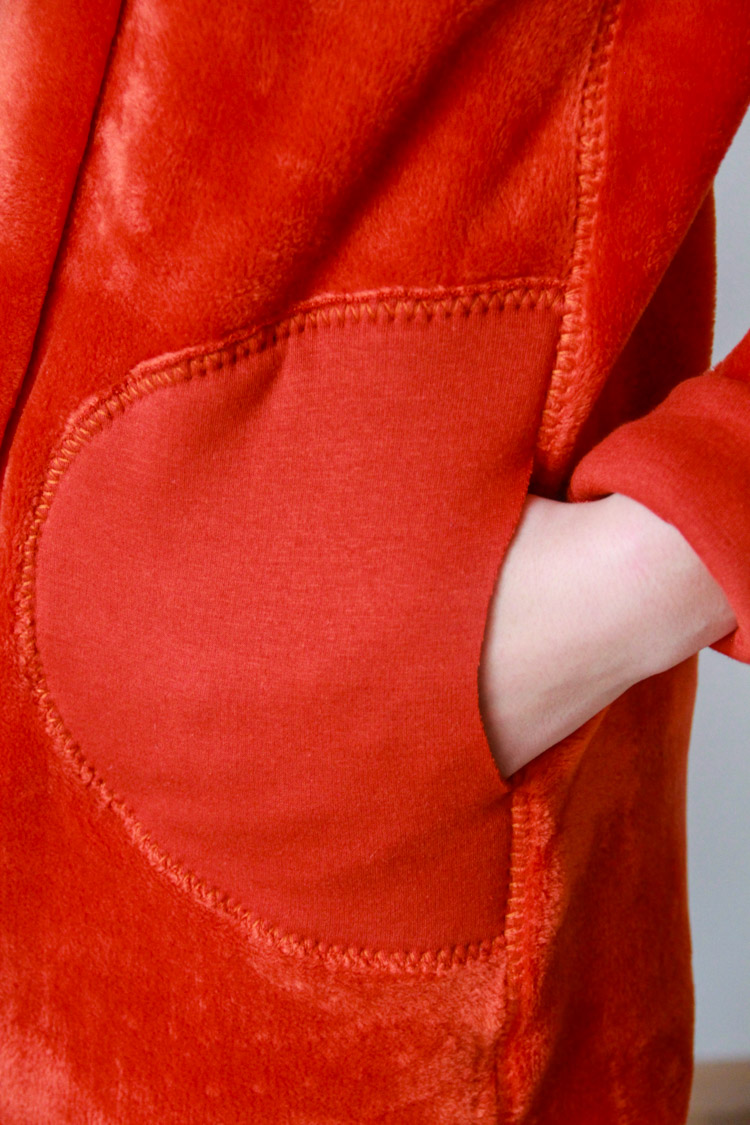
If you follow my Instagram, you may have already seen some cardigans made according to this pattern. Today’s article is about straight oversized cardigan for ladies. This cardigan has round pockets that can be sewed as classic side pockets or as patch pockets. Pattern for reversible cardigan WILD BERRIES is available in sizes 32 - 60 and it’s very universal. You can use this pattern to sew shorter cardigan and you can also choose between classic long-sleeved version and version with three quarter sleeves. Shortened pieces are marked right in the pattern files.
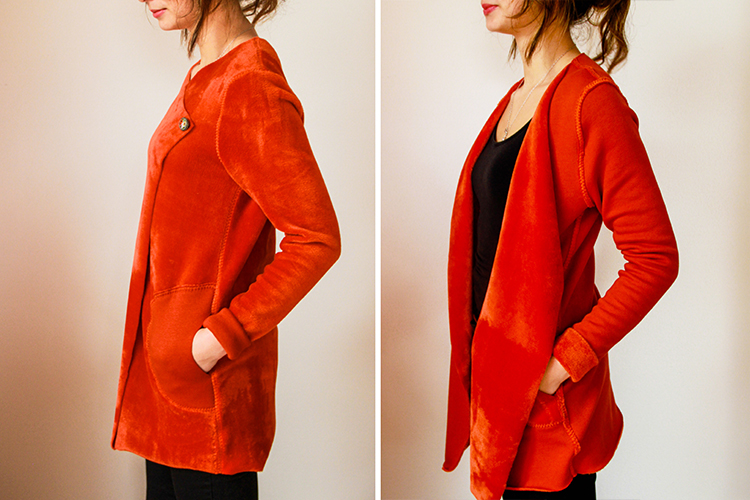
Pattern for women’s cardigan WILD BERRIES is available in our online store:
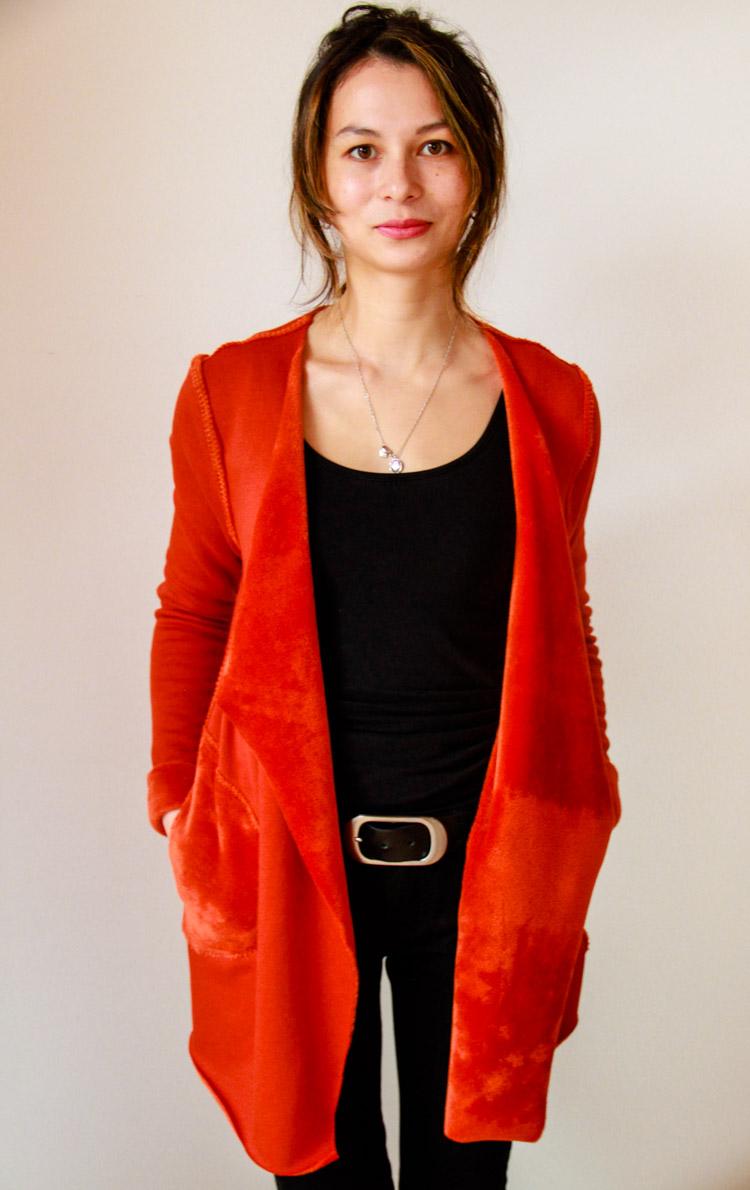
You can also sew a stylish and simple hat to match your cardigan. Sewing instructions for the hat can be found here:
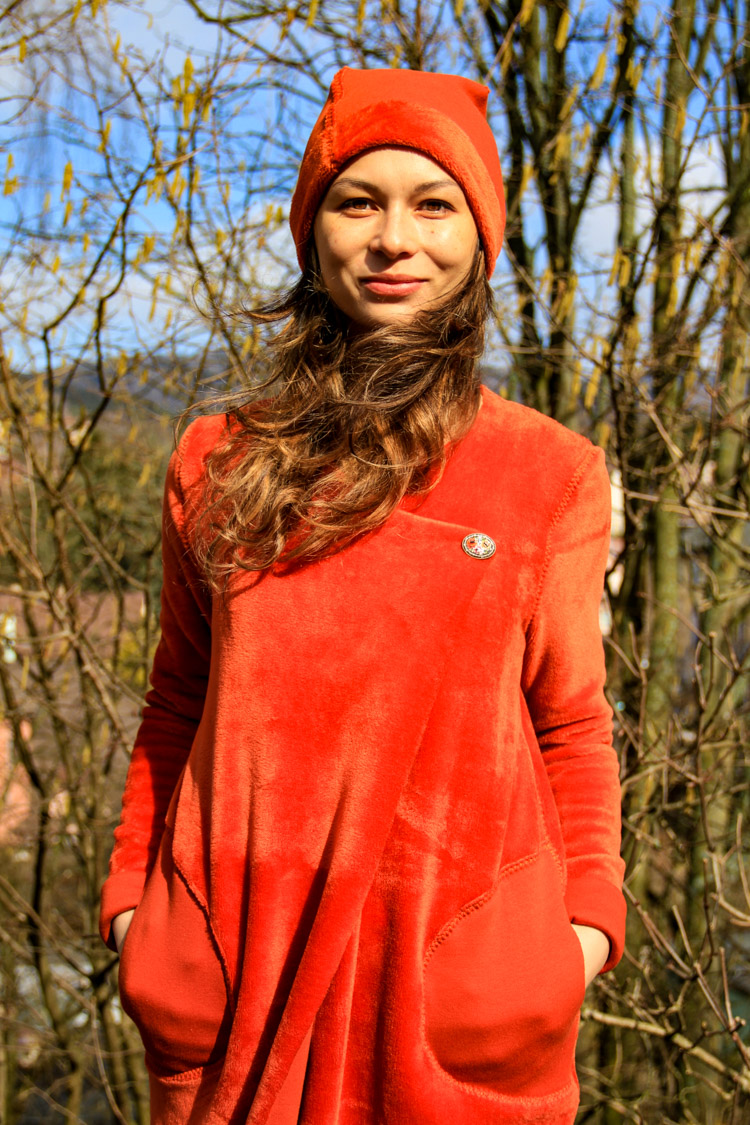
Recommended material:
Choose some medium or thick knit (elastic fabric) to sew this piece.
I’ve used furry tracksuit fabric (sometimes marketed as warmkeeper or alpenfleece) from Dumlatek.cz. You can get it here:
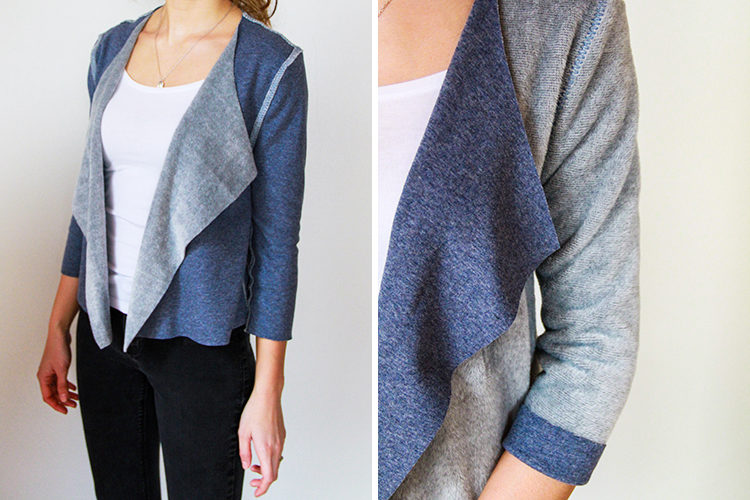
Grey / blue fabric is from the same store:
You can also use sweater fabrics and combed or uncombed tracksuit fabrics (with elastane):
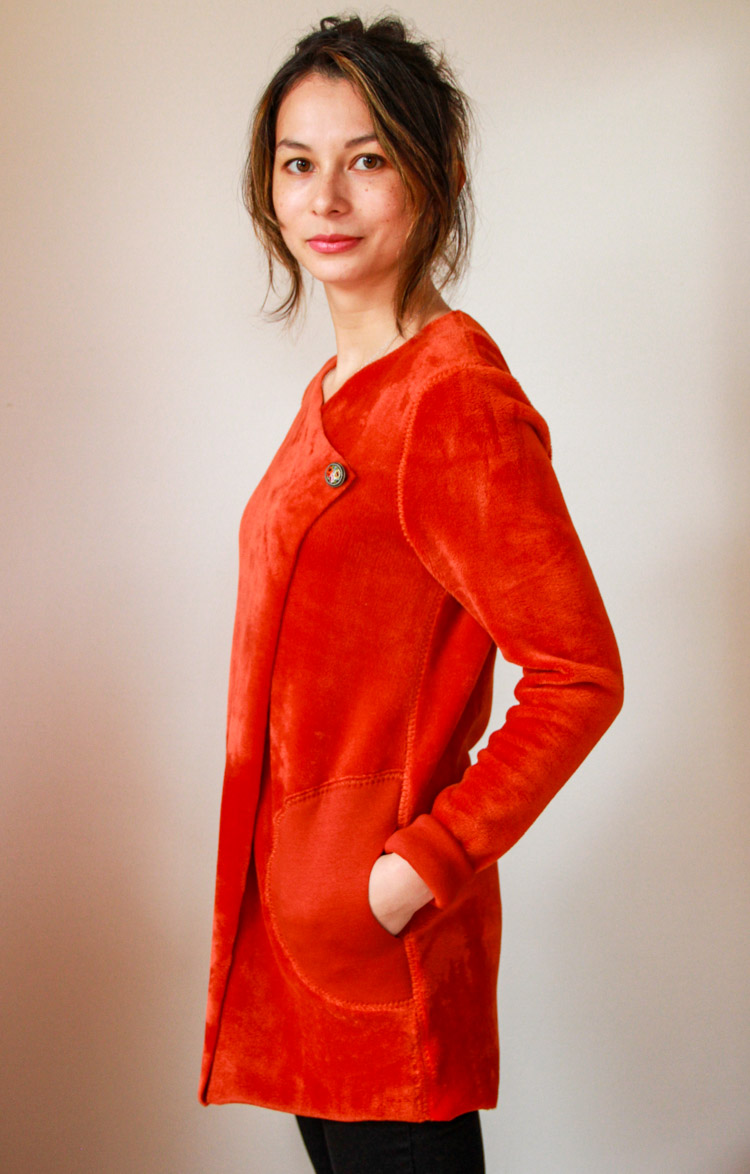
How to sew women’s reversible cardigan
You can find sewing instructions for simplified short version with three quarter sleeves in this article:
Women's cardigan - Shorter version
Cuts preparation:
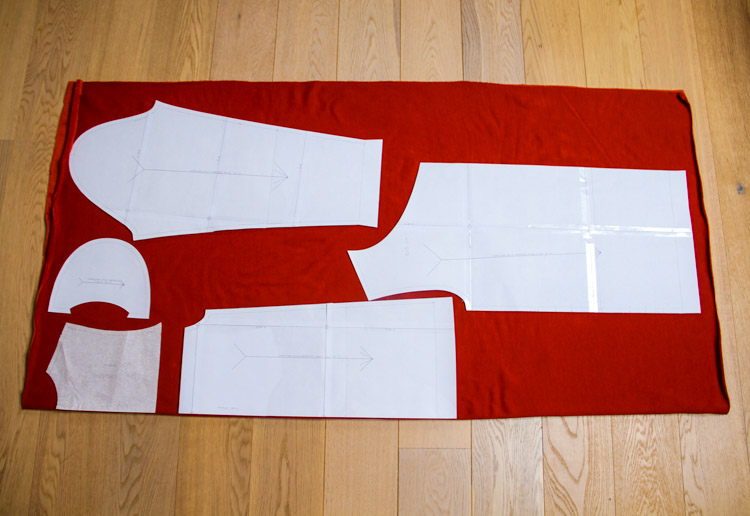
Position the paper pattern pieces on the fabric. You have more freedom when sewing smaller sizes. Image bellow shows classic way to position the pieces (fabric is folded in half). You can see that there is quite a lot of space around the pieces...
This is how I do it. I usually fold the fabric so that I can fit the front piece and back piece on the folded part and then I place one of the sleeve pieces on the exposed part of the bottom layer. I’m then left with almost half of the fabric for the remaining pieces. It’s nice way to save fabric (for the previously mentioned hat, for example).
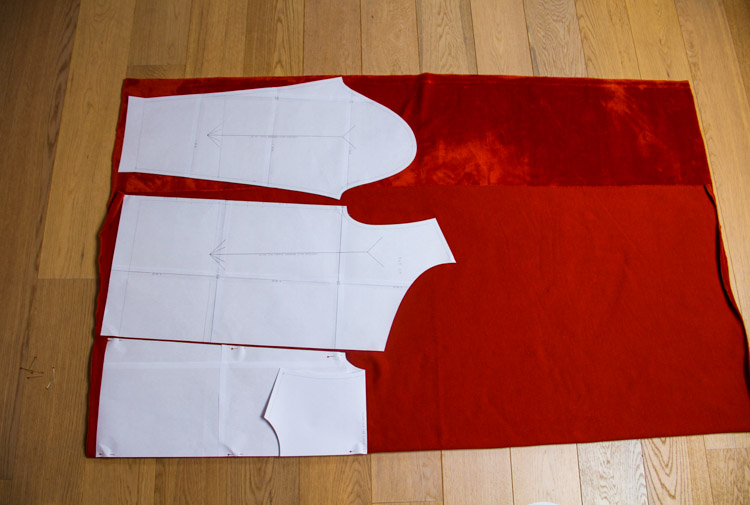
According to the paper pattern prepare:
- 2x front piece
- 2x sleeve piece
- 2x pocket piece (for patch pockets) or 4x pocket piece for reversible cardigan or cardigan with pockets in the side seams. Cut pocket openings on only two of the pocket pieces if you want to sew the pockets to the side seams.
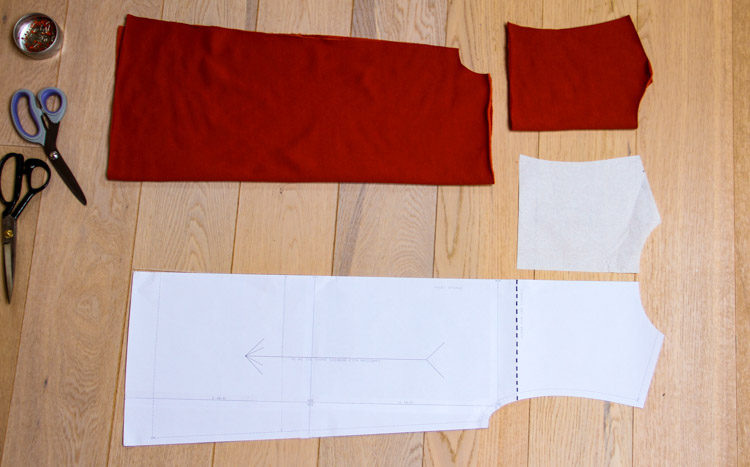
- 1x whole back piece (folded fabric cut) or divided back piece + yoke (folded fabric cut)
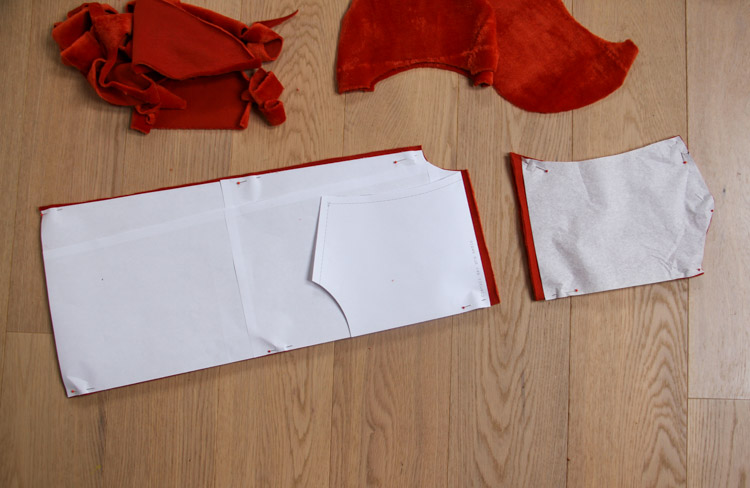
Do not forget to add seam allowances (1 cm) to the back & yoke pieces if you want to sew your cardigan with the yoke.
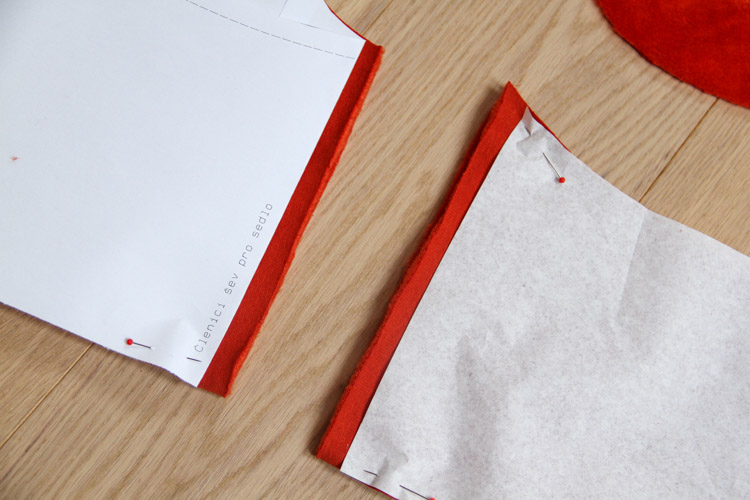
Suggestion:
I’ve sewed this piece on regular sewing machine (without my overlock). I recommend reading following article if you are also going to do it this way. There are some very useful tips about settings for sewing elastic fabrics on regular sewing machine.
Sewing elastic fabrics on regular sewing machine – 4 steps to success (sewing knits)
Yoke
Sew yoke to the back piece first (that’s if you are sewing the version with the yoke, of course). Seams are done on pieces positioned reverse side to reverse side (it’s face side to face side usually, be careful not to switch this up), since we are sewing reversible cardigan with visible seams. My “reverse side” is the furry side.
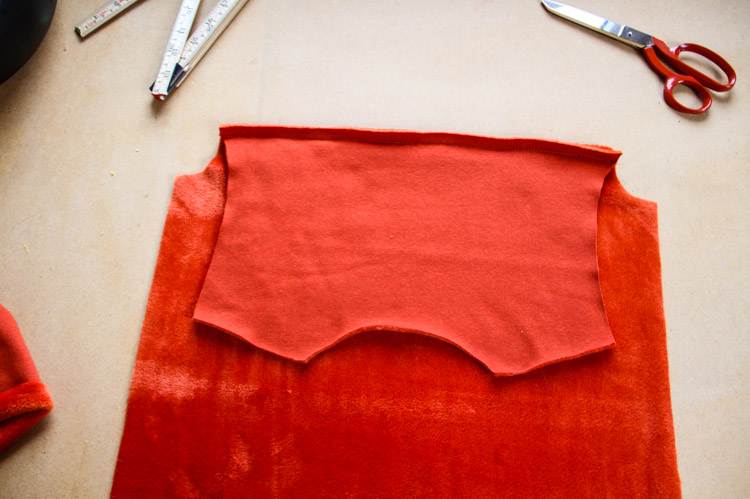
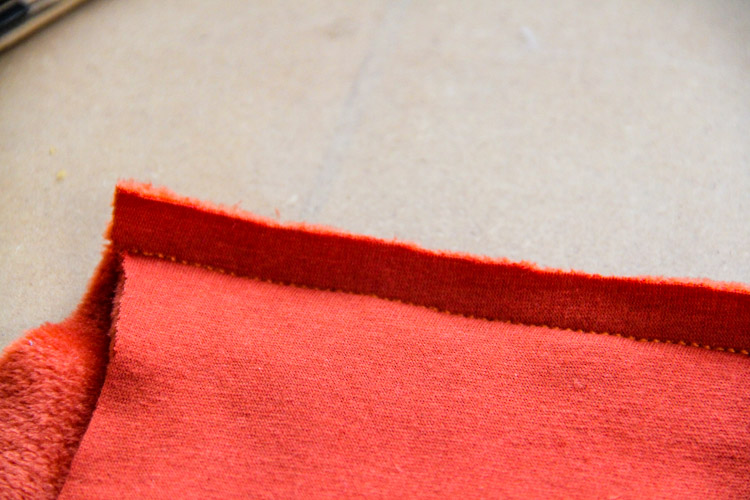
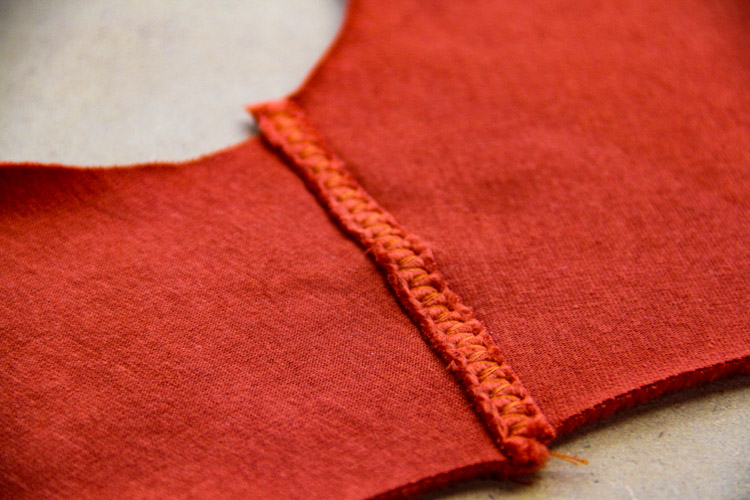
Open up the seam allowances and sew them to the piece with a wide zigzag seam.
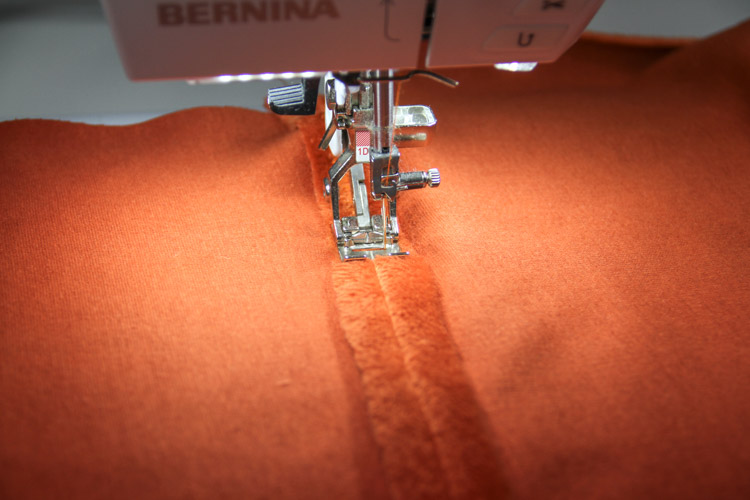
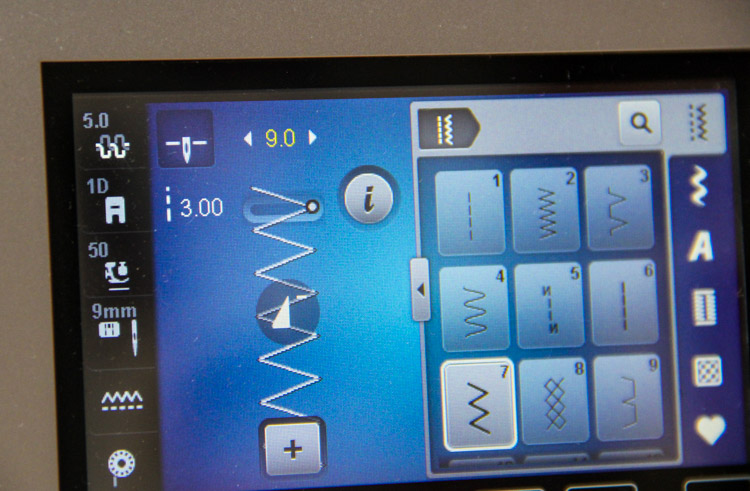
My machine is able to sew up to 9 mm wide seams, but this varies - choose widest zigzag possible on your machine. Use elastic zigzag seam (my case), 3-step zigzag, or regular basic zigzag seam. I kept length of the seam at 3 mm.
This is how the finished yoke seam looks like. I recommend ironing the pieces and seams thoroughly throughout the sewing process, because your sewing machine will inevitably warp the material a bit. Ironing will help you with this issue.
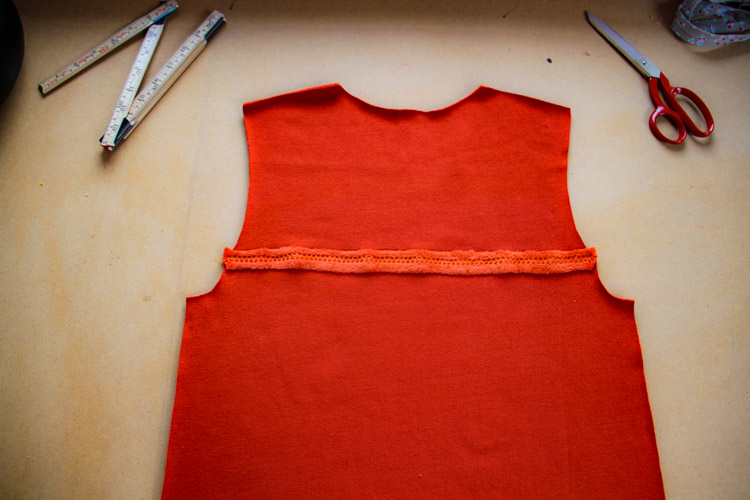
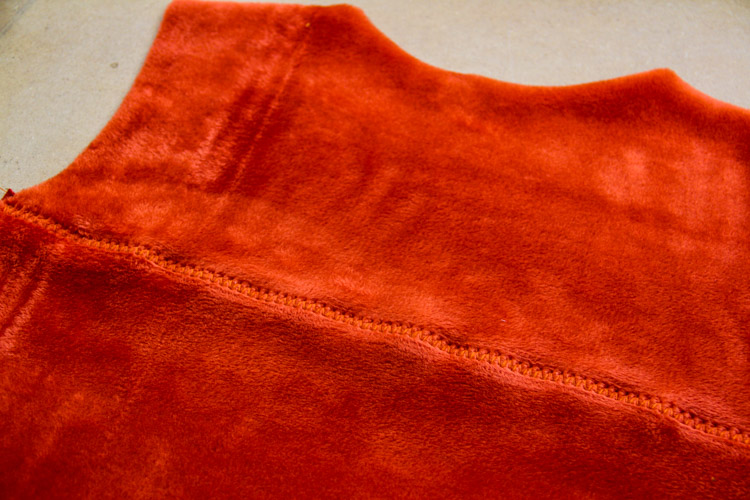
Cut off excess parts of the seam allowances around the yoke seam.
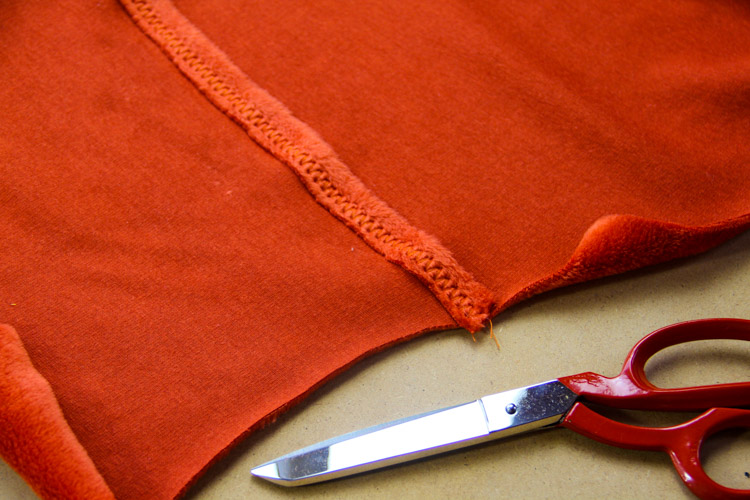
Check out this article if you aren’t exactly sure how to do this kind of seam. I’ve described the technique in greater depth there and you may find it useful.
Reversible pockets
Reinforce your pocket pieces around the outer curved edges if you have really elastic material (or if your machine warps and stretches it a lot). You can use 1 cm wide strips of fusible facing to do this.
Now is the time to sew the pockets. I’ve sewed my cardigan with patch pockets, but if you want to sew yours with classic pockets - in the side seams - you can check out the this article with video tutorial. Don’t sew the classic pockets on reversible cardigan, they are fixed permanently to the inner side of the garment.
Pin the pocket pieces to the (open) side seam. Marks in the paper pattern will help you to position them.
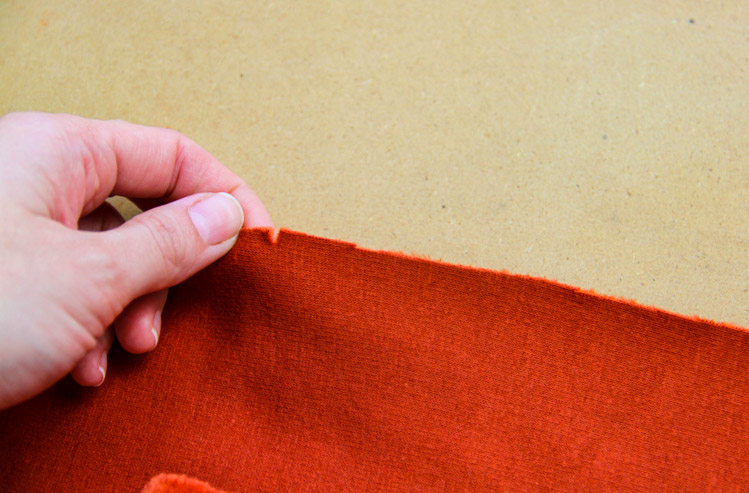
Pin the entire pocket piece to the front piece of the cardigan.
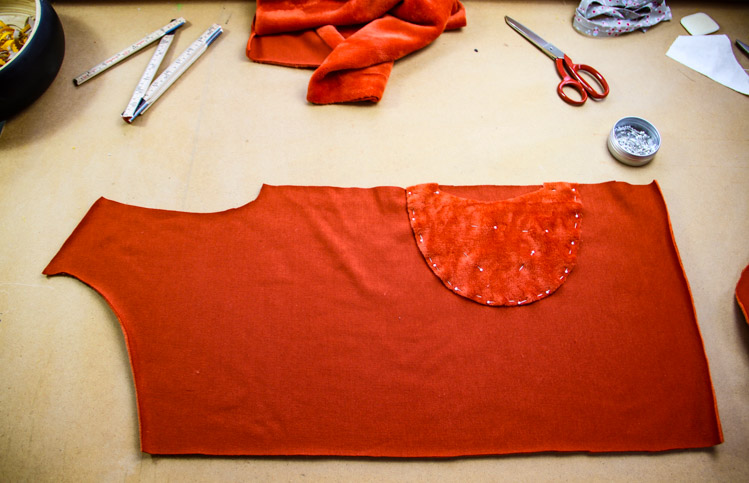
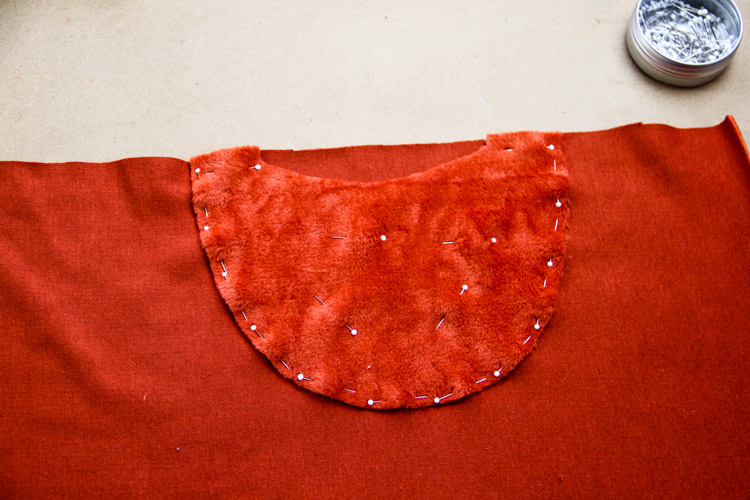
I recommend quickly testing the correct pocket placement in this phase - everybody likes to have the pockets in the different spot. Pin the shoulder seams...
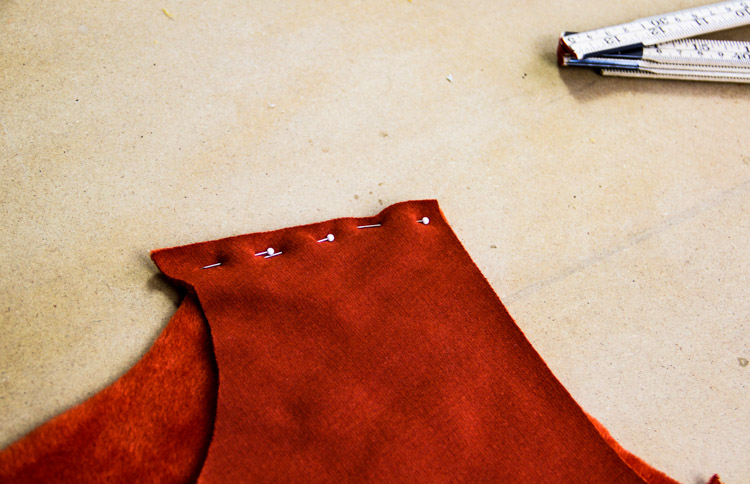
...and the side seams...
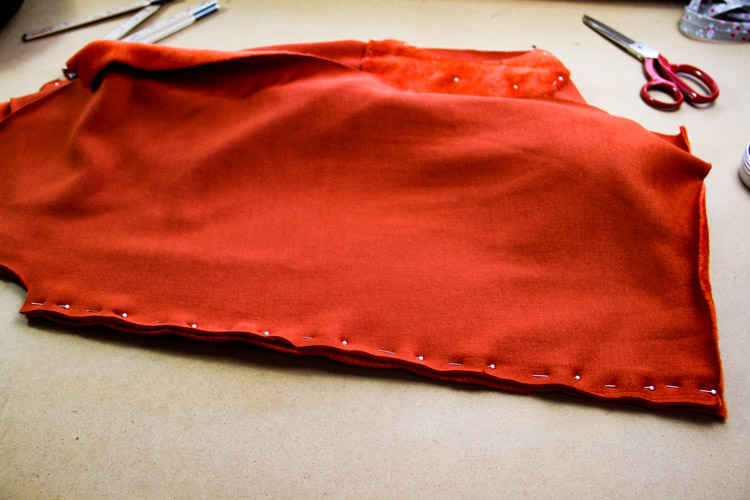
(I’ve pinned the second front piece too just to be sure.)
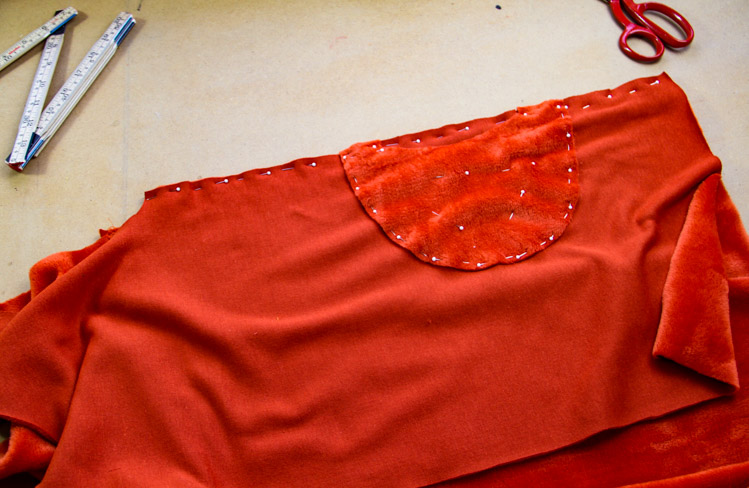
...and try your cardigan on.
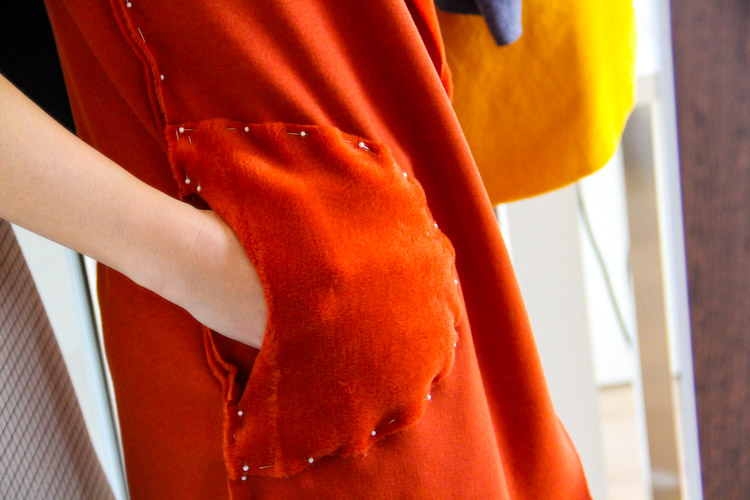
Evaluate the position of the pockets.
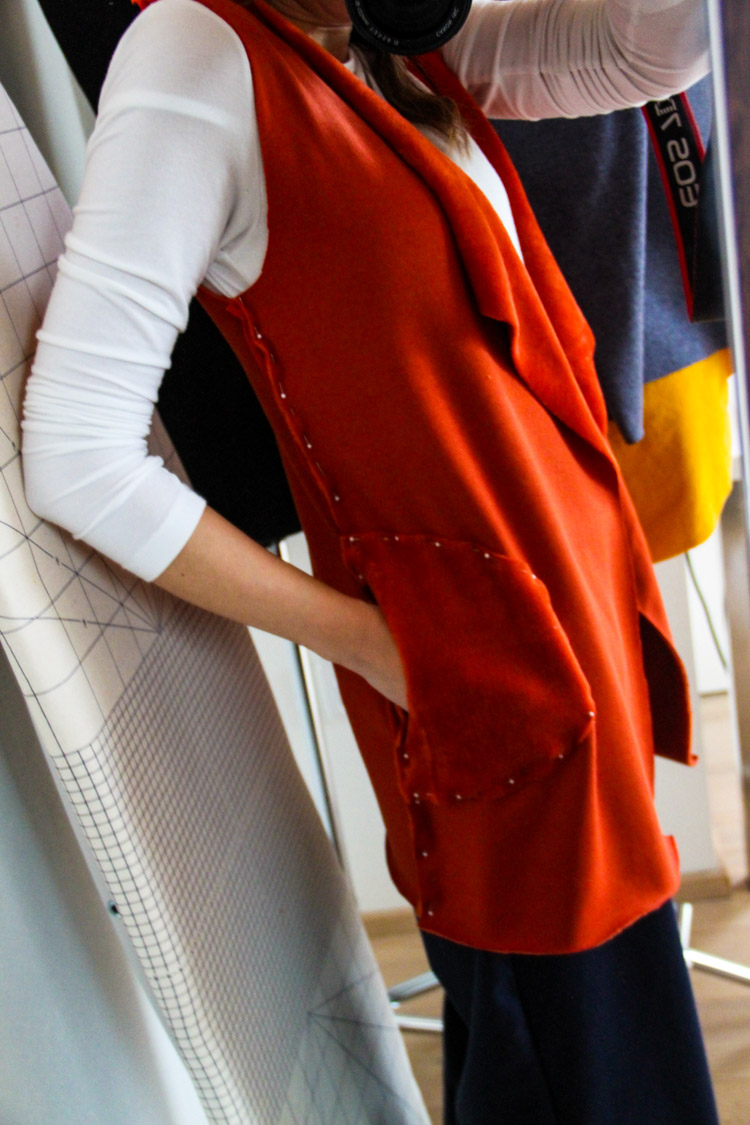
I recommend marking your preferred pocket placement in the paper pattern if you are going to move the pockets in any way. This will make it easier for you in the future. Okay, so now you have the pockets in the right position (pinned or temporarily stitched to the front piece). I recommend pinning densely and close to the edge of the pocket.
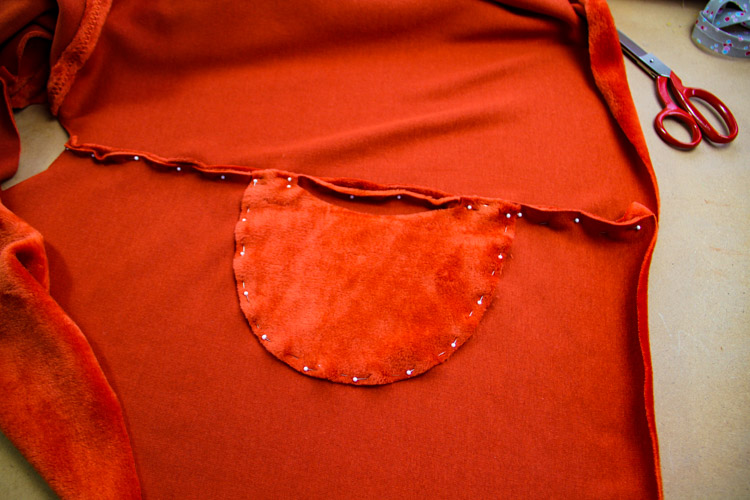
Undo pinned (or stitched) shoulder seams and side seams. Take the front piece with pocket and spread it on the table pocket down.
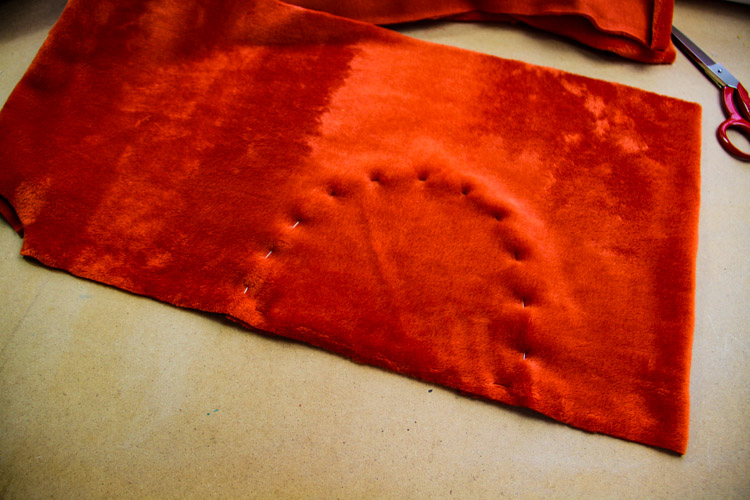
You should be able to see the outline of the pocket thanks to the densely placed pins. Place the second pocket piece on the outline...
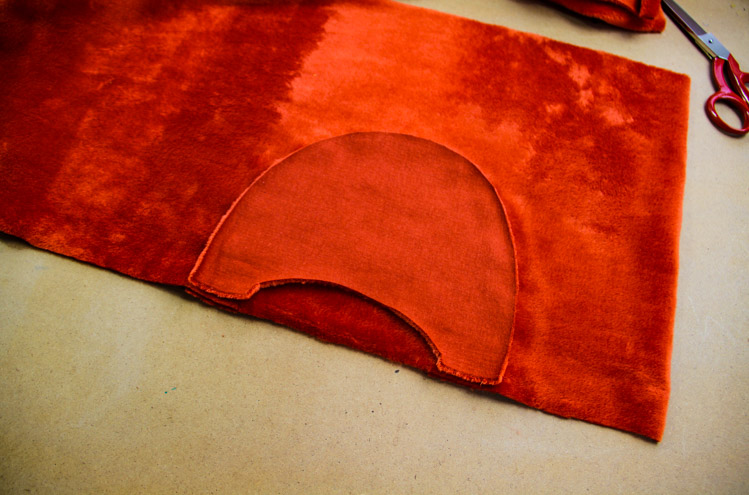
...and temporarily stitch it to the “reverse” side of the front piece. Stitch through all three layers (pocket - front piece - pocket). Take care to keep both pockets in the right place during this phase.
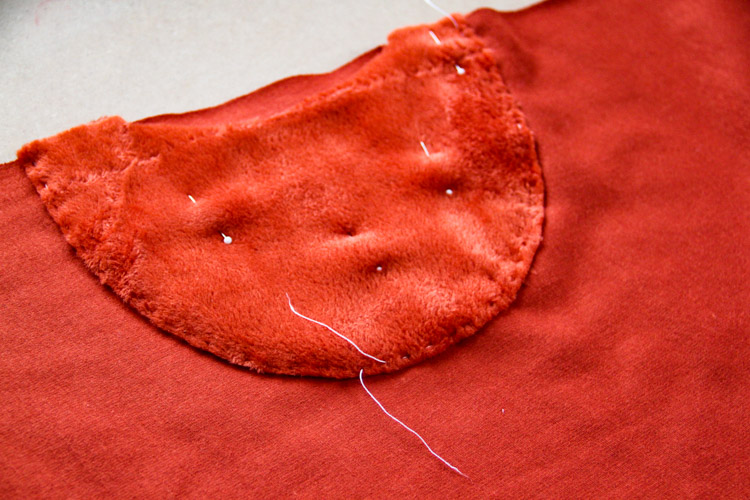
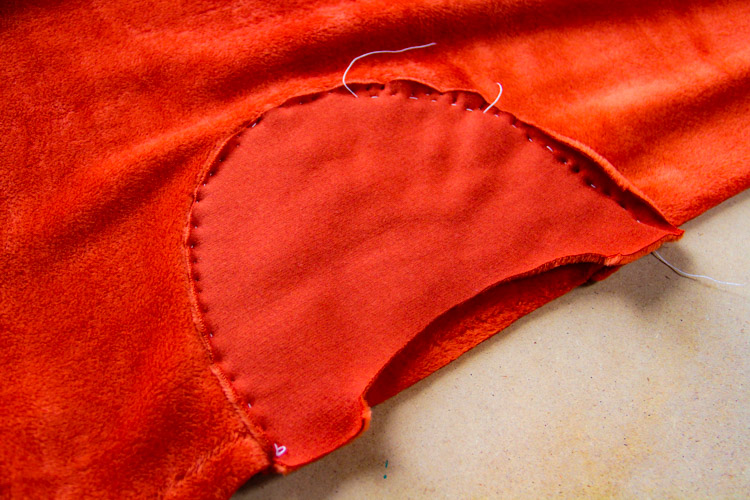
Sew both pockets to the front piece. I’ve sewed right next to the edge of the pocket piece (pieces) with elastic zigzag seam.
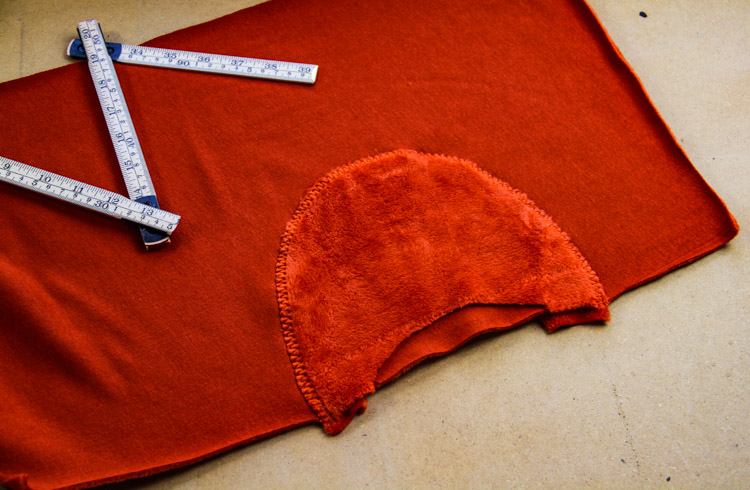
This is what it looks like from the other side.
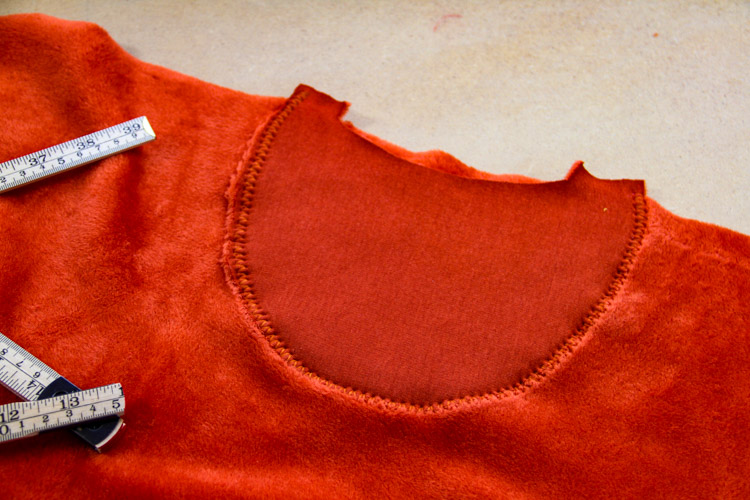
Cut off excess parts of the pocket pieces.
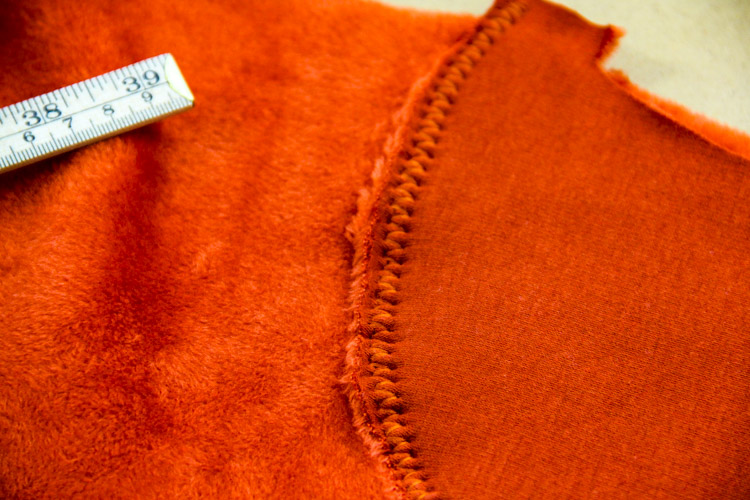
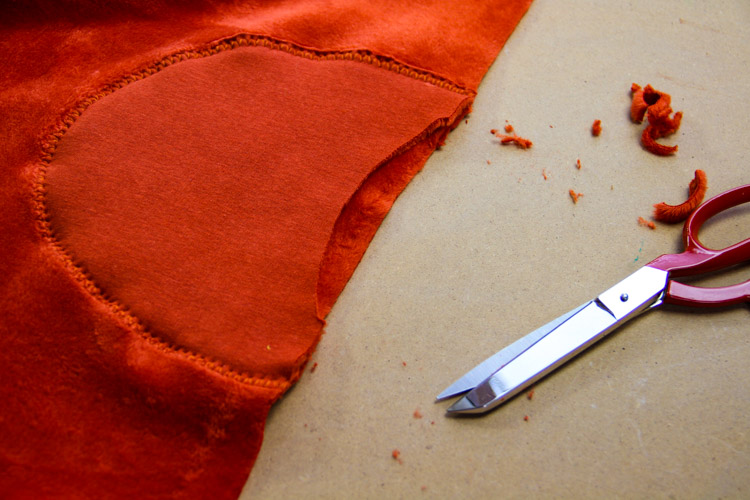
Shoulder seams
Sew the shoulder seams the same way you sewed the yoke seam.
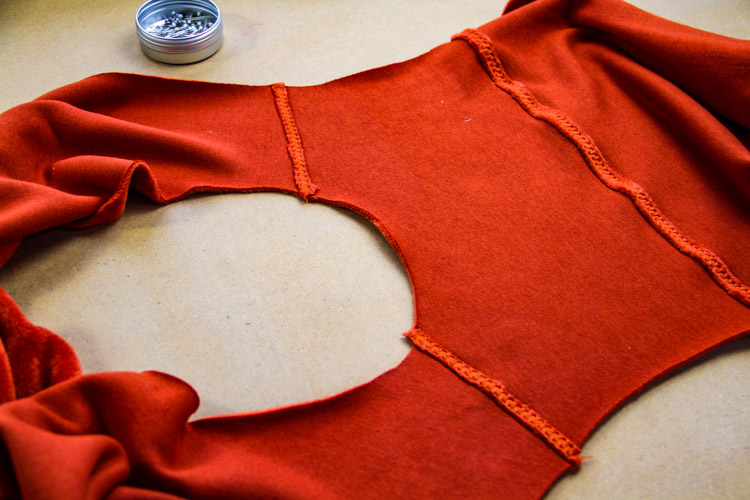
Cut off the excess parts of the seam allowances.
Connecting the sleeves
Pin the sleeve pieces to the open armholes. Start pining from the top of the sleeves (marked in the paper pattern).
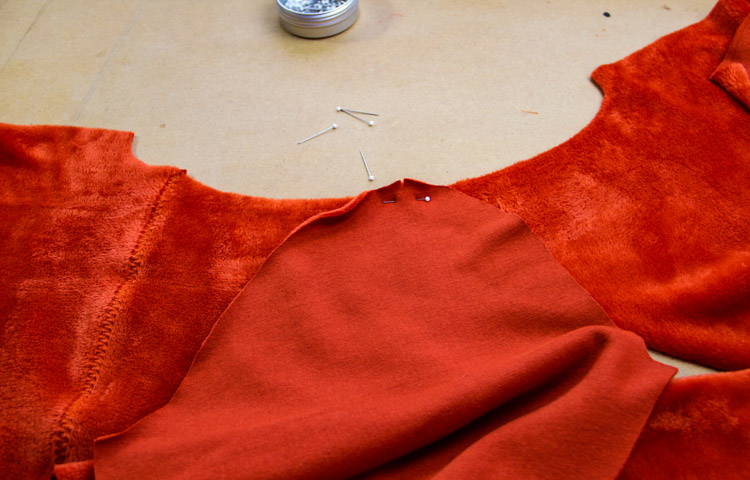
Pin one corner of the connecting seam next...
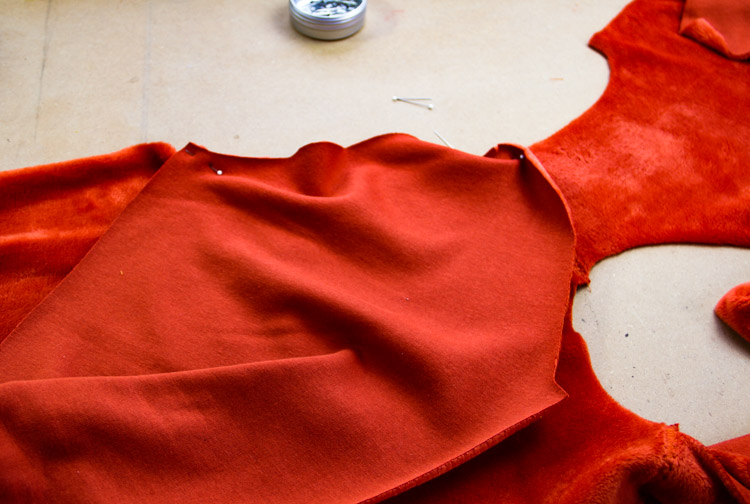
...and then the other one.
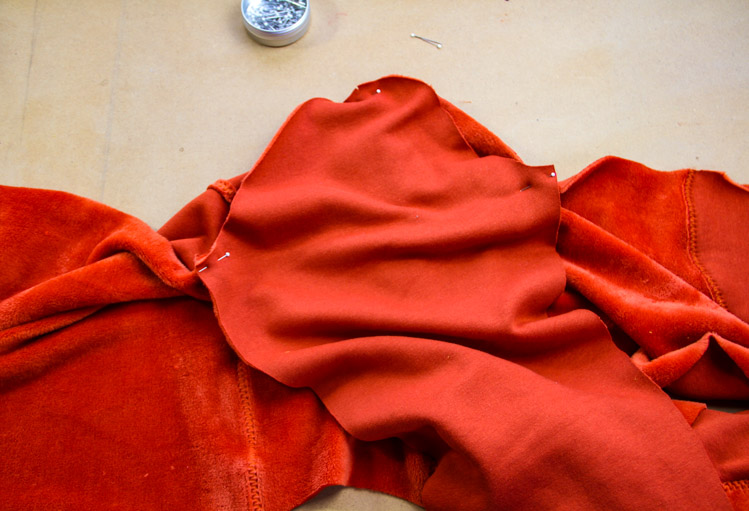
Then pin the rest of the connecting seam evenly. Connecting edge of the sleeve is a bit longer than the armhole, which means that you are going to need to easestitch it slightly. Use your sewing machine or handstitching to do this if you are new to the sewing. Advanced sewers can also use just densely packed pins, but this is only possible when working with elastic materials. When working with woven (inflexible) fabrics it is necessary to use handstitching or sewing machine.
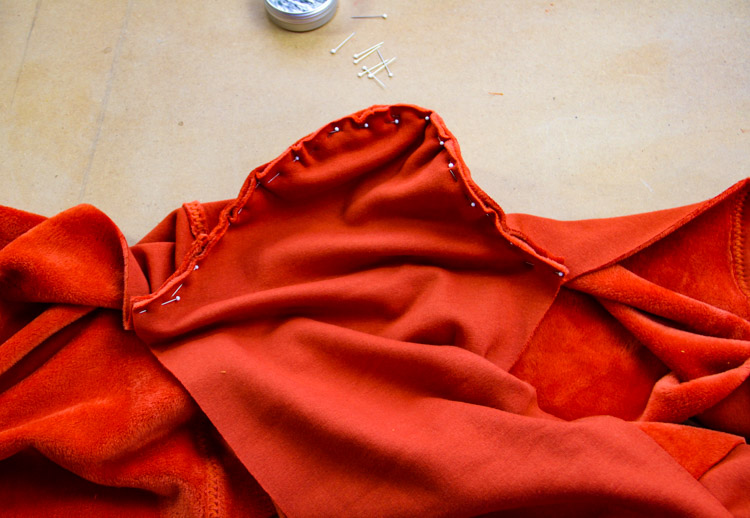
Then sew the sleeve to the torso.
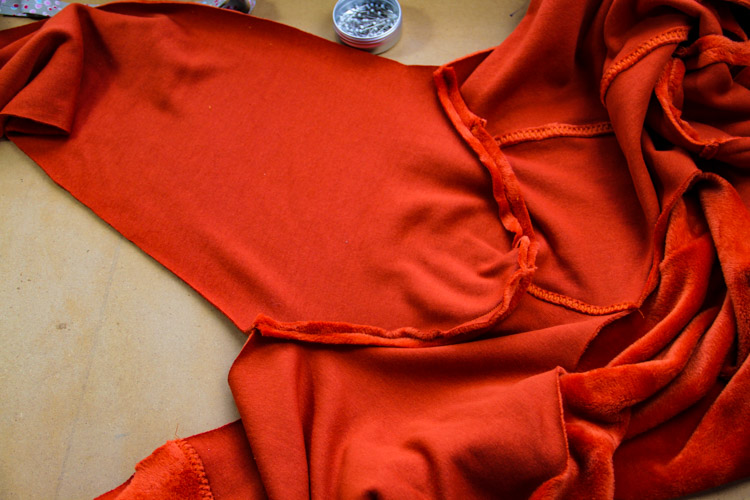
Spread the seam allowances and sew them to the pieces with zigzag seam.
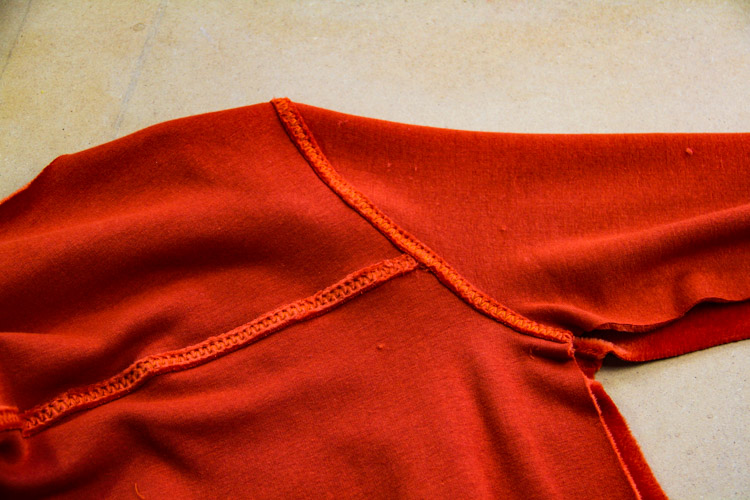
Sleeve seams & side seams
Now is the time to sew the side seams and the sleeve seams. These should be pinned and then sewn in one go (without stopping in the armpit area).
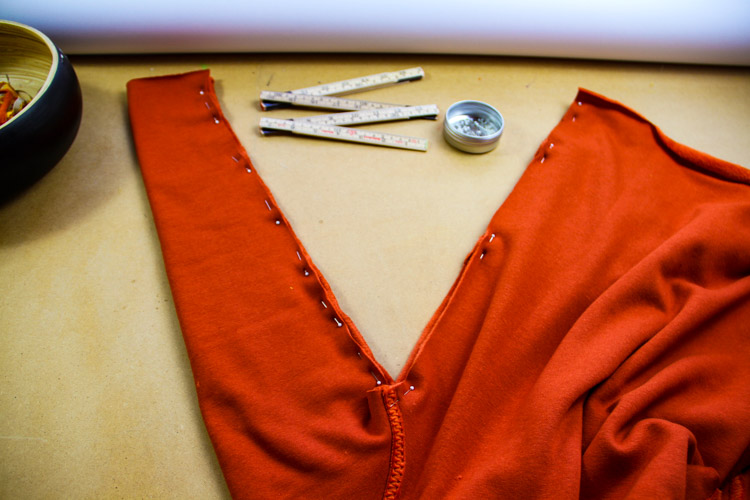
Sew through the edges of the pocket pieces when sewing the side seams. Use temporary stitching to fix the edges of the pocket pieces in place if you need to.
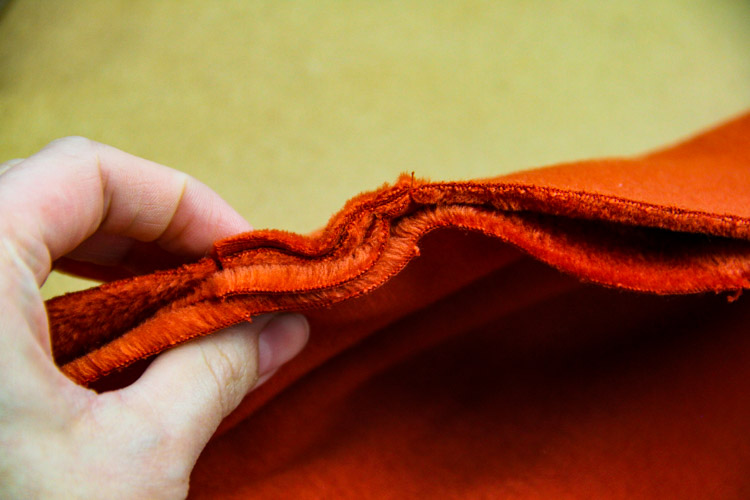
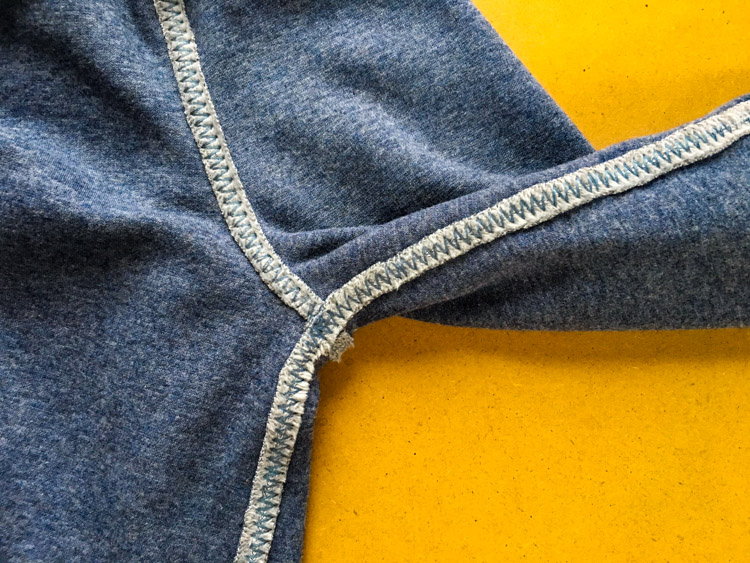
Now you need to open the seam allowances and sew them to the cardigan as before. Doing this on the sleeves requires a bit of patience and skill. Side seam should be a piece of cake but then you get to the sleeve... I forgot to take pictures of this phase when sewing orange cardigan, so I’m borrowing pictures from my tutorial for the shorter version of this cardigan here.
Okay! That’s it! Your cardigan is ready! ? How did you like today’s tutorial?
If you have a moment, please give me feedback in the comments.
Thank you for
reading my articles and for being here with me!
Have a nice day, Peťa
You can buy pattern for women’s reversible cardigan here:
