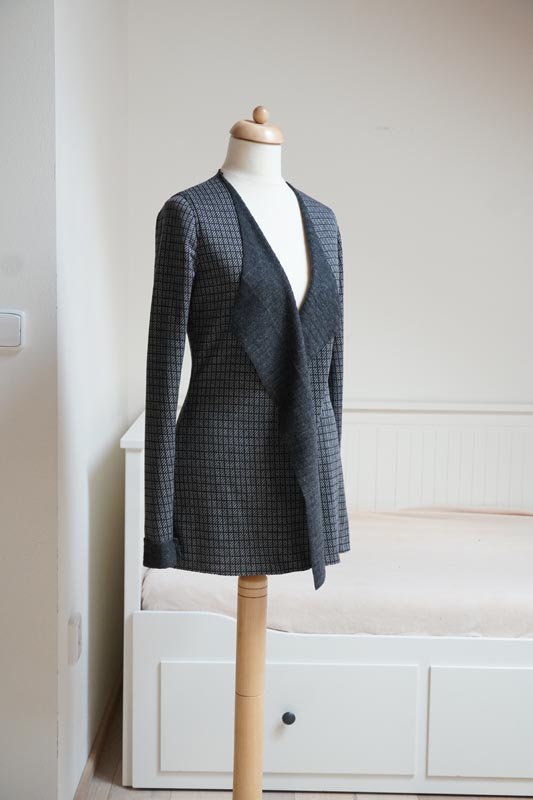
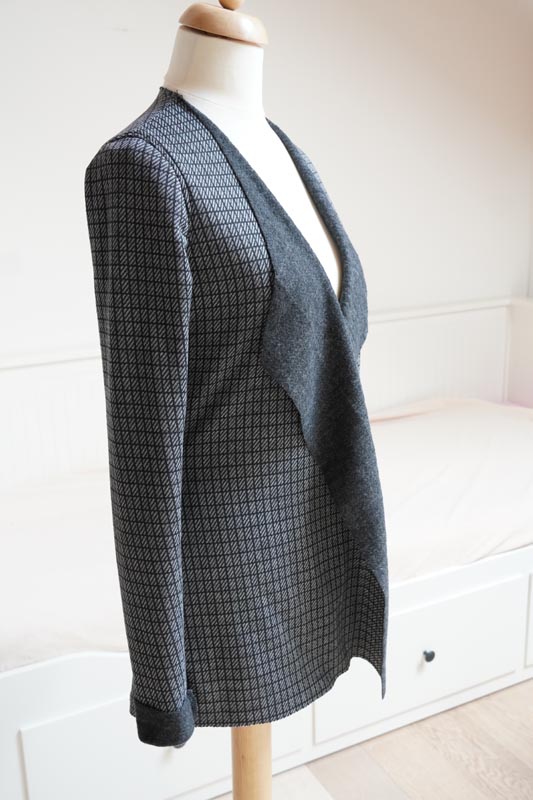
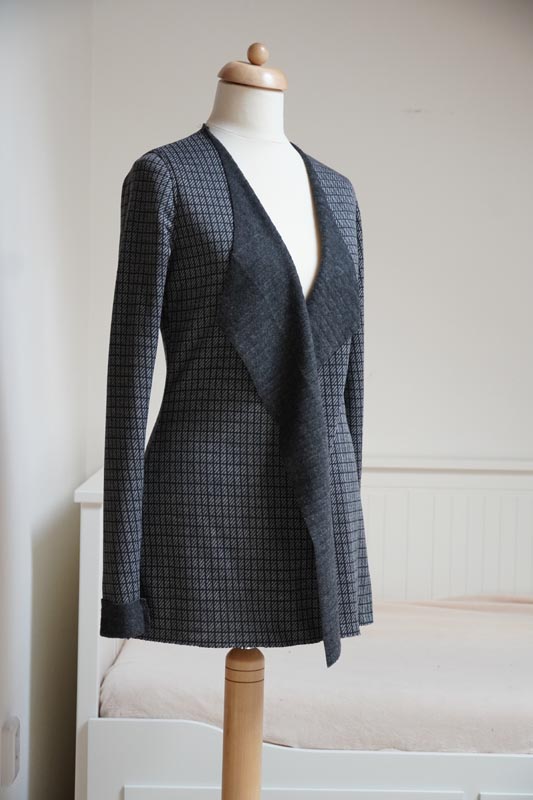
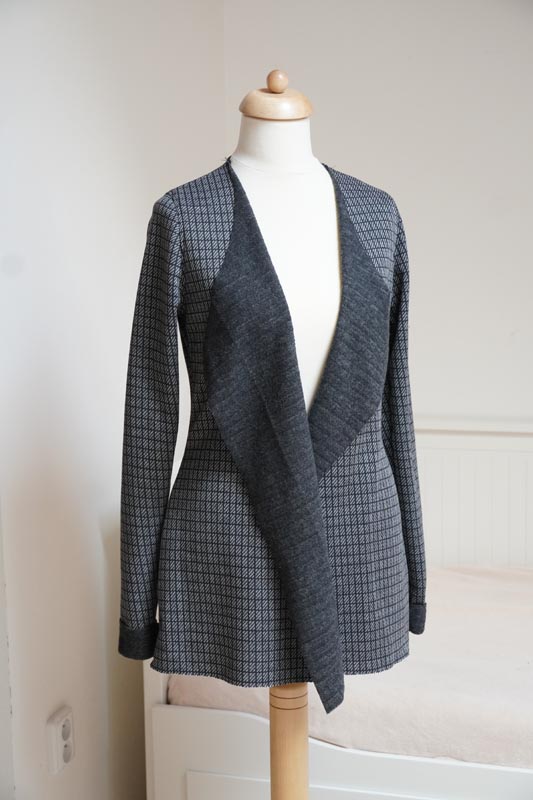
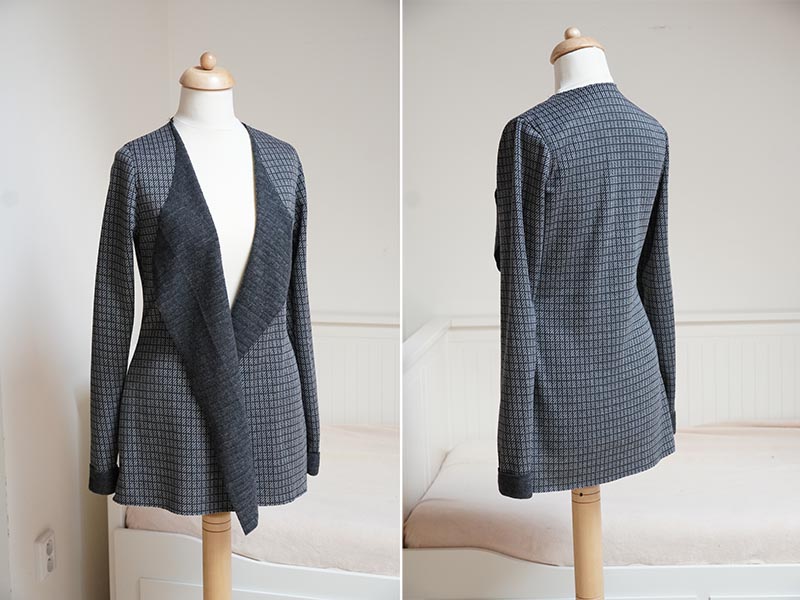
I just love this pattern for a women’s cardigan! It's so simple that it's actually brilliant. No buttons, no complicated details. This cardigan is very easy to sew, so I can recommend it even to absolute beginners. Those of you who are no longer beginners will certainly appreciate that sewing only takes a few minutes. You can save this project for a relaxing evening or a moment of peace, for example, when your children fall asleep after Sunday lunch...
The pattern
In addition to the main pieces, you will also find simple patch pockets in the pattern files. You can easily add those to your cardigan if you want to, but today we will look at that super simple variant without pockets.
This cardigan should reach somewhere below your buttocks, so you can wear it with skirts, dresses, pants, and shorts. If you want to see more photos, look at the end of this article...
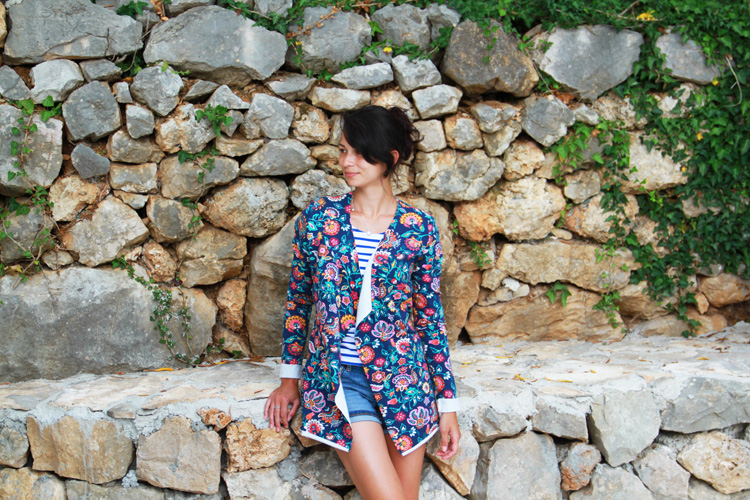
The pattern for women’s cardigan RAW EDGE is available in sizes 32 - 60 and you can get it here: Women’s cardigan RAW EDGE
Recommended material
Use knits of medium thickness, such as stretchy laid-in knits, Ponte Roma knits, elastic faux leather, elastic scuba fabric, etc. I recommend choosing a material that has neat cutting edges.

I used a thinner combed laid-in knit from the Unuodesign.cz store: Combed laid-in knit
Sewing instructions
The photos in this article are embedded using mini-galleries (small pictures side by side). If you want to take a closer look, simply click on the photo and it will enlarge.

Don't forget to adjust your sewing machine for elastic fabrics unless you plan to use your overlock machine. You can learn more about that in this article:
Sewing elastic fabrics with a regular sewing machine - 4 steps to success
Pattern layout
Prepare:
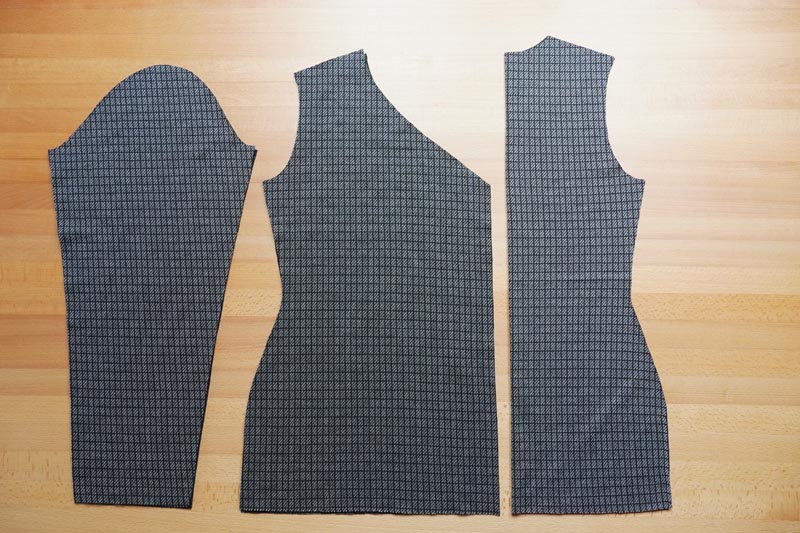
- 2x front piece
- 1x back piece (cut on fold)
- 2x sleeve piece
Sewing
Shoulder seams
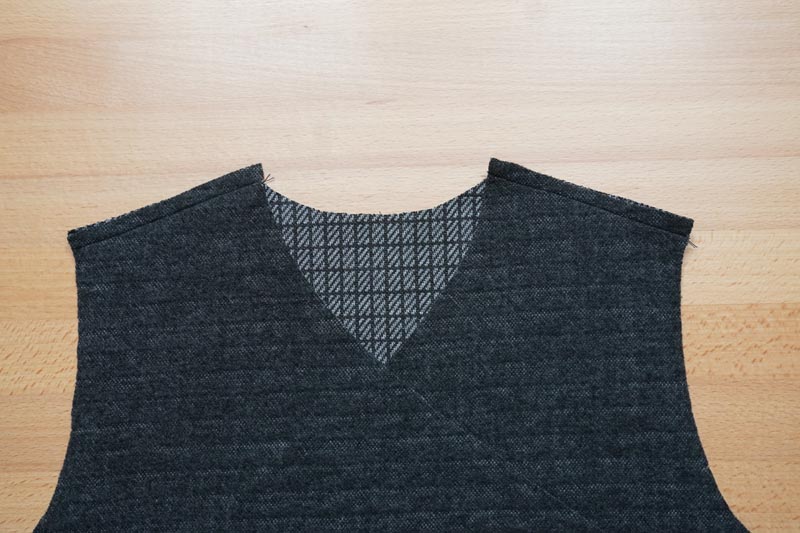
Let’s do the shoulder seams first. Spread the back piece on your table (face side up). Lay one of the front pieces over the back piece (face side to face side) and pin the shoulder seam.
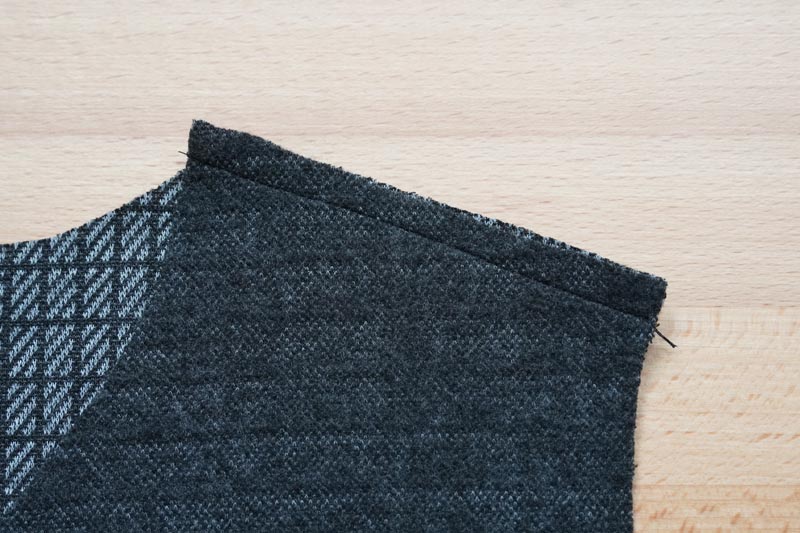
Pin the other shoulder in the same way. Sew both shoulder seams. You can sew on your overlock, or like me in this article, use a regular sewing machine and set up some kind of elastic stitch. I used a three-step straight stitch.
If you don’t have (or use) a serger, you can simply press the seam allowances towards the back piece and finish the seams with an overcast seam or zig-zag stitch. Another option is to press the seam allowances open and topstitch both sides of the seam. You should use elastic stitches for topstitching so that the seams do not tear.
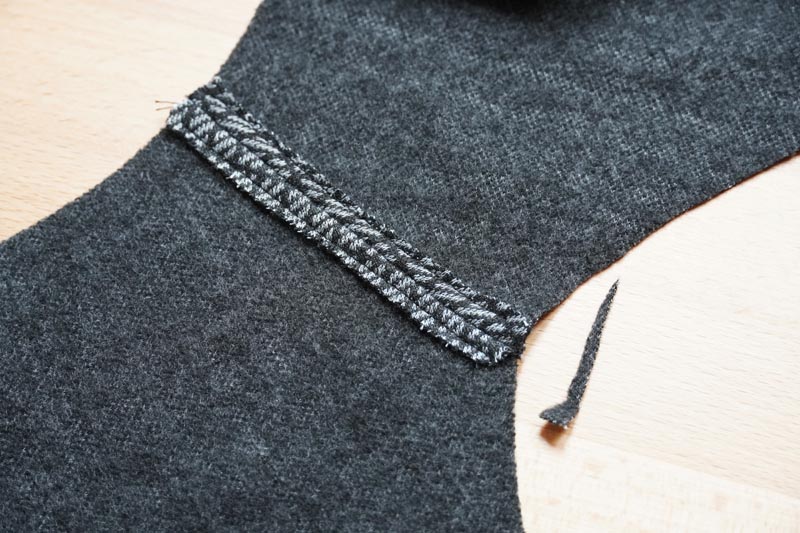
Cut off excess seam allowances at the neckline.
Sew the sleeves in flat
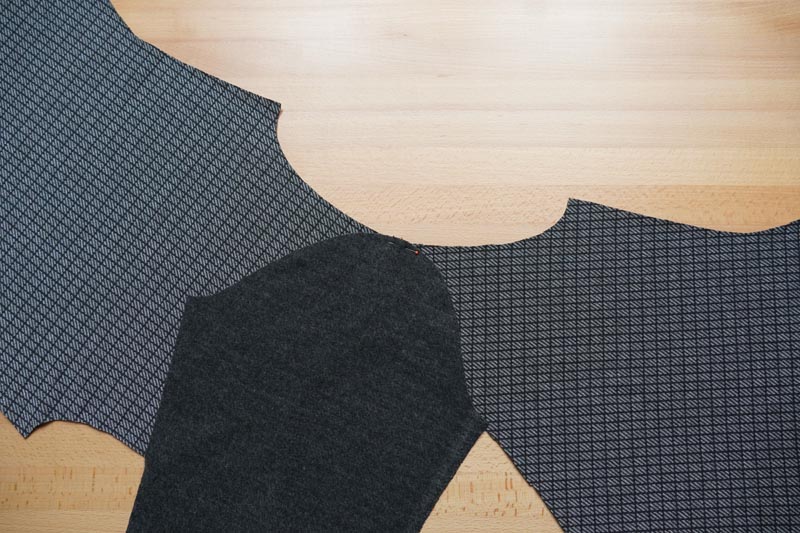
Pin the sleeve to the open armhole. Align the top of the sleeve cap (marked in the pattern) with the shoulder seam.
Pin the sleeve to the armscye. First, pin the top of the sleeve cap to the shoulder seam. Next, pin the sleeve to the front piece where both parts are marked. Then continue towards the armpit area, where the sleeve and side seam meet.
Then pin the sleeve to the back piece. Sew the sleeve and then work on the other side of the cardigan in the same way.
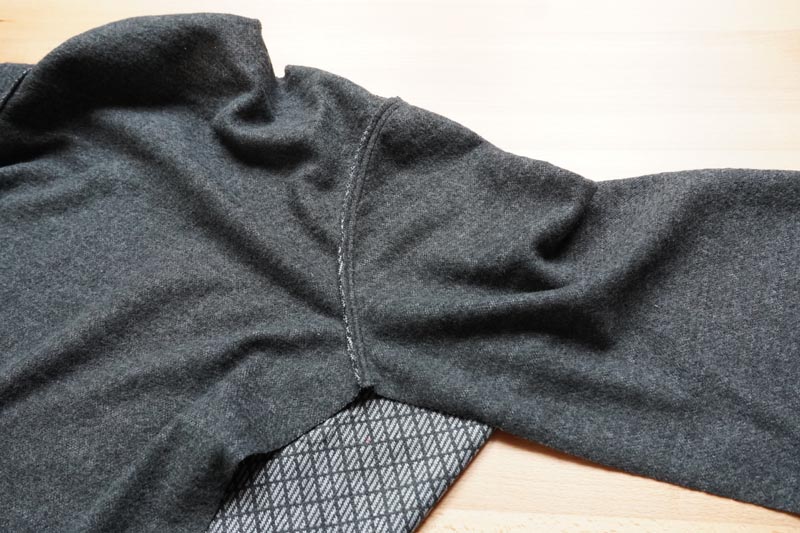
You can topstitch the armscye just like the shoulder seams before. Just press all seam allowances towards the torso (away from the sleeve) and sew on the face side of the cardigan with an elastic stitch.
Side seams & Sleeve seams
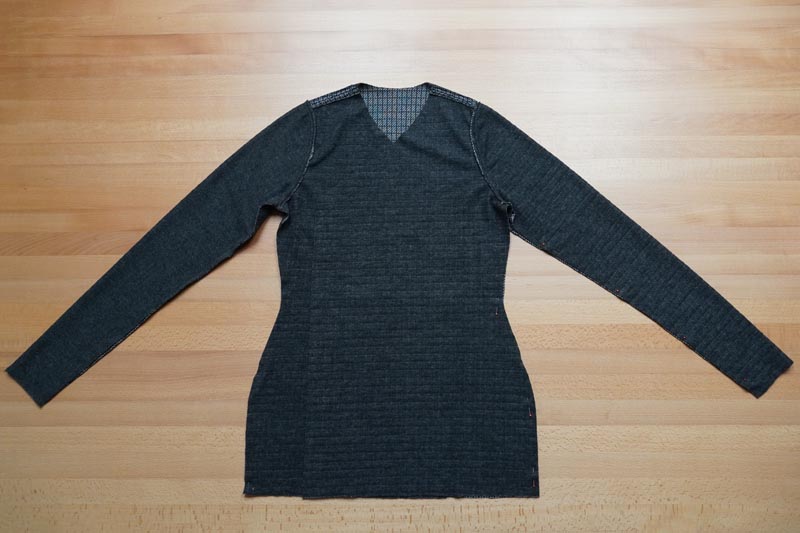
Now all you have to do is sew the side and sleeve seams - lay the front pieces on top of the back piece (face sides to face side). Align side seams and sleeve seams on both sides.
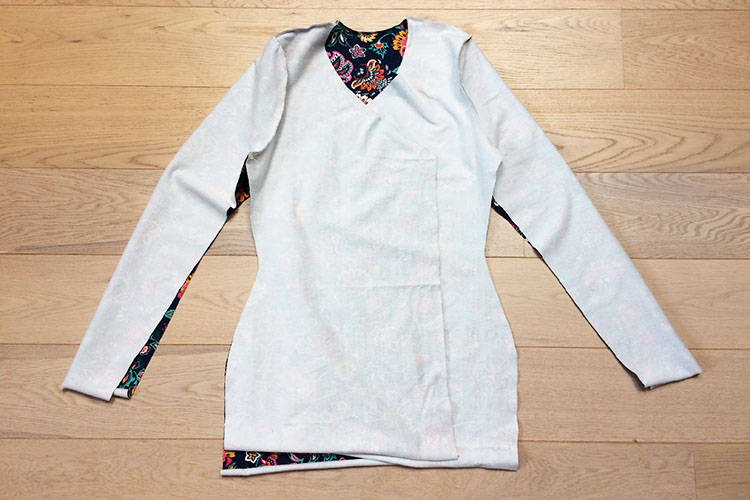
Pay attention to the cornersReversible of the sleeve cap - they must lie exactly on top of each other. It is also necessary to align the corners of the front parts and the back part at the bottom edge.
Sew sleeve seam and side seam in one go. Do the other side in the same way. Clean the sleeve and side seams with a zigzag stitch. Of course, this is not necessary if you used your serger - the seams should already be finished.
You can leave the remaining cutting edges raw. You can leave the remaining cutting edges raw and wear your cardigan with the sleeves slightly rolled up.
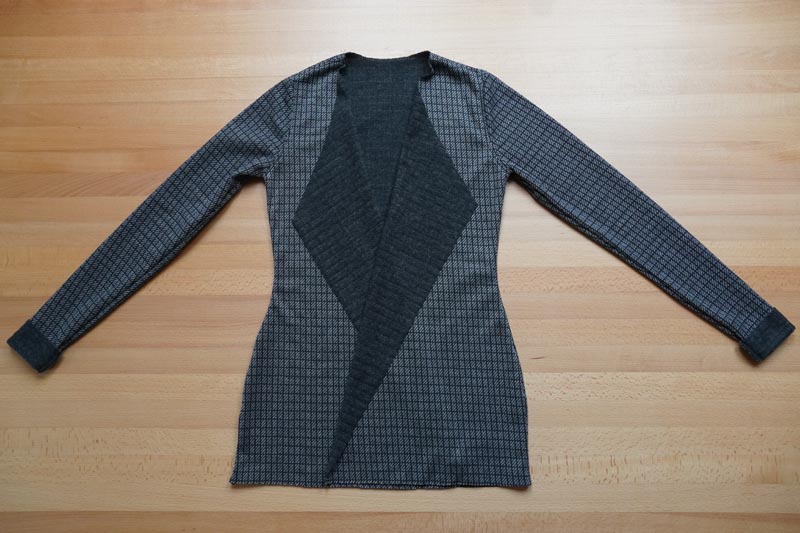
That was really quick, huh?
If you don't like the look of raw cutting edges, you can finish the cardigan in many conventional ways. You can find inspiration, for example, in these articles:
How do you like today's instructions and simple pattern for women's cardigan?
Are you going to try it? :)
Pattern for women’s cardigan RAW EDGE
Have a nice day, Petra
Don't forget to share your joy with others!
Do you like this article? If so, share it with your friends and tell me about it in the comments section below. I will be glad for any feedback! ♥
PS: Did you know that there are FREE PATTERNS available on my blog?


