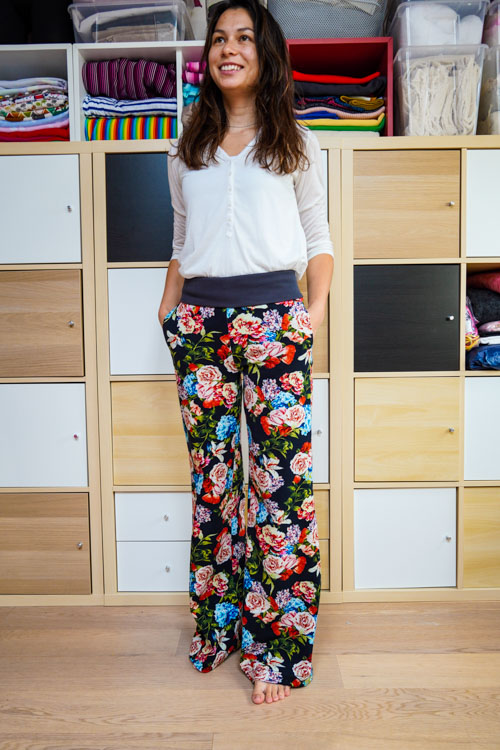
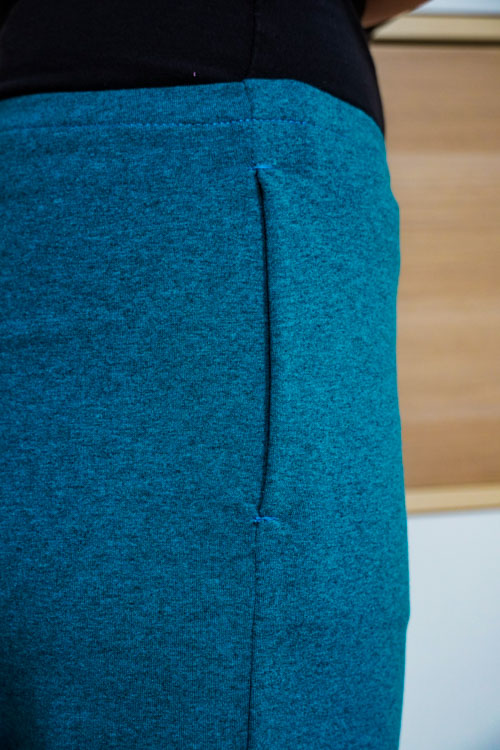
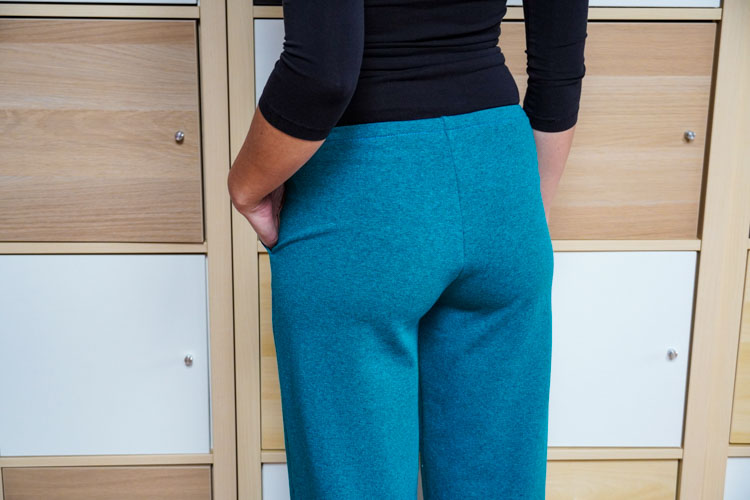
I would like to introduce my second sweatpants pattern after pattern for sweatpants BASIC. This article is about the pattern for wide & elegant women’s sweatpants PALAZZO.

This pattern is available in my online store (sizes 32 – 60). You can get it here:
The pattern for women’s sweatpants PALAZZO

Recommended material
I recommend using some type of knit with the addition of elastane, thinner uncombed tracksuit fabric (also with the addition of elastane), sports knit, premium functional knit, etc. You will also need an elastic waistband (for the version with lower waistline) or hem knit (for the version with empire waist / folded hem waist)
The required amount of material
For 140 cm (55") wide fabric:
- 1.5 m (60") for sizes 32 – 42
- 2 m (79") for sizes 44 – 50
- 2.5 m (99") for sizes 52 – 60
I’ve used overlock to sew my sweatpants, but you don’t have to. You can easily sew the sweatpants on a regular sewing machine, just follow a few simple rules outlined in this article:
Sewing elastic fabrics on a regular sewing machine
Sewing instructions
Pattern layout
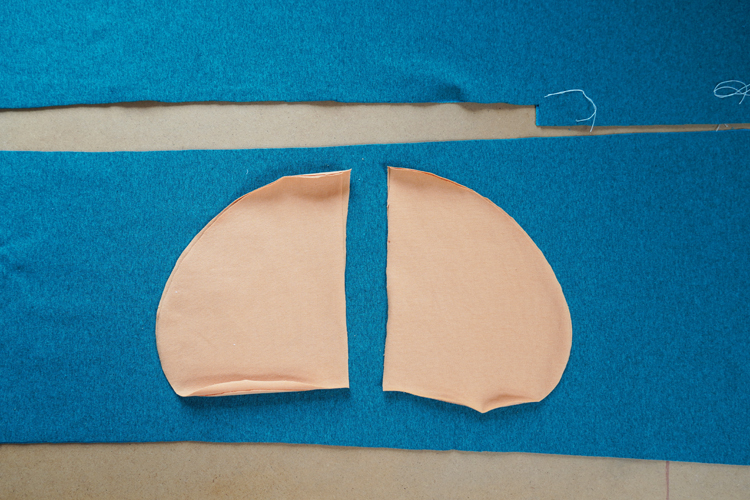
According to the paper pattern prepare:
- 2x back piece
- 2x front piece
- 4x pocket piece
Note: You are going to need to make the waistline seam allowances (of both back & front piece) at least 2 cm (3/4") wide for the version with a lowered waistline (maybe more - it depends on the width of your elastic band). The correct size of the waistline seam allowances is the width of your elastic waistband + 1 cm (3/8"). Make the seam allowances 3,5 cm (1 3/8") wide if you have a 2.5 cm (1") wide band and 4 cm (1 5/8") wide if you have a 3 cm (1 1/4") wide band.
It’s absolutely necessary to position the pattern pieces along the grain of the fabric when sewing any type of pants. Take your time to align the pieces (the legs of your pants might get twisted if you do this incorrectly). Pay attention to the paper pattern pieces, there are grainline directions - long arrows informing you about the correct alignment. You can use a ruler to make these arrows longer if you want to.
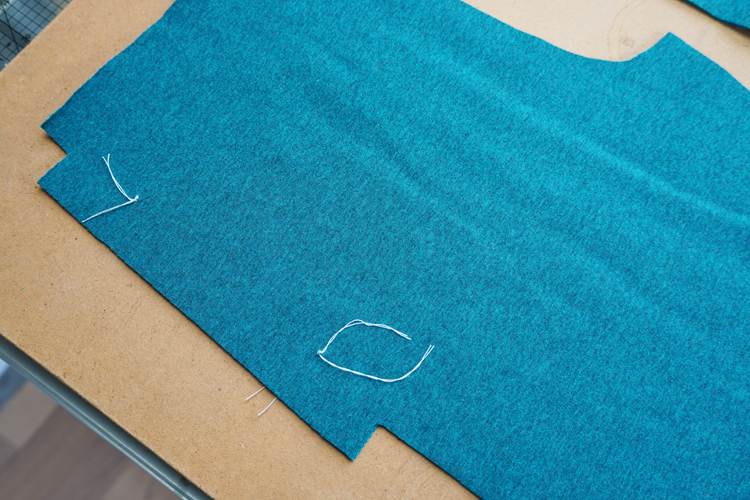
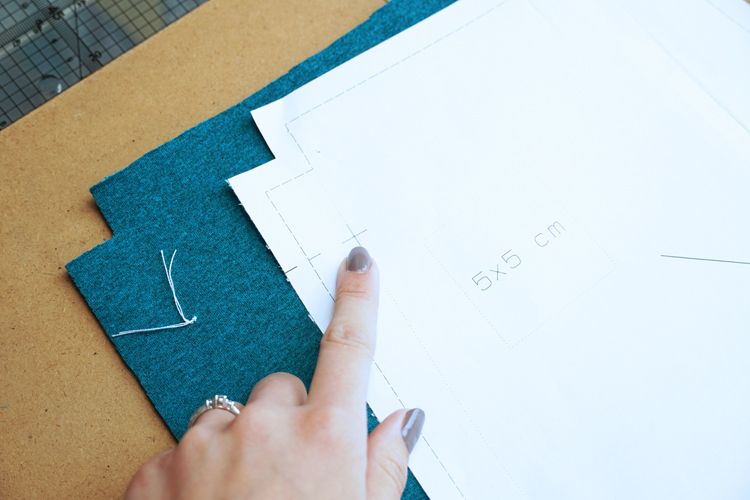
Transfer marks from the paper pattern to the fabric. There are marks for correct crotch/side seam alignment, marks indicating the height of the knees, and marks (crosses) indicating pocket openings.

Sewing
Let’s do the hidden pockets first.
Hidden pockets
Lay the pocket piece over the front piece (face side to face side) and pin them together.
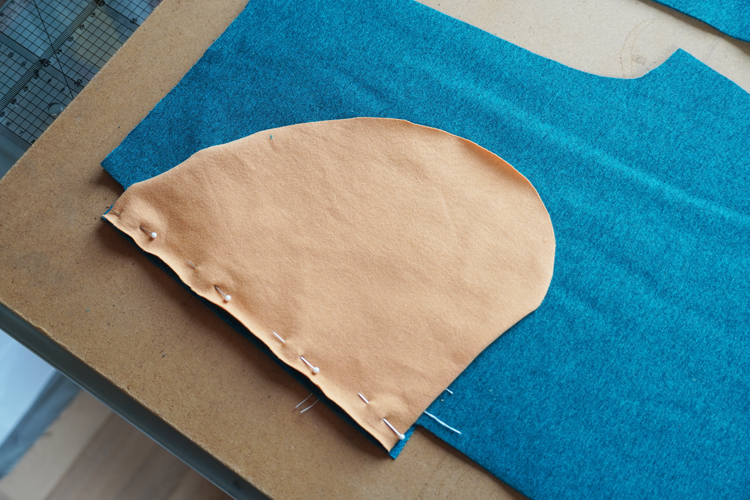
Sew the pocket piece to the front piece and press the seam allowances towards the pocket.
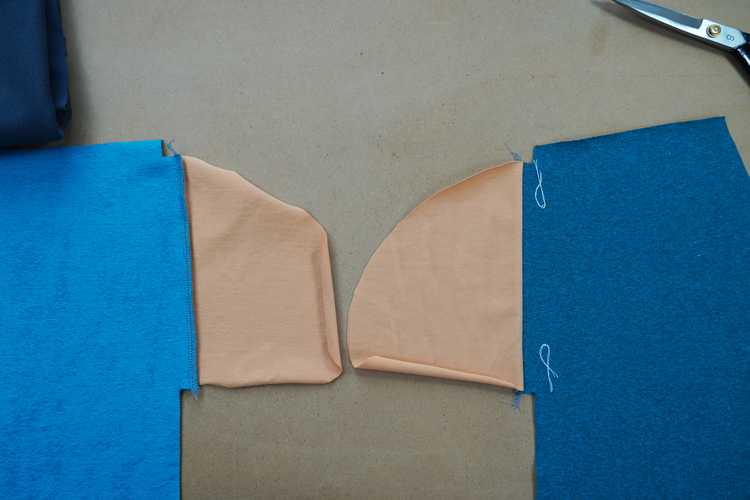
Topstitch along the original seam (through the seam allowances) to flatten it.
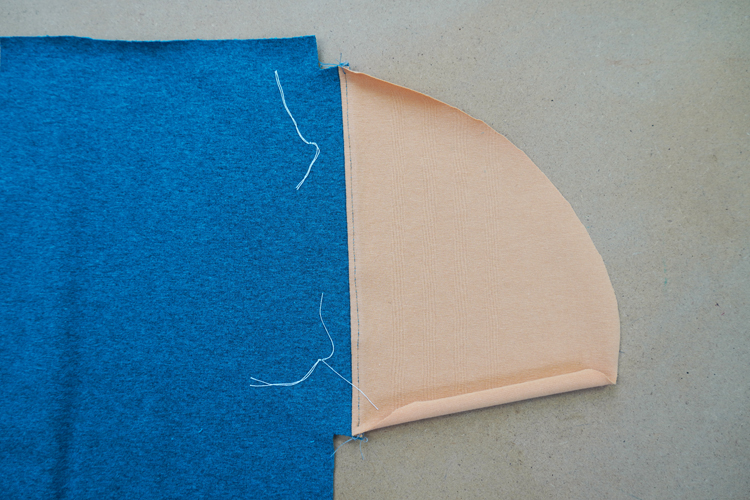
Work on the back pieces in the same way but this time press the seam allowances towards the back piece (not the pocket). Topstitch along the seams (through the seam allowances) to flatten it.
Now lay front pieces over the back pieces (face side to face side) and pin the side seam and the pocket pouch.
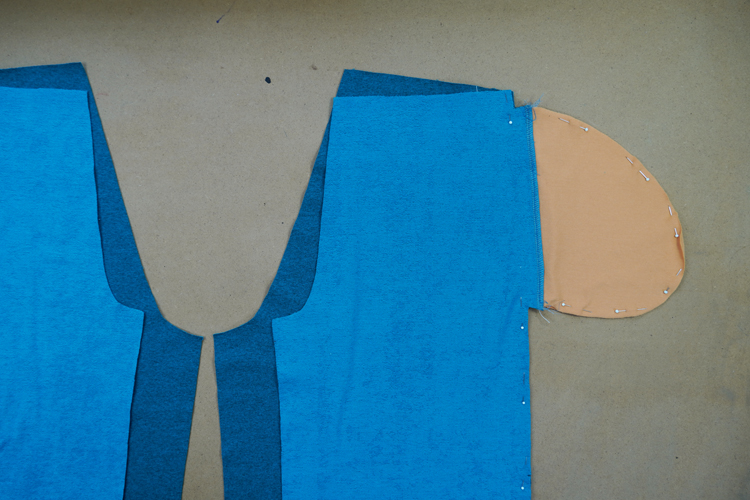
Sew the entire side seam including the pocket pouch in one go.
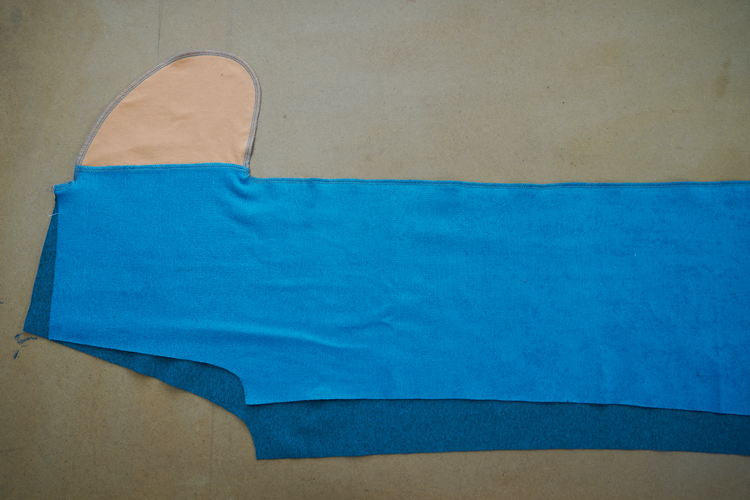
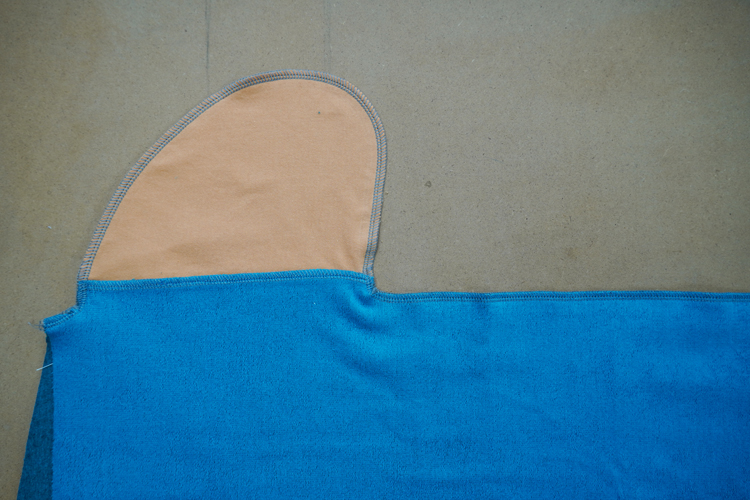
Find marks (crosses on the paper pattern) indicating the position of the pocket opening.
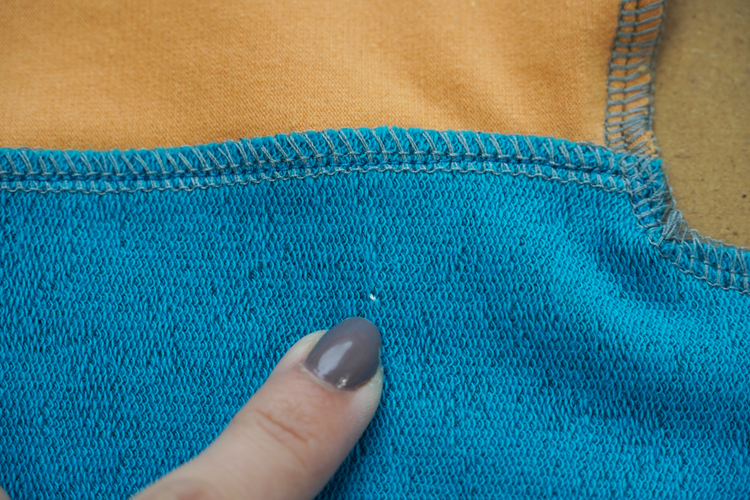
You can highlight those points with pins if you want to. Draw straight lines connecting the side seam and these points. It’s as if you are extending the line of the side seam.
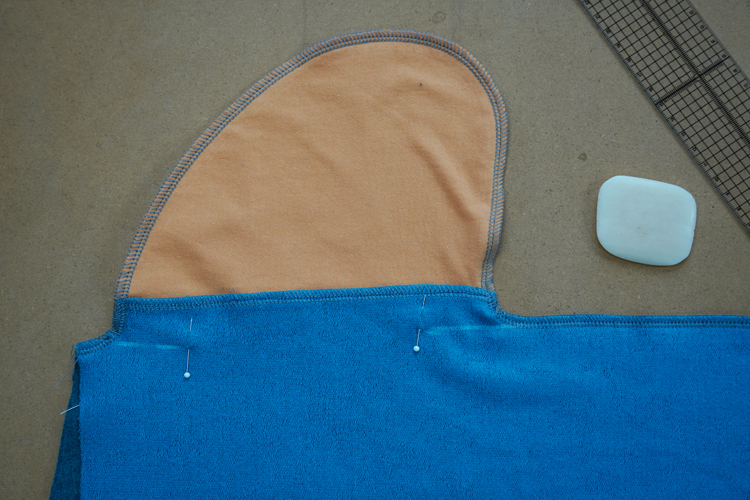
Sew through the pieces along your lines.
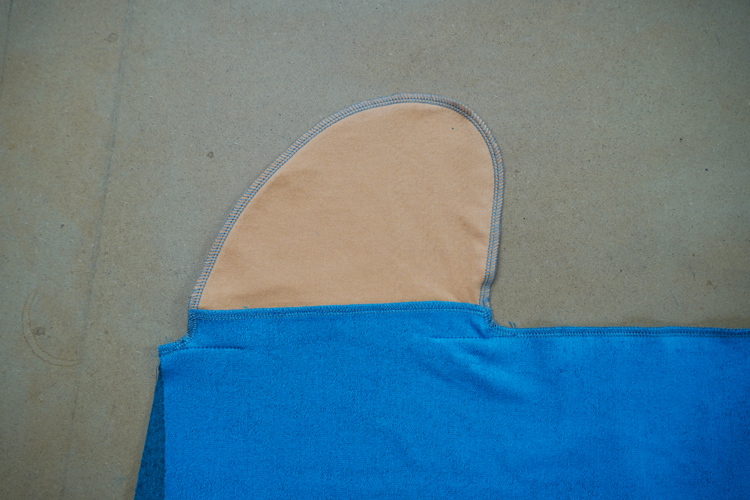
Pockets are almost ready. Now turn the pieces on the face side.
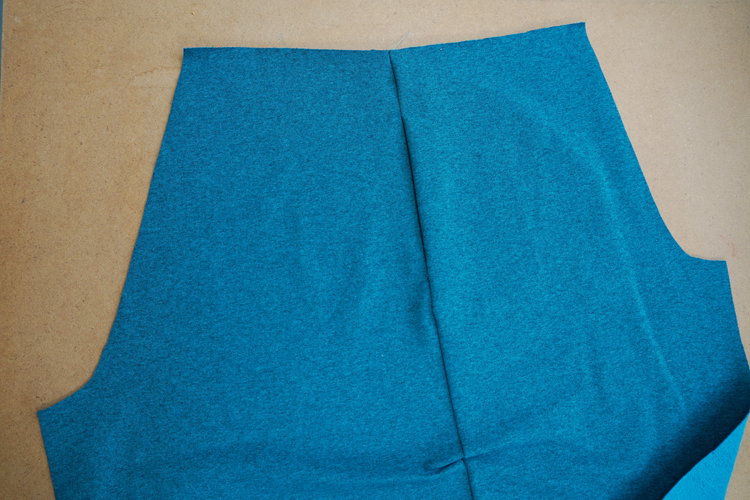
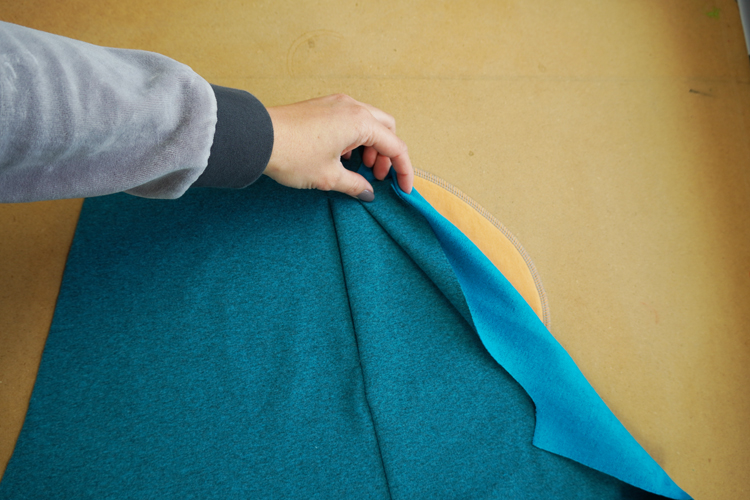
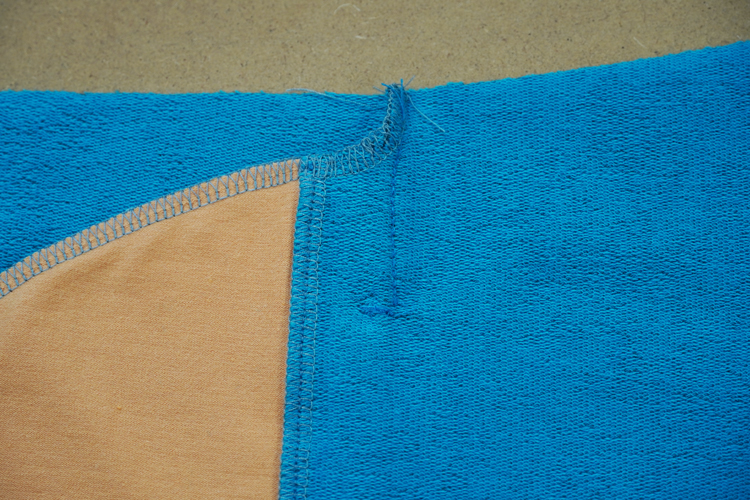
Find both ends of the pocket opening in the side seam (I recommend consulting the paper pattern - placement should be the same if you sewed precisely). You are going to sew reinforcing tacks (locks) here.
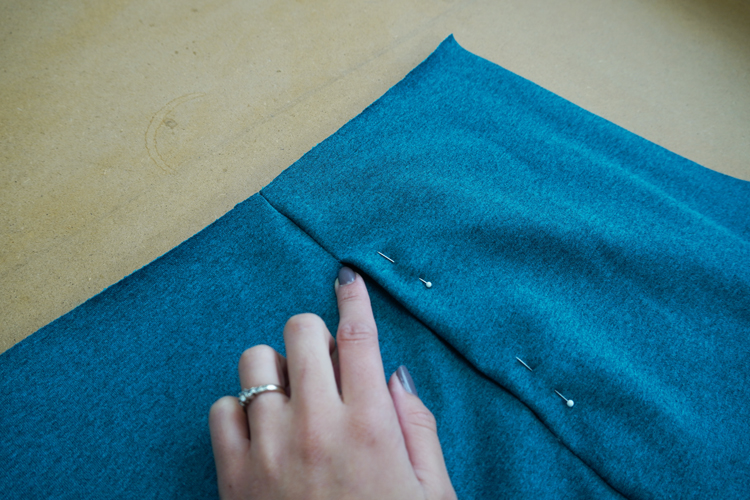
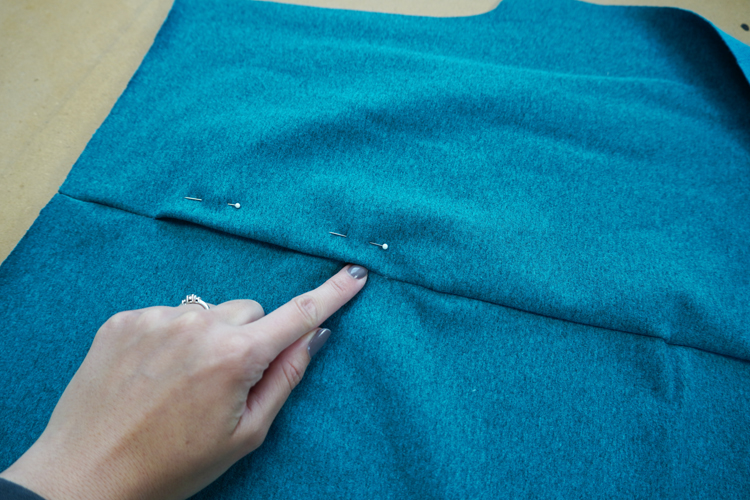
Again, you can mark those points with pins if you want to.
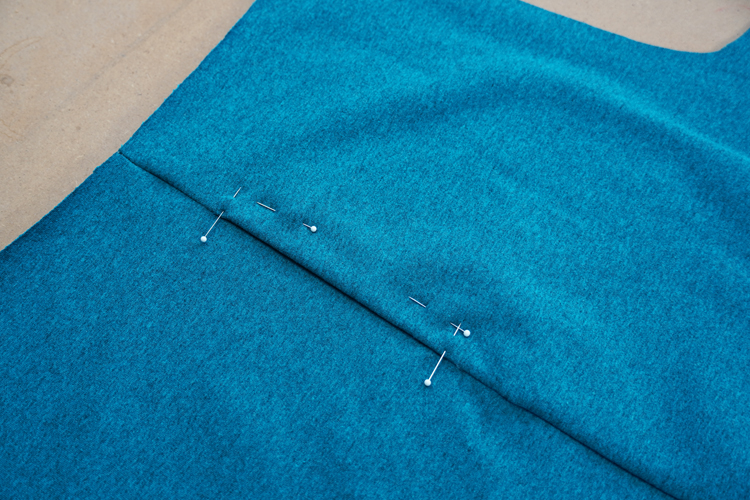
I recommend preparing both sides of the sweatpants before sewing the tacks, so you can compare them. The size of both pocket openings should be the same and they should also be the same distance from the waistline.
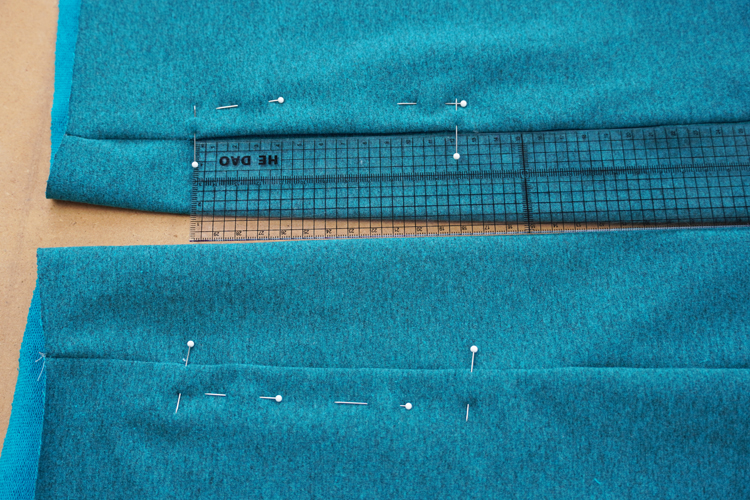
If everything is OK, you can sew the tack (locks) on both pockets. Choose the widest zigzag seam on your sewing machine and set the stitch (step) length to a minimum. Some machines will allow you to sew through one spot repeatedly - the length of the stitch is 0 - some will force you to sew short stitches (but that’s fine).
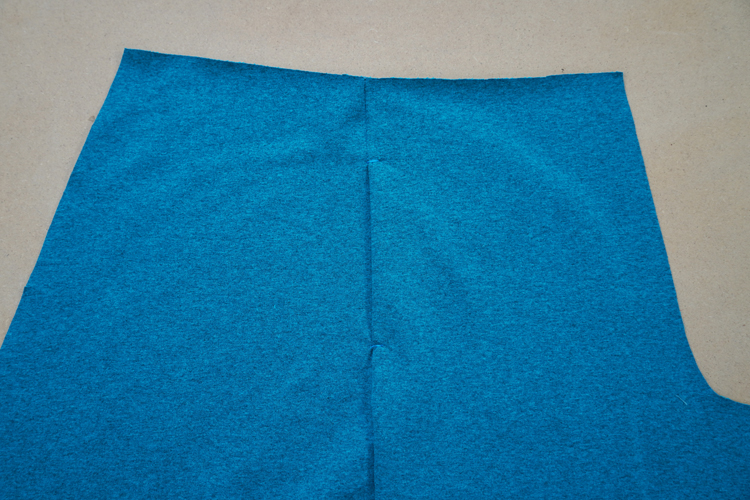
Sew through the ends of the pocket openings with a few stitches to reinforce the side seams/pocket pouches. Be sure that the pockets are folded towards the front pieces when sewing the tacks because the tacks will lock them in this position. (Double-check the correct position of the pockets, so you don't end up with pockets on your butt... ? )
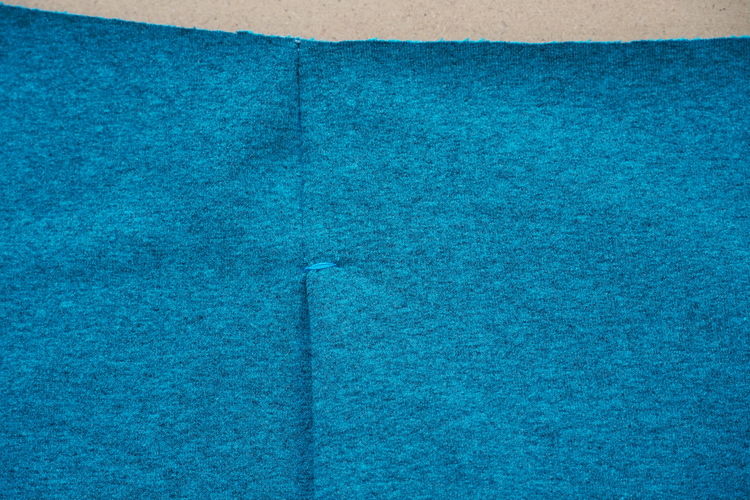
Okay, that’s it for the pockets.
Clean the bottom hems of the legs next and prepare to sew the instep seam.
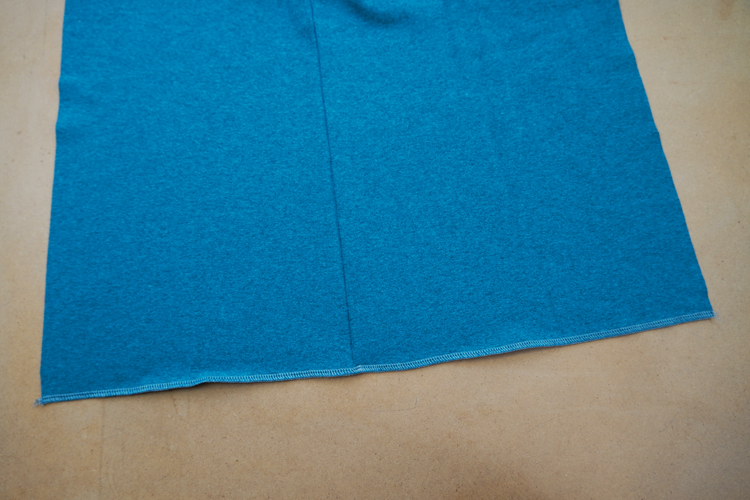
The instep seam edge of the front pieces is usually a few millimeters longer than the instep seam edge of the back pieces. That helps to shape the transition from the instep seam to the crotch seam. For PALAZZO sweatpants this difference is approx. 8 mm / 0.3" (5 mm / 0.2" for sizes 54 and larger). You need to “spread” this difference along the upper part of the instep seams. Pin the instep seam from the bottom hem of the legs up to the last mark before the crotch seam without any stretching. Start stretching the back piece slightly from that mark onwards to deal with the extra length of the front piece. You need to stretch the back piece ONLY in its upper part. The legs of your sweatpants will twist around if you start stretching the back piece below the uppermost mark.
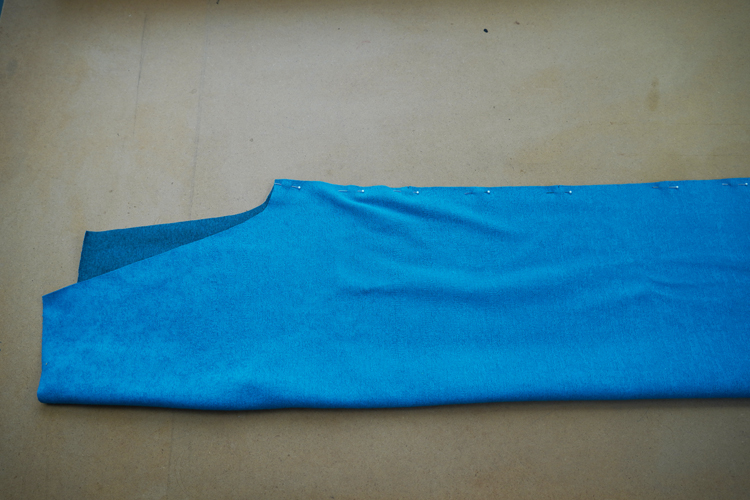
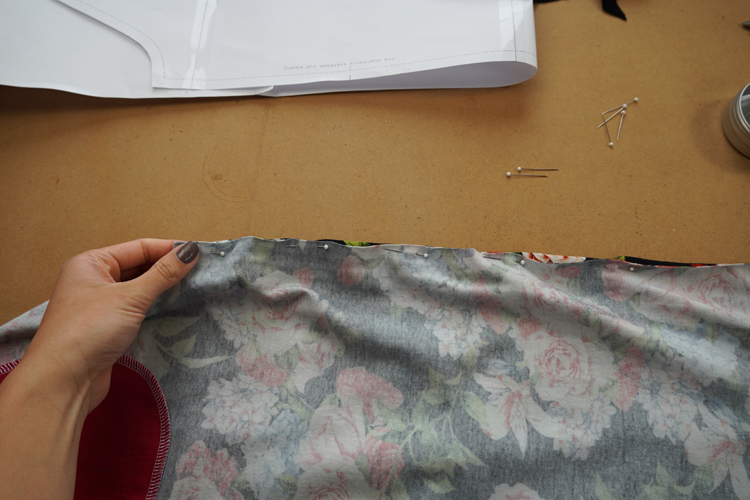
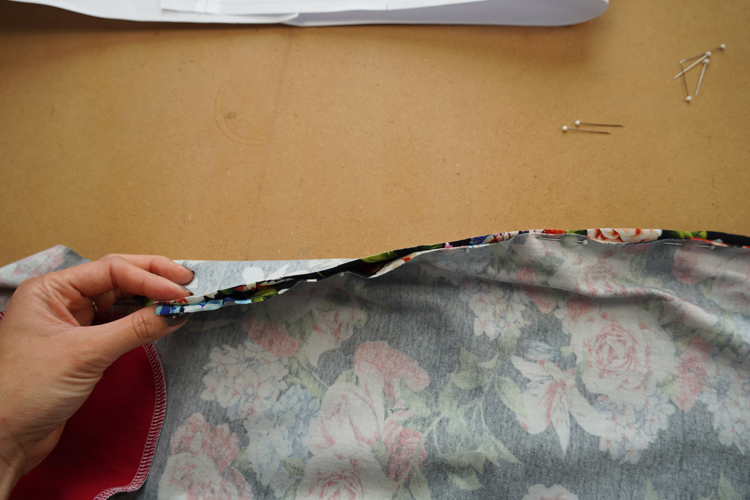
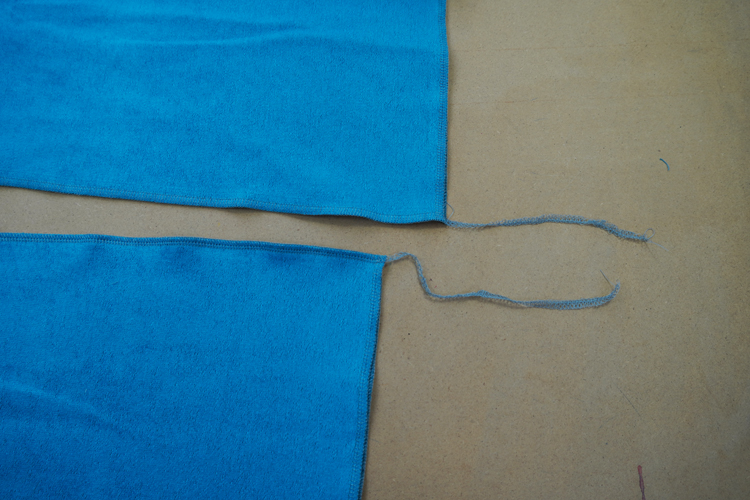
Sew the instep seams and leave longer thread chains near the bottom hem and pull them under the loops.
Turn one of the legs face side out...
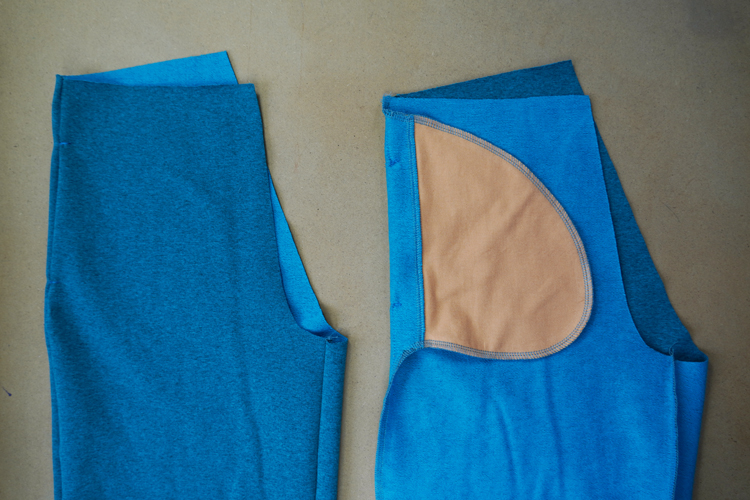
...and insert it to the other leg so you can pin the crotch seams.
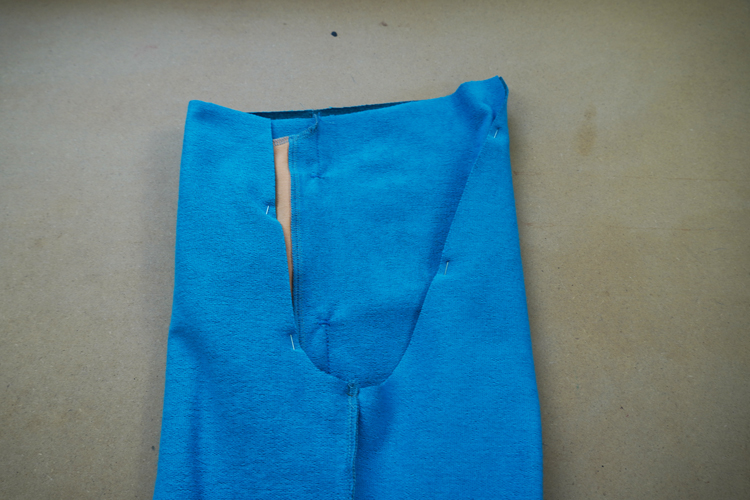
Sew the crotch seam in one go.
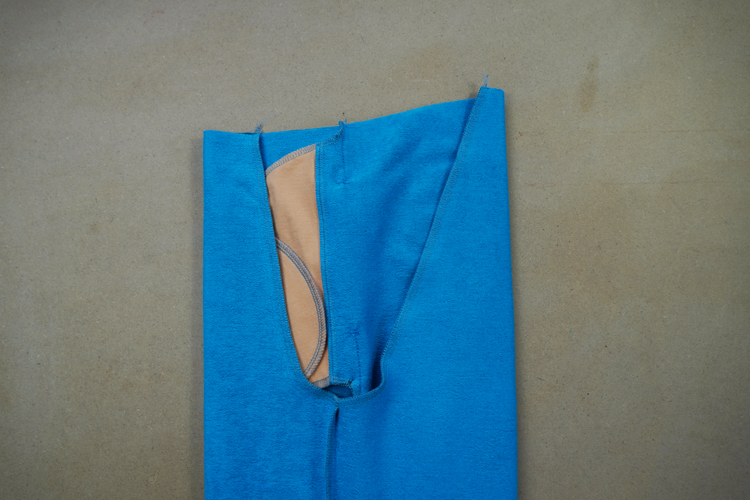
Now is the right time to try the sweatpants on. Decide how you want to finish the waistline and fold the bottom hem of the legs to fine-tune the length of the legs based on that.
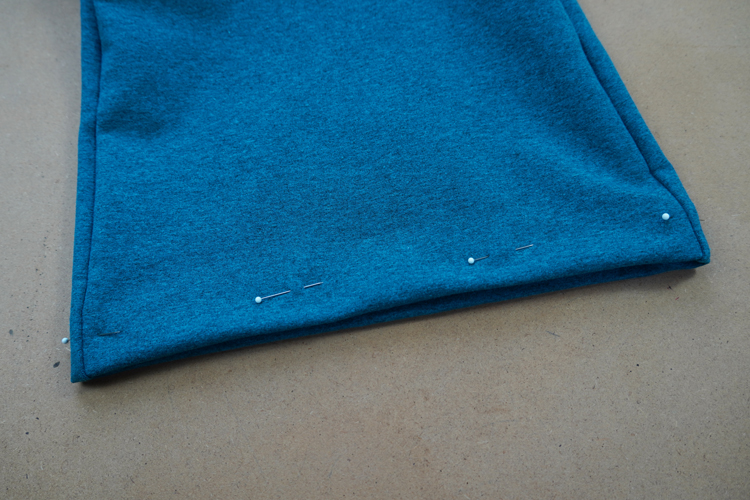
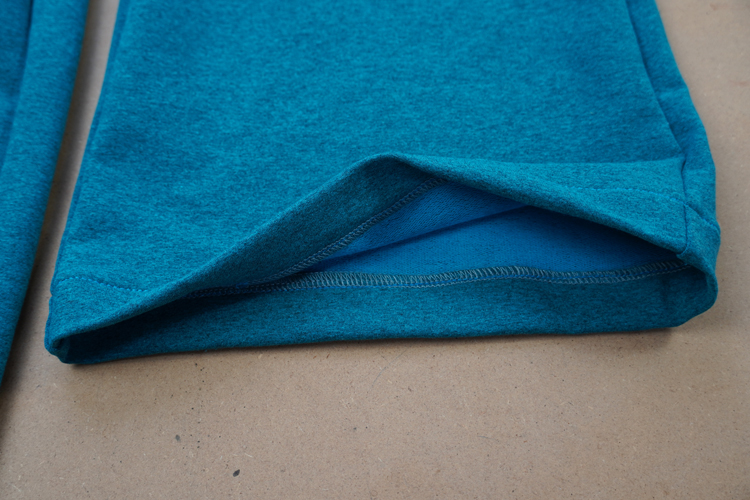
Use elastic seam to fix the bottom fold in place.
Waistline
1) Version with a lowered waistline
There are several ways to sew the sweatpants with a lowered waistline, but you must follow several rules no matter which way you choose:
- Determine the correct length of the waistband by wearing the pants and winding the band around yourself. It should not be too tight or too loose. This method is the simplest and most accurate because each band stretches a bit differently.
- The waistband tunnel should be 0.5 cm (0.2") wider than your waistband. This will help to keep the band in the right position without constricting it. You also need to add some space for the seam allowance of the tunnel. Make the seam tab for the tunnel 1 cm wider than your waistband if you are going to fold the tunnel once and 1.5 cm (5/8") wider if you are going to fold it twice.
- Check that your waistband is not twisted and make its closing seam as flat as possible. You can close narrow (5 mm / 0.2" wide) bands with a knot, but I do not recommend this.
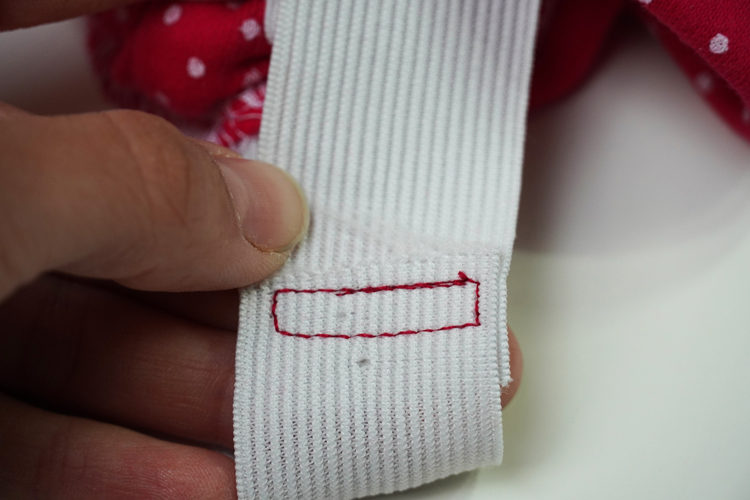
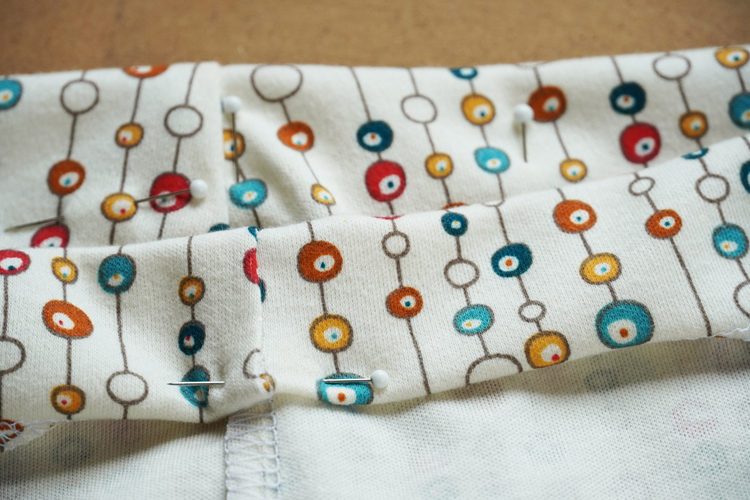
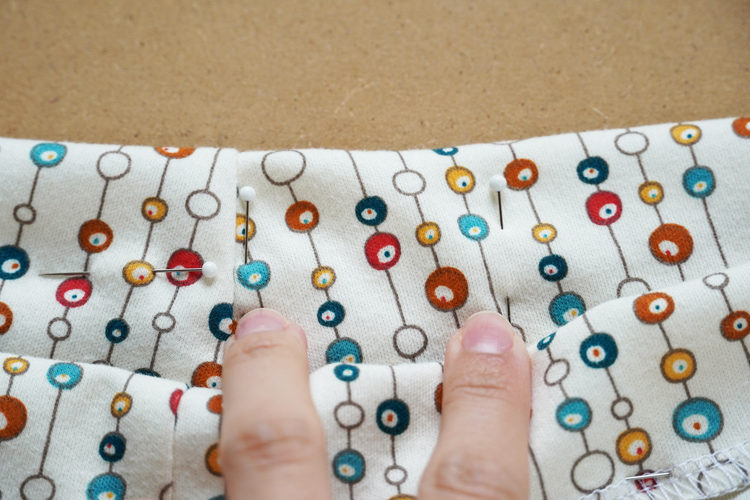
Waistband tunnel with two folds
Fold the waistline seam allowance towards the reverse side twice. It’s important to leave enough space for the band (its width + 5 mm / 0.2"). Sew around the waistline leaving a small opening near the back crotch seam. Insert your waistband through this opening and connect its ends with a flat seam. You can now close the opening. Be careful not to sew through the waistband.
Waistband tunnel with one fold
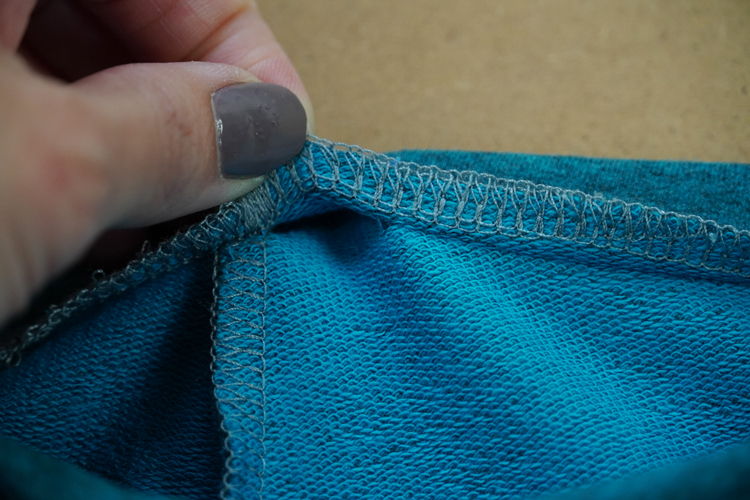
This is the most frequently used method. Clean the cutting edge of the waistline (and pull free ends of the thread chain under the loops when using an overlock).
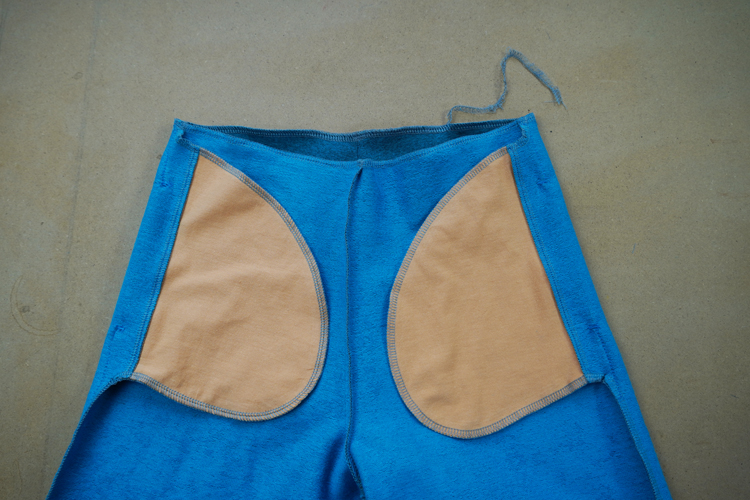
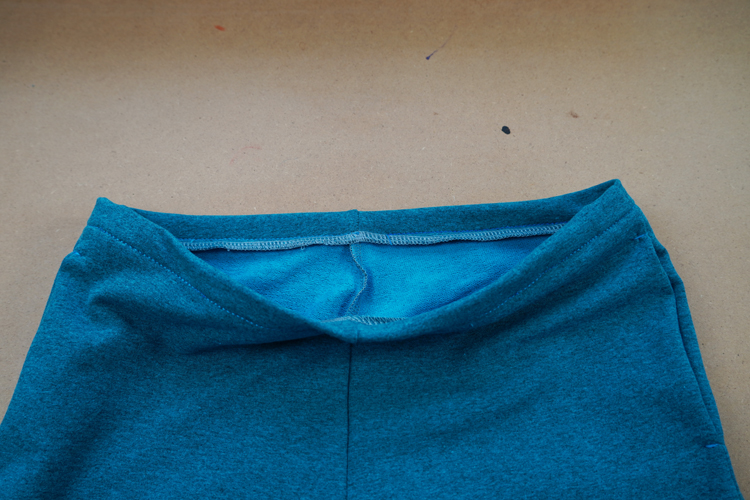
Fold the hem to the reverse side once. The fold should be 1 cm (3/8") wider than your waistband so you can create a 5 mm (0.2") wider tunnel by sewing 5 mm (0.2") from the previously cleaned edge. Sew around the waistline leaving a small opening near the back crotch seam, so you can insert the waistband through here.
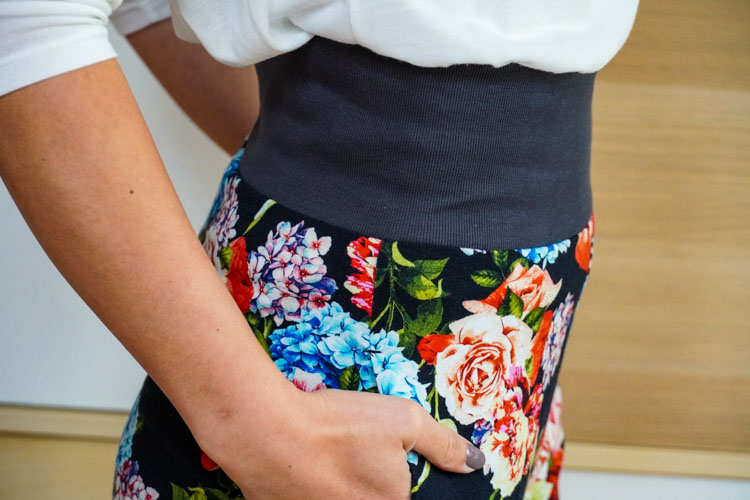
2) Version with high (empire) waist or folded hem waist
The sewing method of pants with both empire / folded hem waist is the same, the difference is in how it’s worn. Empire waist continues up from the pants and folded hem is - well - folded down.
Determine the correct length of the hem knit in the same way as with the elastic waistband - wear the sweatpants and wind the hem around your waist. Recommended dimensions for the hem are part of the pattern, but you should definitely test the hem on yourself before cutting it. Hem knits differ and the correct length might also vary depending on whether you want to wear it folded down or not. The total width of this piece is 22 cm (8 5/8") (it will be 10 cm / 4" when it’s sewed in), but you can, of course, modify this dimension as you wish.
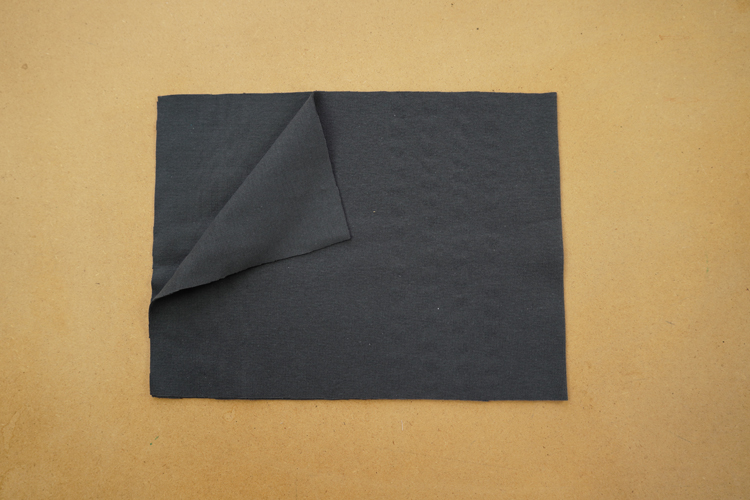
Fold the hem knit in half (face side to face side) and sew its shorter edges.
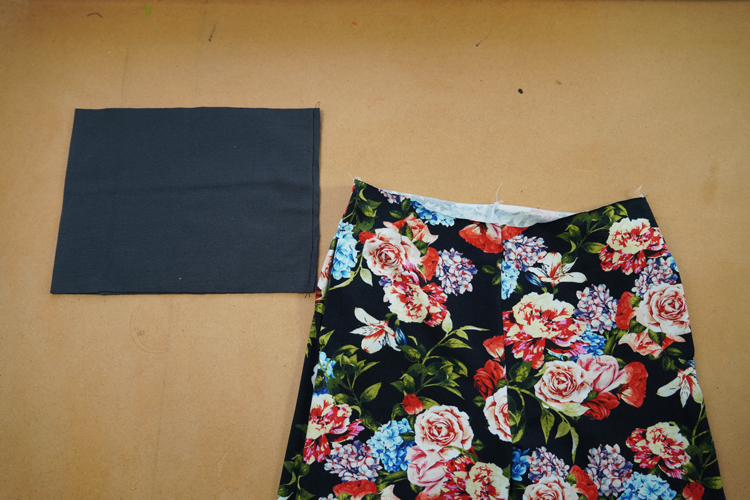
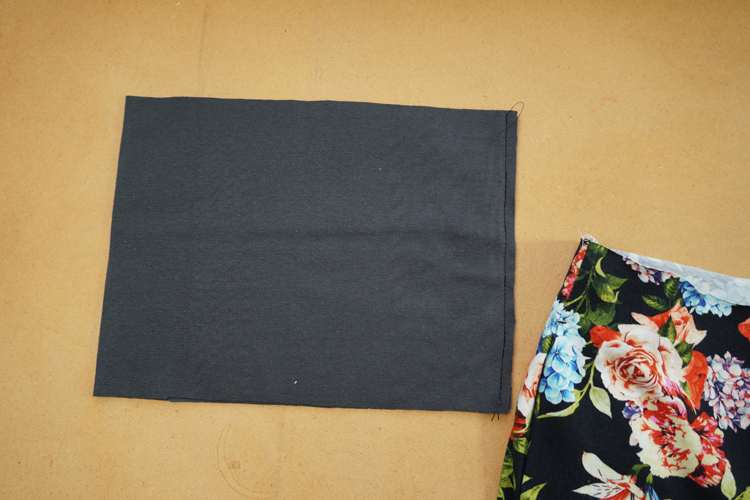
Now fold the hem in half in the other direction (face side out).
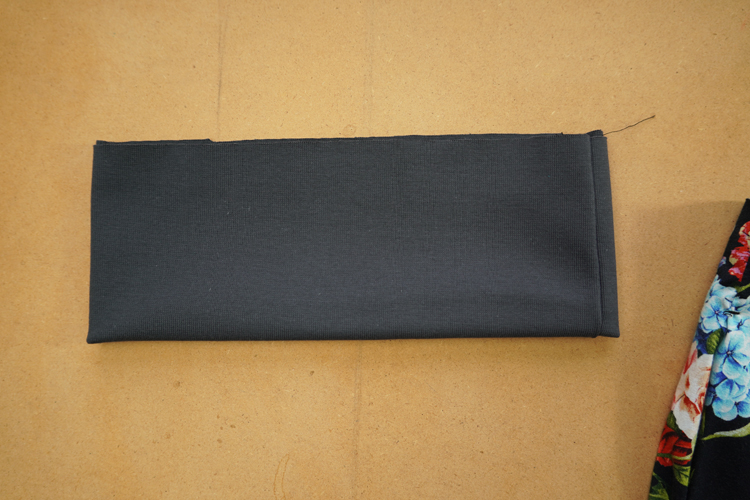
And pin it to the waistline. You are going to need to stretch the hem a bit to sew it in evenly.
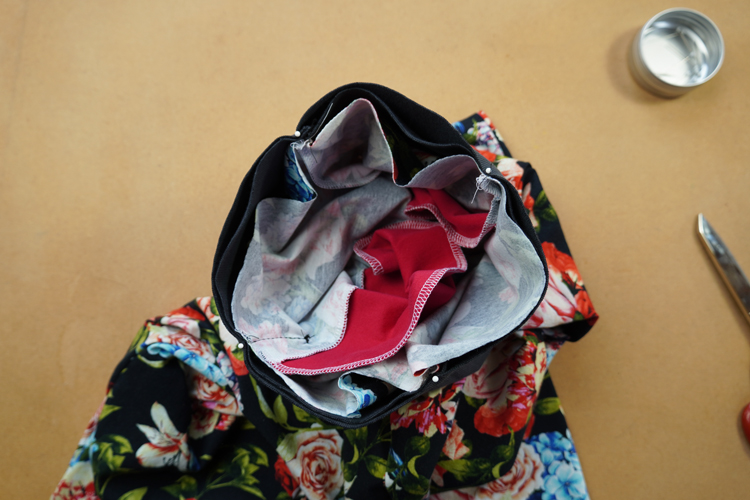
Pull free ends of thread chain under the loops when using an overlock.
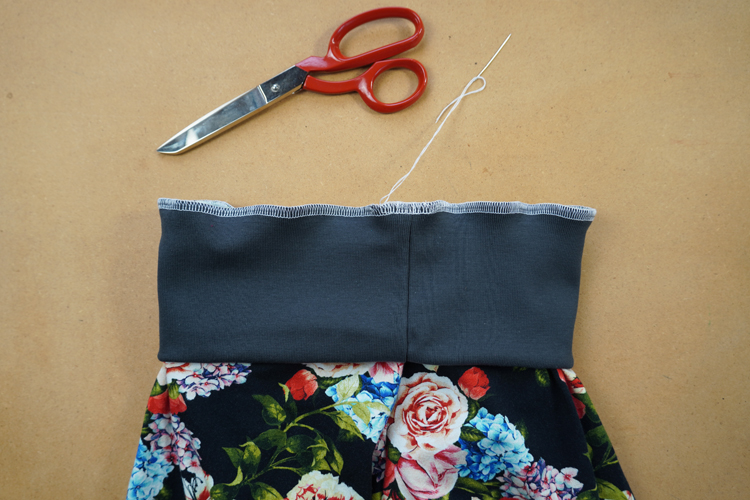
Your sweatpants are ready! Do you like today’s pattern? Are you going to give it a try?
You can get this pattern (sizes 32 - 60) in my online store:
The pattern for women’s sweatpants PALAZZO
Have a nice day, Petra

Don't forget to share your joy with others!
Do you like this article? If so, share it with your friends and tell me about it in the comments section below. I will be glad for any feedback! ♥
PS: Did you know that there are FREE PATTERNS available on my blog?


