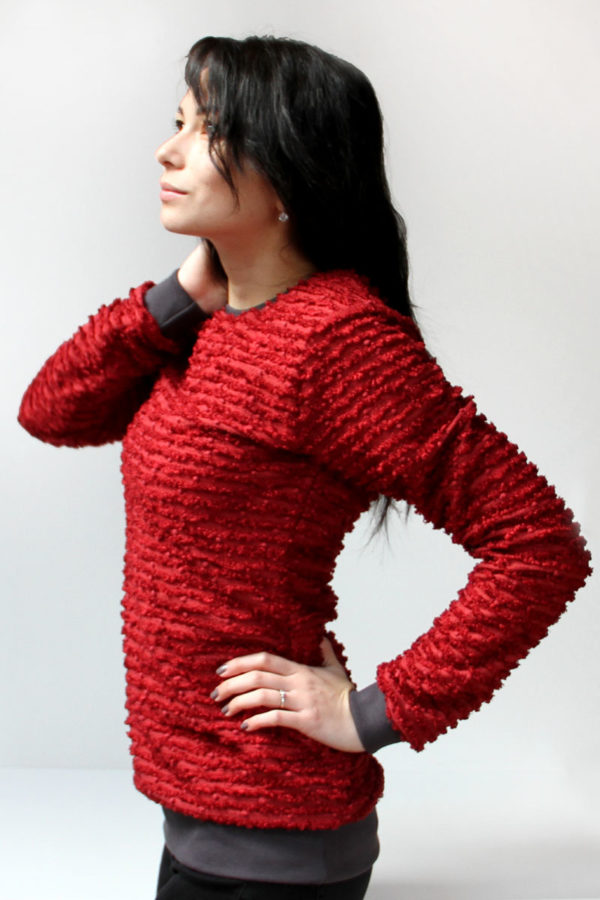
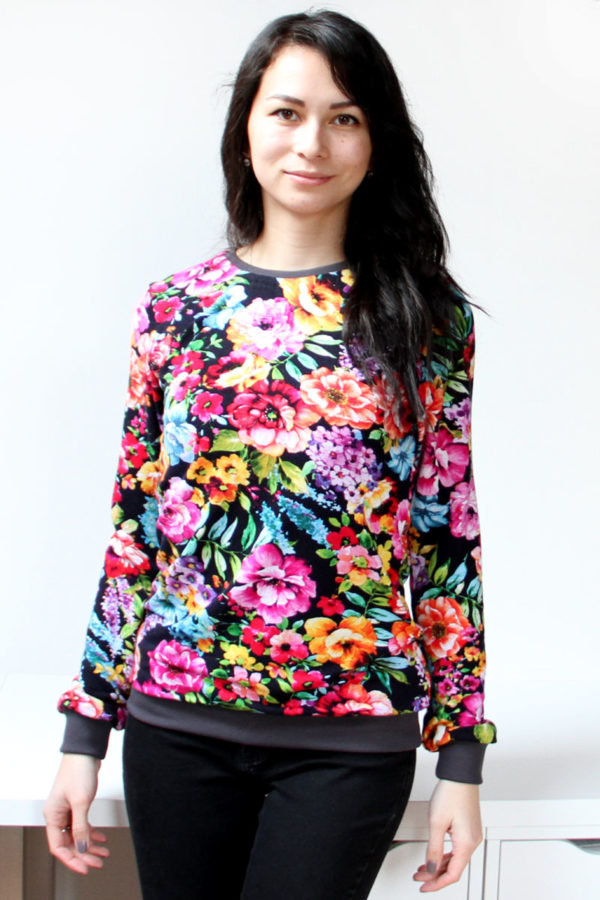
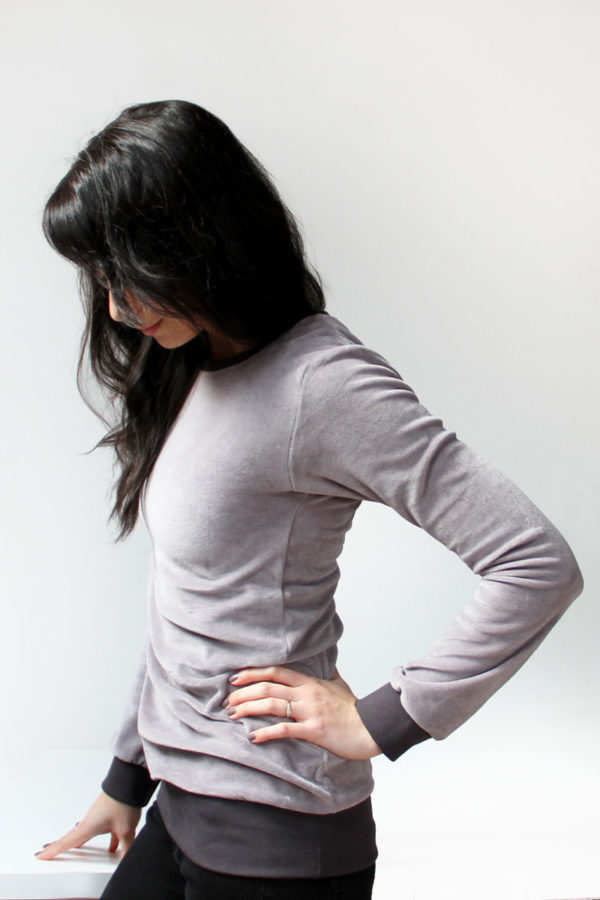
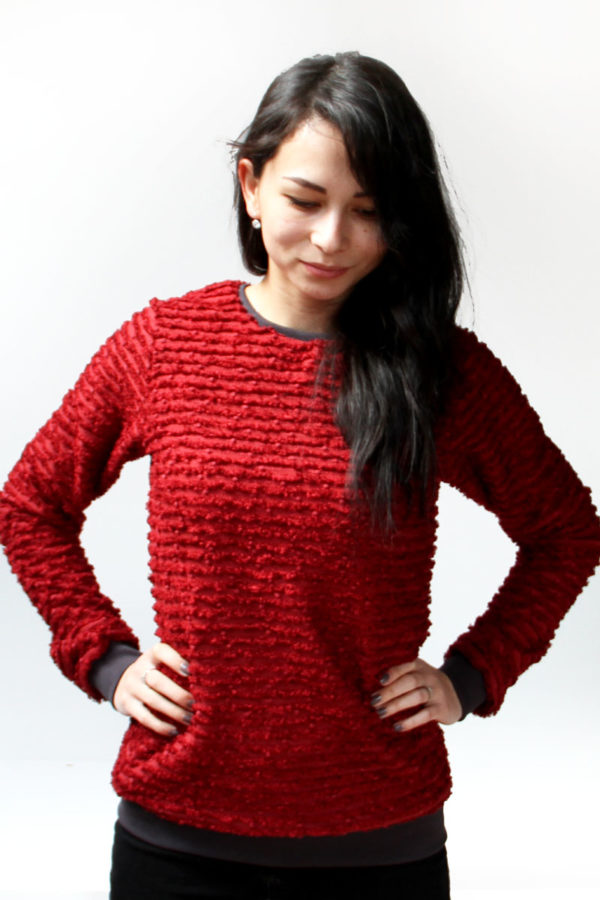
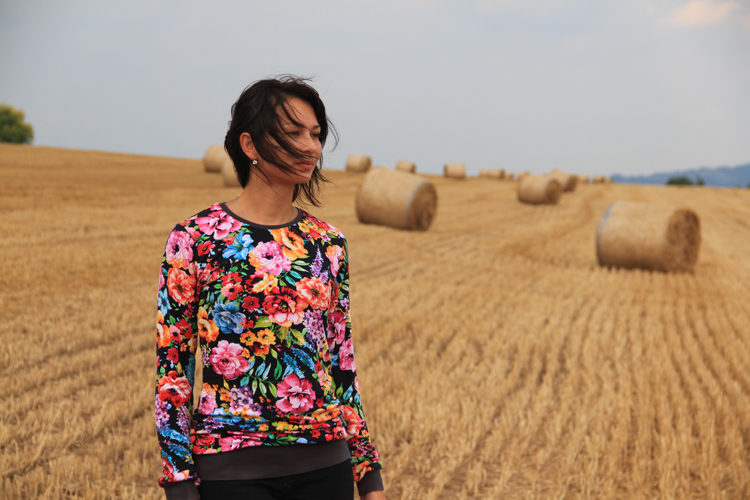
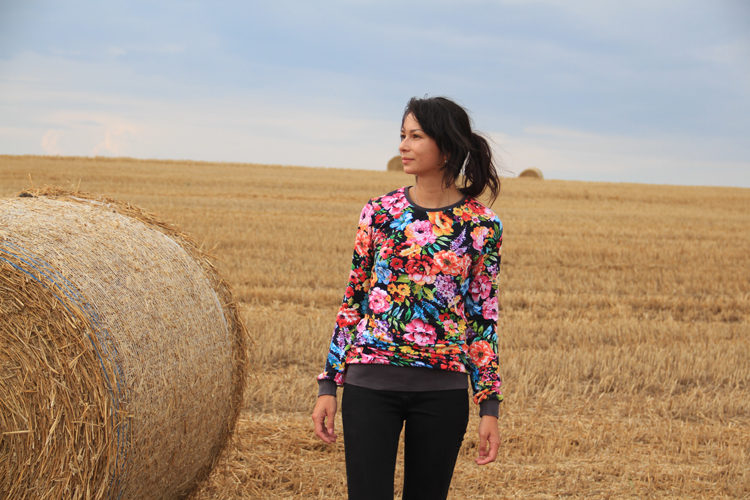
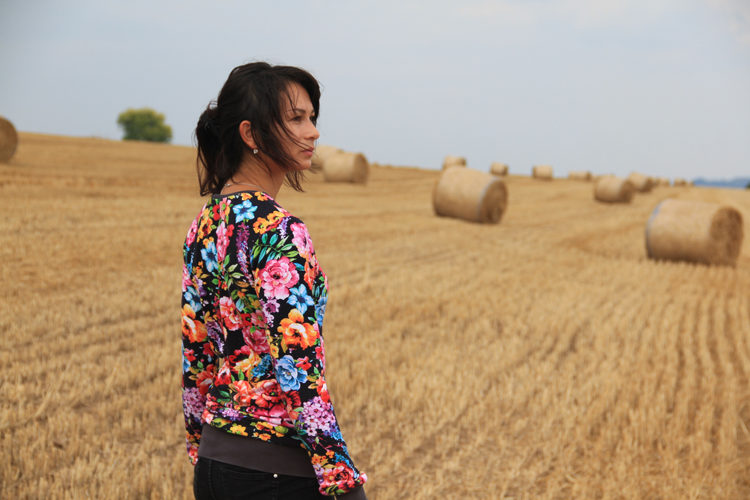
Autumn is slowly approaching, and you may be looking for a simple pattern for a women's sweatshirt, which you will be able to wear not only in your free time but also to the office. I have exactly what you are looking for. For today, I have prepared a pattern for women’s sweatshirt BASIC. All you have to do is choose the right colors and prints and you can sew a sweatshirt suitable for hiking or office. Below you will find detailed photo instructions on how to sew a sweatshirt step by step.
The pattern
You can find the pattern for the women's sweatshirt BASIC here:
This sweatshirt is designed to be semi-close fitting. The sleeves (and bottom edge) are finished with hem knits. The pattern for women’s sweatshirt is constructed in a professional program for clothing pattern development and it is available in sizes 32–56.
Recommended material
This pattern works best with flexible materials of medium thickness. You can find a large selection of suitable materials in Dumlatek.cz store, for example.
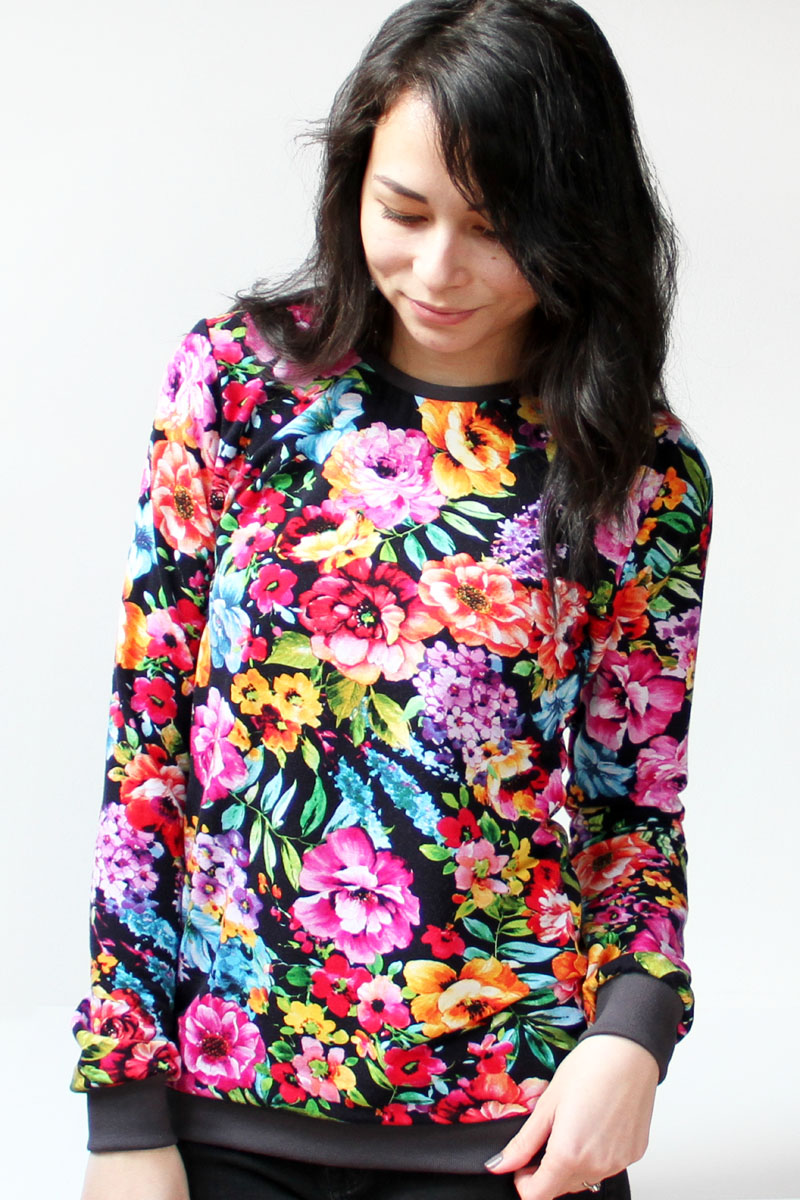
The most suitable material is a French terry knit (either cotton + elastane or cotton + lycra). Thanks to the lycra, the sweatshirt will be more elegant and flowing - the sweatshirt with a floral print is made from this material.
You can also use laid-in knit, but make sure it is elastic.
Another excellent material soft velour (gray sweatshirt). But be careful when shopping for this type of fabric, some of these plushes are elastic and some are not (rigid fabrics aren’t suitable for this sweatshirt).
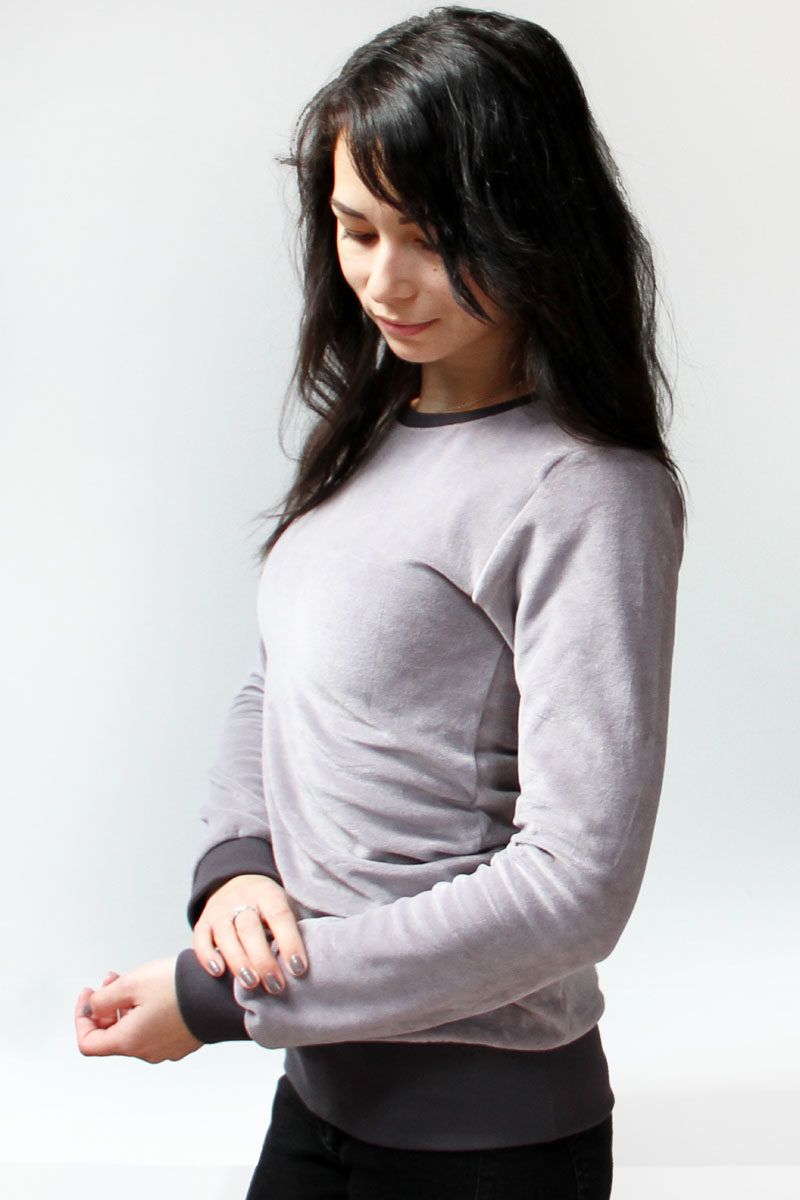
I recommend using hem knits for sleeves/bottom edge. You can use a smooth hem knit or a ribbed one, the shops now also offer beautifully patterned hem knits, which can add a fun twist to monochromatic pieces.
Sewing instructions
We went through the suitable materials, so let's take a look at the sewing.
The sweatshirt is made of elastic material, so the seams must be elastic too. I recommend sewing the sweatshirt on an overlock, but if you don't have an overlock, then you can use a regular sewing machine, just follow a few simple rules:
Sewing elastic fabrics with a regular sewing machine - 4 steps to success
1. Pattern layout
Prepare a paper pattern of the desired size (consult size chart in the pattern files). You can learn more about how to choose the right size and how to adjust the pattern in this article: How to adjust the pattern
And this video:
(Don't forget to turn on captions.)
Prepare:
- 1x front piece (cut on the fold)
- 1x back piece (cut on the fold)
- 2x sleeve piece
- 1x bottom hem
- 2x sleeve hem
- Knit strip for the neck opening hem
- I recommend using a 3.5 - 4.5 cm (1 3/8" - 1 3/4") wide strip. Narrow strips (3.5 cm) are suitable for more elegant sweatshirts (the red one), wider strips (4.5 cm) are suitable for casual / “sporty” pieces.
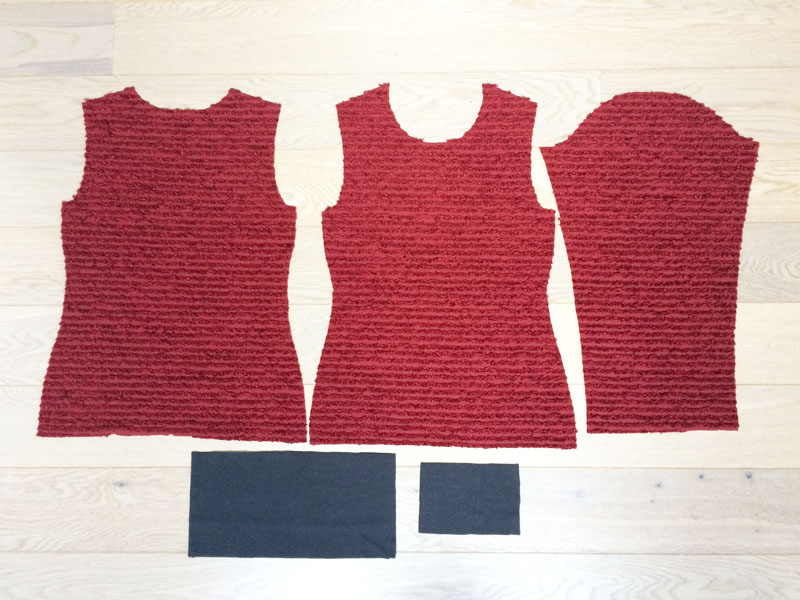
If you decided to use a pattern from the “Individual sizes view” folder (with seam allowances) you are set to go. If you are sewing according to the classic pattern from the “All sizes view” folder (all sizes in one picture), then you need to add seam allowances (I recommend making them 1 cm wide).
2. Shoulder seams
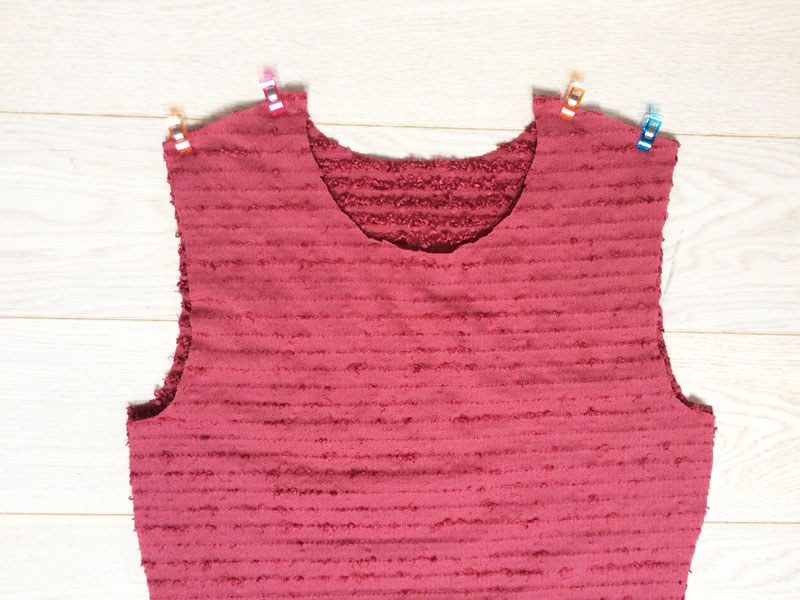
Sew shoulder seams first. Lay the front piece over the back piece (face side to face side). Pin and sew both shoulder seams.
3. Sleeves
Sew the sleeves to the open armholes. Mark top of the armscye (on the sleeve pieces) with a small cut. (The exact position of this mark is indicated in the pattern files.)
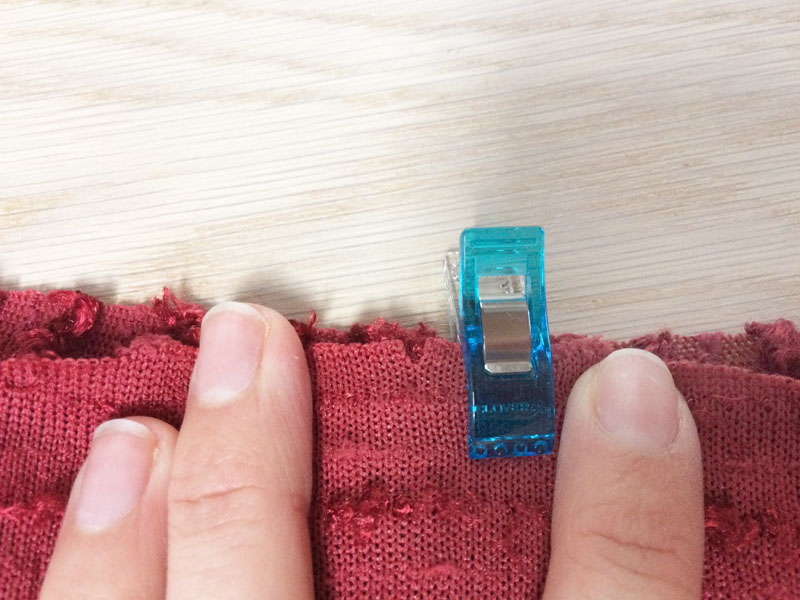
Put the sleeve piece on top of the torso (face side to face side) and align the mark on the sleeve with the shoulder seam.
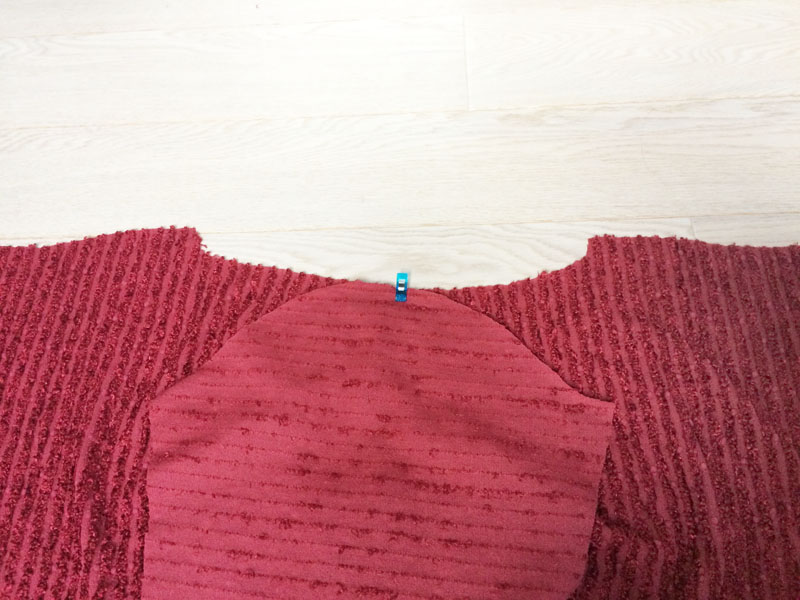
Pin the sleeve to the open armscye. Sew the sleeve to the torso and work on the other side in the same way.
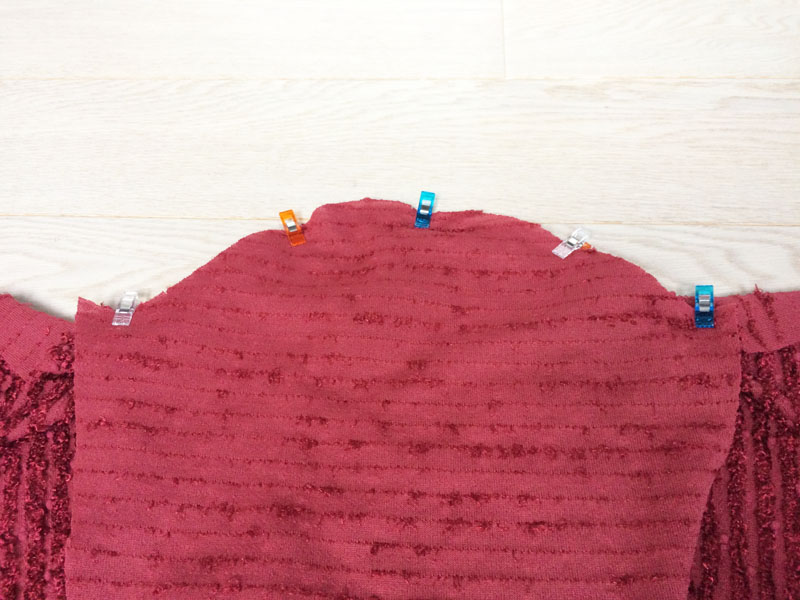
4. Sleeve seams & side seams
“Fold” the sweatshirt face side in and pin sleeve seams and shoulder seams on both sides.
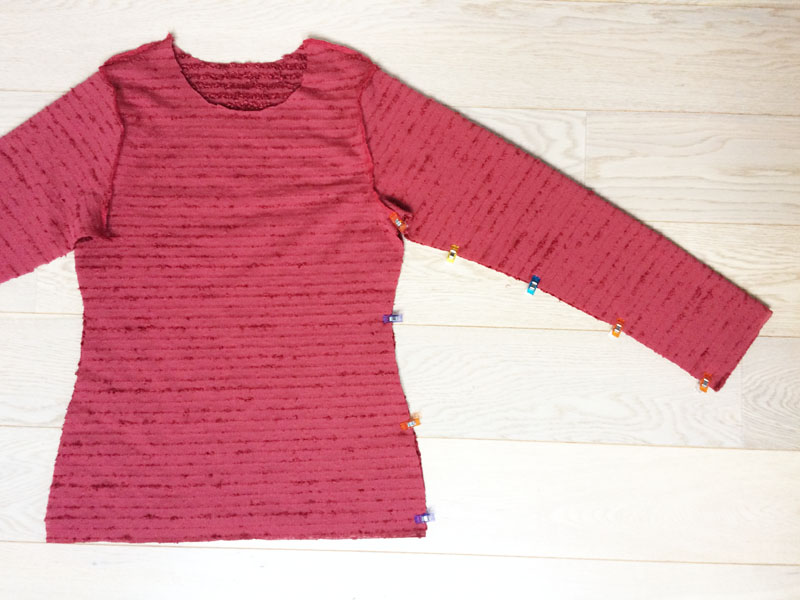
Sew sleeve seam and side seam in one go (do this on both sides).
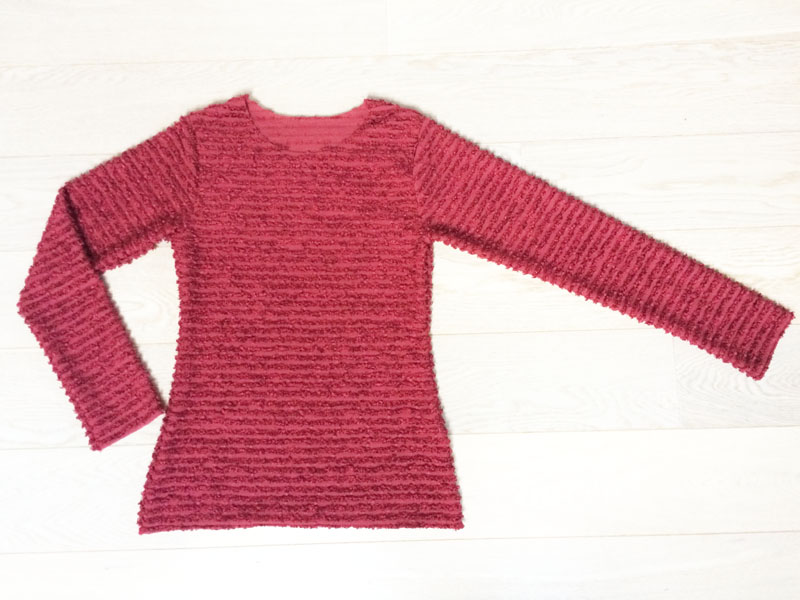
5. Hems
Let’s start with the sleeve hems. Use small cuts to mark points that are located exactly opposite the sleeve seams on both sleeve pieces.
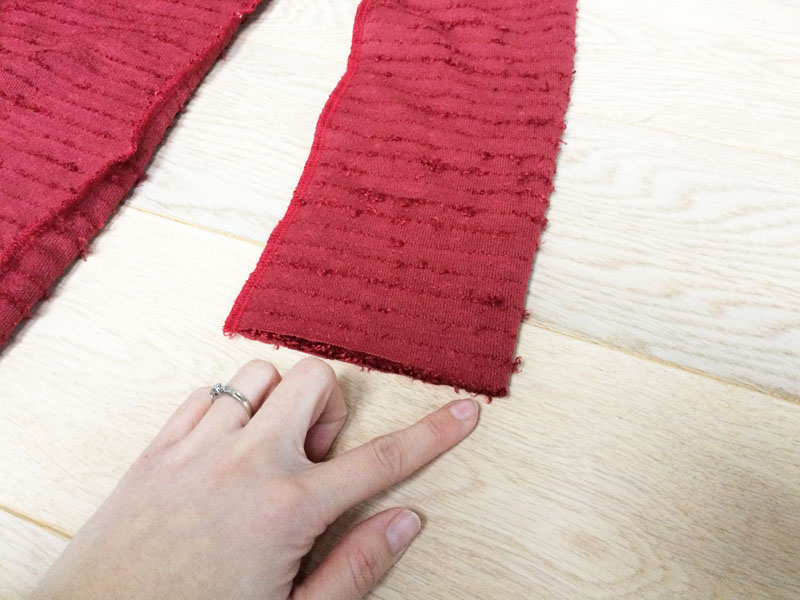
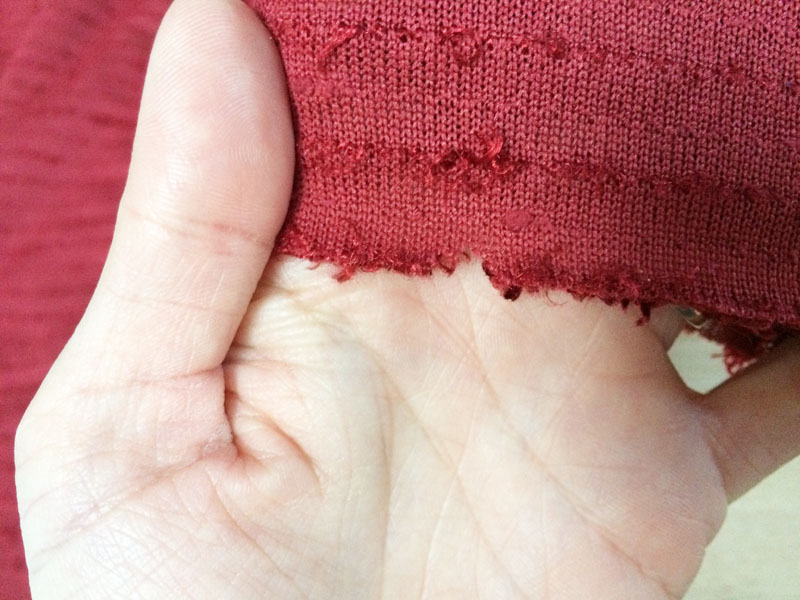
Prepare the hem knits - fold and sew them like this:
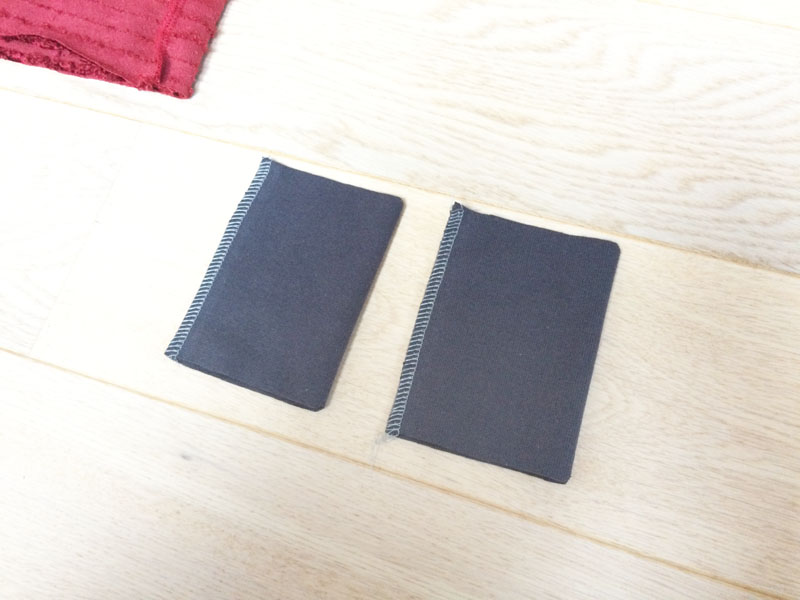
Mark the hem knits in the same way you marked the edges of the sleeves.
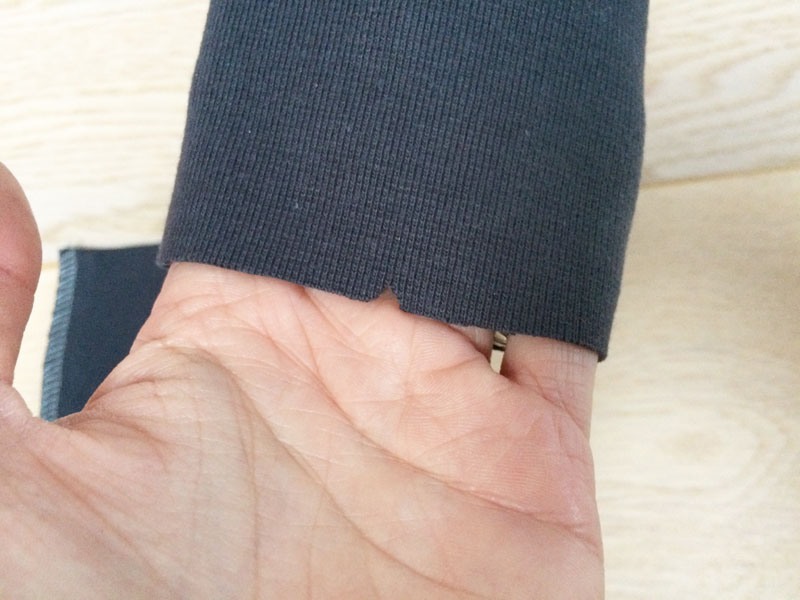
Fold (roll) the hems in half (face side out). Insert the first hem into the sleeve. The face side of the sleeve is inside, so it’s now facing the face side of the hem. Pin the sleeve seam to the seam on the hem knit...
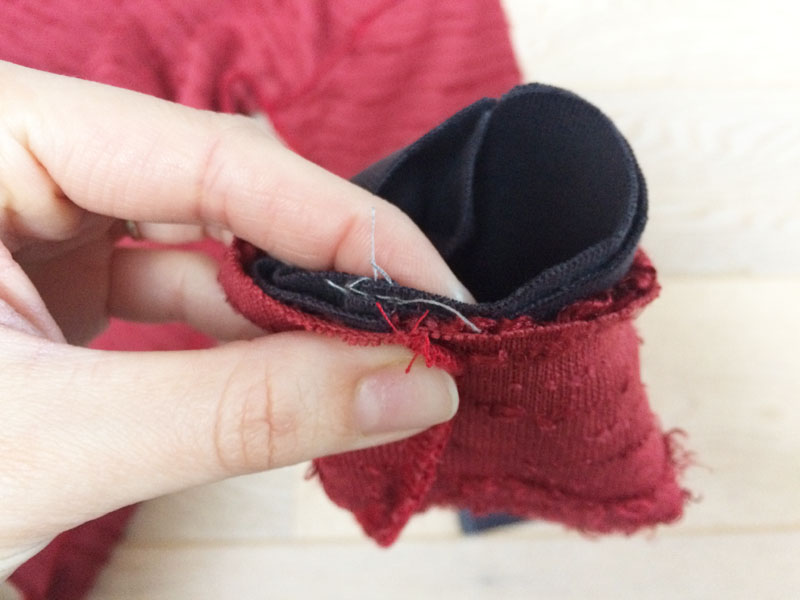
...then pin the marks.
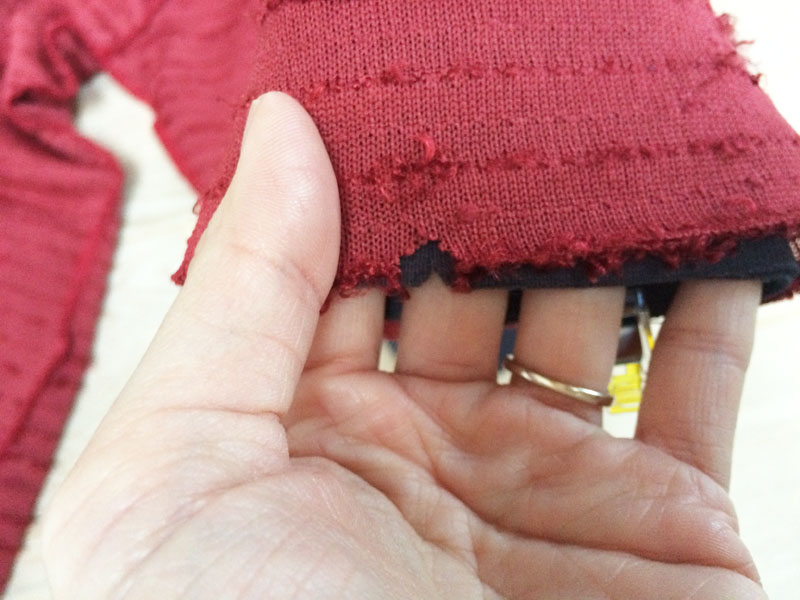
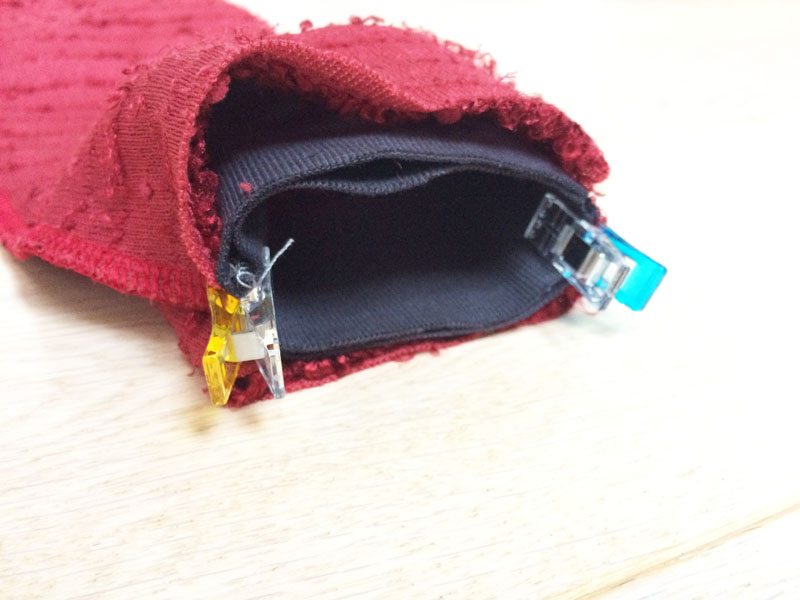
Sew on the inside of the sleeve so you can handle the fabric easily. Stretch the hem knit (lightly) and sew it in evenly.
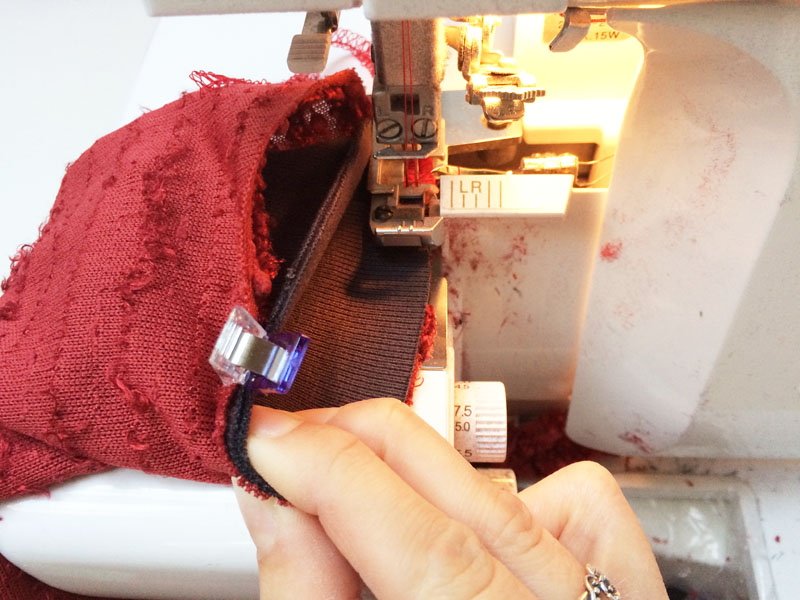
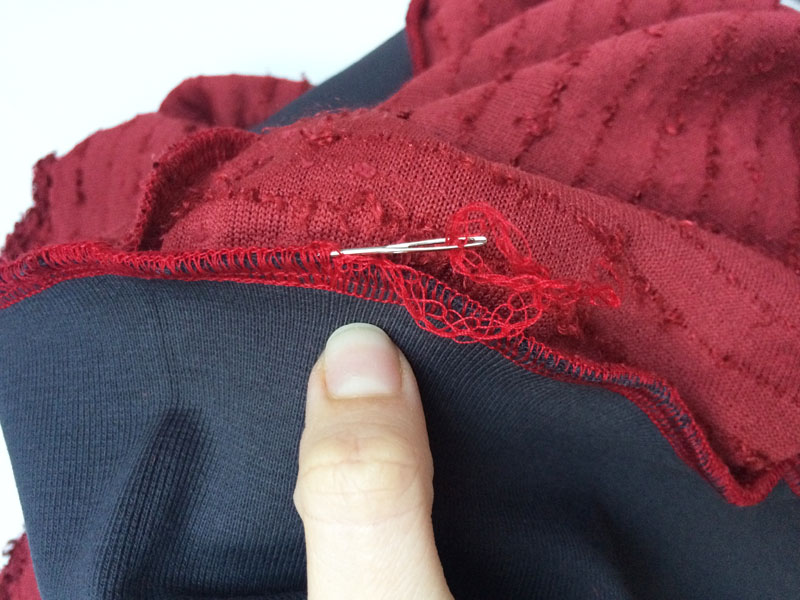
Pull the thread chain under the loops with a blunt needle or hook (when using an overlock).
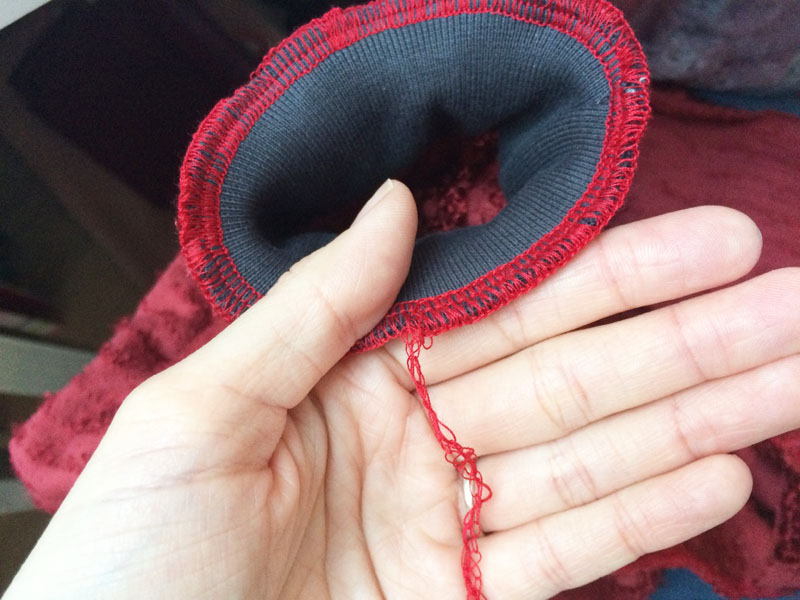
Sew the hem of the other sleeve in the same way.
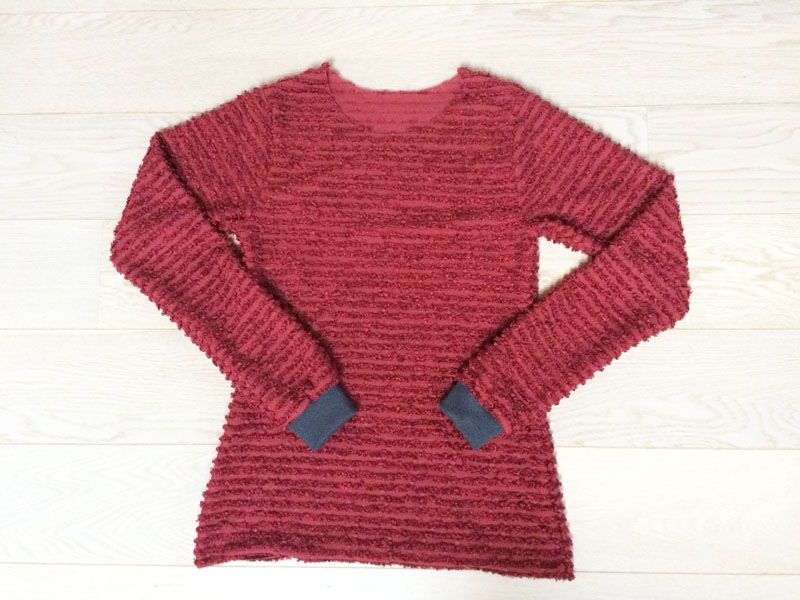
The hem of the bottom edge of the sweatshirt is done similarly. Prepare the hem knit - fold and sew it like this:
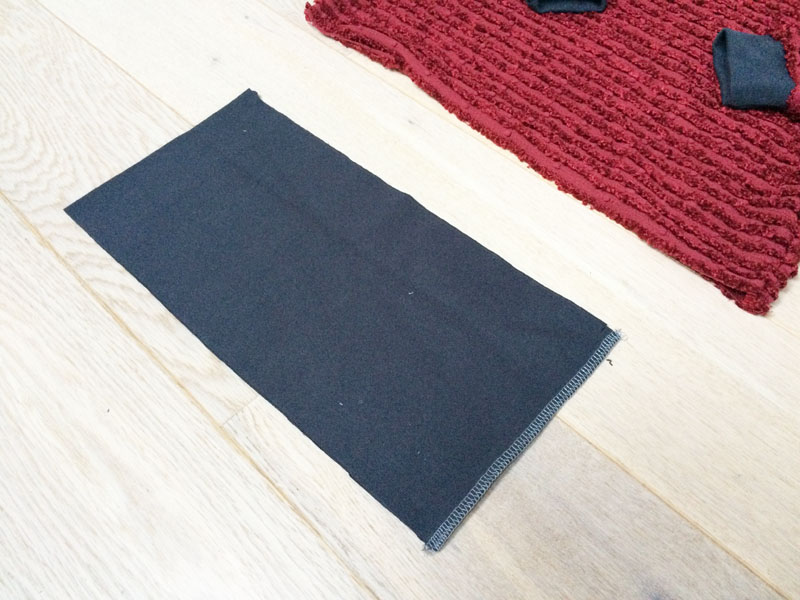
Mark the point opposite to the seam as before. I also recommend marking quarter points on this piece. Fold the first mark on the seam so you can find the quarter points instantly.
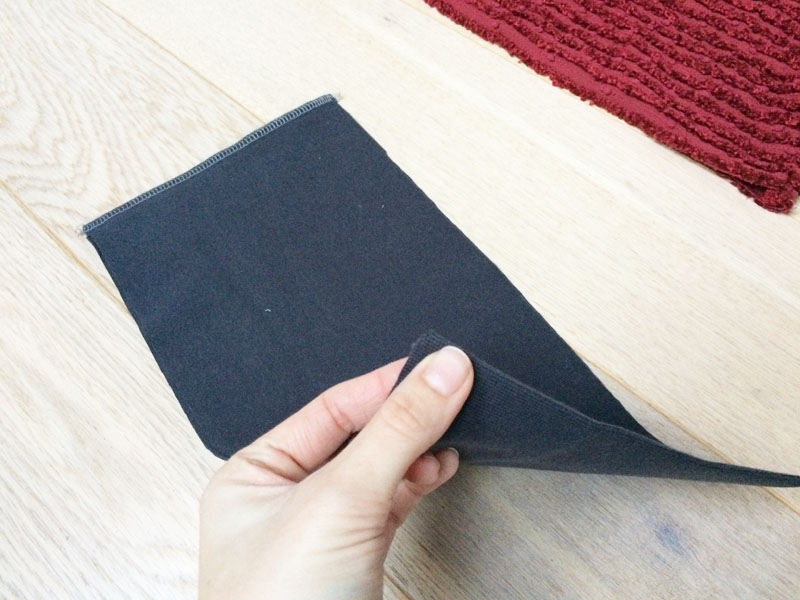
Mark the center of the front piece (and the back piece) on the bottom edge of the sweatshirt. Fold (roll) the hem in half and pin it to the bottom edge of the sweatshirt. Use your marks to align the pieces correctly.
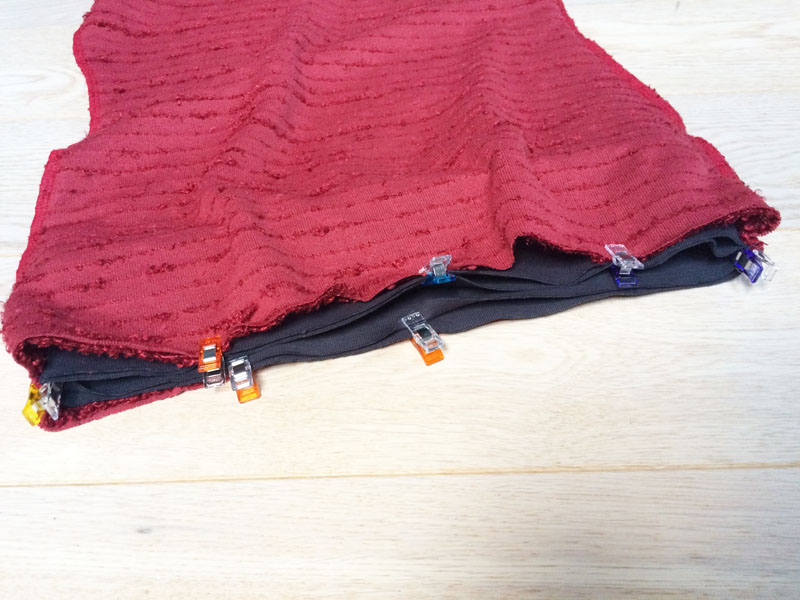
Pull the free end of the thread chain under the loops.
Measure the circumference of the neck opening with a tailor's tape.
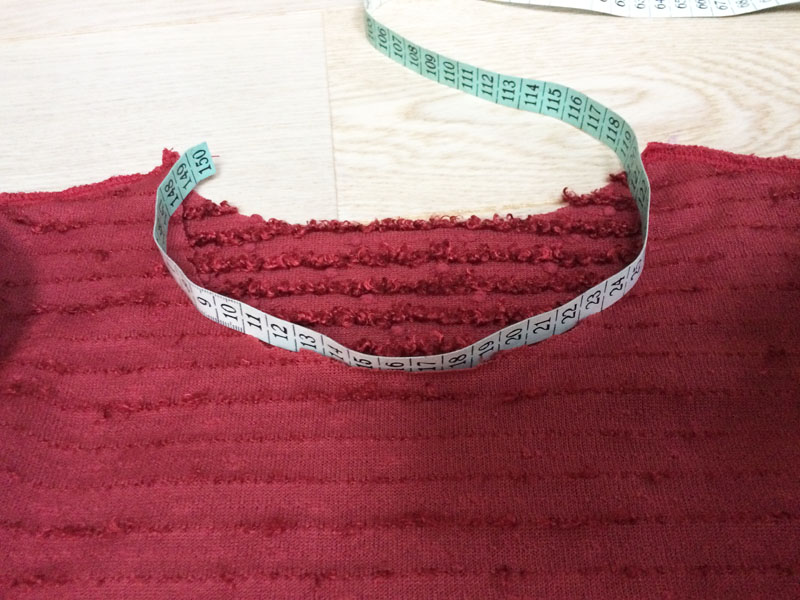
Multiply the circumference of the neck opening by 0.7 or 0.8 to find out the correct length of the knit strip.
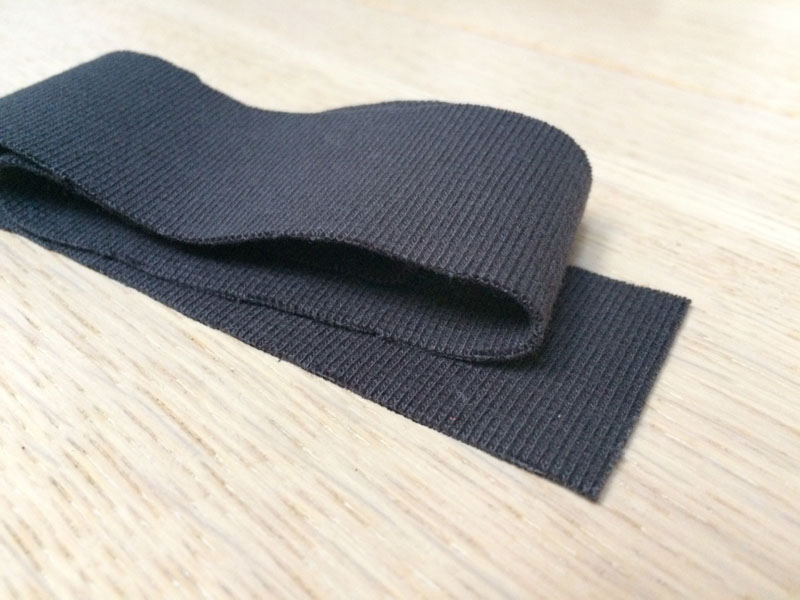
Sew the strip and mark its half-point with a small notch.
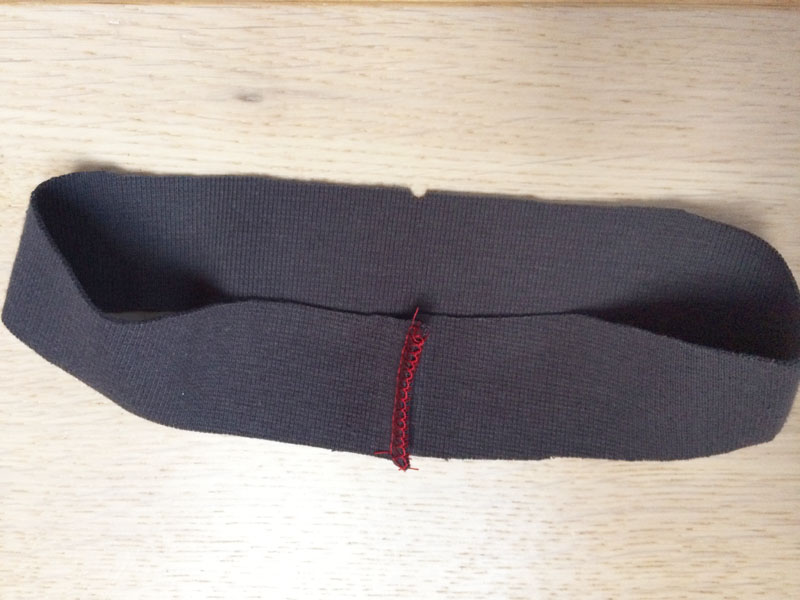
Pinch one of the shoulder seams and start aligning the edges of the neck opening to find the half-point.
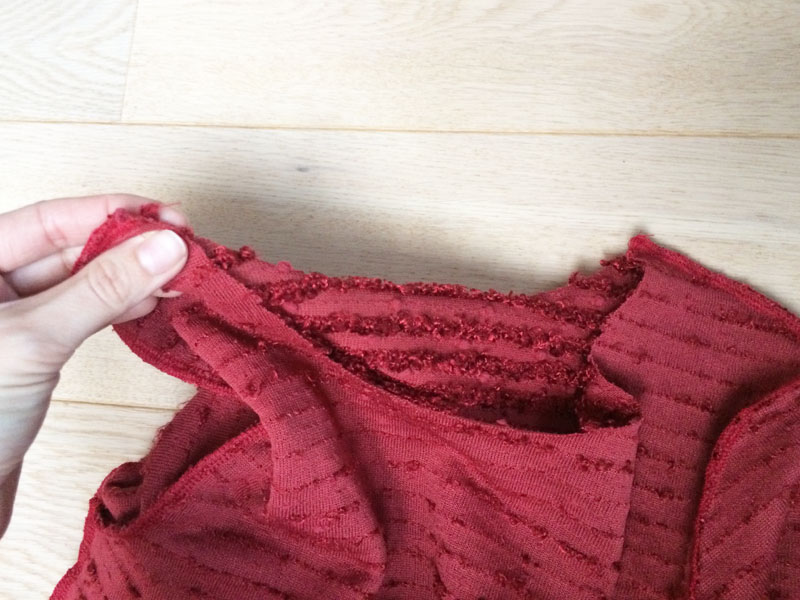
Pin the strip to the neck opening and sew it in. Pull the free end of thread chain under the loops.
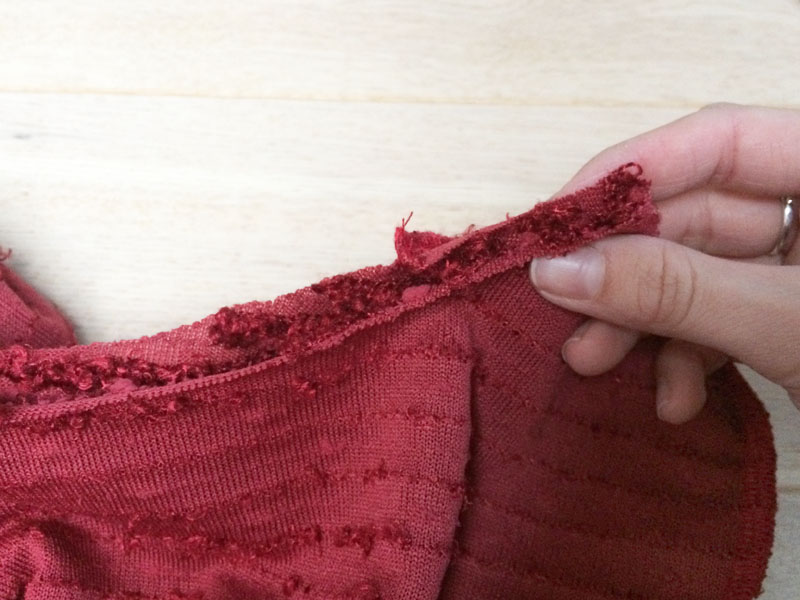
Then just pin the folded hem knit to the neckline and sew it in. Pull the free end of the chain under the loops again.
The pattern for this sweatshirt is now available in my online store:
Have a nice day, Petra
Don't forget to share your joy with others!
Do you like this article? If so, share it with your friends and tell me about it in the comments section below. I will be glad for any feedback! ♥
PS: Did you know that there are FREE PATTERNS available on my blog?


