VIn the last article I showed you how to sew women’s dungaree skirt and I promised that today we will look at how to sew a women's skirt without suspenders using the same pattern.
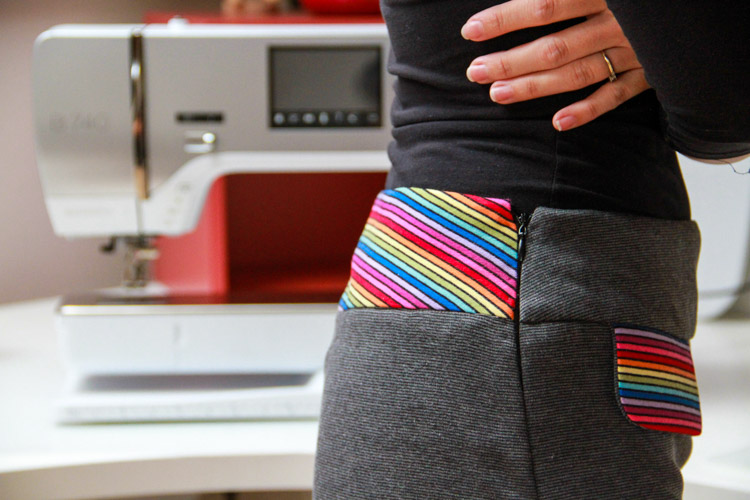
You can get pattern for this skirt in my online store: Pattern for women’s skirt HAVE FUN
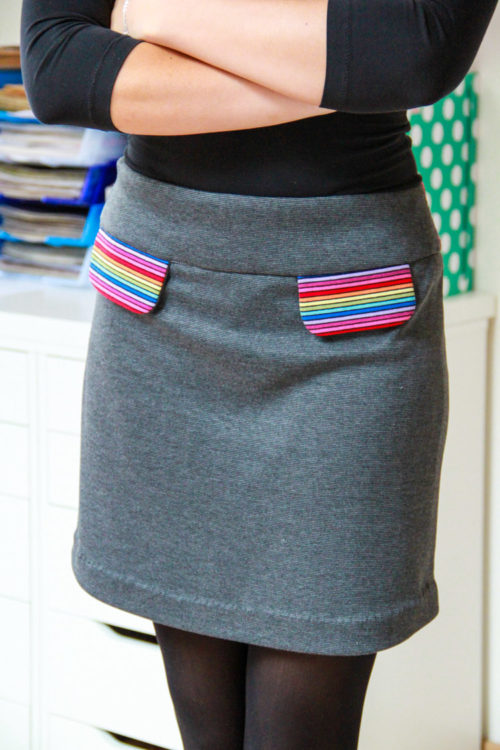
Recommended material
The pattern is designed for knits of medium thickness and other elastic fabrics. I used a thicker Ponte Roma knit for this skirt (it’s a very strong knit mostly made of viscose, it is suitable for formal clothing and luxurious looking knitwear - dresses, skirts, tops, etc.) I bought it in a brick & mortar store in Liberec, you can get it in Terrymoda.cz store: Ponte Roma knits, I’m using this one: Ponte Roma knit – Fine stripes.
Other suitable materials
(Don’t use thin knits for this skirt!)
- Thicker knits - denim imitation, for example:
- Stretchy cotton fabric (also great for a pair of pants):
- Stretchy cotton fabrics - With prints (I especially like these: Stretchy cotton fabric - Flowers, Stretchy cotton fabric - Flowers and Birds)
- Elastic blazer fabrics
- I like this black one with an elegant print: Blazer fabric - Black
- Thin sweater fabric
- elastic tracksuit fabrics (make sure it really is elastic - some combed tracksuit fabrics aren’t)
You also need a zipper (18 - 22 cm long, depends on the size of the skirt).
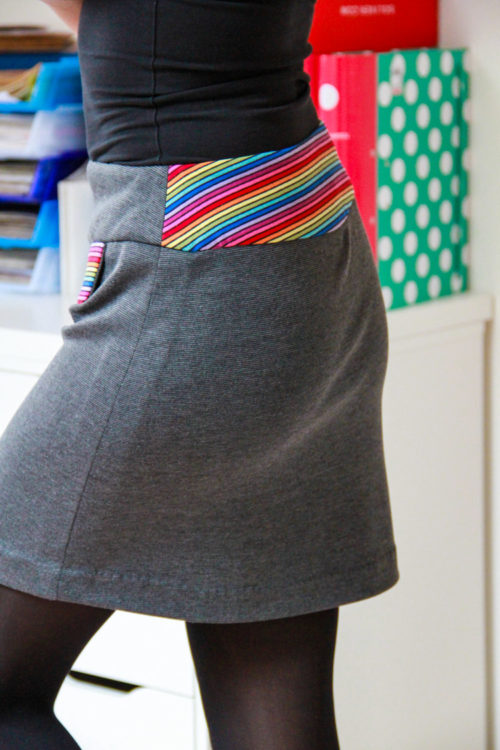
Suggestion
Sew the skirt on a regular sewing machine and on an overlock. If you do not have an overlock, you can partially follow the previous instructions (click here). Or you can sew according to these simple rules:
Cuts preparation
(Unless stated otherwise, use 1 cm wide seam allowances and position the pieces along the grain.)
- 1x front piece - folded fabric cut (make the side seam allowances 2 cm wide, seam tab at the bottom should be 3-4 centimeters wide)
- 1x back piece - folded fabric cut (make the side seam allowances 2 cm wide, seam tab at the bottom should be 3-4 centimeters wide)
- 2x front waist band - folded fabric cut (one of them can be made from contrasting fabric – if you are making it from the cotton canvas – inflexible fabric – cut it at 45° angle)
- (add 2 cm wide seam allowances to the side seams)
- 2x back waist band (one of them can be made from contrasting fabric – if you are making it from the cotton canvas – inflexible fabric – cut it at a 45° angle)
- (add 2 cm wide seam allowances to the side seams)
- 4x pocket flap (two of them can be made from contrasting fabric)
- If you are using a pattern with already marked seam allowances, then copy the pocket flaps piece - this time without seam allowances.
Reinforcing pieces
Some parts need to be reinforced with a fusible facing:
- Přední pasové límce – oba a celé
- Front waist band pieces – reinforce both of them everywhere
- Back waist band pieces – reinforce both of them everywhere
- Pocket flaps – all of them everywhere
- Front/back pieces - in one of the side seams - the one with the zipper.
- There are different rules for placing a zipper on the left or right side. I like to respect laterality. So, if you are right-handed, place the zipper on the left side so that you can open it comfortably with your right hand. If you are left-handed, then you place the zipper on the right side. This is how I do it, but you can place the zipper according to your own preferences. I'm right-handed, so I'll have a zipper on the left side. I’m reinforcing the left side seam of the front piece and the corresponding side of the back piece. I’m placing the fusible facing about 15 centimeters below the upper edges. The width of the facing is about 4 cm.

Sewing
Previous article is full of various tips (about test pieces sewing, fitting tests, etc.). Today, I will deliberately avoid these details, because there is no need to repeat them here. If you want to know more about the traditional way of sewing clothes, I recommend reading the previous article: How to sew women’s skirt using traditional tailoring techniques.
So, let's take a look at sewing procedure right away this time.
Waist band & Pocket flaps

You can prepare the pocket flaps first - sew the outer edges (face side to face side). Cut the curved parts of the seam allowances and turn the flaps face side out.

Also prepare the waist band - lay the front piece over the back piece (face side to face side) and sew one of the side seams. Right side seam will be firm (sewed) and left one is for the zipper - I’m doing it this way, because I’m right-handed. Think about this step and if you are not sure which side to sew, simply pin one side, wrap the piece around your waist to see.
Sew the inner (lining) waist band in the same way.
Note: I wanted to make the striped fabric my lining, but then I decided to leave it on the outside as a top fabric, so I have the wrong side of the waist band sewn here. Don’t get confused by this mistake. :)

Side seams
Sew the side seams of the skirt. Don’t forget to leave space (10-13 cm) for the zipper - don’t sew to the end of the seam on one side (left side in my case).

Iron the side seams open and clean them. Also clean the free (outer) edge of the lining waist band.

Connecting the waist band
Stitch the pocket flaps to the front piece before sewing the waist band to the skirt.

Overlay waist band pieces (lining & top fabric) and sew them together along the inner edge. Cut the seam allowances, so you can turn the piece on the face side nicely.

Fix the lining waist band in place (so that it’s not visible from the face side of the skirt). Take the waist band and place it so that you are looking at the reverse side of the lining part (with the top fabric part under it). Now open the waist band and fold it over the seam allowances (seam allowances should stay pointed towards the right side). Sew through the waist band (and through the seam allowances) about 2-3 mm away from the original seam. This technique is usually called “understitch”.
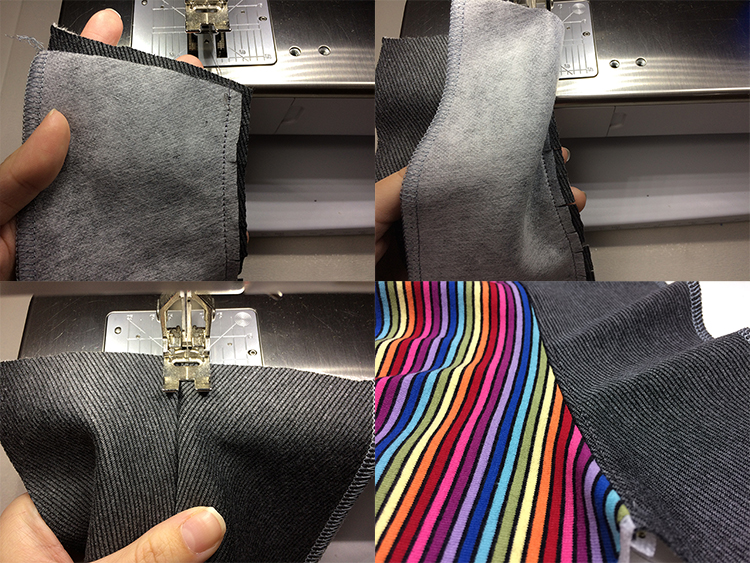
This is what the reverse side should look like...
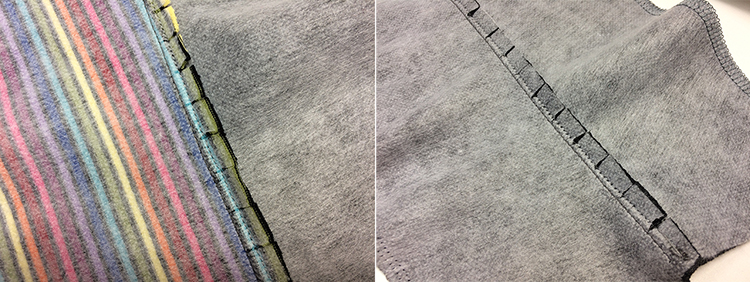
...and this is the face side - lining stays where it should, and you can’t see it from the face side.


Temporarily stitch and iron the waist band.

You can now sew the band to the skirt. Have the skirt face side out and lay the waist band over it (face side to face side). Take care to align side seams nicely.

Sew the top fabric waist band to the skirt.


Zipper
Now is the time to sew the zipper. Lay it on the skirt (face side to face side). Zipper starts about 2 mm below the edge of the waist band. Fold the excess part of the zipper tape towards the side (towards the seam allowances of the waist band). Pin, stitch and sew the zipper to the skirt.

Have the seam allowances of the waist band / skirt connection folded up - towards the waist band.

Zip-up the zipper and check that it is sewn correctly (slider should be able to move freely, and the edge of the fabric should be close to the teeth of the zipper).

You need the zipper to be sewn evenly so that the skirt / waist band connection is aligned when you close the zipper - ends of this connecting seam need to be at the same height. Ensure this by marking the free side of the (closed) zipper at the point where the sewn side crosses the skirt / waist band connection.

Use this mark to align pieces, sew the second side of the zipper and check that everything is in order.

Use hidden mattress stitch to close the gap (at the bottom of the zipper slit) by hand if you can’t quite get there with your sewing machine.

Finishing the waist band
Now is the time to close the waist band. First point the seam allowances of the skirt / band connection up (towards the waist band).


Place the lining waist band over the seam allowances and attach it with temporary stitching. Try to stitch through the seam allowances.

Seam allowances should stay in place when you lift the lining waist band edge lightly.

Now sew through the waist band from the face side.

For this variant of the skirt, it will be best to sew directly in the original seam.

It’s common to make this seam on the waist band side of the original seam (about 2 -3 mm away) on less formal clothes. However, this also requires topstitching all sides of the band.
I chose the classic, more elegant variant, so I’m sewing directly in the original seam. This is what it looks like from the reverse side.

Bottom hem
Now you just need to work on the bottom hem of the skirt. Clean the cutting edge and you can just sew through the folded hem with some type of elastic seam.

I wanted to sew more formal skirt, so I attached the hem with a herringbone stitch by hand.


Finishing touches
I attached the free end of the zipper tape to the seam allowances with a few small stitches.

And I also attached the lining waist band to the zipper tape by a pearl stitch.

Your skirt is ready! How did you like today's sewing instructions? Did you learn something new?
YYou can get this skirt pattern in my online store: Pattern for women’s skirt HAVE FUN
Have a nice day, Peťa
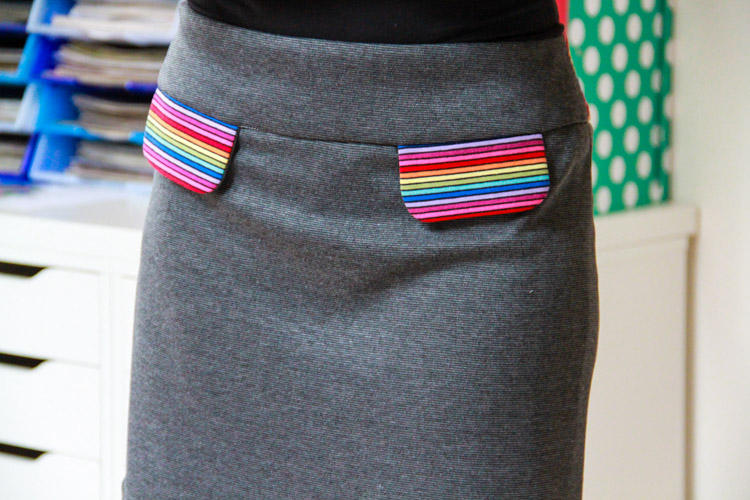
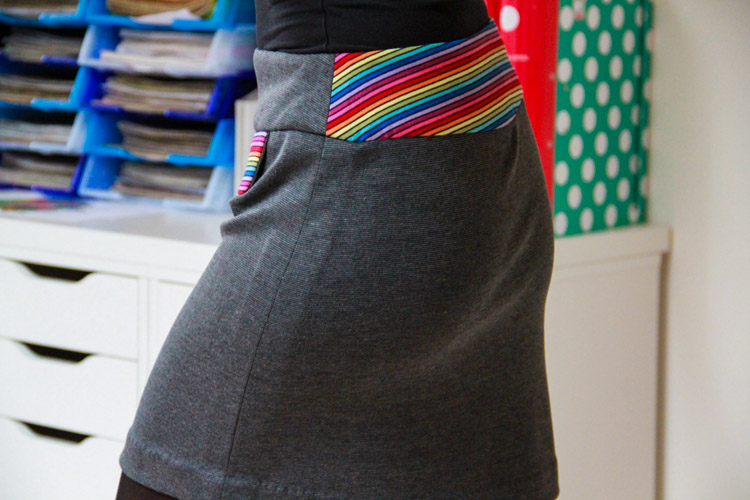
And for fun - this is how I look in the morning... No makeup, untouched by a hair comb…: D
