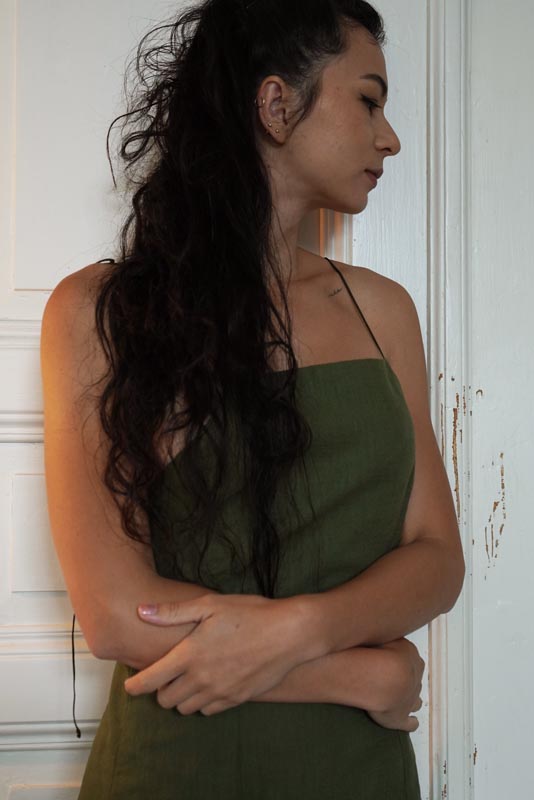
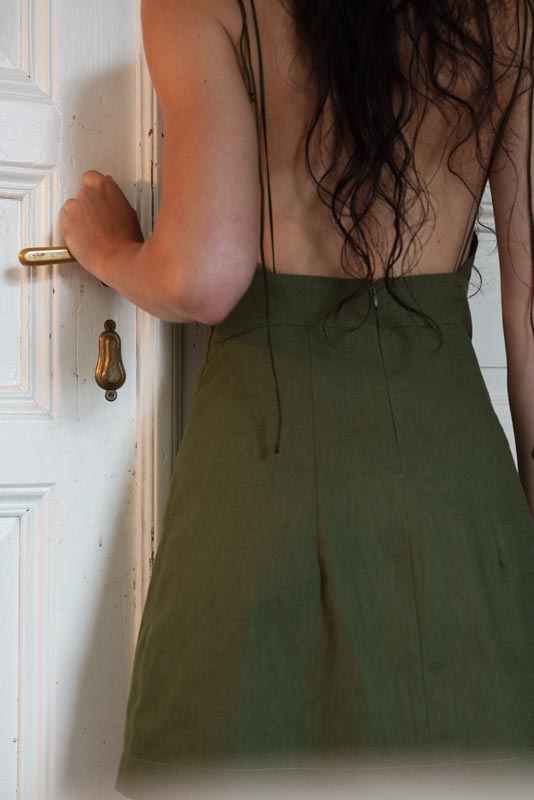
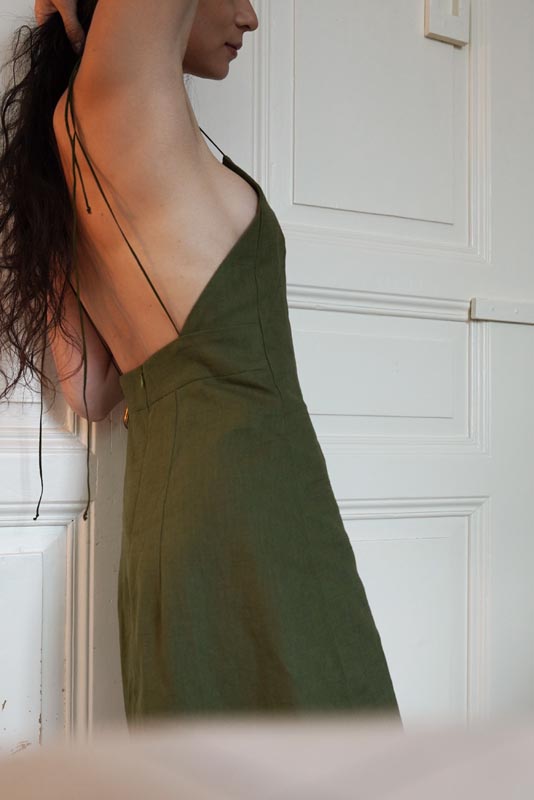
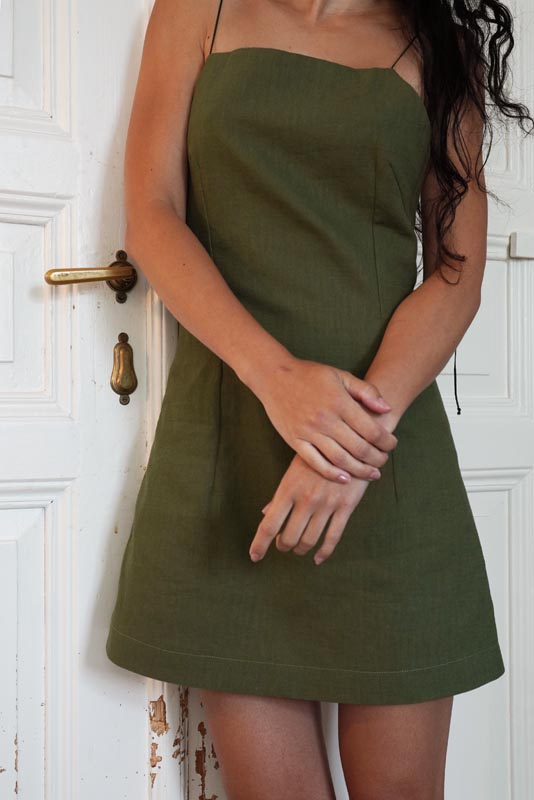
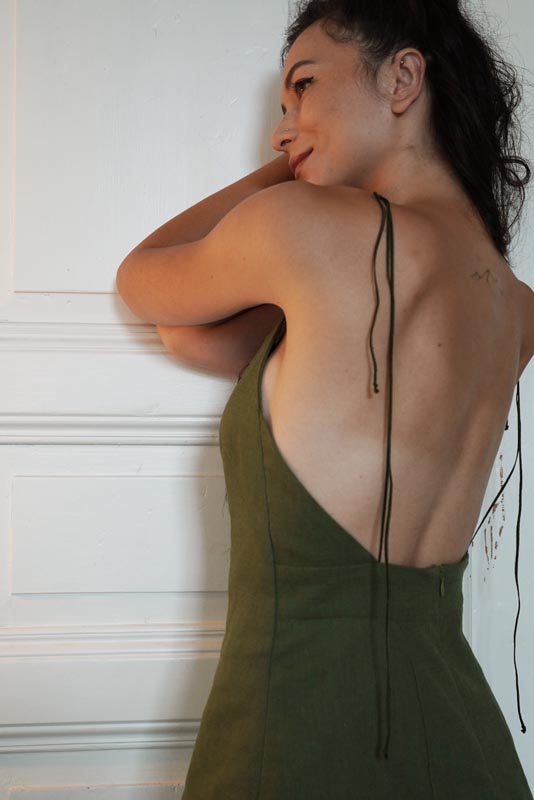
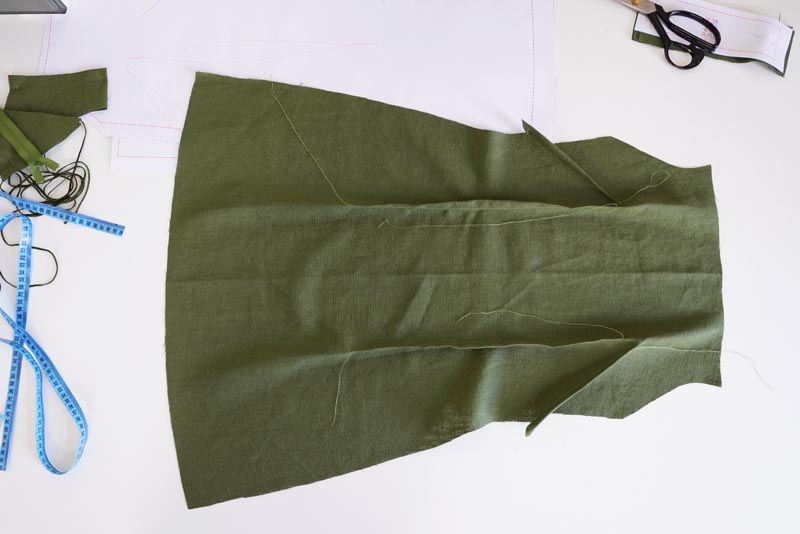
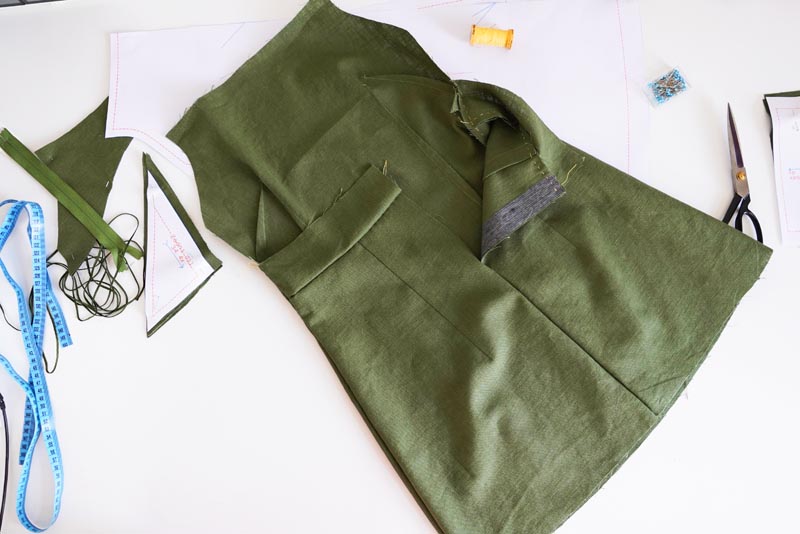
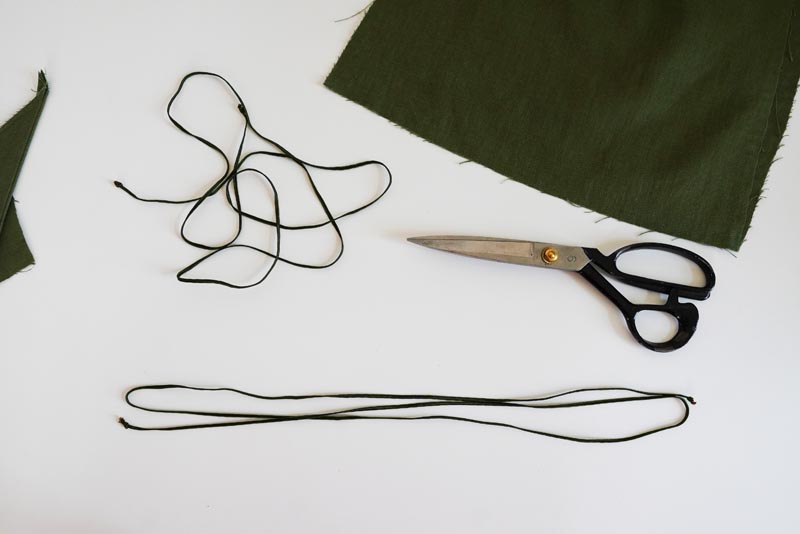
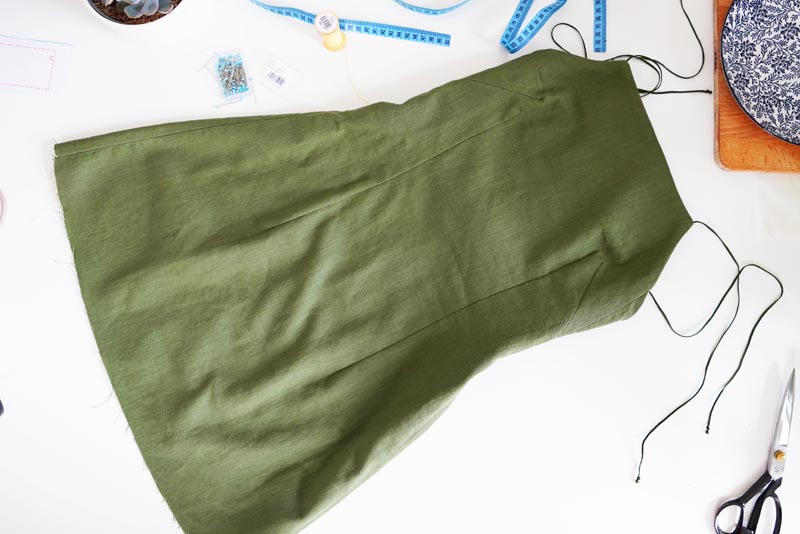
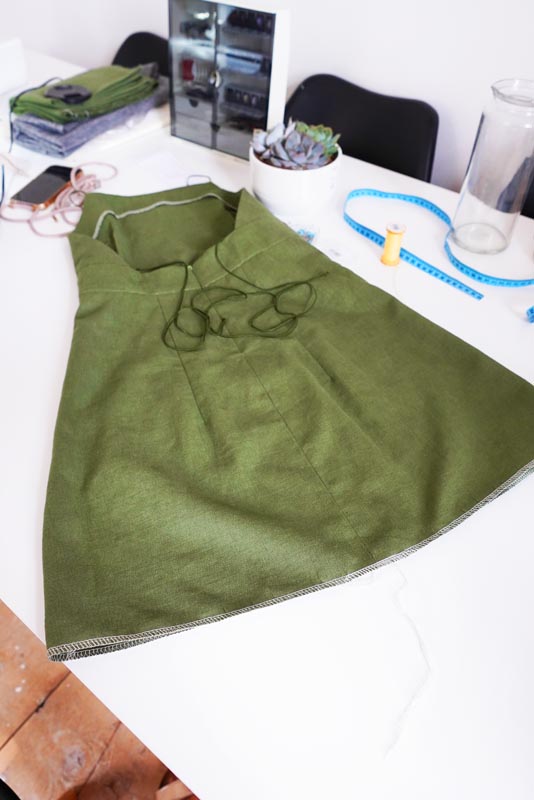
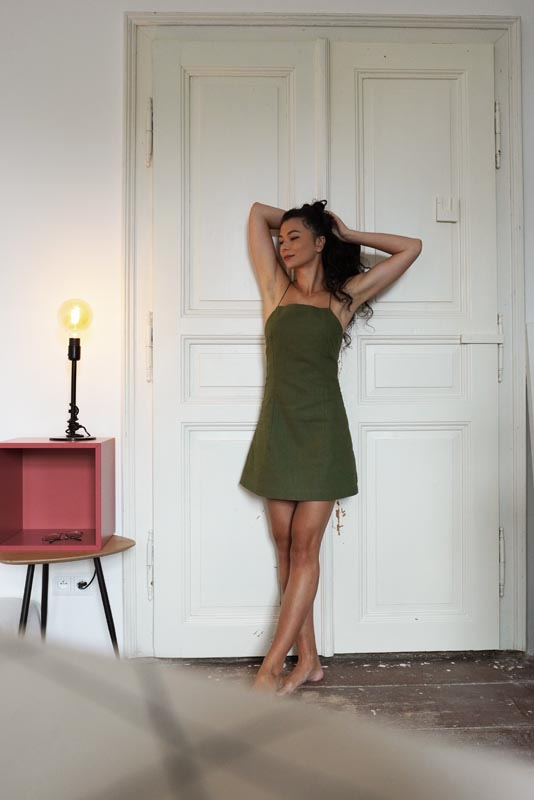
In this article, I would like to introduce you to another novelty among women's haircuts. This is the cut for women's (not only) LINEN linen dresses. LINEN women's dresses are suitable for linen or cotton fabrics. The cut is a minimalist silhouette with chest and waist gussets and a hidden zip in the back. The dress subtly reveals the back and has delicate spaghetti straps for tying.
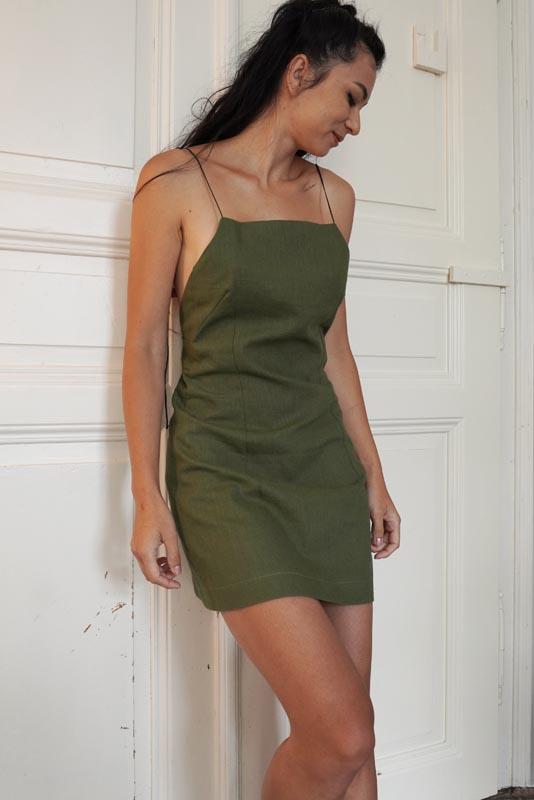
You can buy this women´s dress sewing pattern here:
Recommended material for women's dress:
The women's dress pattern is suitable for low to medium weight woven fabrics. Linen or cotton canvas etc. is ideal.
The required amount of material for sewing women´s dress:
- sizes 32–46: 1,5 m
- sizes 48–60: 2 m
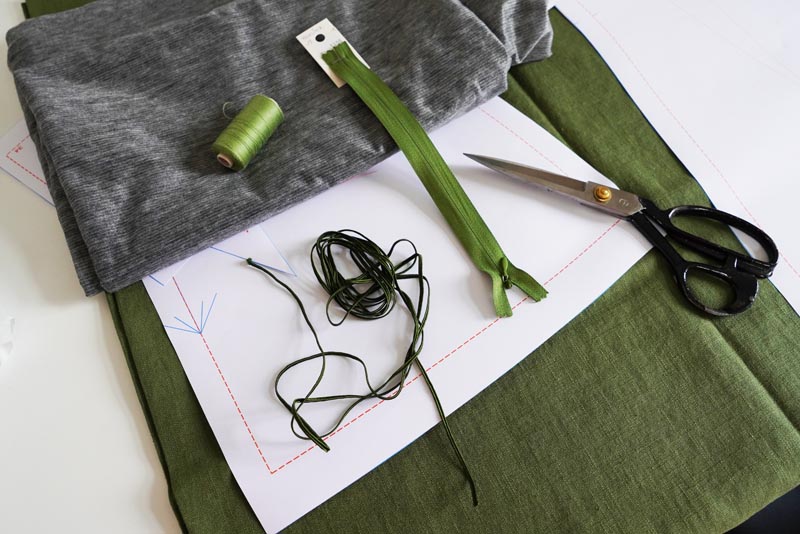
We would also need:
- 2,5–3 m narrow shoulder straps
- hidden zip (preferably with cotton lace) in length:
- sizes 32–40: 22 cm
- sizes 42–50: 24 cm
- sizes 52–60: 26 cm
- a piece of one-sided iron-on lining to reinforce the zipper
How to sew women´s linen dress step by step:
Photos are inserted in the form of galleries for the compactness of the article. To enlarge them and have a better view of the details, simply click on any of them.
1. Pattern layout
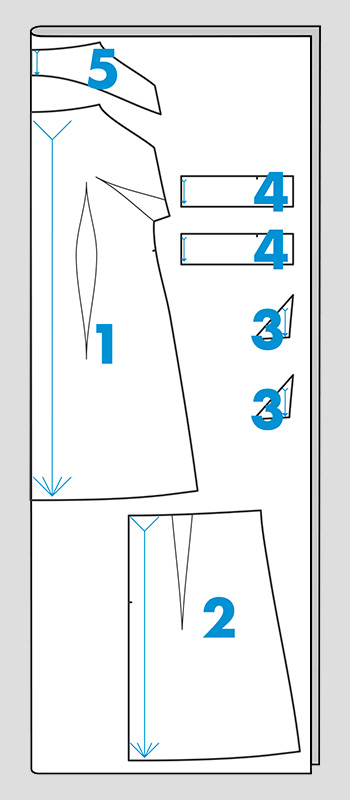
The pattern contains the following pieces:
- 1x front piece (cut on fold)
- 2x back piece - skirt
- 4x back piece
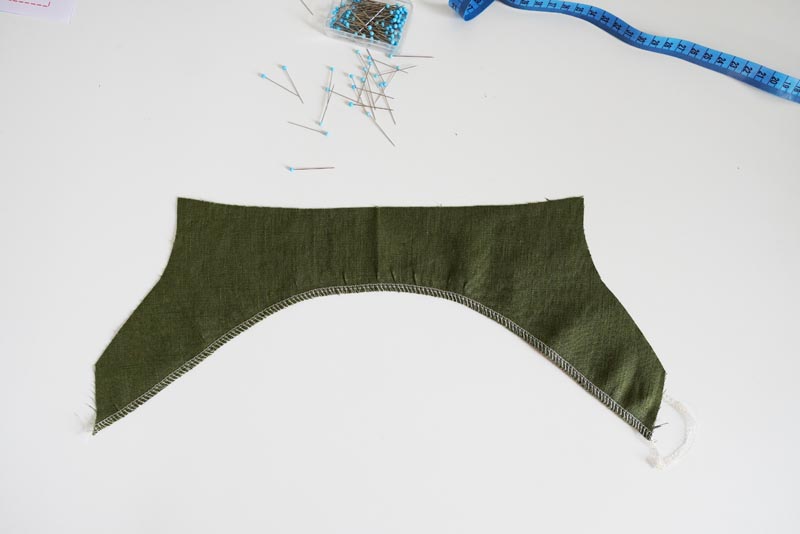
- 4x waist
- 1x front facing (cut on fold)
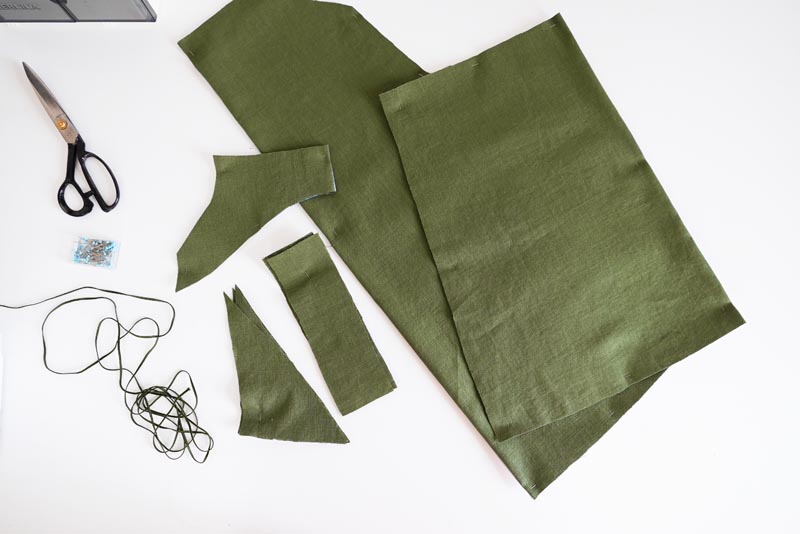
2. Iron-on lining
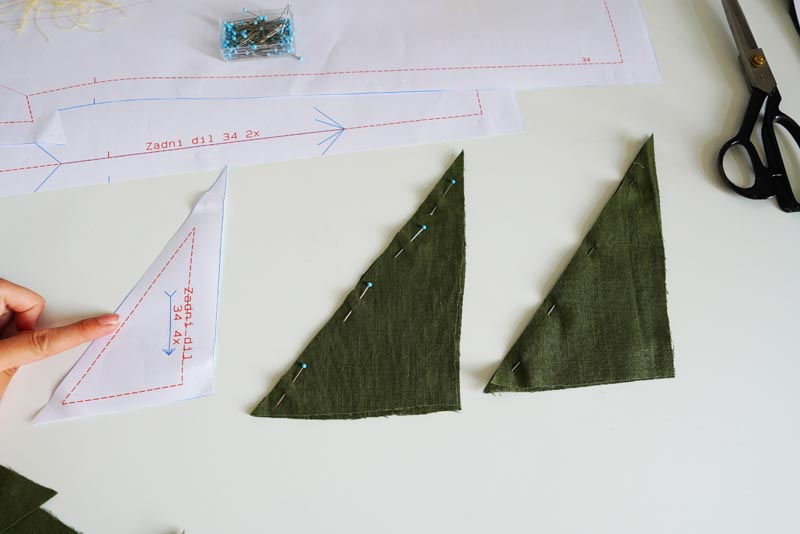
First, we will reinforce the rear center edge in both rear parts. We cut a strip of one-sided iron-on lining 3 cm wide in length to the mark on the paper cut, or 1-2 cm longer. Iron on the reverse side of the strip of lining.
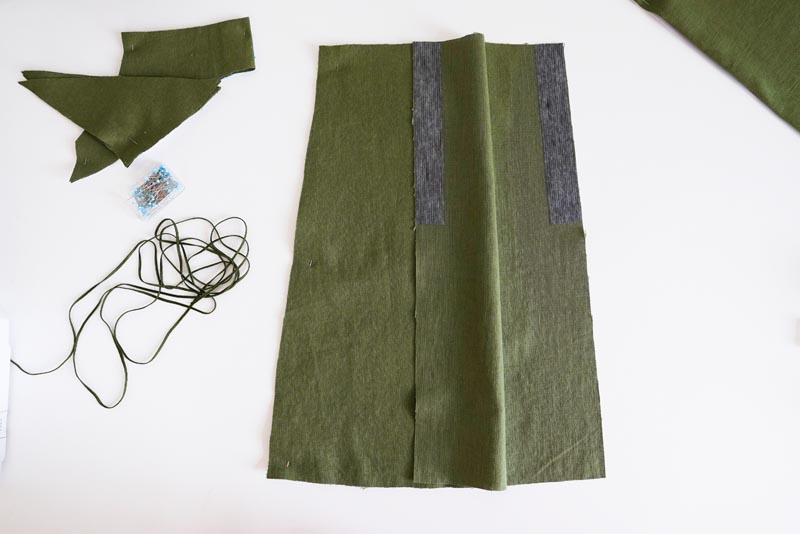
3. Bust and waist darts
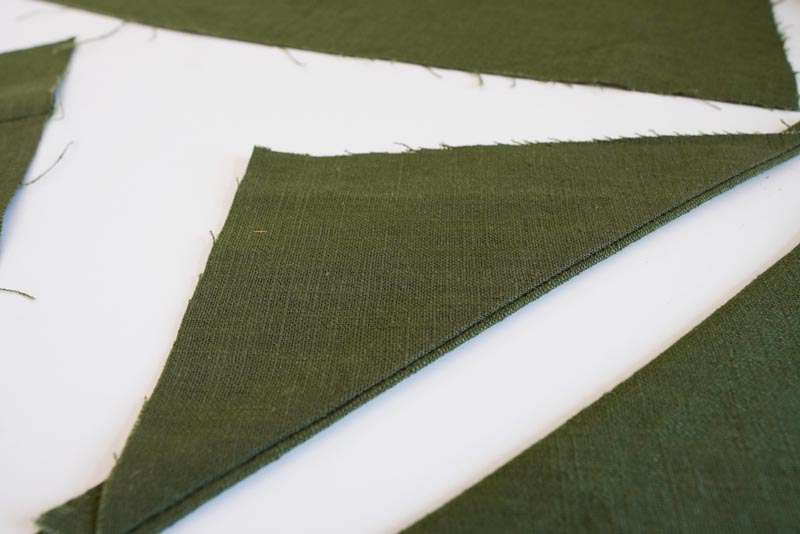
On the back parts, we will sew dog patches. We sew the gussets from top to bottom, from the widest part to its top. At the top, we cut off the longer ends of the threads, knot them and cut them off.
Iron the waist gussets towards the center of the back.
In the same way, we will make breast and waist pleats in the front part. we iron the waist pleats towards the side edges, the chest towards the top.
4. The first fitting test
At this point we can do the first test of the garment. We simply sew both back parts to the front and also sew the back center edge. We will leave only the ironed part, where the zipper will come later. We will try on the dress and check the location of the pleats, fit around the waist and hips. We will edit if necessary.
5. Back pieces
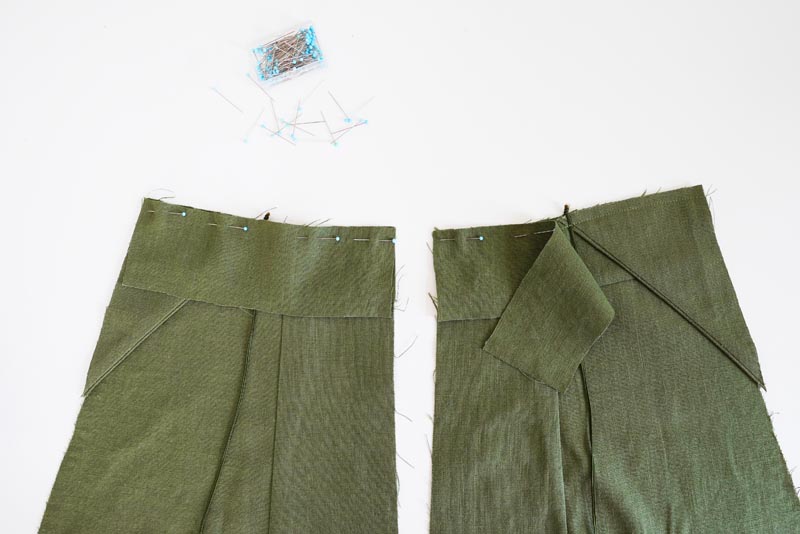
First, we sew one layer of tape to the back parts. Place the belt face to face on the back, pin and sew. Iron the seam.
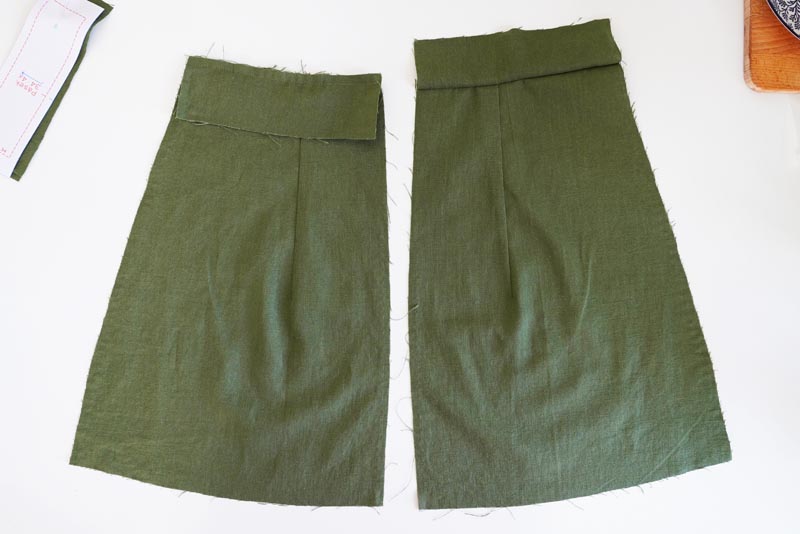
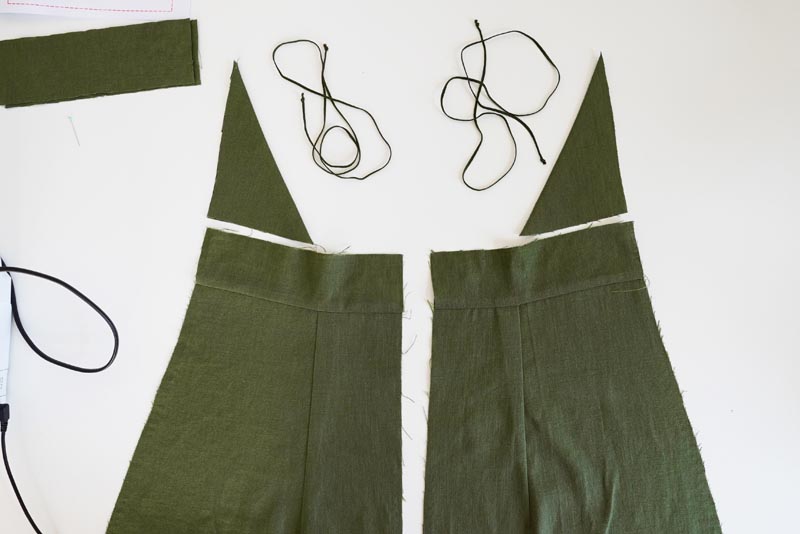
Now we will prepare the strings for the hangers. I cut 40 cm of cords for the front parts, approx. 80 cm for the back parts. We knot or seal all the ends above the lighter. It depends on the material of the string - natural materials are knotted, synthetic materials just need to be sealed.
We fold the back parts face to face to each other and sew in the diagonal free edge. Turn the parts inside out and iron.
Then we cut off the excess overlaps of the fabric, which were created by ironing with the solution.
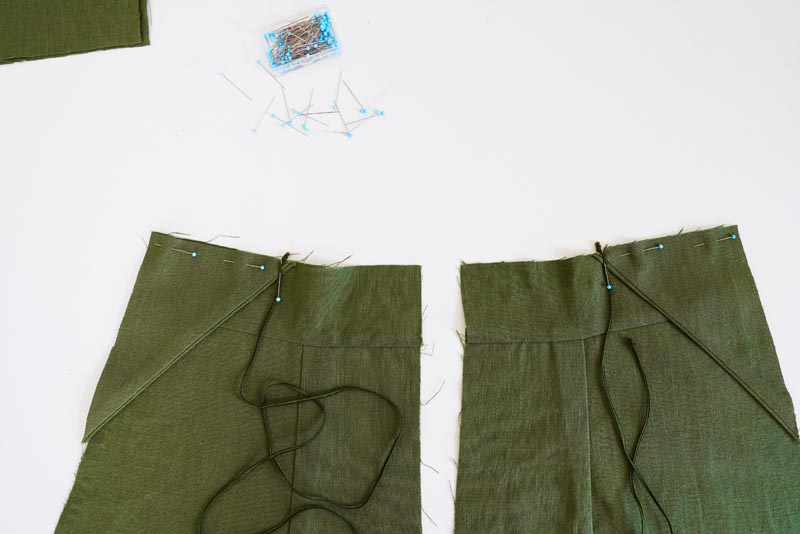
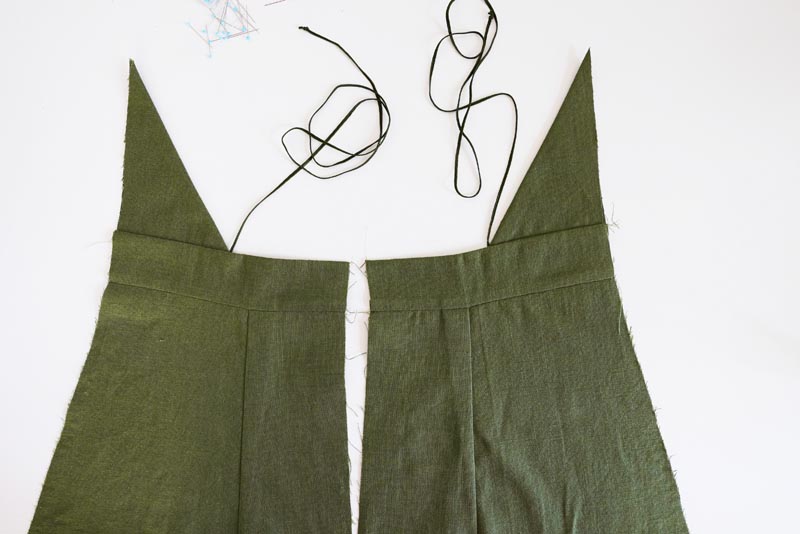
Place the back parts on the front side of the tape. We also lay longer cords over them so that they overlap 1 cm of the back pieces.
We carefully sew the back parts and strings. For the cord, we secure the seam by stitching several times so that the cord does not tear.
Place the other pieces of tape over the back parts and cords sewn in this way and sew.
After twisting these parts of the tapes, we have nicely finished back parts. We iron everything carefully.
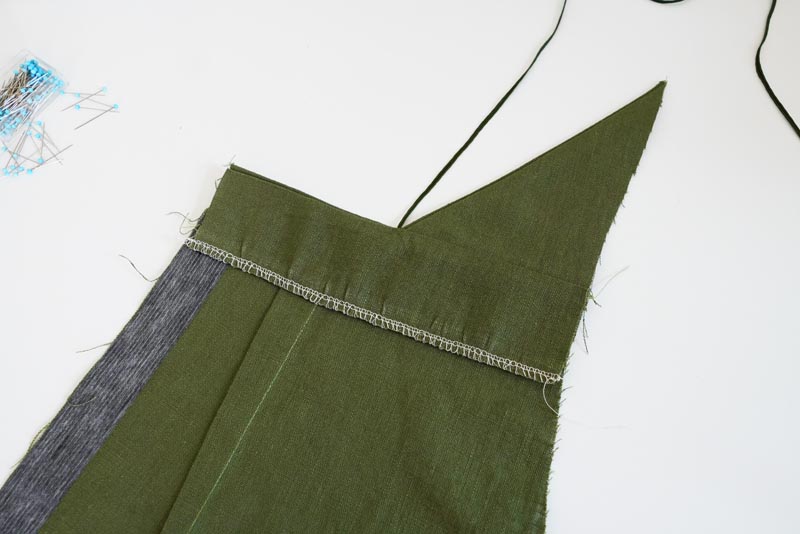
We clean the free end of the last sewn tape. Then we clean the entire side edge of the back part, including the upper parts and the side of the tape.
Now we will also clean the back center edges and if we are sewing on an overlock, we will keep the longer end of the chain at the belt. We knot it or pull it under the loops.
6. Hidden zipper
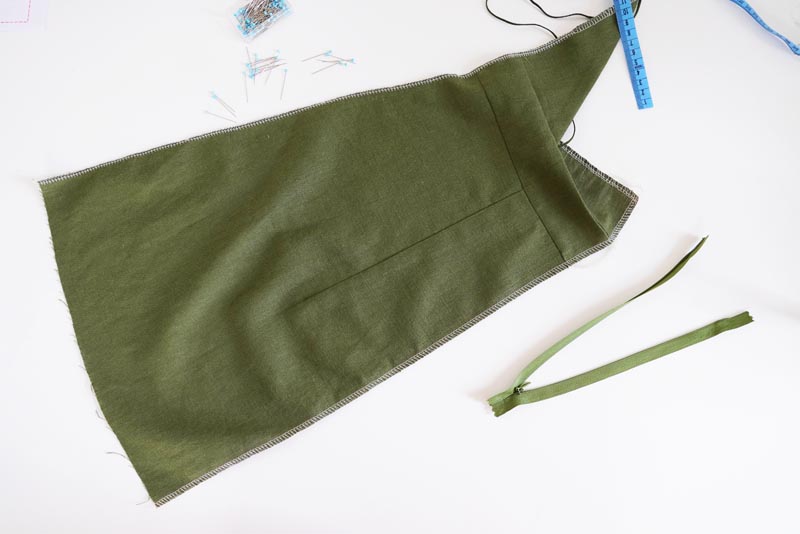
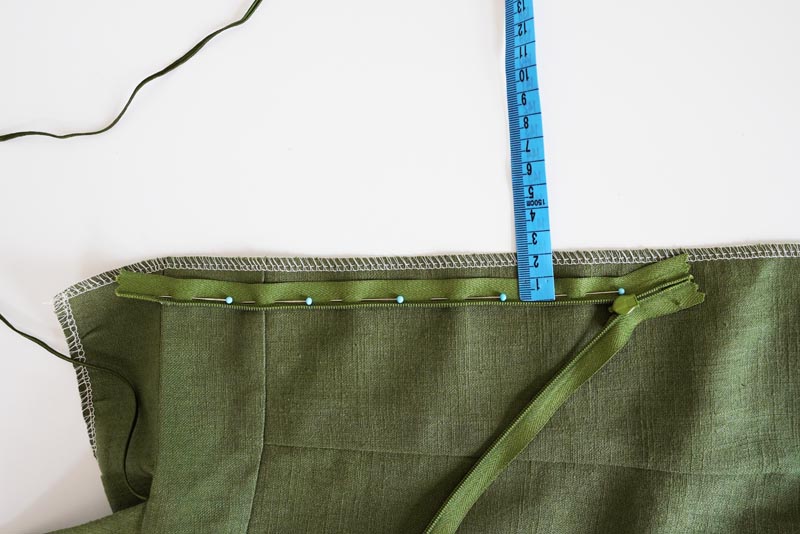
We measure 2 cm in the back center edge and pin a hidden zipper in these places. We put it face down on the face of the back part. The top fastener on the zip ties exactly in contact with the seam where the two parts of the tape are sewn together.
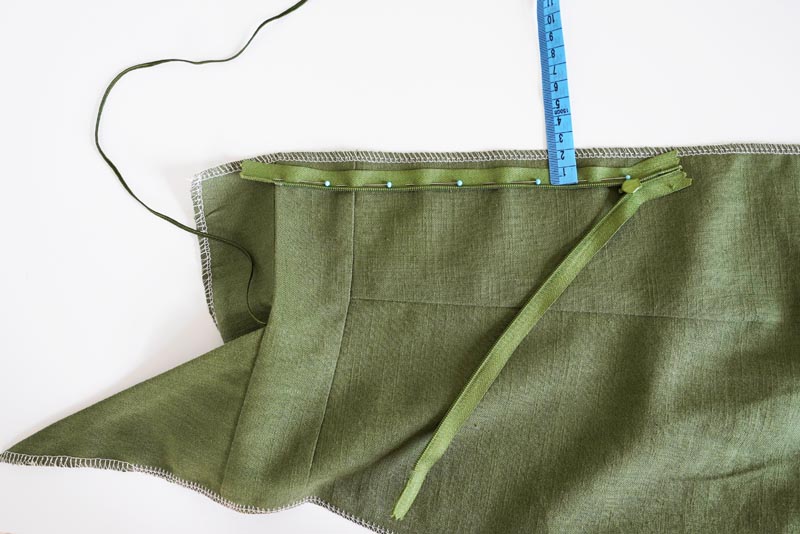
We carefully pin the hidden zip or, ideally, push it on. We will leave the upper part of the zipper above the closure free, we will not sew it on.
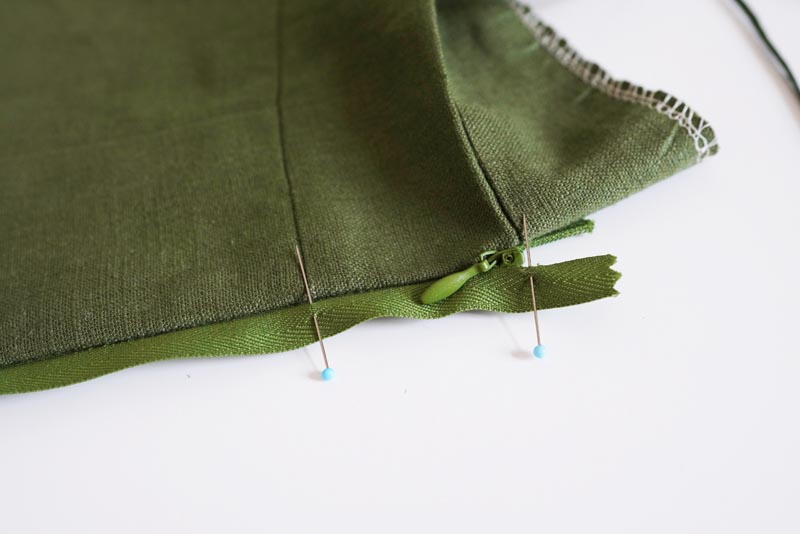
We sew the hidden zipper and before we start on its other side, we close it and check the correctness of the sewing.
We leave the zipper closed and place pins or draw marks on the free side of the zipper fabric for the exact location of the other side of the tape from the second back part. This will ensure that after sewing the zipper, both back parts will fit together perfectly.
According to the marks, we pin the other side of the zip fabric face to face of the second back piece. Again, ideally, we top it off and then sew it on. After sewing, we open and close the zipper again to check that the zipper is sewn correctly. We iron.
7. Finishing the waist
We will now carefully pin the free part of the belt in the back part of the dress. The inner edge on the side of the zipper should not interfere with its teeth so as not to interfere with fastening. We sew along the front side of the back parts exactly in the place of the original seam and thus attach the free edge of the tape. Again, we iron everything carefully.
8. Straps in the front piece of dress
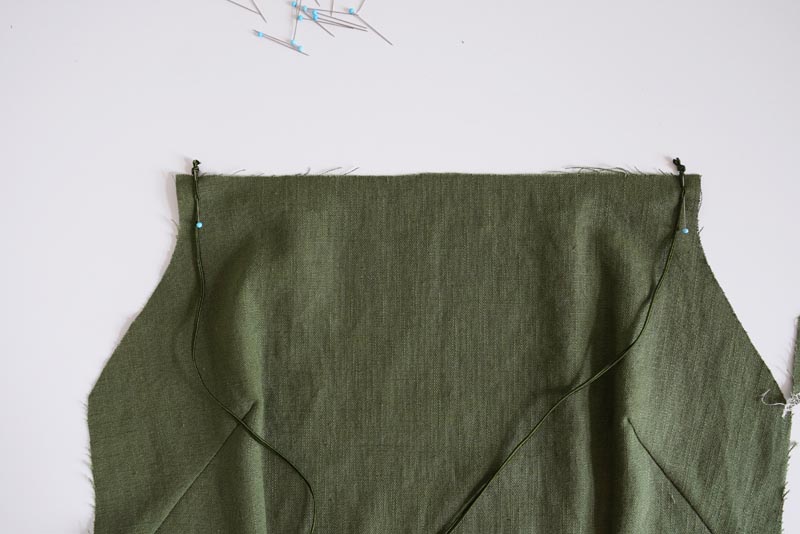
Place the laces on the front side of the front part 1 cm from the edge of the armhole. Let's pin it.
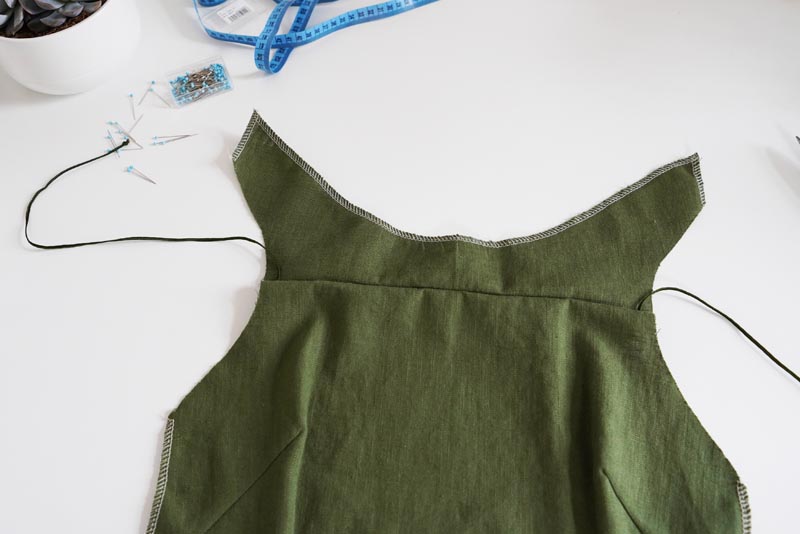
We will clean the free edge of the lining of the front part. We place it face to face of the front part over the pinned strings. Sew both parts together in the upper edge (neckline). In places where the cord is a seam, we secure it with several repeated stitches forward and backward so that the cord does not tear.
At this moment, we will clean the edges of the lining belonging to the armholes and also the entire side edge of the front part of the dress.
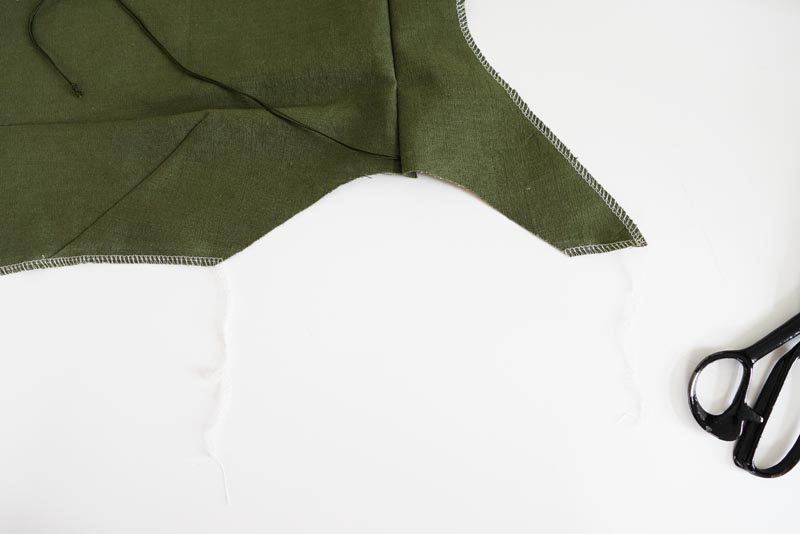
9. The secong fitting test
We lift the lining to the reverse side of the front part and stitch along the upper edge and the edges of the armholes. Subsequently, we sew the back parts to the front, face to face, together in the side seams. We sew for 2 cm according to the width of the seam allowances. We will try on the dress and adjust it as needed.
10. Side seams
Now we will steam the auxiliary stitch. If we didn't make any adjustments to the side edges, we can leave it here and just steam it where the front piece is lined (picture 1 below).
The back part lies face to face on the front part. Place the pad face down over the back pieces (picture 2 below).
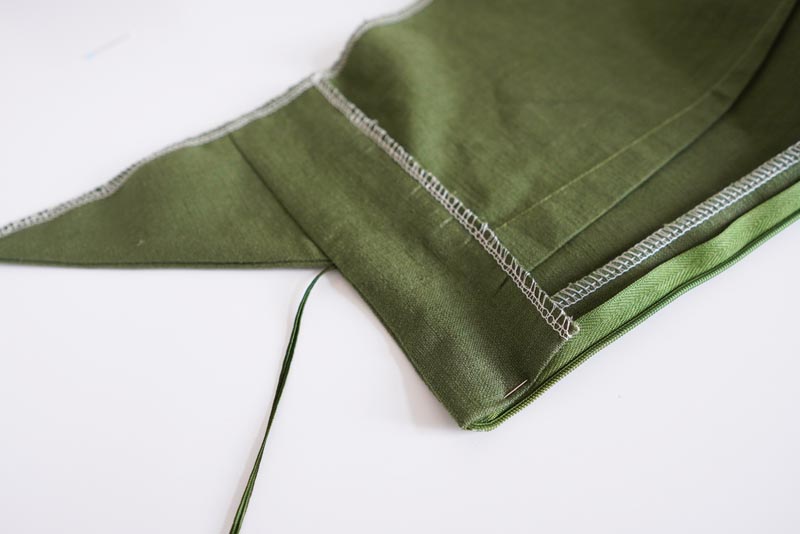
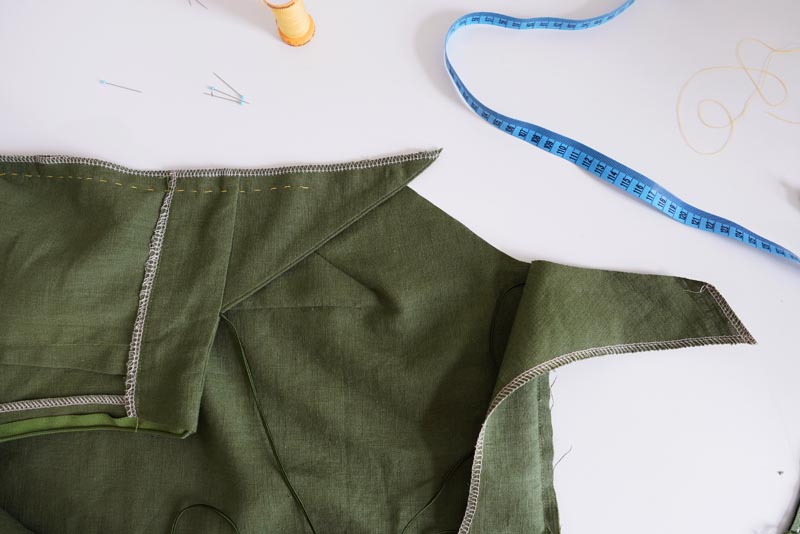
This is how we sew both entire side edges. In the third photo below, you can see a small adjustment to my figure. I have a narrower chest and the dress would stick out in my armpits, so in the case of my dress, I have to take more of the side seam in that place. At the same time, we will also sew the edges of the armhole (the lining to the front part).
We cut off the circles in the upper edge of the front part so that the undershirt turns well on our cheek.
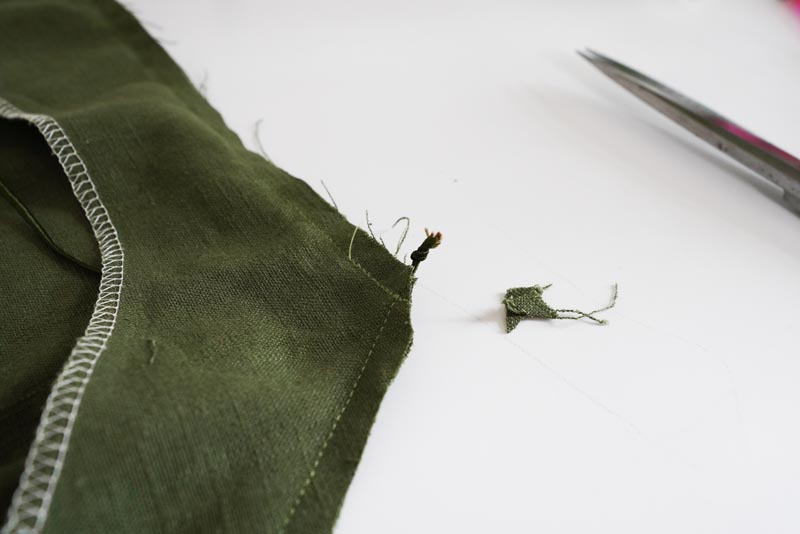
Turn the dress inside out and carefully iron everything. We iron the seams in the side edges. When transitioning to the armhole, we iron.
11. Lower hem of dress
The last thing to do is clean up the bottom edge of the dress and create the hem. We clean the lower edge around the entire circumference and if we are sewing on an overlock, we leave the longer ends of the chains and pull them under the loops or knot them. We lift the lower edge by 3 cm to the back of the skirt, pin it and sew along the front side of the skirt. Iron the bottom hem carefully.
Here, the dress is in the world. We carry with love. ♥

You can buy this women´s dress sewing pattern here:


