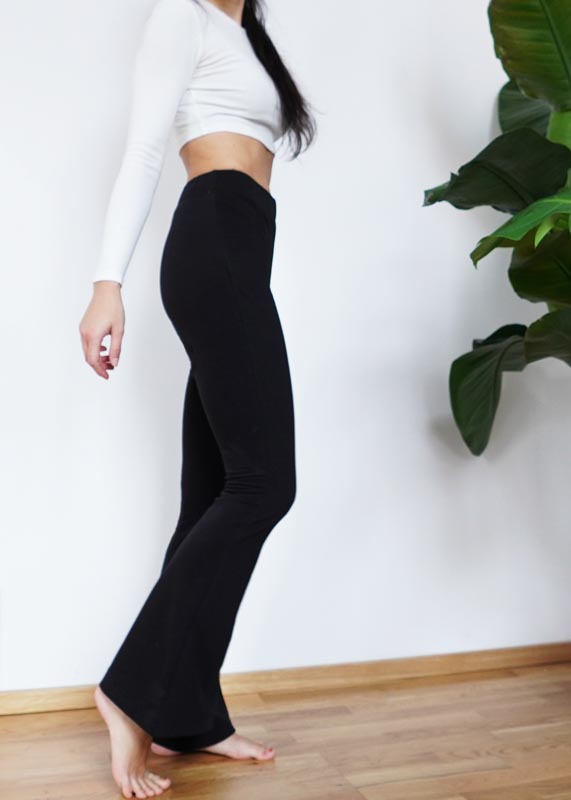
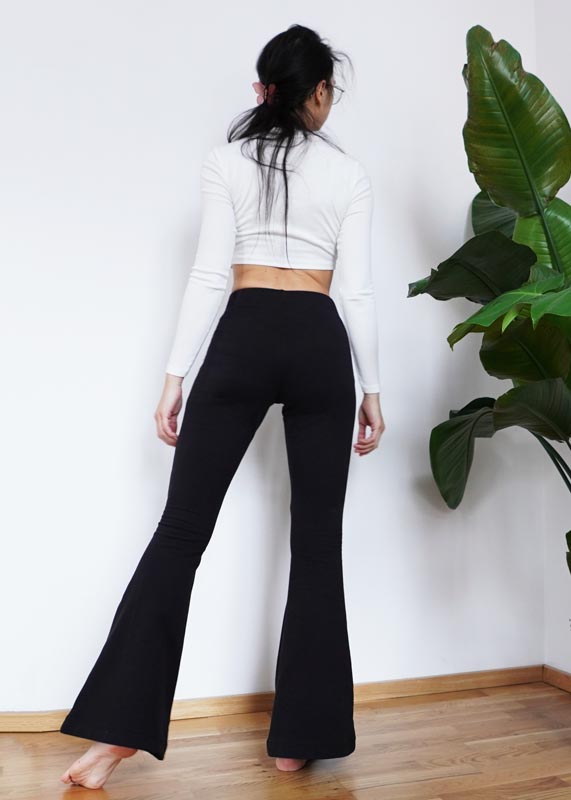
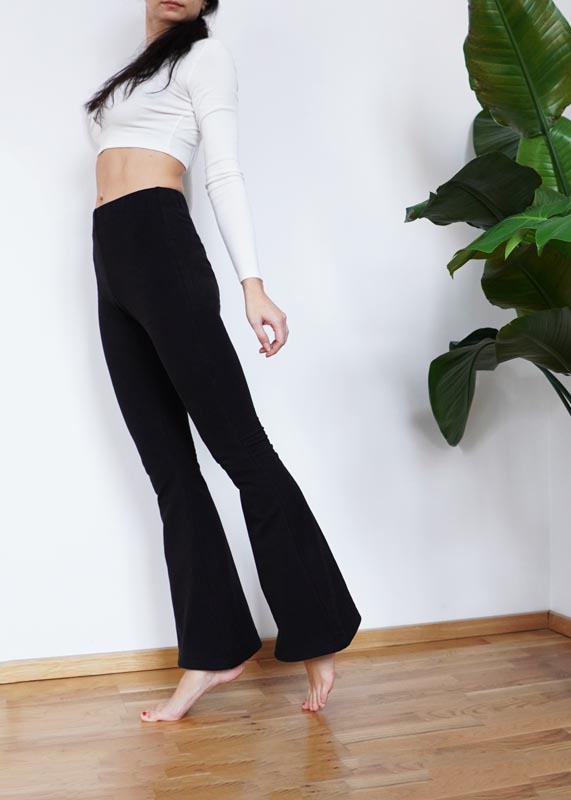
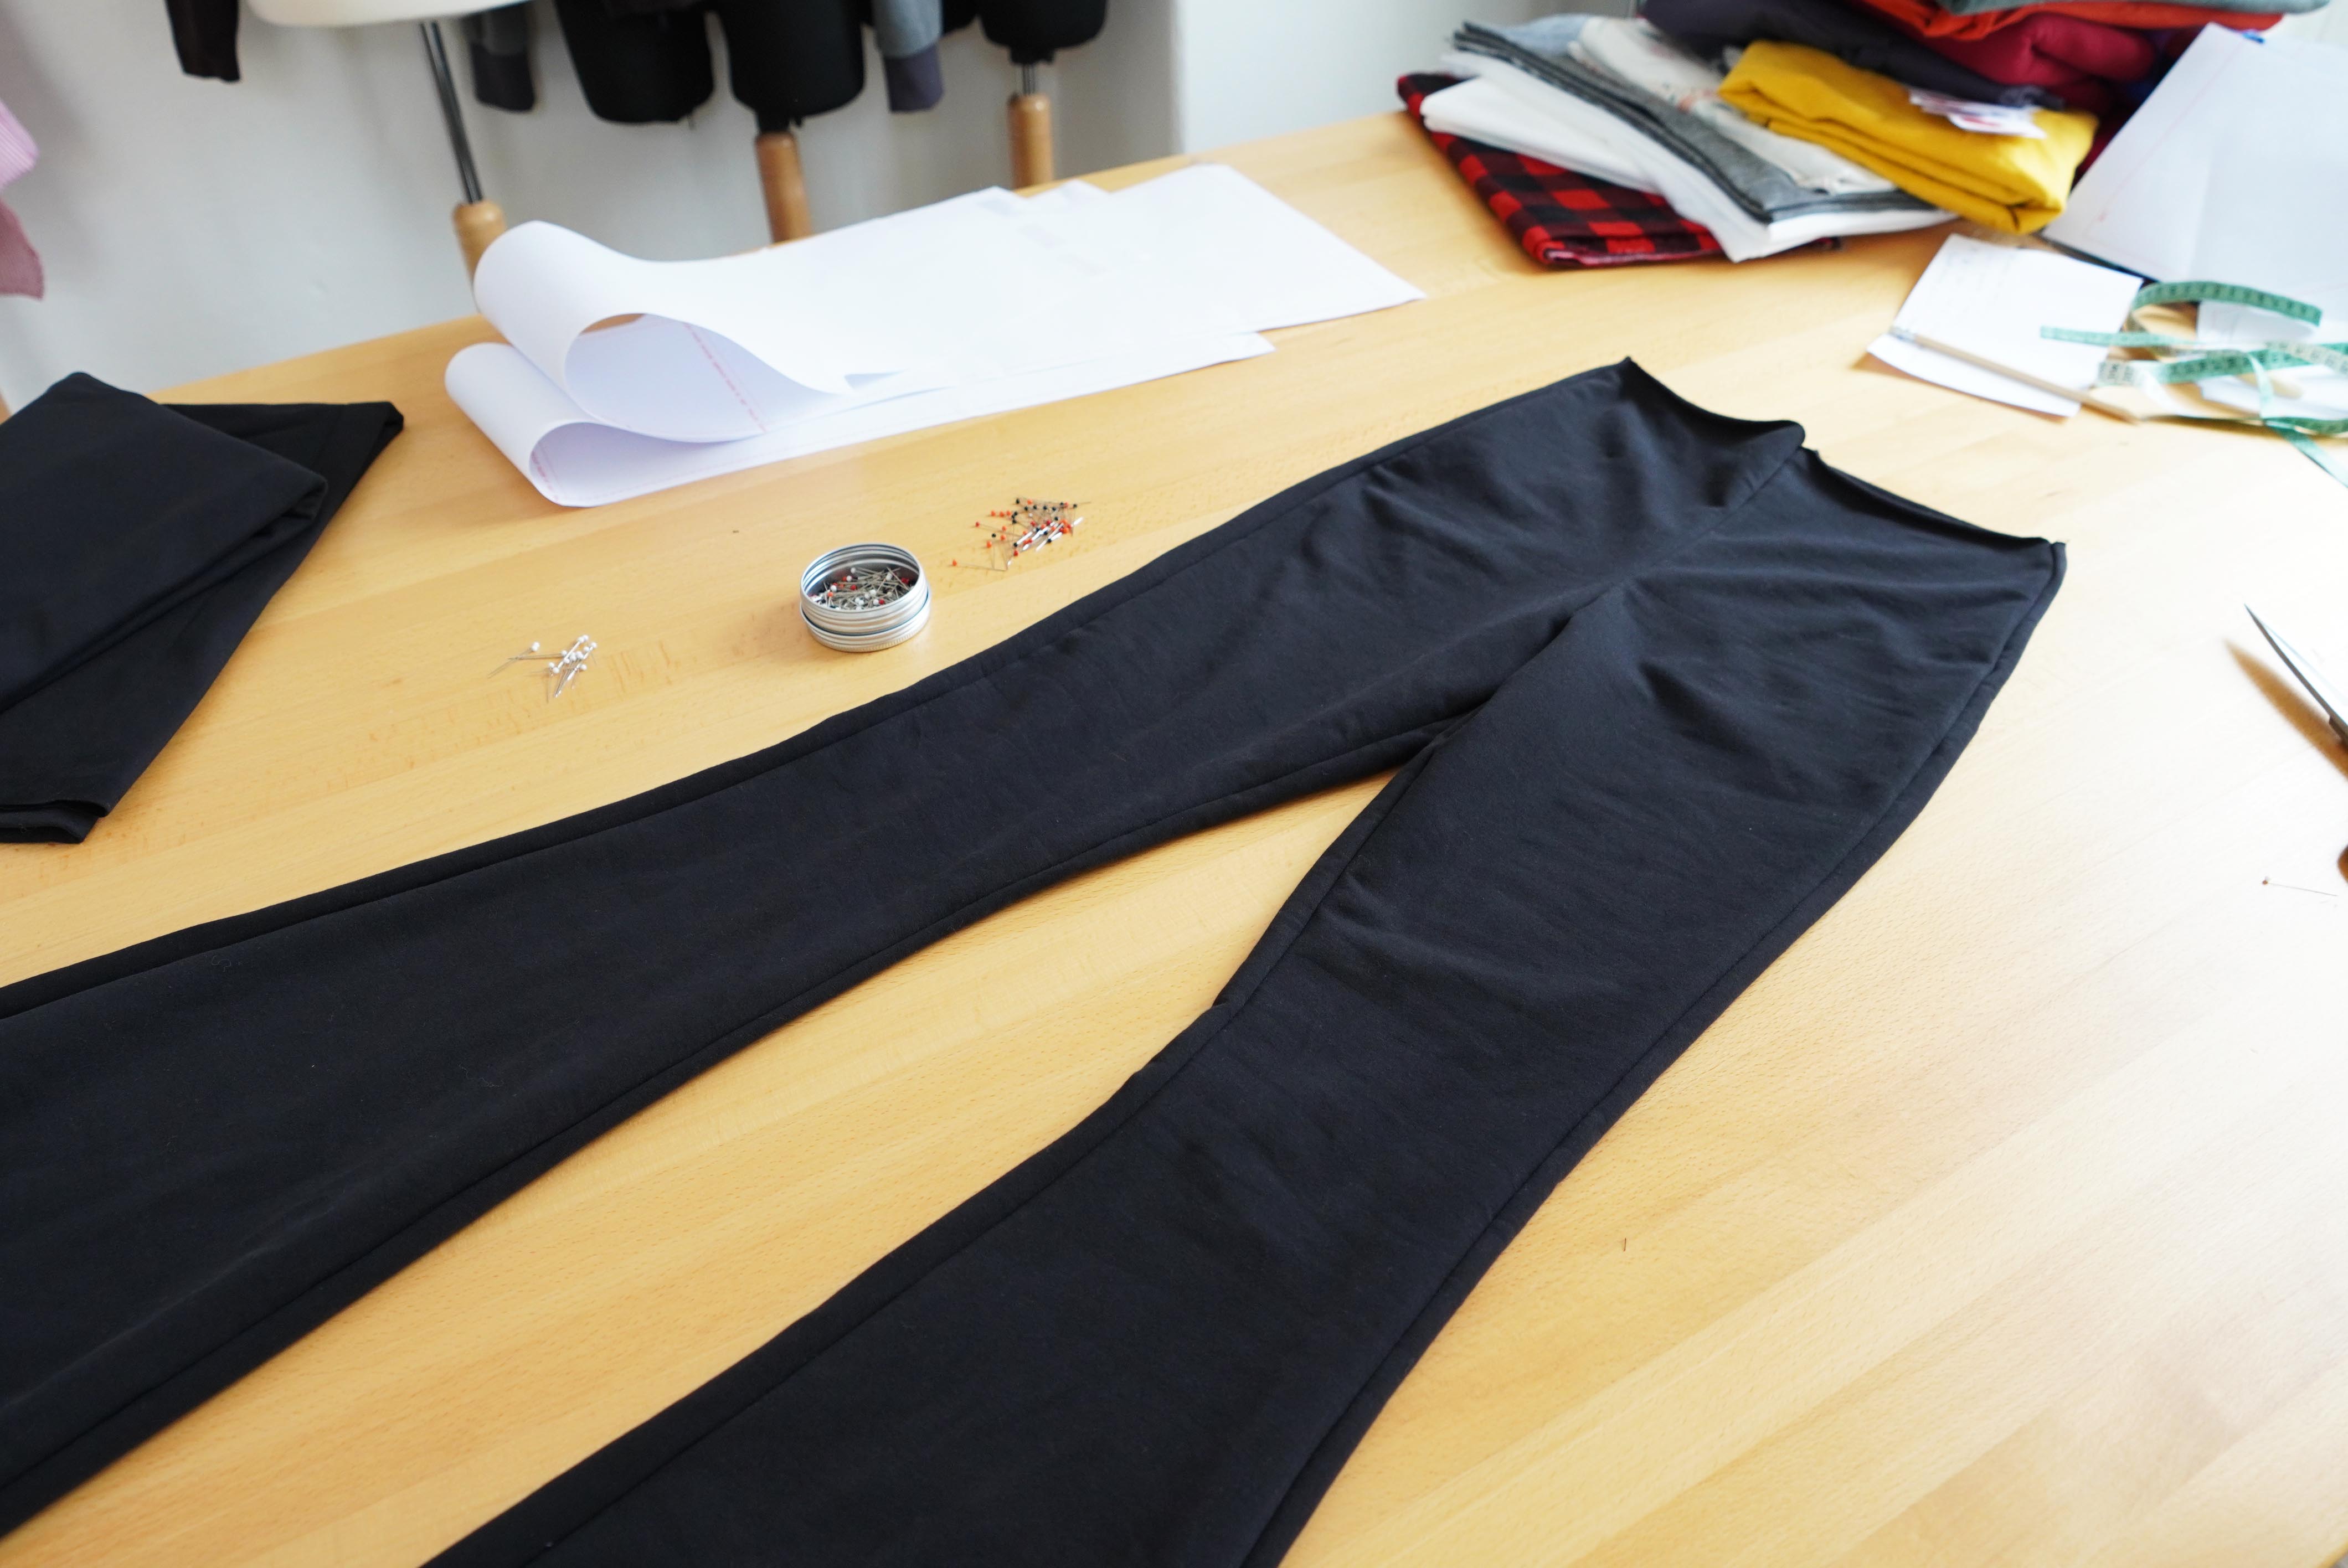
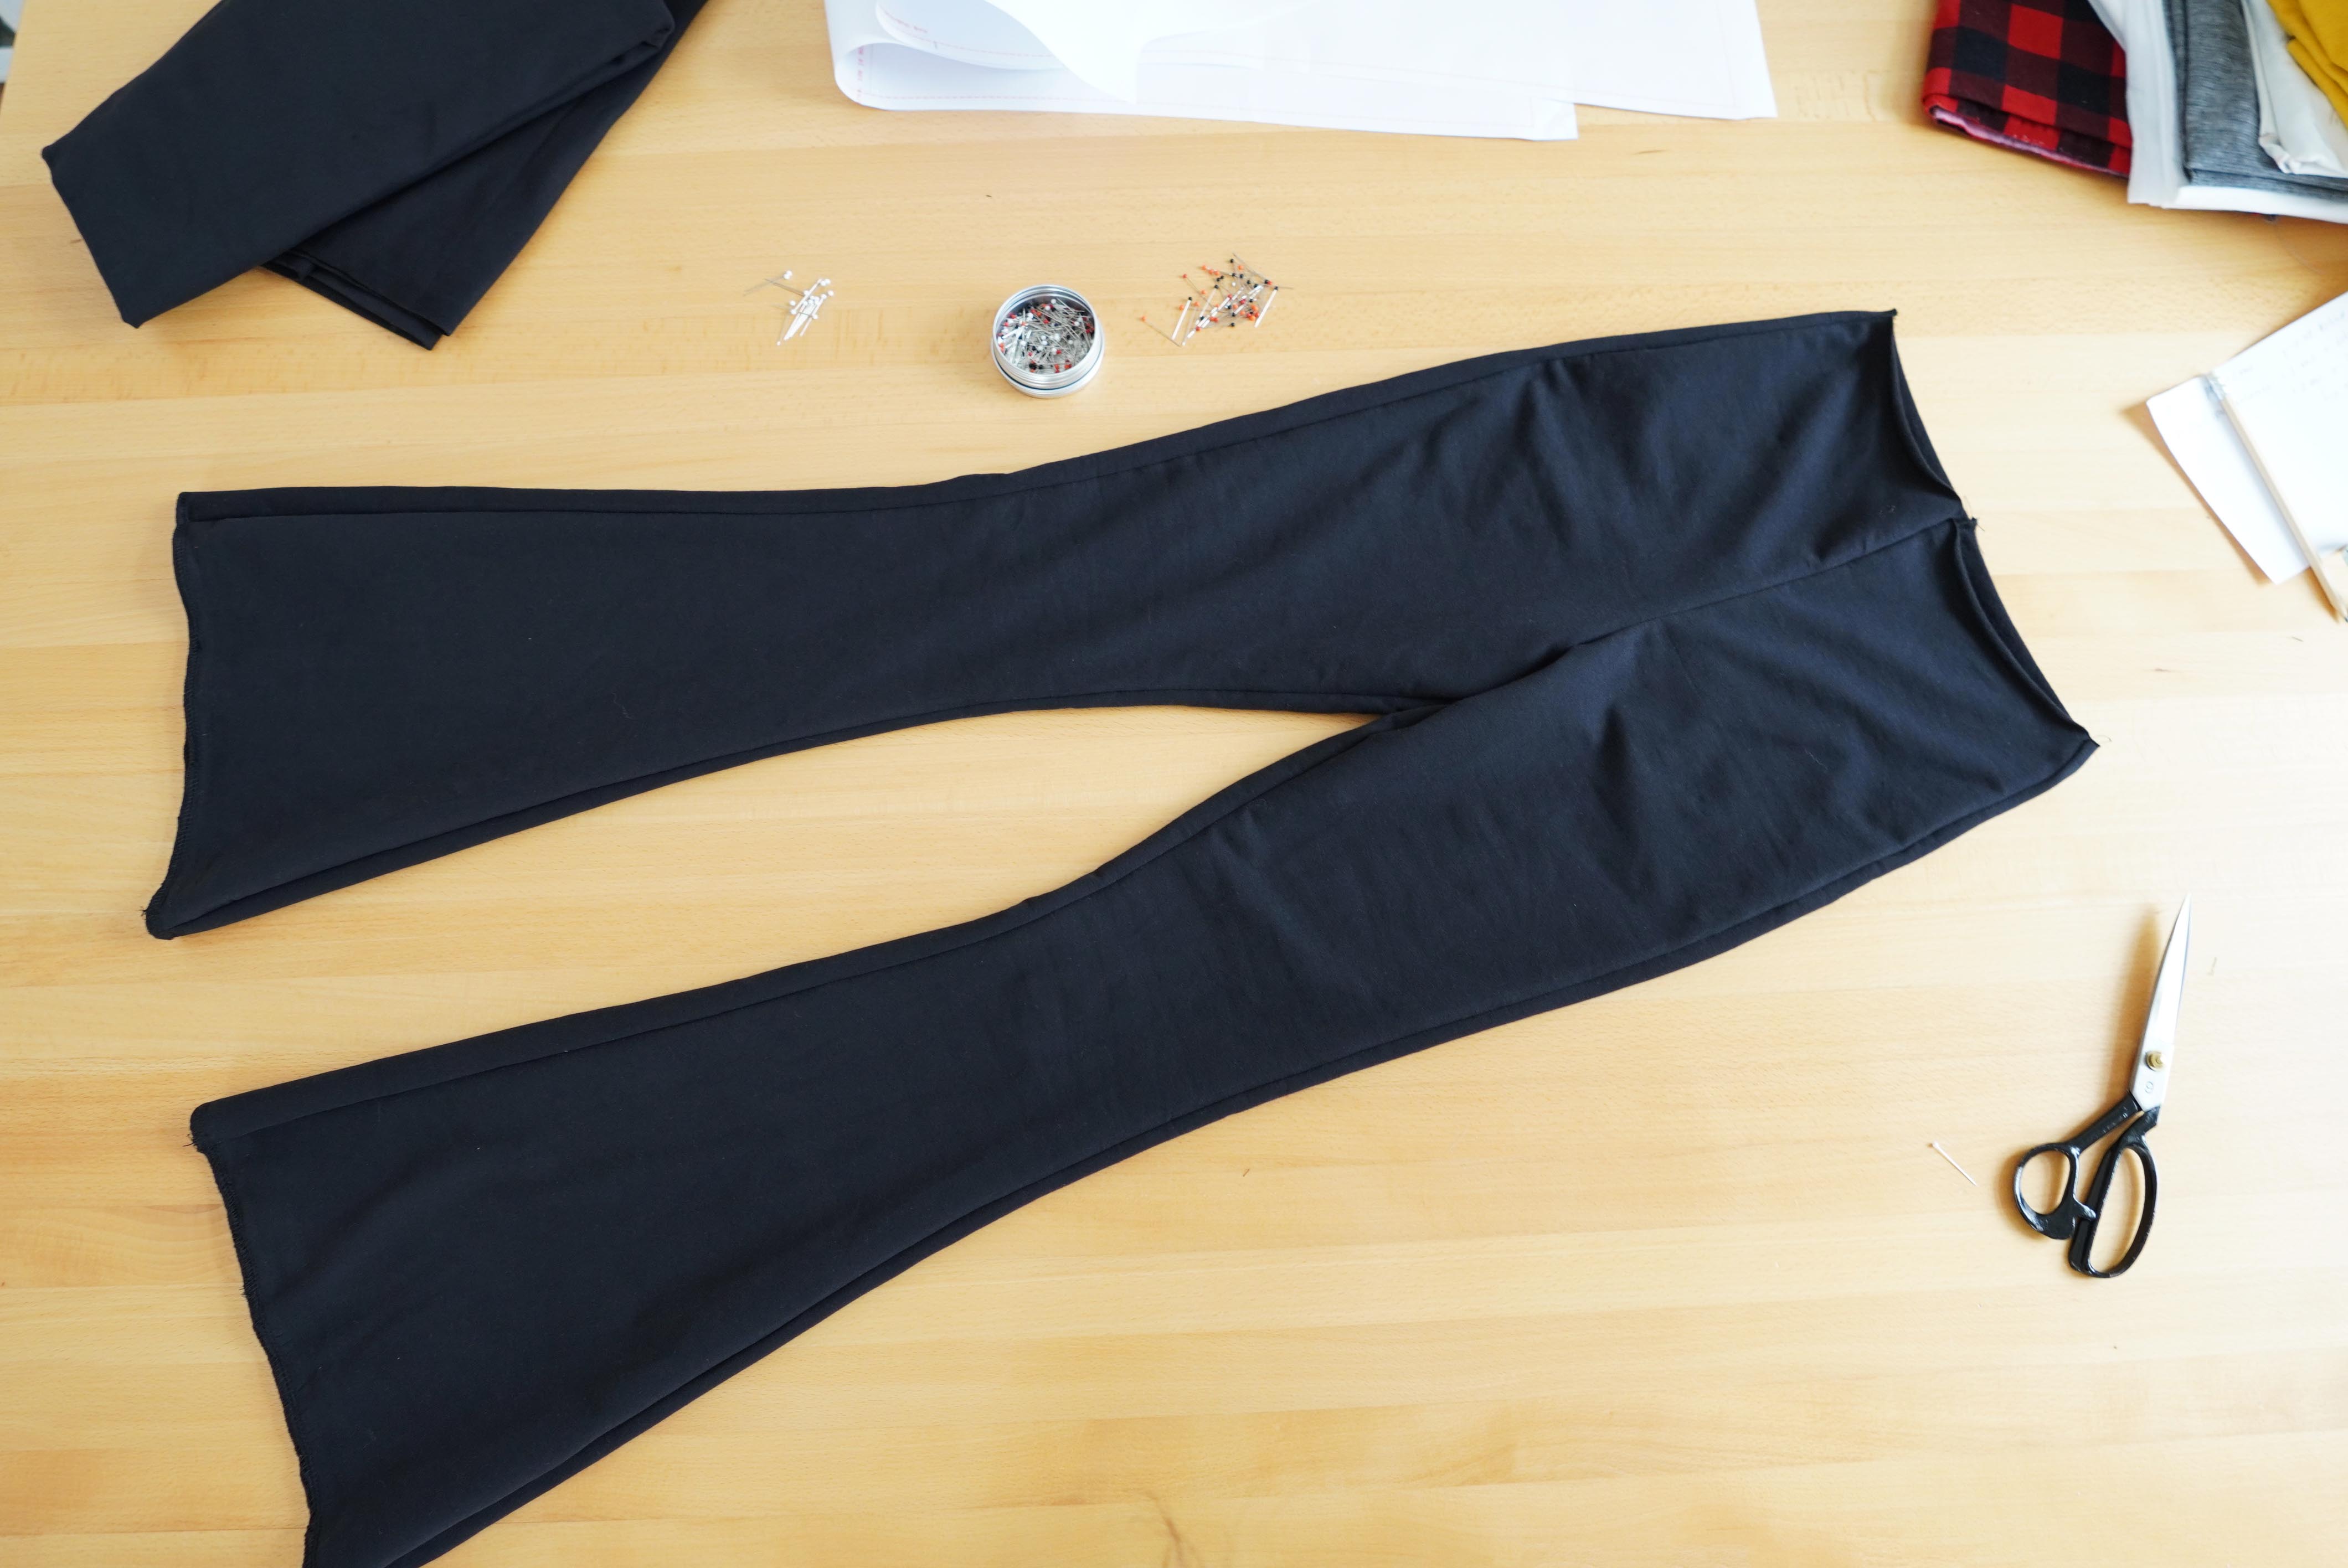
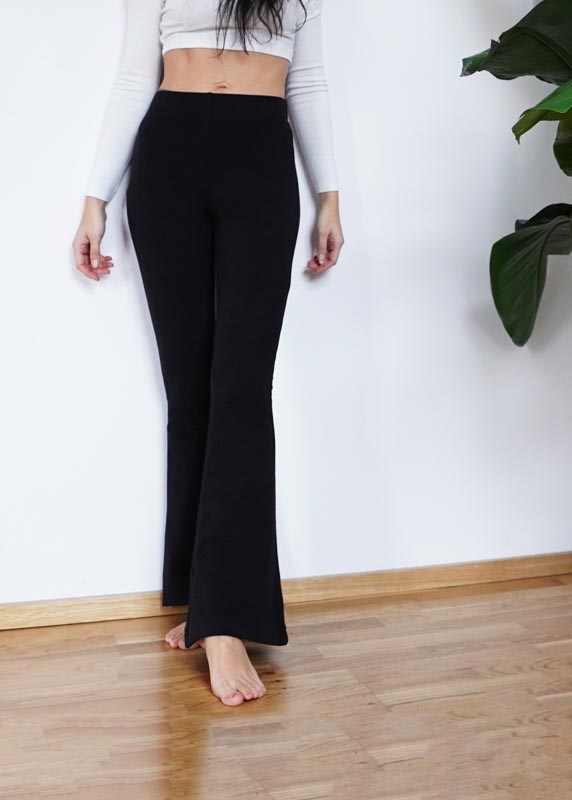
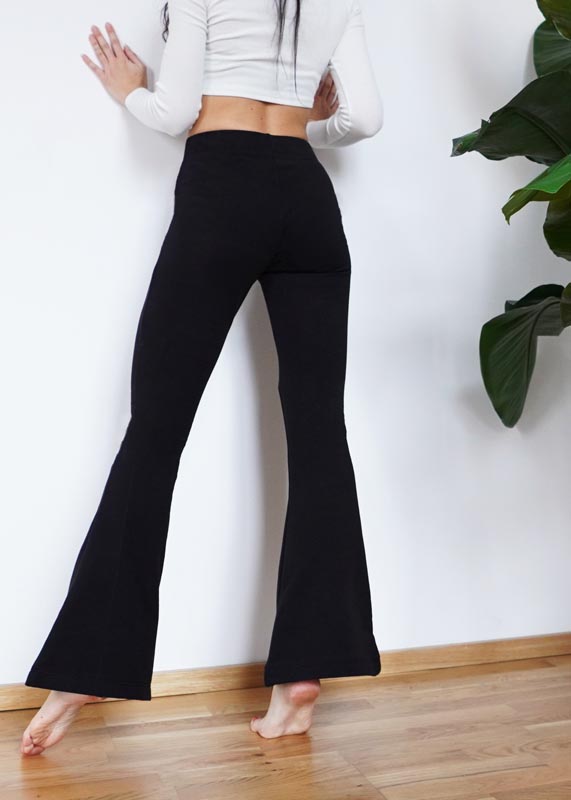
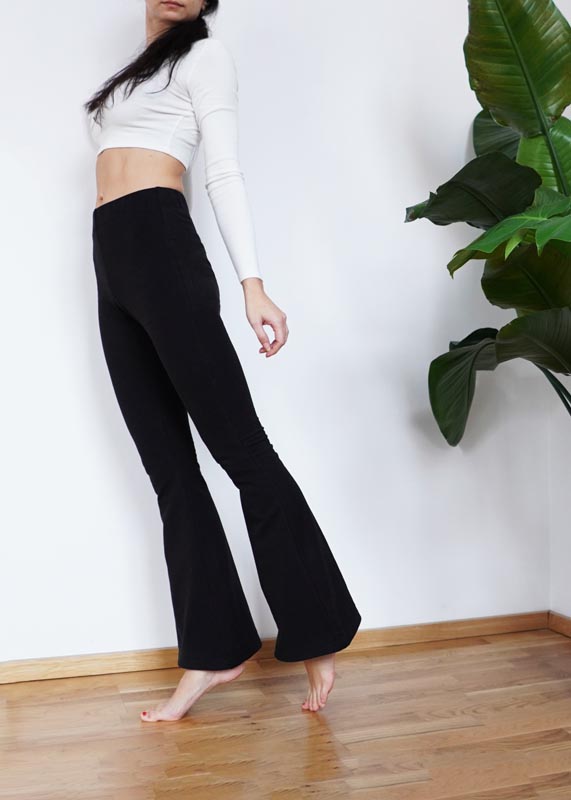
Flare leg pants are back! In this article, we will look together at how to sew simple women's elastic flare leg leggings. The women's pants sewing pattern is a very simple silhouette with a high waist and is made in sizes 32-60.
You can already find the sewing pattern for "flare leg pants" in e-shops in PDF version:

Recommended material for women's Flare Leg Pants:
The sewing pattern is designed for lightweight knit fabrics like cotton jersey with spandex etc.
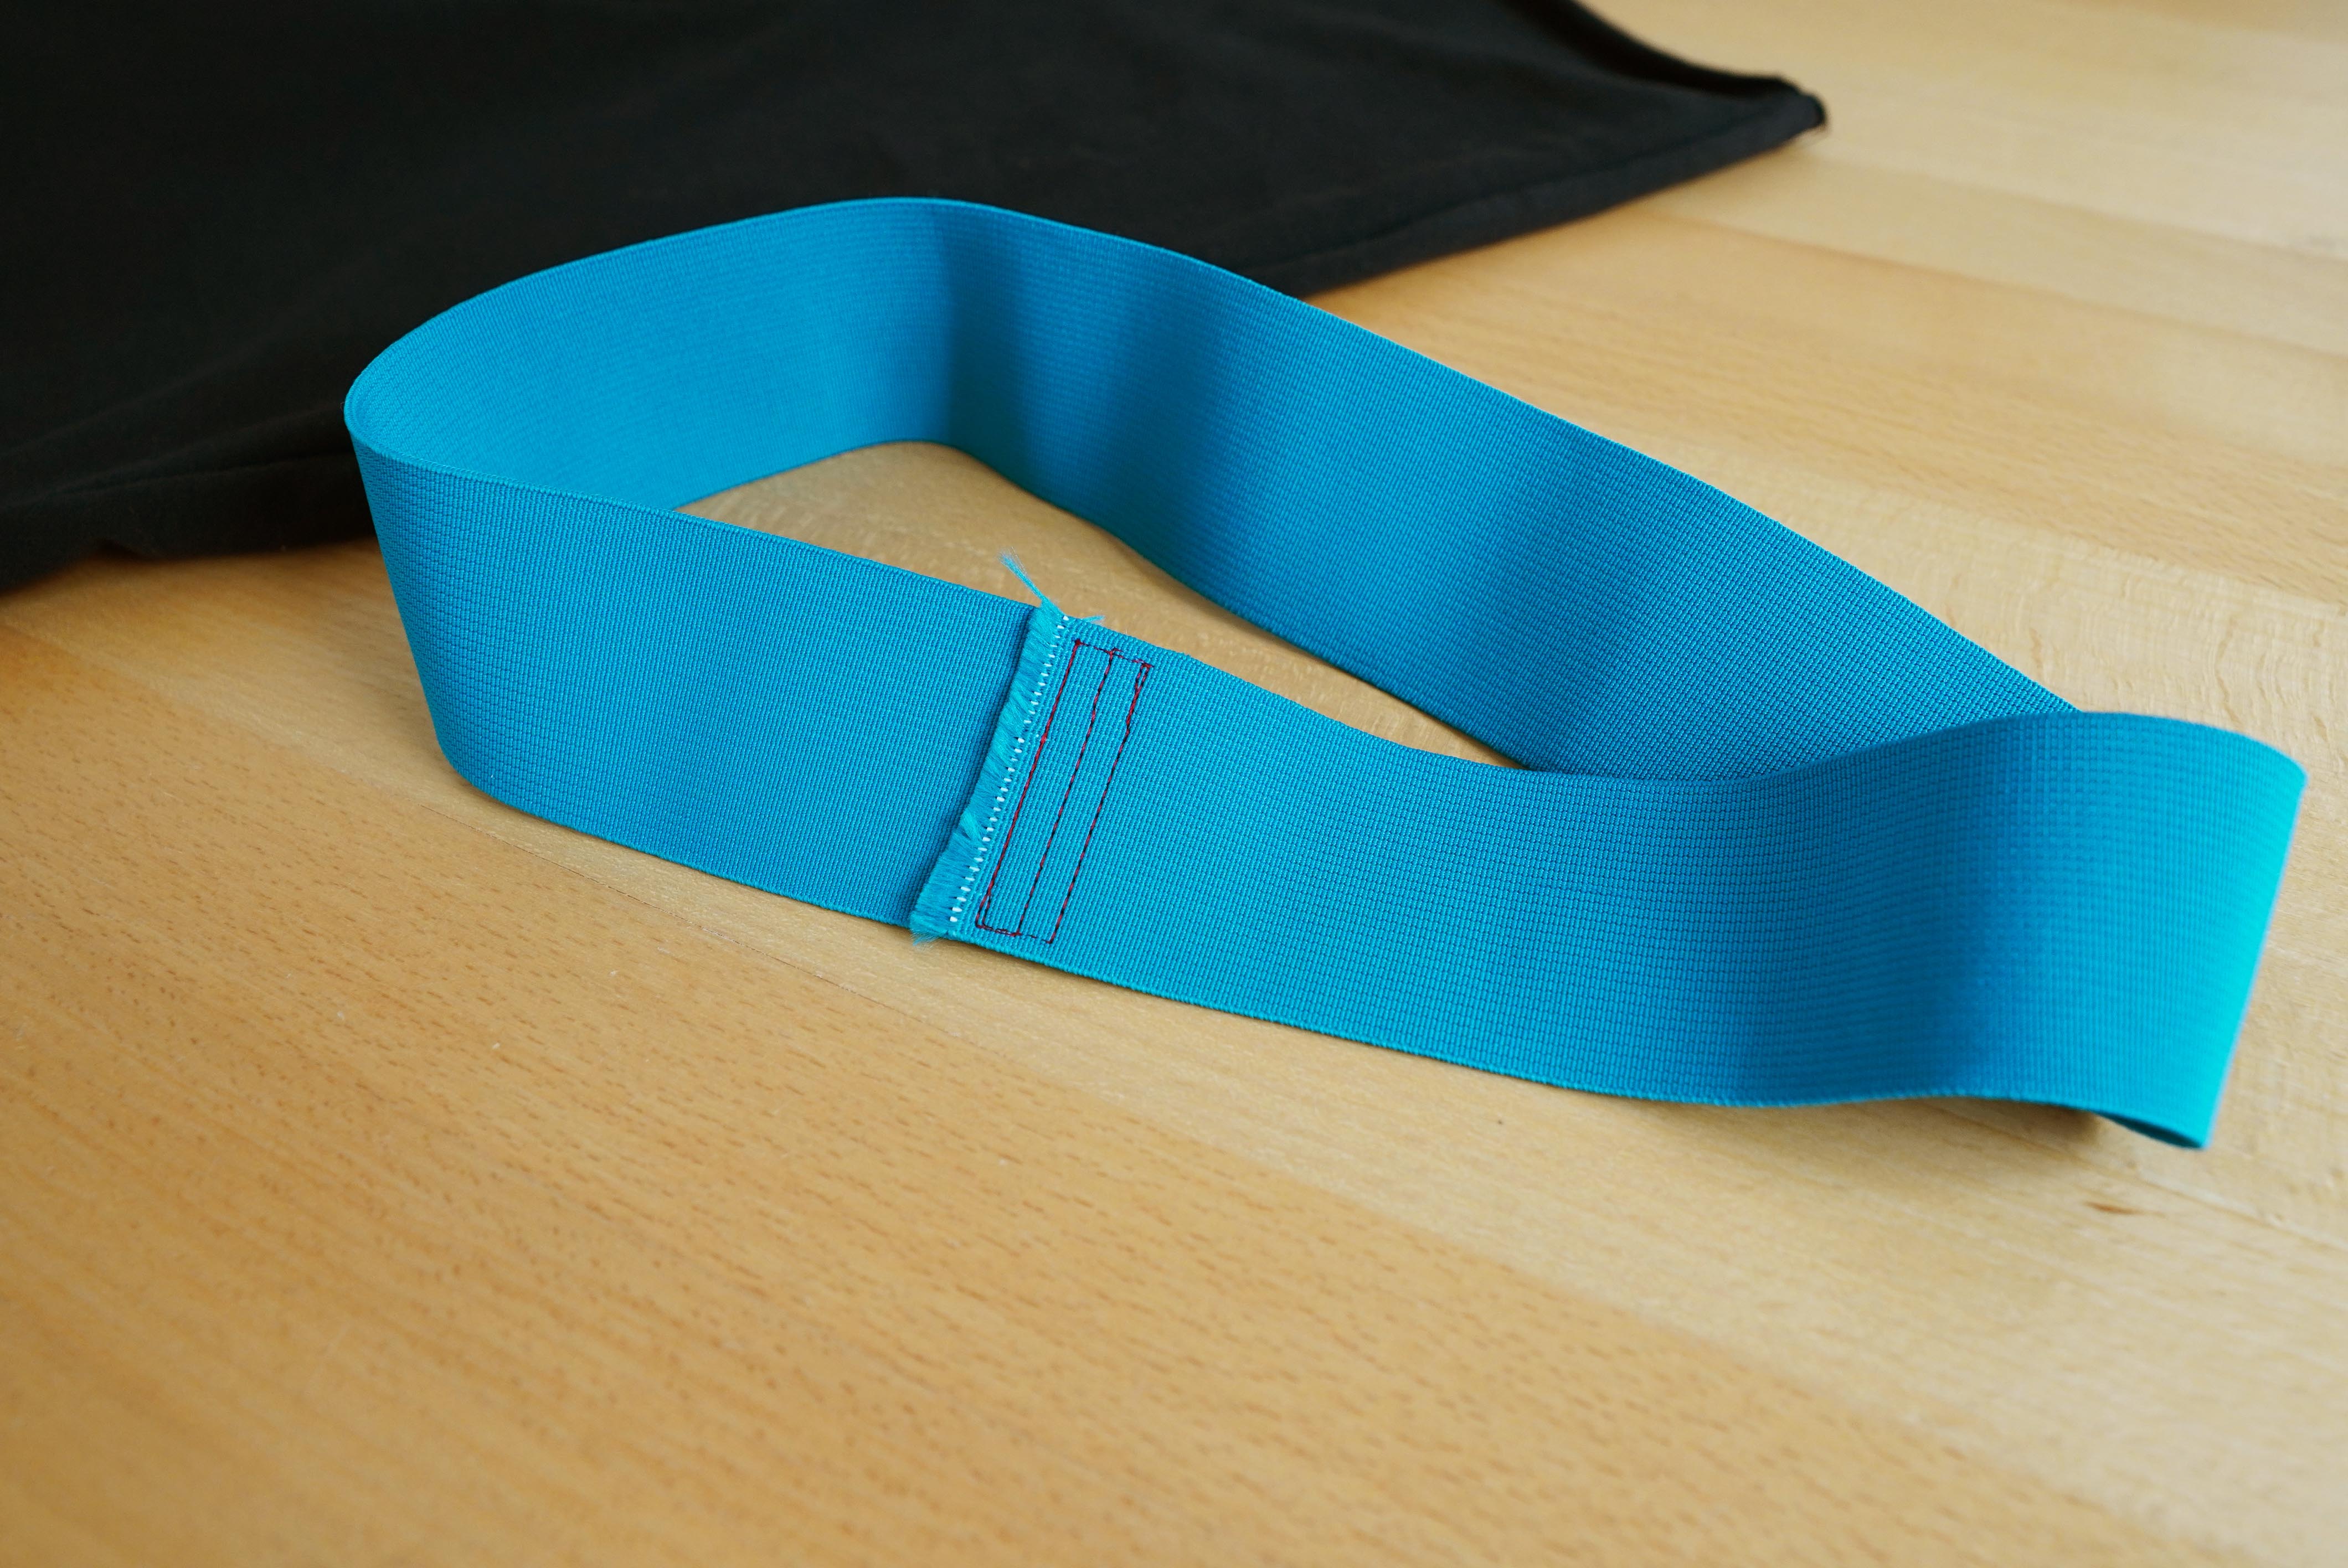
We will also need a stripe of elastic band. Long according to your waist circuit.
The required amount of material:
(for 140 cm / 55” wide fabric)
- sizes 32–42: 1,2 m
- sizes 44–52: 1,5 m
- sizes 55–60: 1,8 m
Sewing tutorial - women´s pants
Photos are inserted in the form of galleries for the compactness of the article. To enlarge them and have a better view of the details, simply click on any of them.
1 - Pattern layout
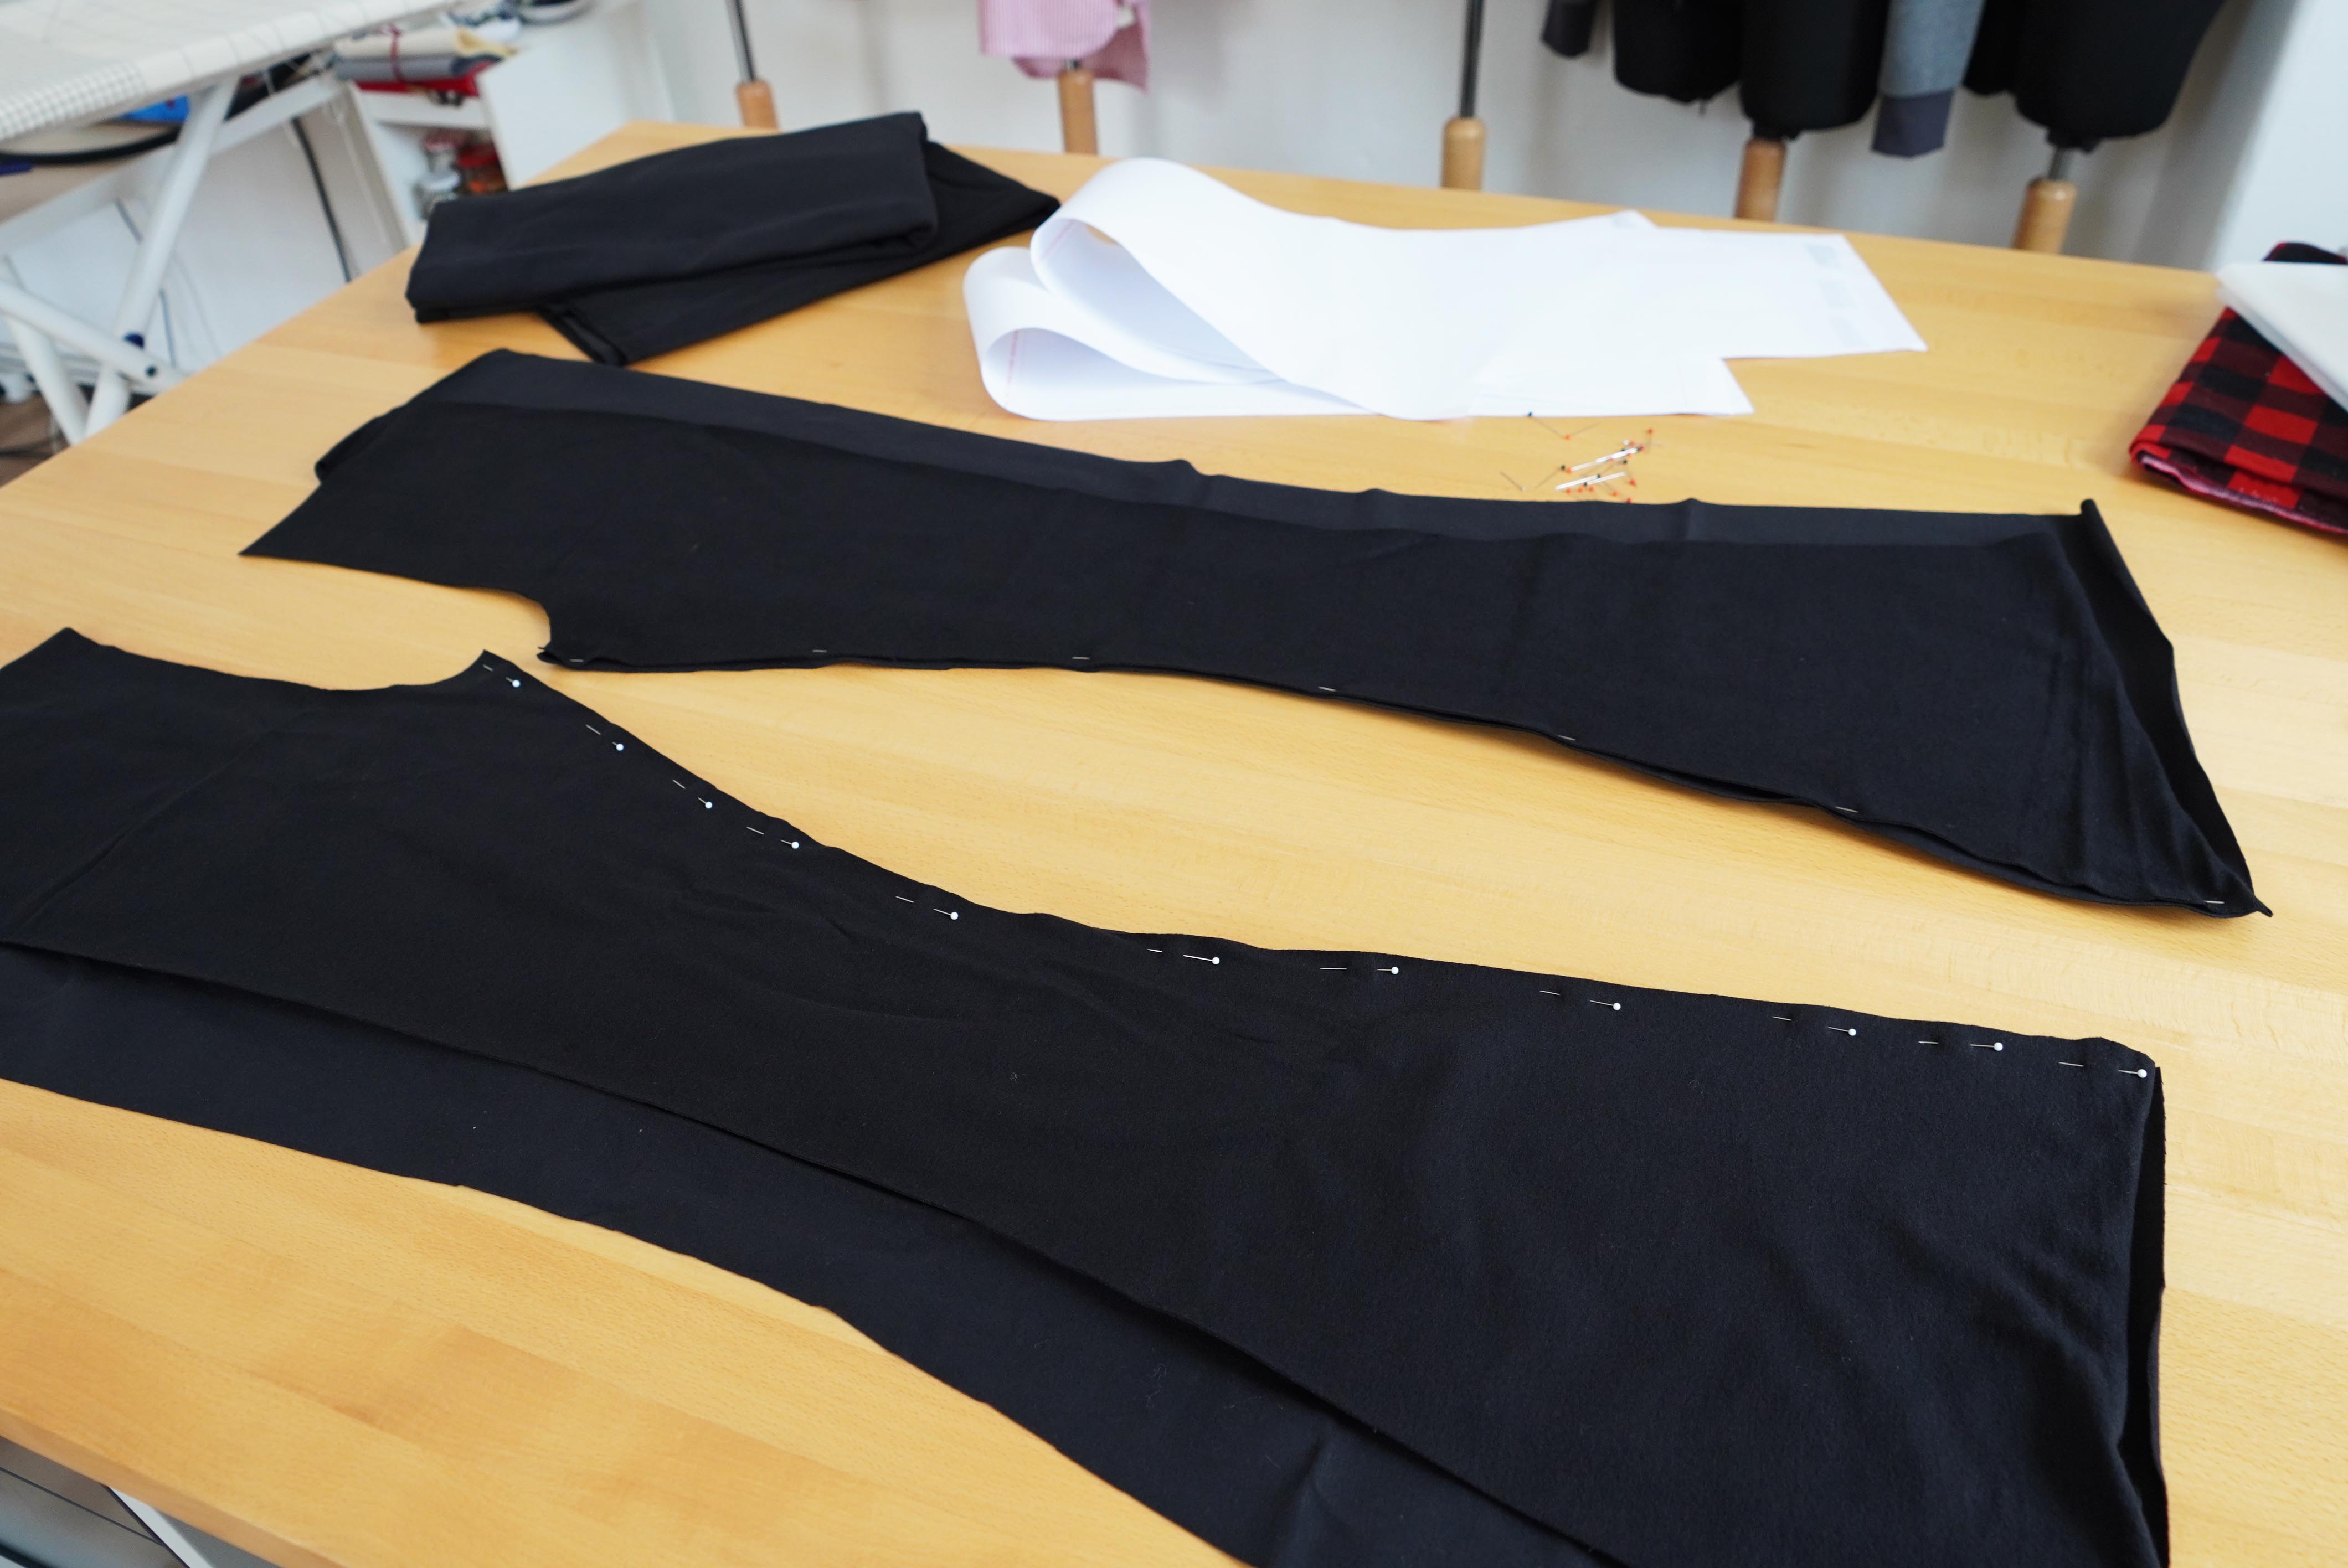
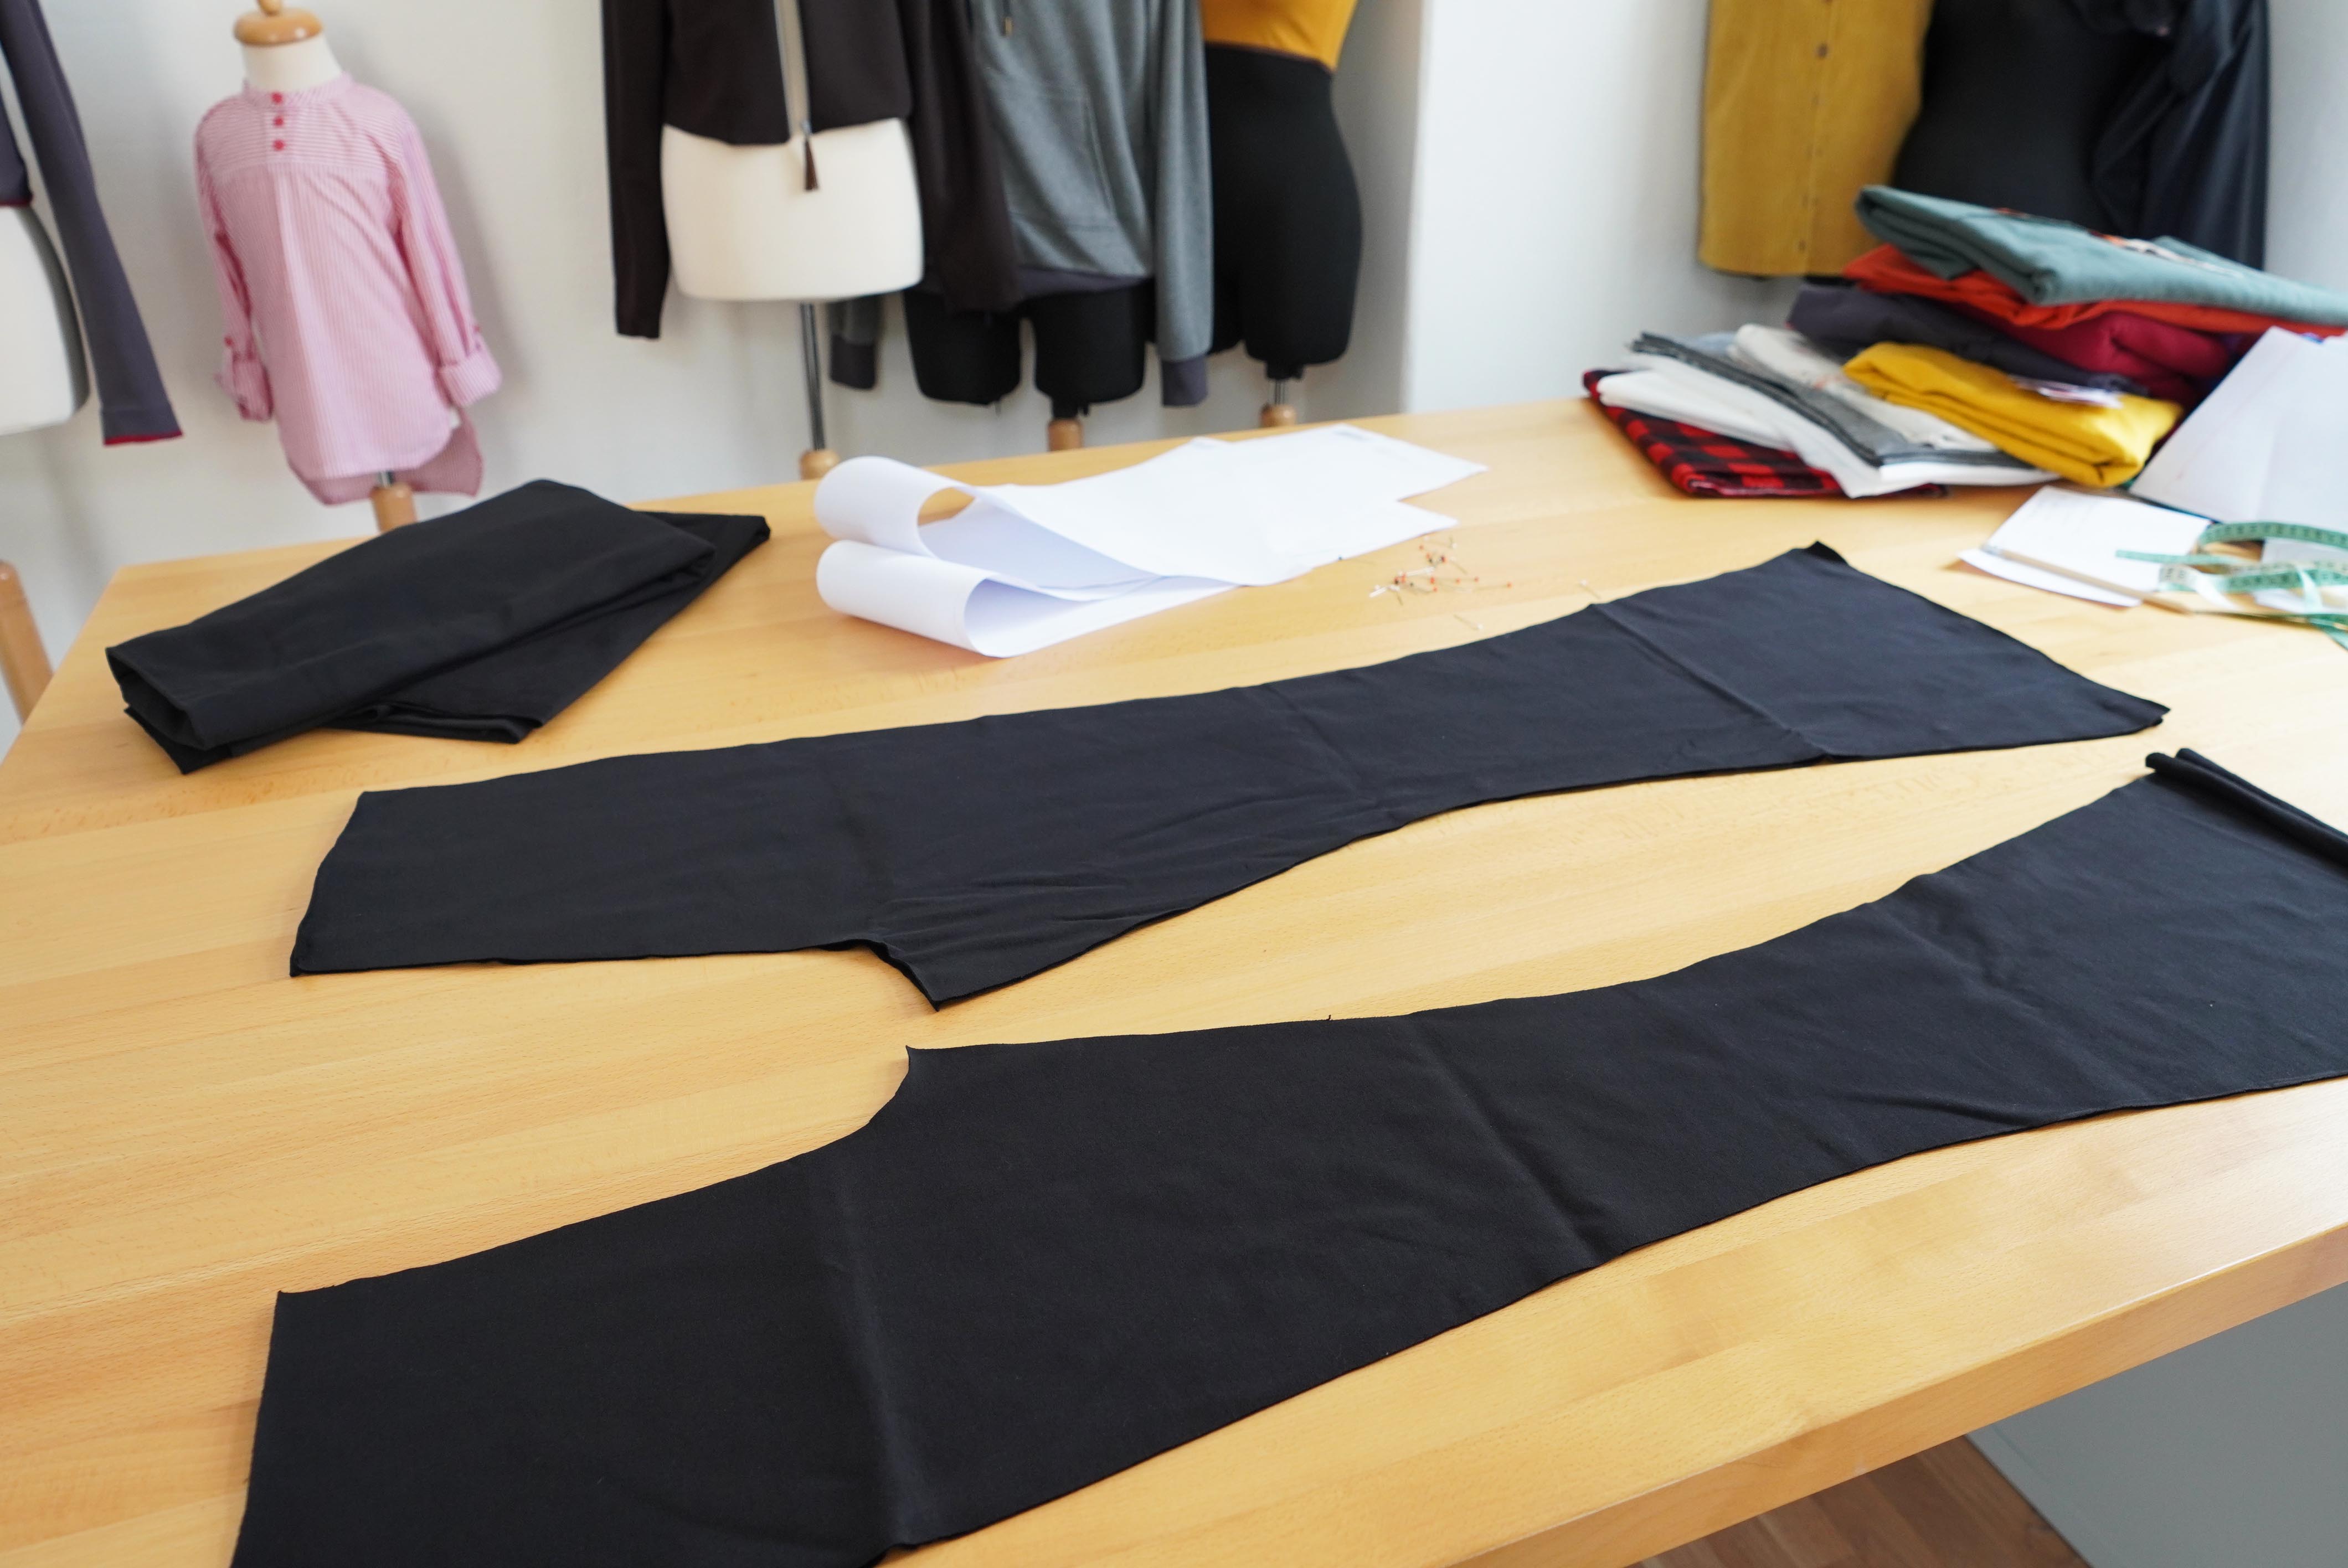
The pattern contains the following pieces:
- 2x front piece
- 2x back piece
2 - Instep seams
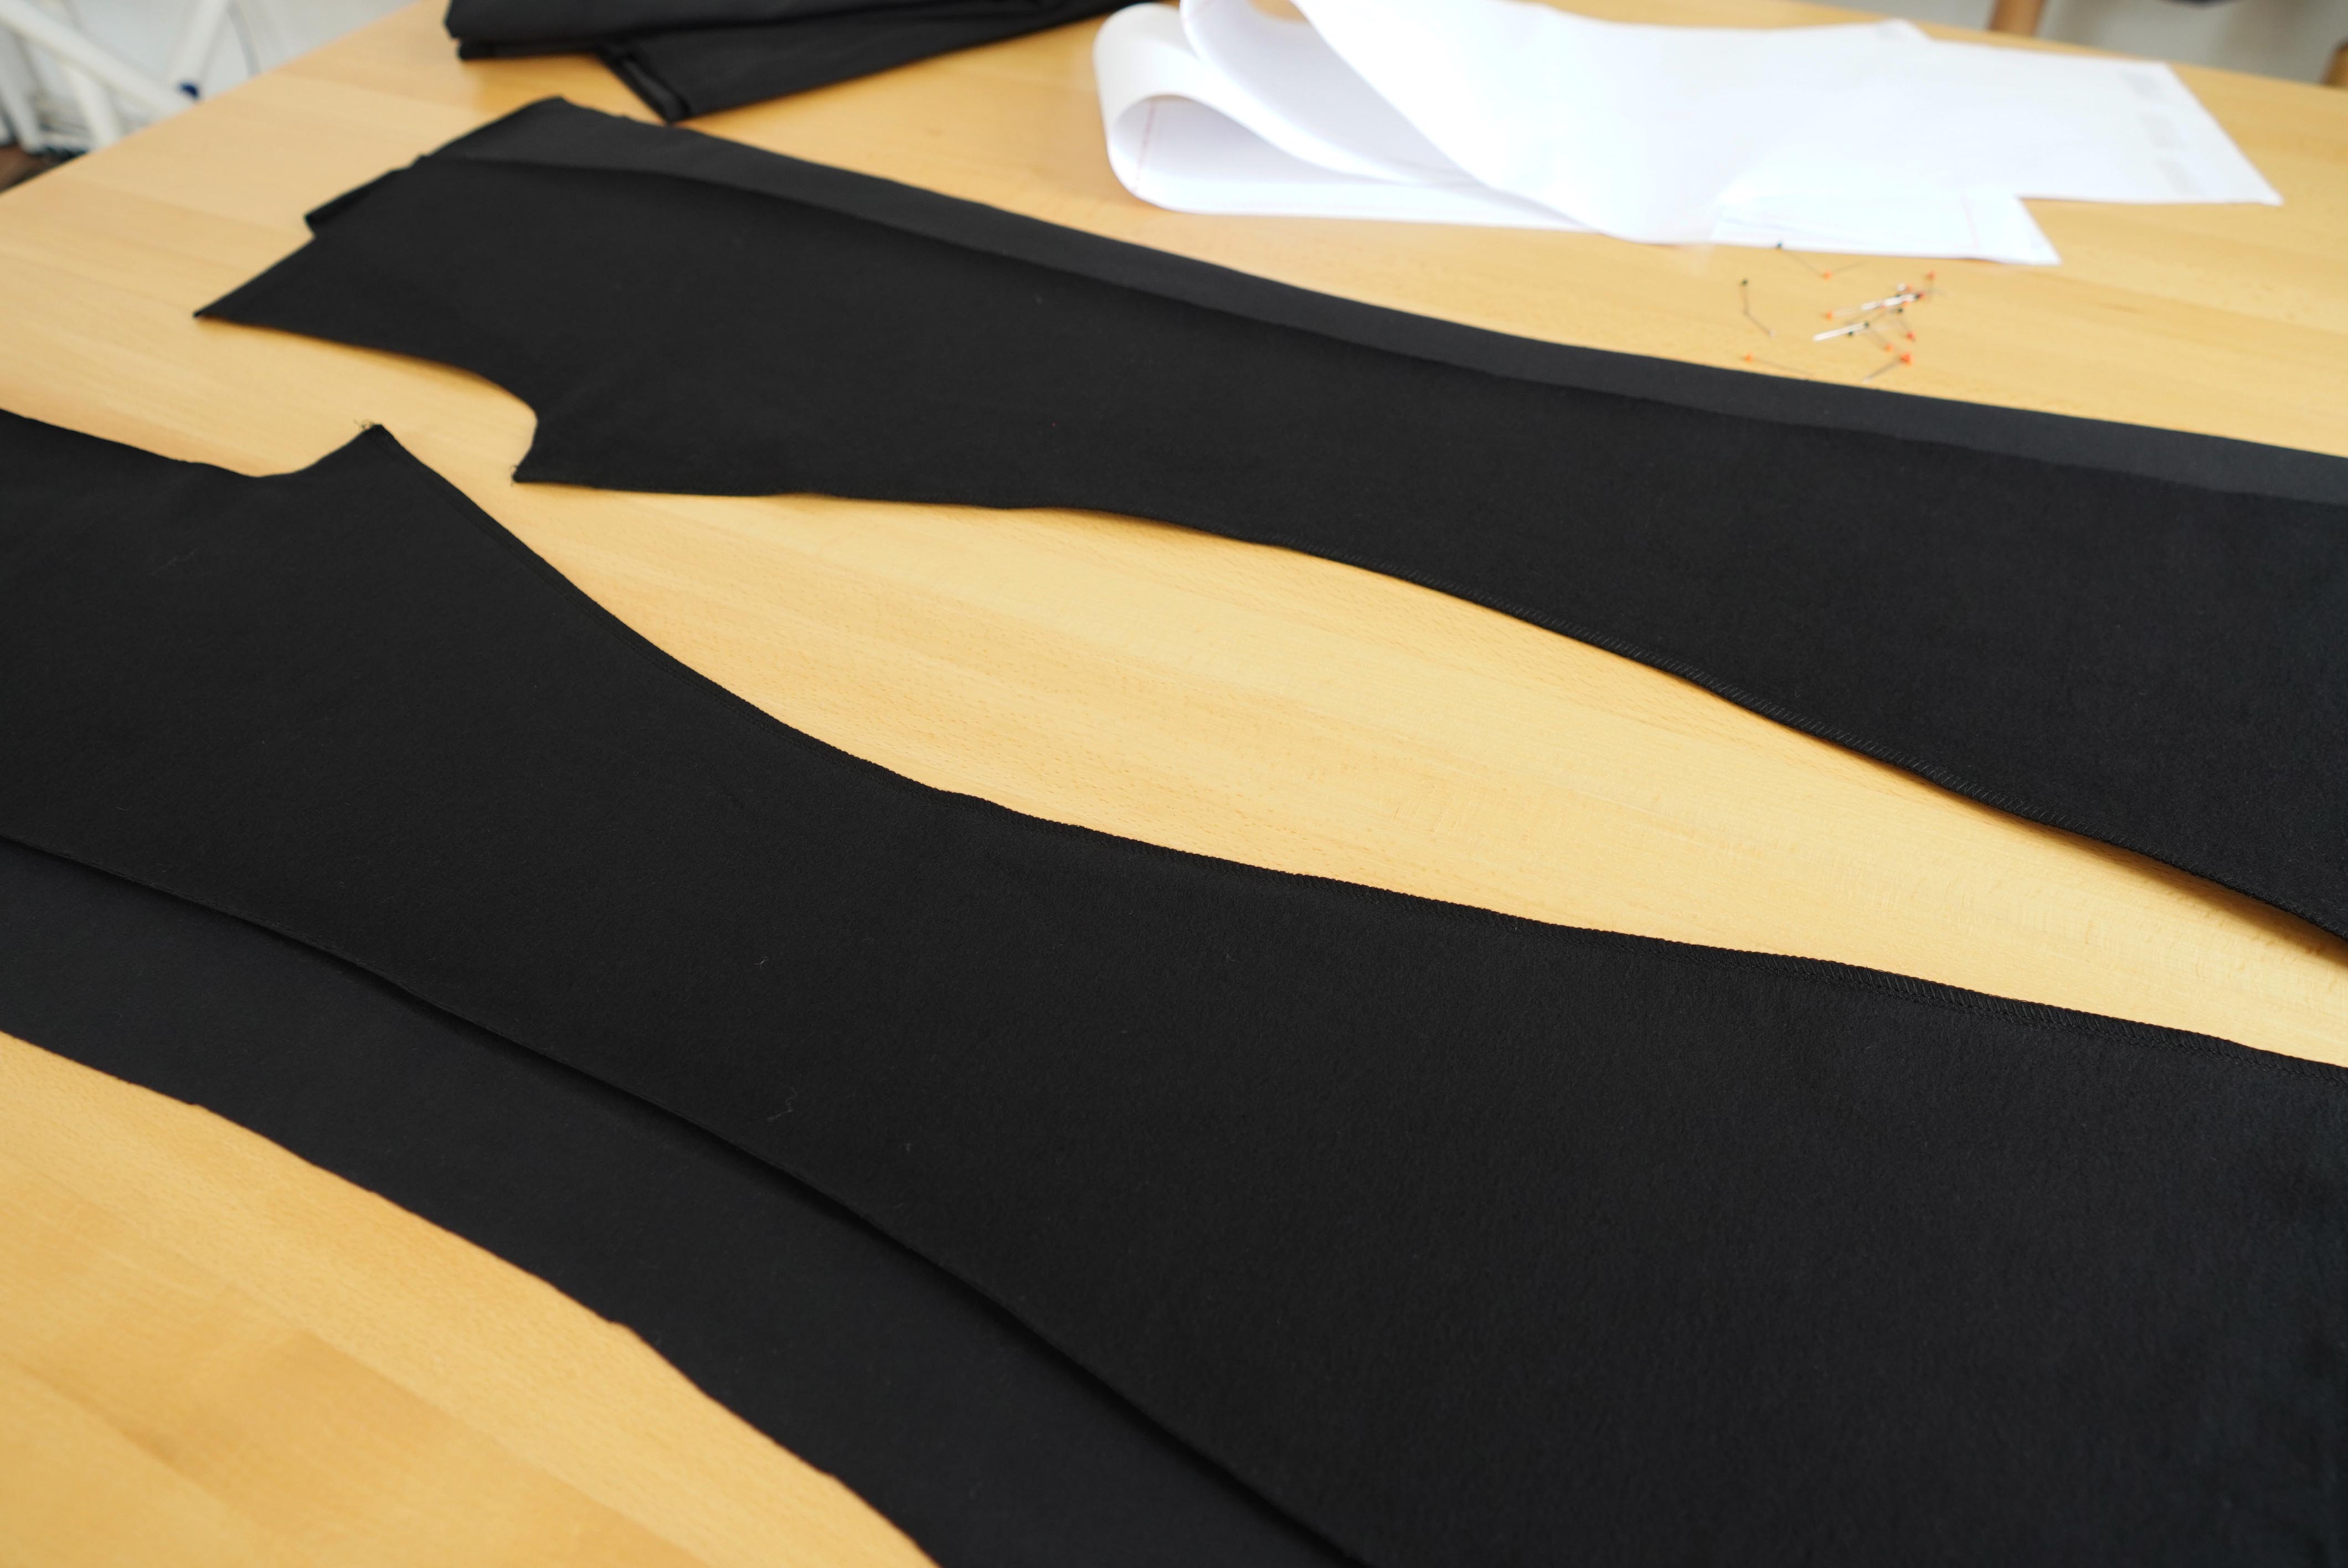
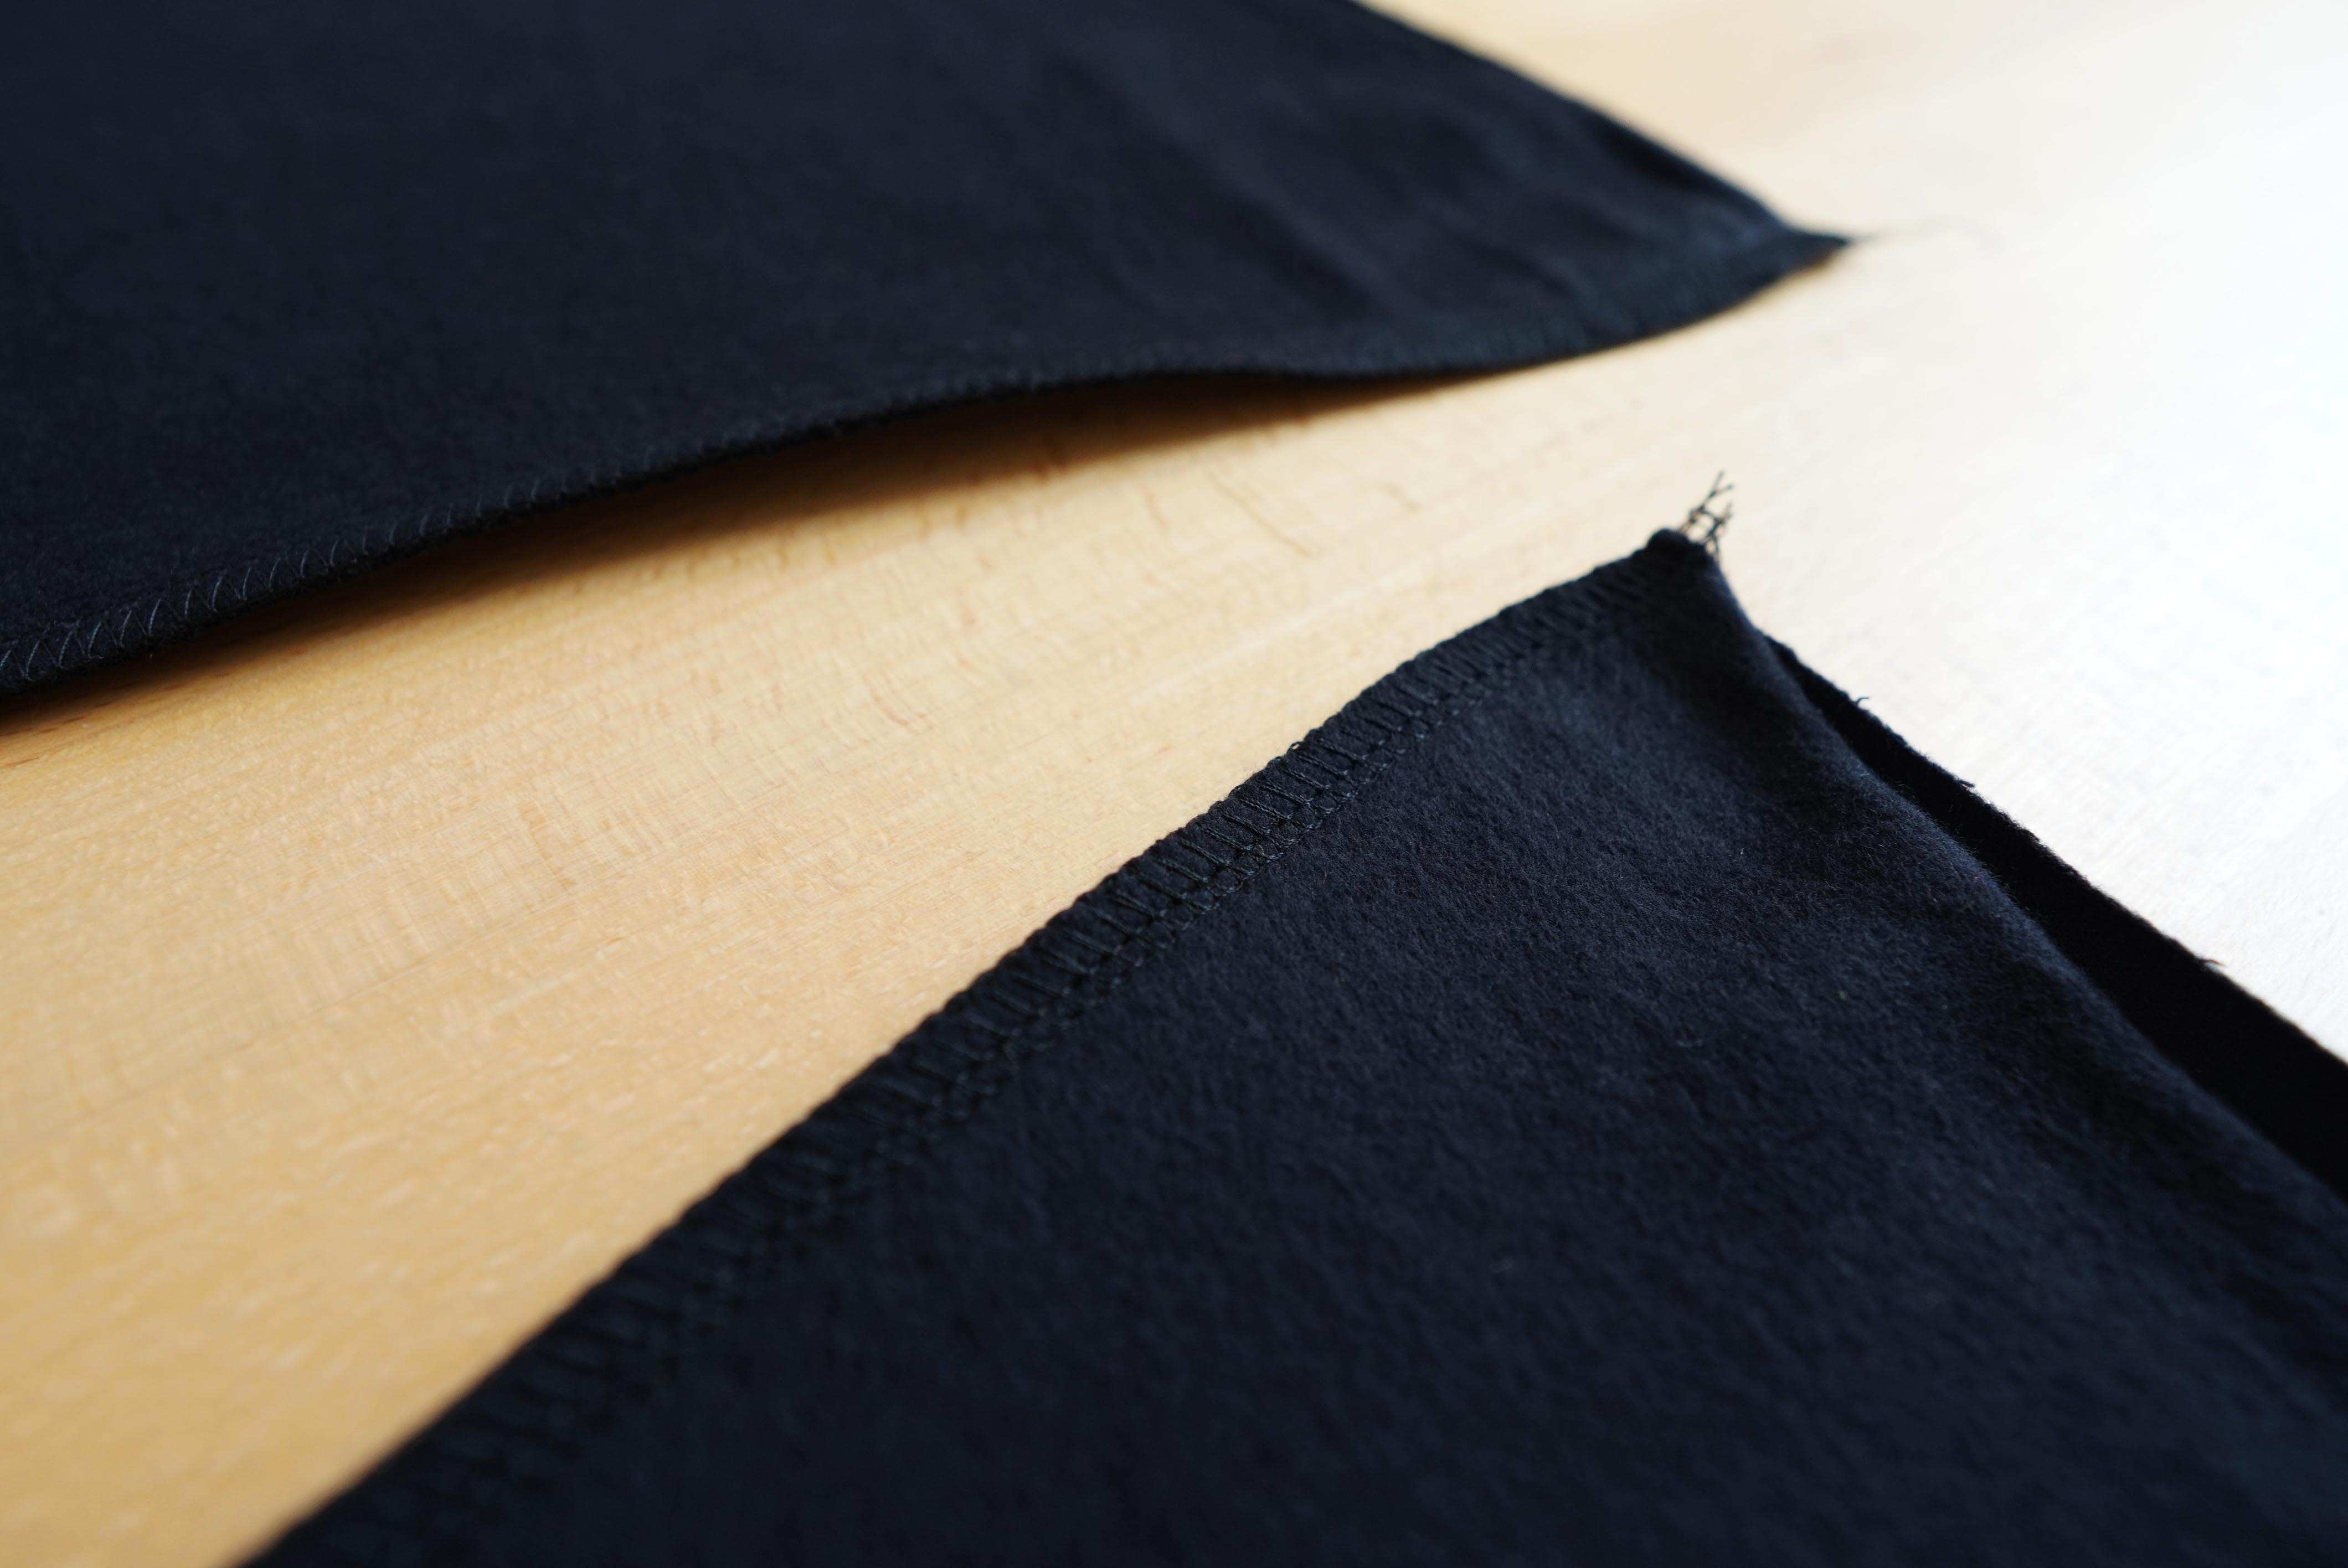
First, we sew the instep seams. We put the front parts over the back side to side and turn down the instep seams, sew them and clean them.
3 - Side seams
Subsequently, we leave the front piece on tha back pice face to face and sew the side seams.
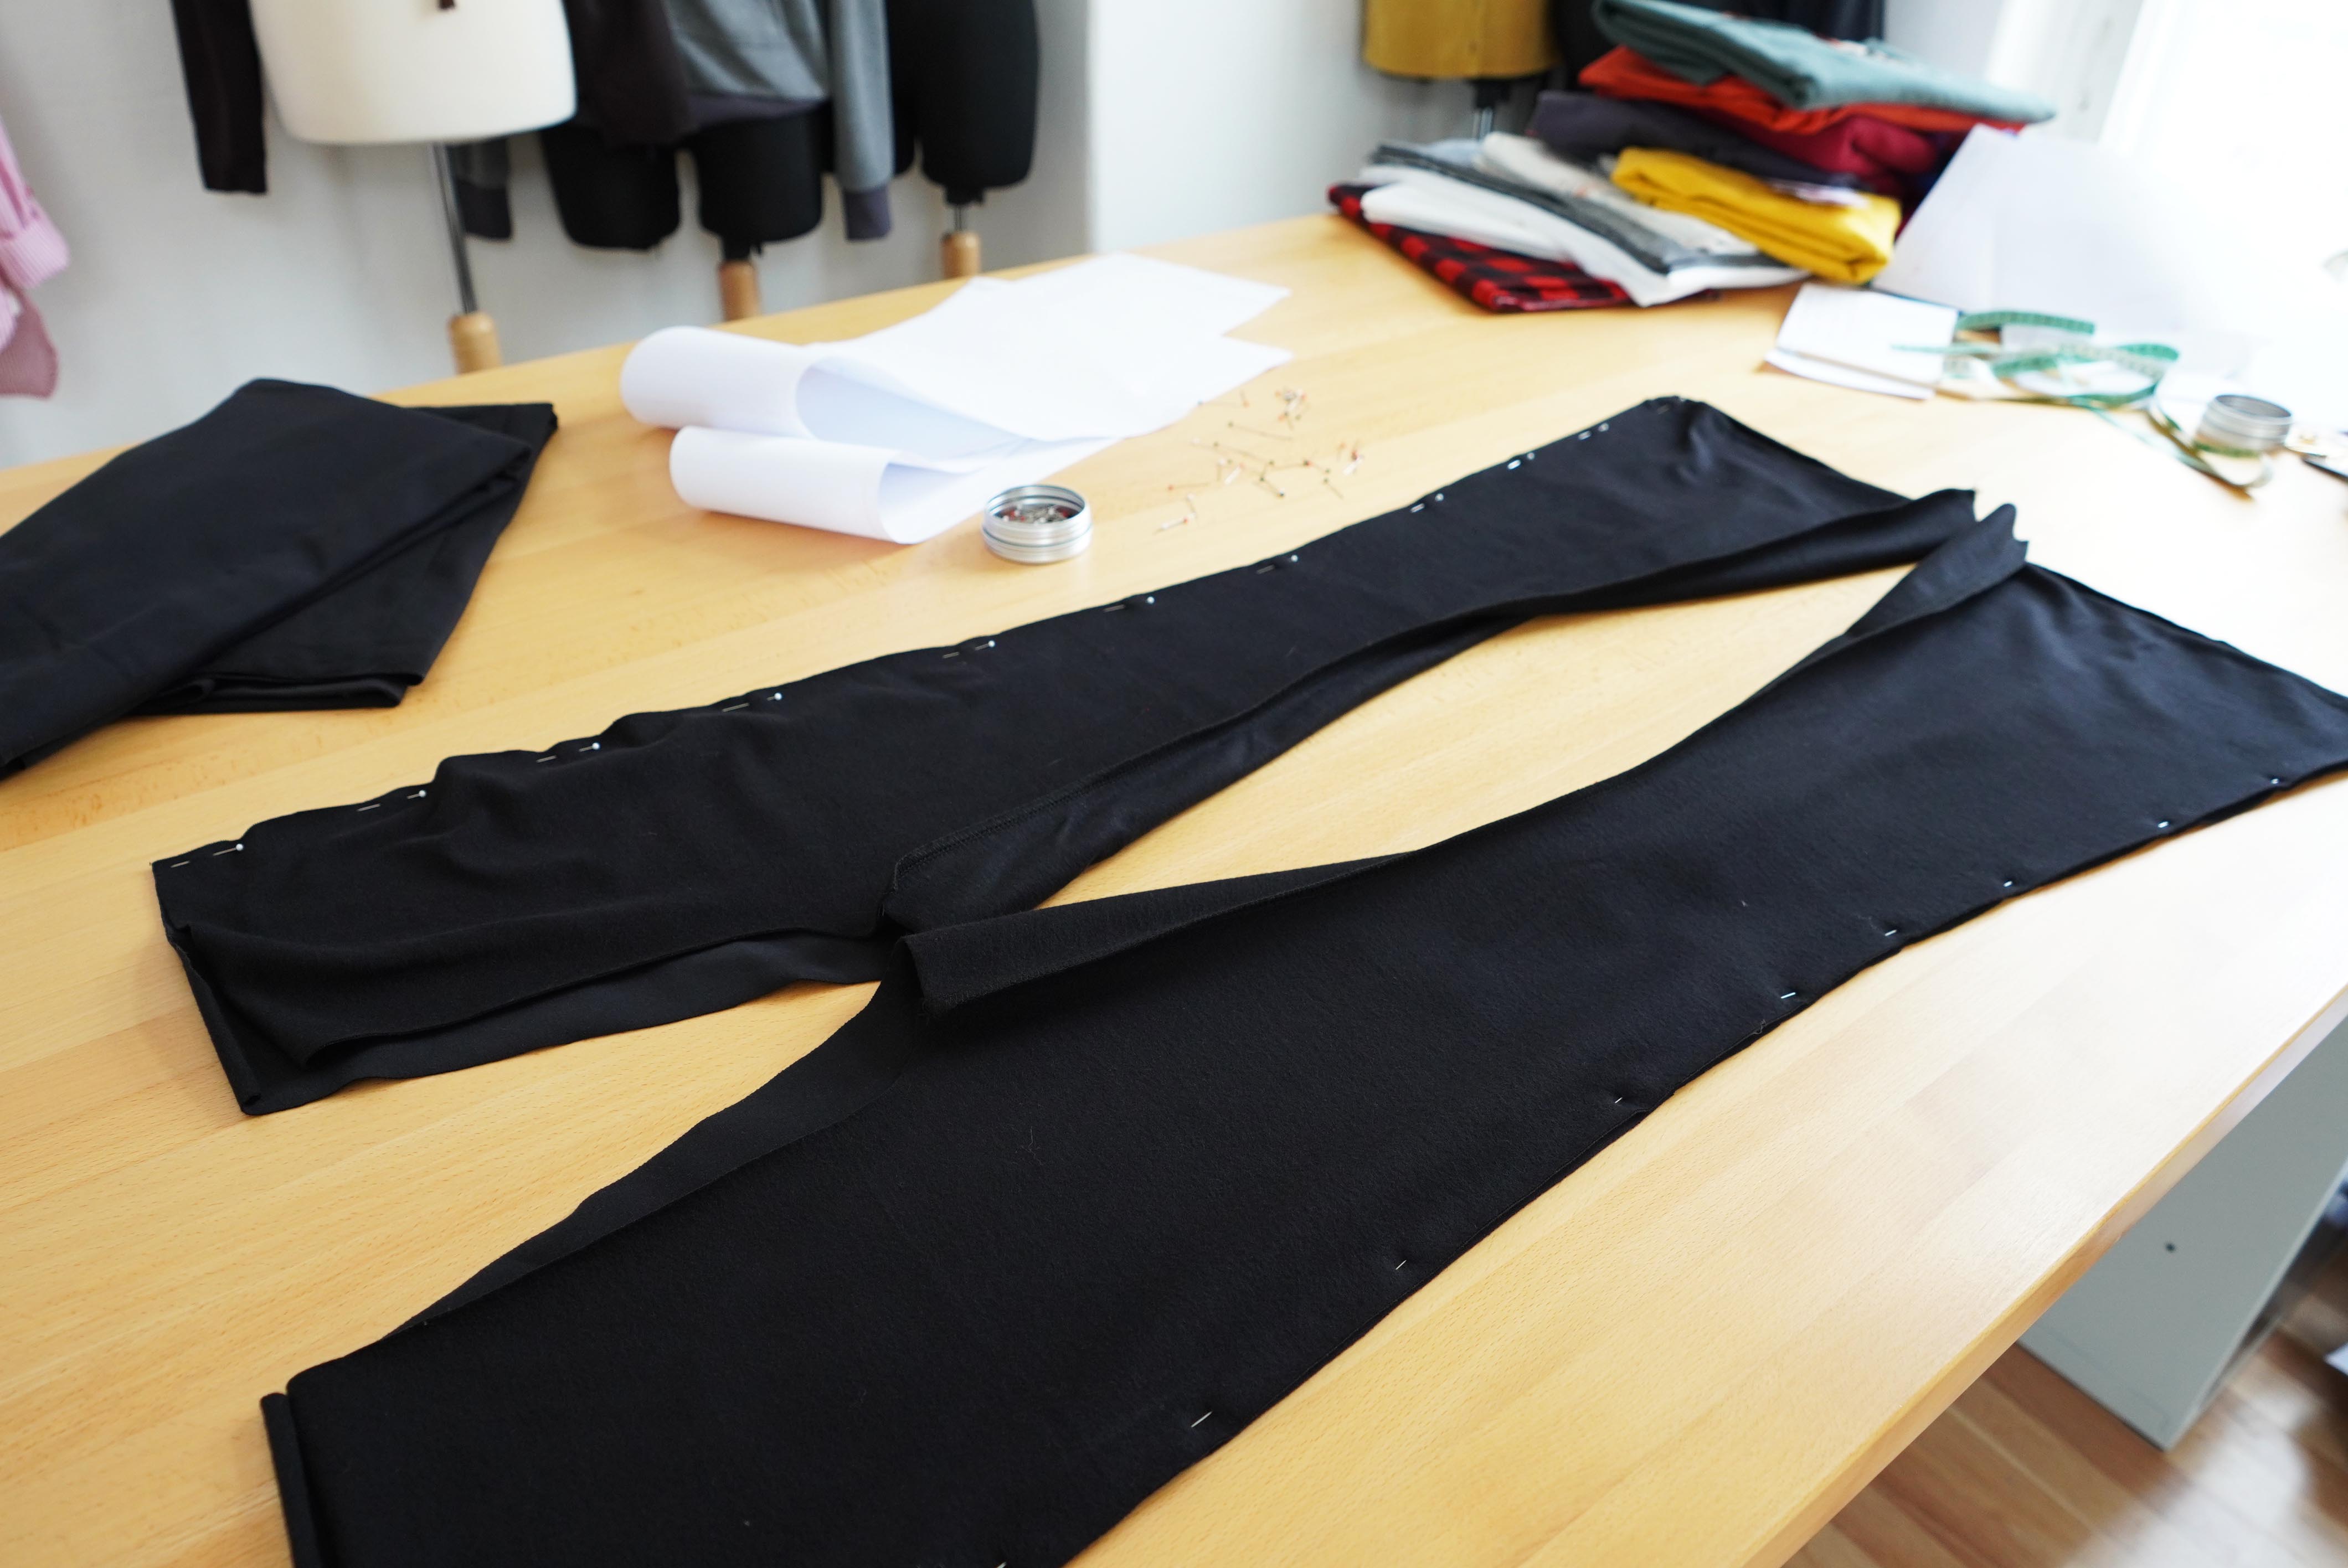
We can immediately clean bottom edges of all pieces.
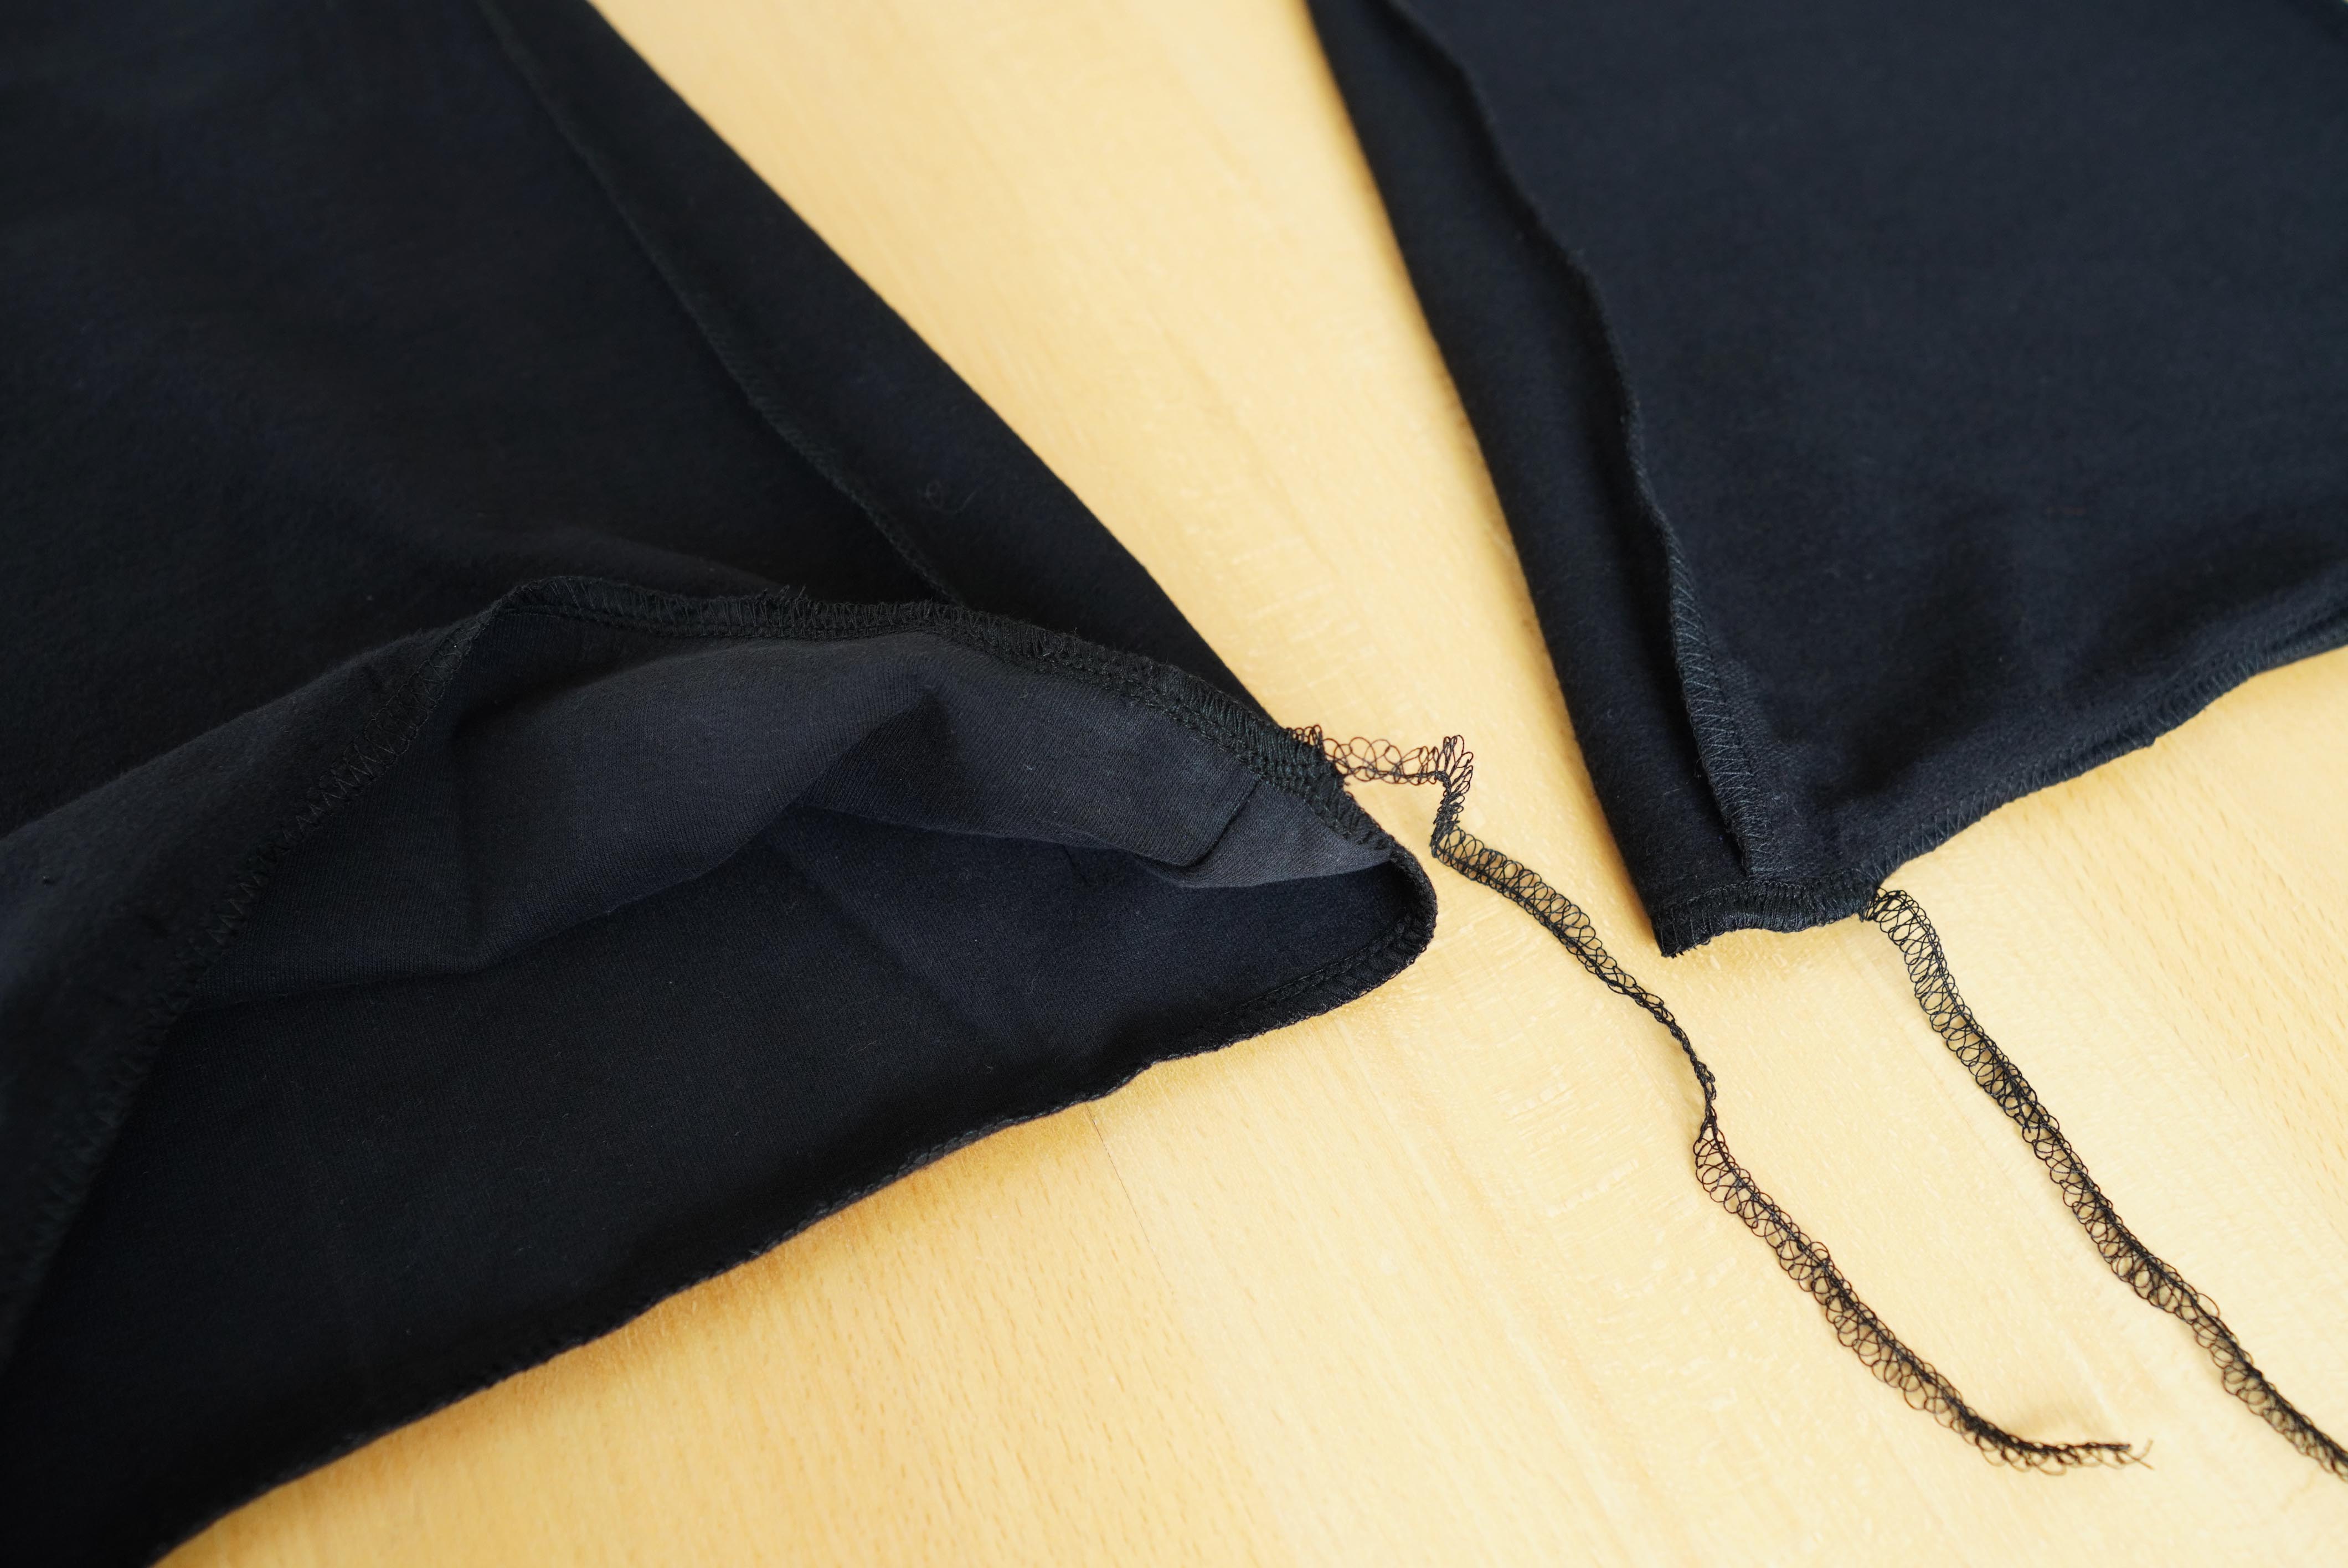
4 - Crotch seams
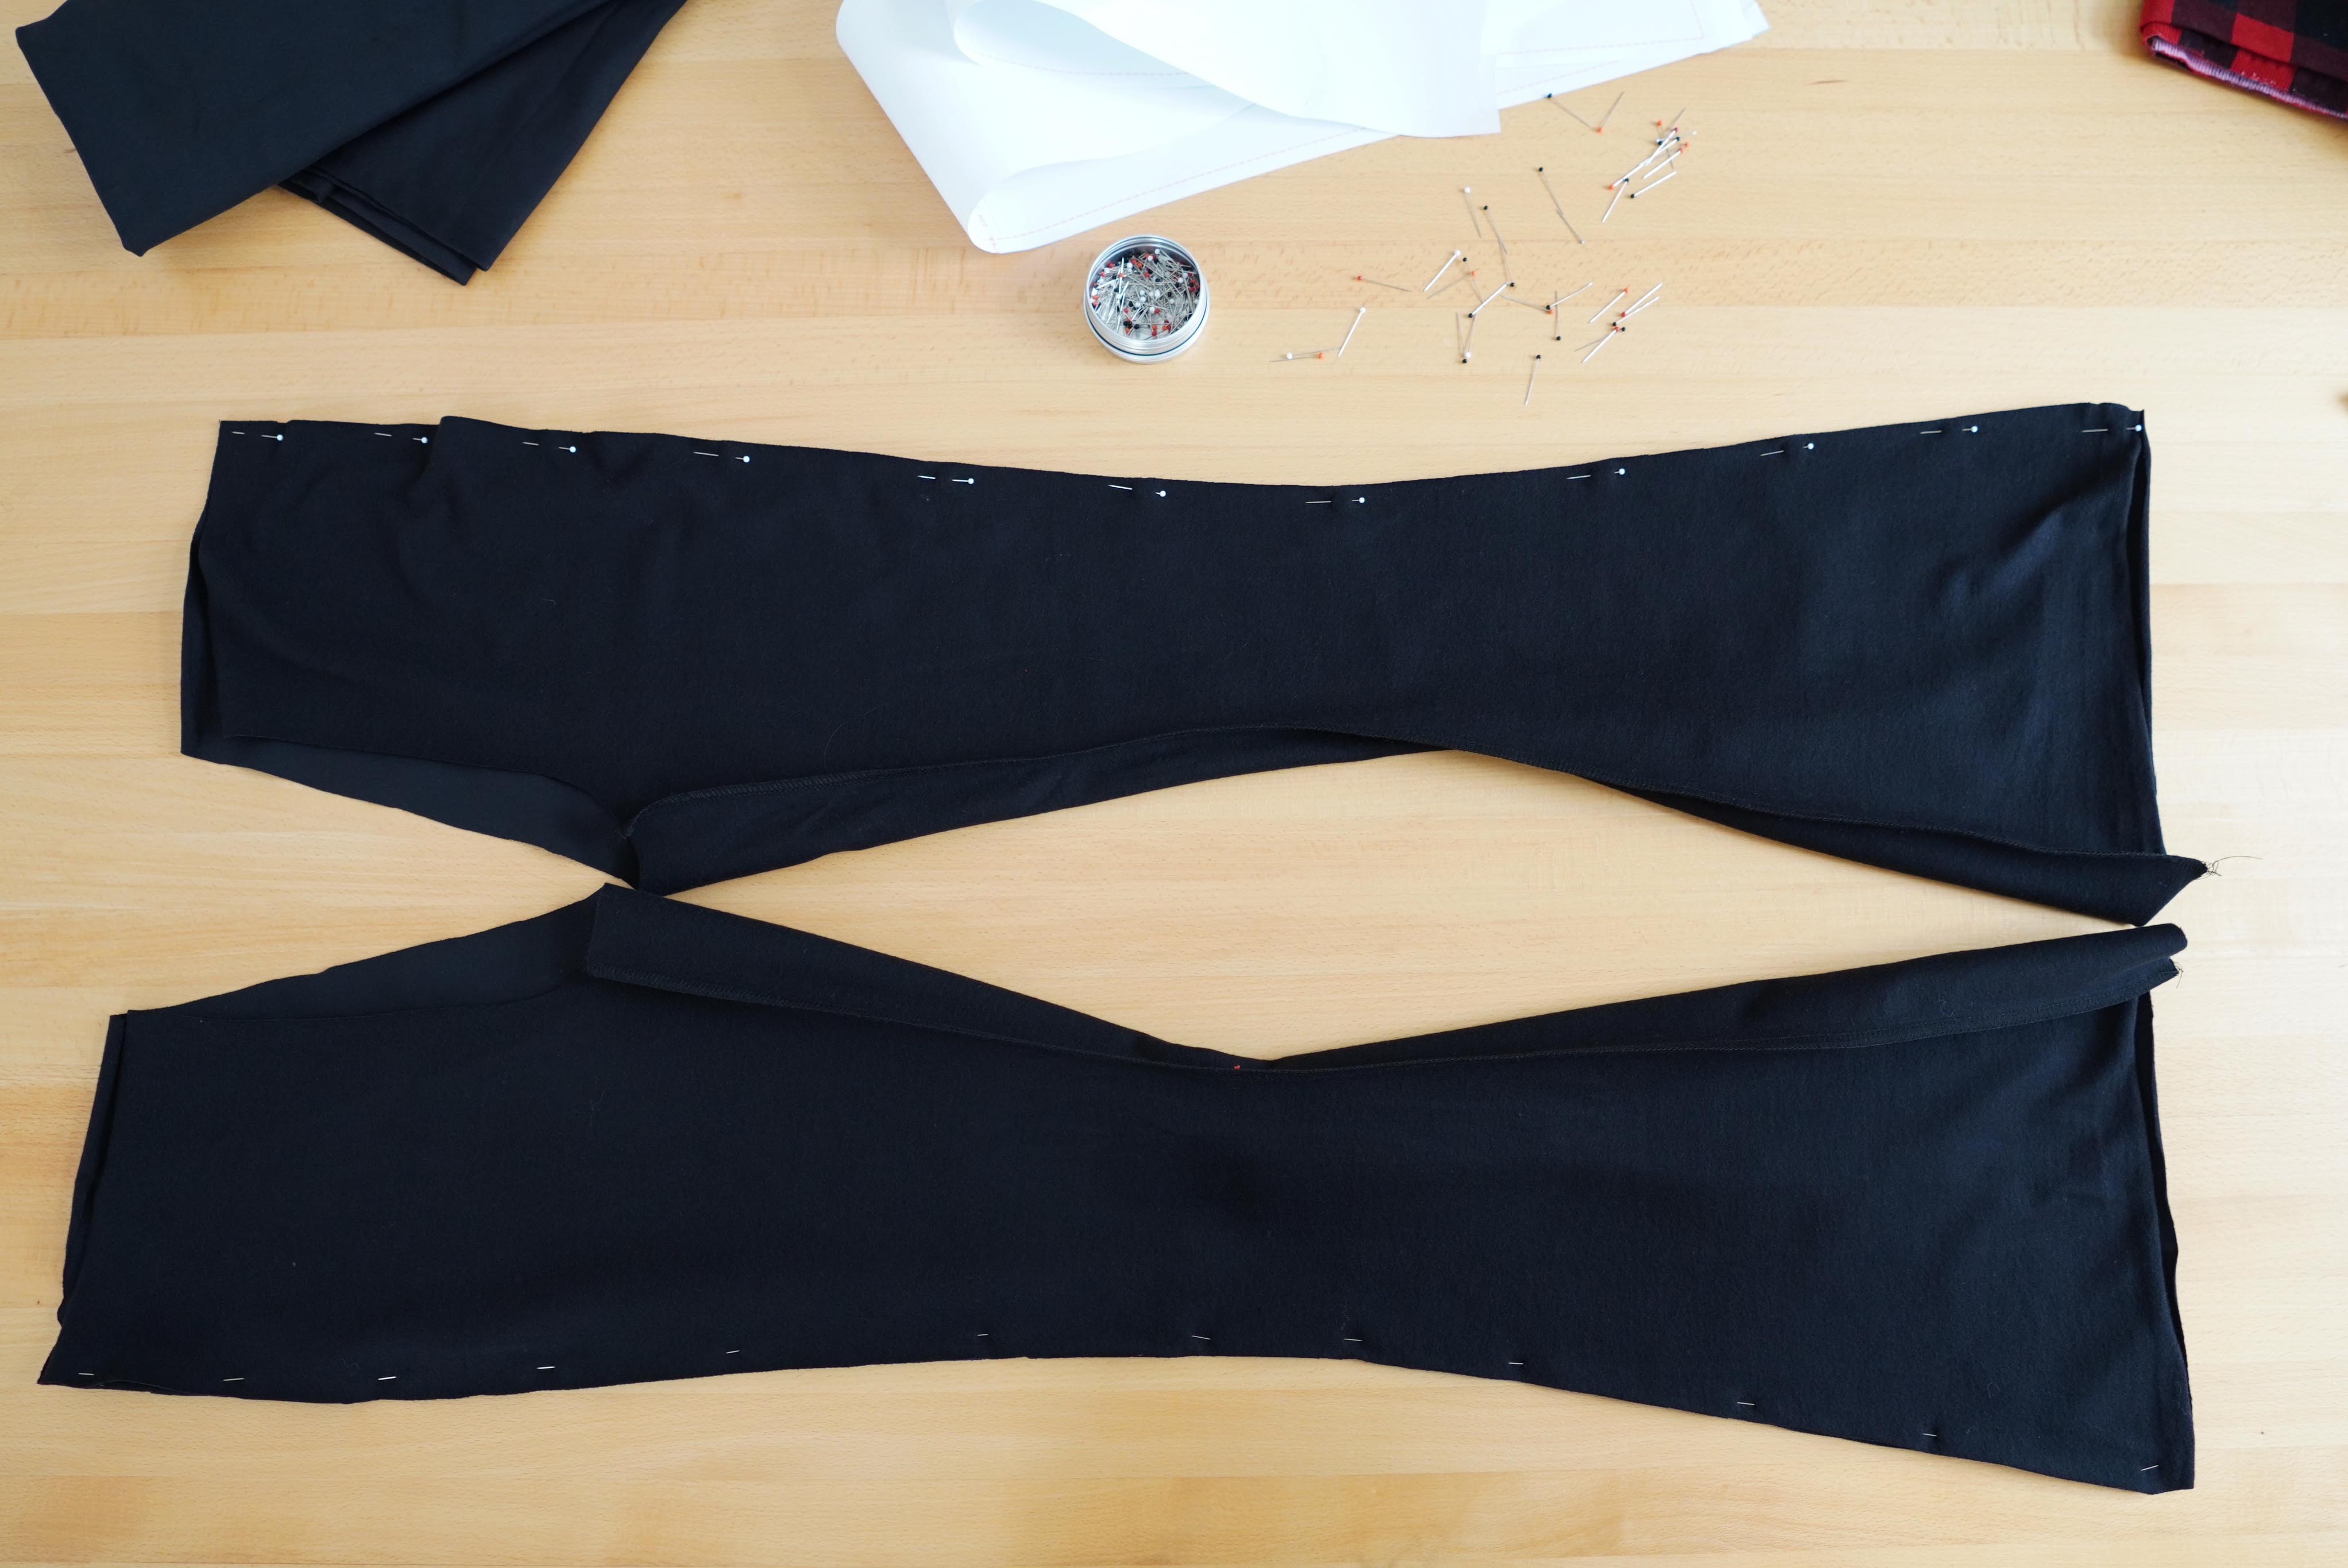
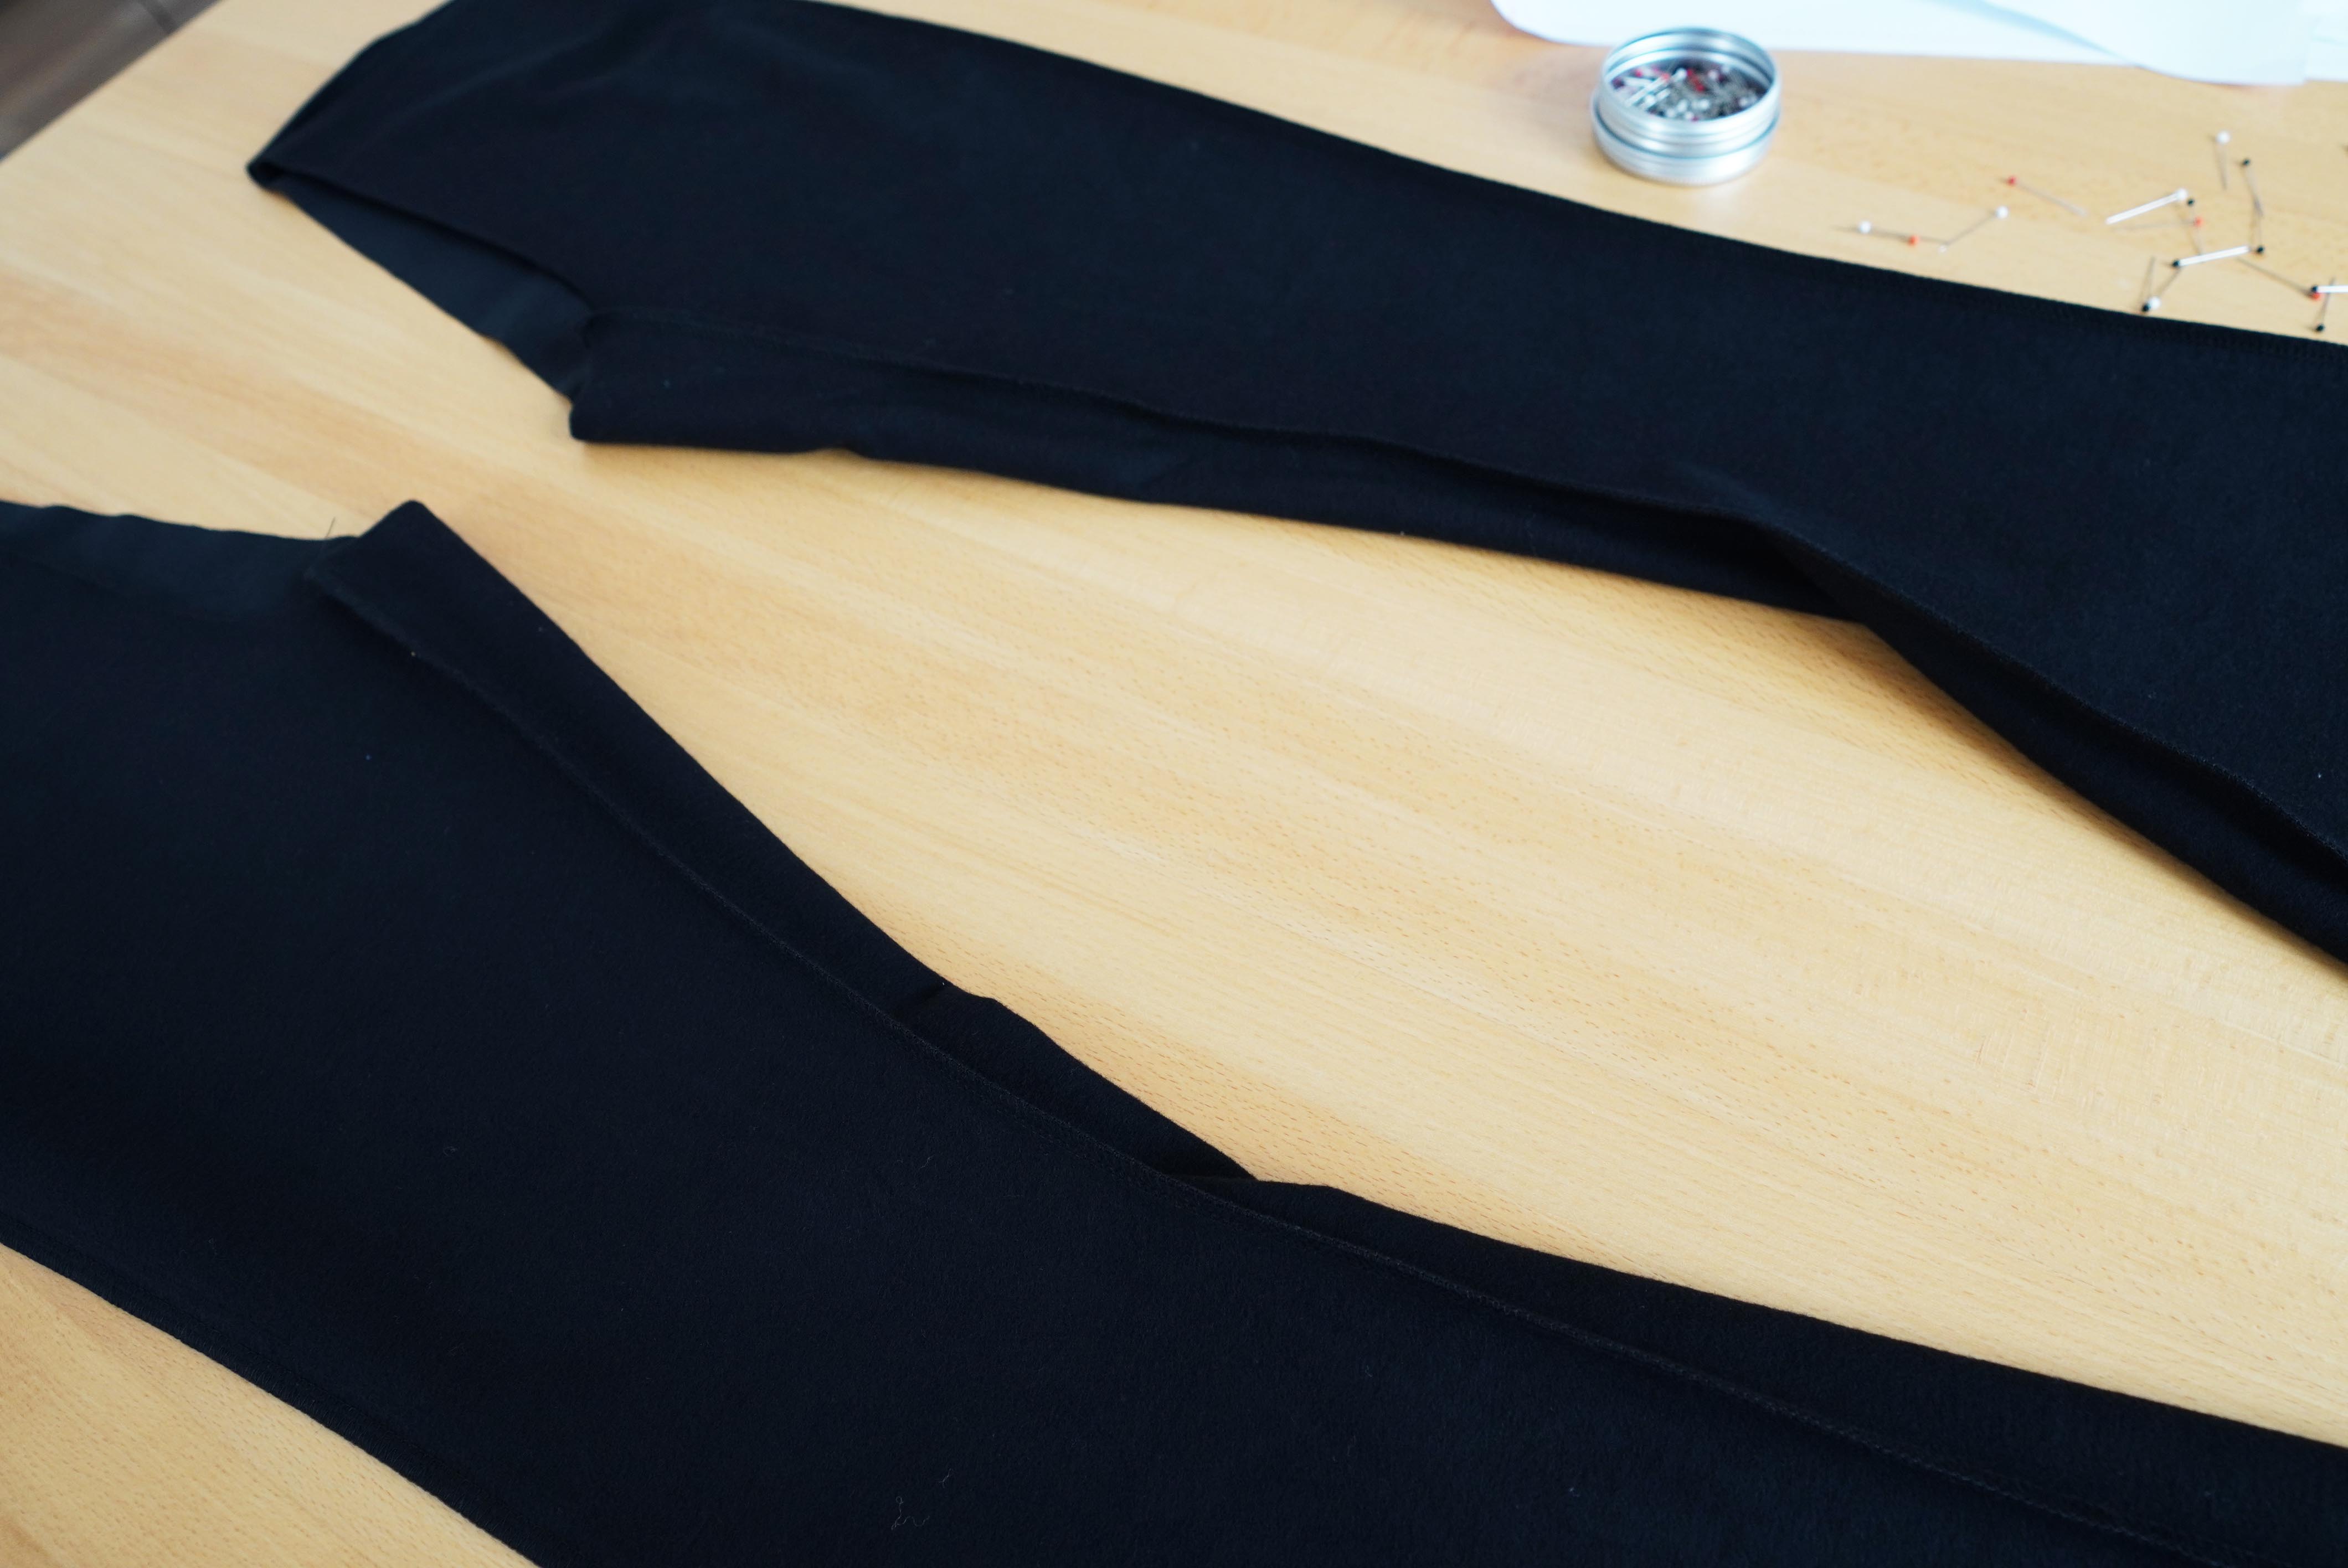
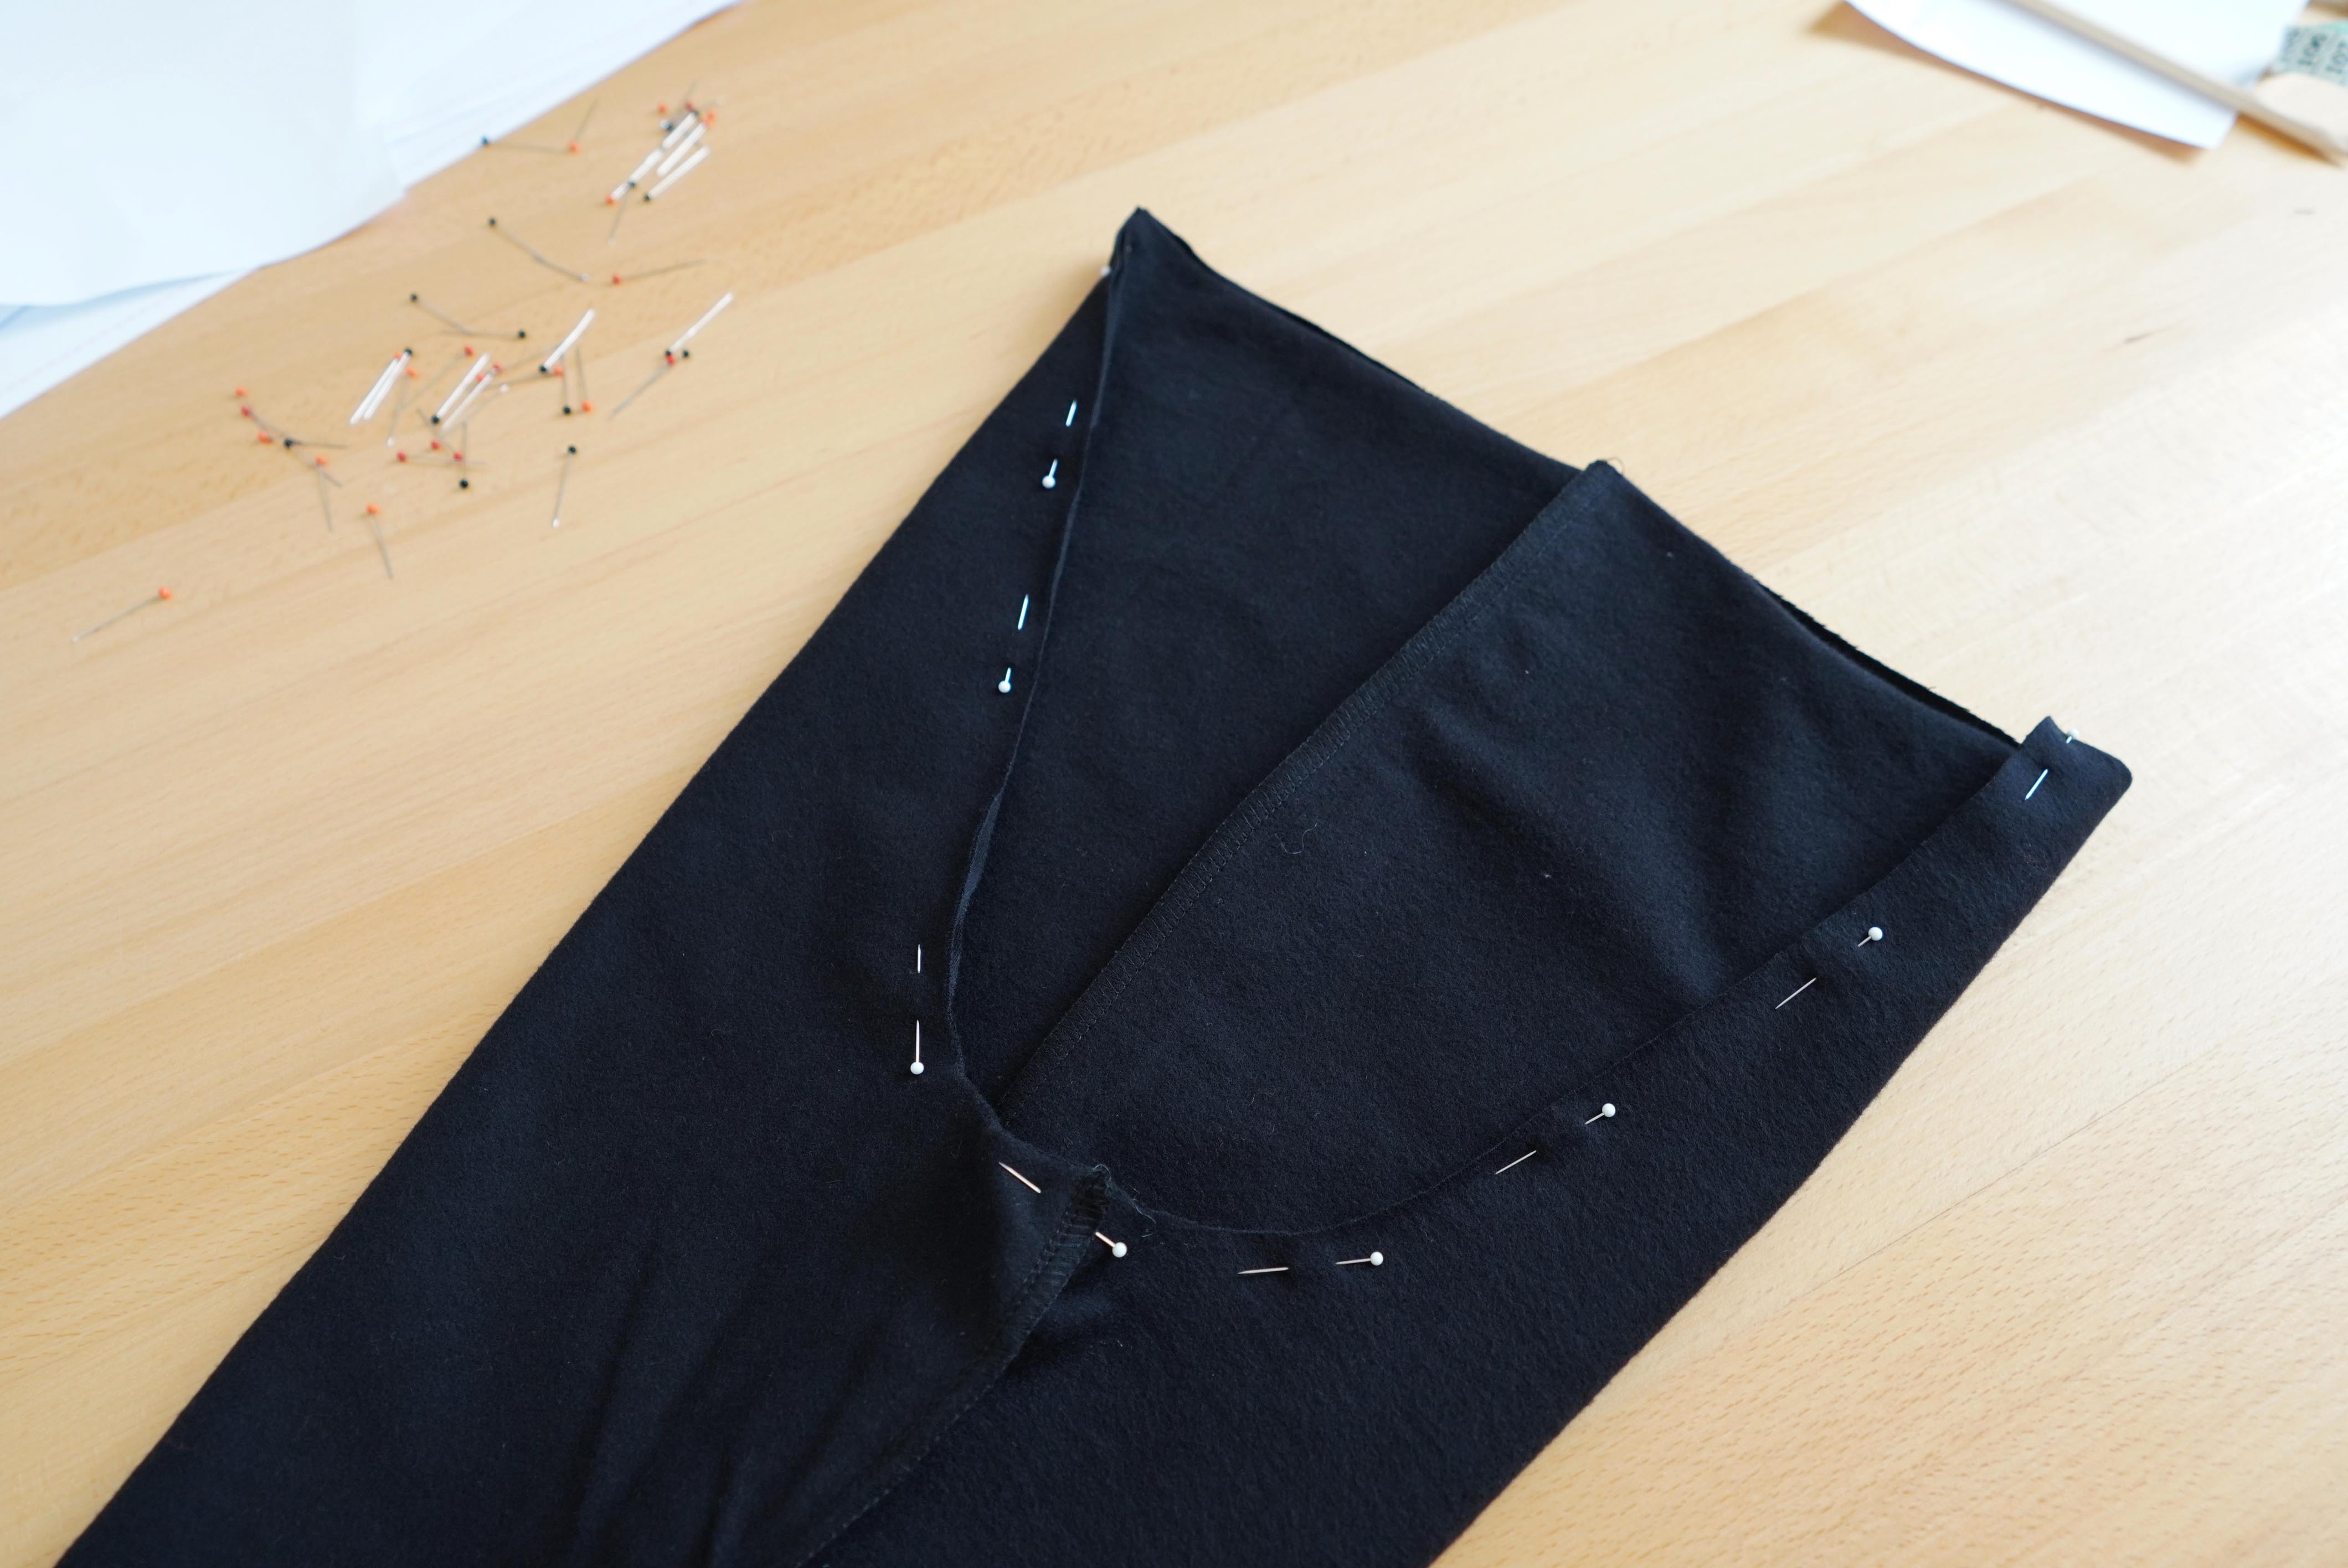
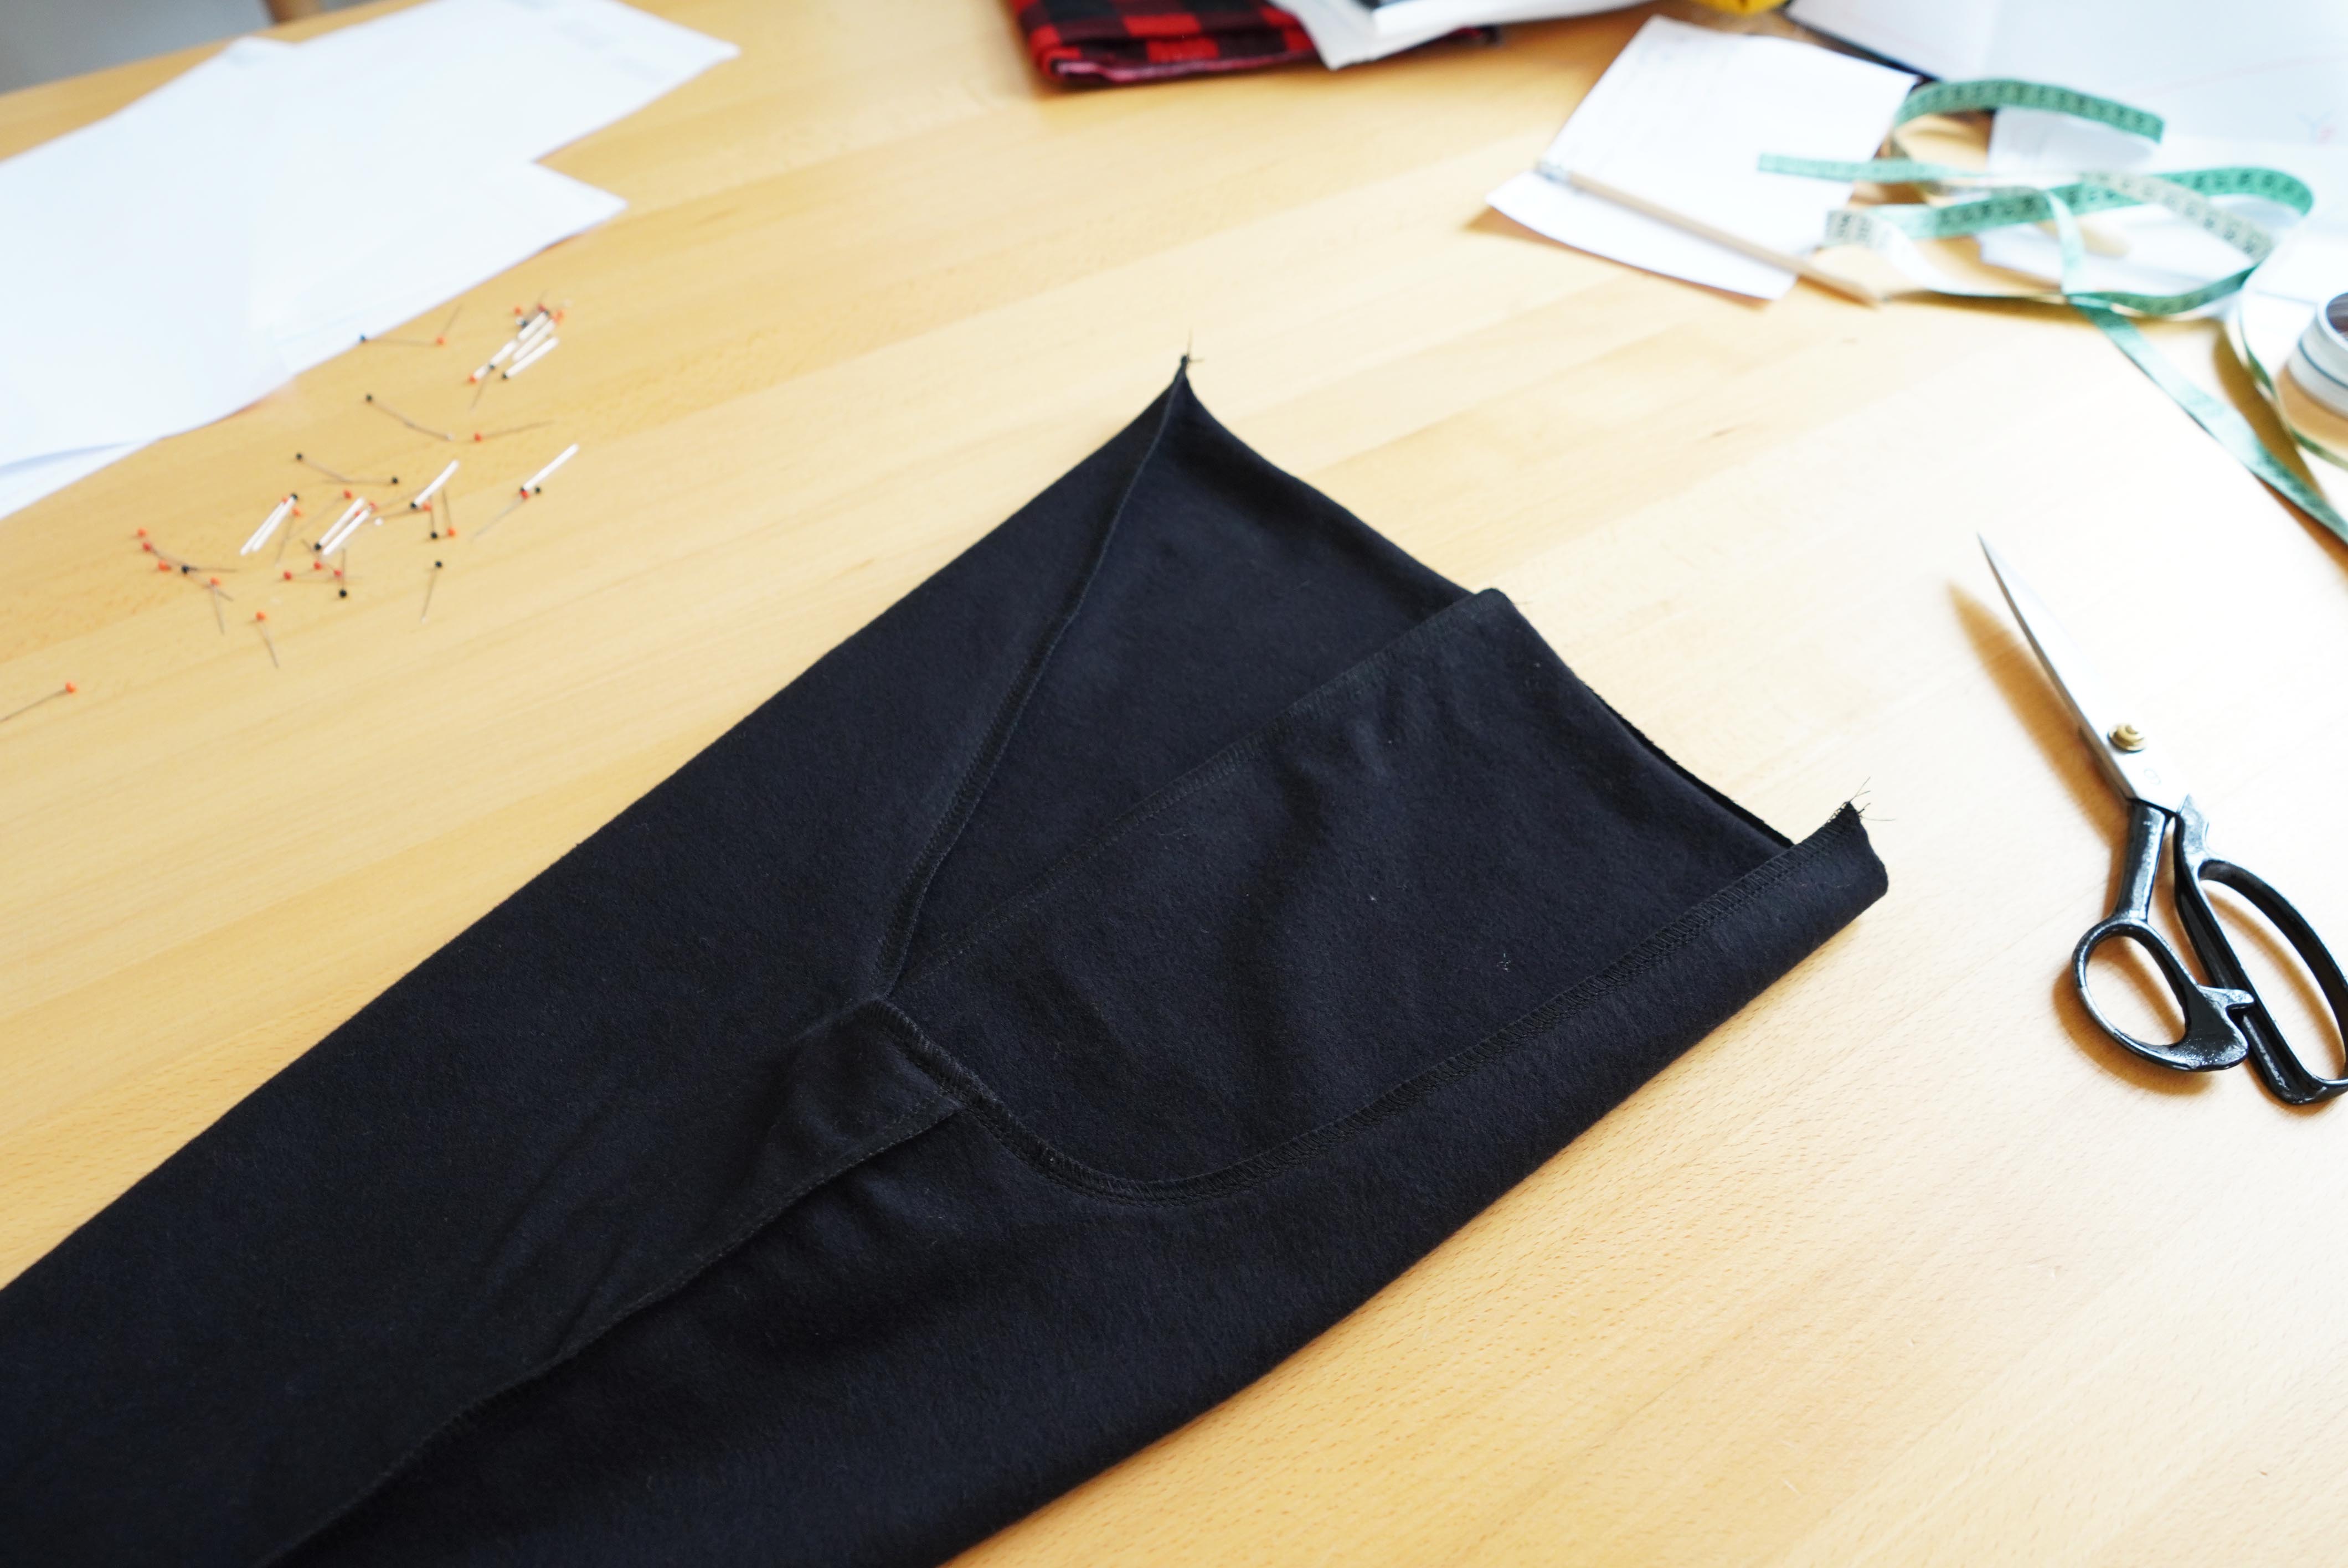
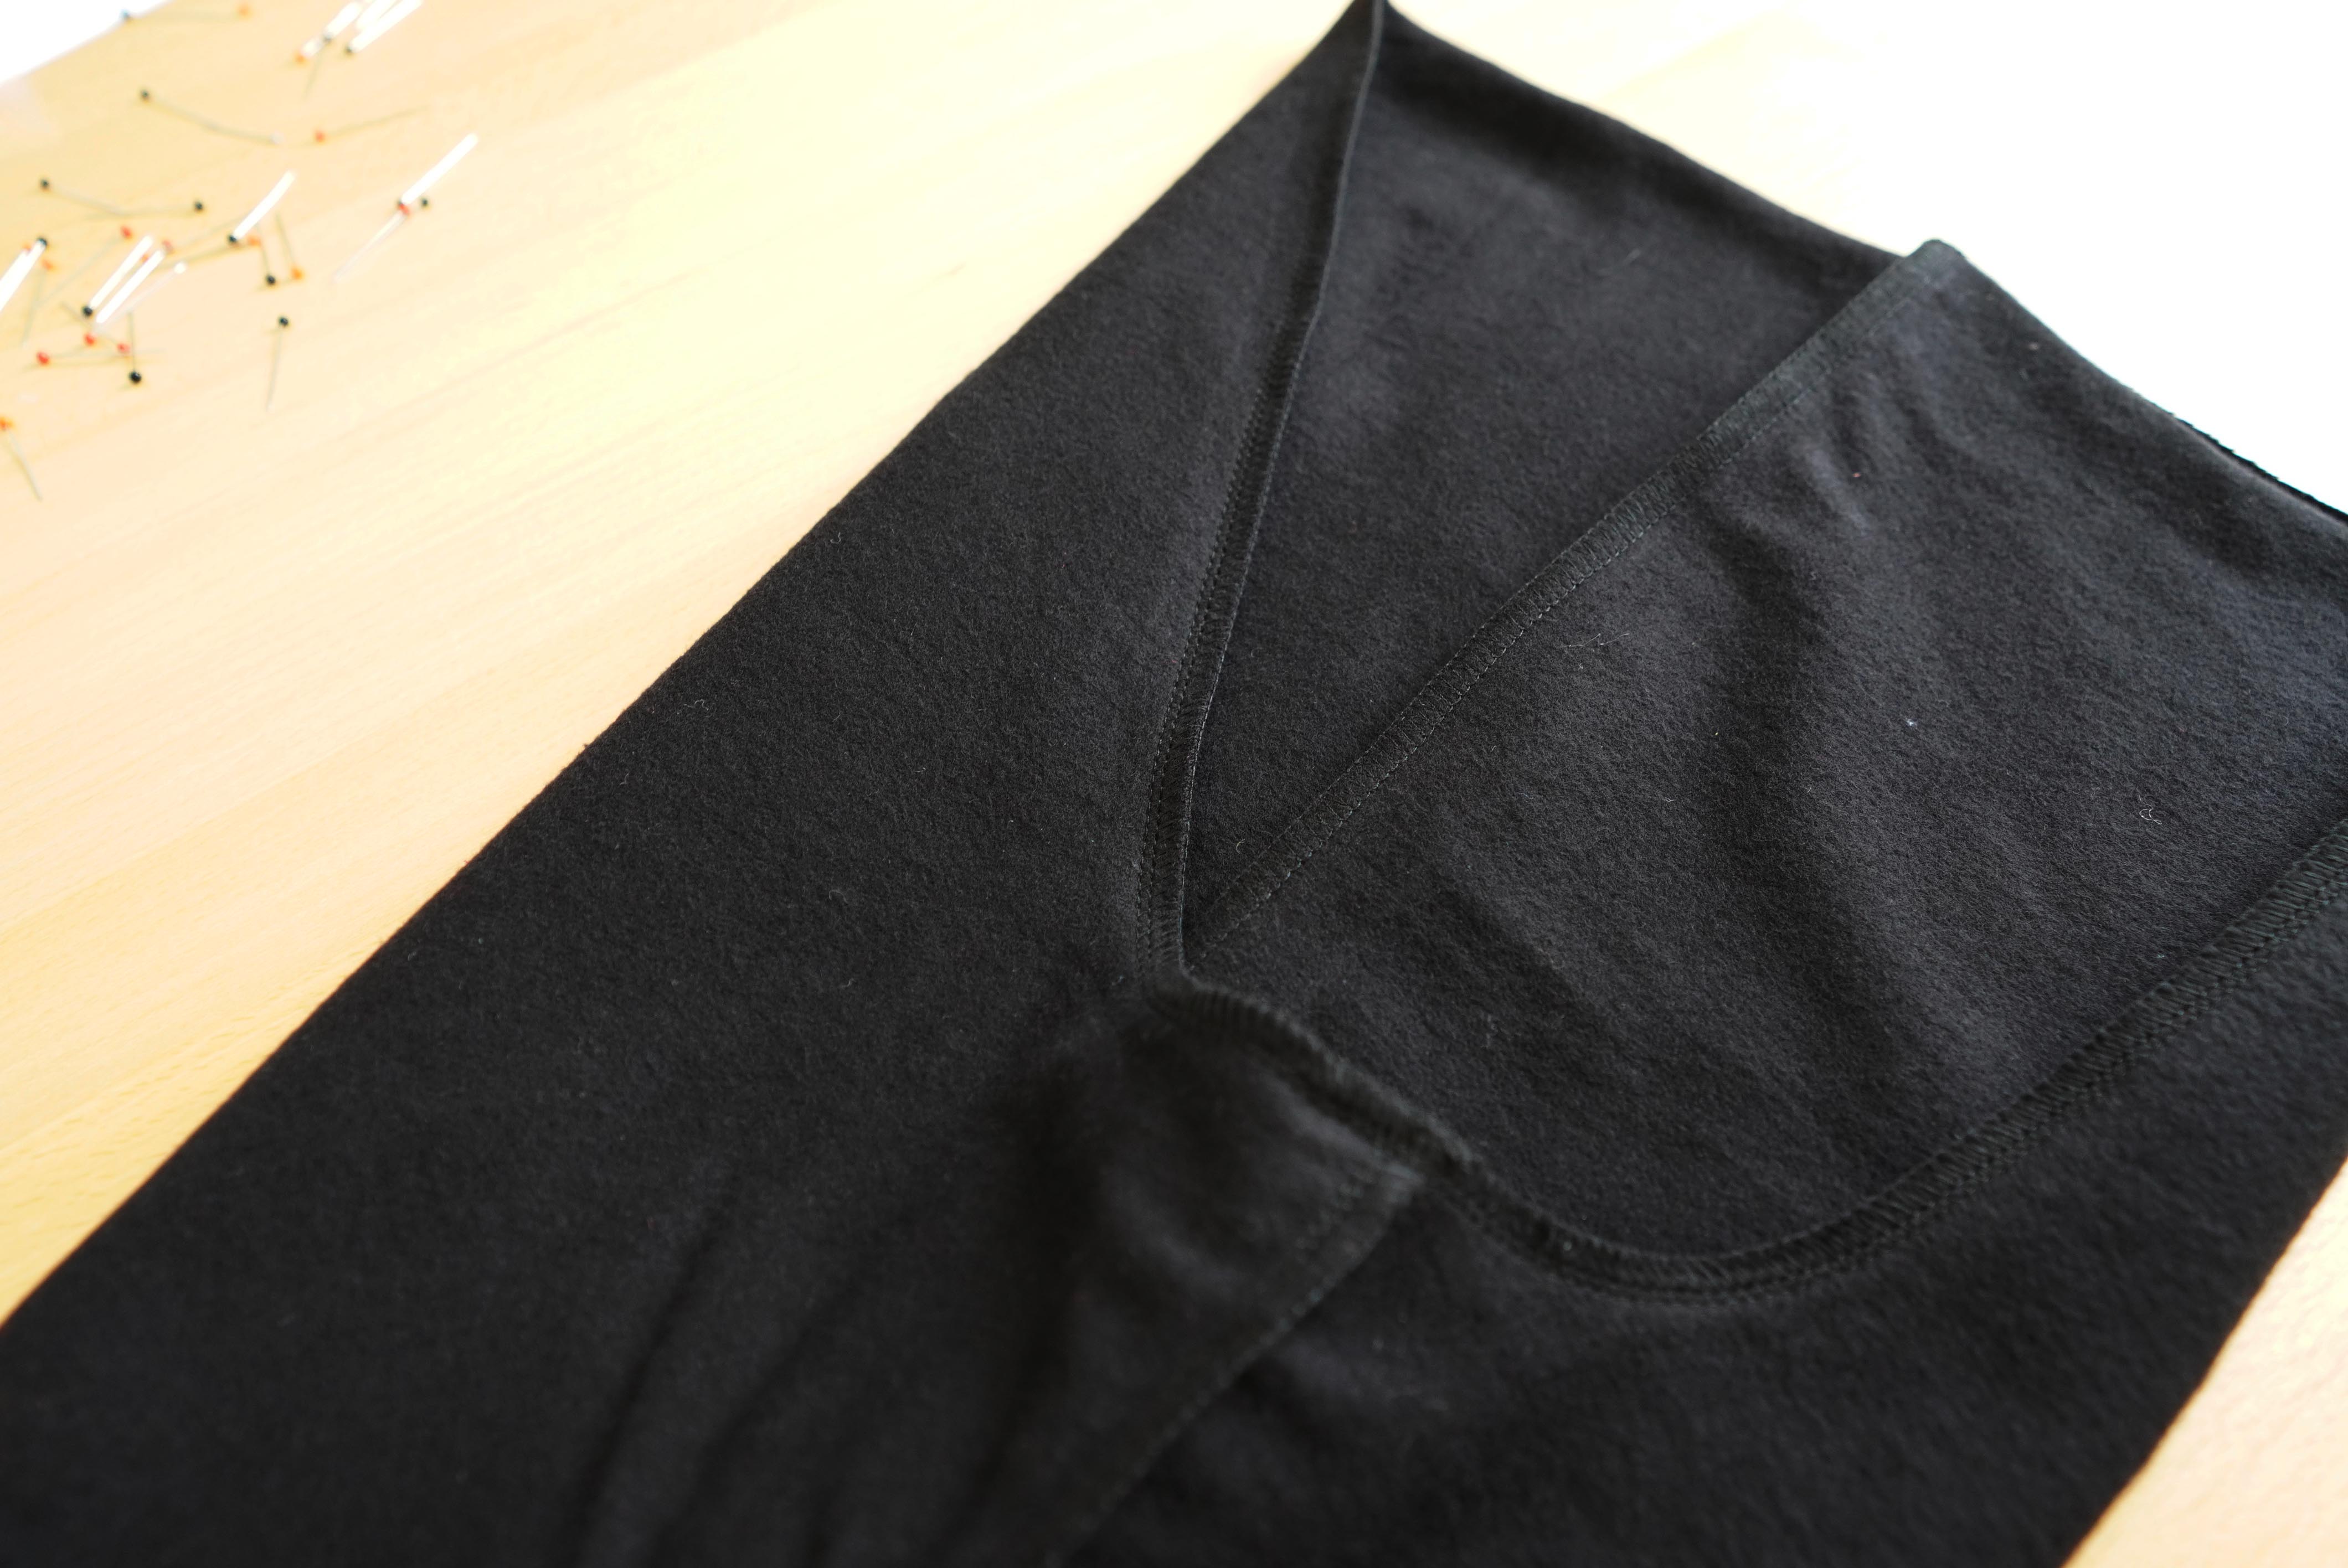
We turn one of the legs inside out and insert it into the other (here we left it inside out). The pants are face to face.

Pin and sew both seat seams (front and back).
5 - Waist band
Measure the required length of rubber on the body. Ideally, we will put the pants on, so that we know exactly where to measure the length of the elastic.

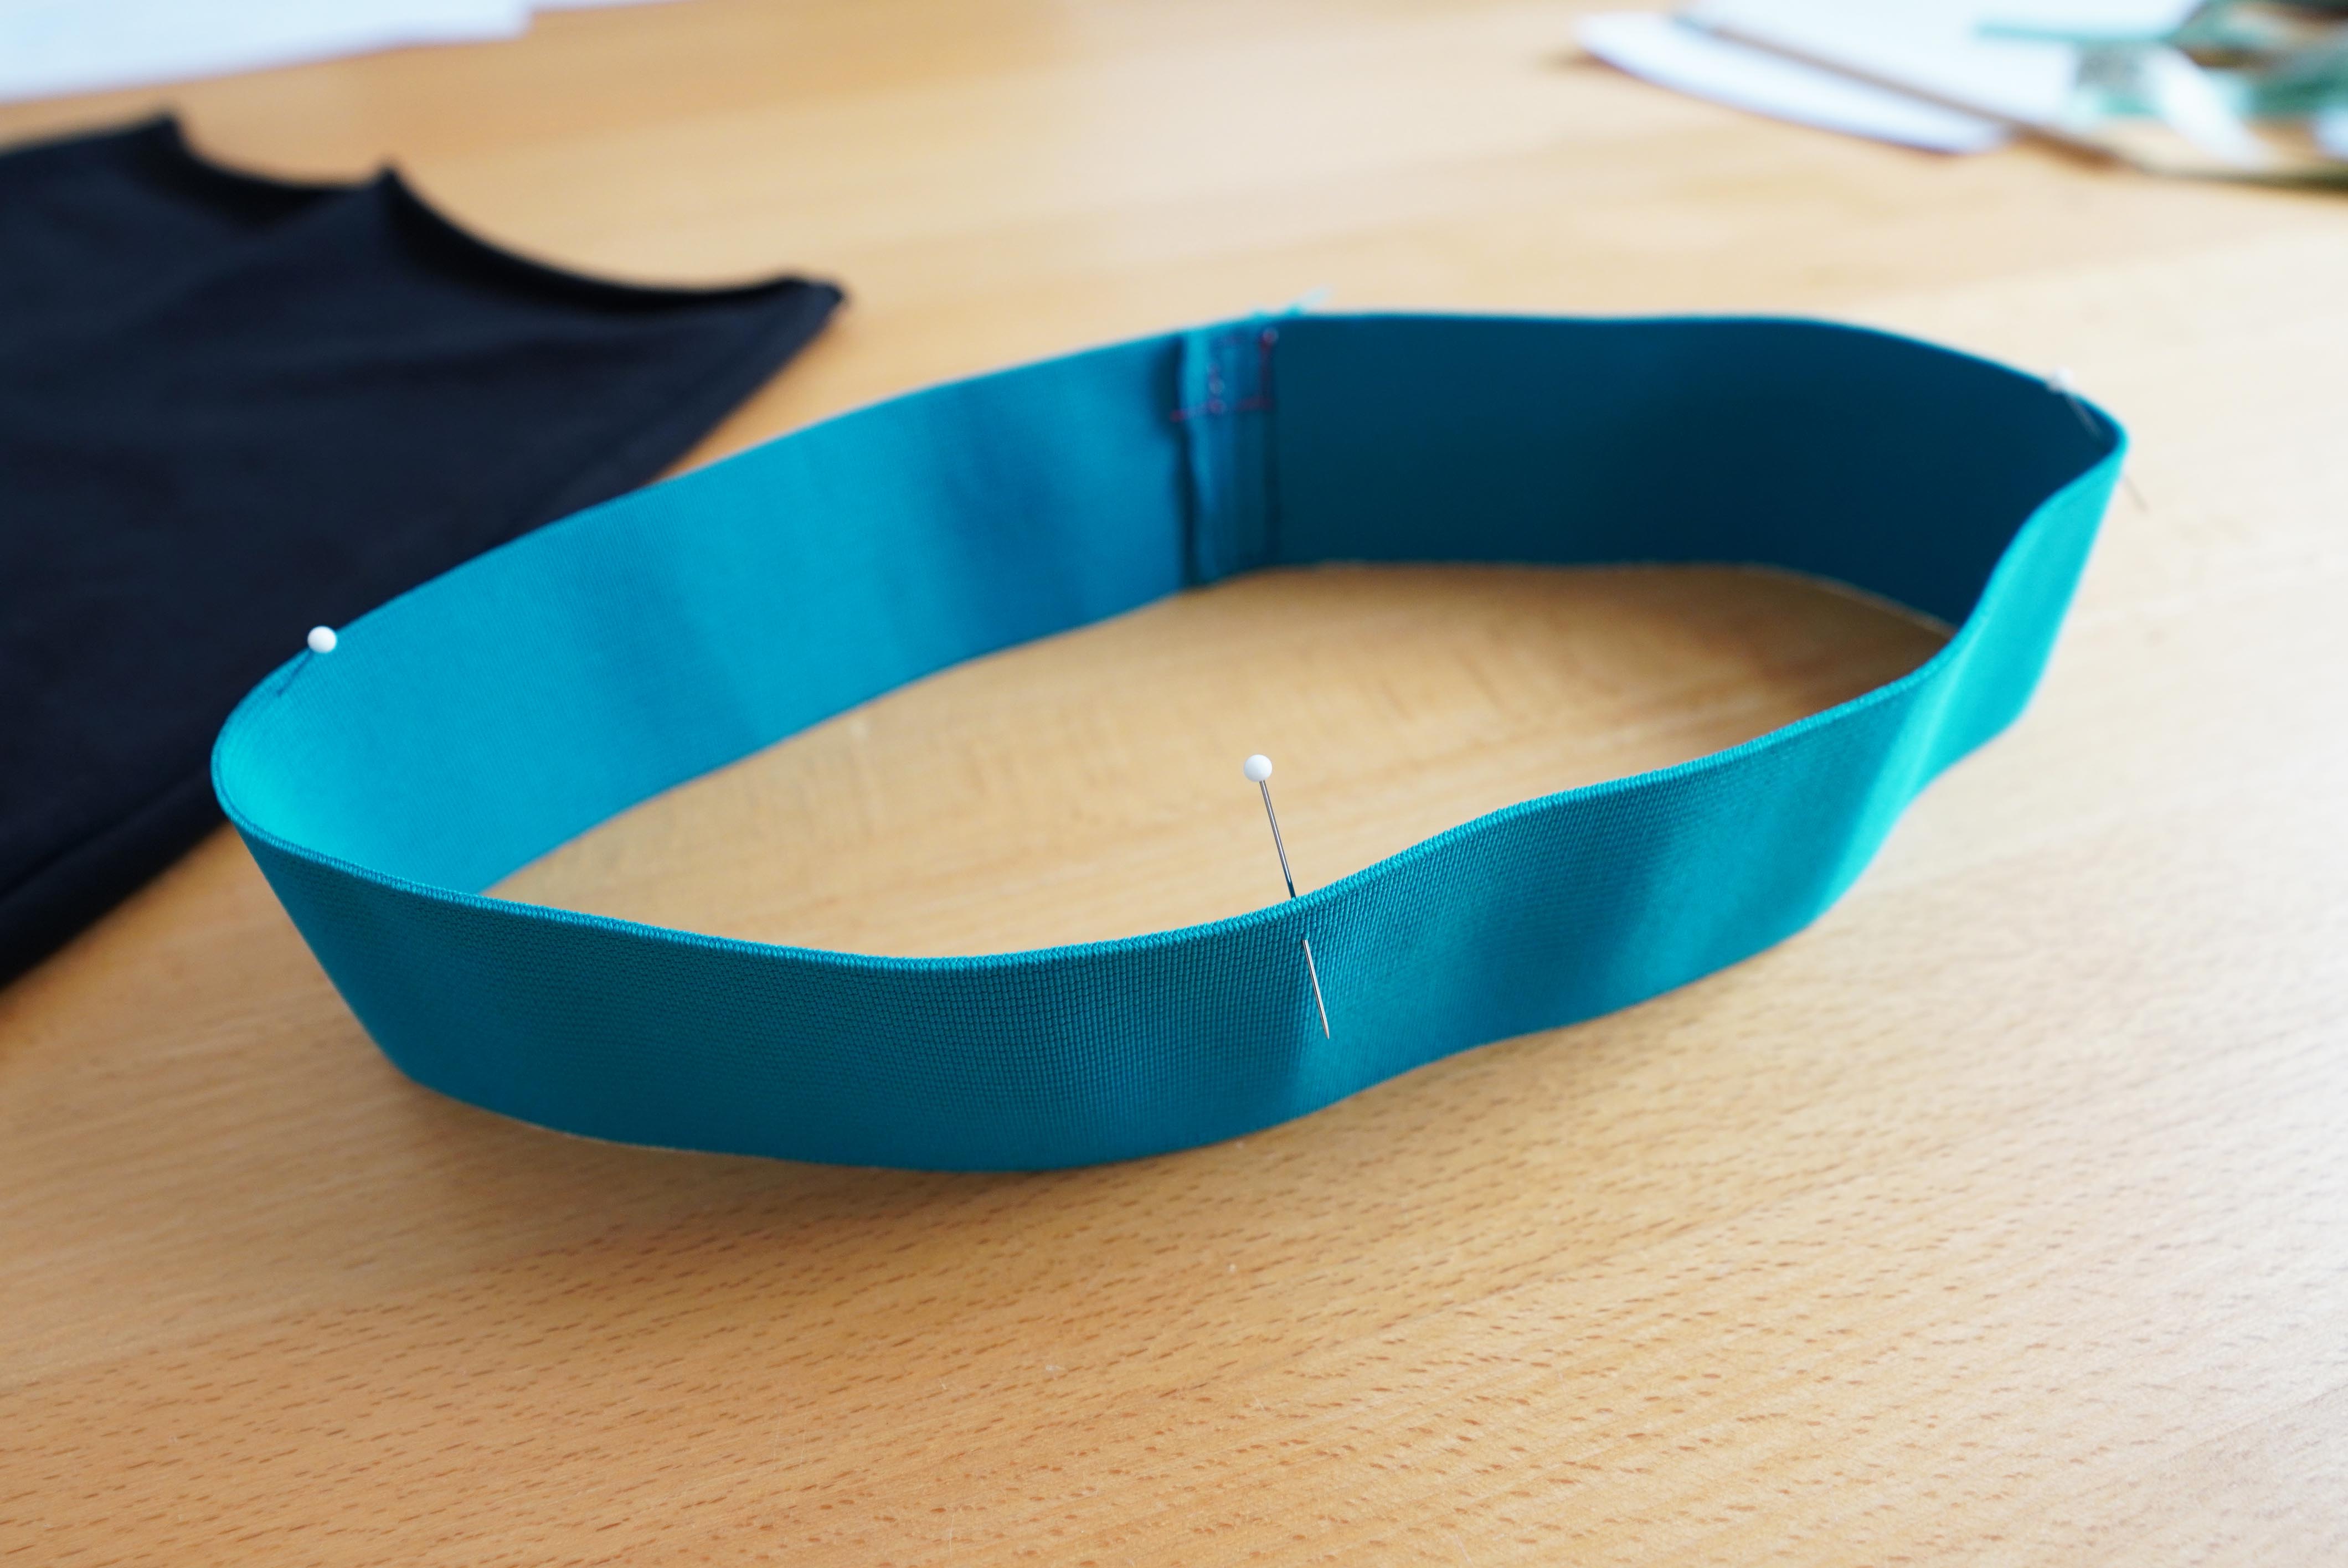
We sew the elastic flat together and divide it into quarters using, for example, pins.
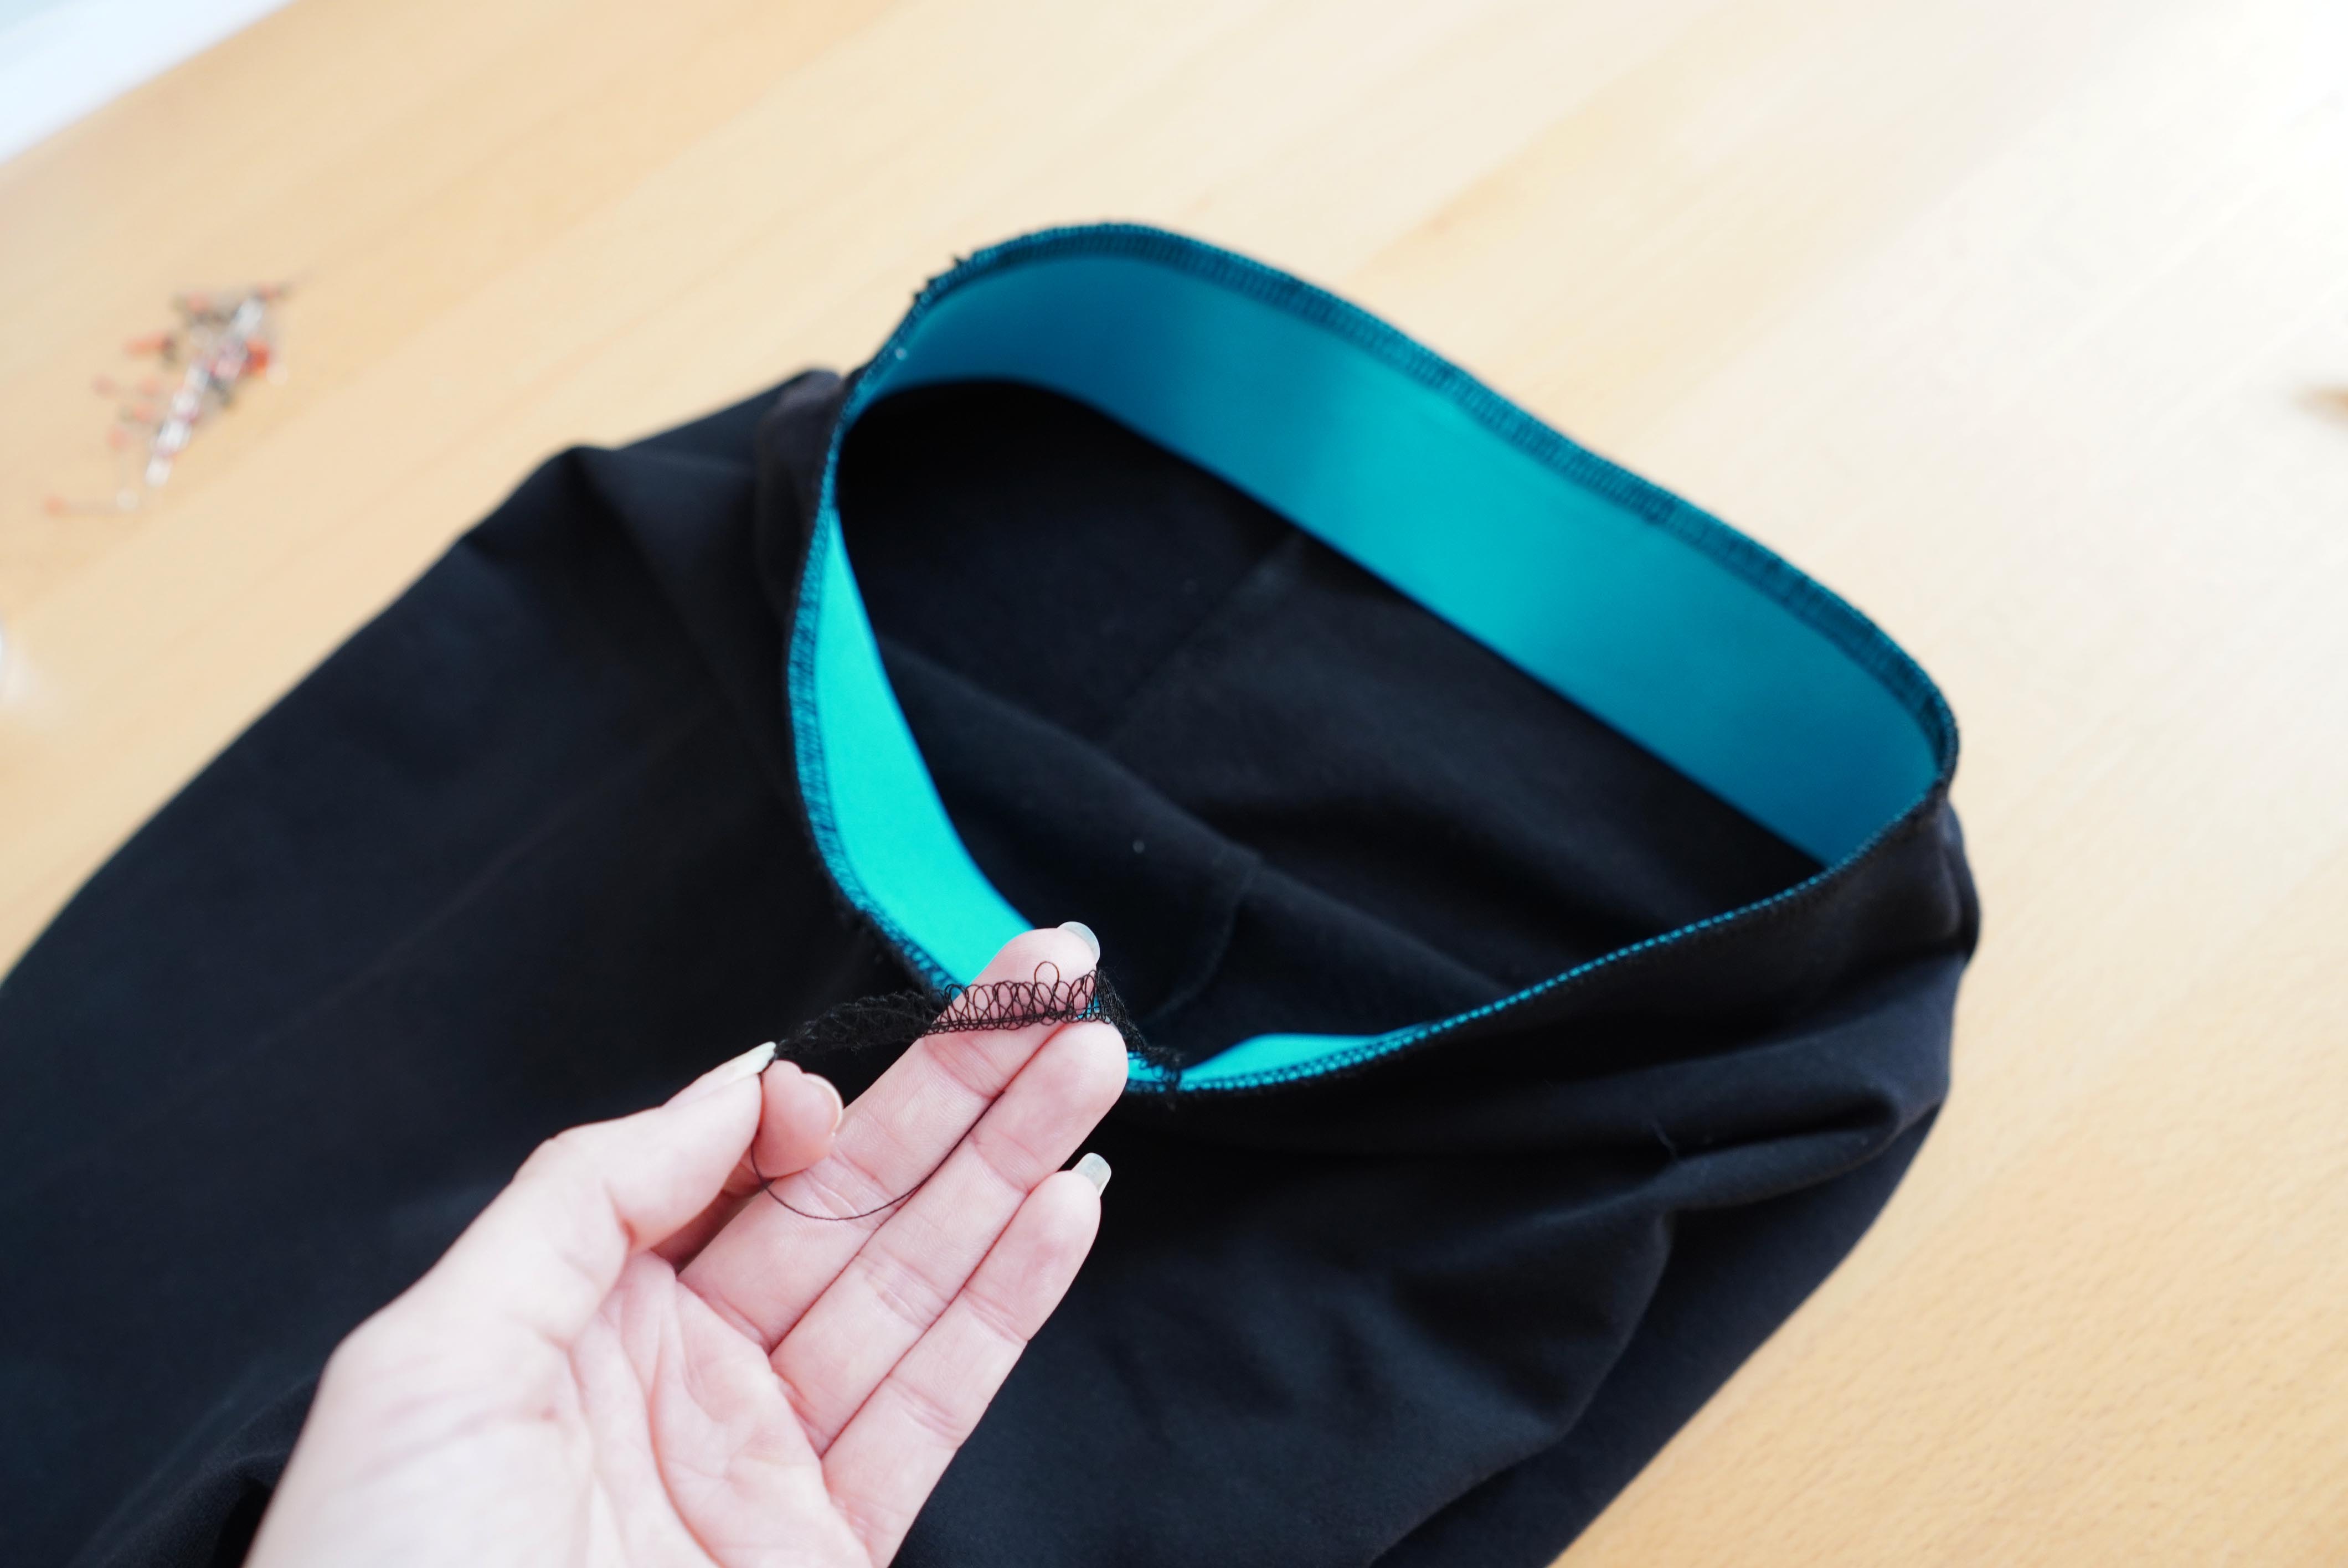
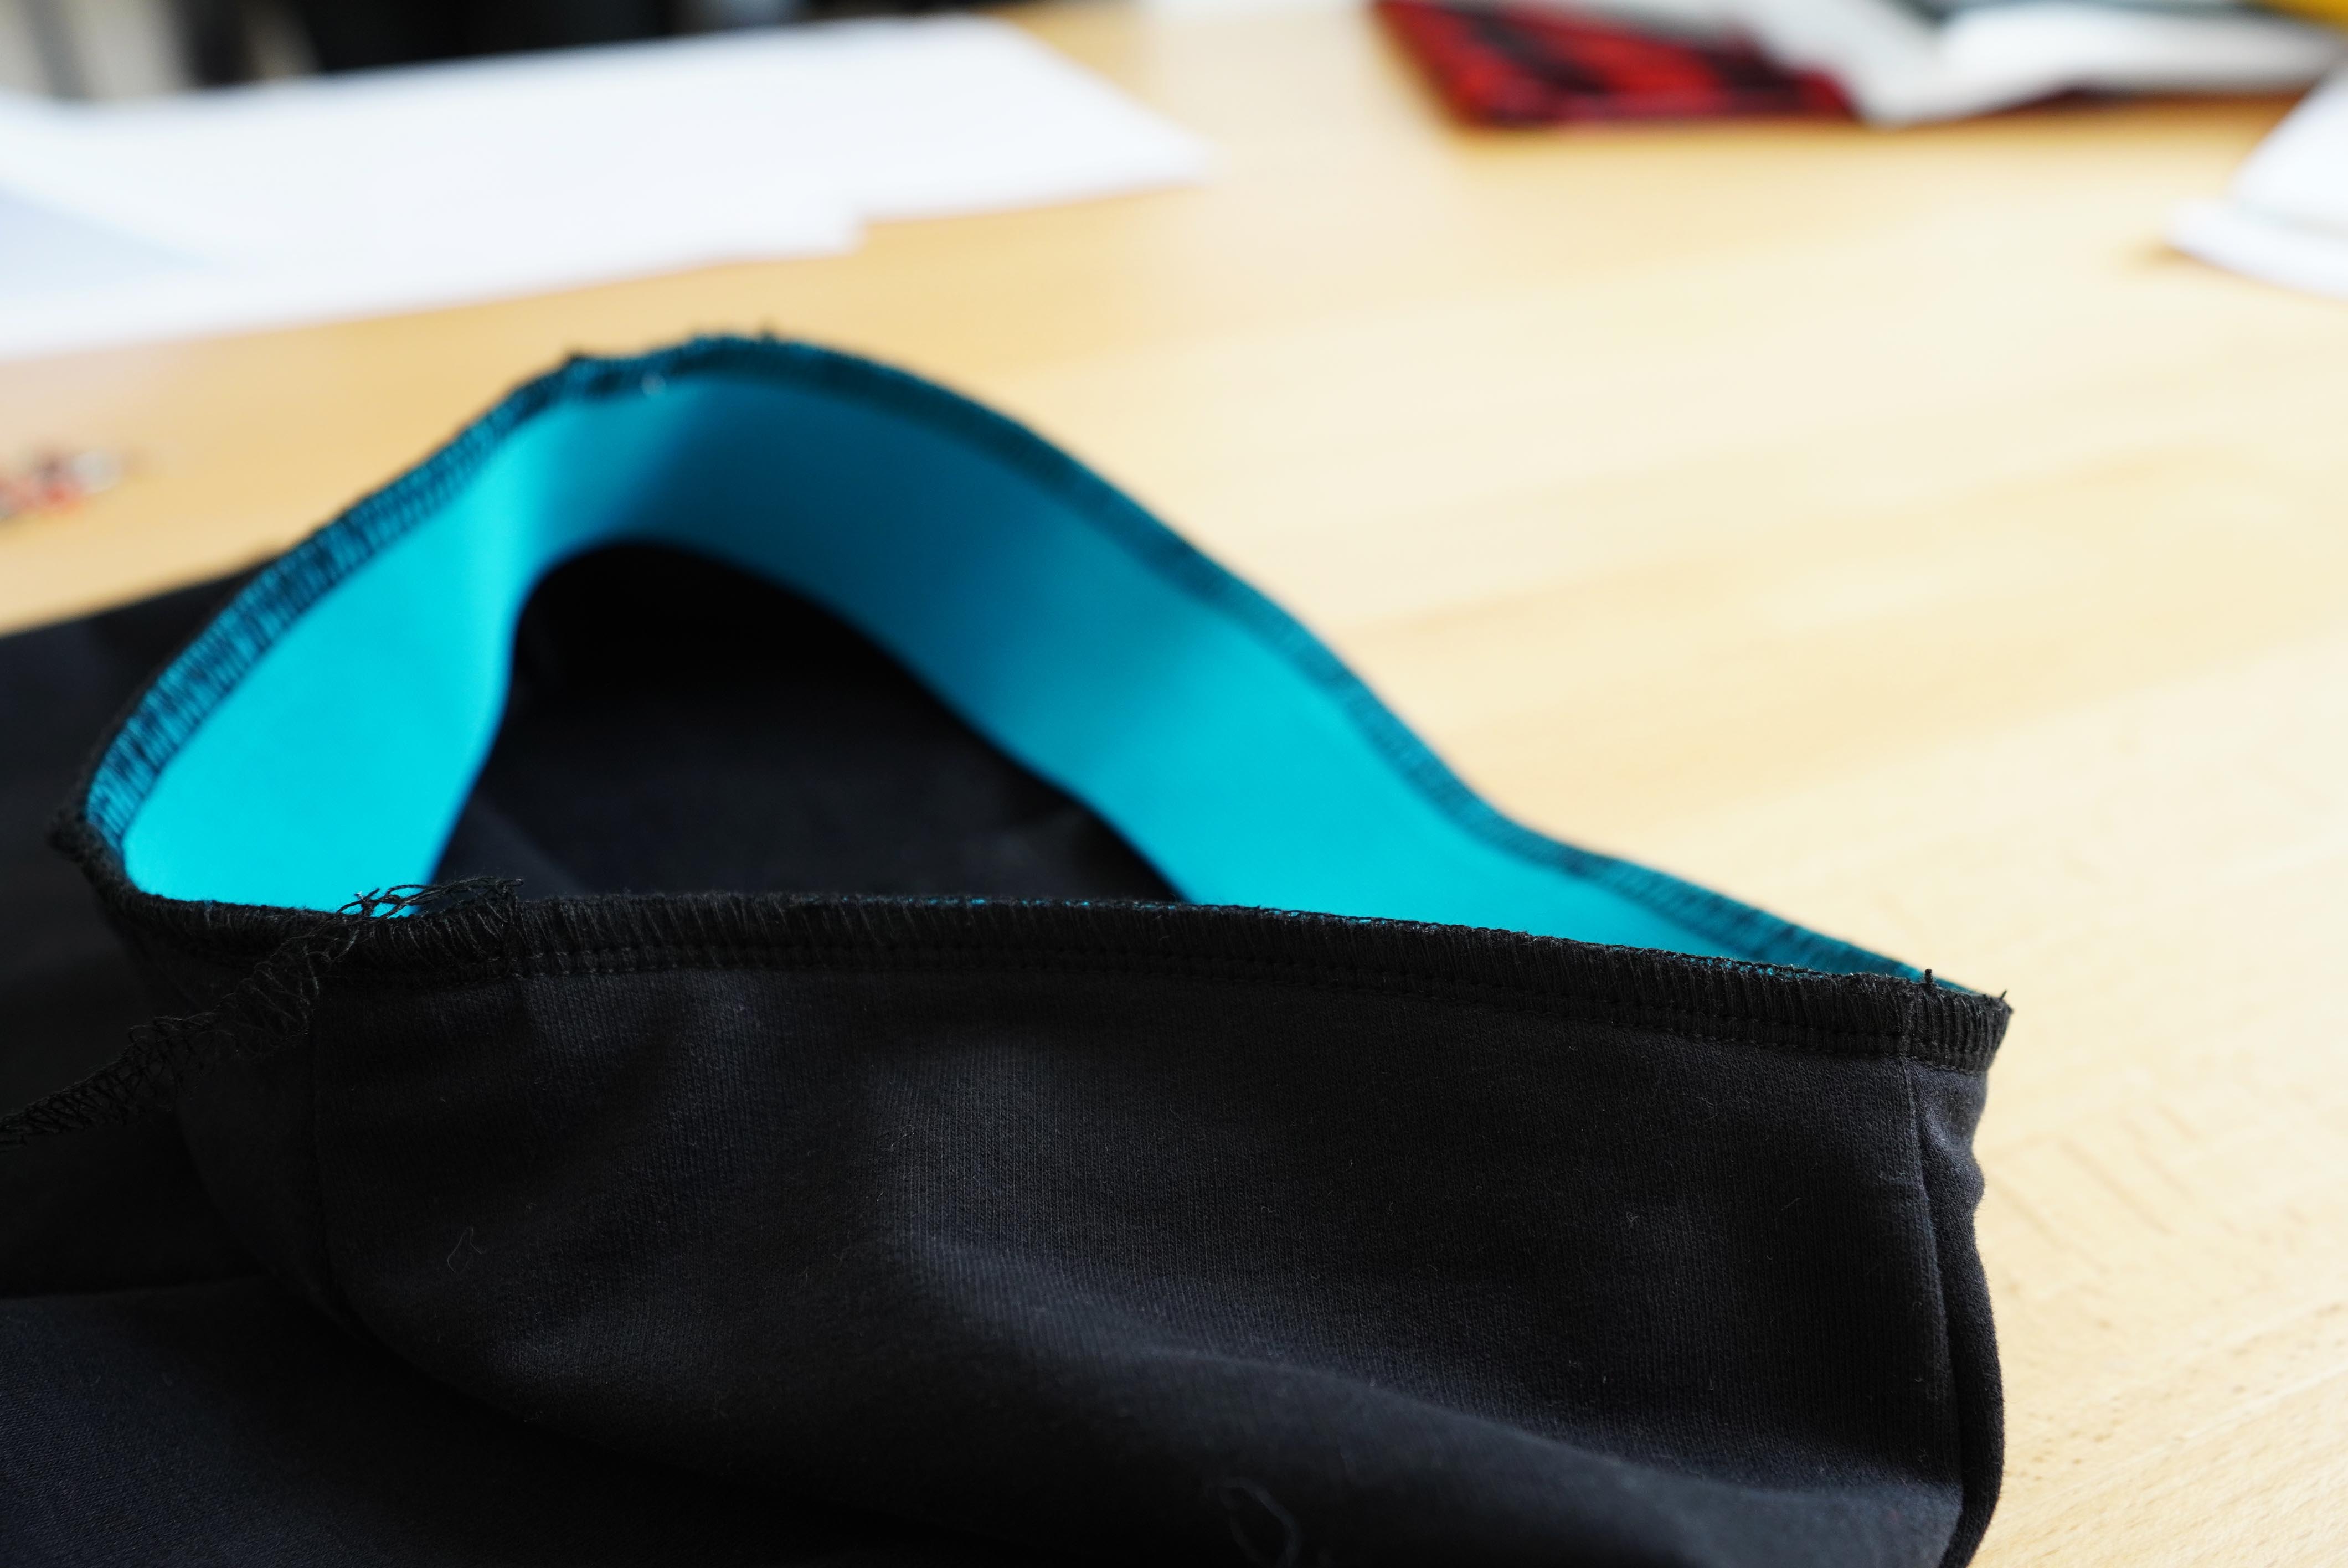
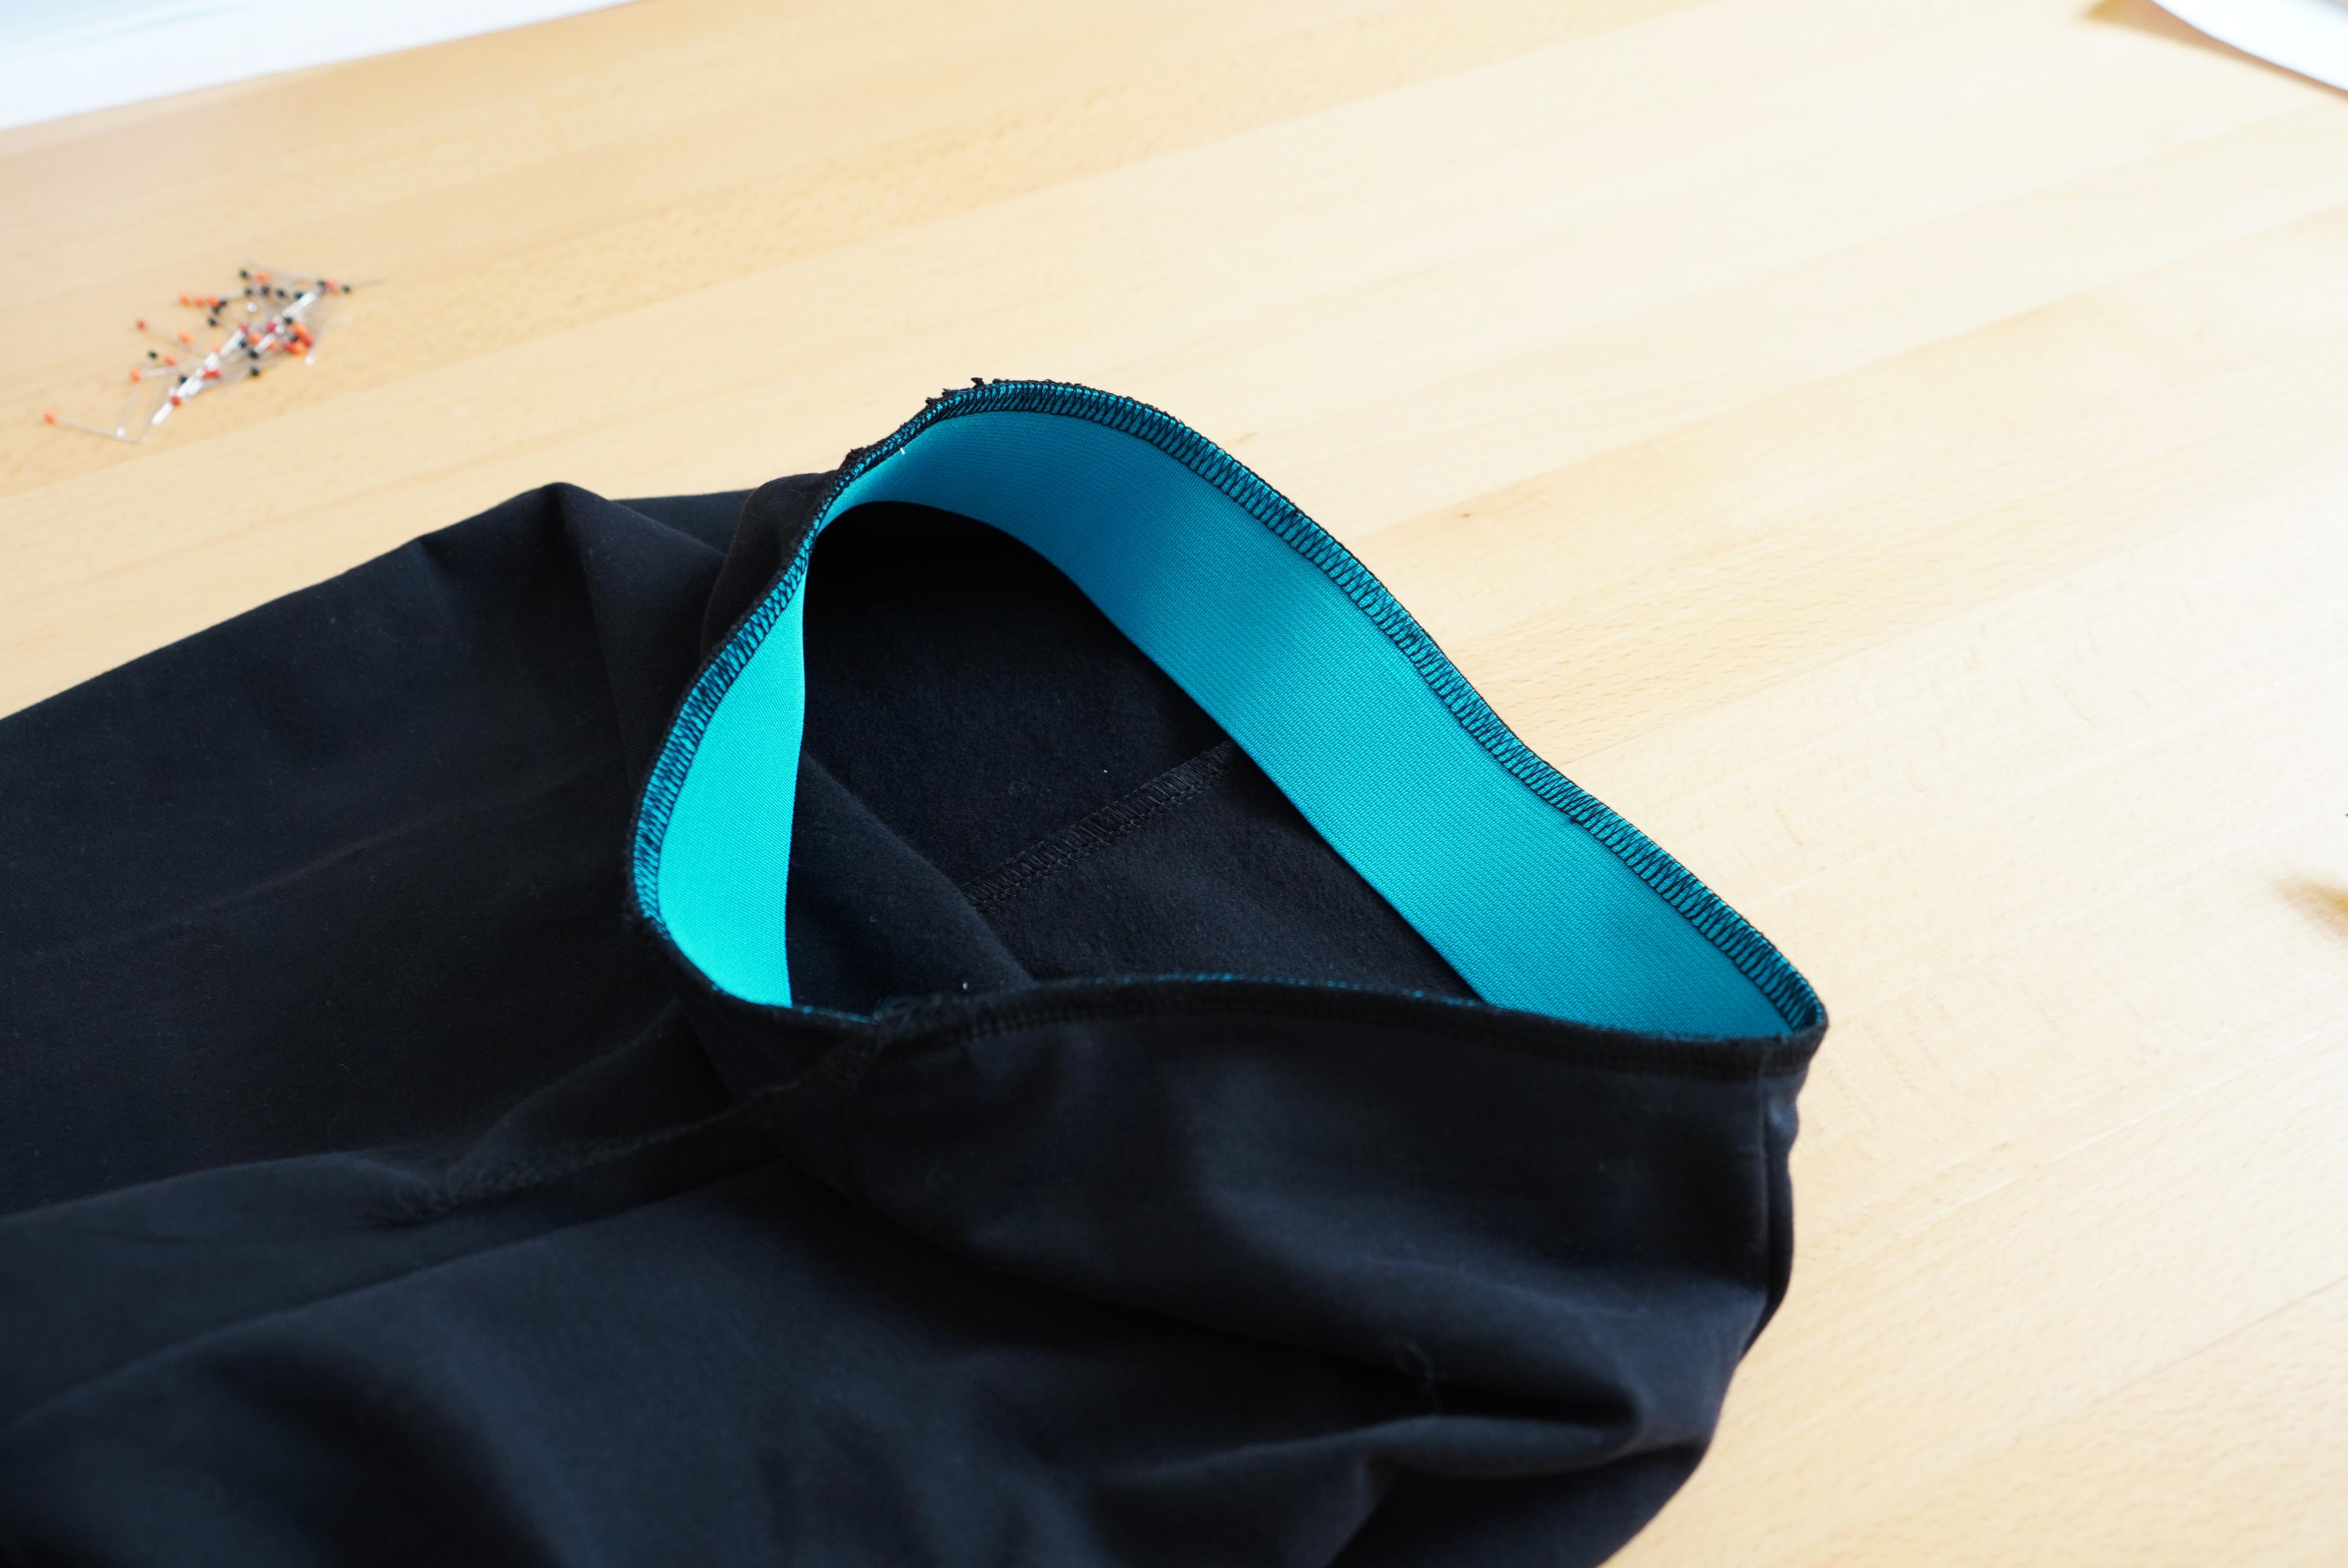
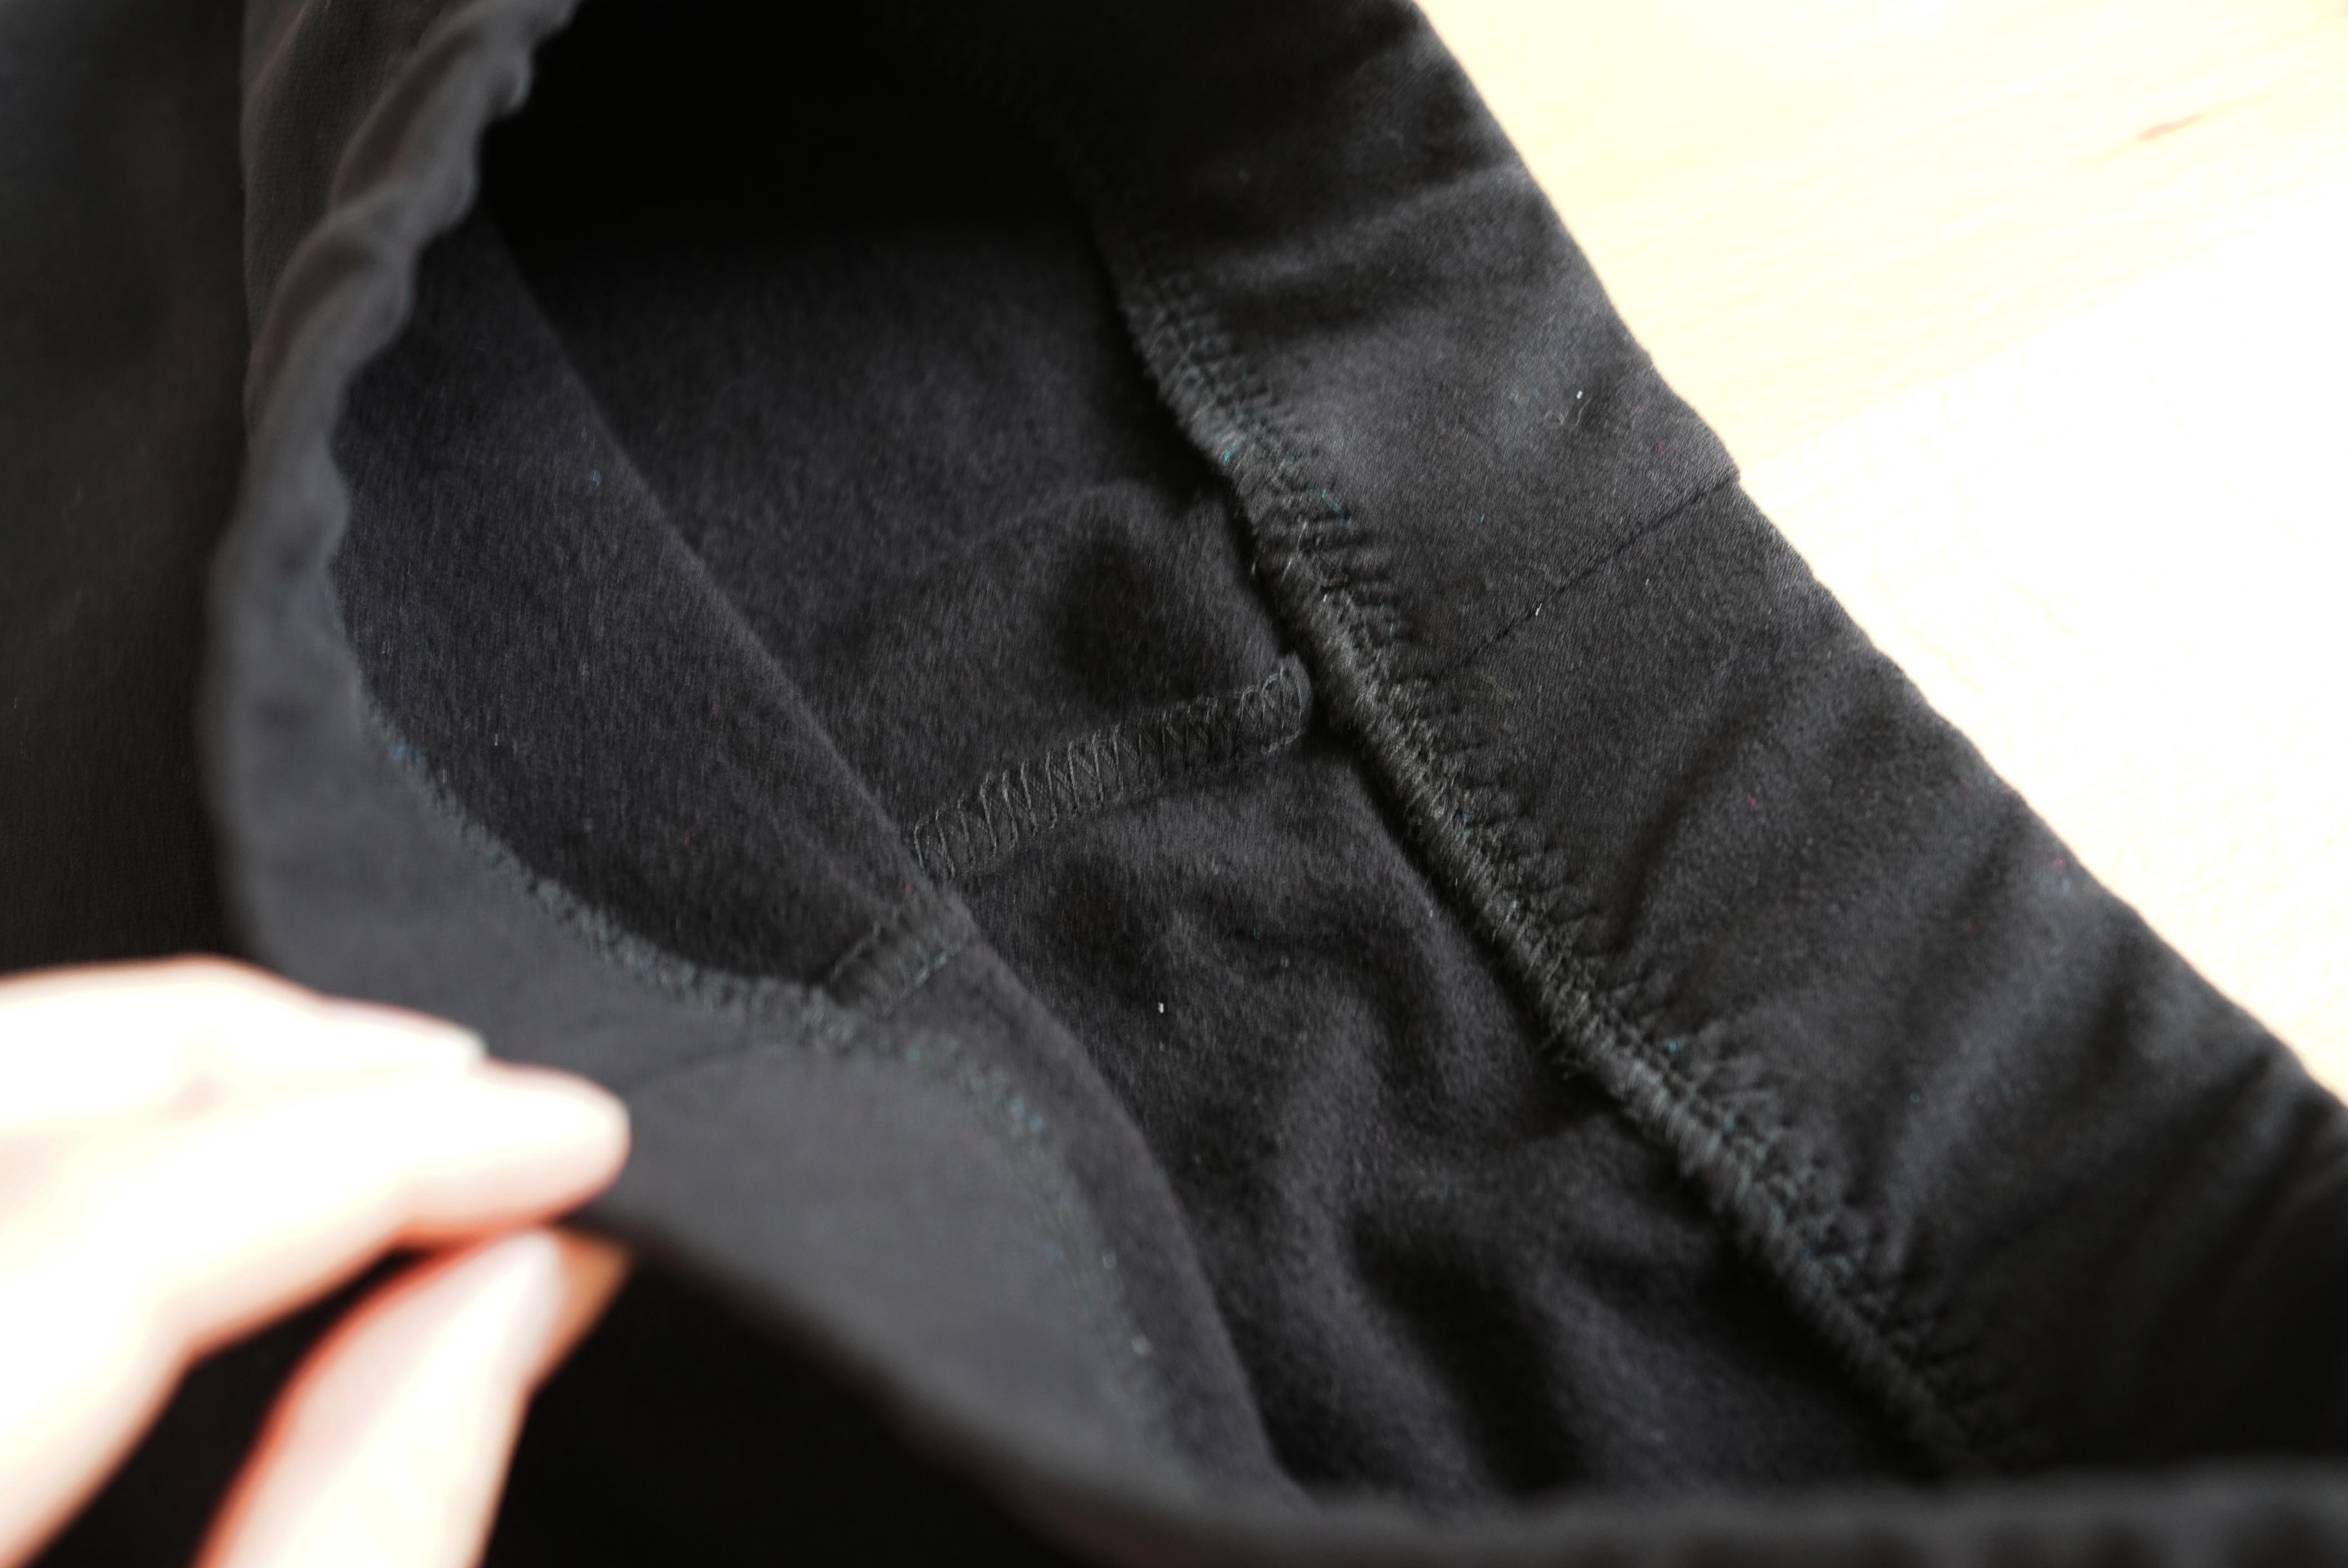
Insert the elastic into the waistline of the pants so that it is placed in the reverse side of the leggings and its edge matches the cutting edge of the waistline.
We sew the elastic into the waist line like this. If we are sewing on an overlocker, I recommend turning off the knife trim so that we don't accidentally damage the rubber. At the same time, we keep the longer end of the chain at the end, which we pull under the loops.
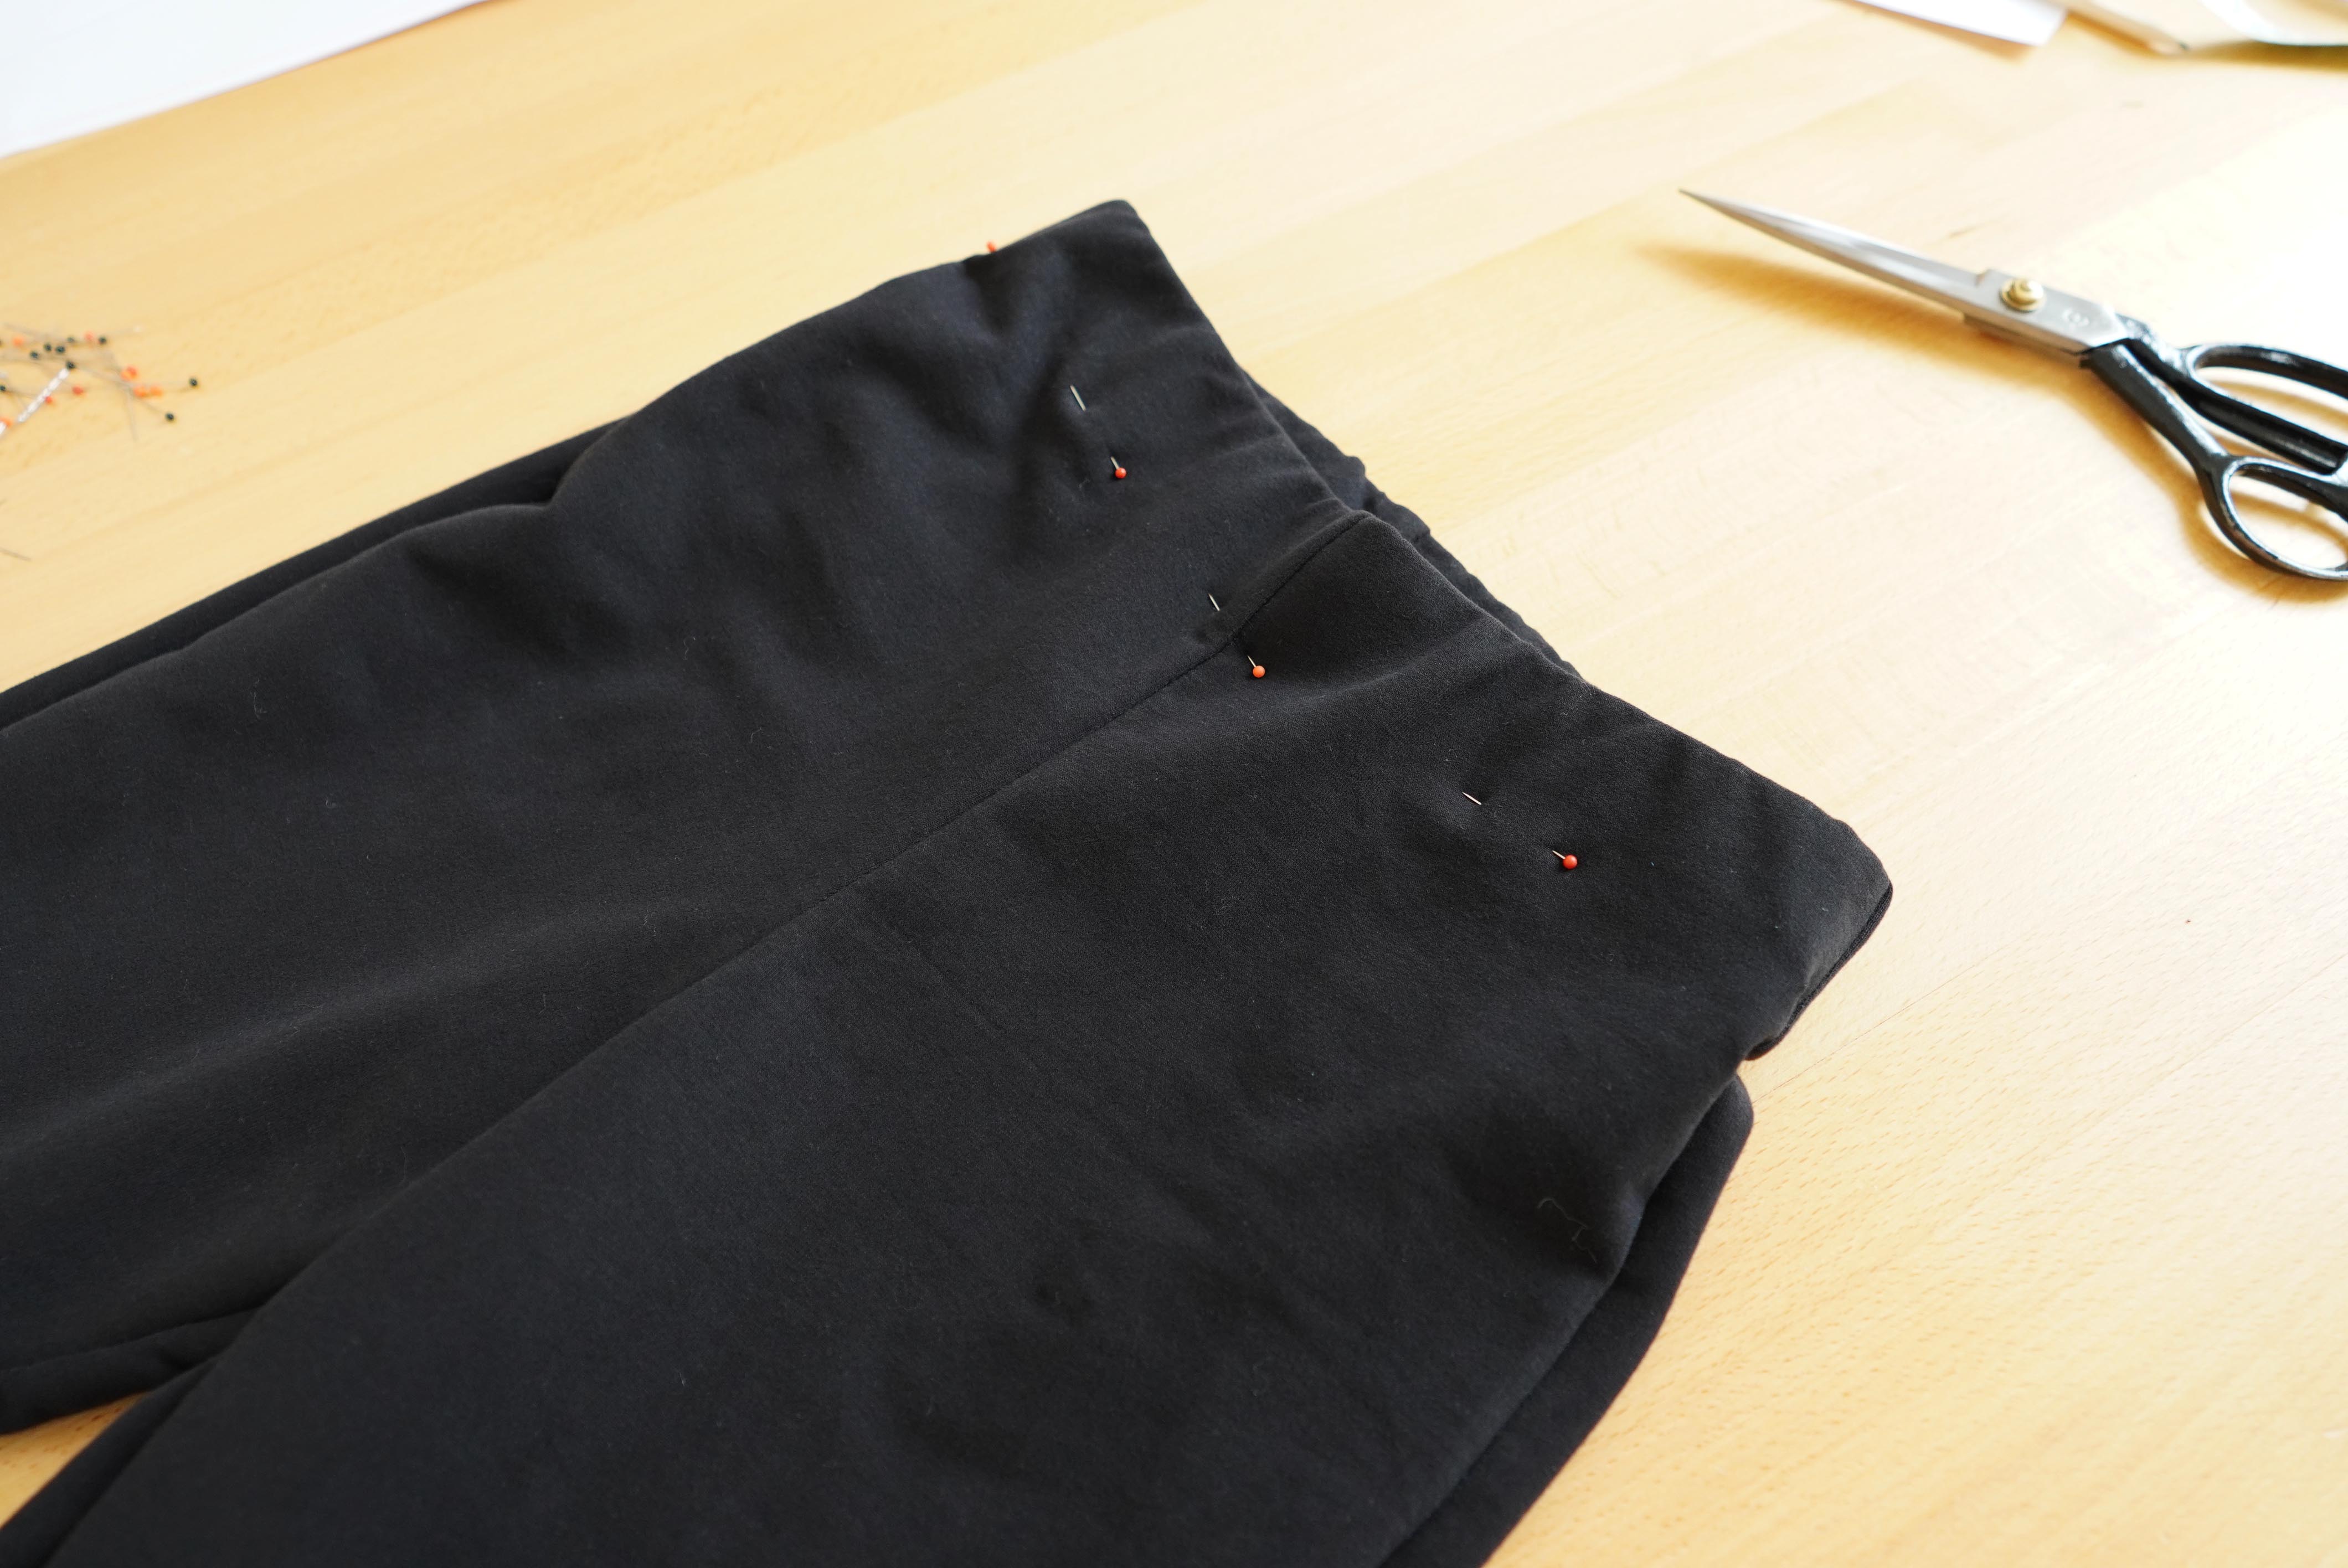
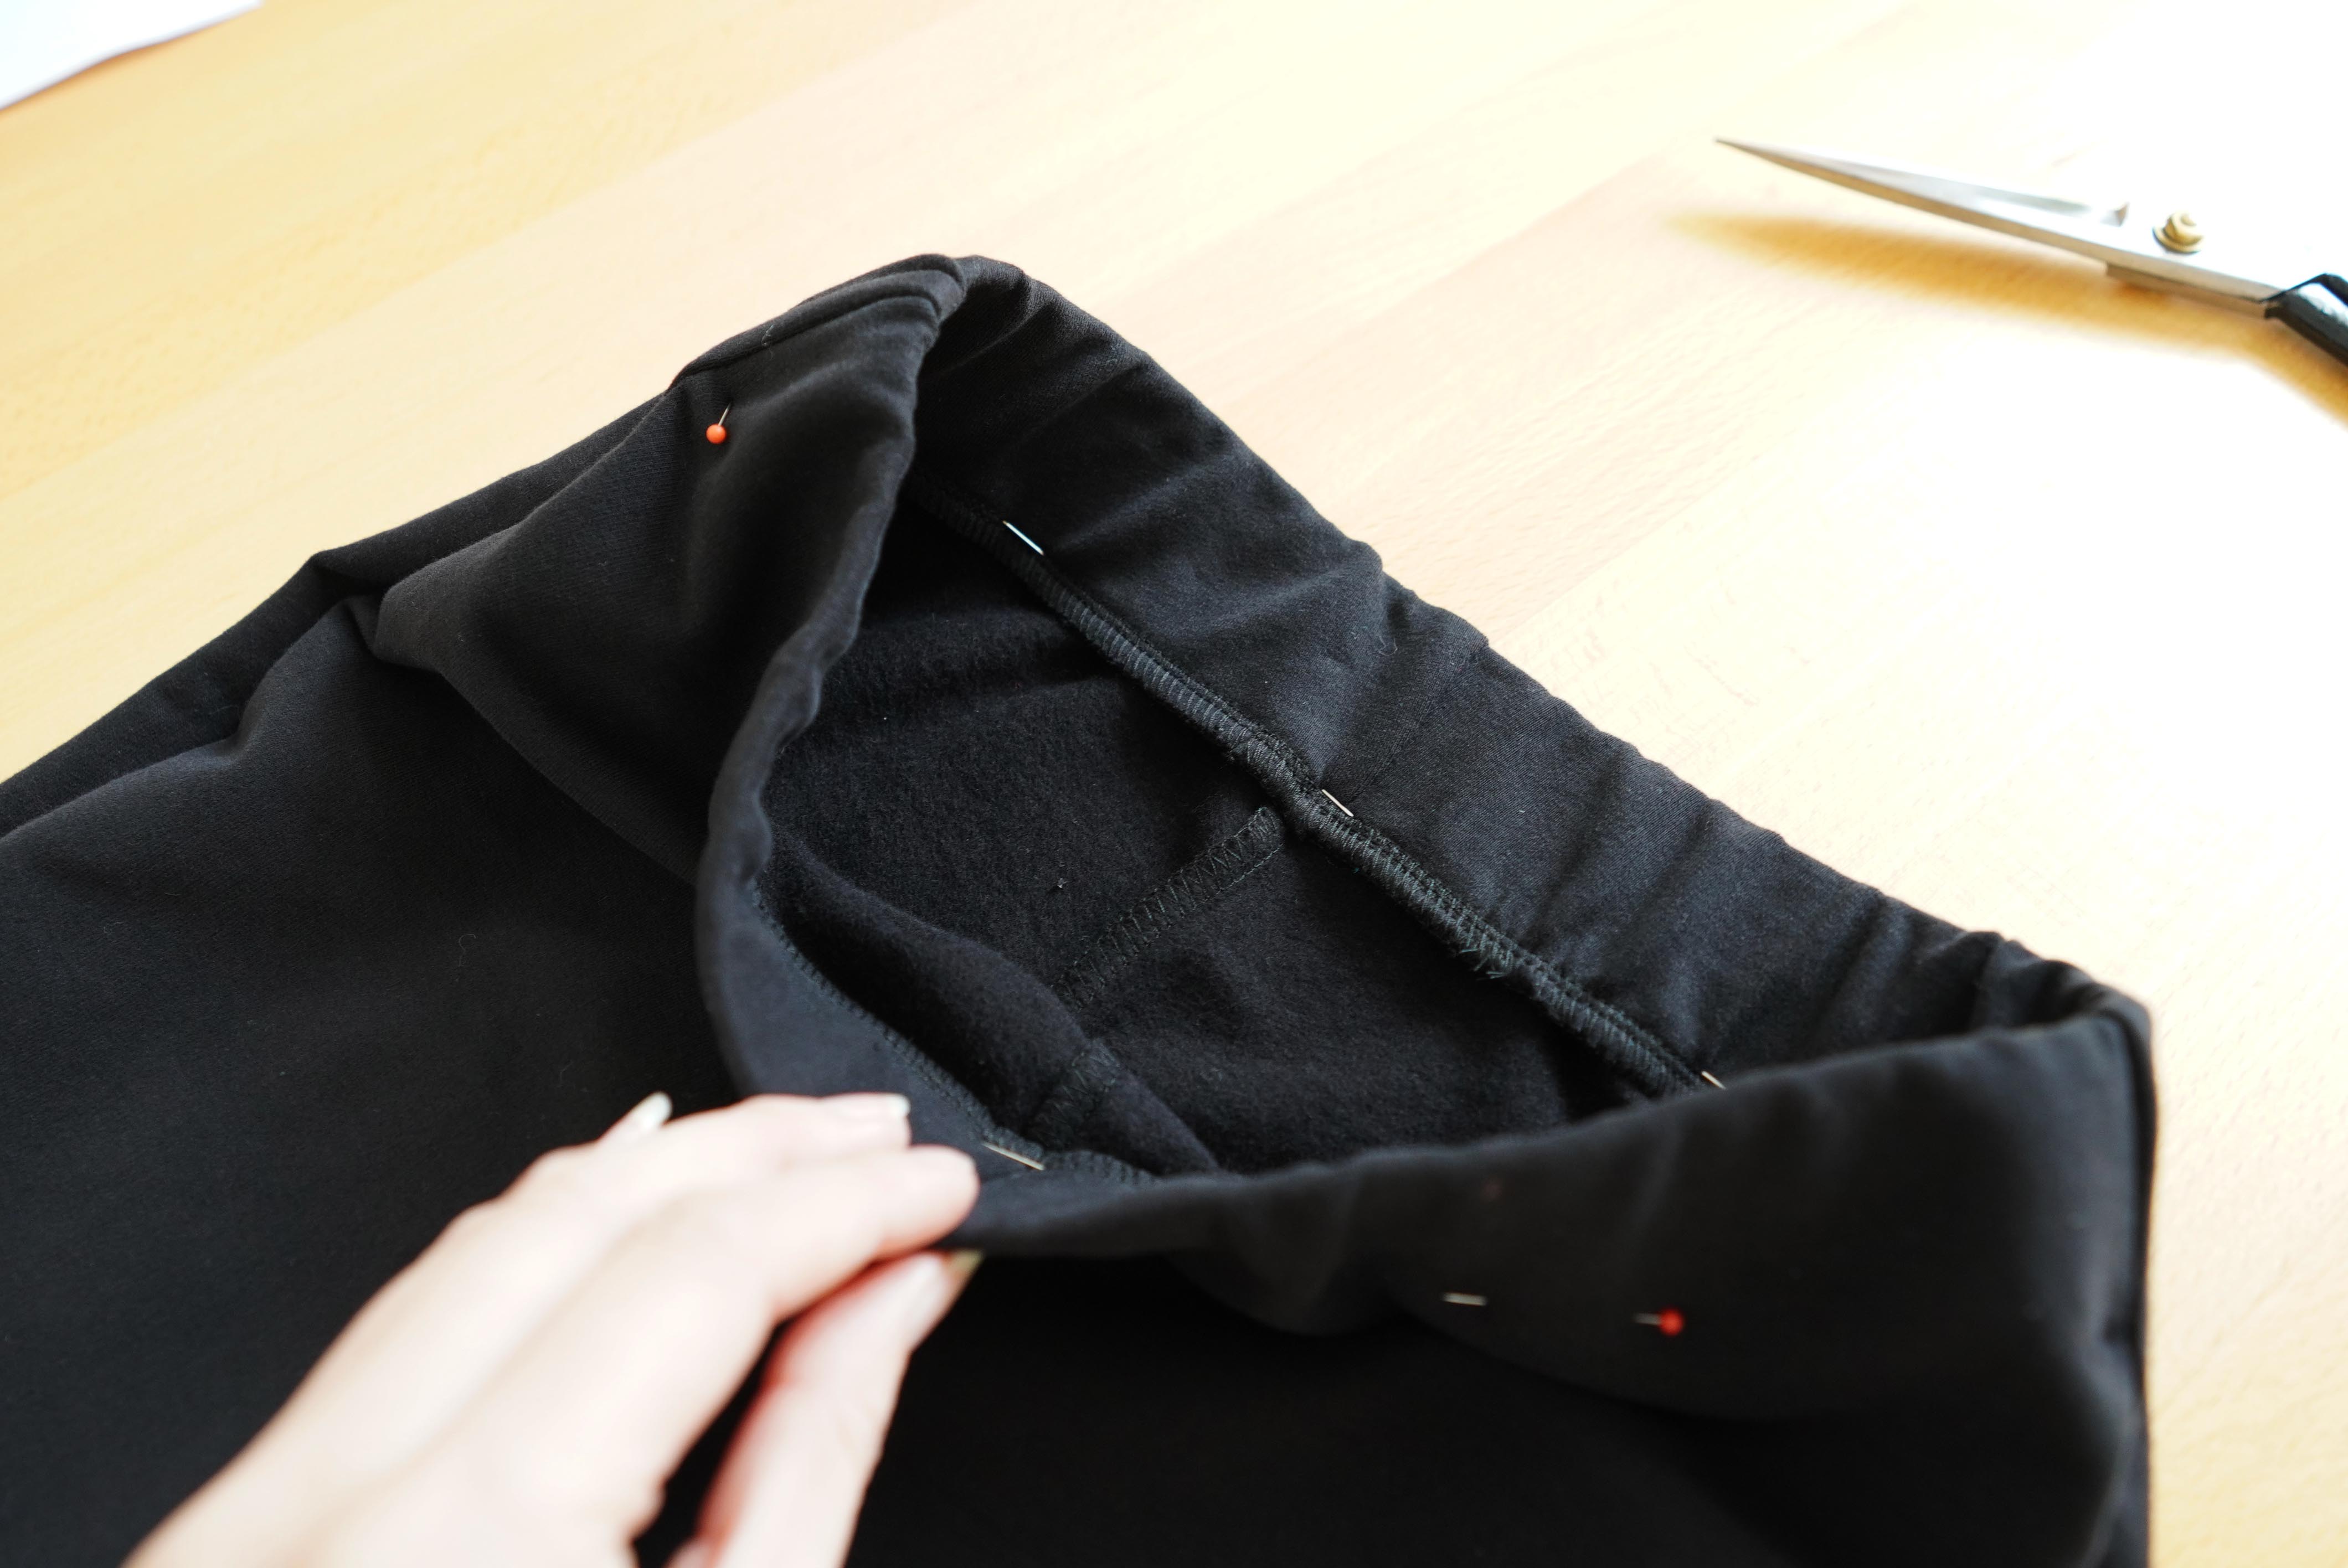
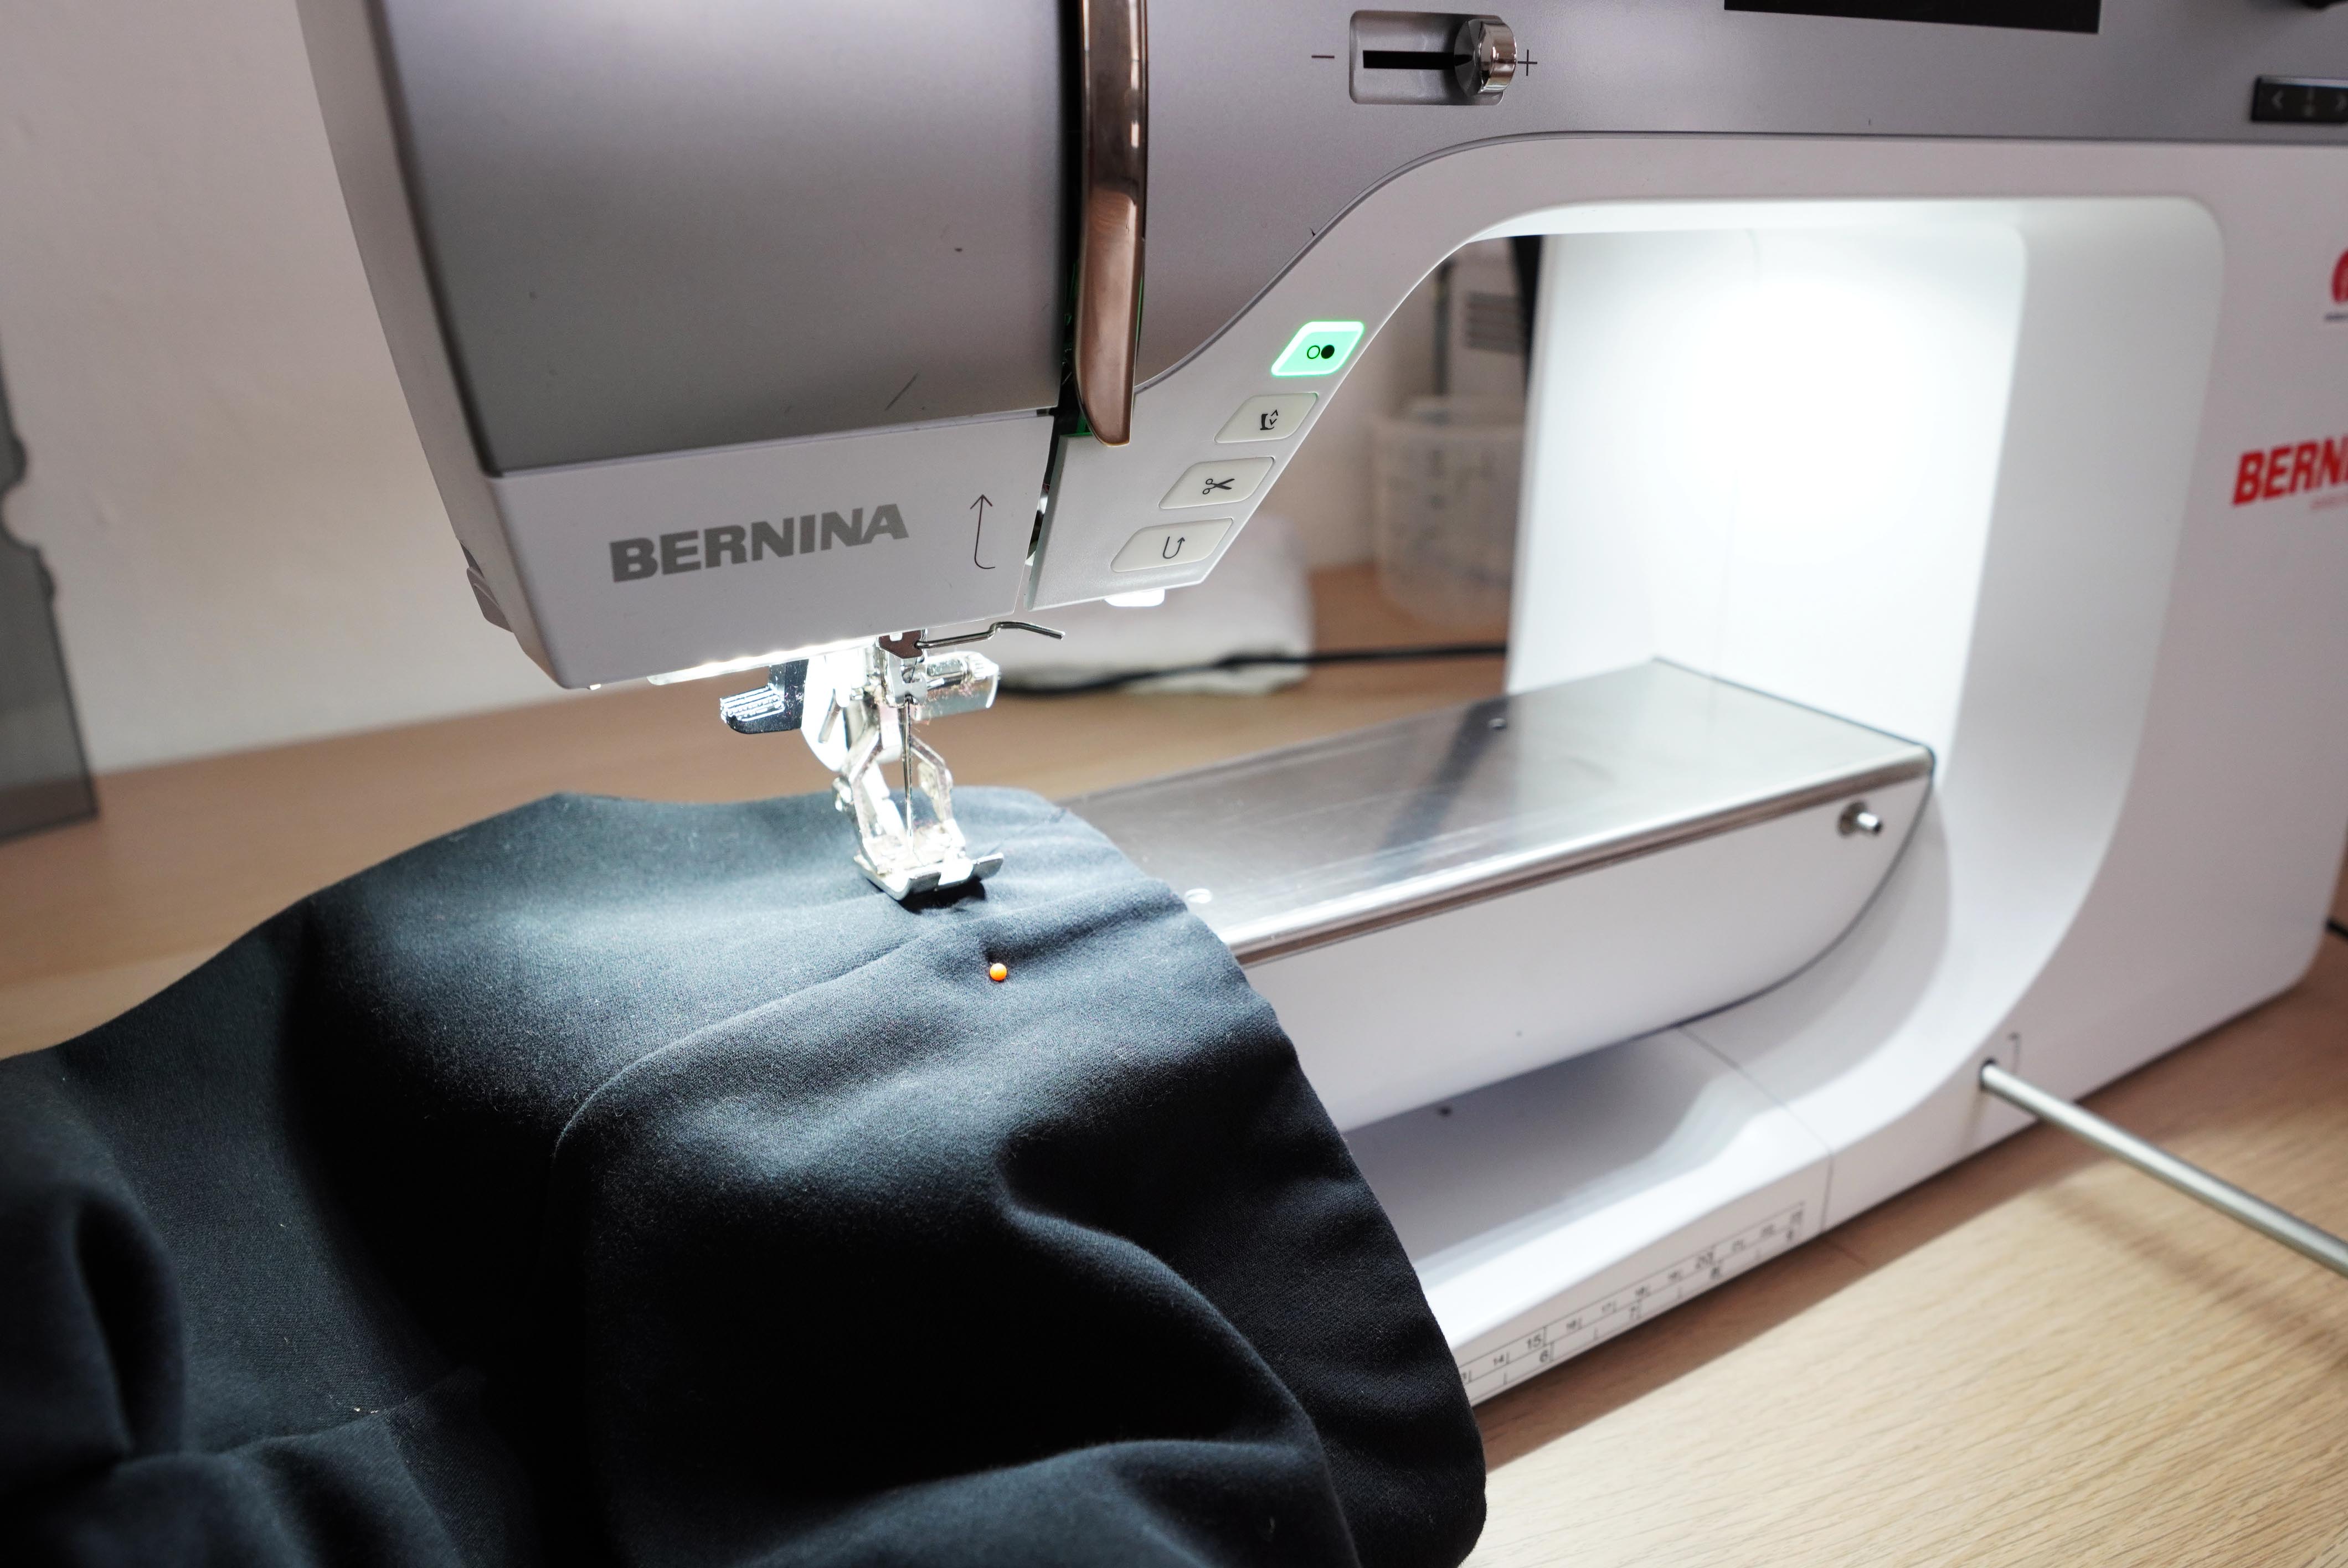
We bend the hem at the waist inside out so that the elastic is embedded. We pin the elastic around the entire circumference of the waist in this folded state. We pin on the front side of the pants, along which we will also sew.
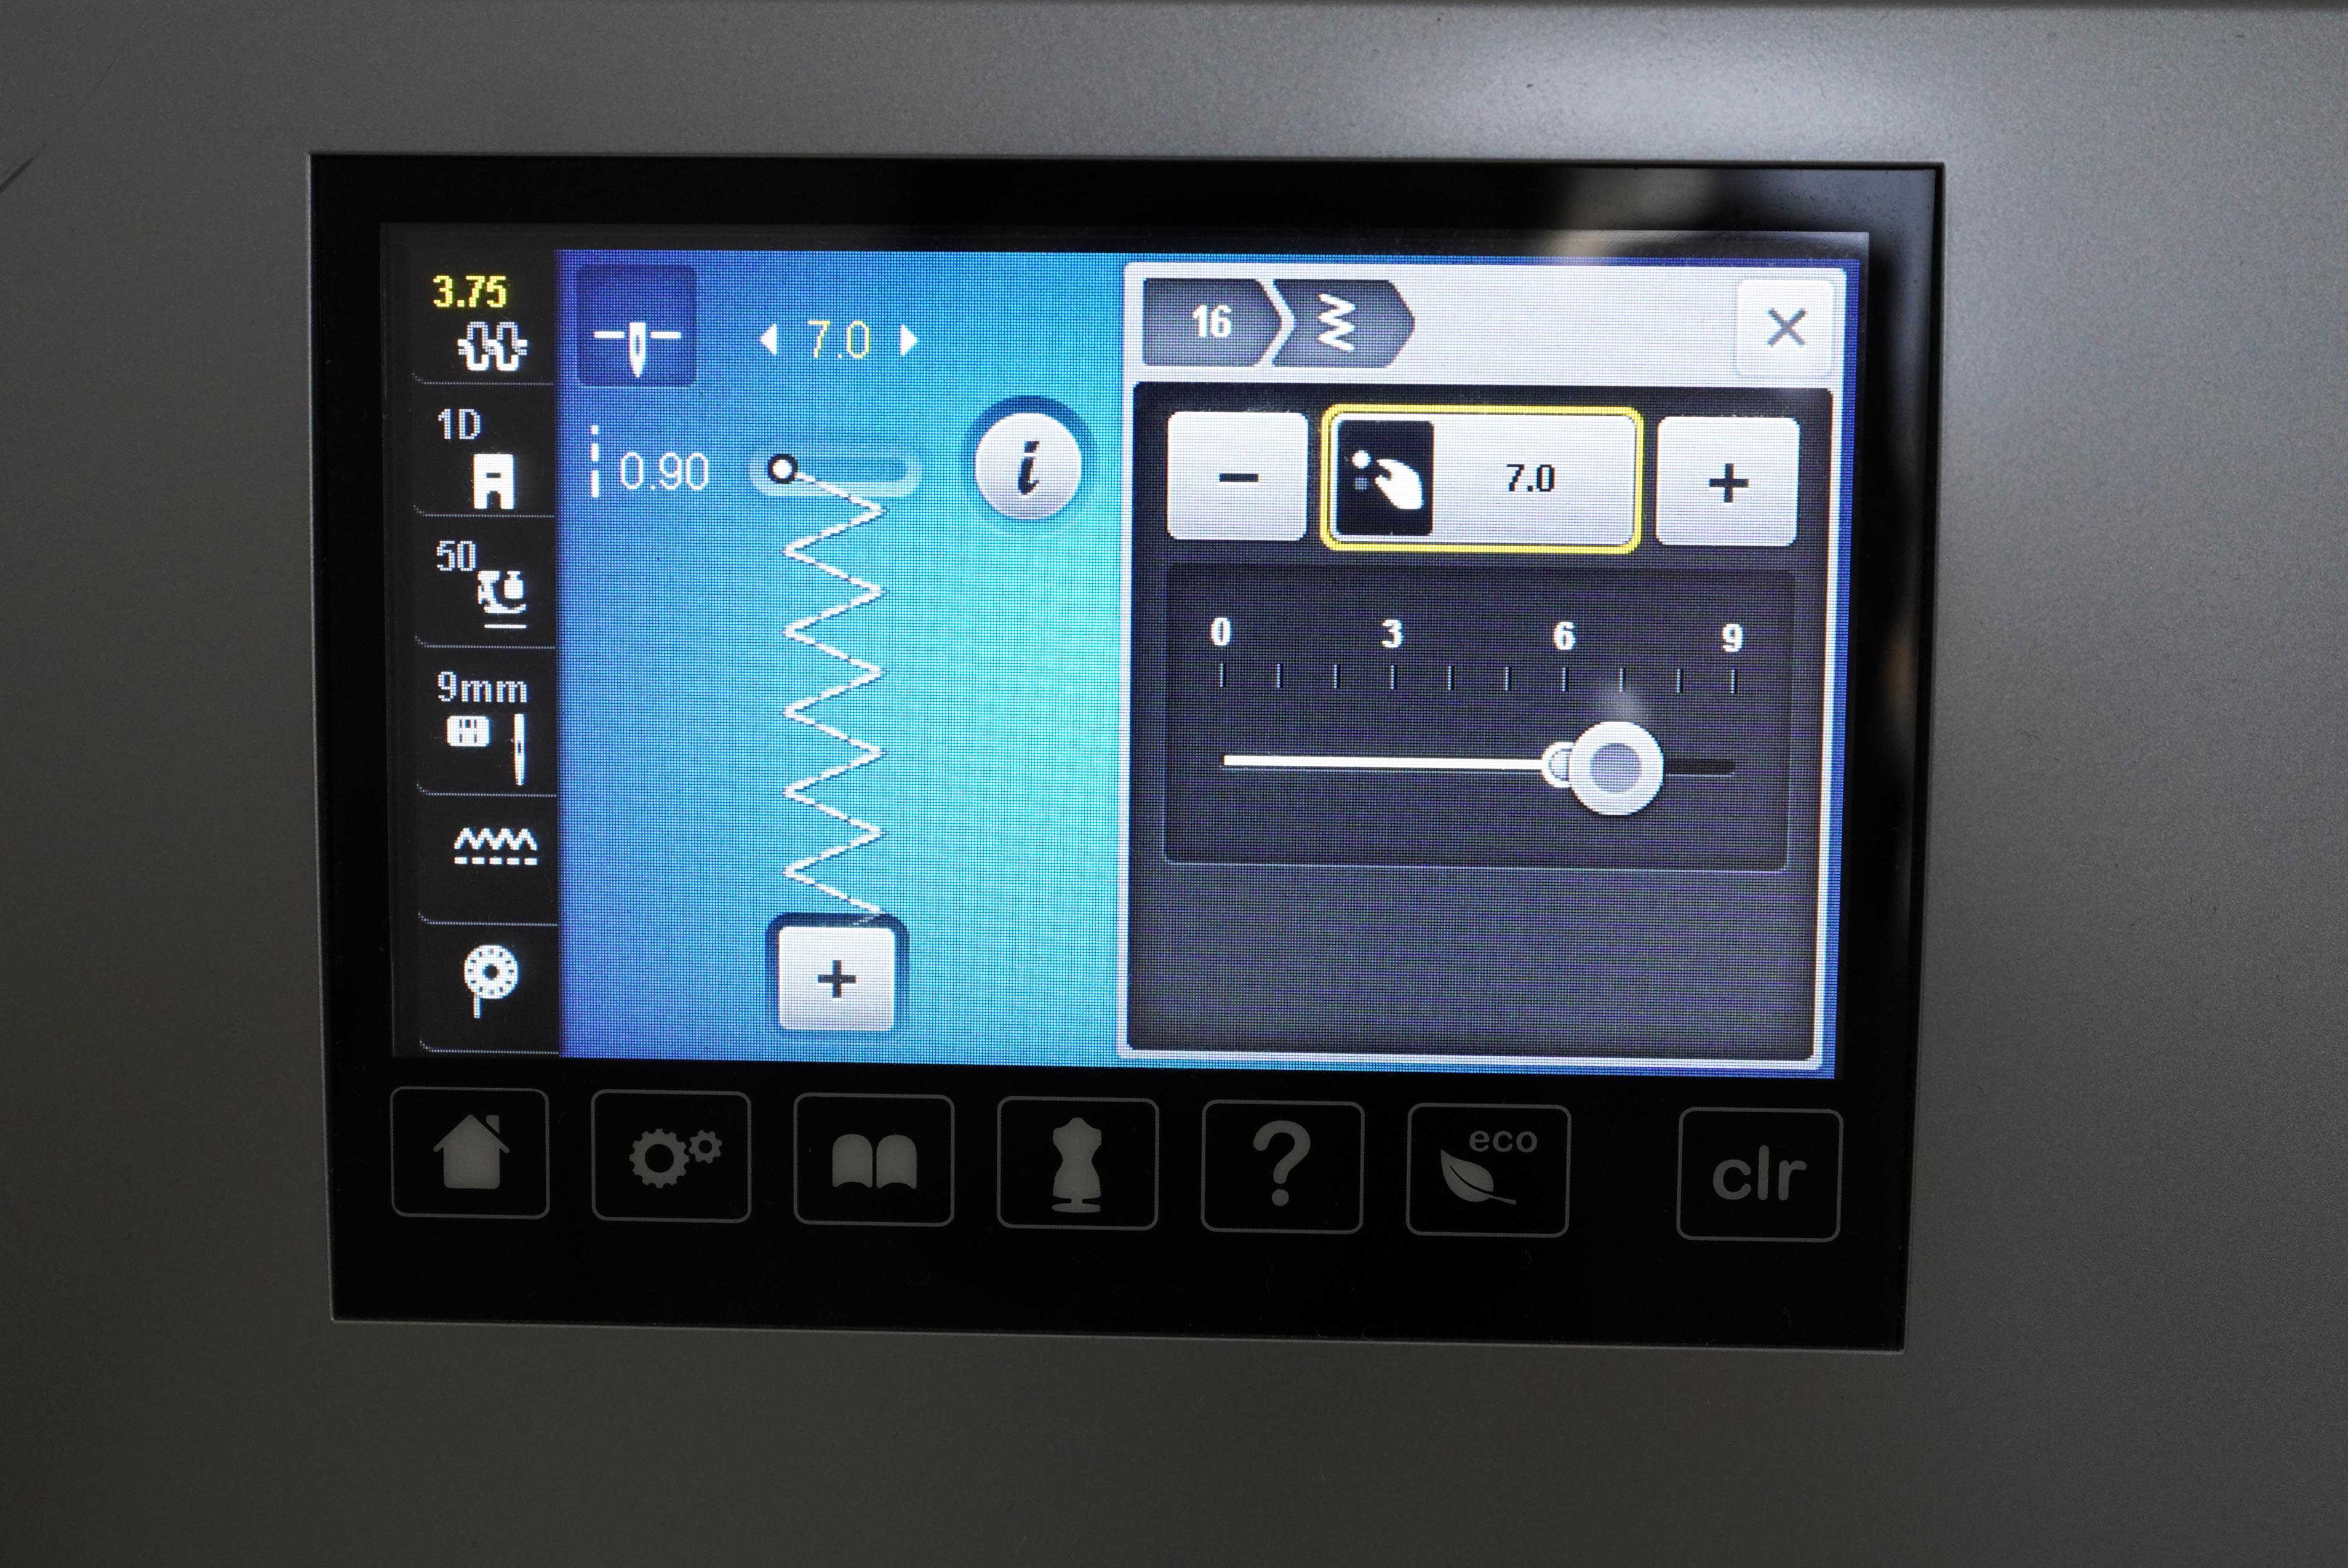
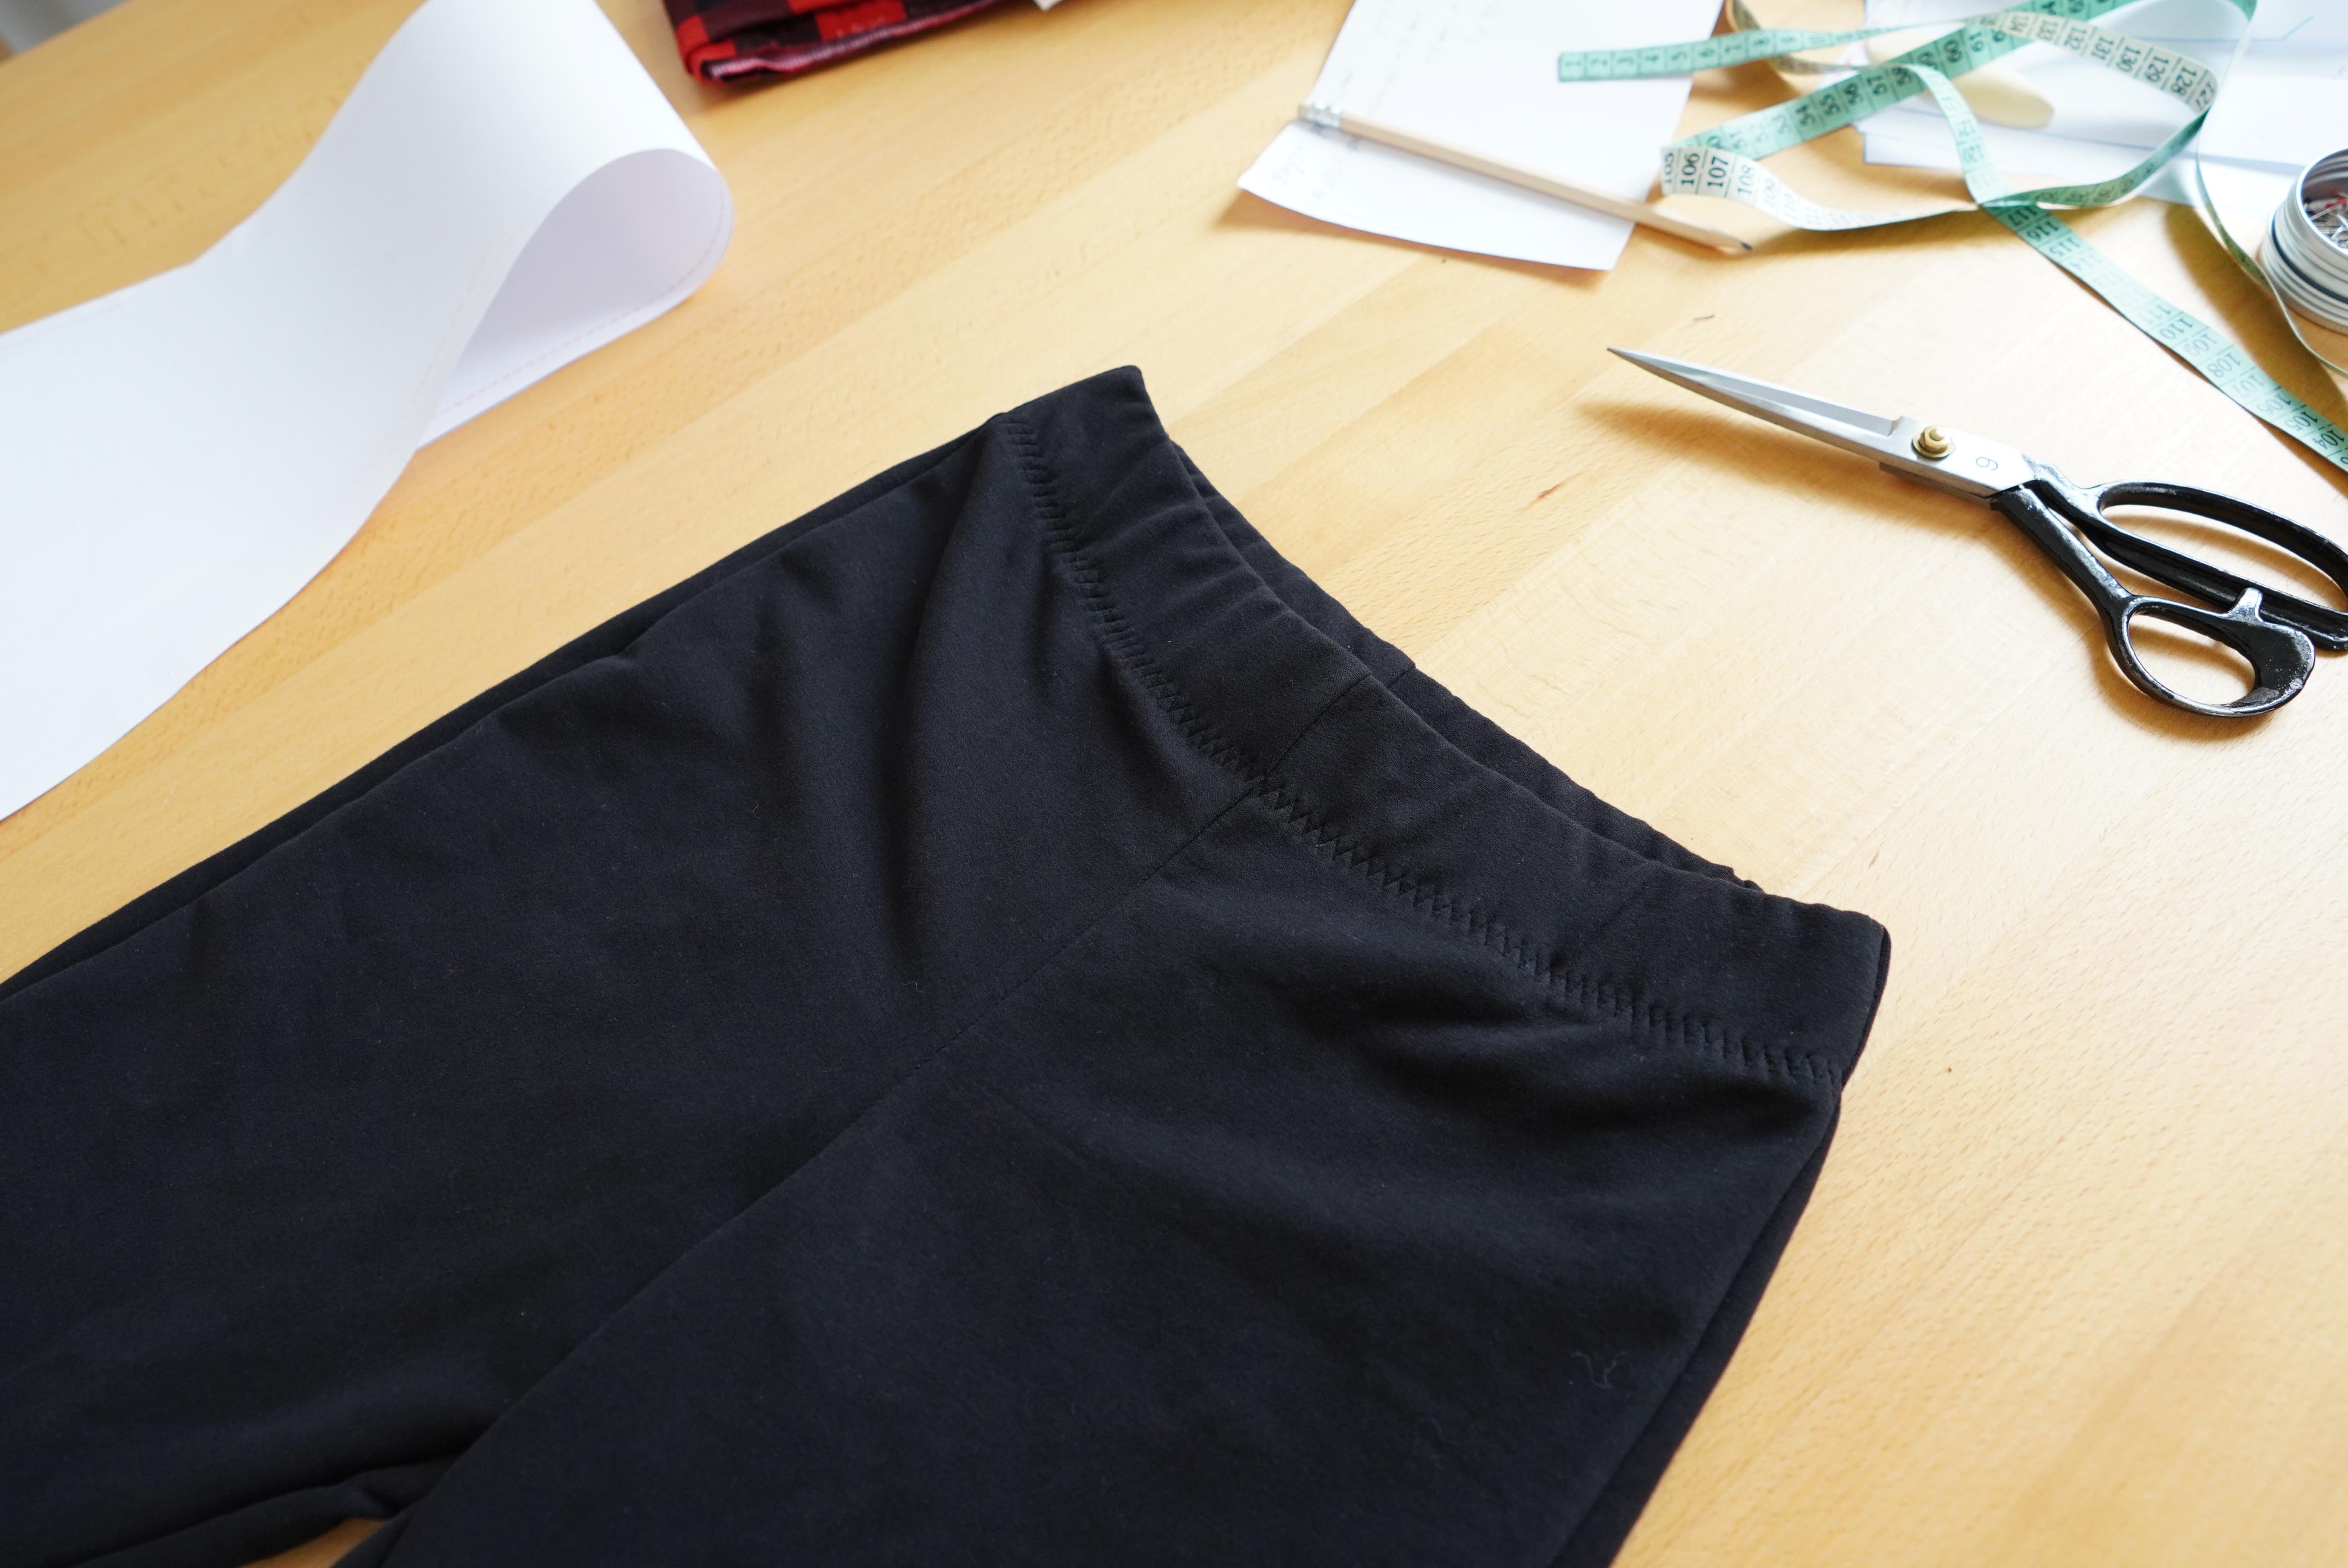
We will choose any available very flexible stitch. Personally, I like the three-step zigzag stitch, which I used this time as well. I increased its width to 7 mm and left the stitch length at 0.9 mm.
6 - Finishing
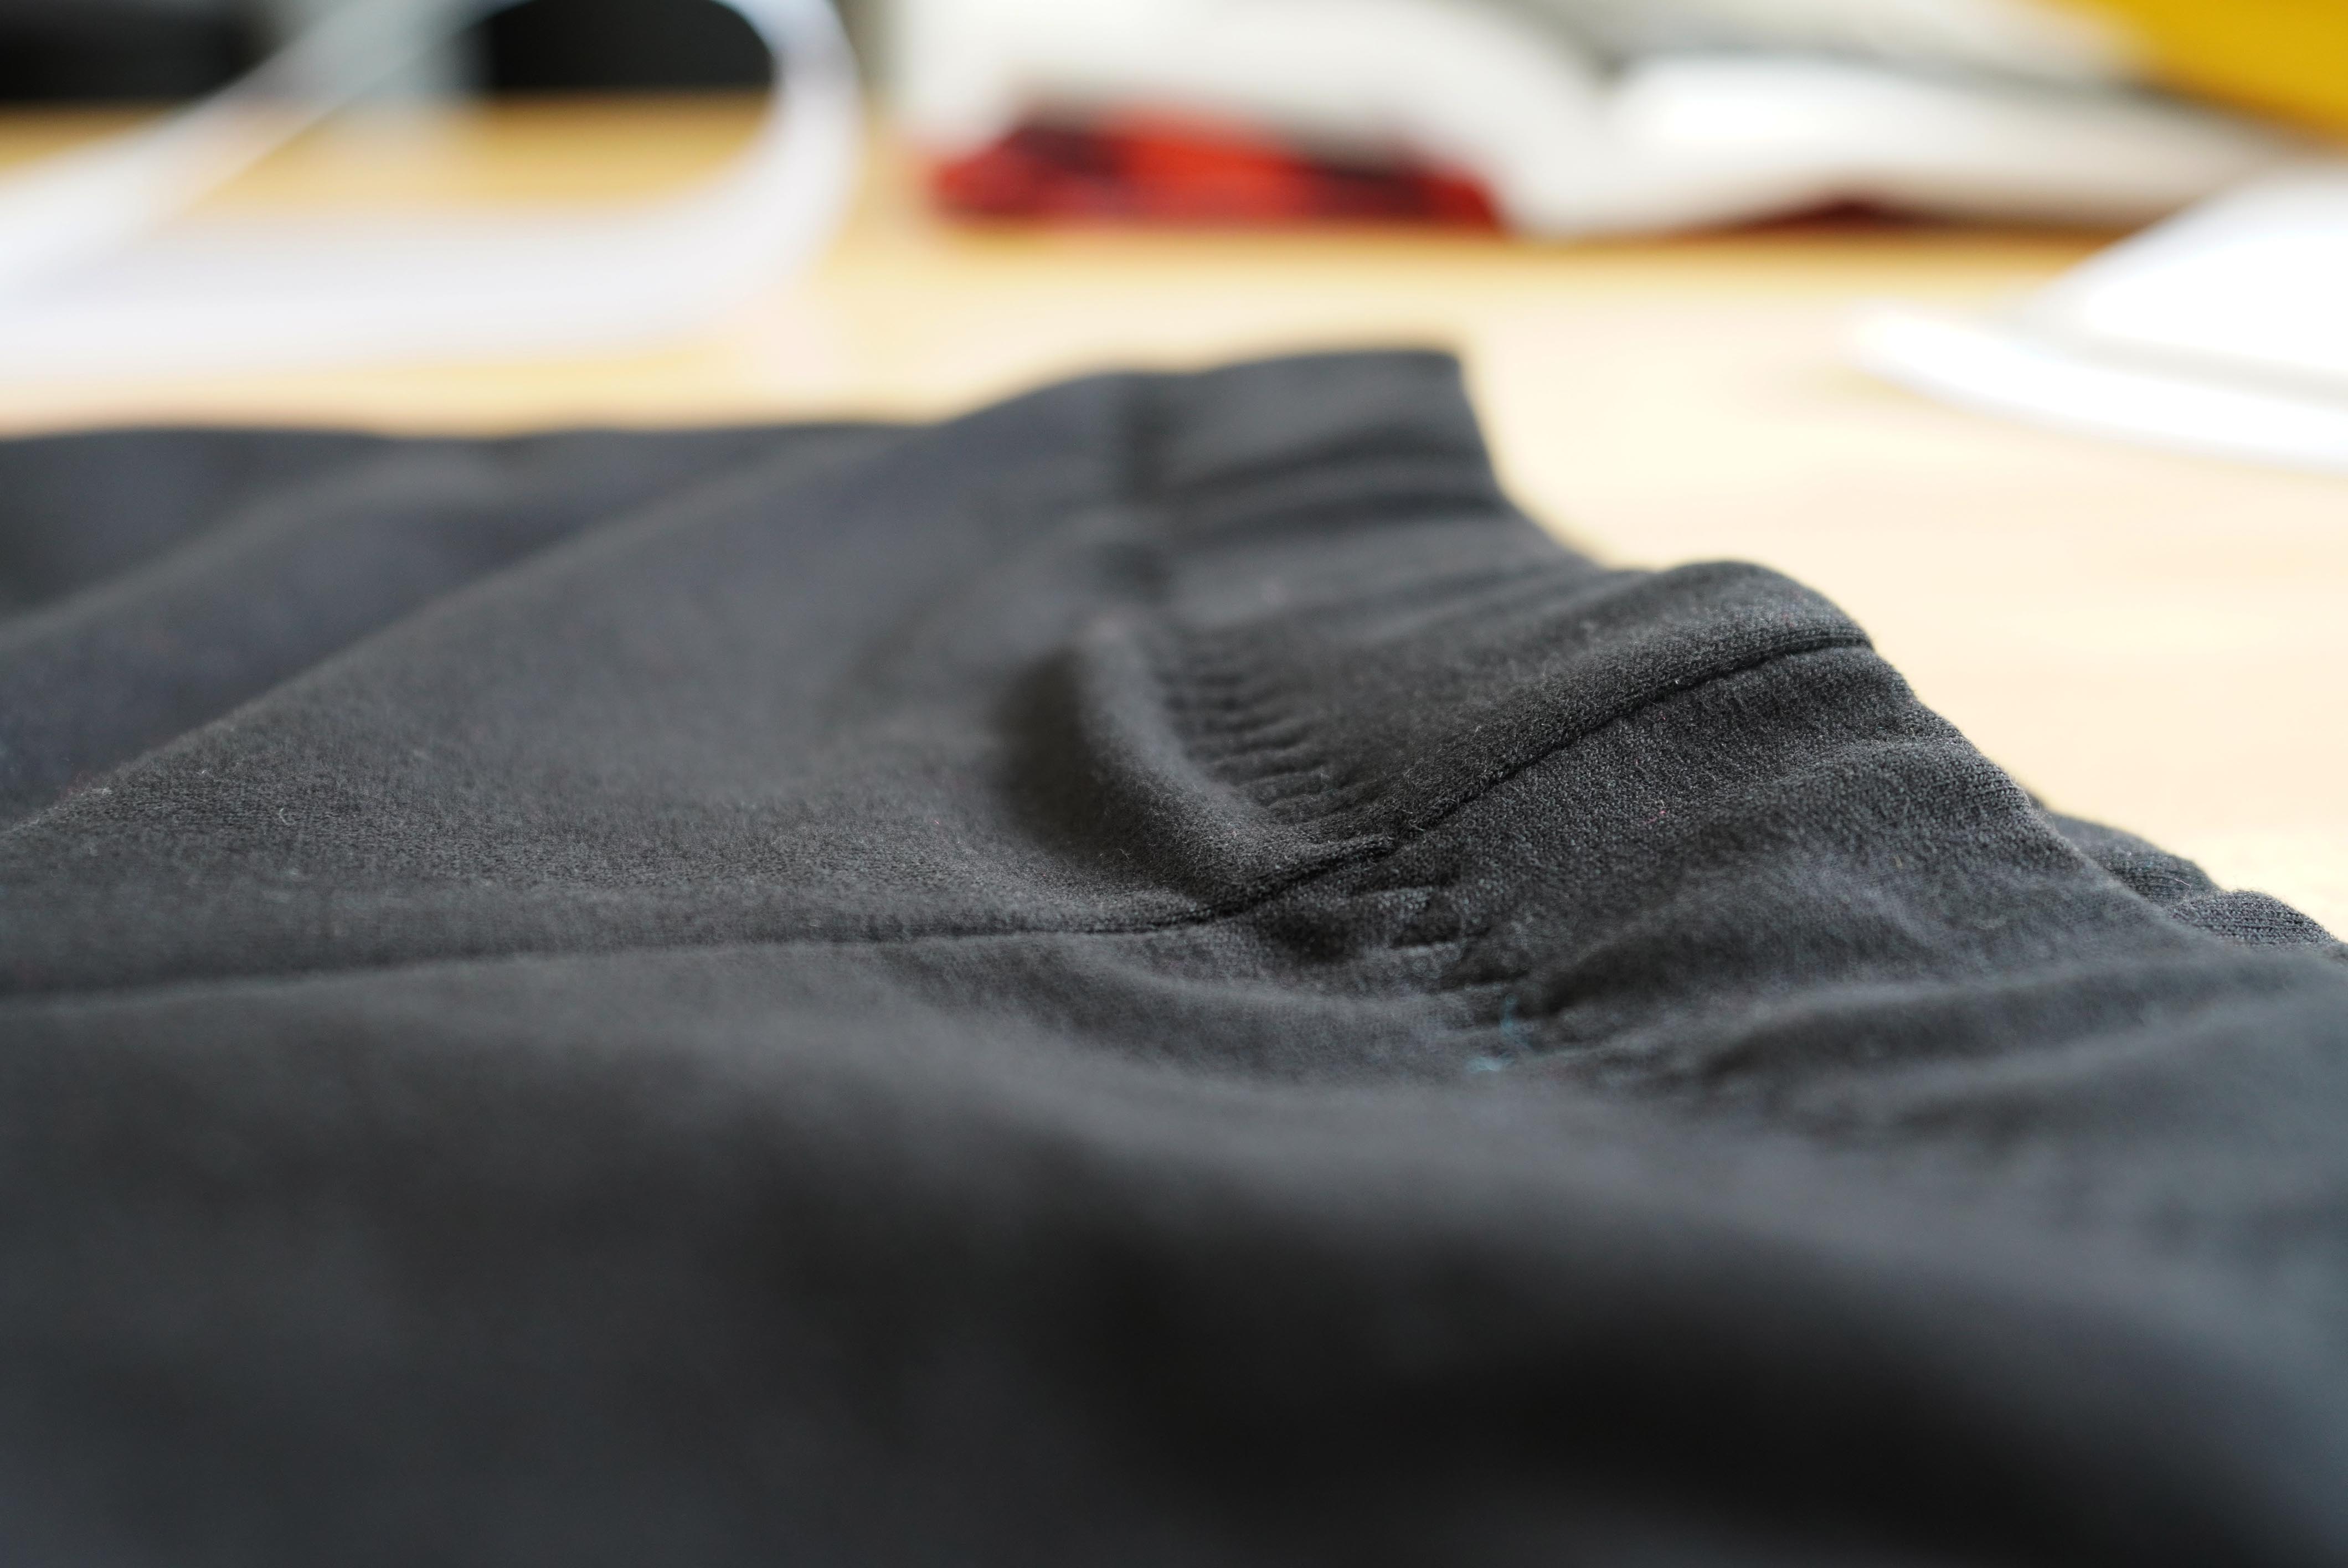
While sewing the elastic, we stretch it in the machine (one hand is held in front of the foot, the other behind the foot, so as not to accidentally break the needle. With this elastic stitch, we sew the elastic firmly into the waist. This way, the pants will be comfortable and there is no risk of the elastic turning over in the waist.
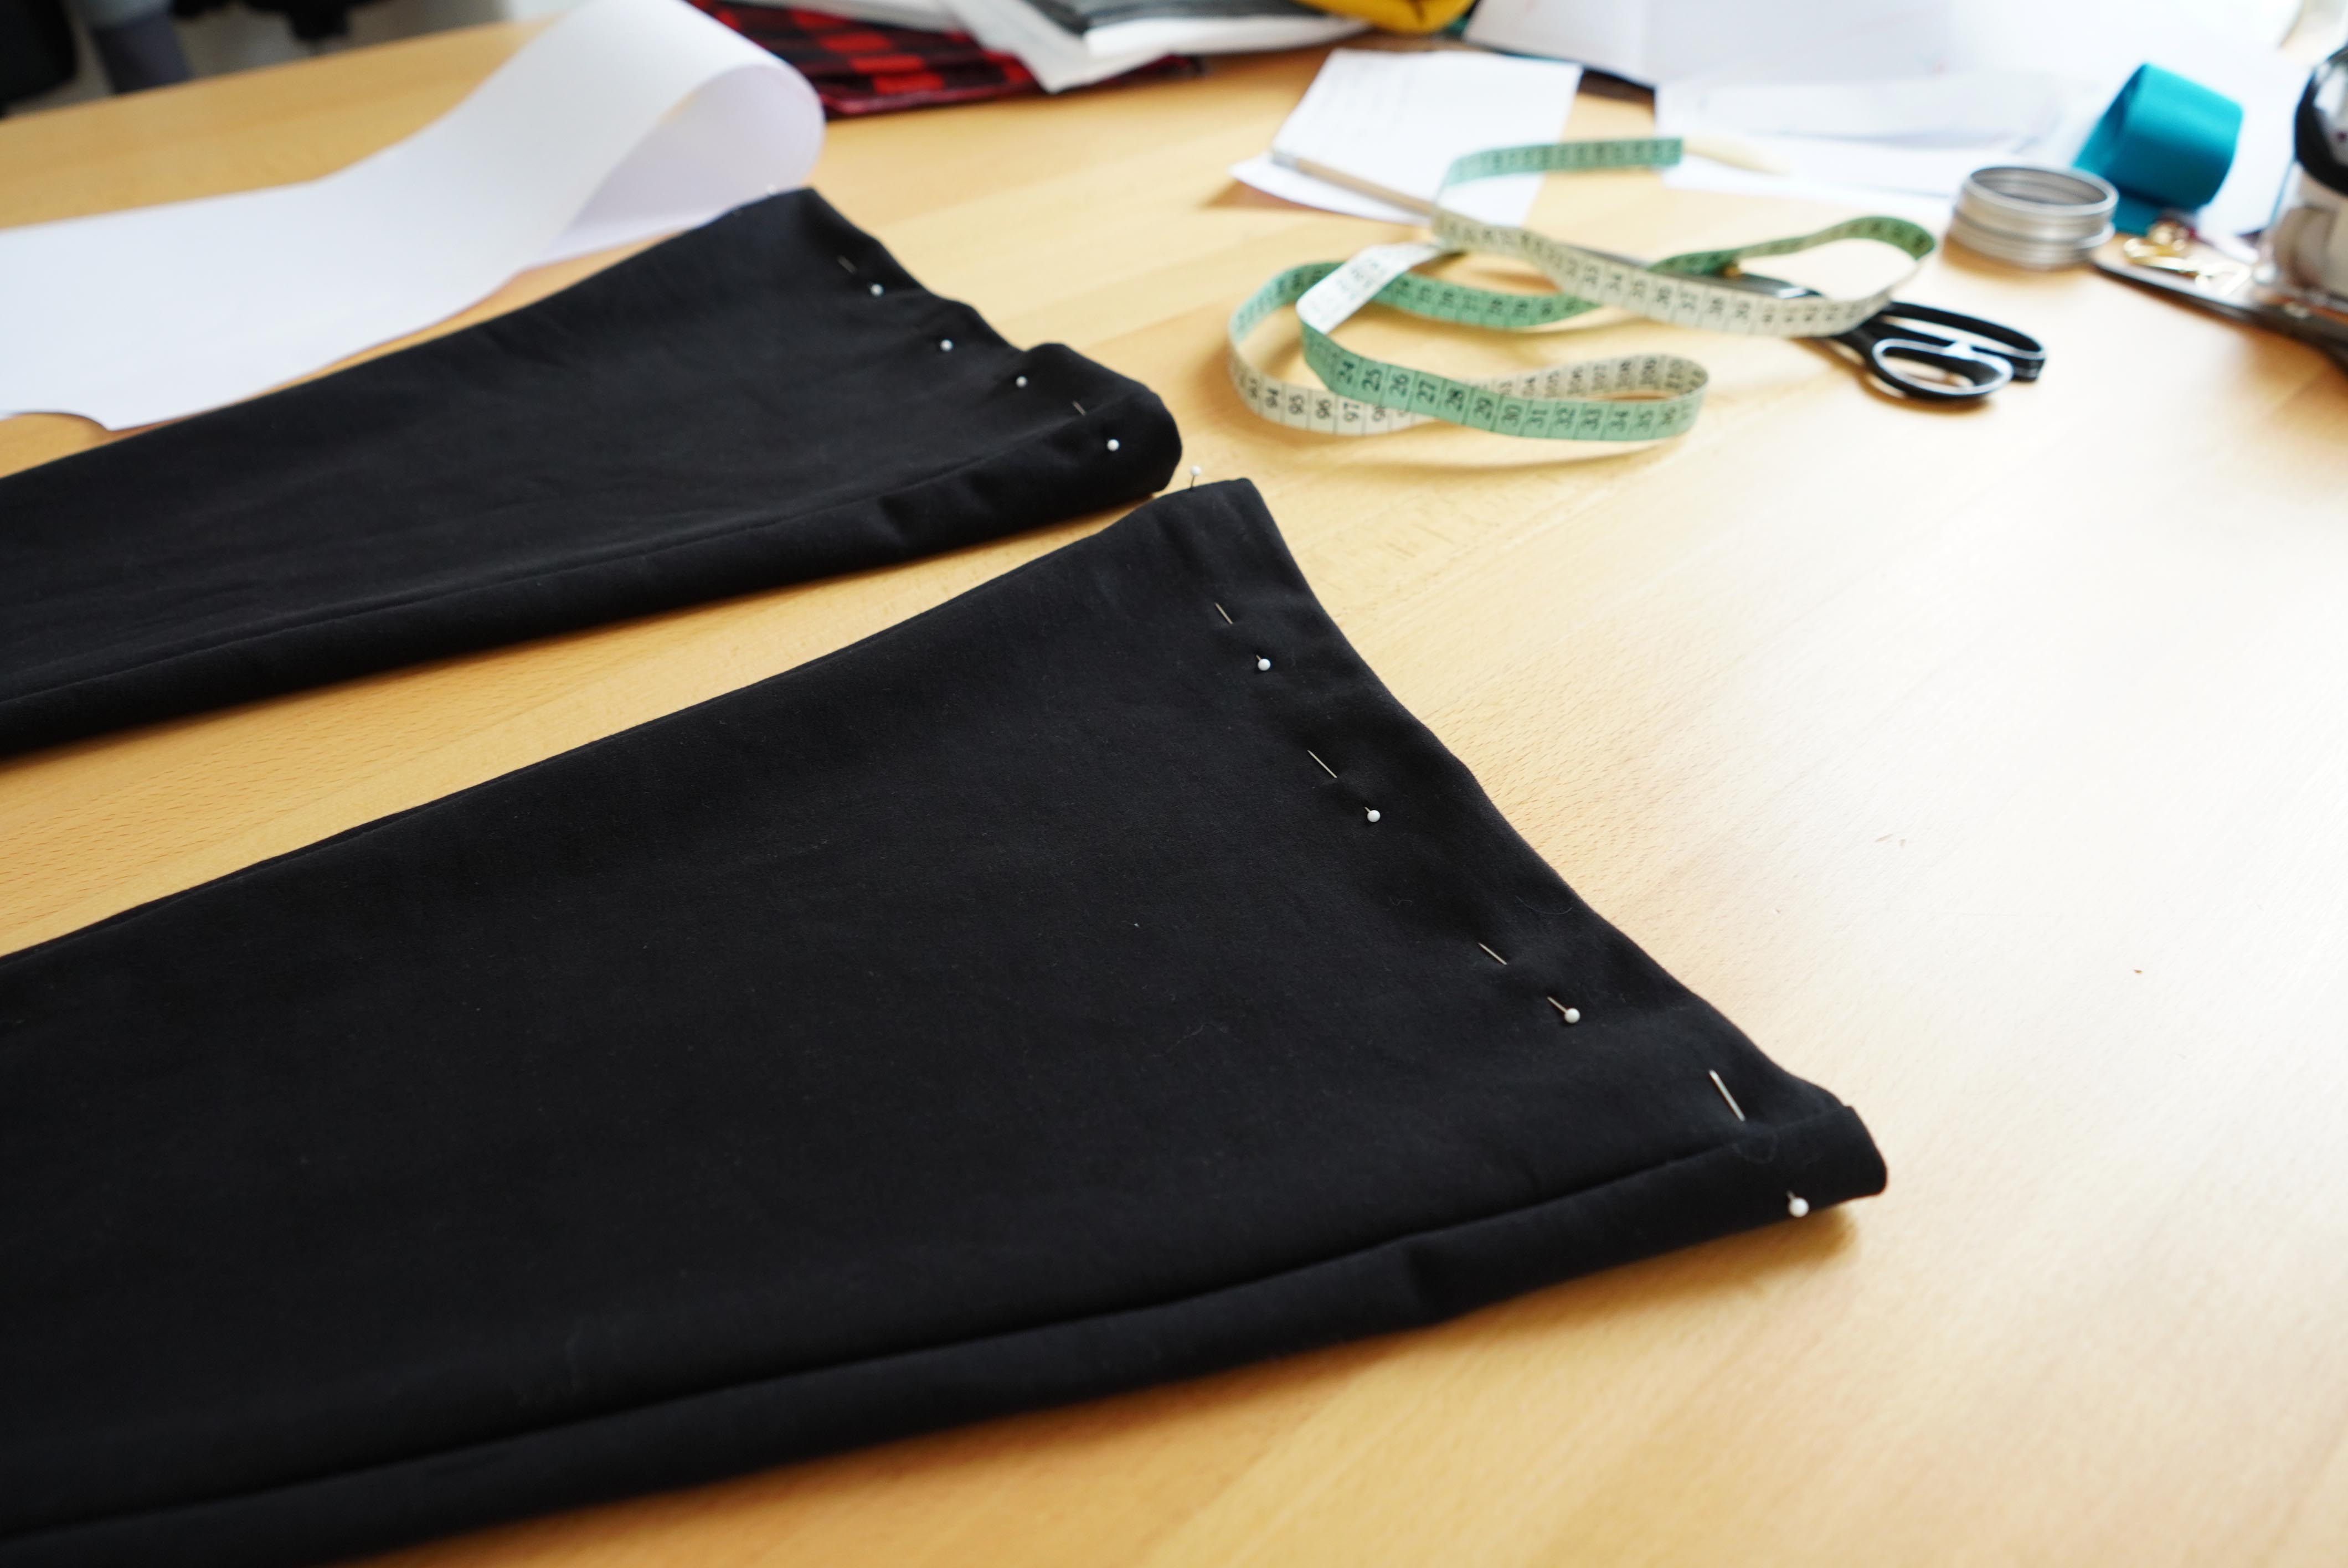
Finally, we lift up the end tabs of the legs and sew along the entire perimeter on the front side. This time I chose two parallel straight stitches, which at first glance imitate a professional coverlock / which I don't have :) /. Because the pants are flare-leg shape and wide enough, there is no need to use a stretch stitch. However, we will be careful that the seam does not curl, so it is necessary to reduce the tension of the threads and to reduce the pressure of the presser foot, if the machine allows us to do so.
We have done. Now all you have to do is dress-up the flare leg pants and wear them with joy! ♥


