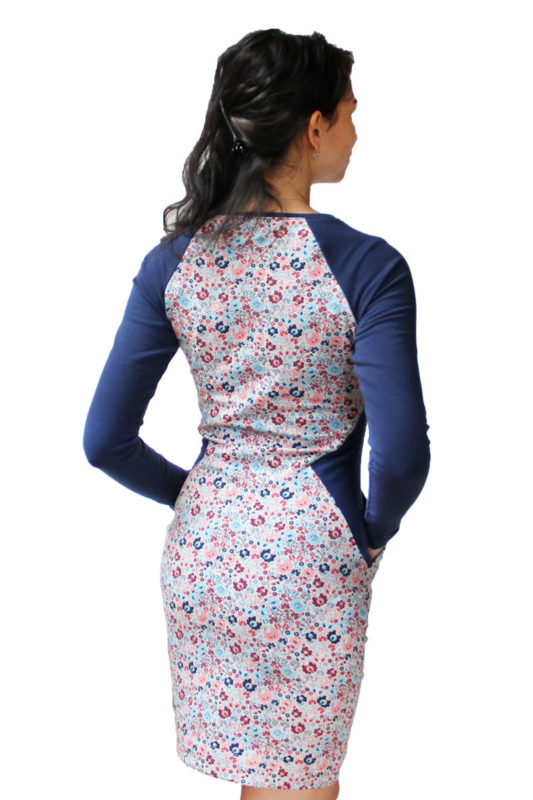
For today, I have prepared a second article with sewing instructions for women’s dress SILHOUETTE with a slimming effect, this time, we will look at how to sew a simplified version of this dress. This version of the dress doesn’t have a facing - the neckline is finished with a knit strip - and I also omitted the decorative gap in the back piece. This version is a bit easier to sew.
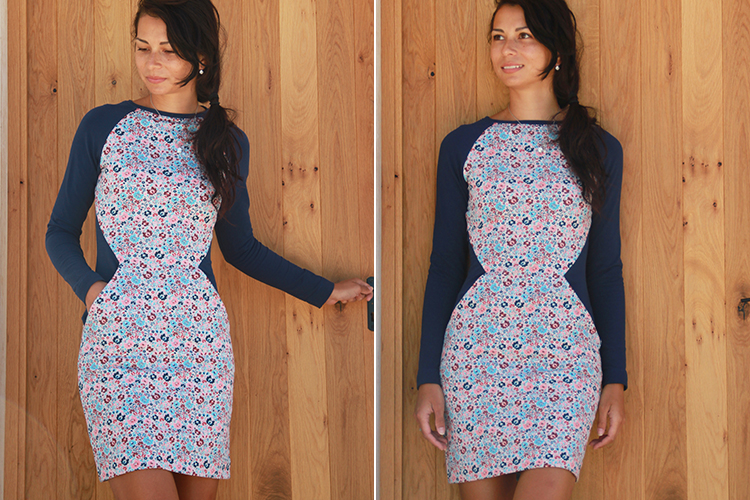
The pattern for women’s dress SILHOUETTE
Last fall, this pattern became a hit among my Czech customers, which is one of the reasons why I converted into a more modern form and supplemented it with a free sewing guide. You can get the pattern for women’s dress SILHOUETTE here:
Recommended material
The dress featured in this tutorial is made of uncombed cotton laid-in knit with elastane from Unuodesign.cz:
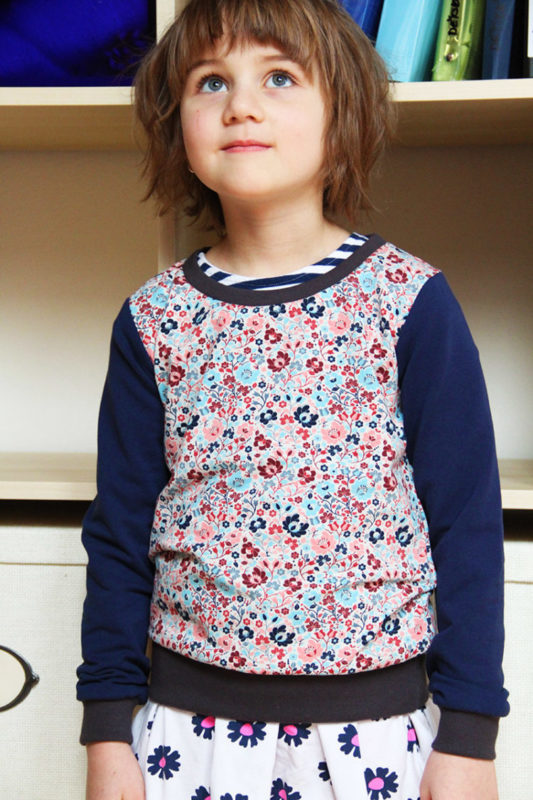
I sewed the sweatshirt BASIC for Terulka from the same two fabrics: The pattern for children’s sweatshirt BASIC
![]()
The pattern for children's sweatshirt BASIC ![]()
The pattern for women's dress with a slimming effect
Suggestion:
You can sew the dress with an overlock or a regular sewing machine. If you plan to use a regular sewing machine, I recommend reading this article first:
Sewing elastic fabrics with a regular sewing machine - 4 steps to success
Sewing instructions
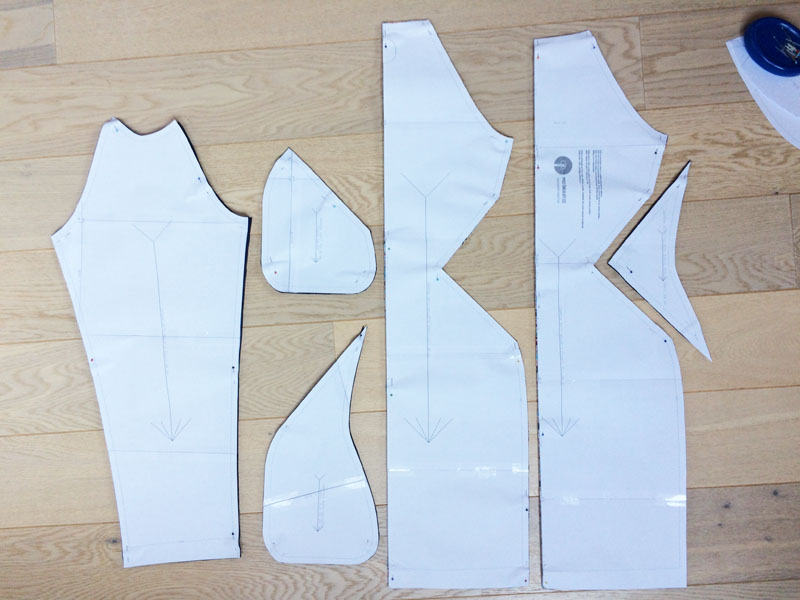
Pattern layout
Prepare:
- 1x back piece (cut on fold)
- 1x front piece (cut on fold)
- 2x sleeve
- 2x pocket piece
- 2x front side piece (with pocket pouch)
- 2x back side piece
Reinforce side pieces and pockets as shown below. Use pieces of one-sided fusible interfacing to do this. I recommend marking both back side pieces so that you do not accidentally sew them to the wrong side of the dress.
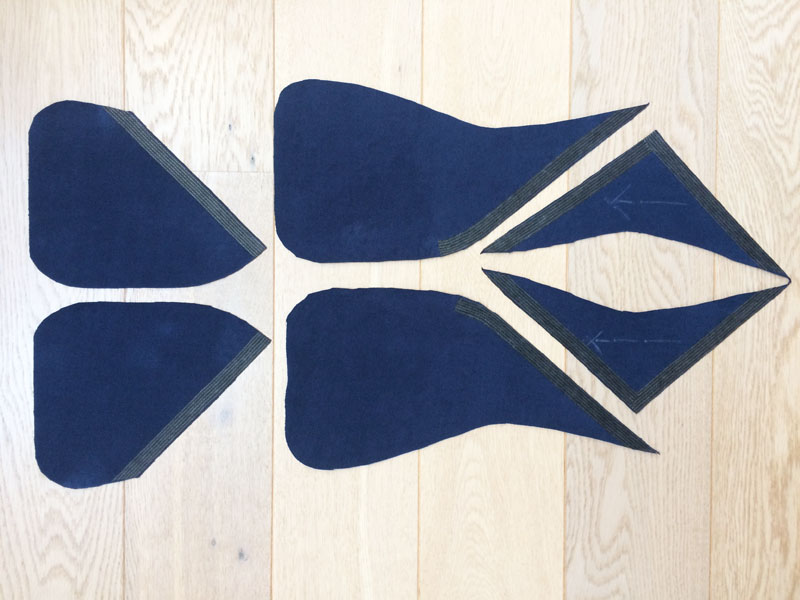
Pockets and side pieces
Pin both pockets to the front piece.
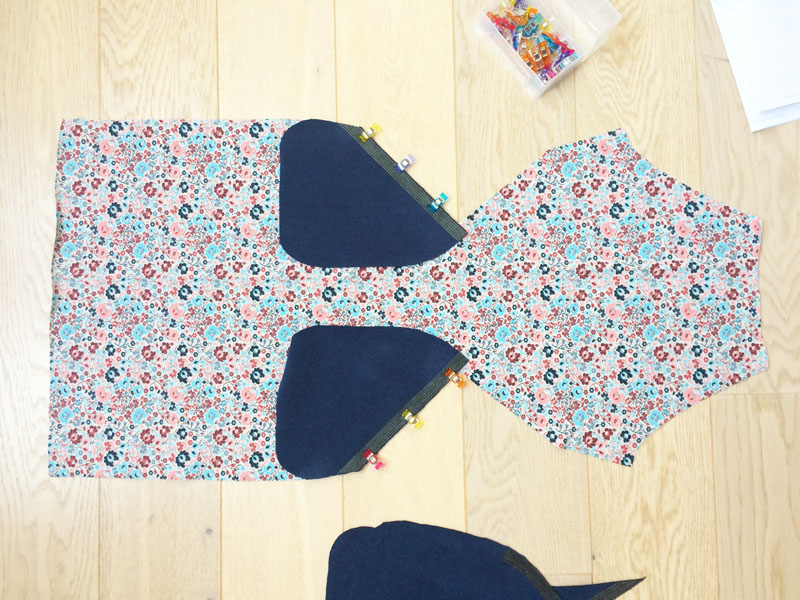
Sew up to the true corner of the front piece - where the seamline is.
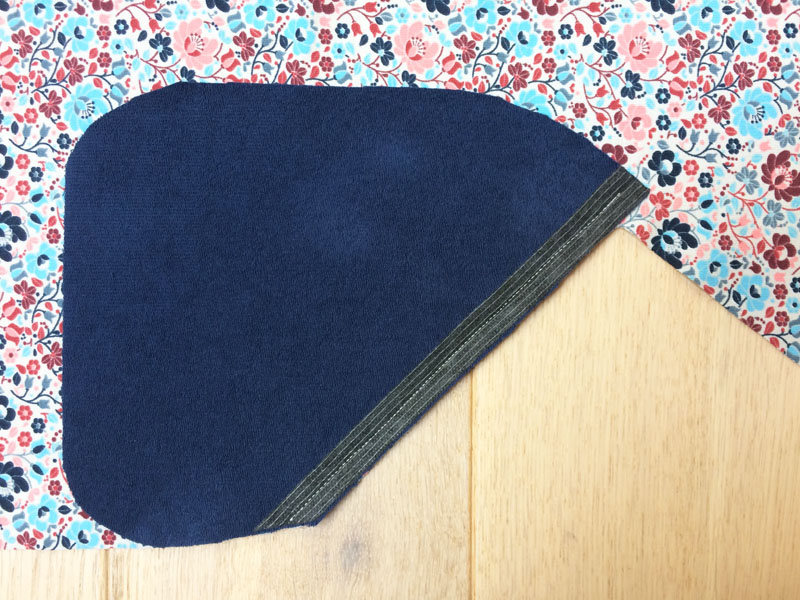
Fold the corner of the pocket out of the way and cut the front piece towards the end of your seam (don’t cut the seam itself - stop about 2 mm from the seam).
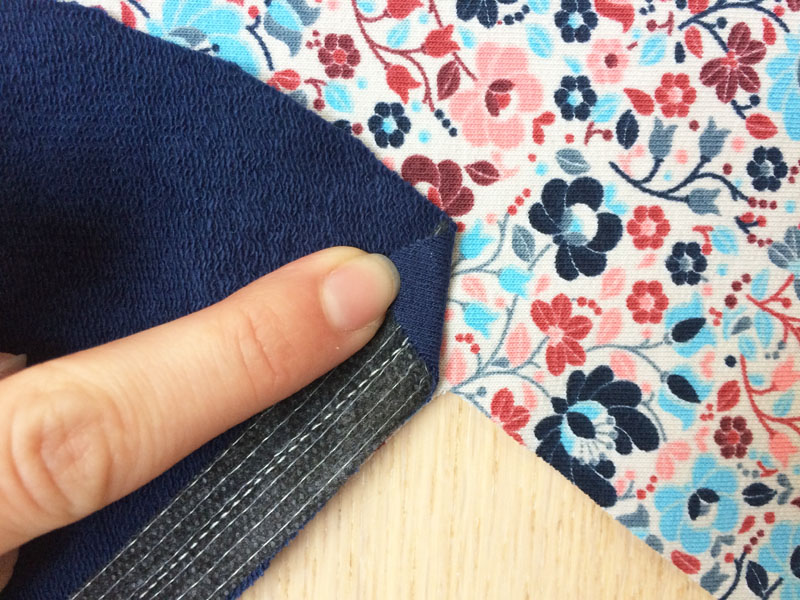
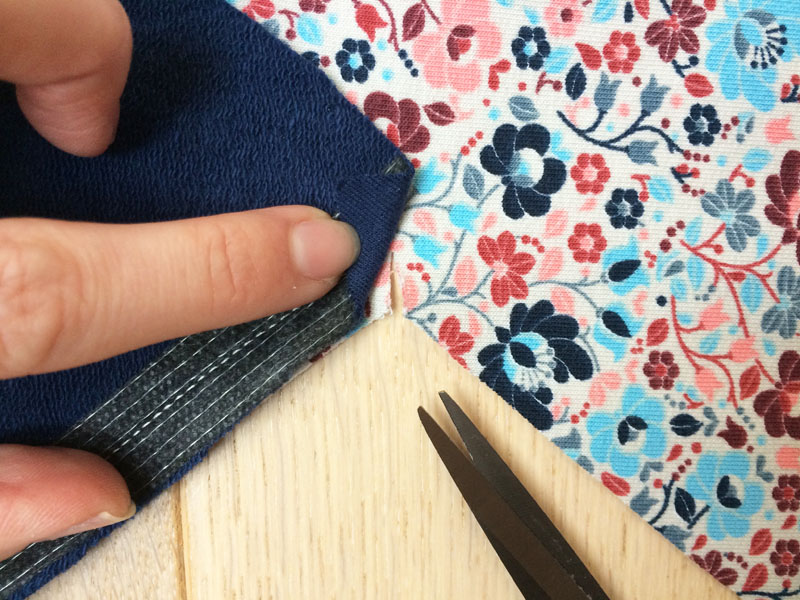
You can fold the corner of the pocket back on itself and pin it in this position to keep it out of the way.
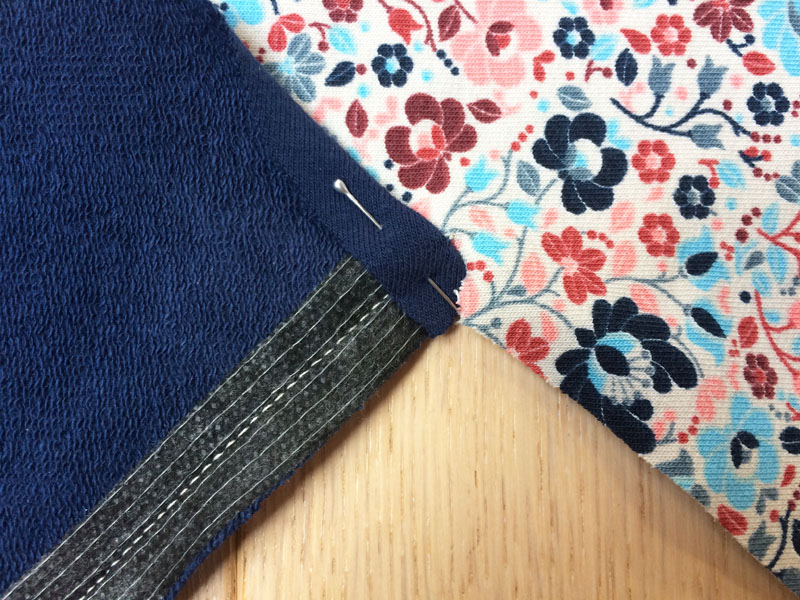
Pin the front side piece with the pocket pouch to the front piece (to the other side of the wedge).
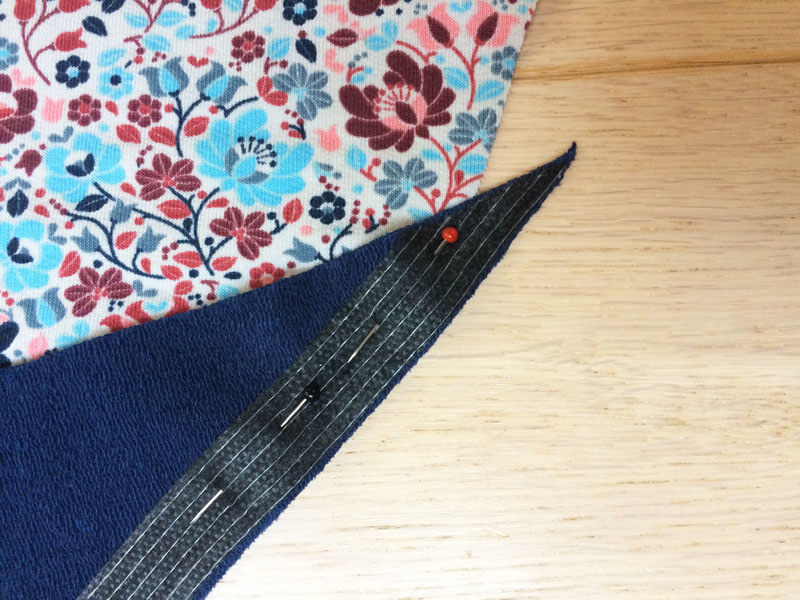
Mark your seamline with a pin.
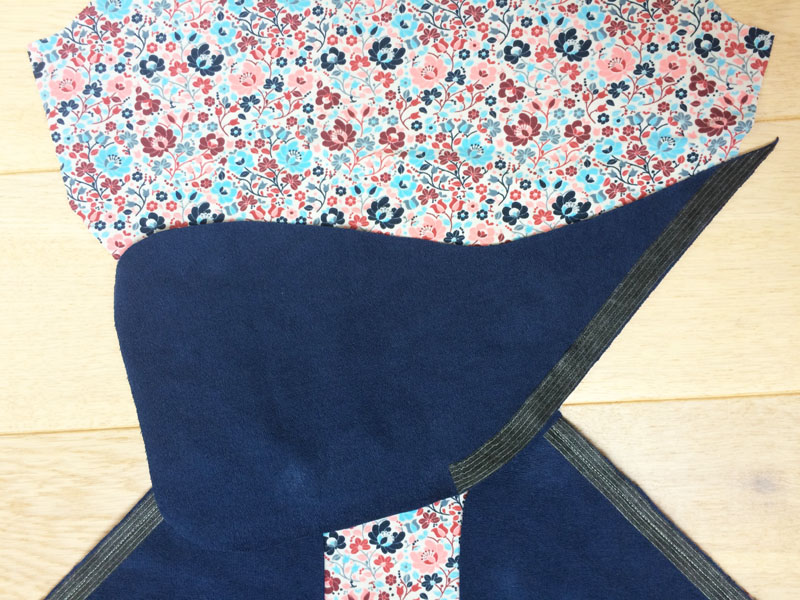
Check the face side - both pieces should be nicely aligned in the side seam area. If this is not the case, pull out the pins and move the front side piece a little.
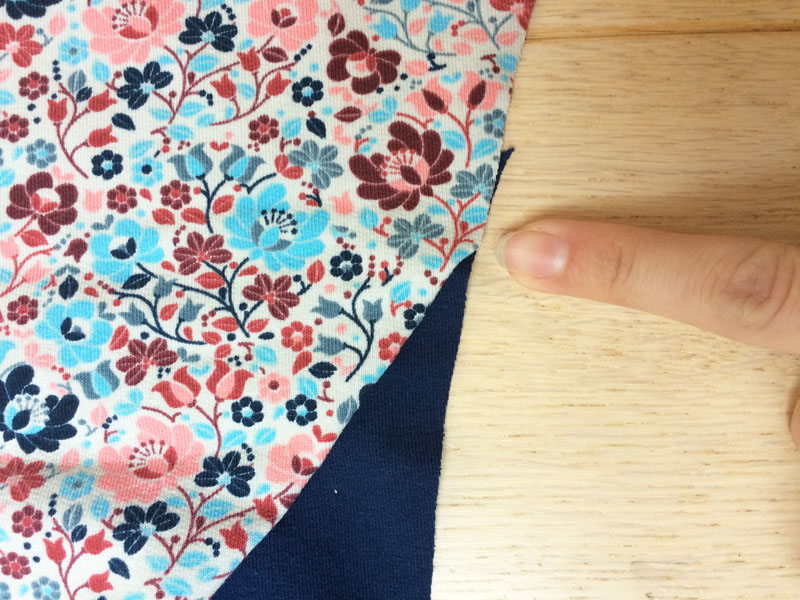
Also, mark the true top of the wedge of the front piece.
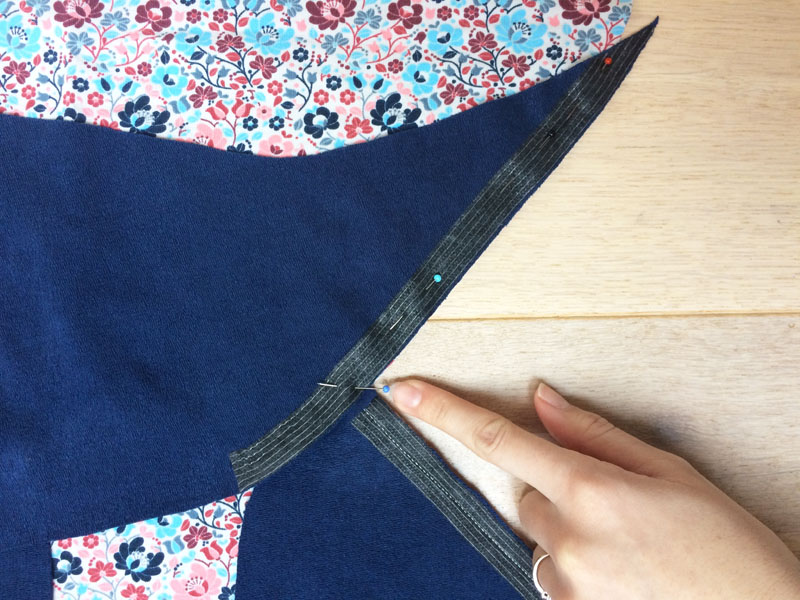
Insert the sewing machine needle exactly where the top of the wedge is and from there sew towards the side seam.
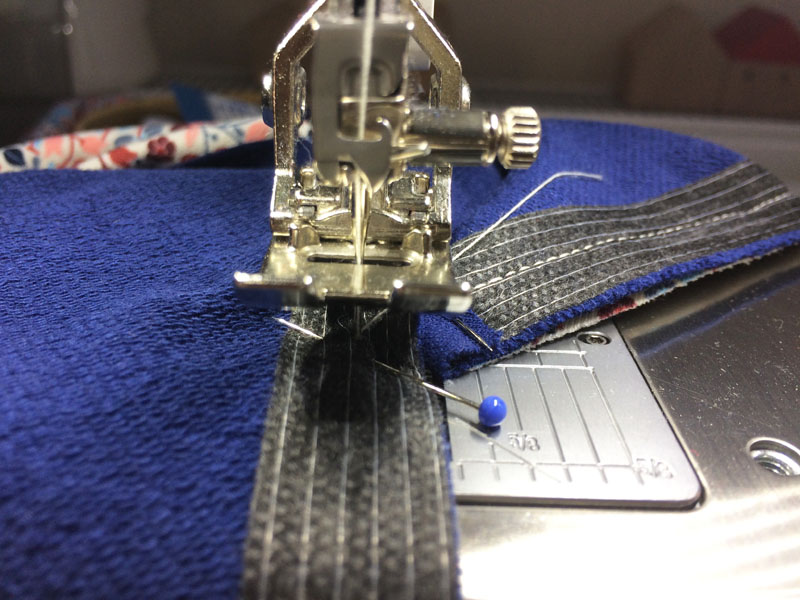
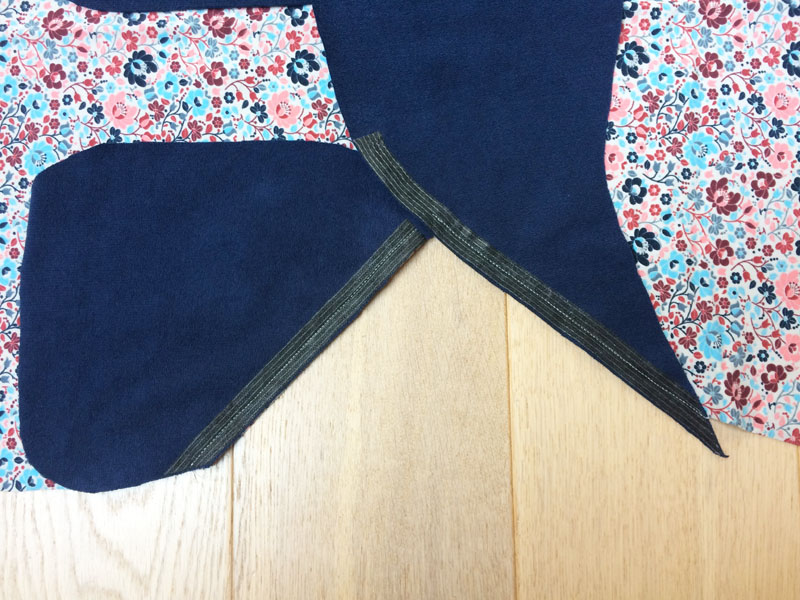
The two pocket (side) pieces should meet exactly at the top of the wedge of the front piece - like this:
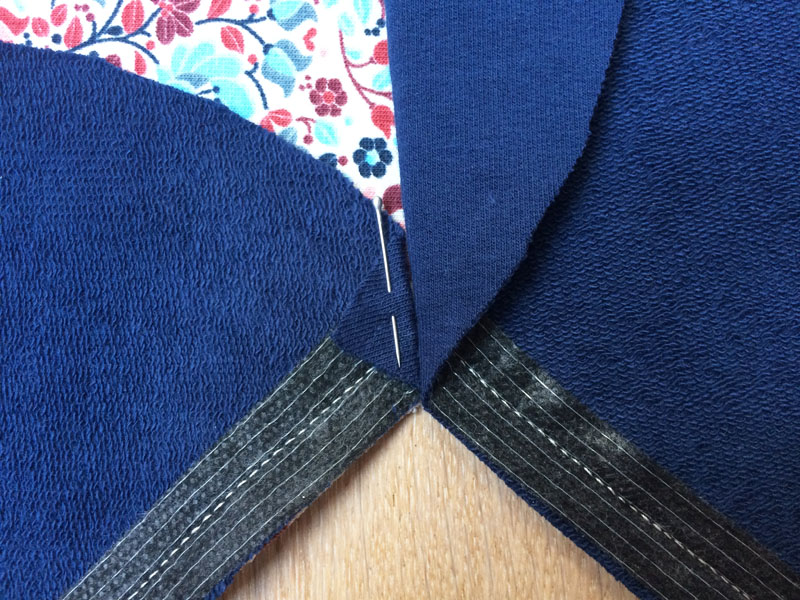
Straighten out both pocket pieces and check that everything seems fine from the face side.
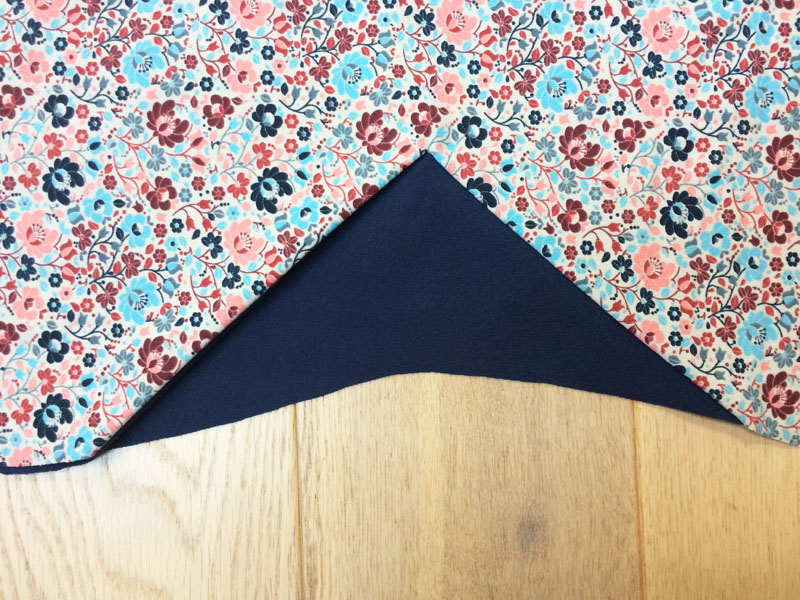
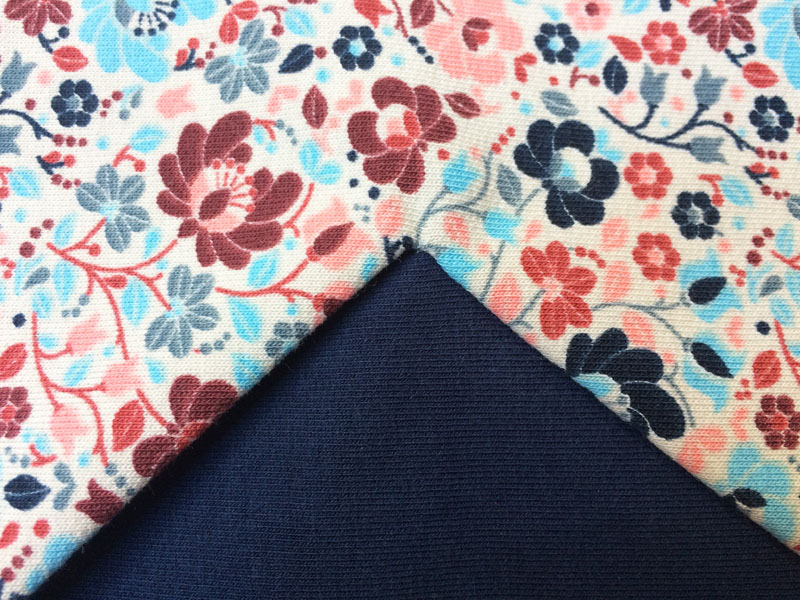
If everything is in order, clean both seams. Be careful not to accidentally cut any of the parts.
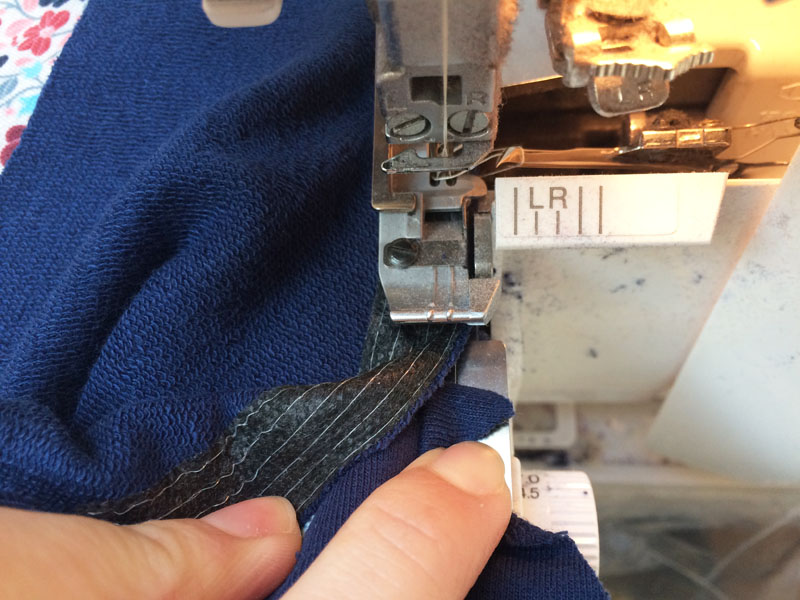
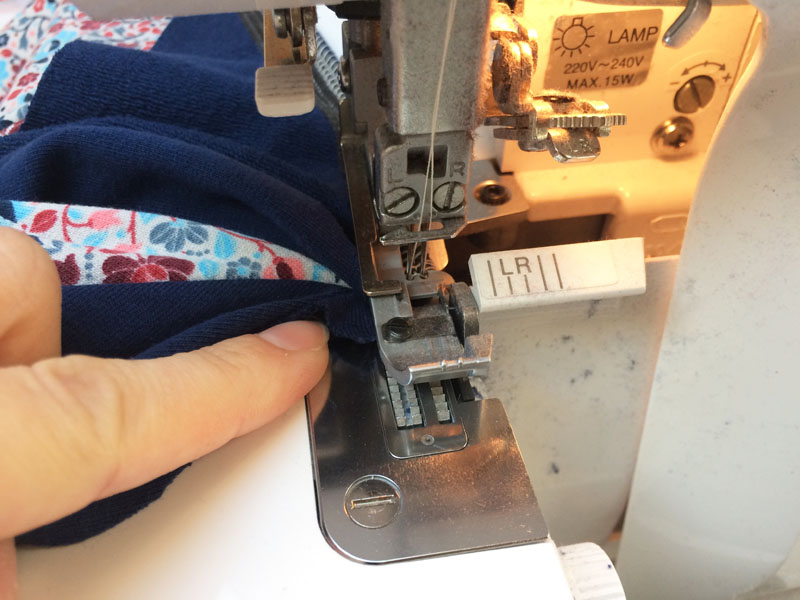
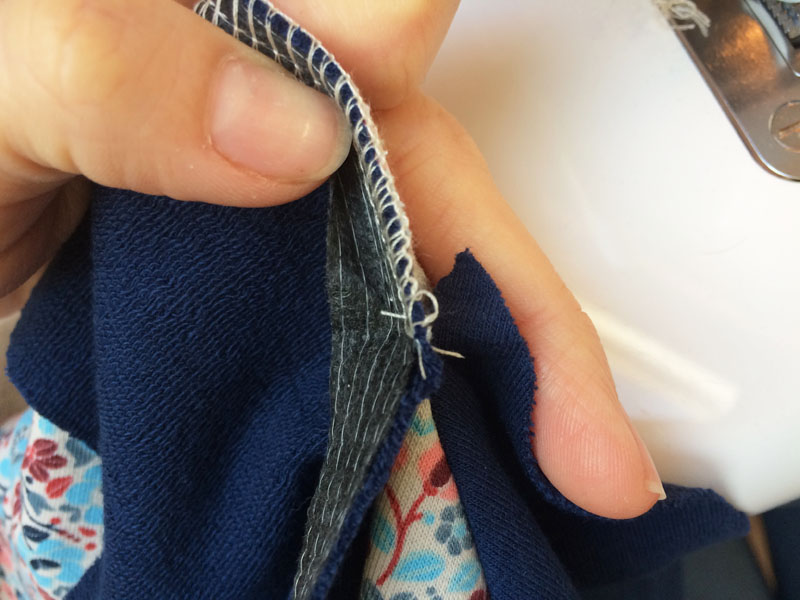
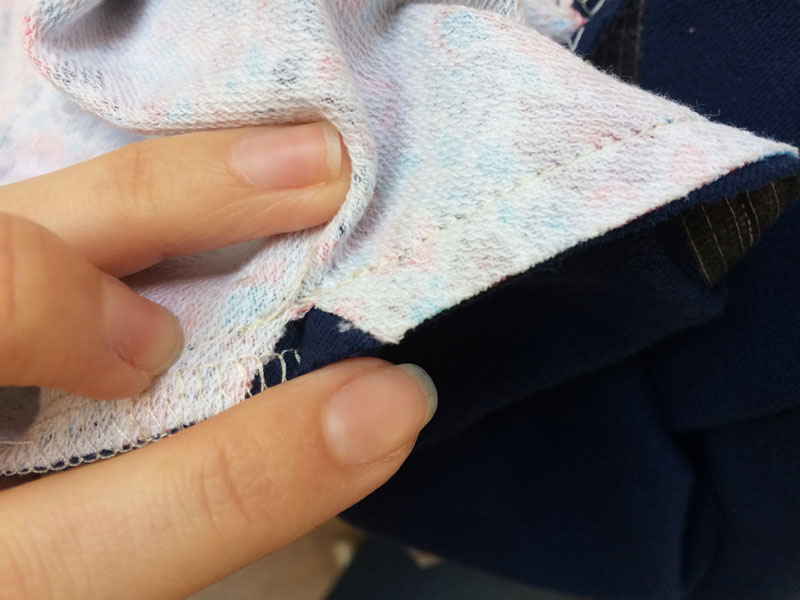
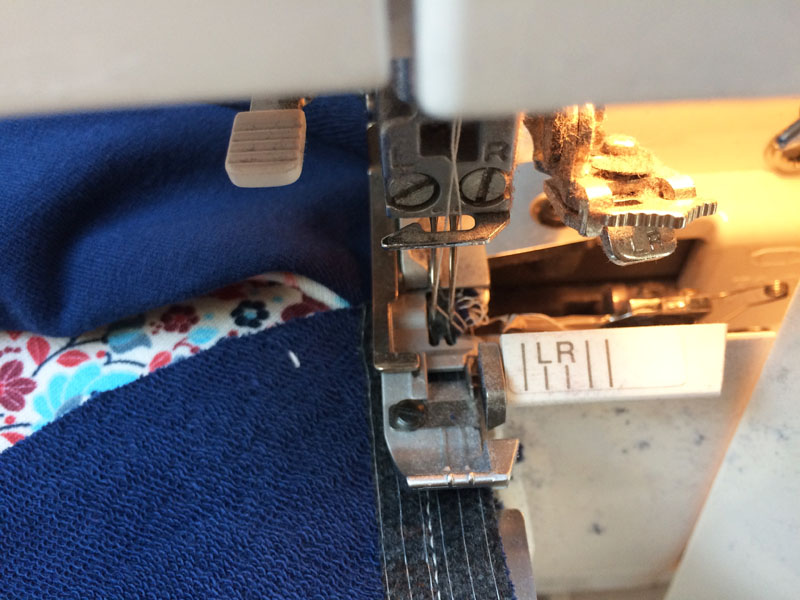
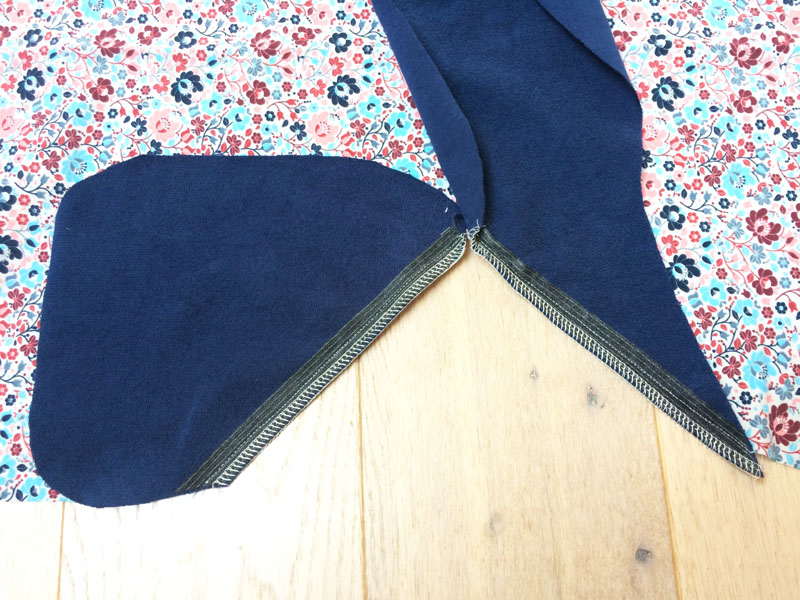
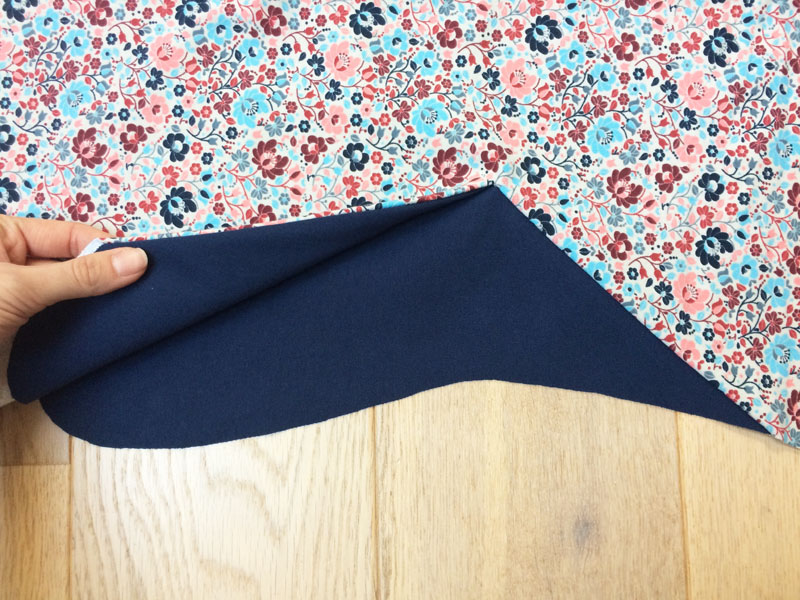
Fold the part with the pocket pouch to the reverse side of the dress and let the front piece protrude 1 mm “beyond” the connection to hide the pocket from the face side view.
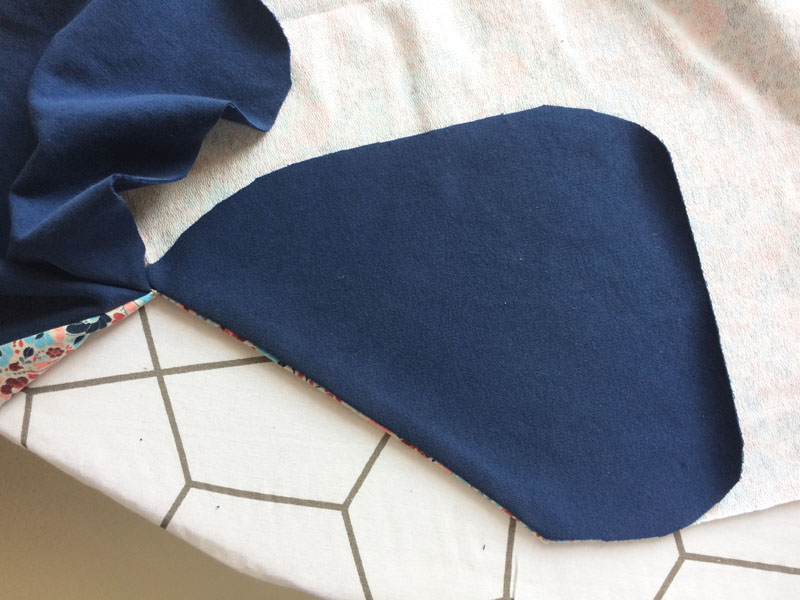
Baste and iron the connection in his position to keep the pocket hidden.
Baste...? What do you mean?
You can learn more about basting (temporary stitching) here:
How to baste fabric (simple & correct technique)
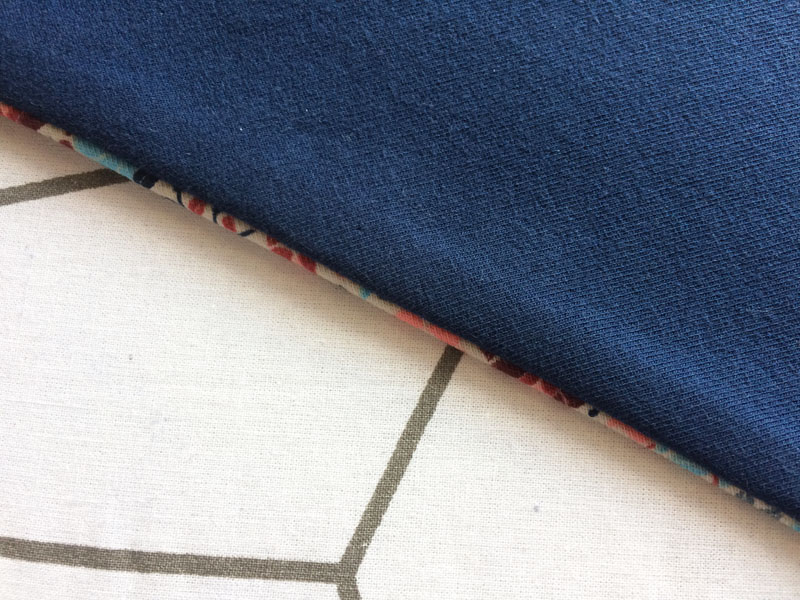
Iron the other front side piece too and check once more that everything is as it should be.
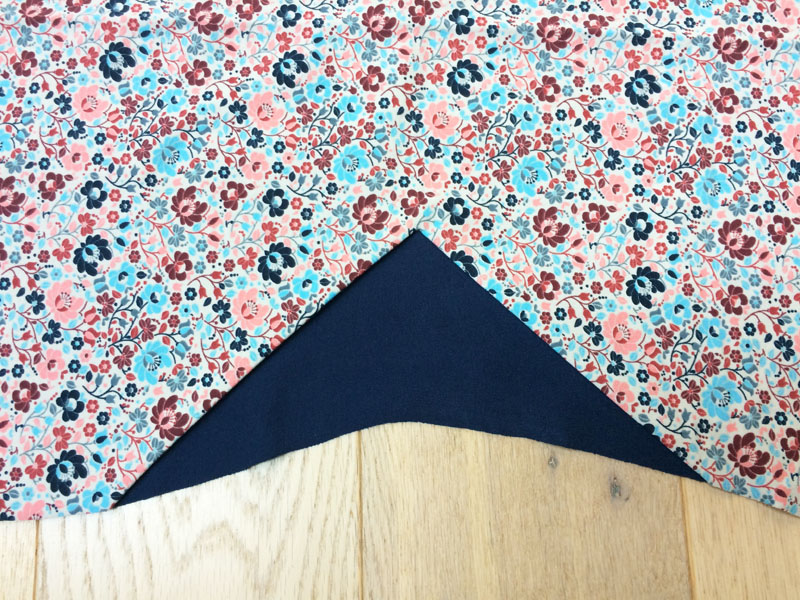
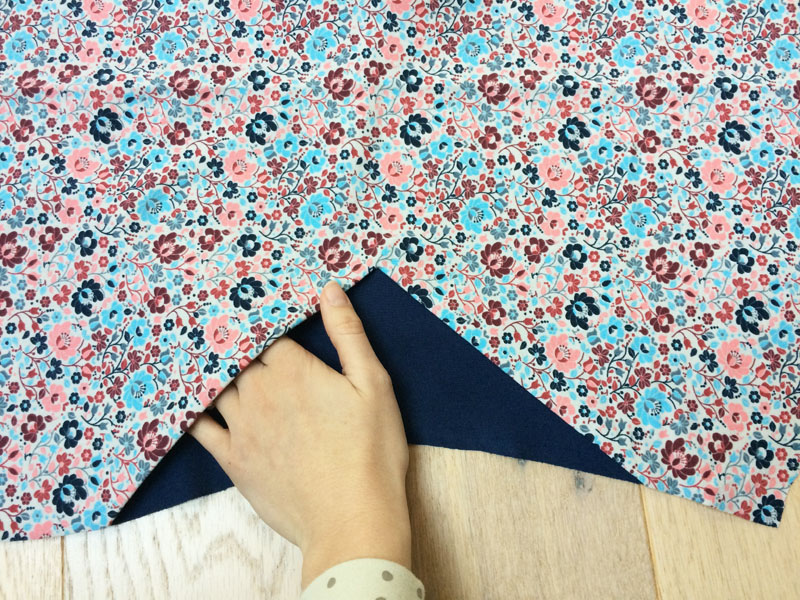
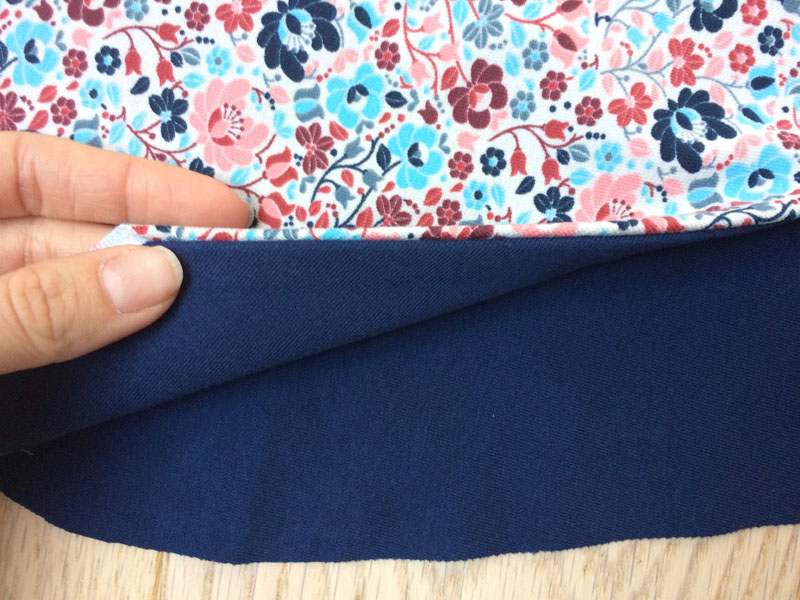
Pin the pocket pouch and sew (and clean) it on your overlock machine.
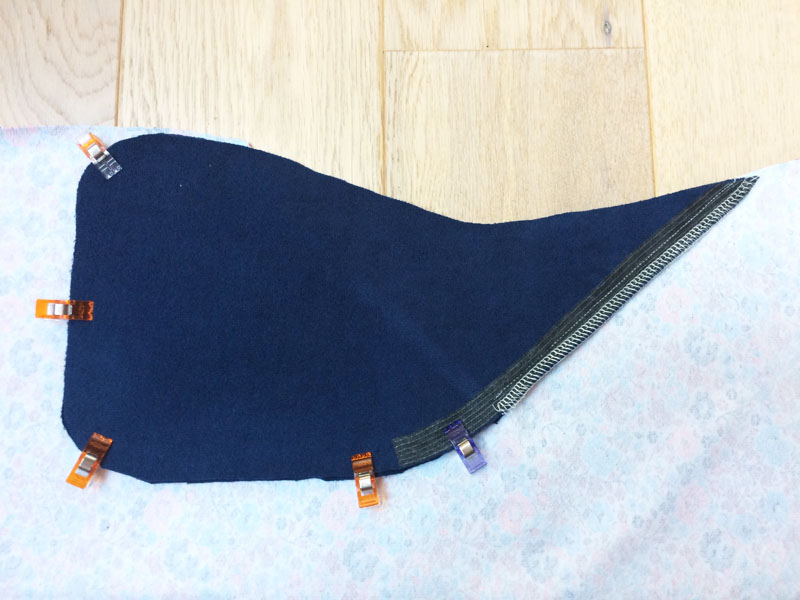
Start sewing in the side seam area, and when you get to the top of the wedge, turn off the cutting and sew a bit over the already cleaned seam allowance.
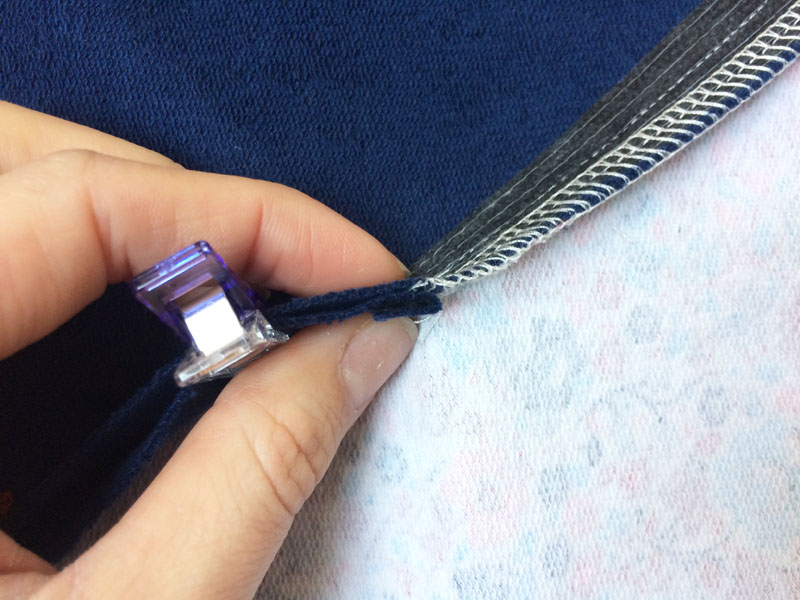
Pull the free end of the thread chain under the loops.
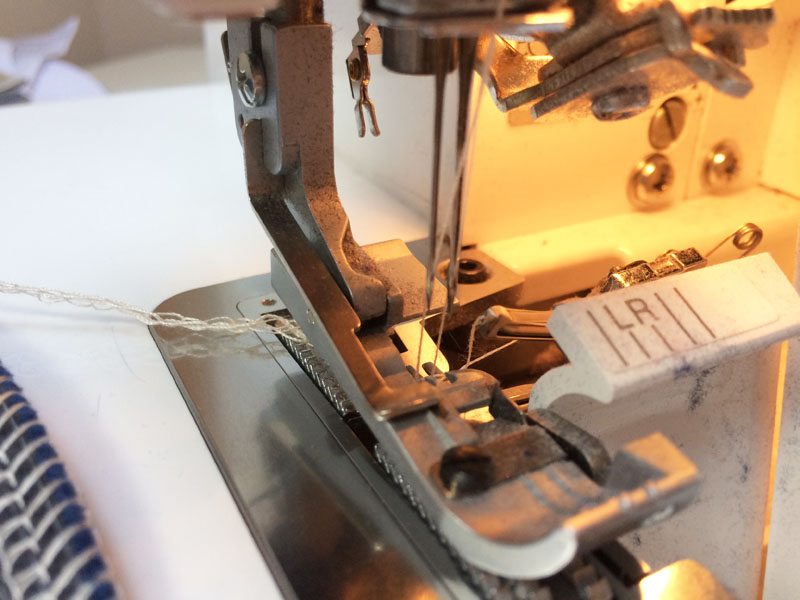
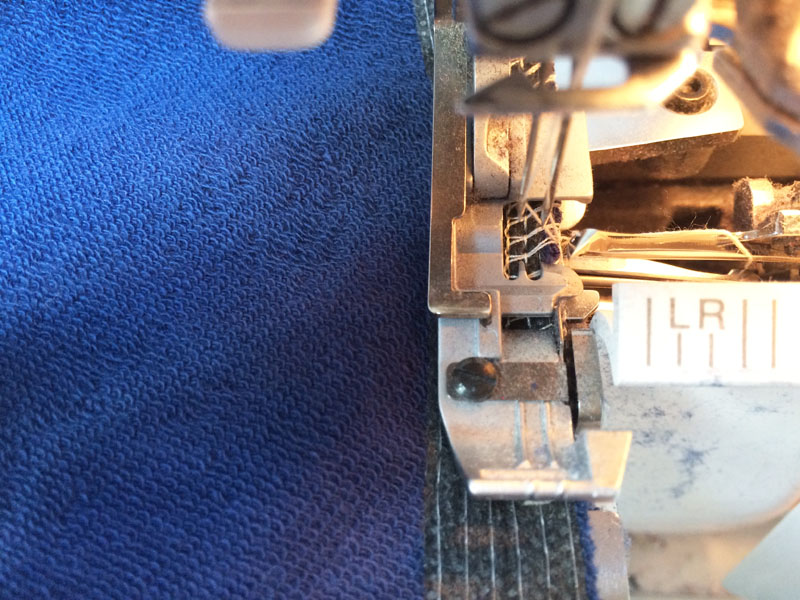
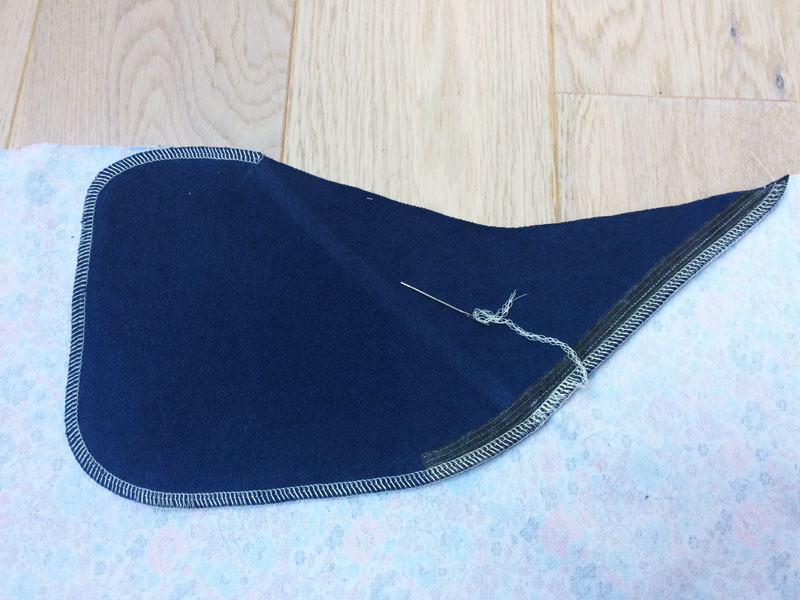
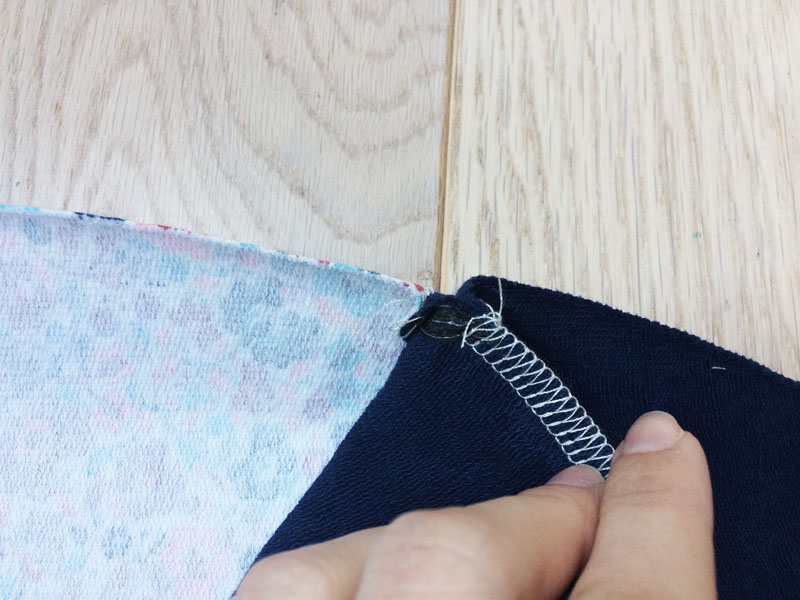
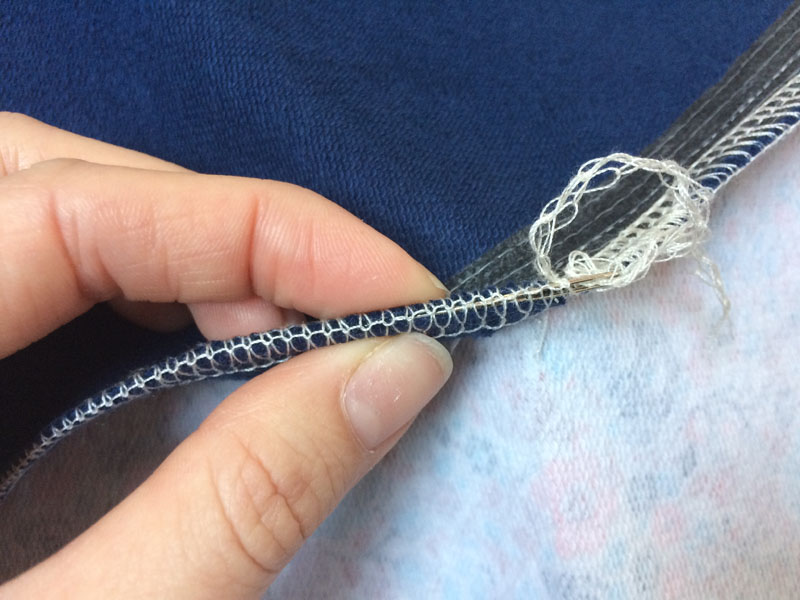
Pin the finished pocket pouch to the side of the dress...
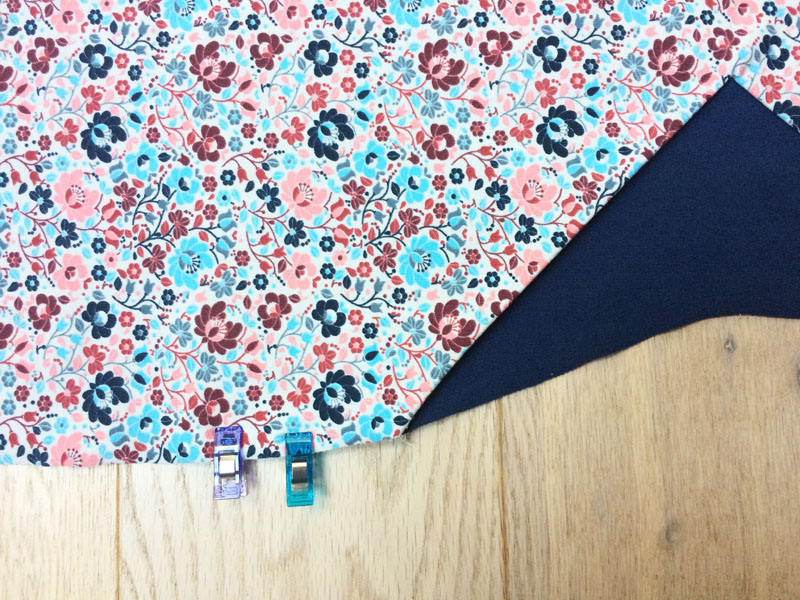
...and use a few stitches to attach it to the front piece. Sew close to the edge - about 2-3 mm from it.
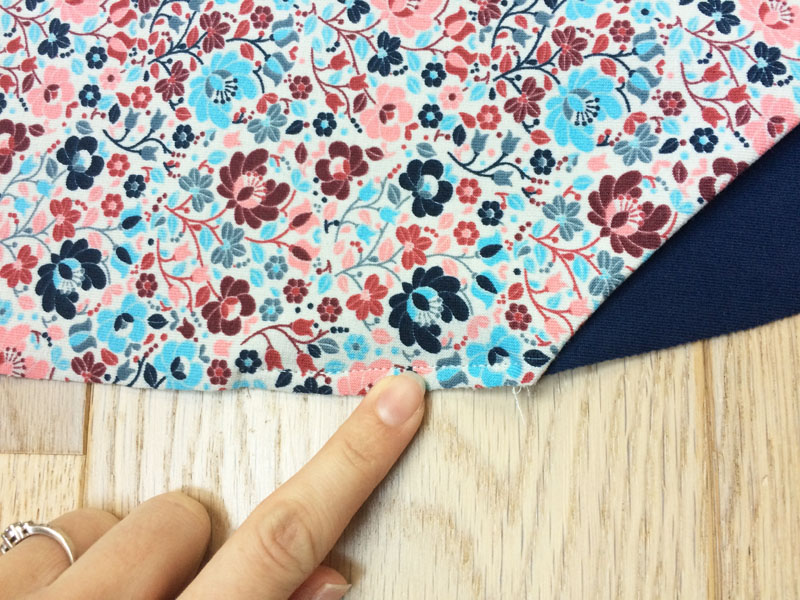
Sew the other pocket in the same way.
Back side pieces
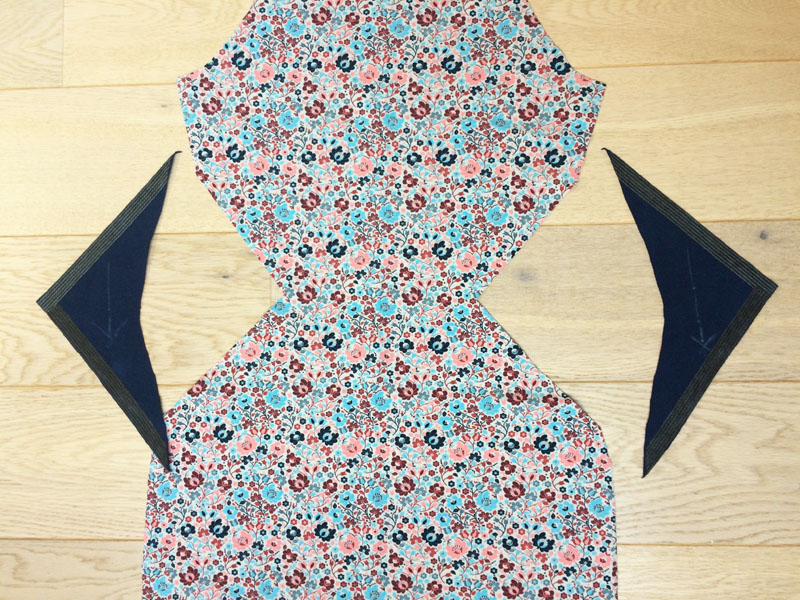
Let’s prepare the back piece and corresponding side pieces. It’s a very similar procedure.
Don’t swap the side pieces (wedges) by mistake.
Pin one side of the wedge to the back piece and mark the true top of the corner of the back piece.
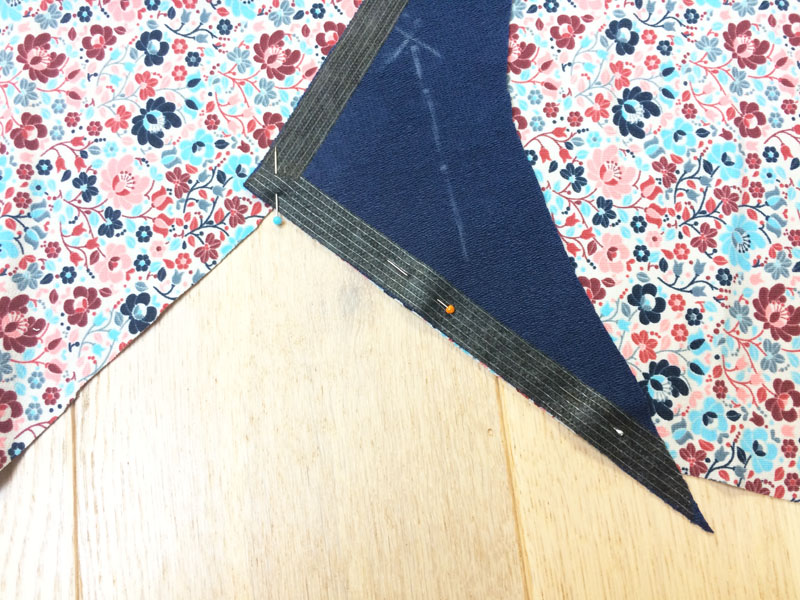
Sew the first side. Start at the side seam and continue up to the top of the corner.
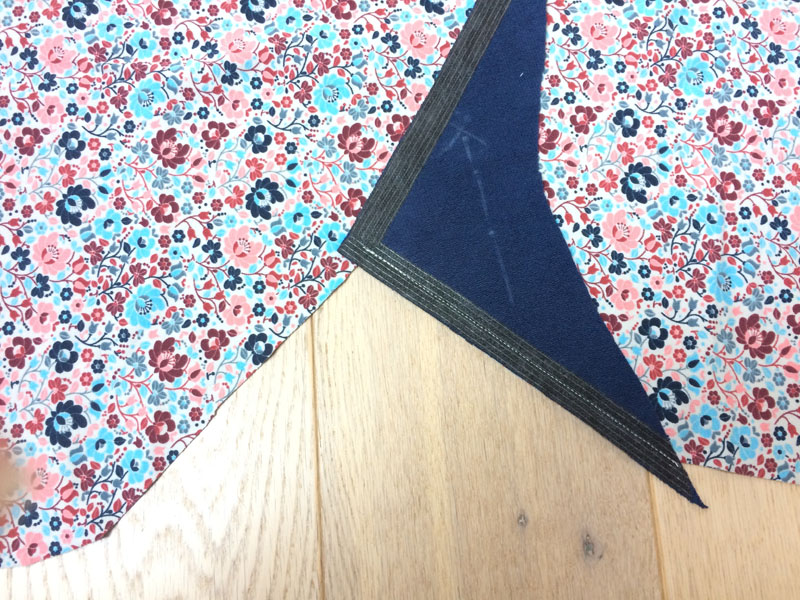
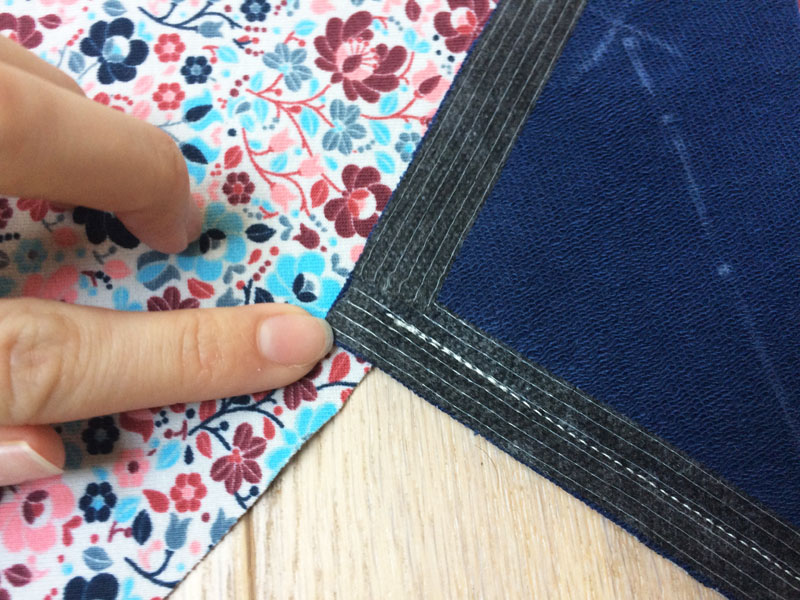
Fold the corner of the wedge out of the way and cut the back piece towards the end of your seam.
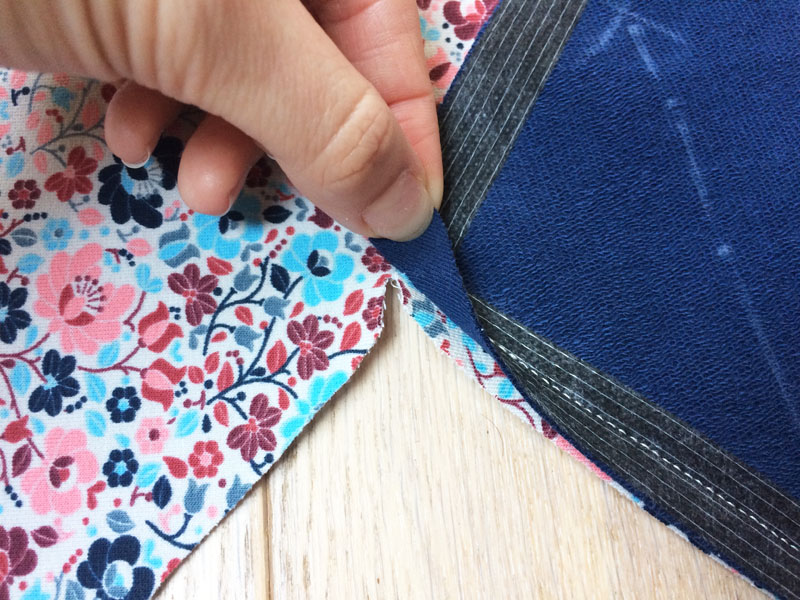
Sew the second side of the wedge to the back piece.
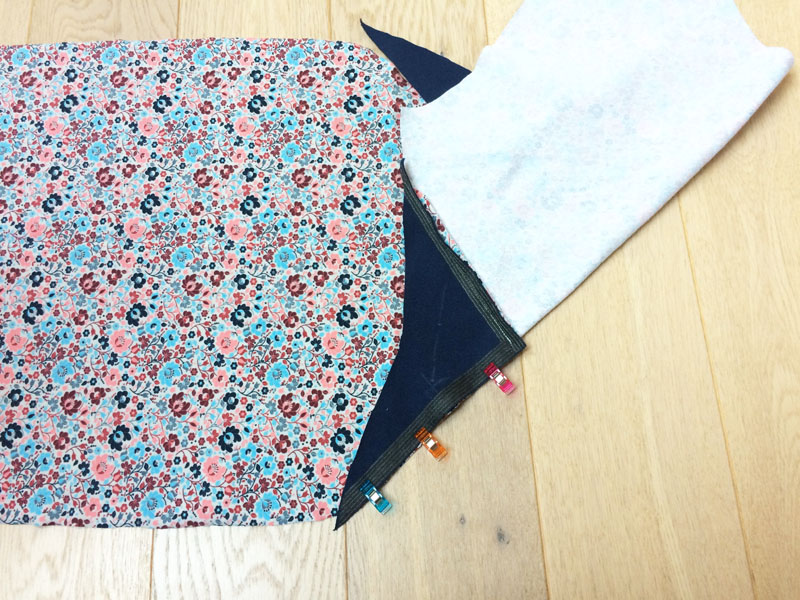
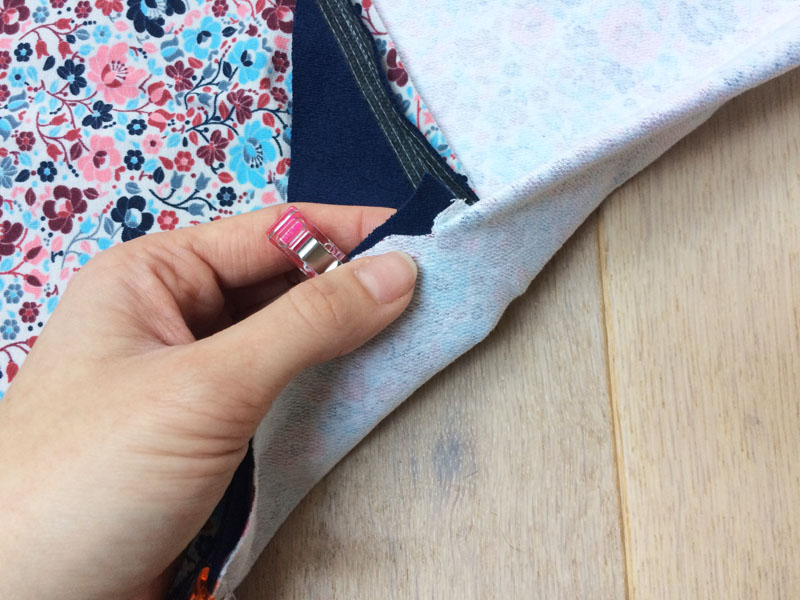
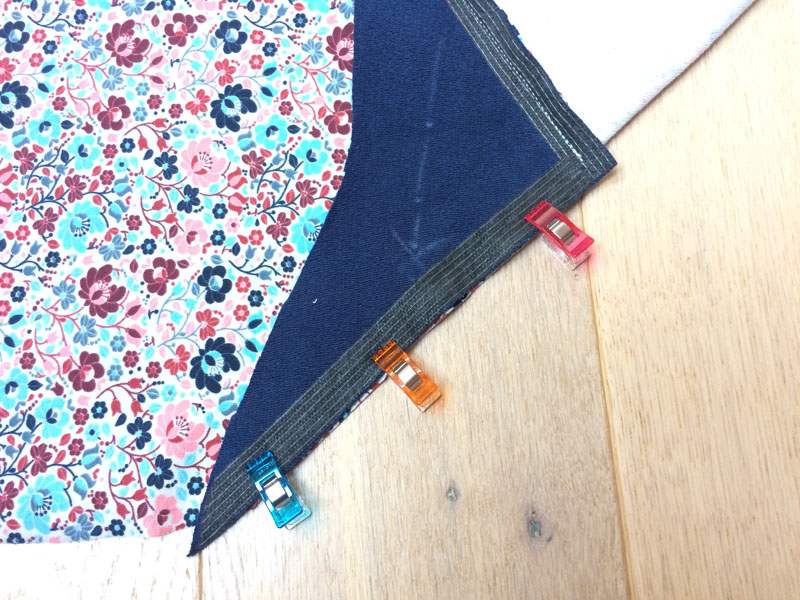
Sew from the side seam area up to the end of your previous seam.
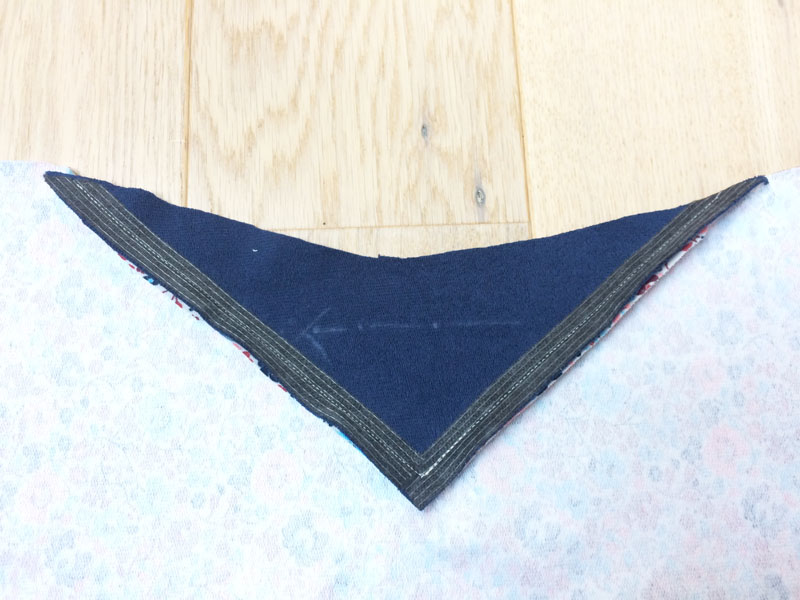
Check the face side and iron the seams if everything is in order.
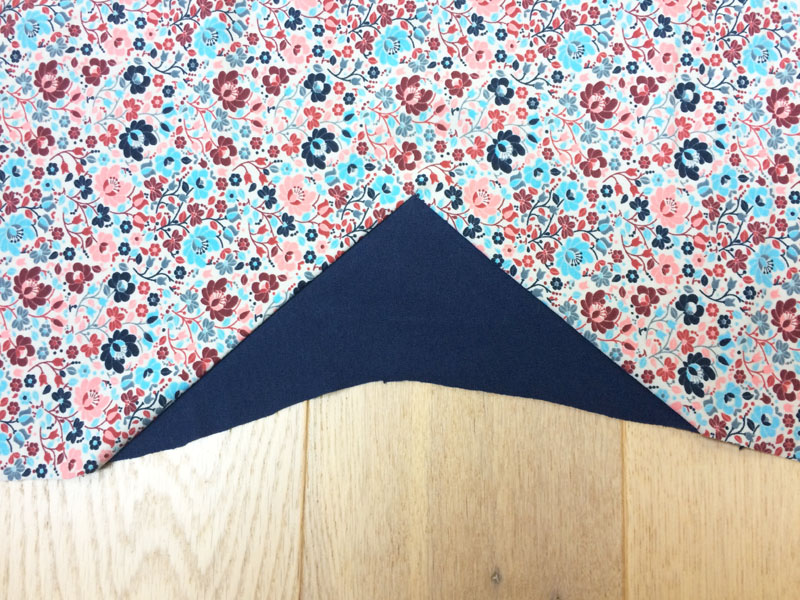
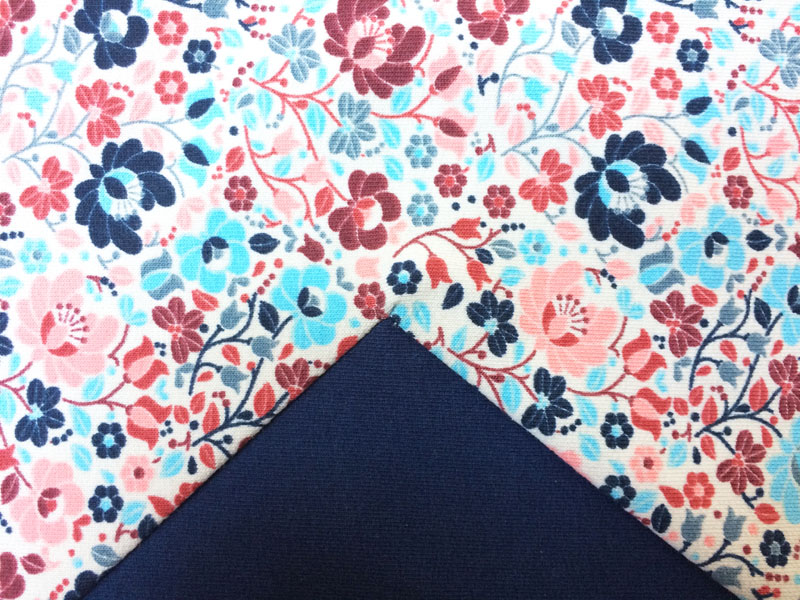
Clean the seam allowances of the wedge.
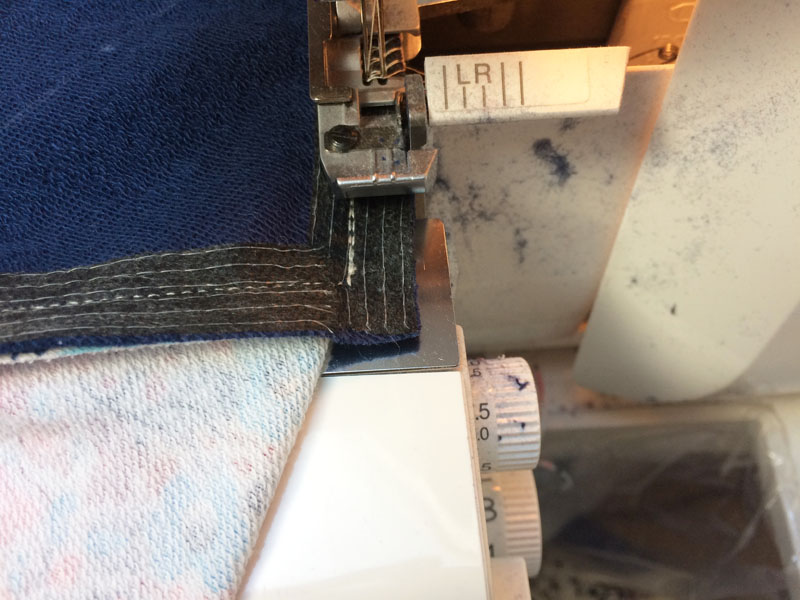
How to deal with the corner? Easy - sew right up to the edge...
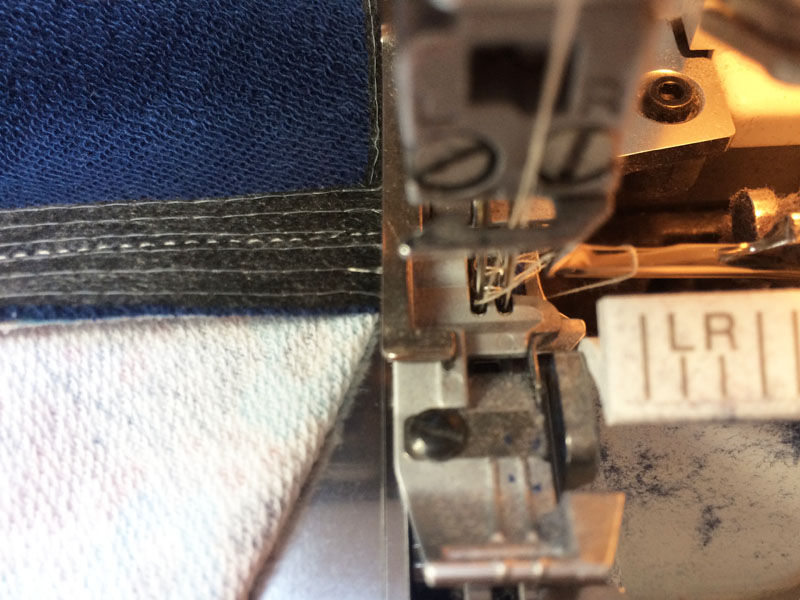
...and make 2-3 stitches outside the fabric. Then lift the needles and presser foot...
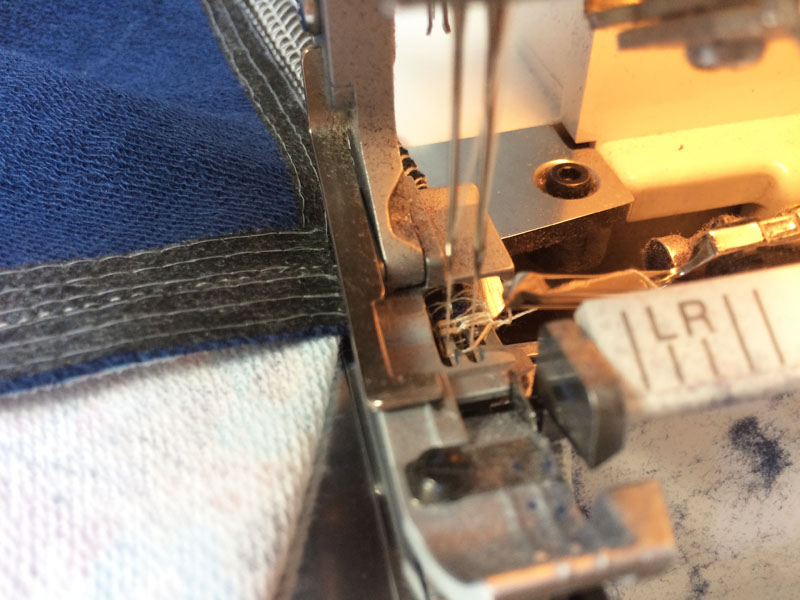
...pull the fabric back...
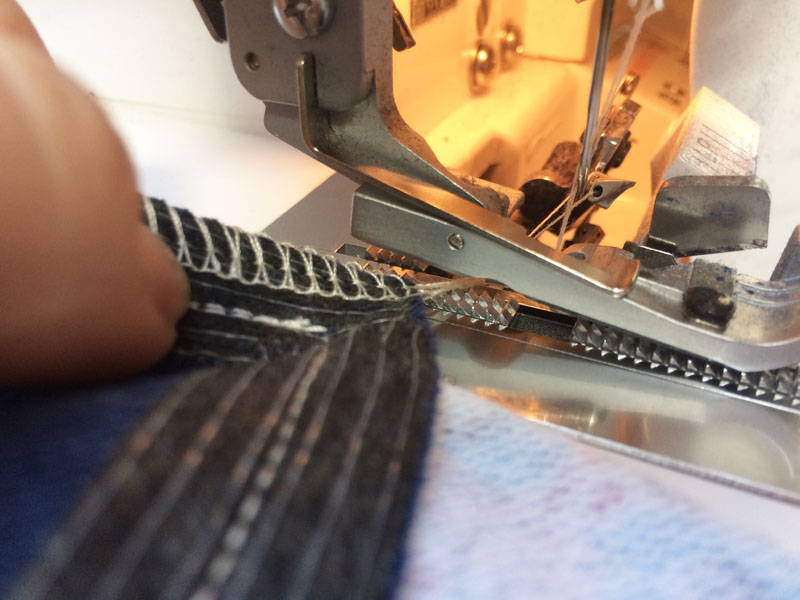
...turn it around, put it back under the presser foot and continue sewing along the other side of the piece.
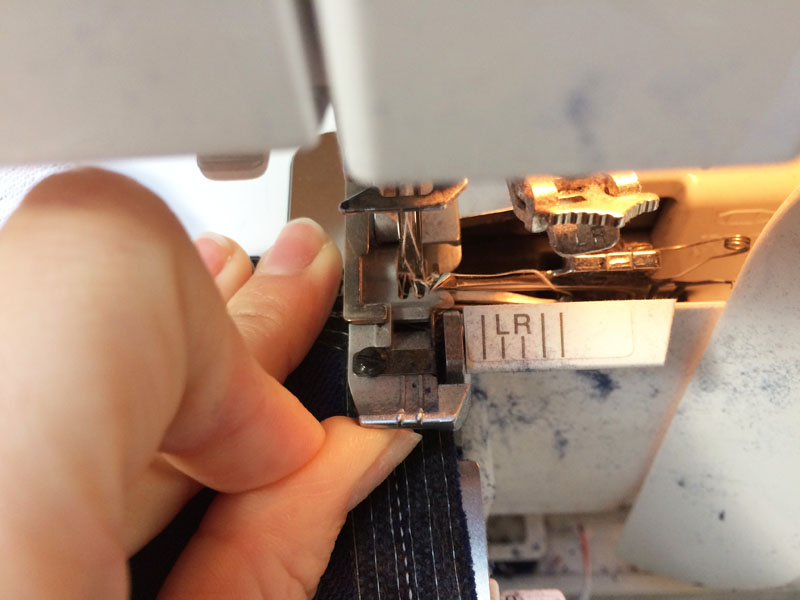
That’s the quickest & easiest way to clean both sides.
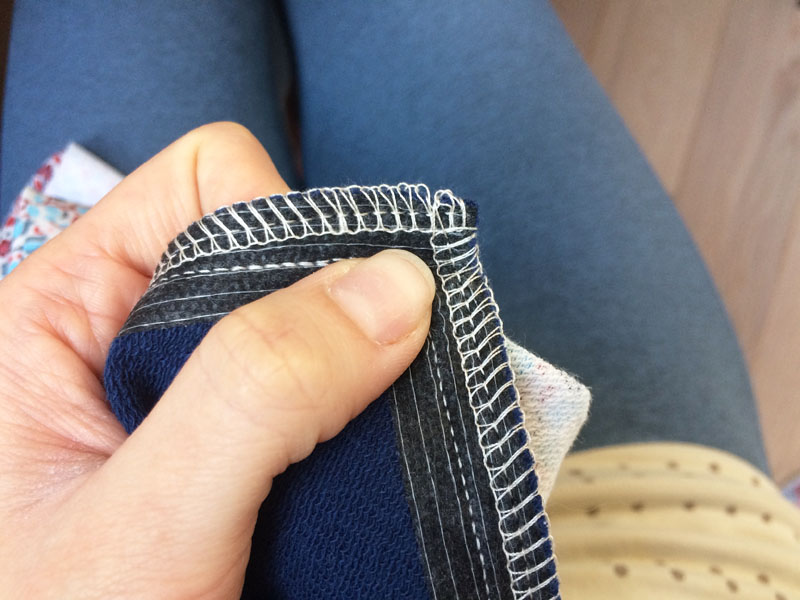
Work on the other side of the back piece in the same way. Don’t forget to iron your seams.
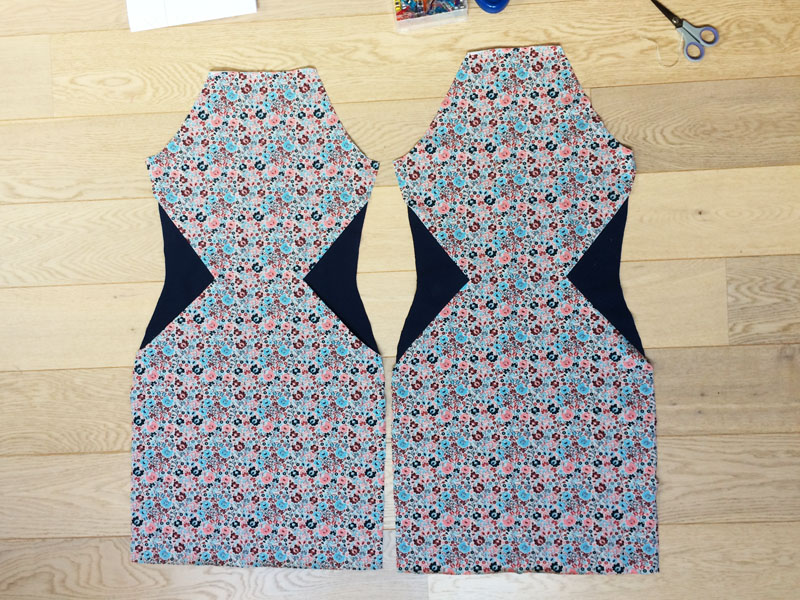
Lay the sleeve pieces over the front piece (face side to face side) and pin both raglan seams.
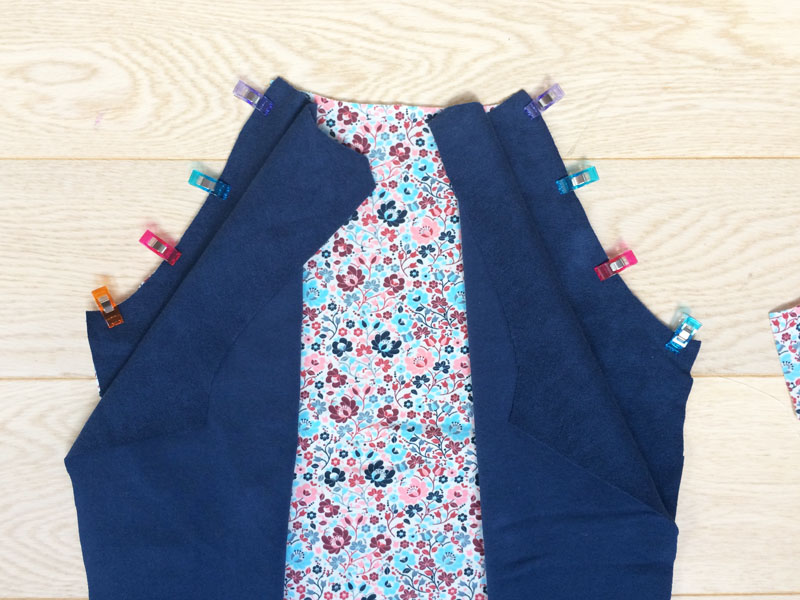
Sew both raglan seams. If you have chosen 1 cm wide seam allowances when cutting the fabric and you are now using your overlock, then you need to measure the width of the seam allowance created by your overlock. Usually, it is 5 - 7.5 mm and the excess part (2.5 - 5 mm) of the original seam allowance is cut off.
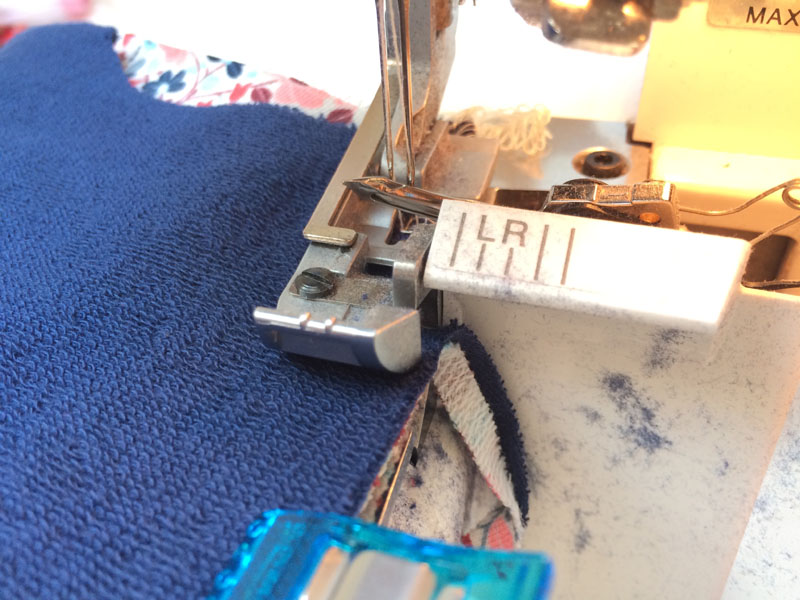
Press the seam allowances towards the sleeves and iron the seams.
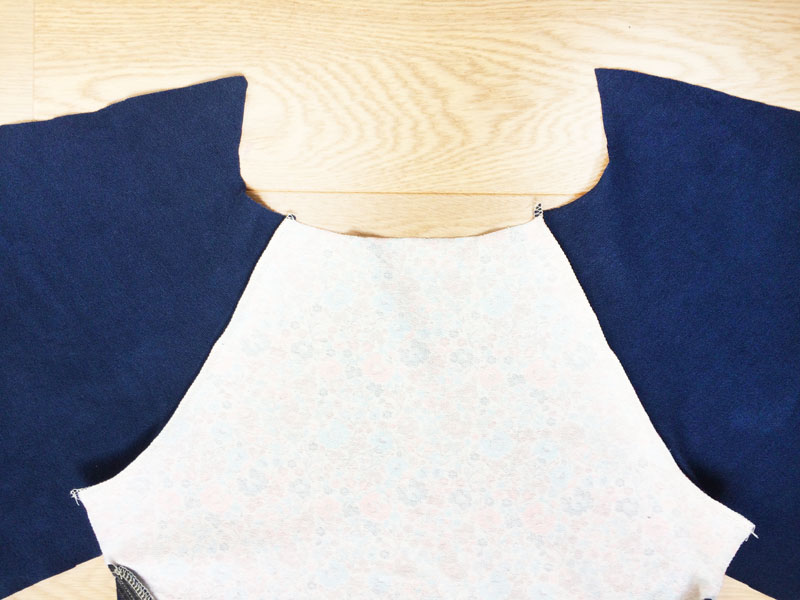
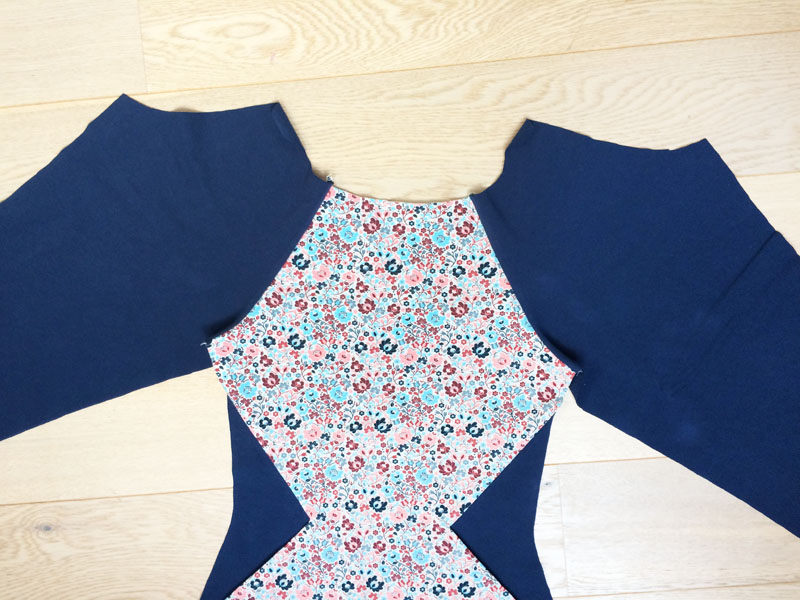
Now lay the back piece of the dress on one of the sleeves (face side to face side) and sew the raglan seam here.
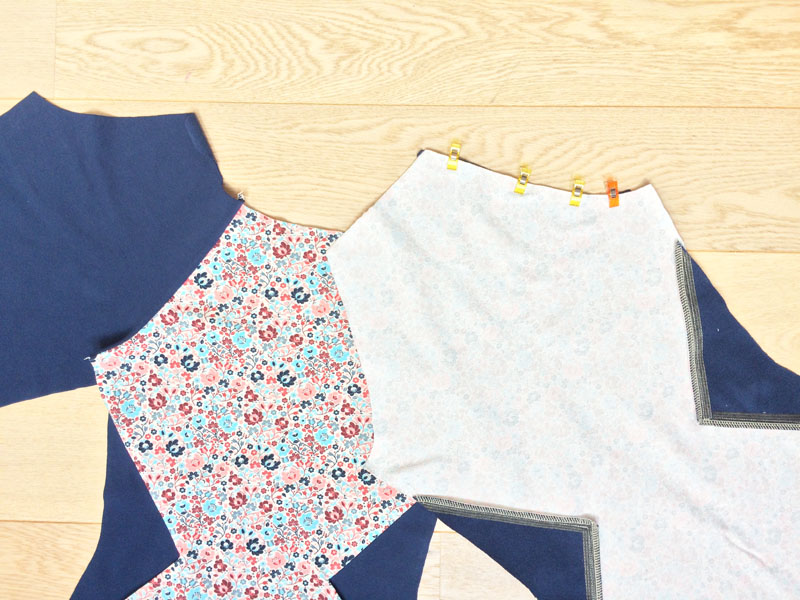
Measure the circumference of the neck opening with a tailor's tape laid on its side.
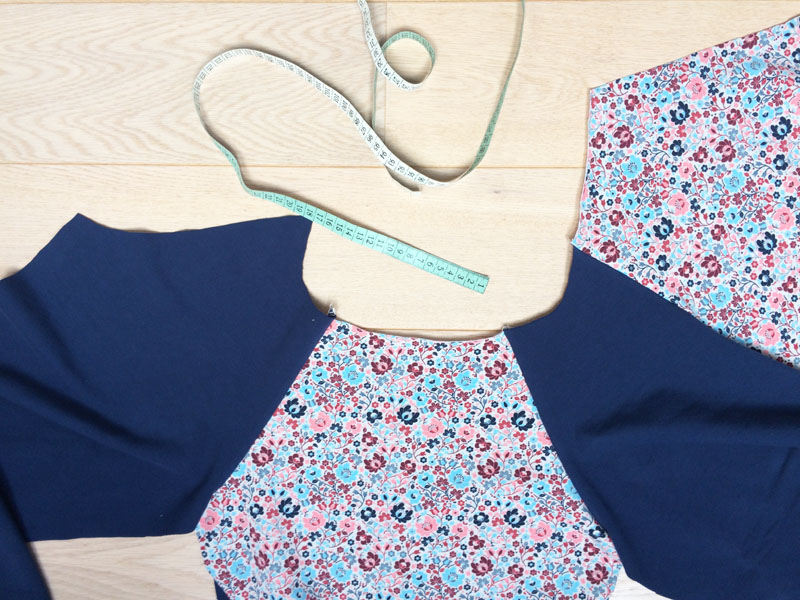
Subtract 2 cm from the result (seam allowances of the raglan seam that you have not sewn yet) and write down this number.
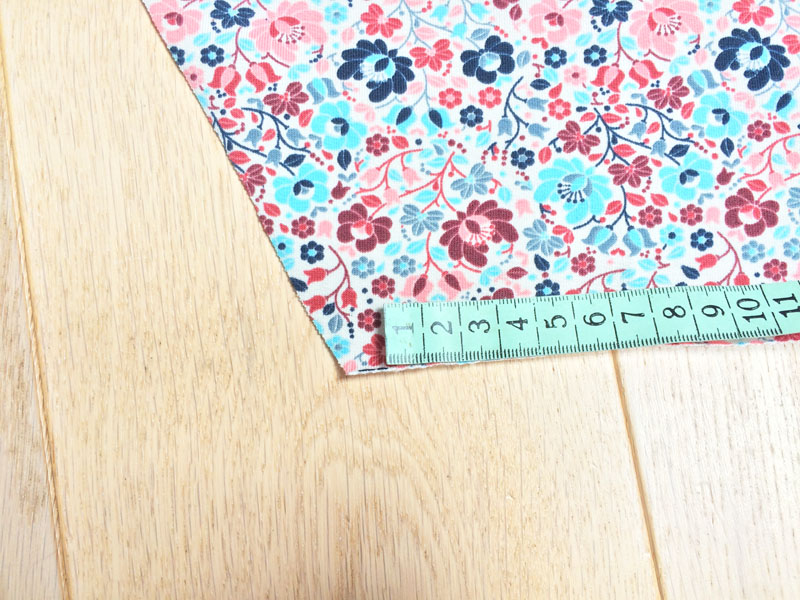
Sew the remaining raglan seam.
Sleeve seams & side seams
Clean the bottom cutting edges (hems) of the sleeves.
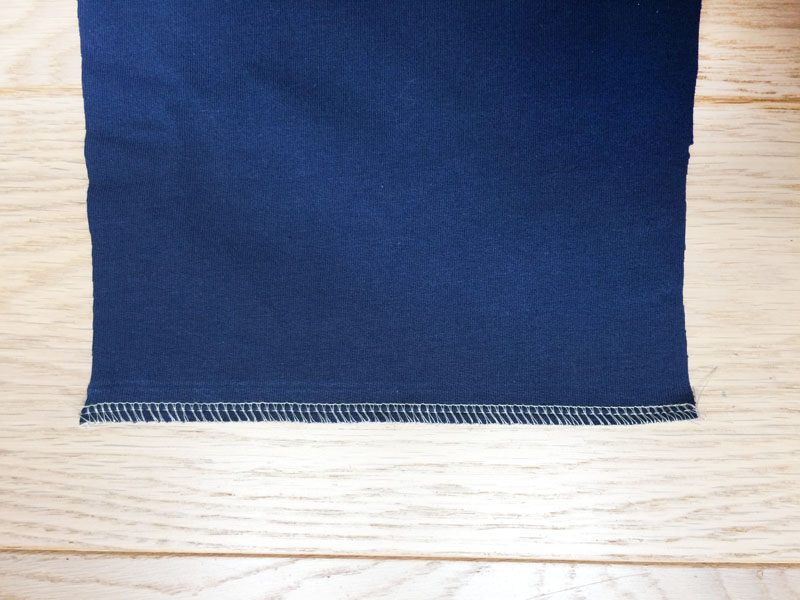
Now pin the side seams and sleeve seams on both sides of the dress. Align waistline wedges...
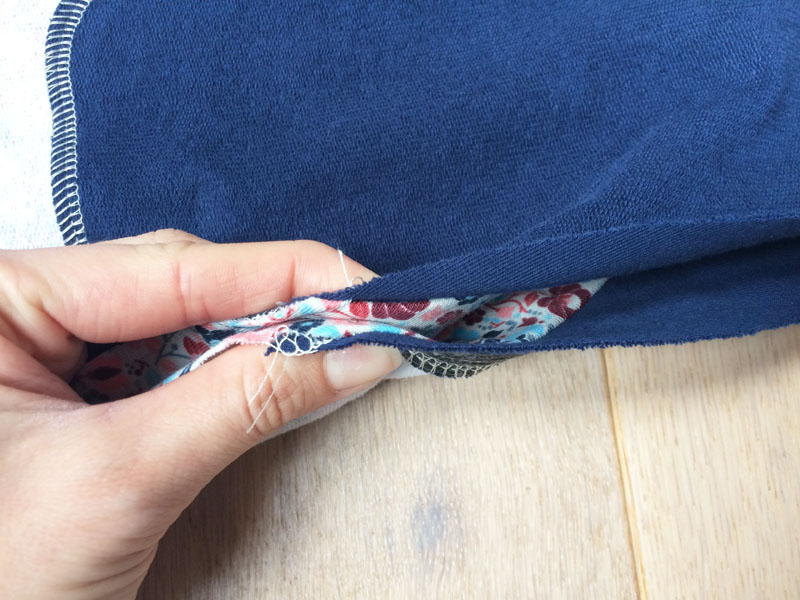
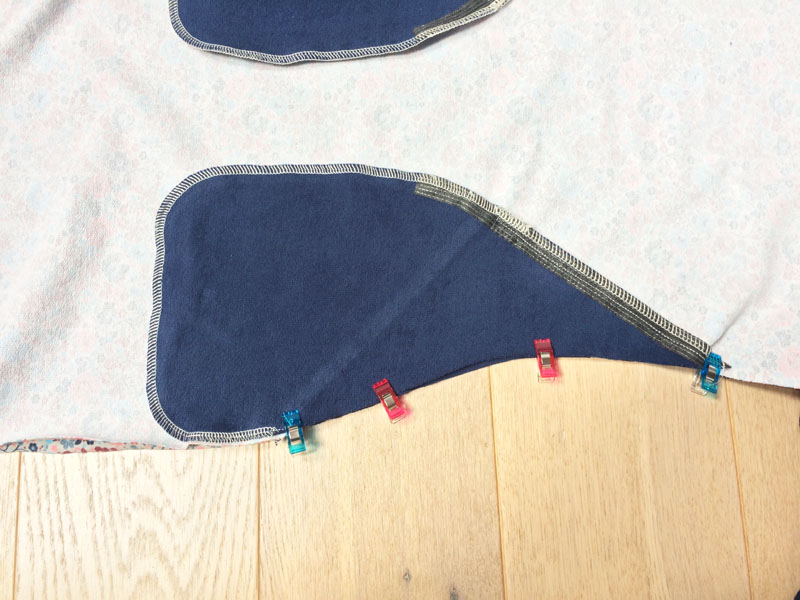
...and raglan seams nicely.
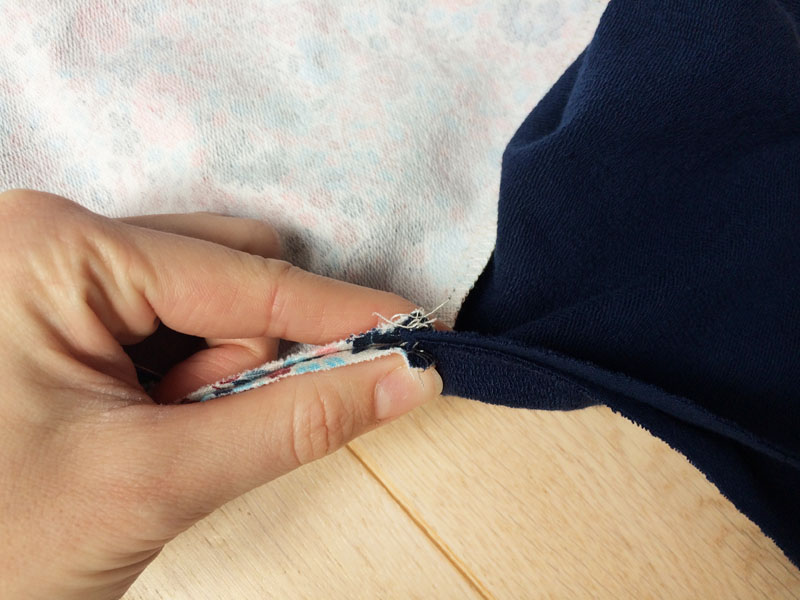
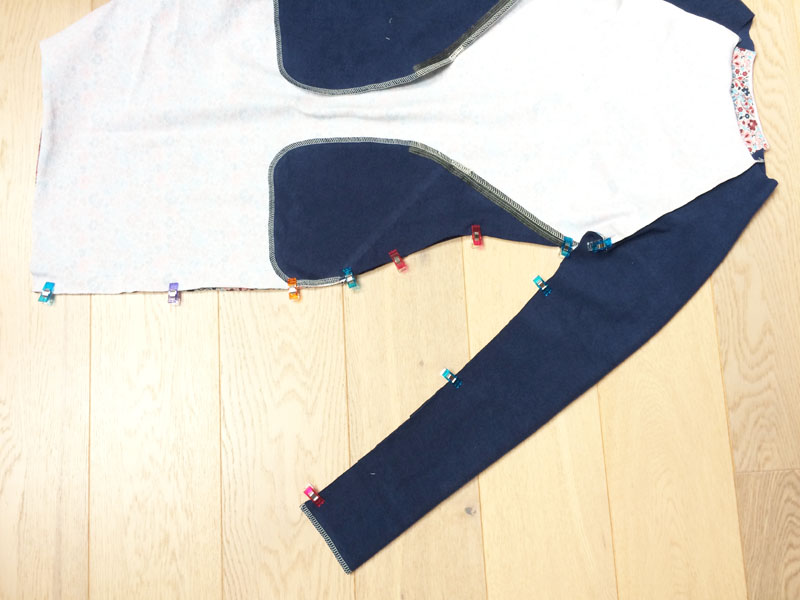
Baste the side seams and sleeve seams so you can try the dress on.
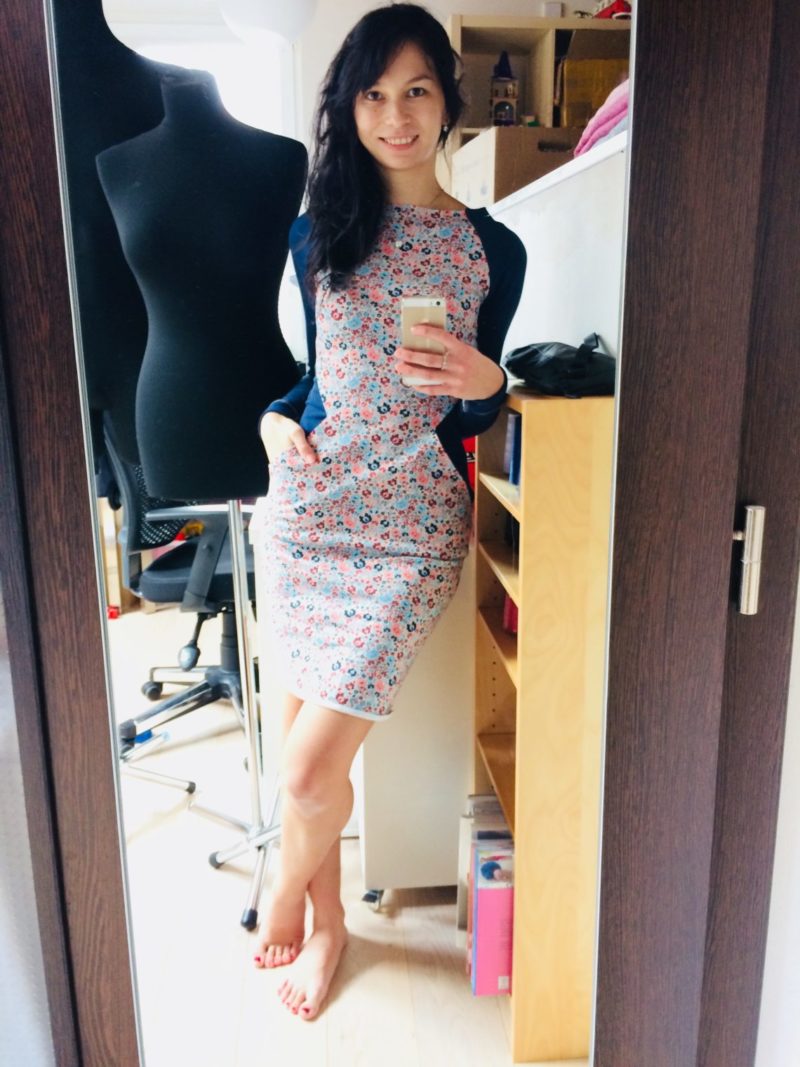
Perform a fitting test and decide if you want to make some adjustments. For example, you can slightly narrow the waistline of your dress, or adjust the size and shape of the neckline... Simply make the dress yours... ;-)
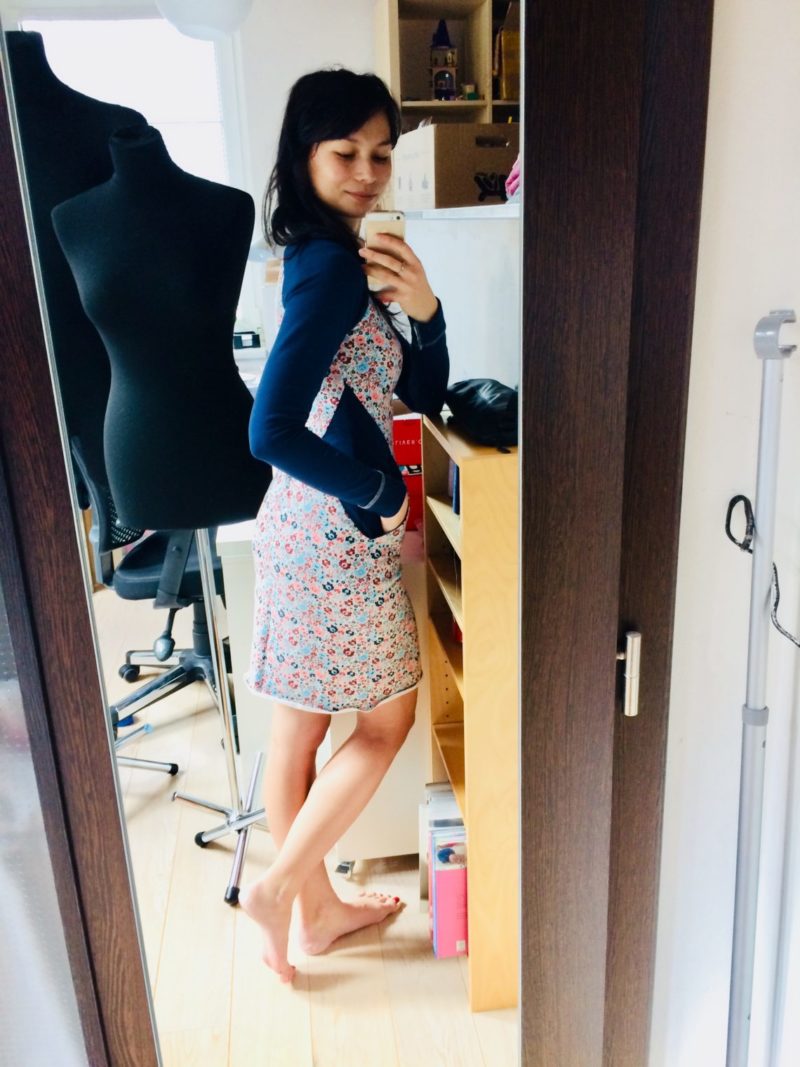
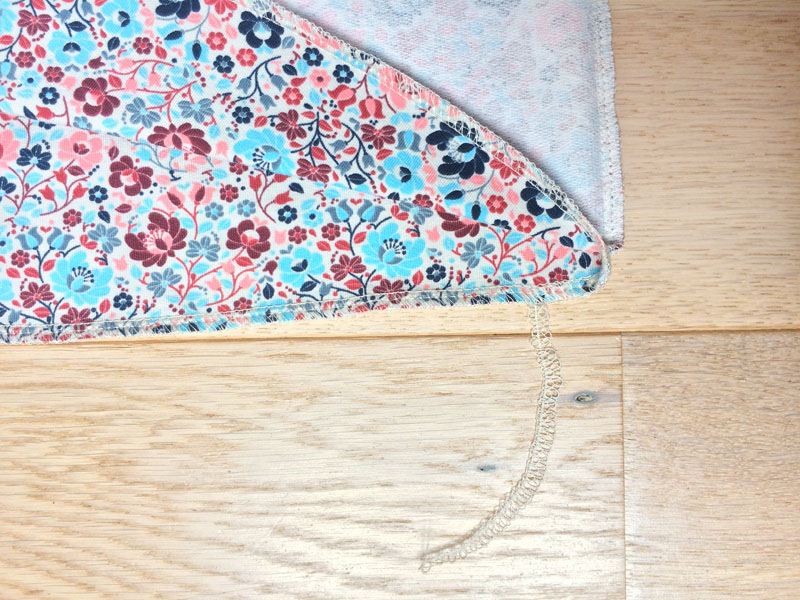
When you are satisfied, sew the side seam and sleeve seam in one go. On both sides of the dress. Leave longer thread chains near the sleeve hems and pull them under the loops.
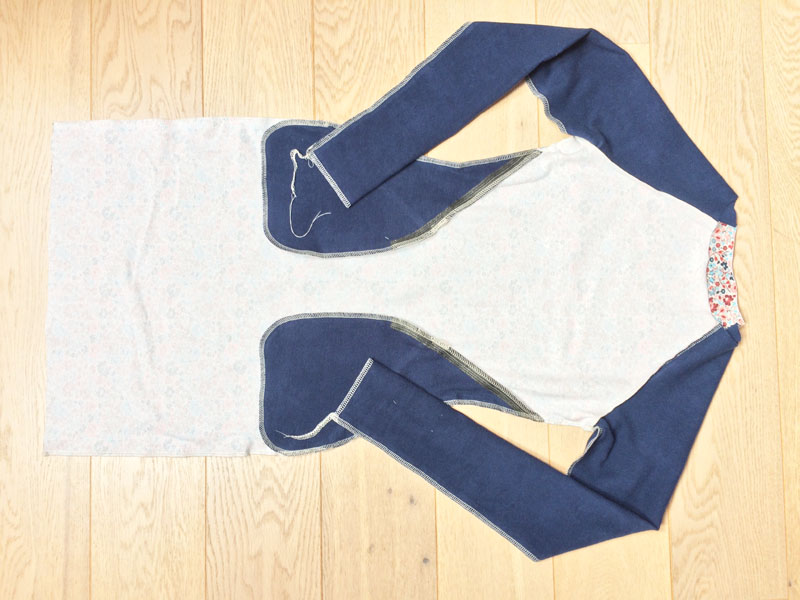
Also, clean the bottom cutting edge of the dress.
Neckline
Multiply the number you wrote down earlier by 0.8. (If you adjusted the neckline after the fitting test, then you must measure it again.)
The number you get is the approximate required length of the knit strip for the neckline hem - each material behaves and stretches a little differently, so you may have to cut the strip a little longer or shorter. You will have to try it yourself.
The narrower the strip you choose, the more elegant the finish will be, but I do not recommend cutting the strip narrower than 3 cm. The optimal width of the strip is between 3 and 4.5 cm. (My strip is 3 cm wide.)
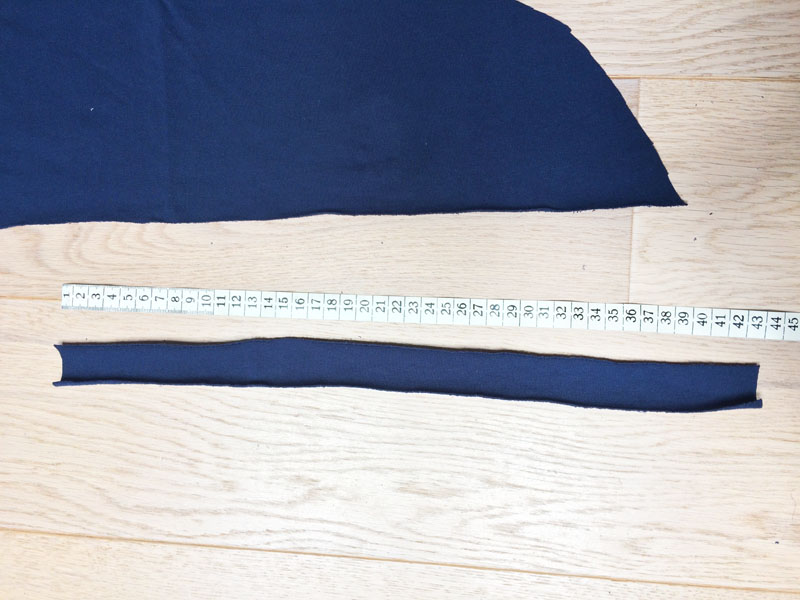
Fold the strip in half (face side in) and sew its shorter sides.
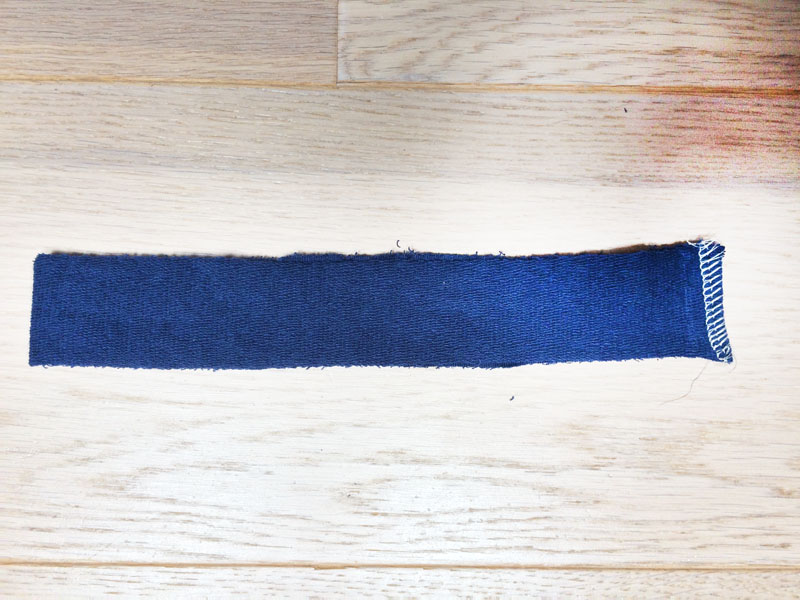
Mark the half-point with a small notch.
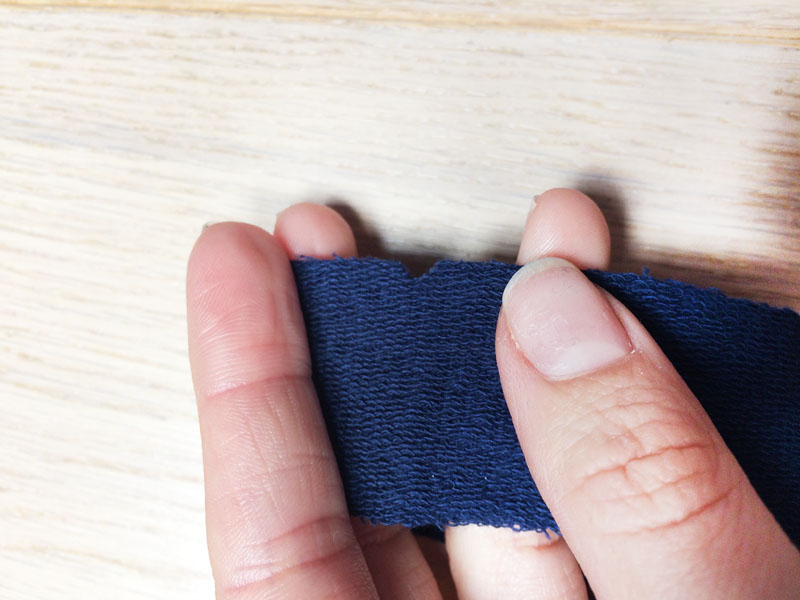
Fold the strip in half (lengthwise) and pin it to the neck opening. First, pin the seam of the knit strip to one of the rear raglan seams.
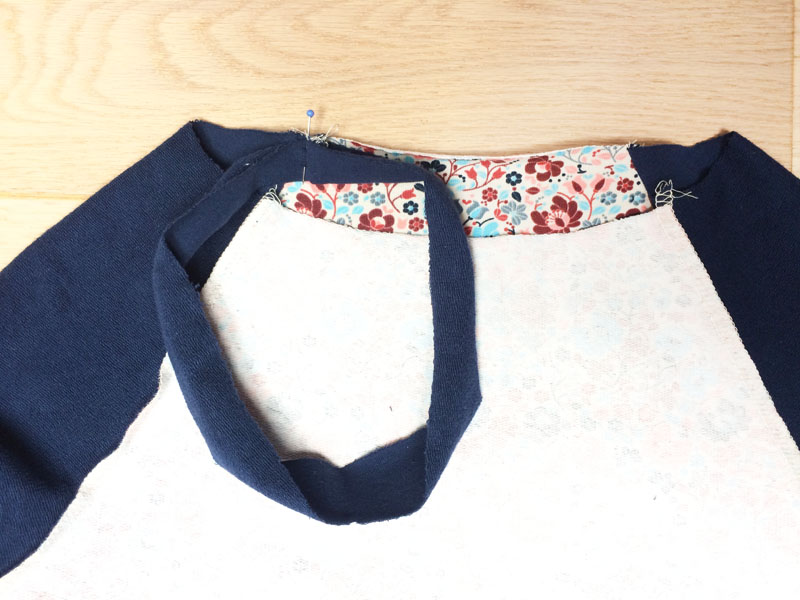
“Fold” the neck opening and find a point on it that is exactly opposite your chosen starting raglan seam.
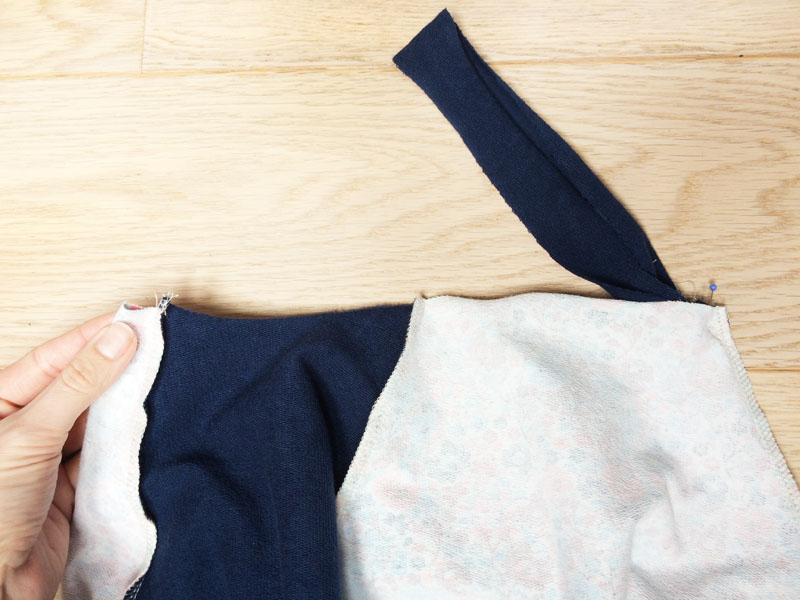
Pin the strip half-point (notch) to the neck opening half-point.
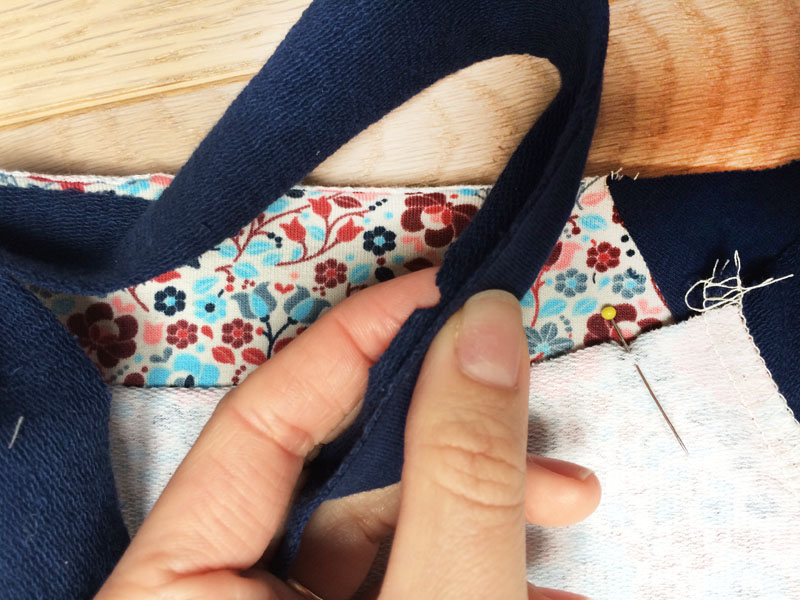
Then pin the rest of the strip to the neck opening.
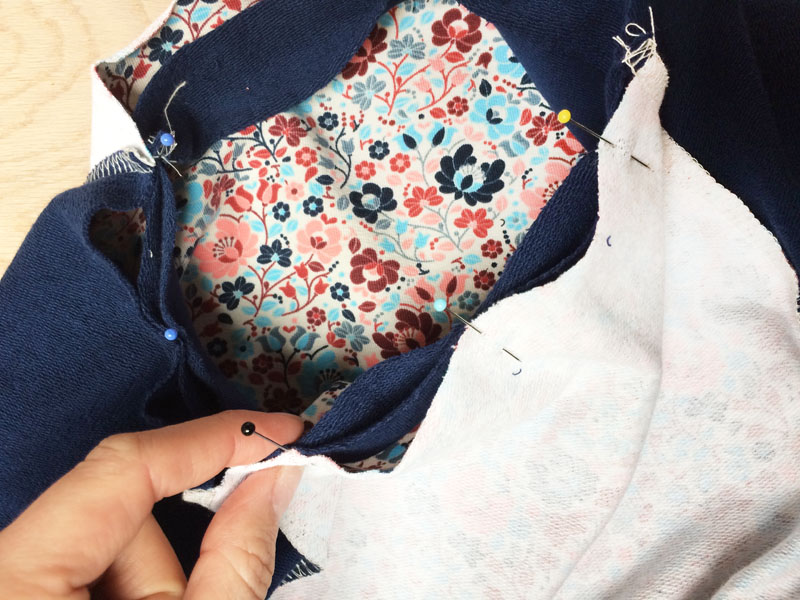
The strip should tighten the sleeves more than the front & back part of the dress - the sleeves should be more "ruffled" under the pinned strip. This makes the neckline (and shoulder areas) nicely shaped.
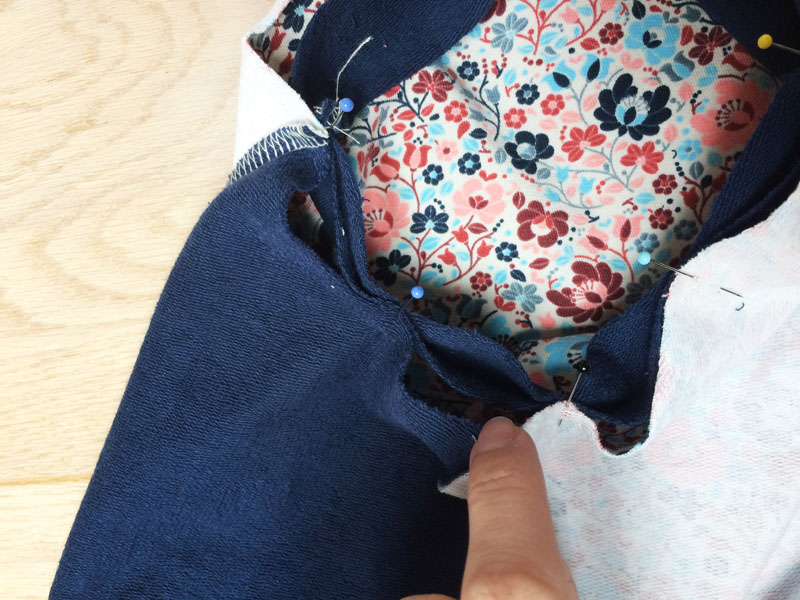
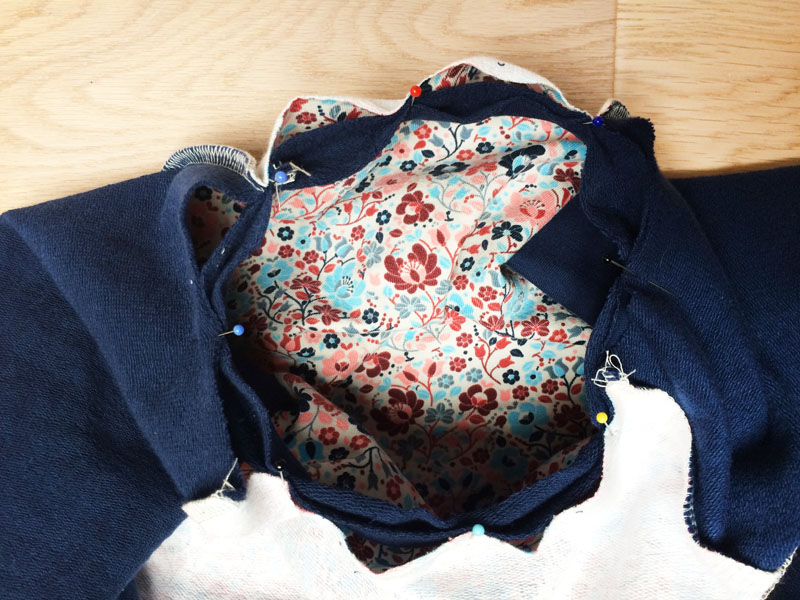
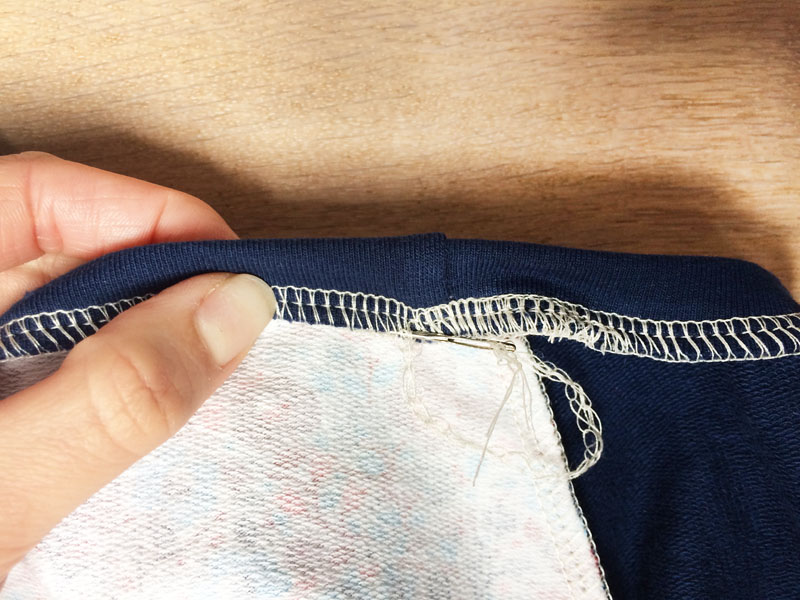
Sew the hem and pull the free end of the thread chain under the loops.
Hems
Fold the last 3 centimeters of the sleeves to the reverse side.
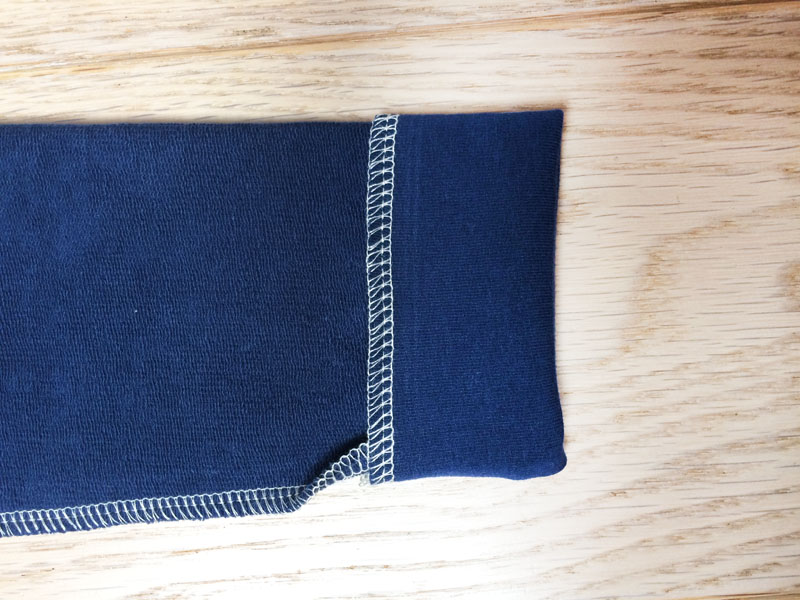
The sleeve should be inside out, so you can sew inside the sleeve, which is its face side in this position. Sew through the hem of the sleeve with some kind of elastic stitch (or twin needle).
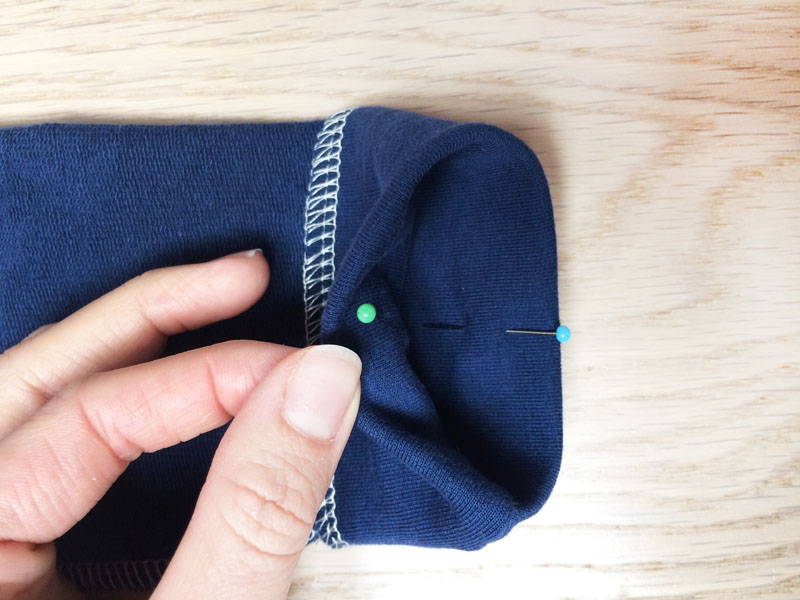
Finish the bottom hem of the dress in the same way.
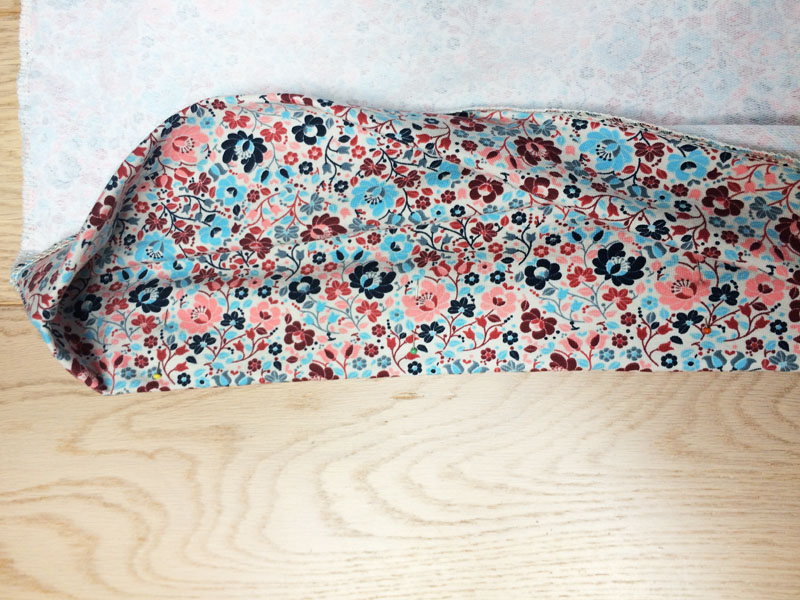
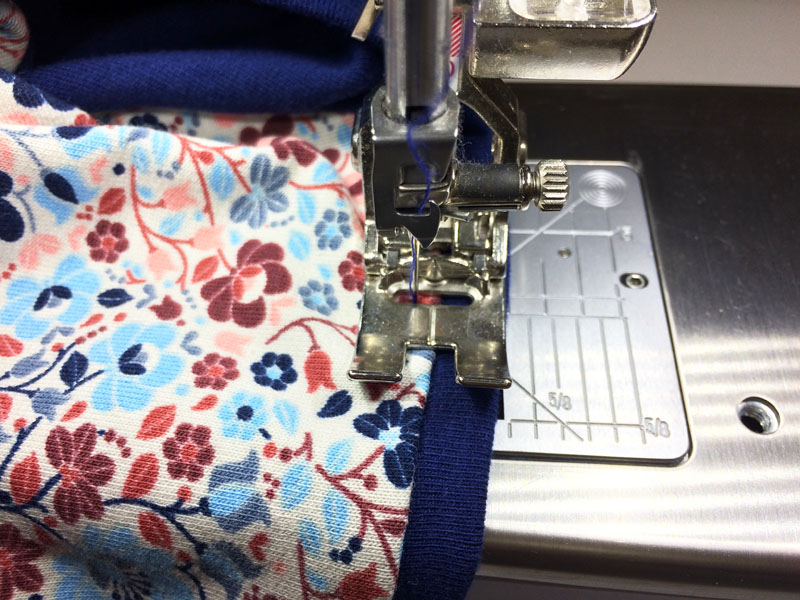
You can also topstitch the neckline hem to decorate it. Press the seam allowance away from the knit strip and sew on the face side of the dress, about 2 - 3 mm below the original seam. Make sure you sew with an elastic stitch.
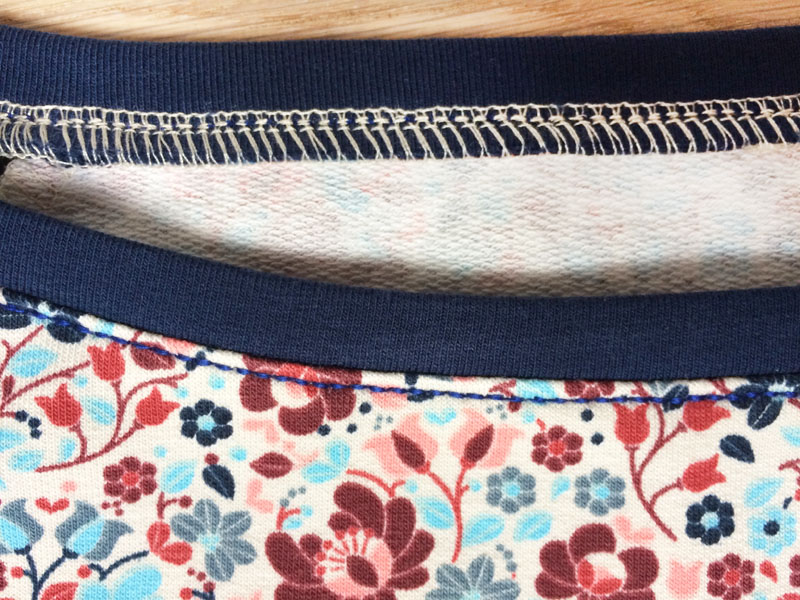
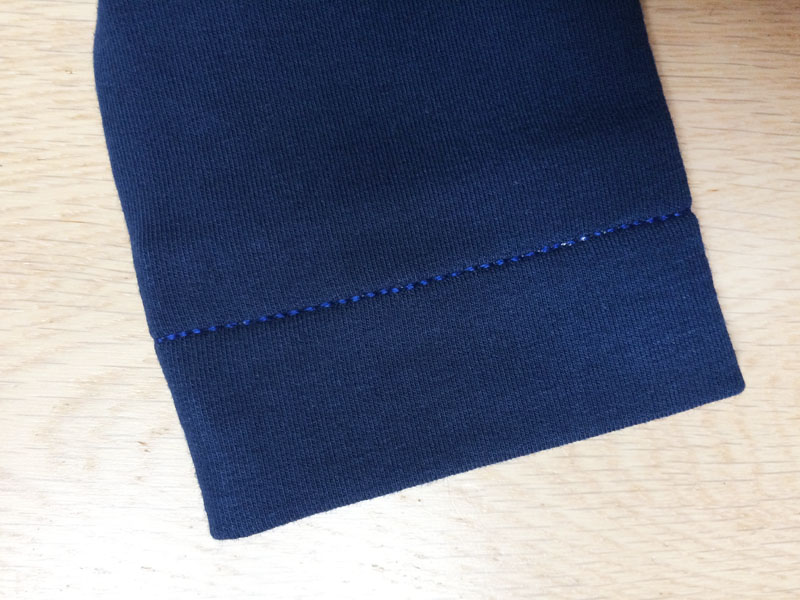
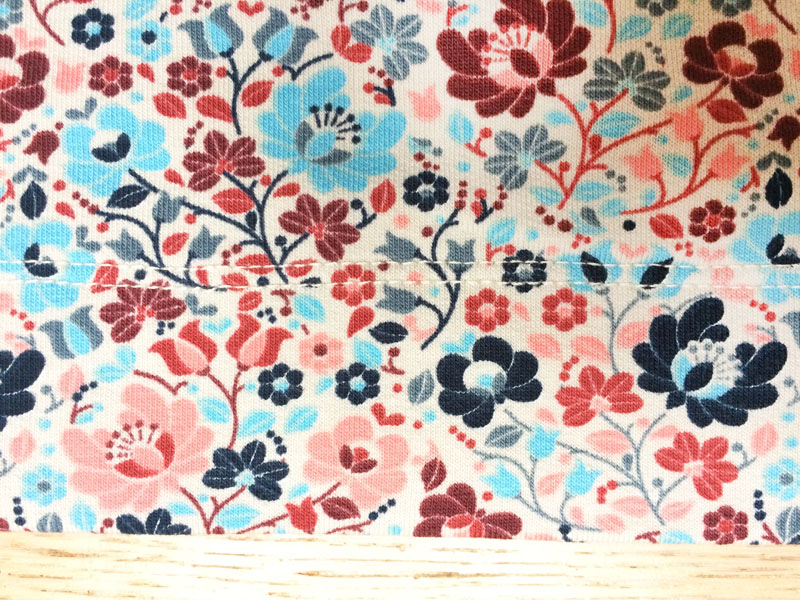
Aaaand it’s done, your new dress is finished! :)

Take a look at my first article about the dress SILHOUETTE, which contains sewing instructions for a more elegant variant of the dress with facing a decorative gap in the back piece:
How to sew the dress SILHOUETTE with facing

The pattern for women’s dress SILHOUETTE:
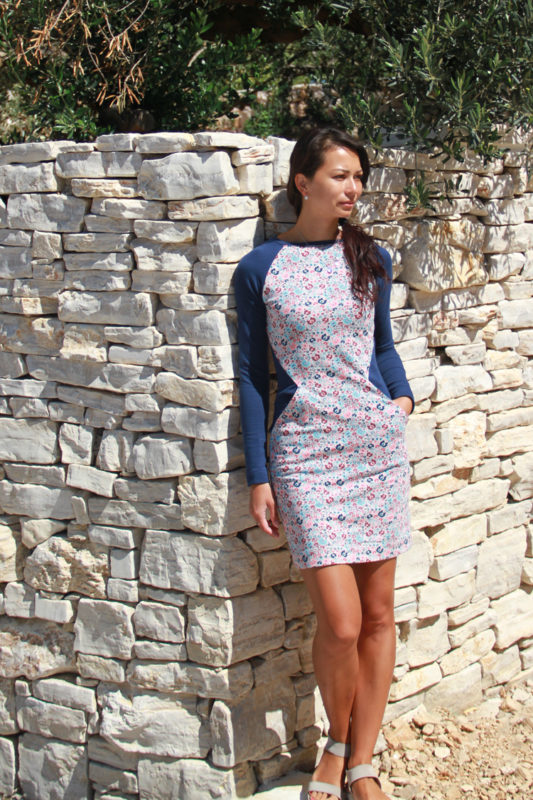
Did you like today's instructions and pattern? If so, share it with your friends and tell me about it in the comments section below. I look forward to your feedback! ♥
Did you know that there are FREE PATTERNS available on my blog?


