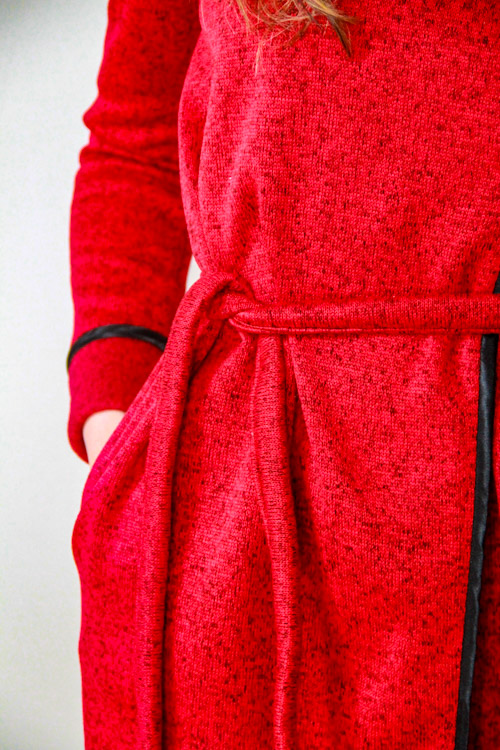
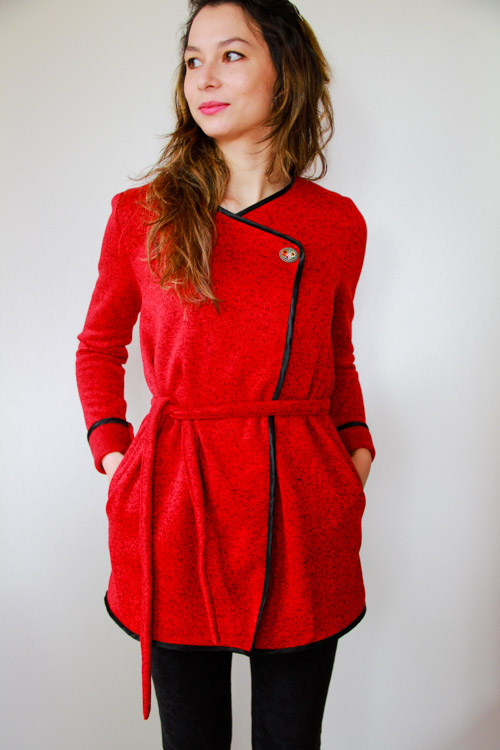
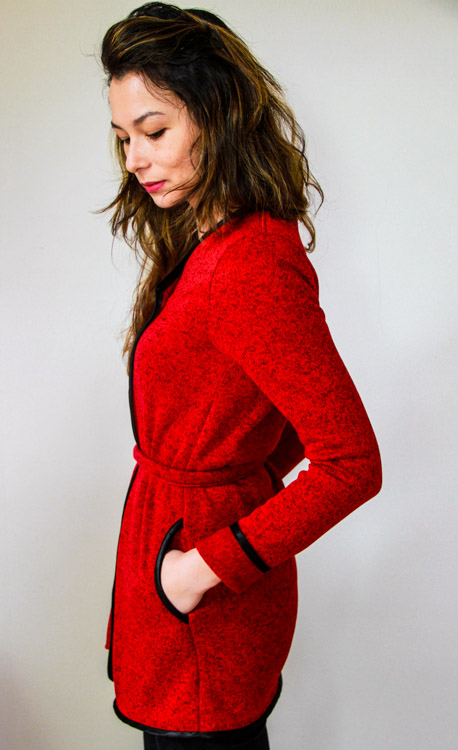
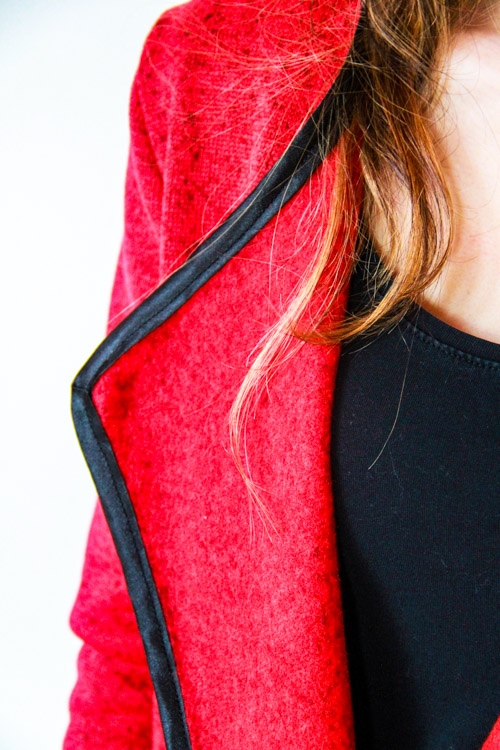
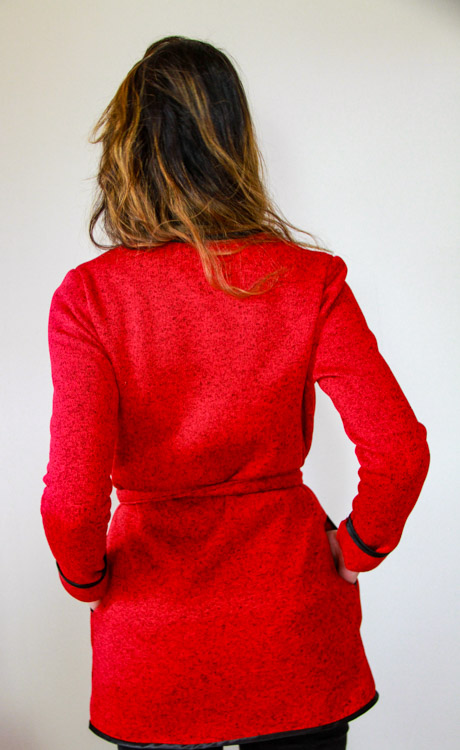
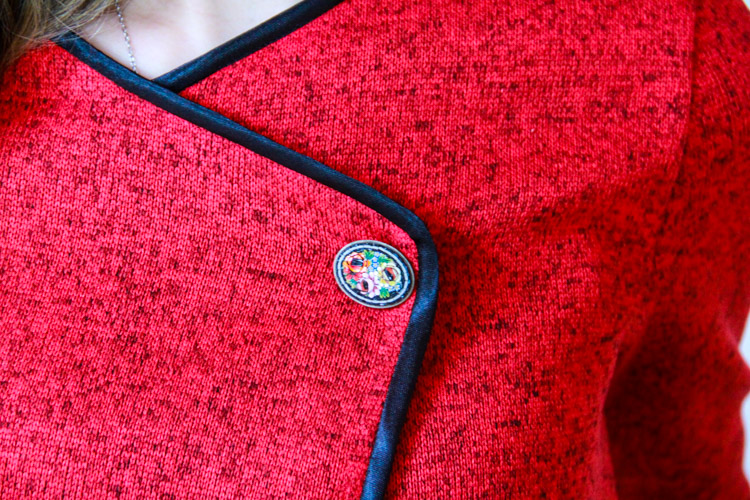
I must admit that I just love my latest cardigan pattern! This is one of the reasons why I used it to sew another piece for myself, this time in a beautiful dark strawberry color. So today’s article is about this charming red cardigan from sweater knit. This type of fabric is great for cardigan, but i don’t like it’s cutting edges unfinished. So, if you are similar in this respect, then you will love today’s article.
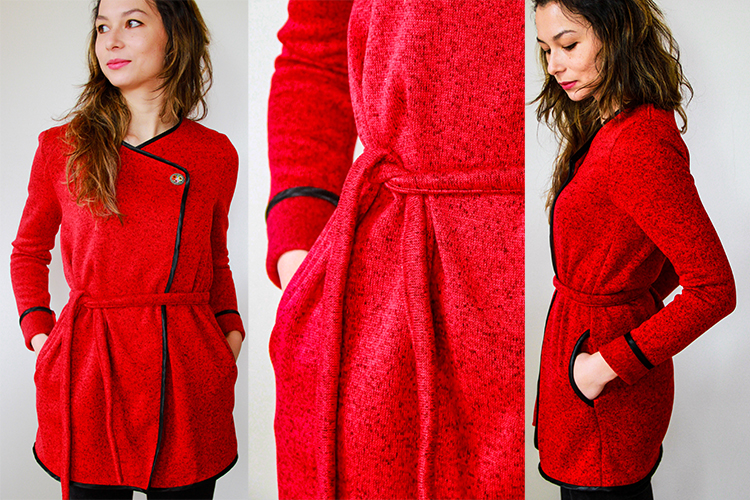
You can get my pattern for women’s cardigan here:
Pattern for women’s reversible oversized cardigan (sizes 32 – 60)
Recommended material
As I said in the previous article about this pattern for women’s cardigan, it works best medium and thick knits (elastic materials).
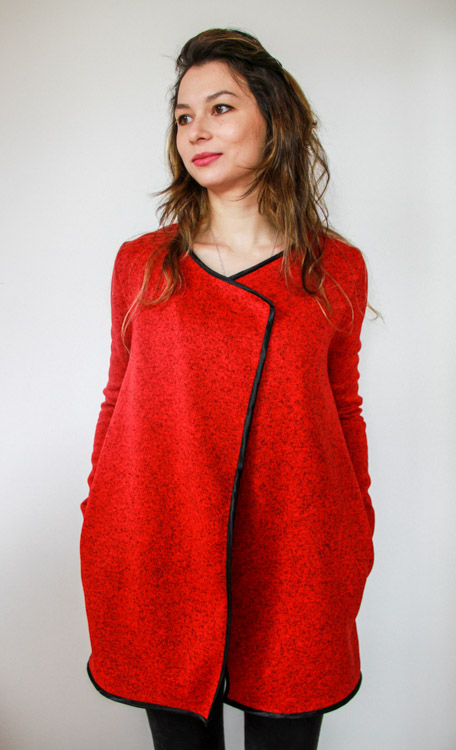
You can also use sweater knit to sew yourself a beautiful piece. I’ve used fleece sweater knit to sew cardigan from this article. Generally don't like to use synthetic materials, but I made an exception regarding a fleece sweater knits and warmkeepers. Over time, I started to like these materials. Fleece sweater knit is easy to work with and it’s very comfortable to wear. I have fabric for this cardigan from Unuodesign.cz. You can buy it in several beautiful colors here.
This is my shade: Fleece sweater knit – red

How to sew women’s cardigan from sweater knit
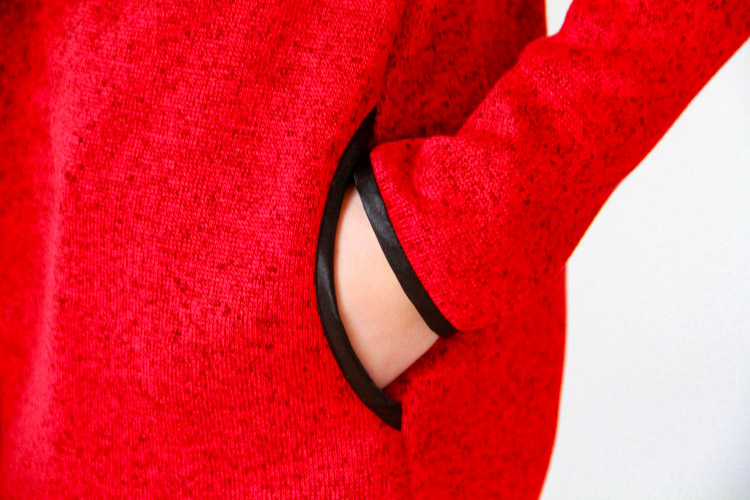
Sewing procedure is basically the same as with the original cardigan from warmkeeper. But cardigan from today’s article has pockets in the side seams instead of patch pockets. And I’ve also finished hems of this cardigan with bias tape. Cutting edges of the fleece sweater fabric have large loops and I don’t like their look. You can learn how to finish hems with bias tape here: Video tutorial - bias tape hems.
And now today’s sewing instructions.
Cuts preparation
Prepare:
- 2x front piece
- 1x back piece (folded fabric cut)
- 2x sleeve piece
- 2x pocket piece with opening and 2x whole pocket piece (whole pocket piece is not part of the pattern files, but you can simply prepare it by not cutting out the openings on the pocket piece that is part of the pattern ?)
- 1x belt piece (I recommend cutting this piece first, so you can use whole width of the fabric before you start positioning other pieces.) My belt is 9 cm wide and 145 cm long (full width of my fabric).
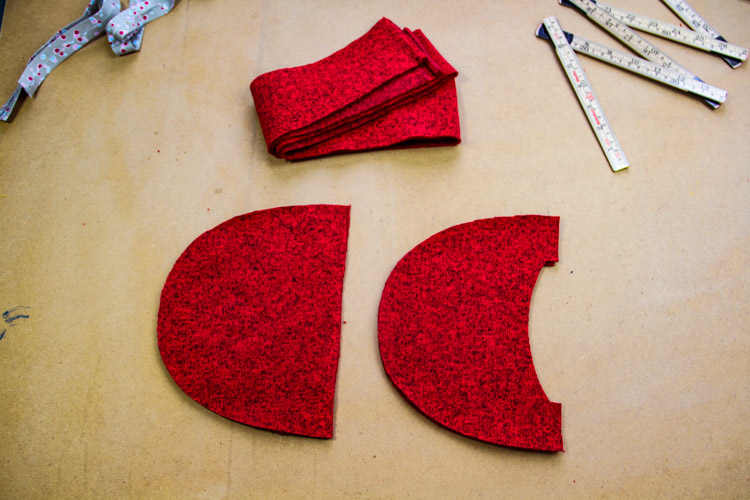
Align the pocket piece with the side seam of the front piece (use marks in the paper pattern to find the correct position).

Trace the shape of the pocket opening to the front piece and cut it out.
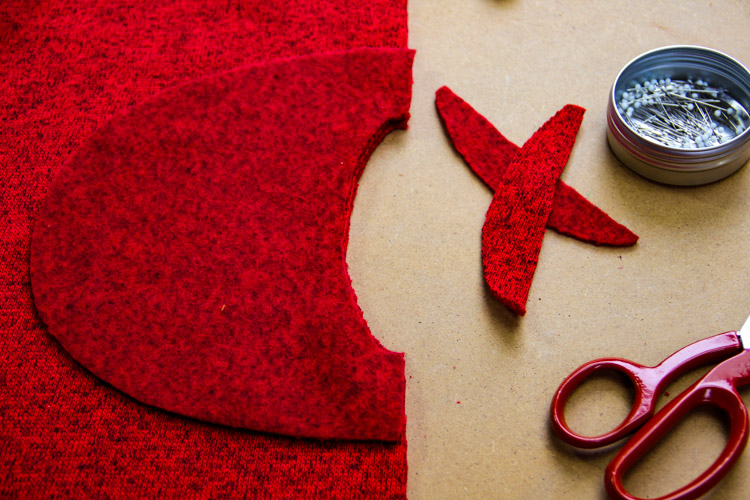
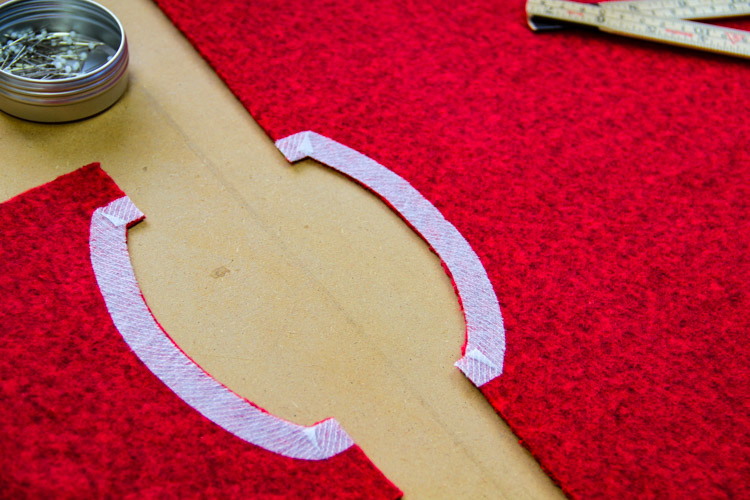
Reinforce both openings with strips of one-sided fusible facing.
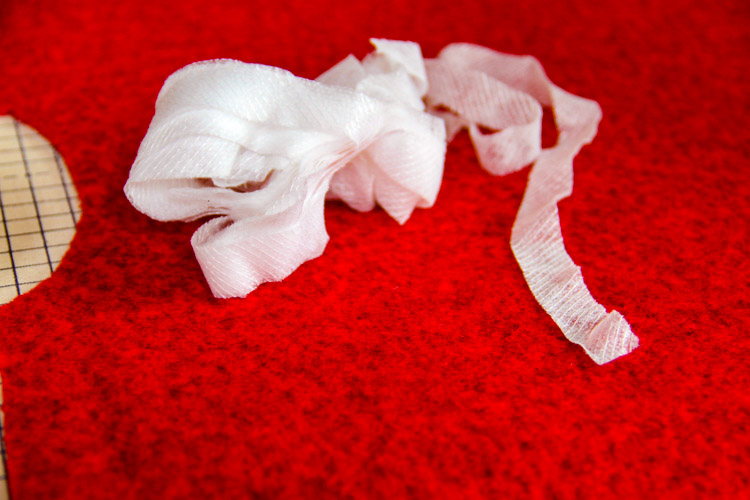
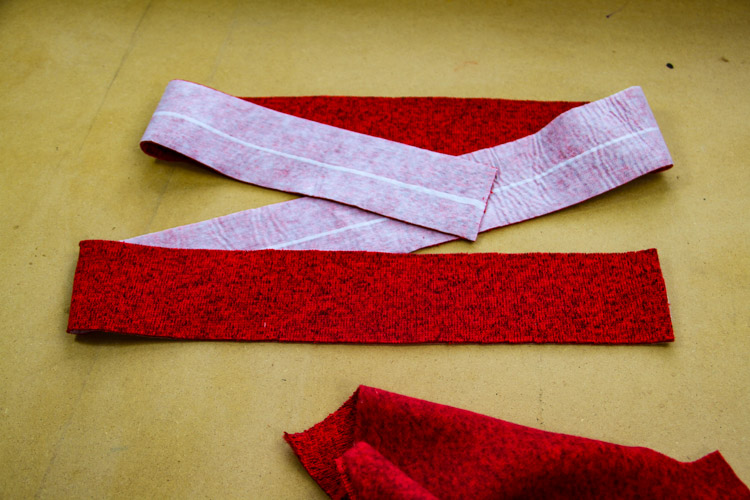
Use one-sided fusible facing on the entire belt too. My fusible facing was too narrow, so I needed to use two stripes next to each other.
Sewing
Side seam pockets
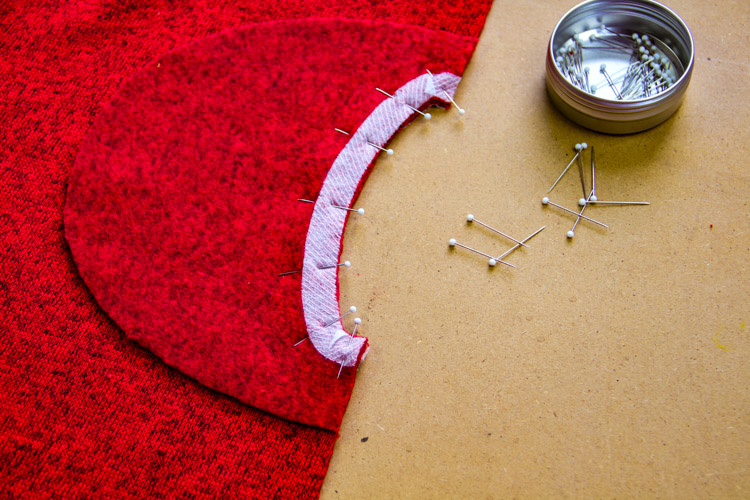
As I said, this cardigan has pockets in the side seam. There are two ways to sew pockets of this type. You can sew classic pocket without hemming in the pocket opening area, in this case lay the front piece on the front piece (face side to face side) and pin it there.
Then follow instructions from this video tutorial:
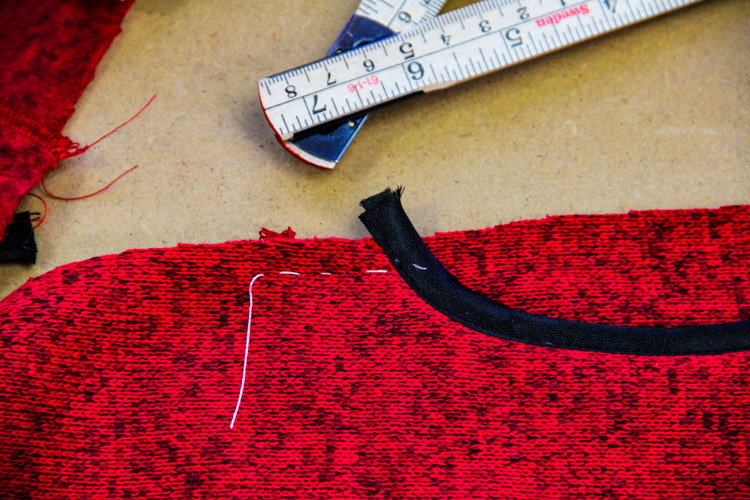
You can also finish the pocket opening with bias tape hem. If you decided to do it this way, lay the pocket piece on the front piece (reverse side to reverse side). Then temporarily stitch both pieces together.
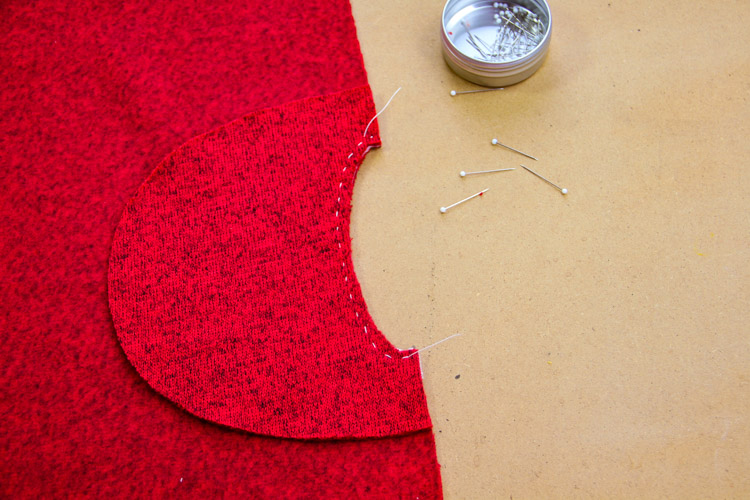
And sew the hem of the pocket opening.
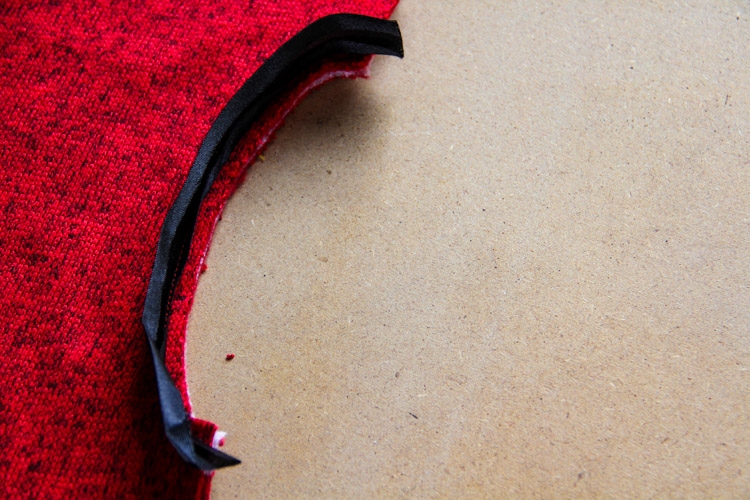
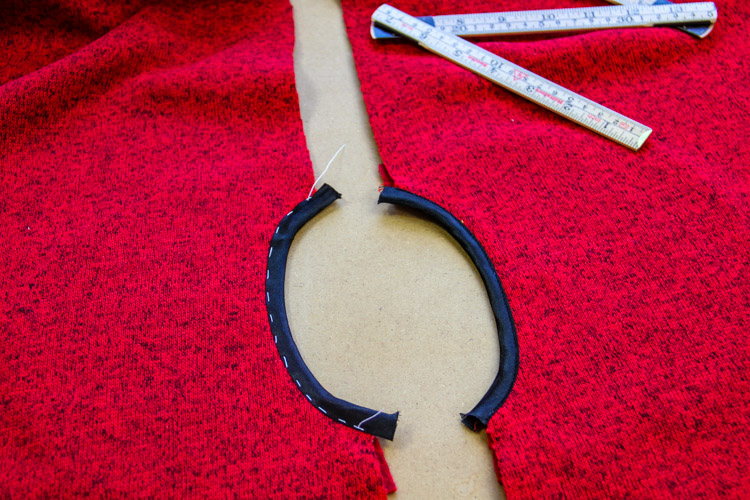
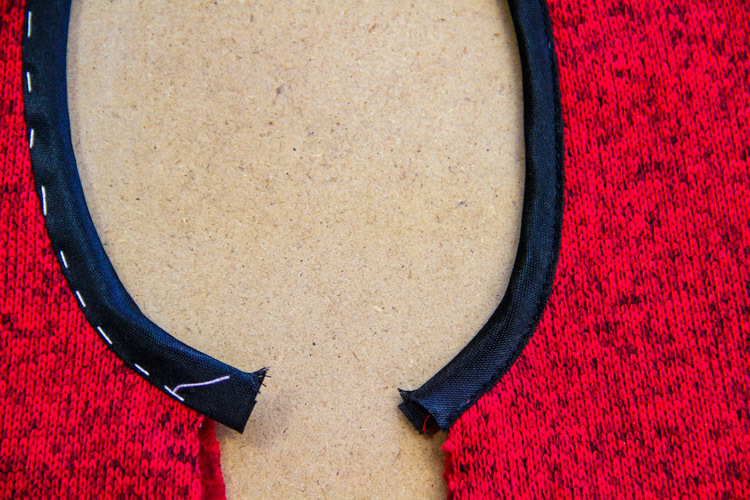
Let’s prepare the whole pocket piece now.
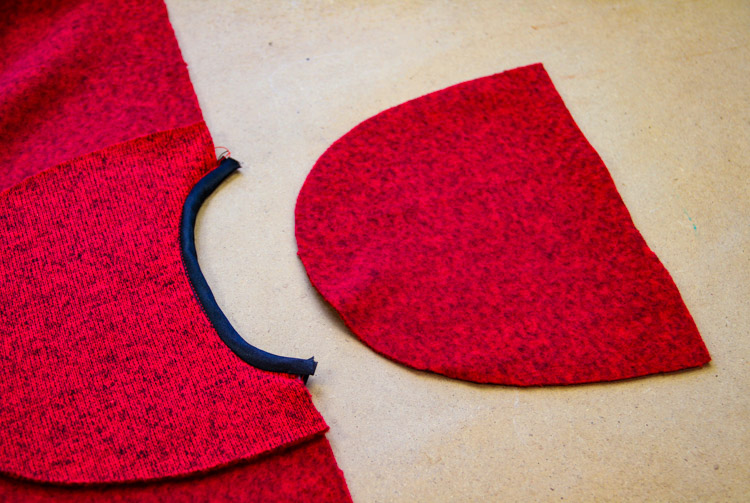
Place it on the pocket piece with opening (face side to face side). Pin the edges of your pocket pieces to create pocket pouch.
Note for beginners: pin just the pocket pieces, not the front piece.
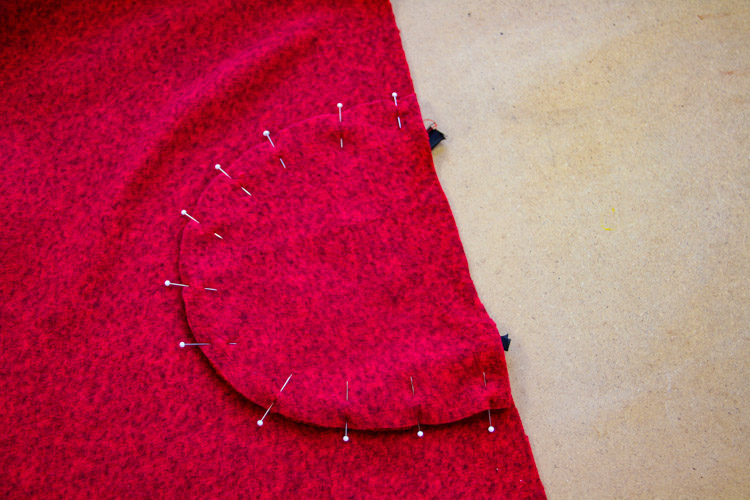
Sew the pocket pouch. I’ve used my overlock, but you can do this with regular sewing machine just fine - sew pouch with some kind of elastic stitch first and then clean it with zigzag stitch, for example.
You can find more tips about sewing elastic fabrics on a regular sewing machine in this article: Sewing with knits - 4 steps to success.
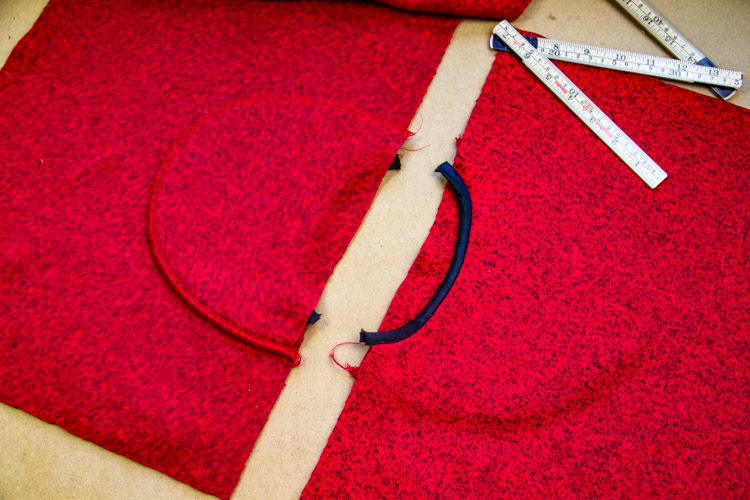
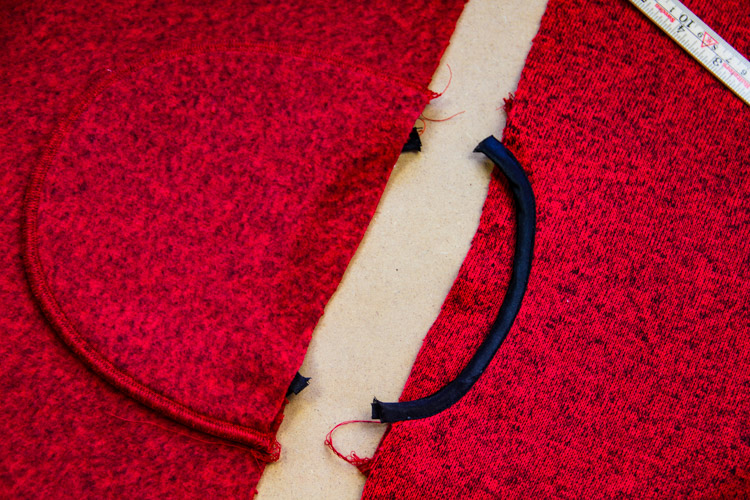
Pin the pocket pouch to the front piece so it’s not flopping around.
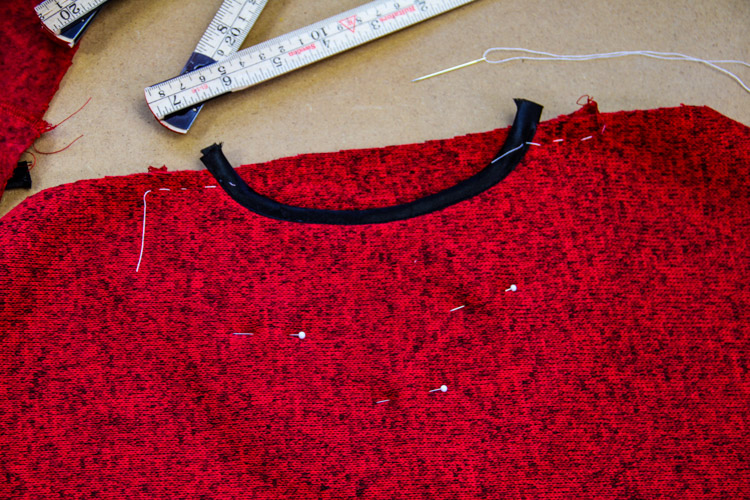
I recommend temporarily stitching the pocket pouch to the front piece along the side seam.
Shoulder seams
Pockets are ready, let’s look at the shoulder seams. Lay front piece over the back piece (face side to face side). Pin the shoulder seams.
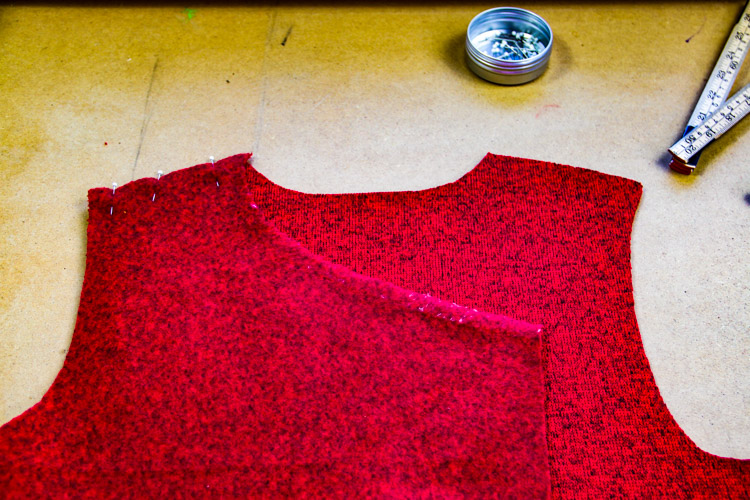
Sew and clean the shoulder seams.
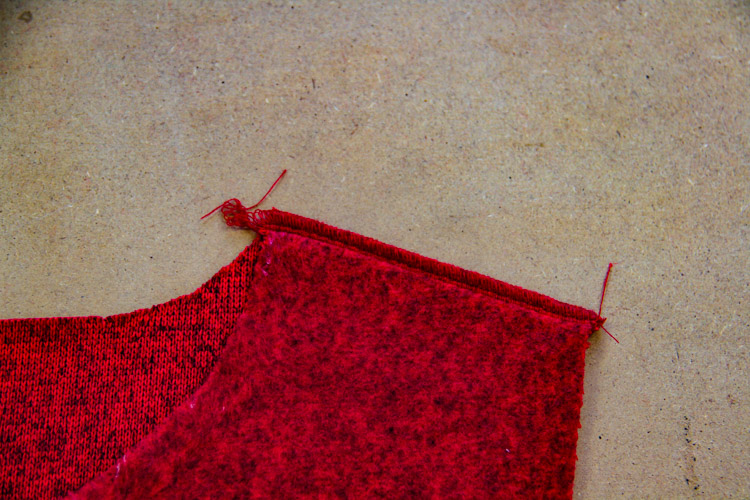
Turn the cardigan on its face side so you can topstitch the shoulder seams. Press the seam allowances of the shoulder seams towards the back piece and sew along the shoulder seams from the face side. You should sew through seam allowances about 5 mm away from the original seam.
Sleeves
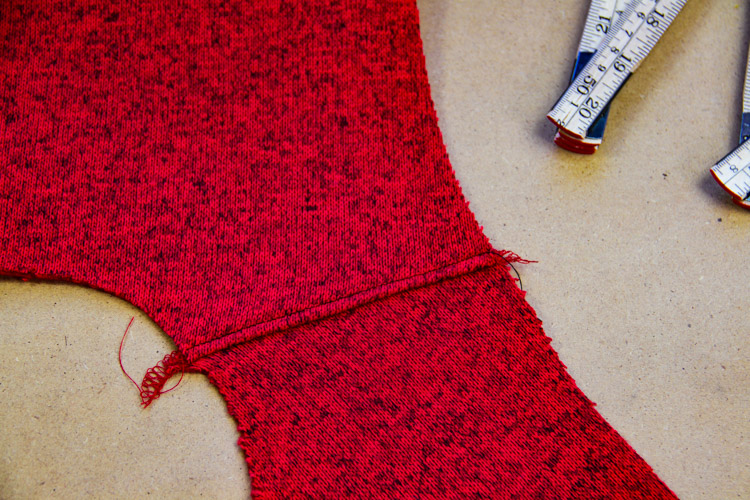
Spread your cardigan on the table (face side up) with the open armhole facing you.
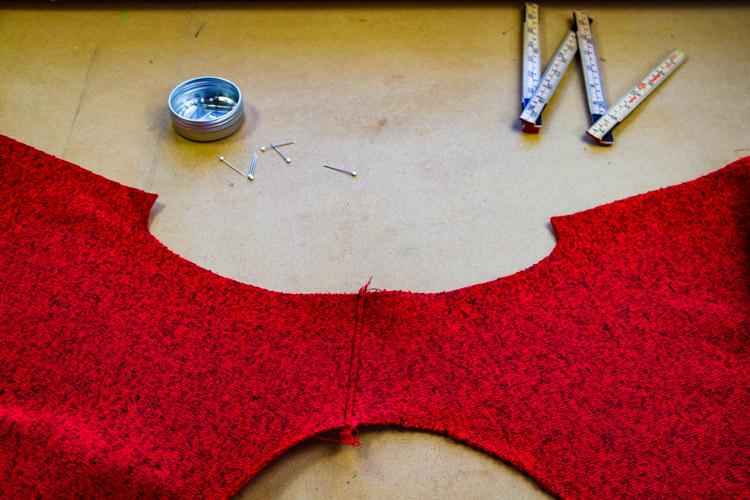
Pin the sleeve piece to the armhole (face side to face side). Start at the top of the sleeve (which should be aligned with the shoulder seam).
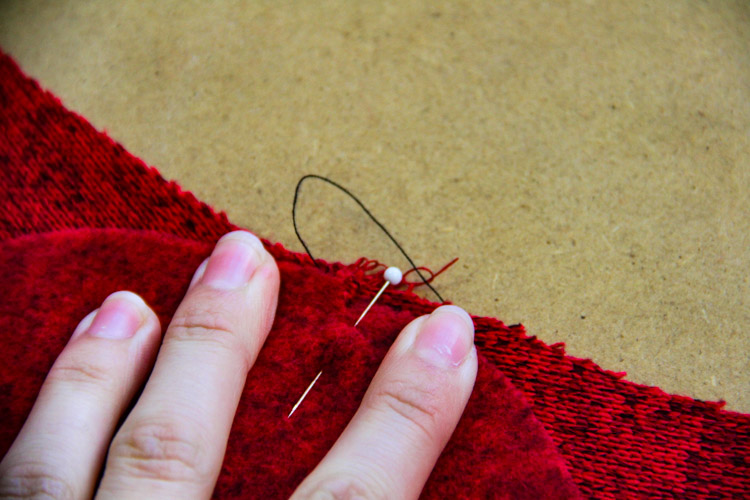
Next pin one of the corners of the sleeve to the corner of the armhole...
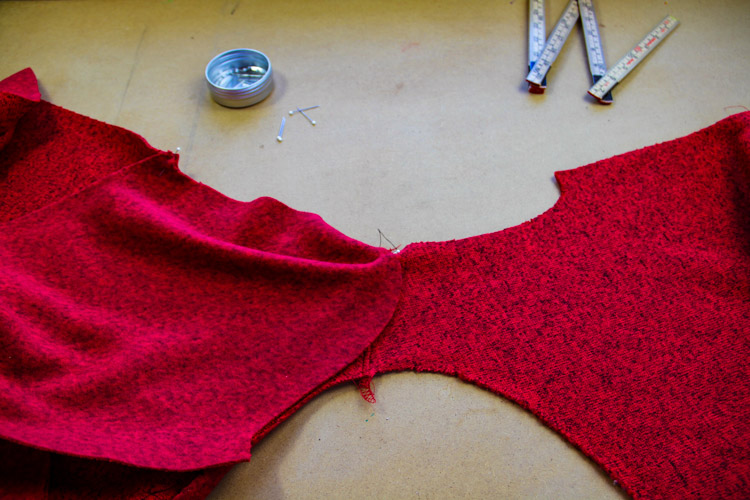
...and then pin the second pair of the corners.
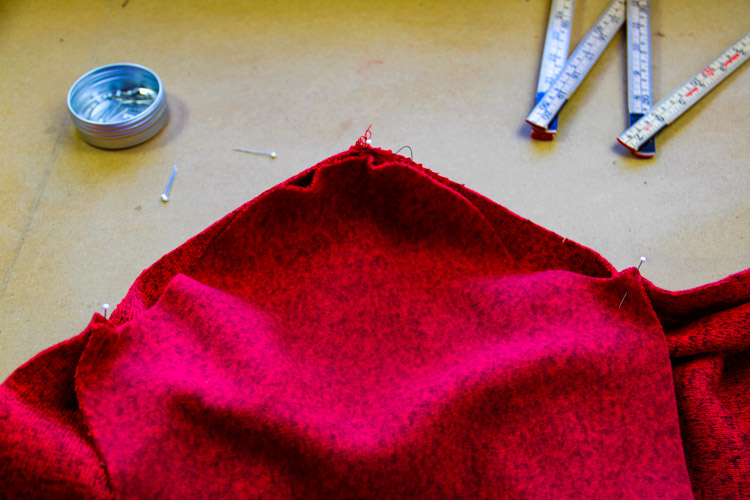
Now pin the rest of the sleeve to the armhole. Since the sleeve needs to be easestitched a bit, it will be necessary to pin densely near the top of the sleeve. Use double-threaded needle to easestitch your sleeve before pinning it if you are a beginner.
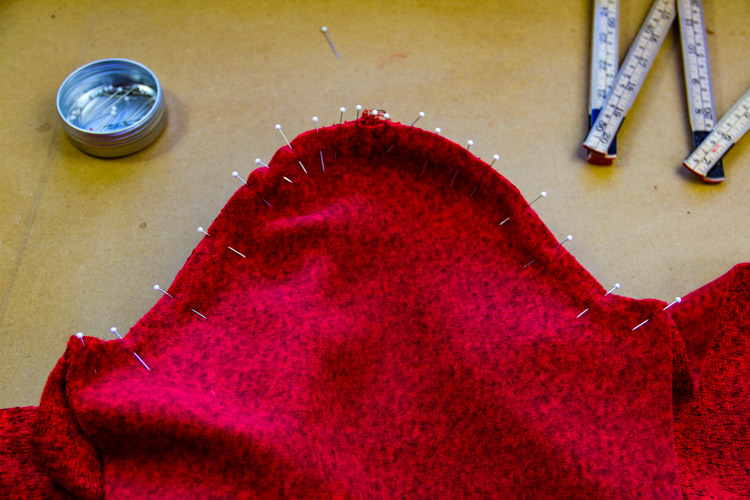
Sew the sleeve in and clean the seam and work on the other sleeve in the same way.
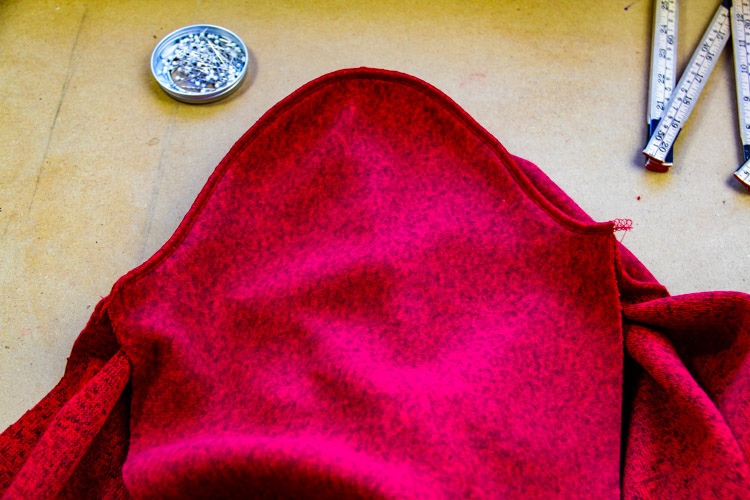
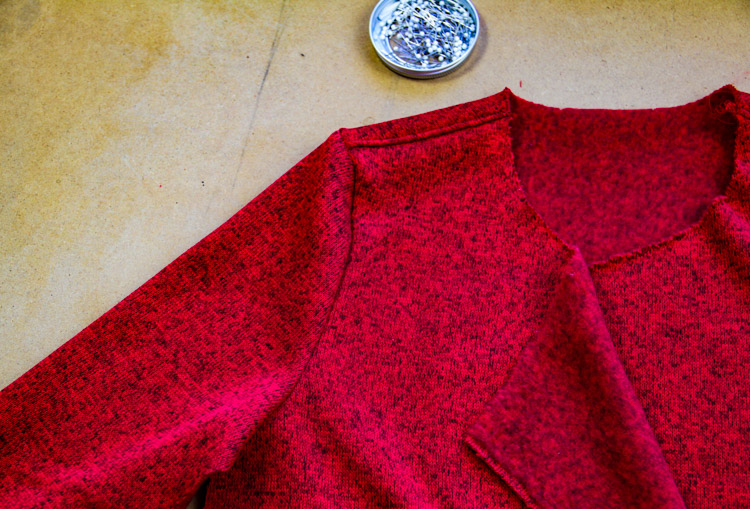
Sleeve hems
Sew the hems on the edges of the sleeves.
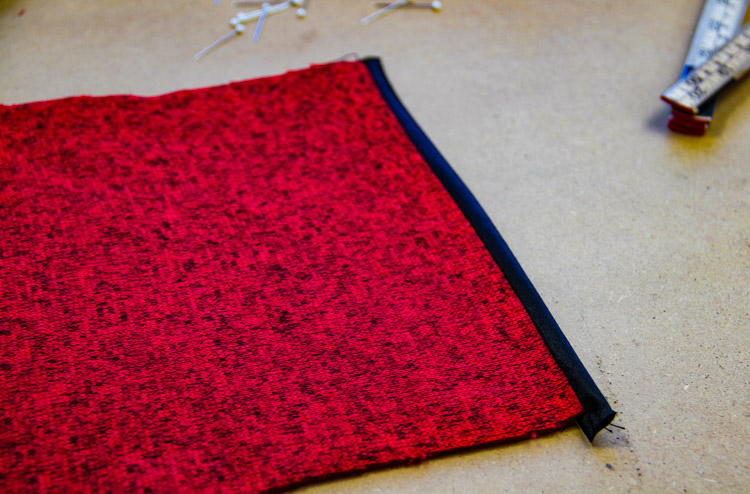
Pin the side seam and sleeve seam of the cardigan. It’s necessary to align edges of the sleeve hem precisely. Procedure for sewing closed parts of the garment with hems is described in the video tutorial above. Take look if you aren’t exactly sure how to do this.
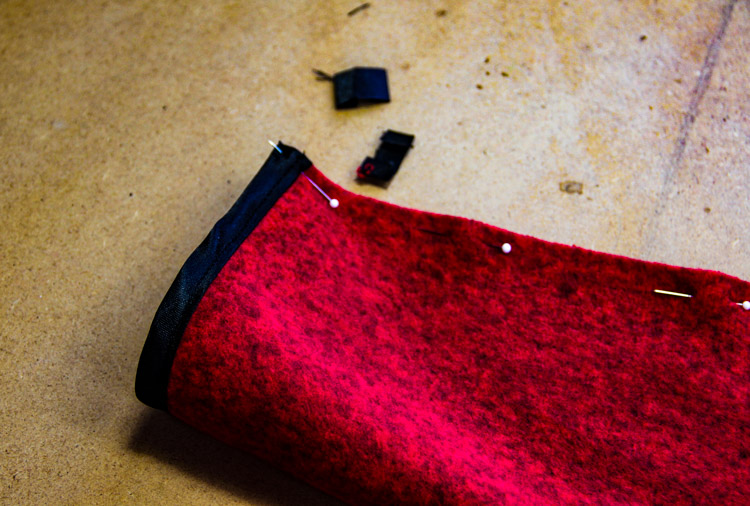
Sleeve seams & side seams
Sew pinned side seam and sleeve seam in one go.
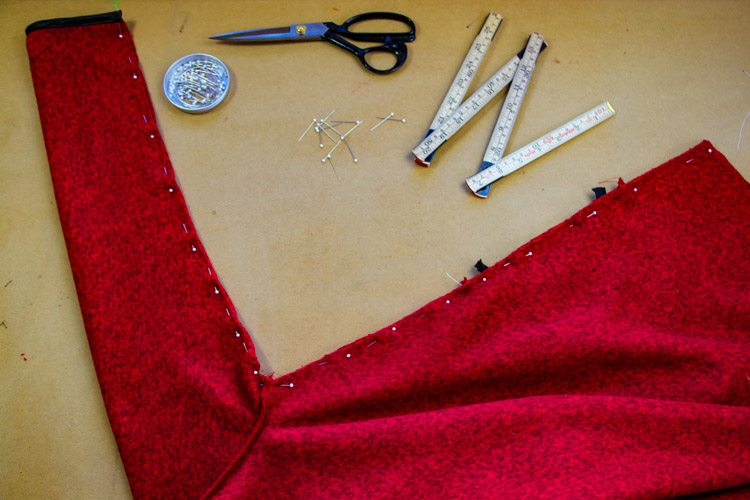
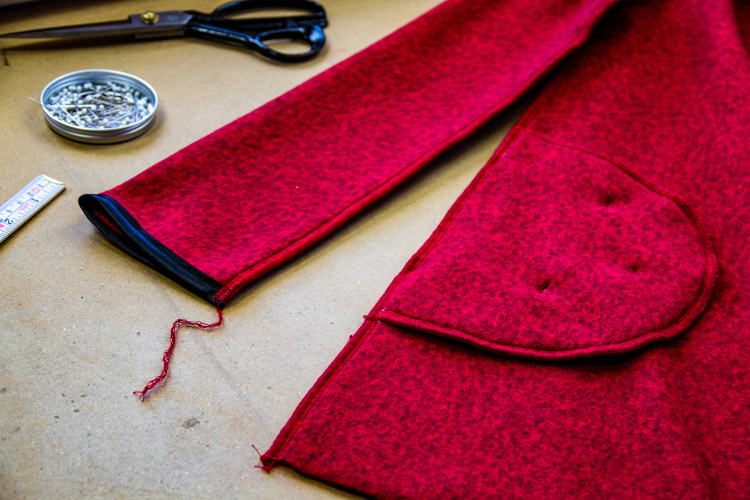
Pull free ends of thread chain near the hem of the sleeve under the loops when sewing on overlock.
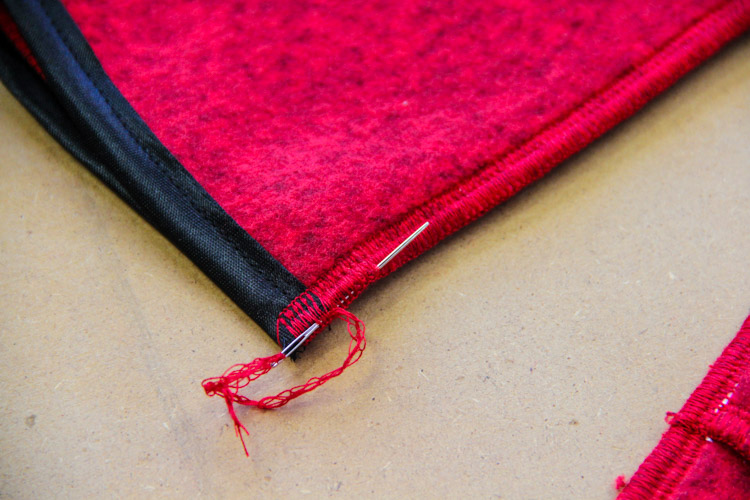
Press the seam allowance of the sleeve seam near the sleeve hem towards the back part of the sleeve. Sew through it from the face side with a few stitches to stabilise and flatten this part of the sleeve seam.
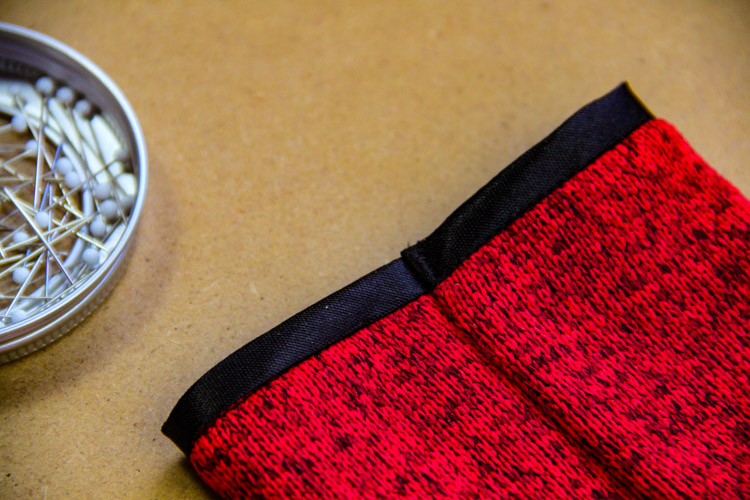
Bias tape hems
Now you just need to finish the cutting edges of the cardigan with bias tape hemming.
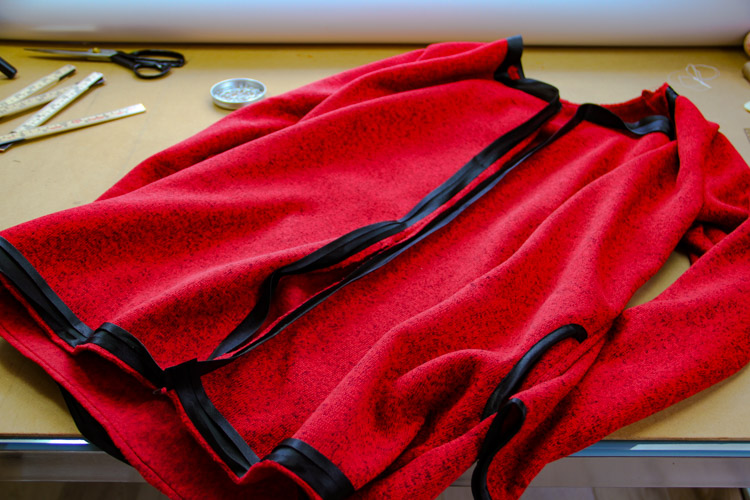
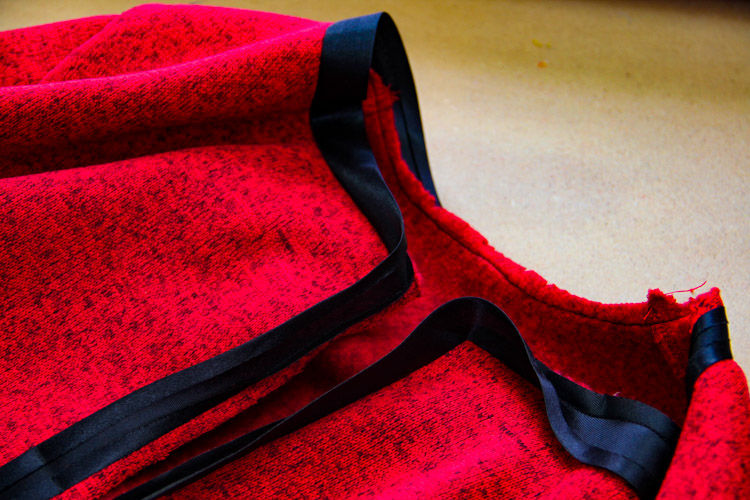
There are two ways to deal with the corners when sewing the hems. First option:
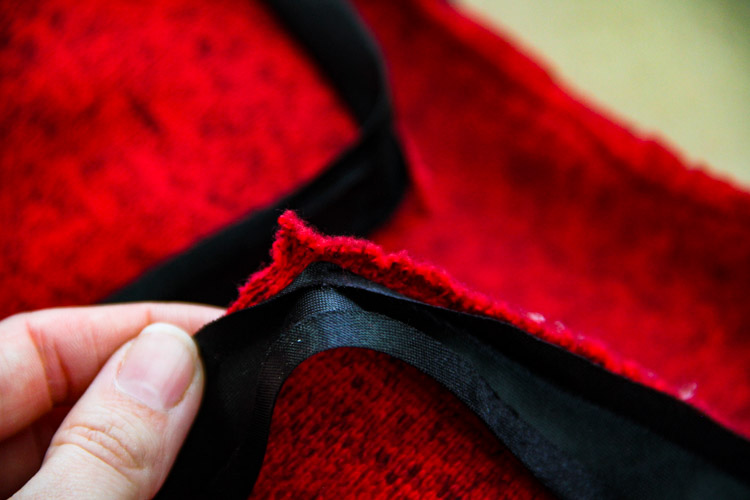
Cut the bias tape seam allowance up to the seam (perpendicularly to the seam).
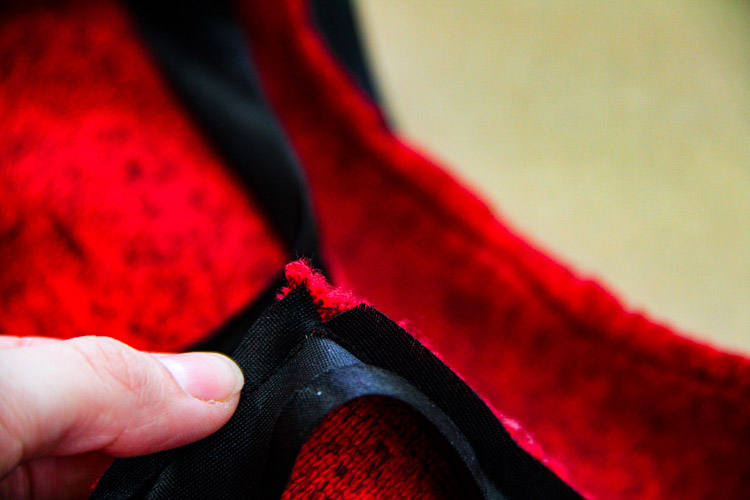
Cut off the corner like this.
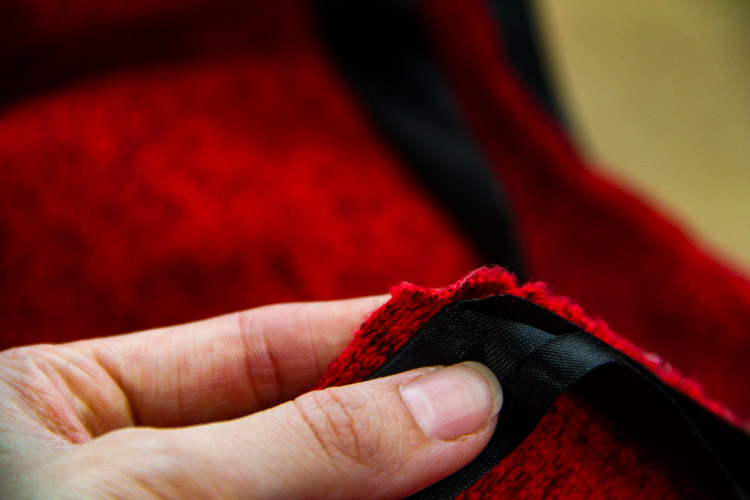
Pin the bias tape around the corner from the face side.
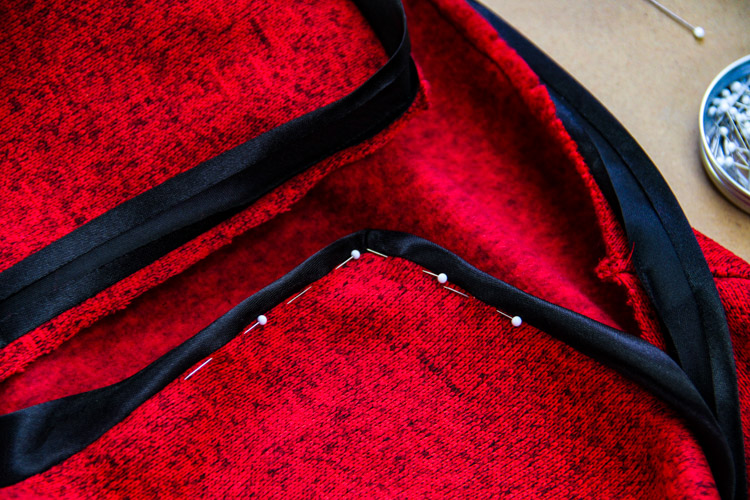
This is what it looks like from the reverse side.
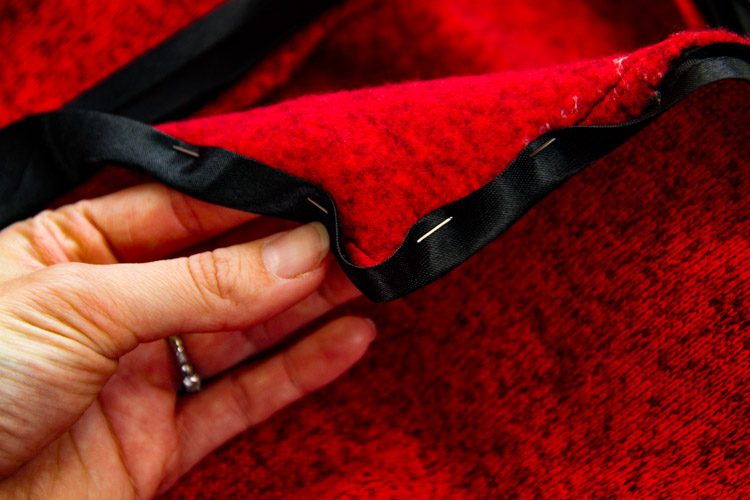
Fold the excess part of the bias tape like this to create smooth corner.
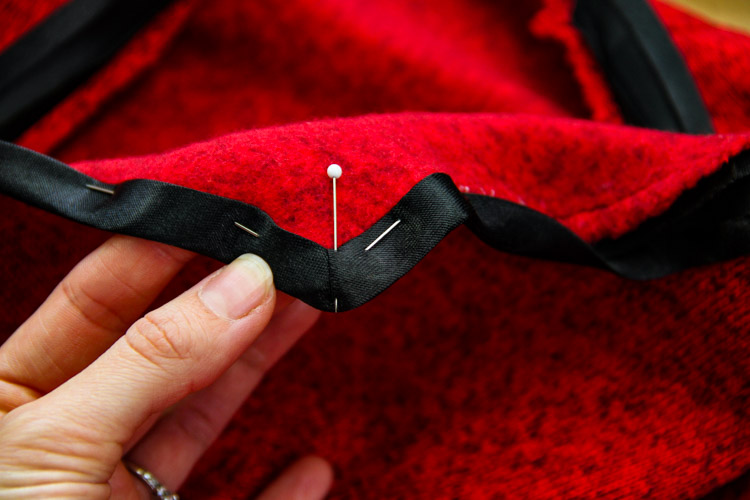
If you want to sew sharp corners you need to cut the bias tape right before sewing the other side (side “around the corner”) and then start this second side right at the edge of the corner. This method leads to corners like this one.
(You will need slightly more of the bias tape to sew the corners like this.)
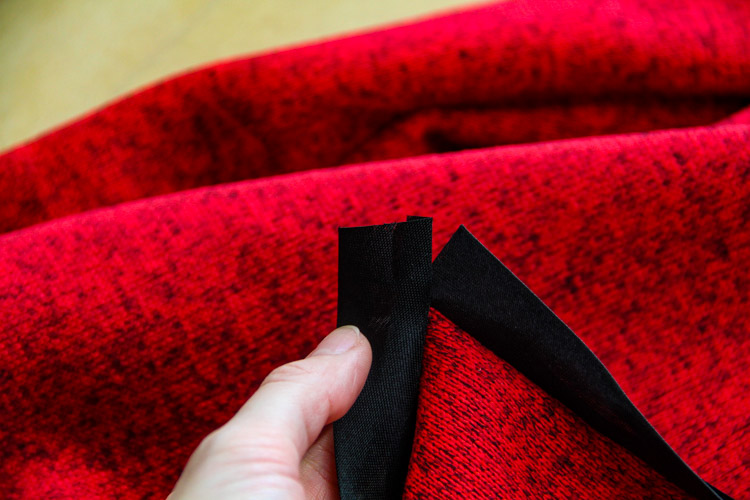
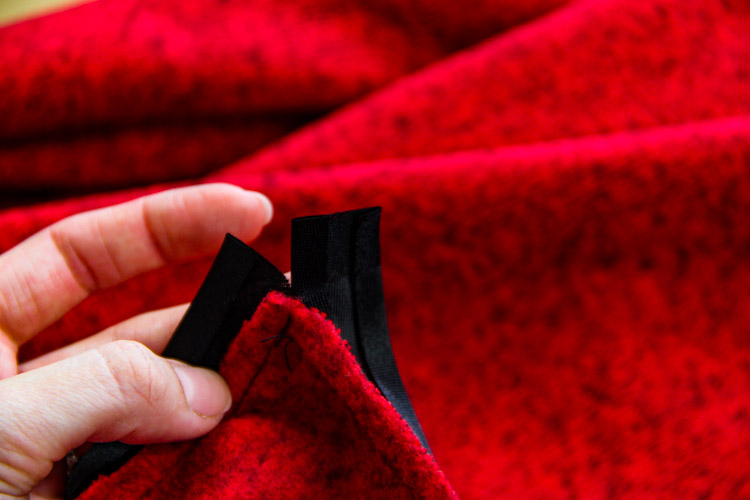
Pin one piece of the bias tape to its final position.
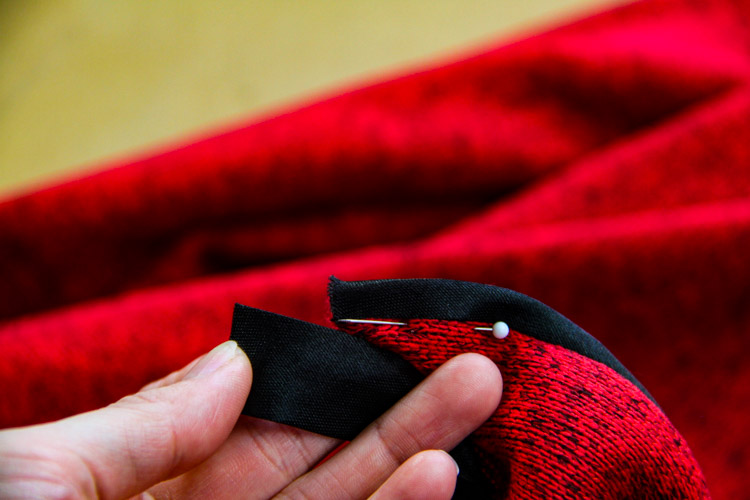
Fold second part of the bias tape over the corner and first bias tape.
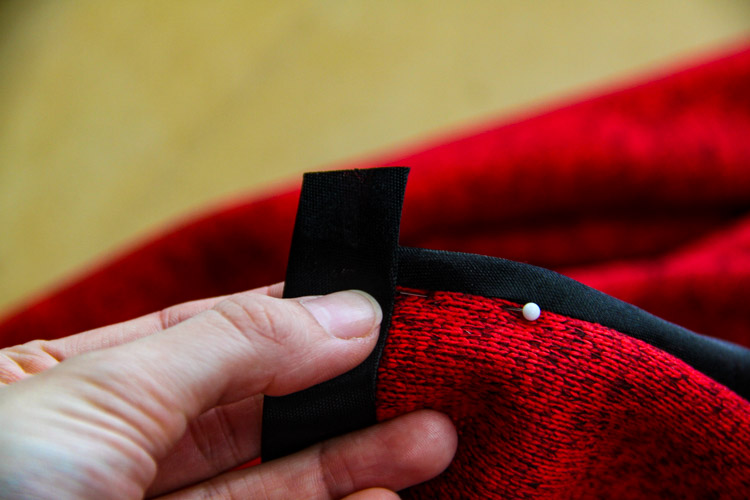
Fold the excess part to the reverse side...
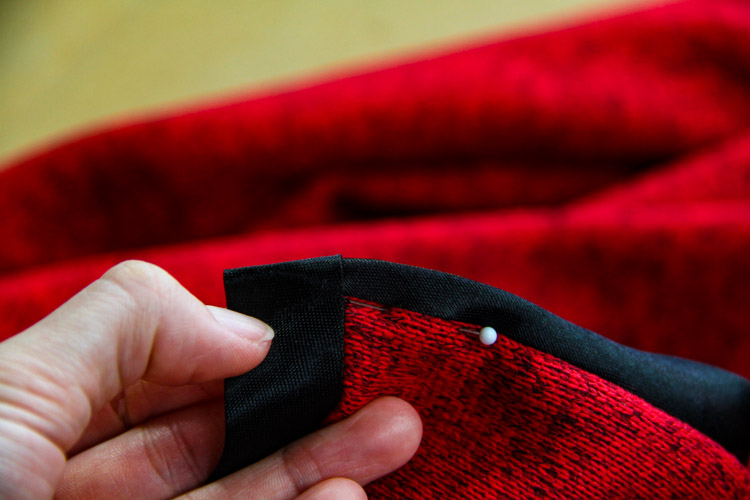
...and then fold the bias tape lengthwise. Pin bias tapes to the edges of your cardigan.
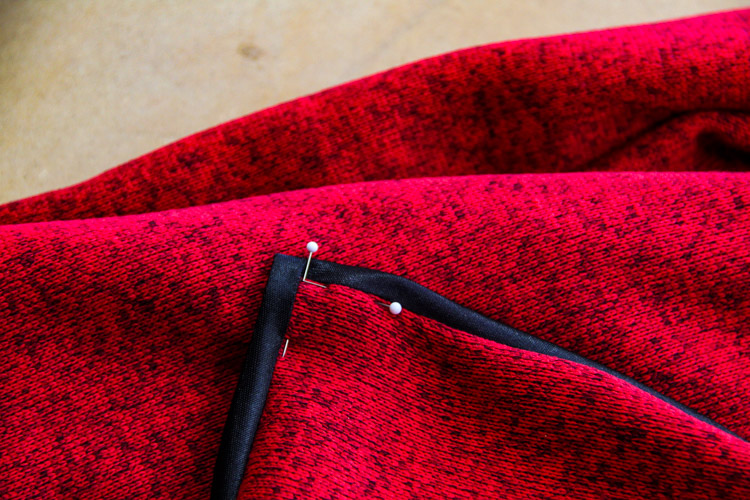
Temporarily stitch all sections of the bias tape to their final positions.
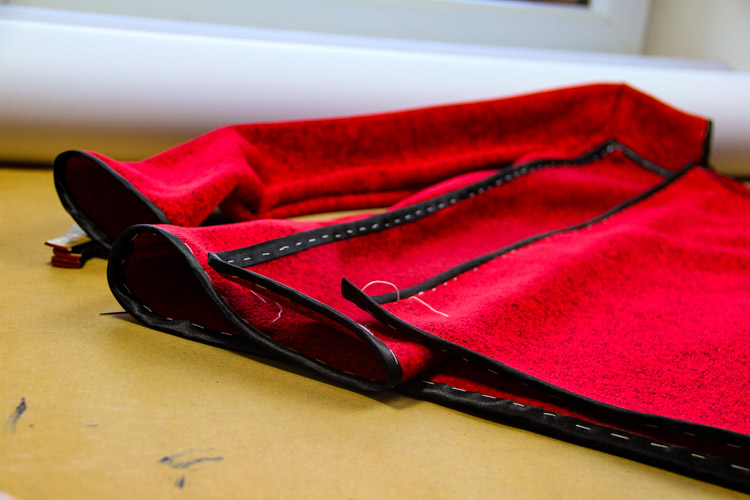
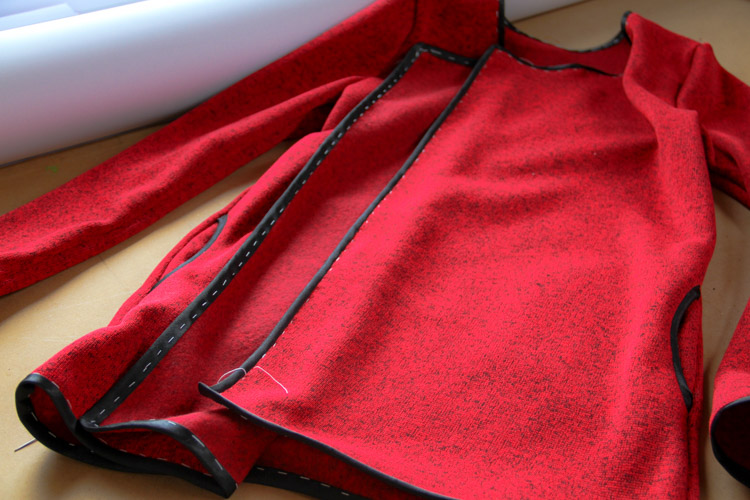
And sew it to the cardigan.
Belt
Last thing you need to sew is the belt. Fold its shorter sides 1 cm to the reverse side.
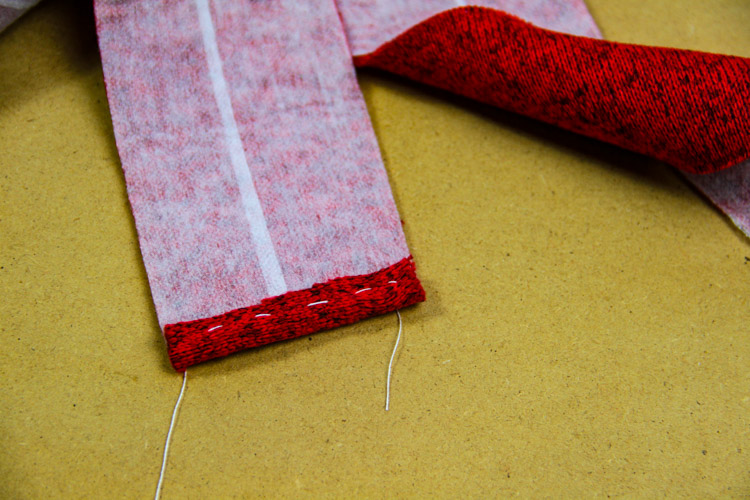
Then do the same thing with one of the longer sides.
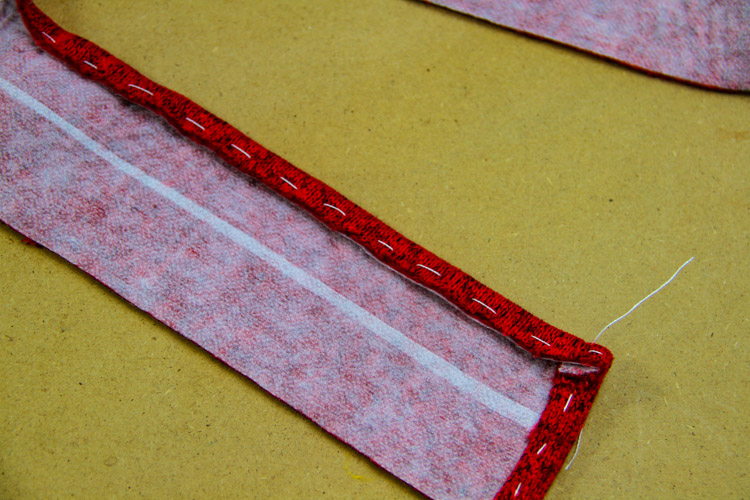
Fold prepared piece lengthwise in half.
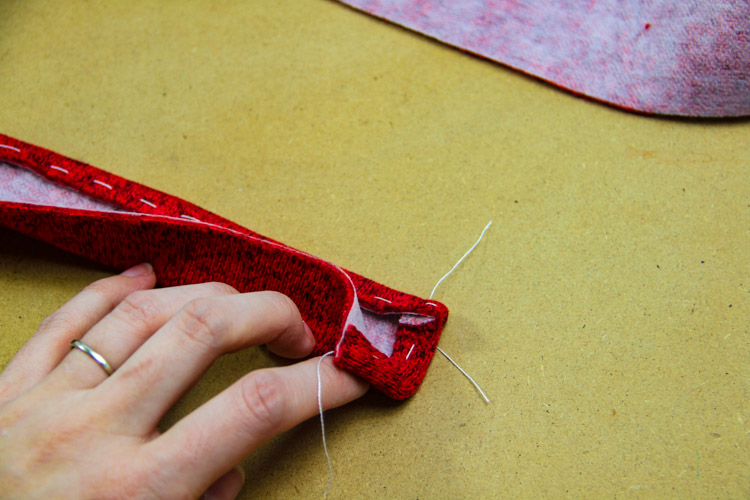
Next fold the second long side 1 cm to the reverse side and temporarily stitch long sides together to form a tube.
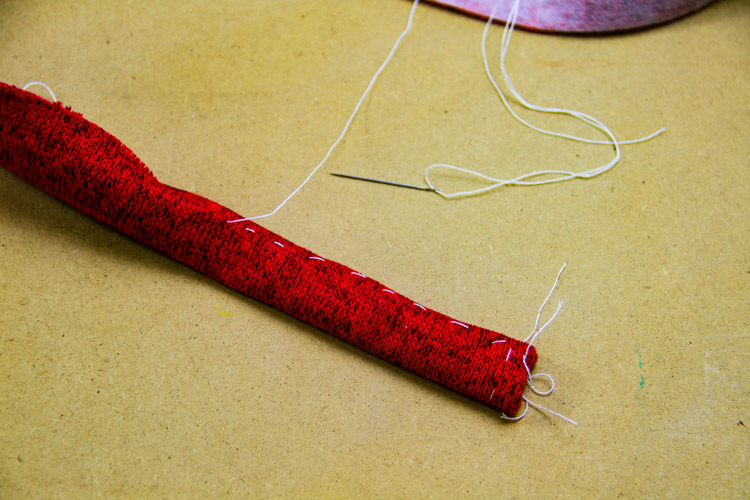
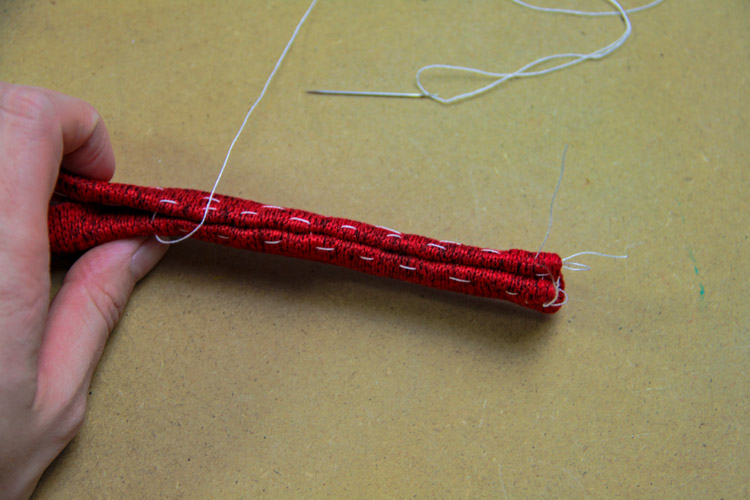
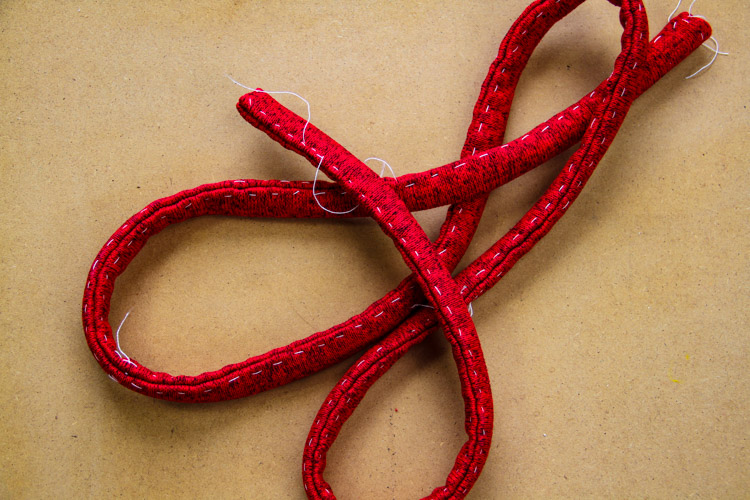
Now you just need to sew through the belt along edges of its long sides.
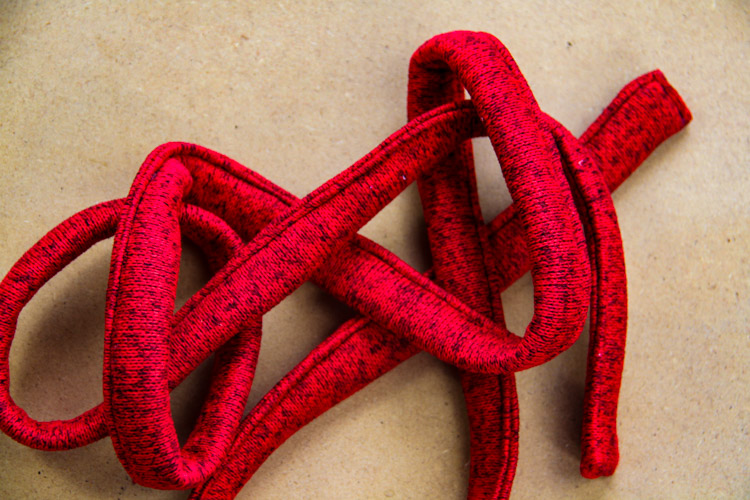
And that’s it! How do you like this version of cardigan WILD BERRIES? Are you going to sew it for yourself?
If you have a moment, leave a comment about how you like this pattern and today's instructions below the article.
Have a nice day, Peťa
You can get the pattern for this cardigan here:
Pattern for women’s reversible oversized cardigan (sizes 32 – 60)

