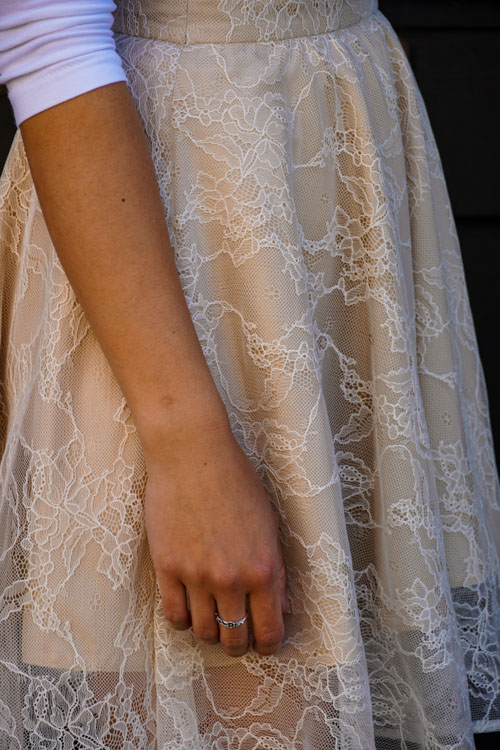
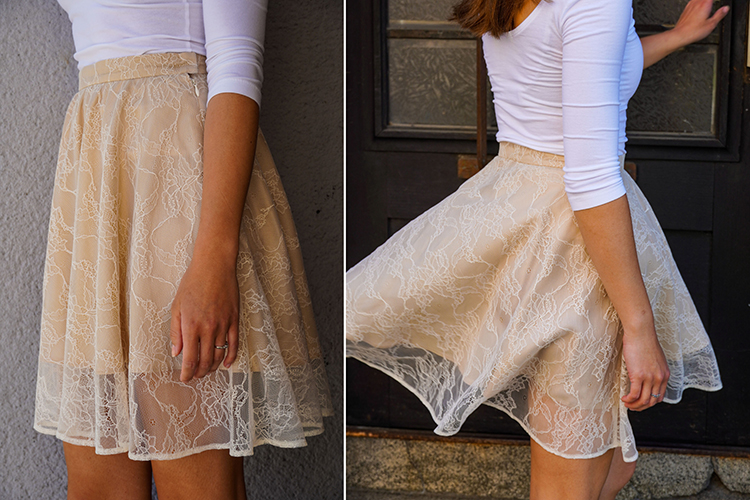
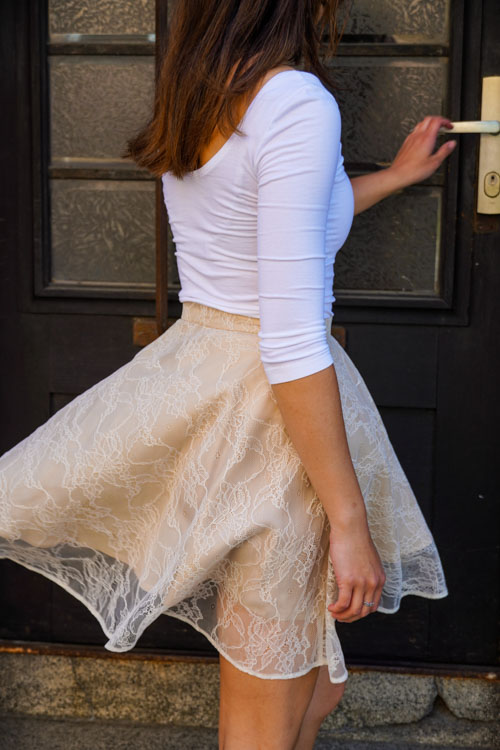
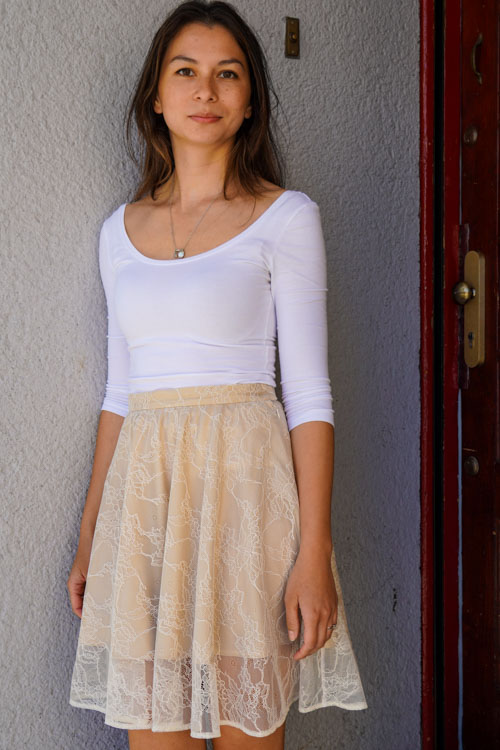
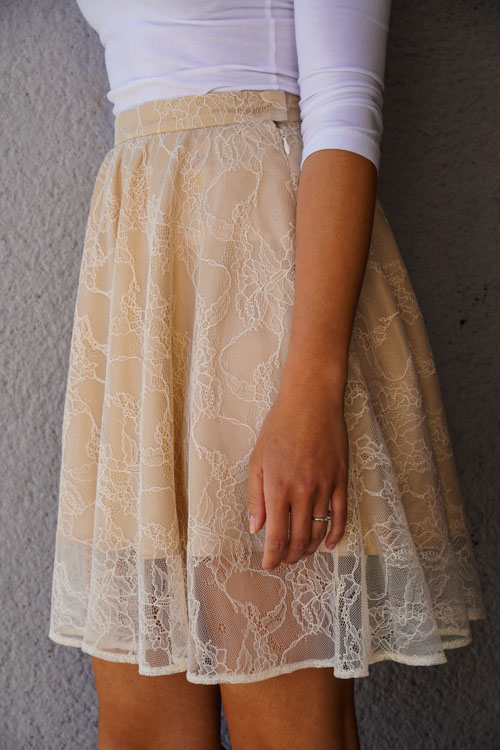
This article is dedicated to sewing a lace skirt with lining, but you can also use these instructions to line skirts other than lace. So if you are sewing a tulle or chiffon skirt, continue, you will find a lot of useful and interesting information in this article. I will demonstrate the techniques on the pattern for women's skirt RACHEL, which I have prepared for you in three lengths. The lining is cut according to the pattern for the "mini" version, and the outer lace fabric is cut according to the "above-the-knee" version.
The pattern
You can get the pattern for women’s skirt RACHEL here:
Skill level
- This pattern is suitable for beginners. The only tricky part is sewing the zipper. However, if you don't try, you'll never learn, will you... :)
- When sewing the skirt, I mainly used a regular sewing machine. I used an overlocker to clean cutting edges of the side seams, but you can do this with a regular sewing machine (and zig-zag stitch, for example).
- If you need help, please visit this section of our sewing forum:
Recommended material
Pokud bude sukně vaše první podle tohoto střihu, doporučuji na začátek zvolit kvalitní slabé bavlněné plátno (vhodná jsou americká bavlněná plátna) nebo bavlněný popelín...
Látky, které jsou na šití sukně vhodné - vrchové látky:
If you are sewing a skirt according to this pattern for the first time, I recommend a good quality light cotton canvas (American cotton canvases are great) or cotton poplin...
Other suitable fabrics (for the outer part of the skirt):
- Light and flowing woven fabrics such as:
- American cotton canvas
- (the skirt featured in this article is made from American cotton, specifically cotton from Michael Miller: Miller - American cotton canvas)
- Cotton poplin
- Blouse fabrics (airy and flowing)
- Laces - High-quality lace makes a beautiful lightweight skirt, but you need to add a lining to the mix. I generally like to use natural materials, so I highly recommend viscose linings for example - they wrinkle easily but are breathable and so very comfortable to wear. (If you use synthetic lace & lining, you may feel uncomfortable and sweaty in summer…)
- Chiffon - Great for summer skirts. I recommend you try this material at least once. Working with chiffon requires some practice and patience, so I do not recommend this material to beginners. But with a little effort, you can sew incredibly beautiful chiffon pieces. Instructions on how to work with chiffon and other fine fabrics can be found in this article: How to sew fine fabrics
- A huge selection of quality materials suitable for this skirt can be found at Dumlatek.cz.
- American cotton canvas
You will also need lining fabric. I recommend sewing linings from natural materials because they are breathable and comfortable to wear even in the hot summer. (If you use synthetic lace & lining, you may feel uncomfortable and sweaty…) I used a viscose lining fabric, as I almost always do. Viscose linings crease more easily compared to synthetic ones, but it's not a big deal, so despite this fact, I use viscose linings for almost everything.
You'll also need a zipper (18–20 cm / 7”– 7 7/8” long) and one-sided fusible interfacing (to reinforce the waist and zipper area). If the difference between your hip circumference and waist circumference is more than 25 cm / 10", then I recommend choosing a slightly longer zipper so that you can put the skirt on with ease.
Suggestion
- Not all cotton canvases are suitable for skirts. Avoid cheap and poor-quality canvases - they are usually too rigid (not flowing), bleed color, and become faded after just a few washing cycles. Fibers of low-quality canvases tend to break during washing, creating permanent creases.
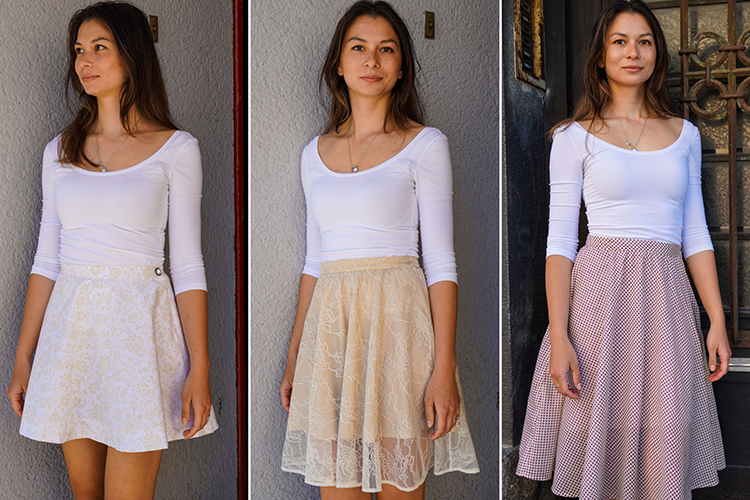
- Cotton canvases aren’t as flowing as poplin, or blouse fabrics and chiffons. That's why cotton canvas skirts are not so flowing and look a bit bulkier. If you are afraid that your skirt will look "boxy", choose a poplin, blouse fabric, or chiffon. In the photos below you can see photos of skirts that are sewn according to the same pattern, but I chose a different material for each one. You can see how changing the material can significantly affect the overall look of the skirt.
How to sew women’s skirt RACHEL
I have published a total of three sewing tutorials for this skirt pattern (you're reading the second one right now).
You can explore the first tutorial here:
And the third tutorial (for the beginner version of the skirt) can be found here:
Pattern layout
For this version of the lace skirt, you don't need zipper overlap and underlap, so you can cut the front and back pieces with 1.5 cm (5/8") wide seam allowances.
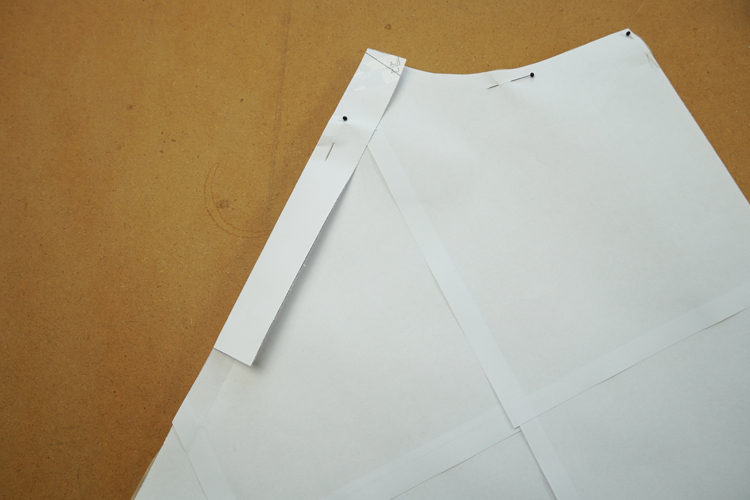
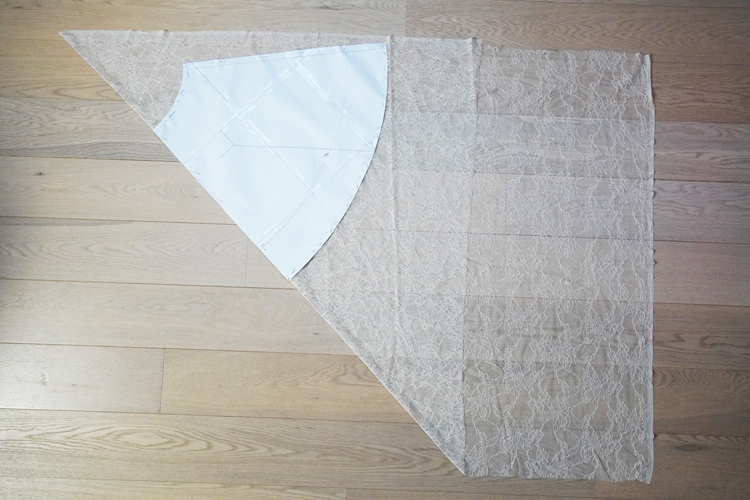
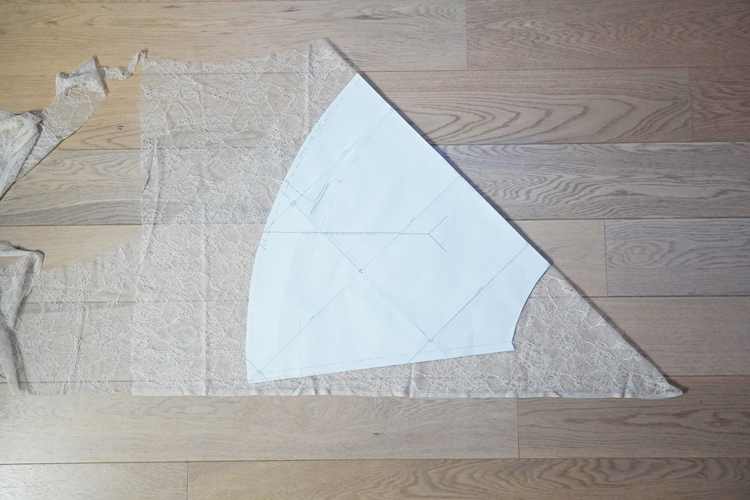
Take your primary fabric and prepare one back piece and one front piece. Cut the pieces on the fold, but not lengthwise - cut them on the bias. This will make the skirt more flowing.
Next, prepare the belt. This time I sewed my belt from two pieces of fabric, so I folded the paper pattern in the indicated side seam and cut both pieces a bit longer (as if I wanted to use the zipper overlap), plus I added 1 cm (0.4") extra for the seam allowance in the side seam.
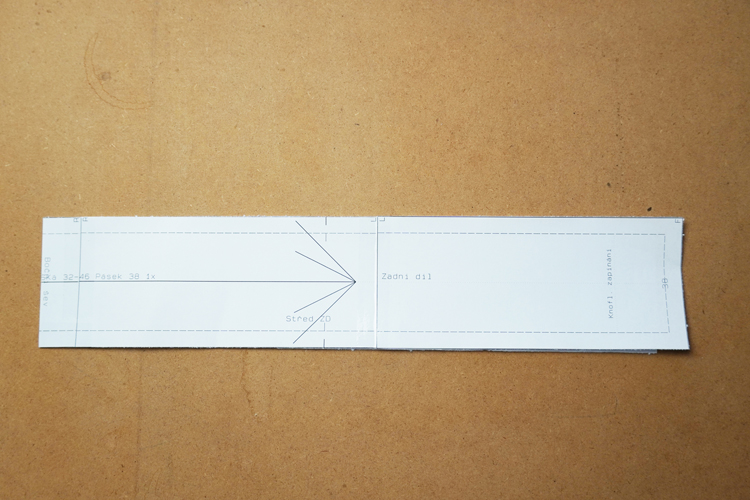
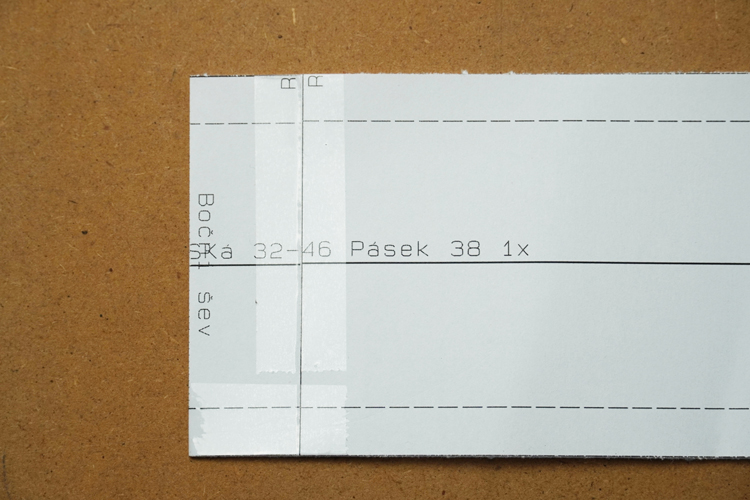
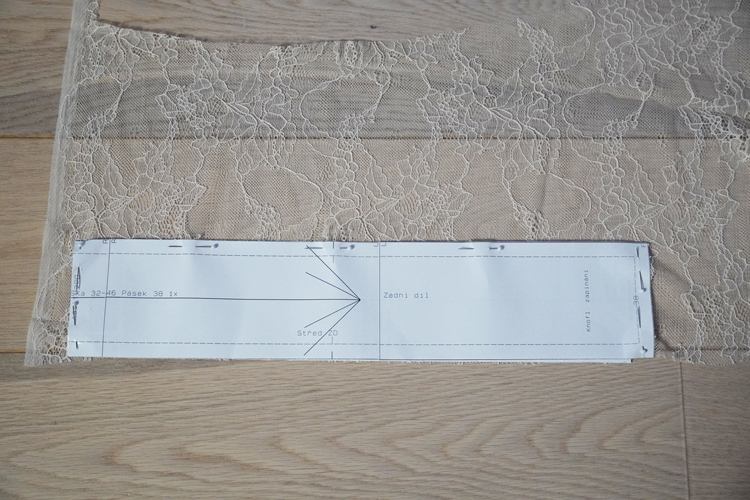
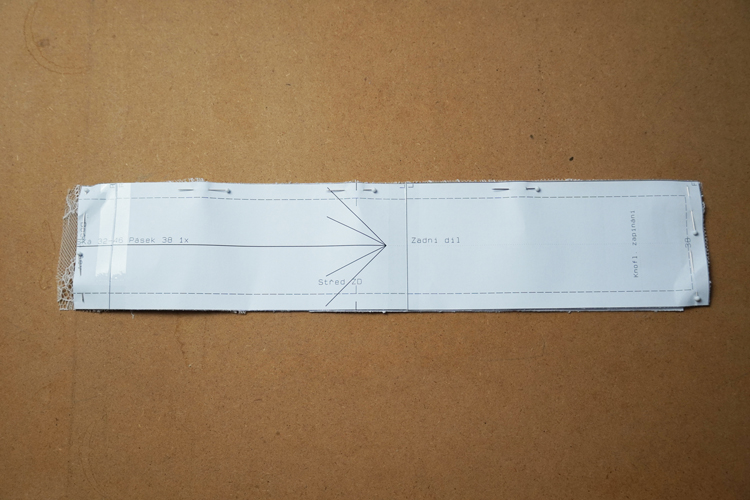
Cut the pieces for the lining skirt in the same way. I used the mini version of the pattern for the lining.
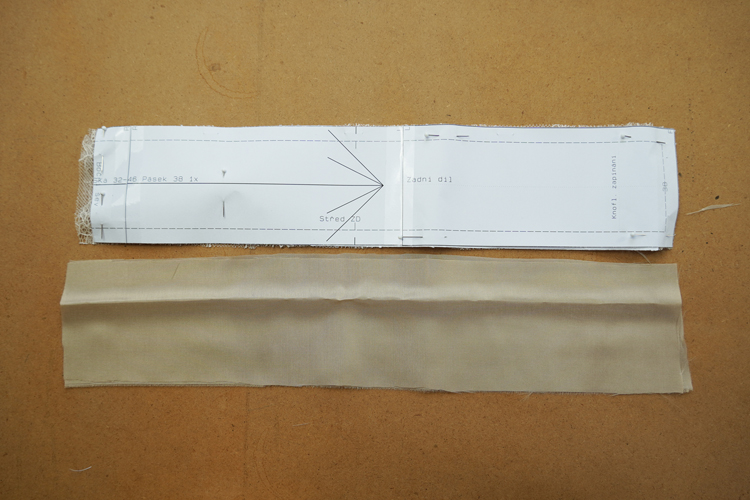
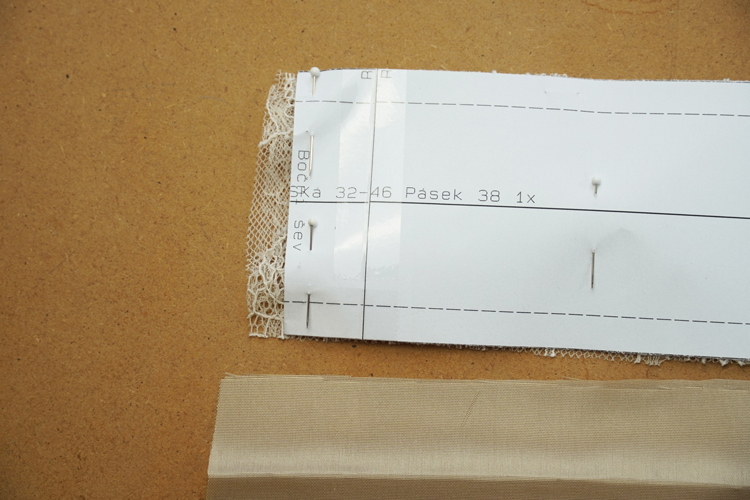
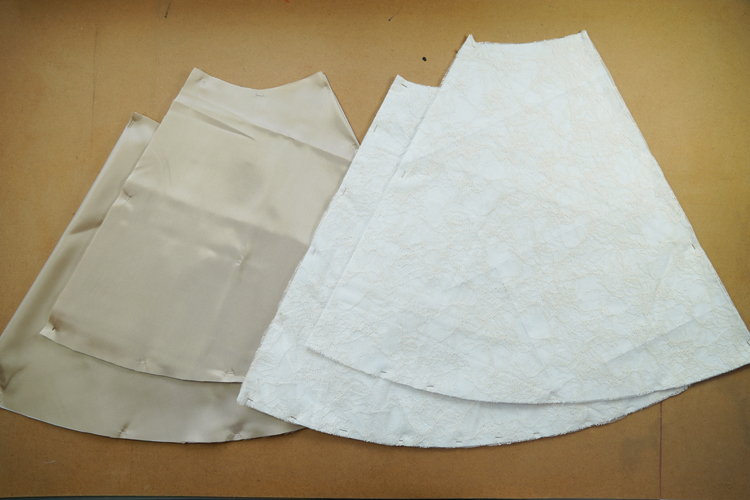
If you also want to use the mini version of the skirt for the lining and don't want to cut or copy your pattern, you can use your tracing wheel to simply mark the line of the shortened skirt on the fabric...
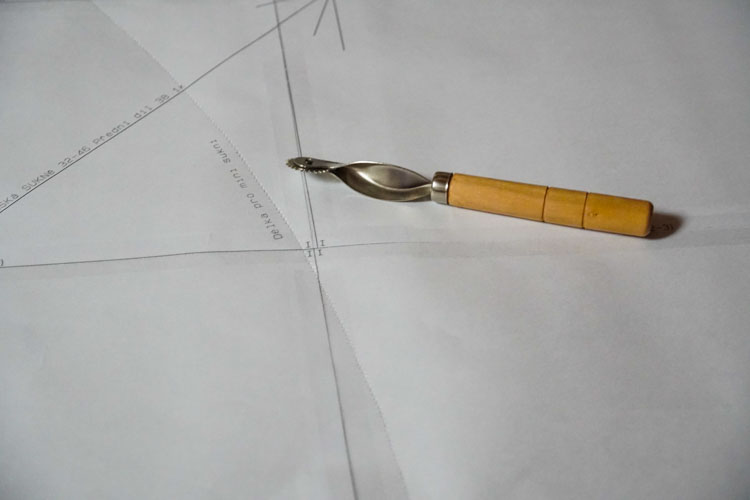
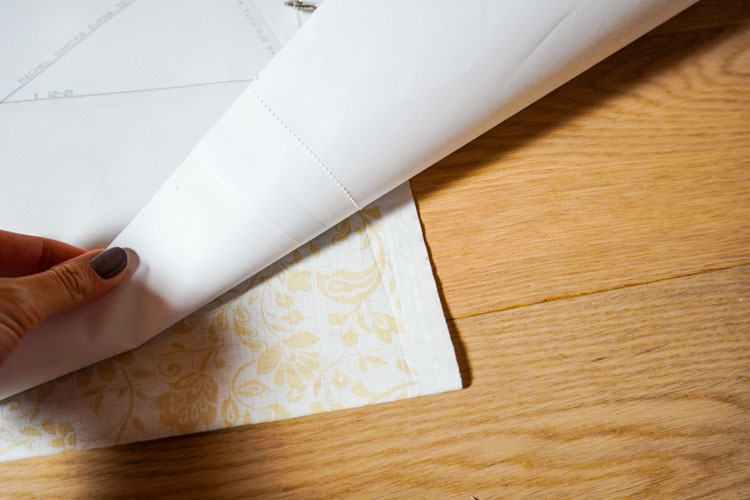
I recommend that you mark the sides of the lining pieces so that you always know which is RS and which is WS.
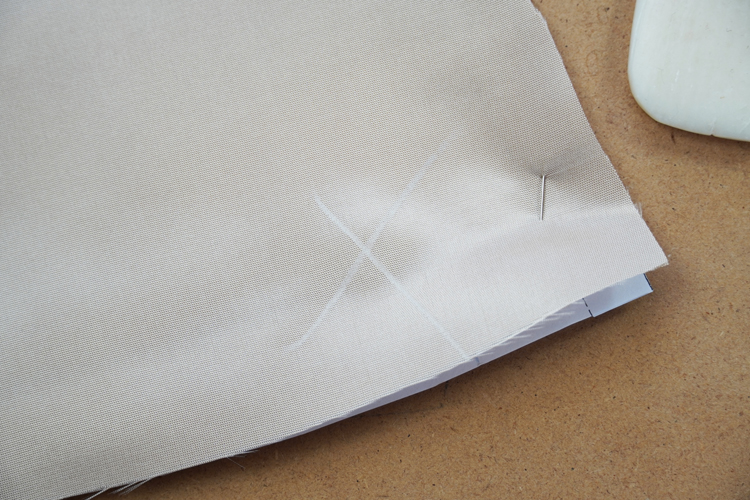
Also, mark which pieces are the back and which are the front so you don't get them mixed up. I always mark my back pieces with pins...
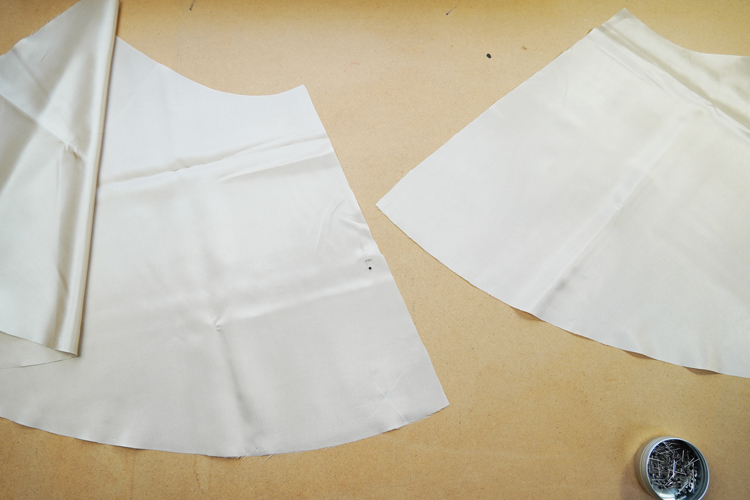
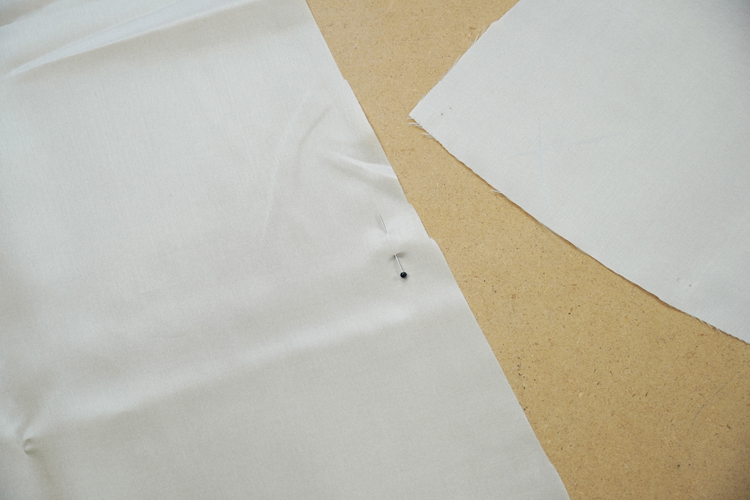
Reinforce the lining parts of the belt with one-sided fusible interfacing.
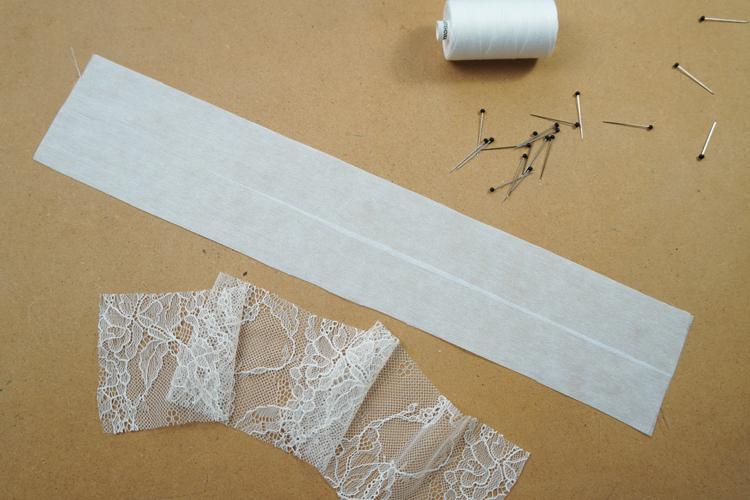
Prepare the pieces
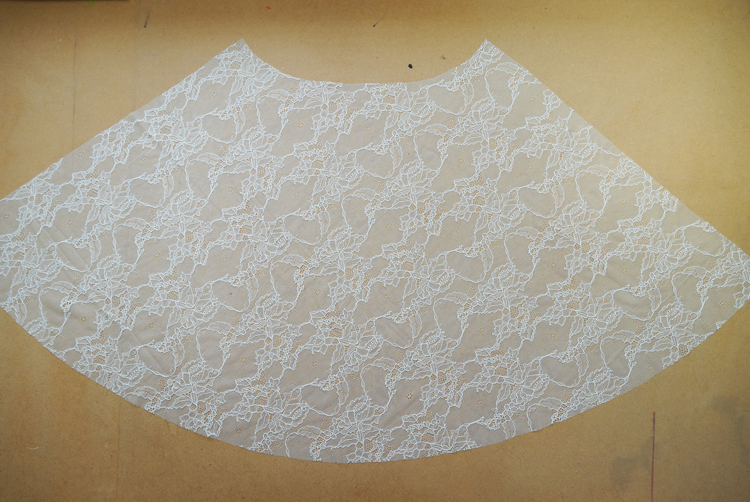
Take the back piece and lay it WS up.
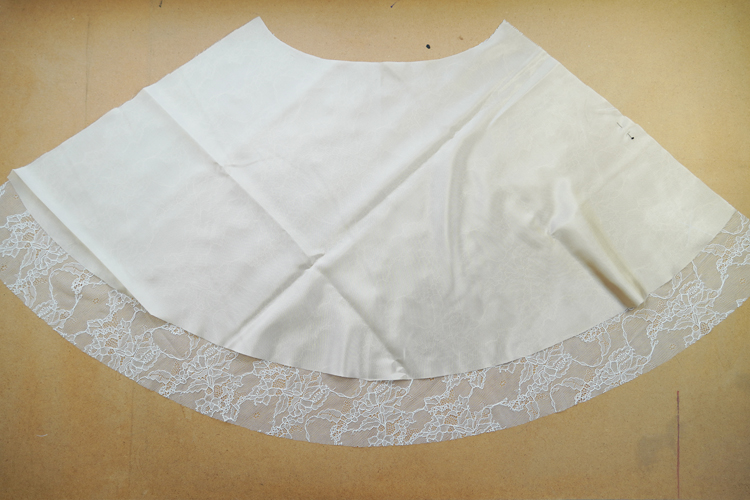
Put the back piece of lining fabric on top of it (also WS up). Align the side seams and top parts of both pieces.
Pin the two pieces together. There is no need to use a lot of pins - temporary stitches will do most of the work.
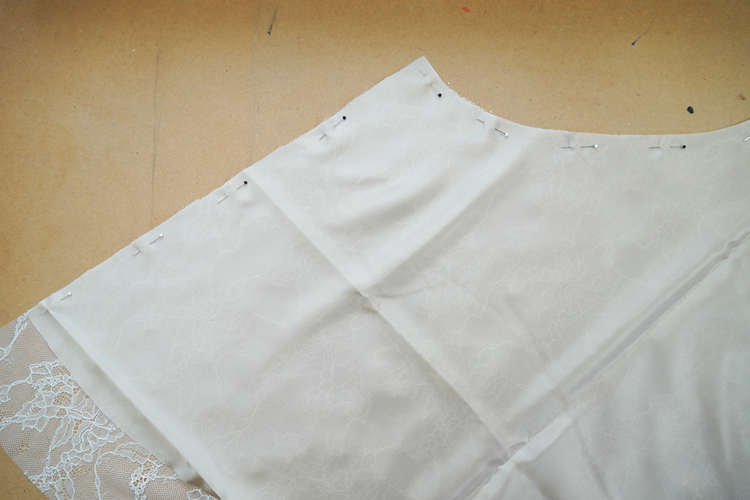
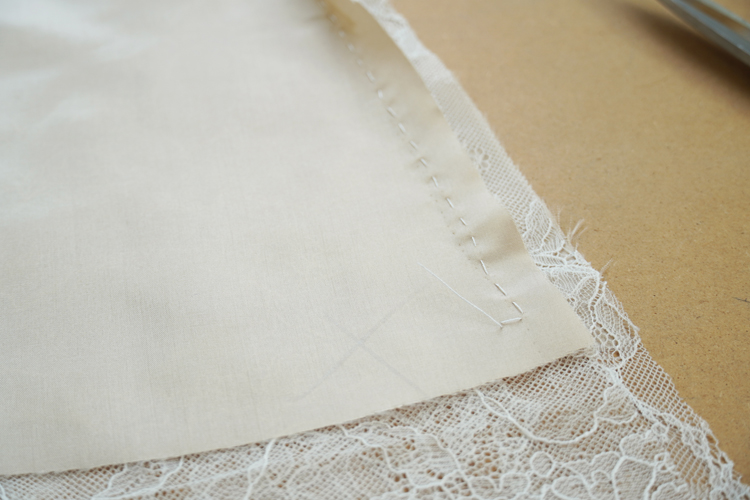
Temporarily stitch (baste) the side seams and tops of both pieces.
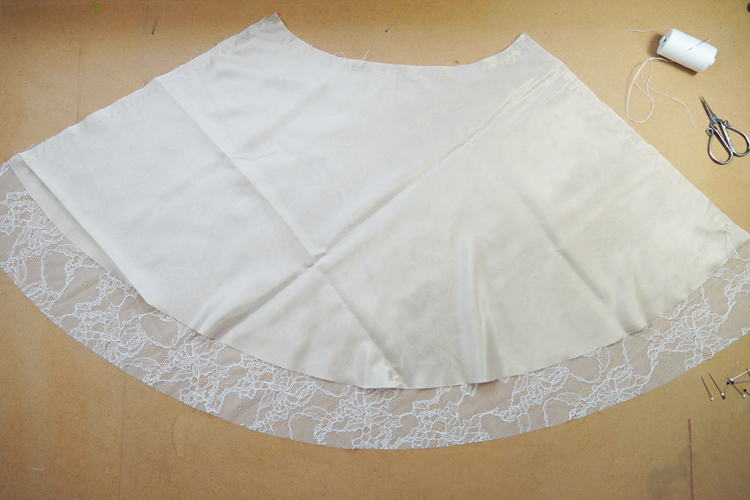
Do not stitch all the way to the bottom edge of the lining skirt in the side seams - finish/start about 3–4 cm (1.18”–1 5/8") above the bottom edge.
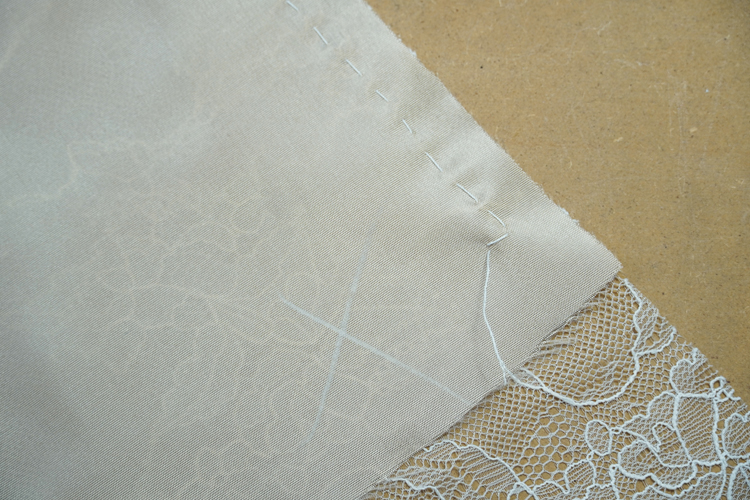
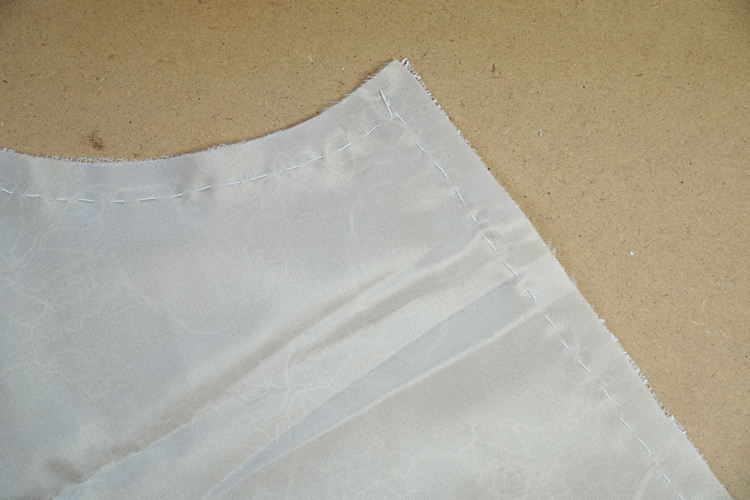
Do the same with the front parts of the skirt.
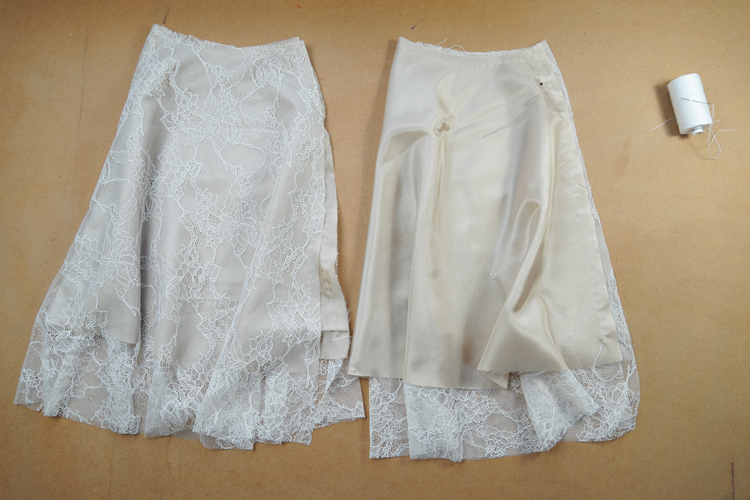
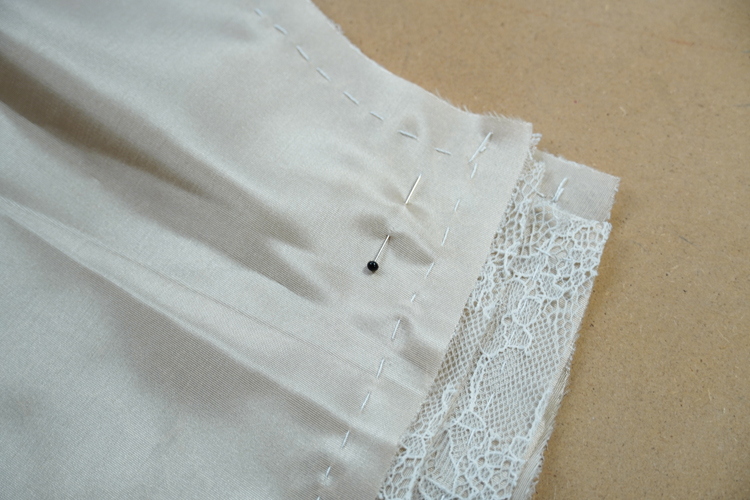
Similarly, baste all belt pieces.
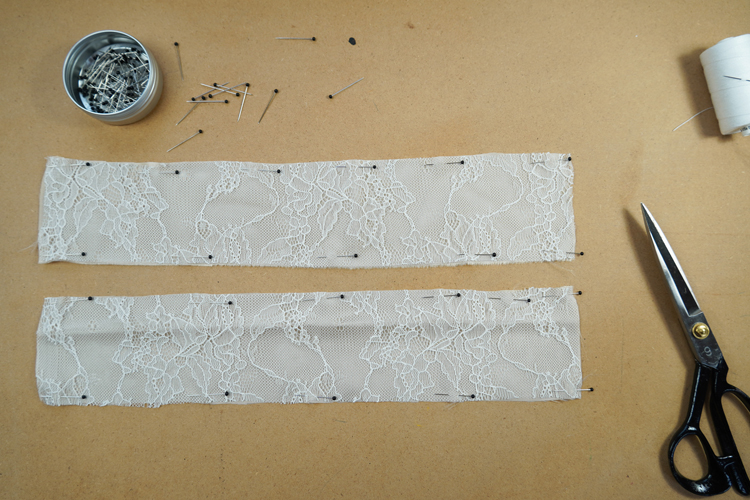
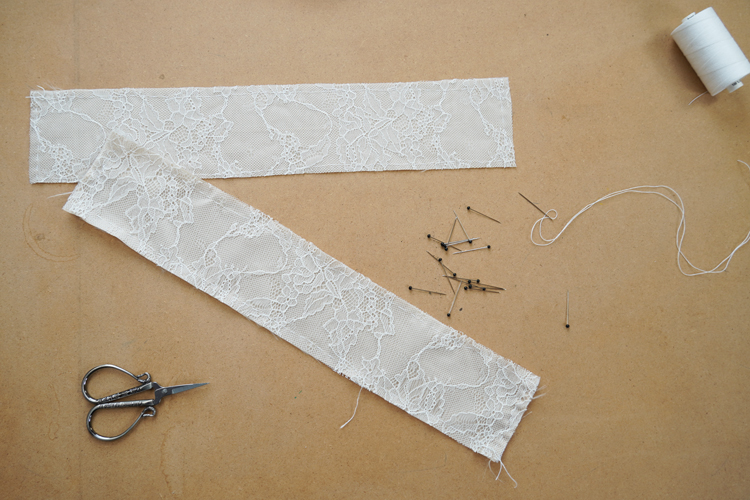
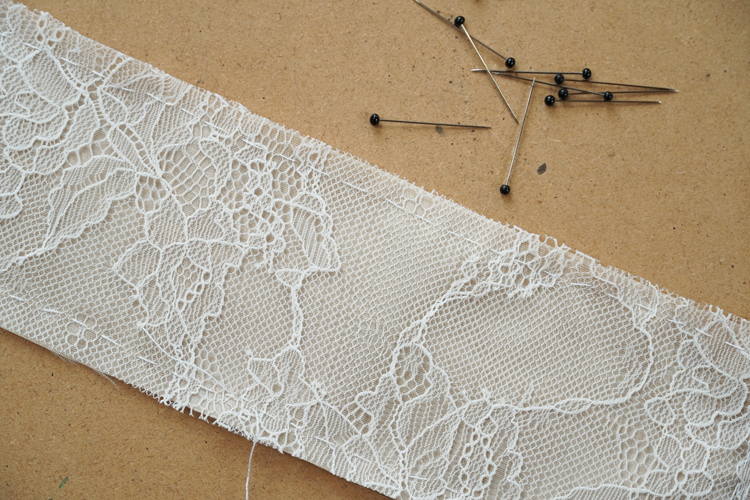
Fold both (stitched) belt pieces in half (lengthwise, RS out) and iron them.
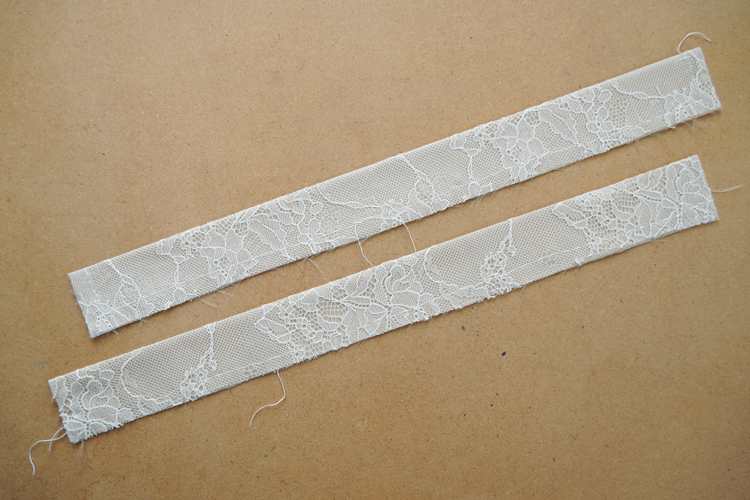
Once you've got your iron warmed up, you can also prepare the zipper. Unzip, flatten, and carefully iron the zipper (be careful not to melt the teeth). :)
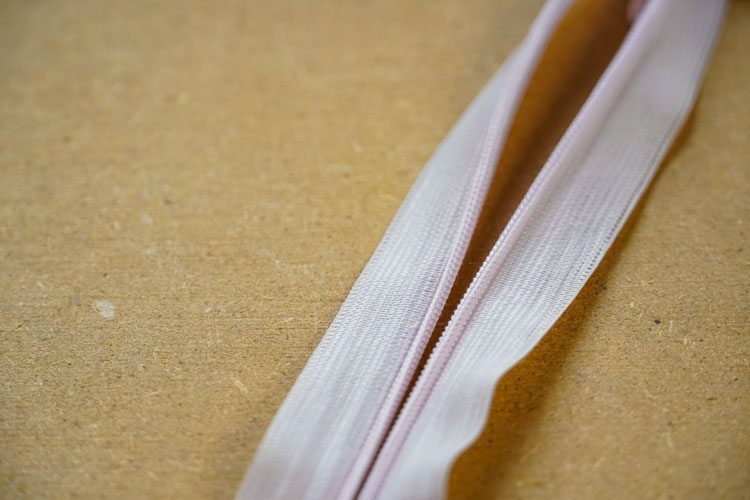
Zipper
A common question is which side to sew the zipper on. There are different rules for placing the zipper on the left or right. I like to respect laterality. So if you are right-handed, place the zipper on the left side so that you can easily reach it with your right hand. If you are left-handed, place the zipper on the right side. This is how I do it, but you can place the zipper according to your preferences. I'm right-handed, so I'll have the zipper on the left side.
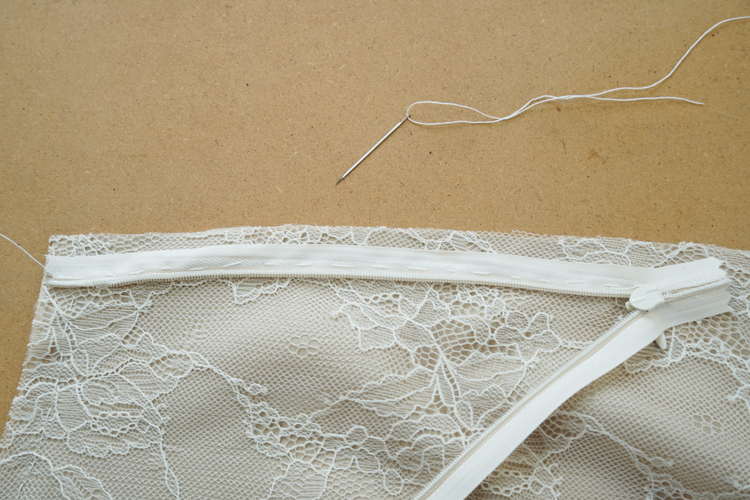
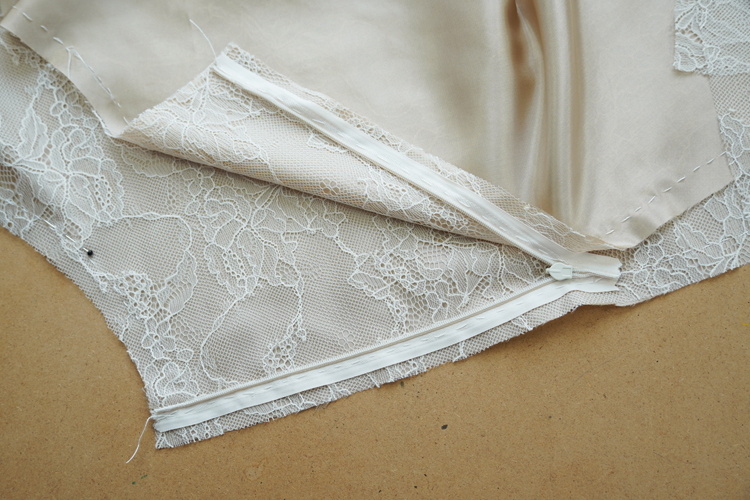
Side seam allowances are 1.5 cm (5/8") wide. Place the zipper 1.5 cm (5/8") from the cutting edge (RS to RS).
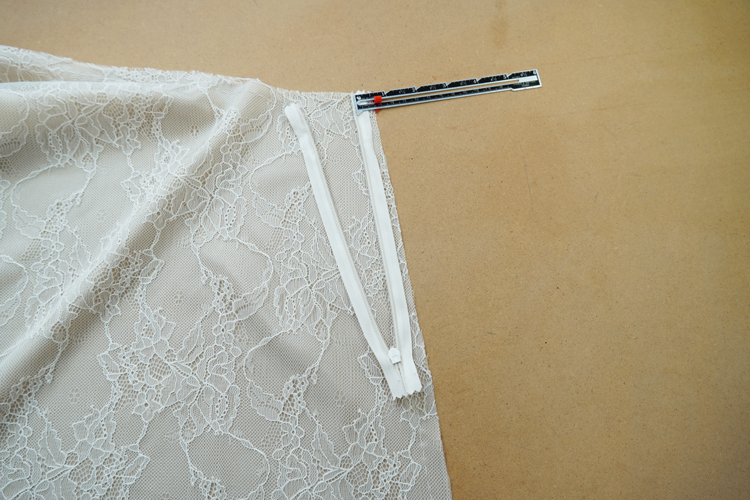
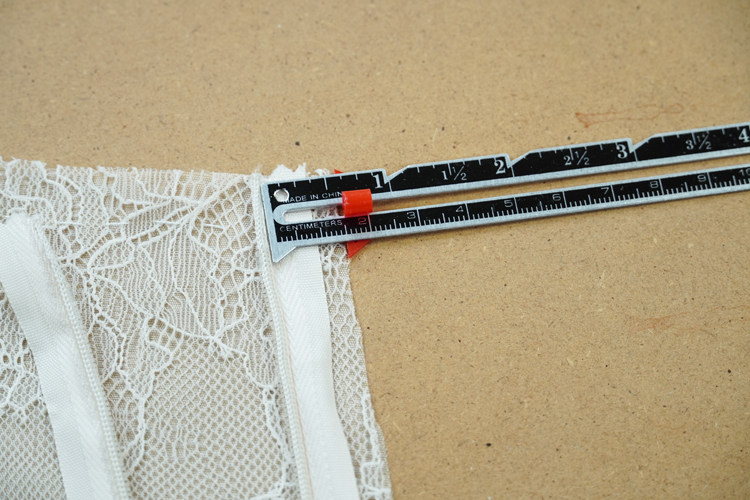
Baste the zipper in this position to both pieces (back and front) of the skirt.
Fitting test no.1
If you have stitching threads (basting threads) in multiple colors at home, this is a good time to find them. If you don't have multiple colors of basting thread, you can replace them with embroidery thread unraveled into individual threads.
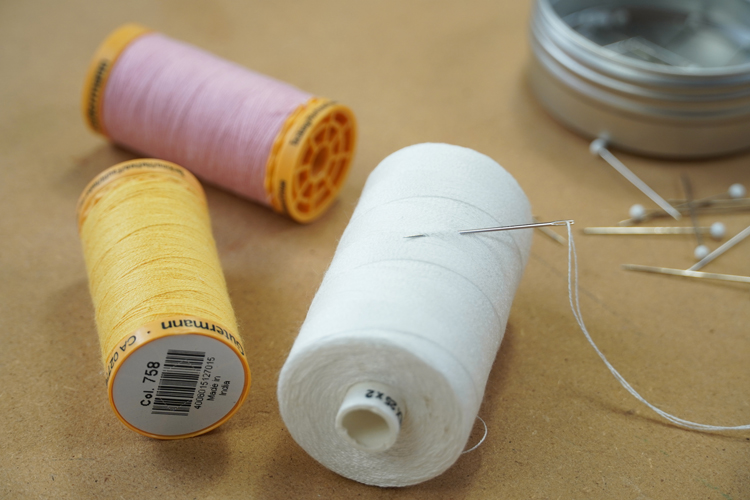
Baste both side seams. I recommend using a stitching thread of a different color than you used to stitch the primary and lining pieces together. That way you'll remember which is which and not get them mixed up when it's time to pull them out.
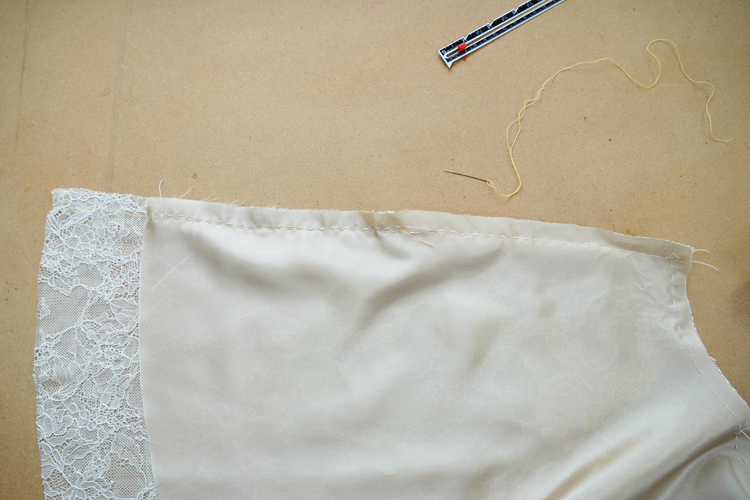
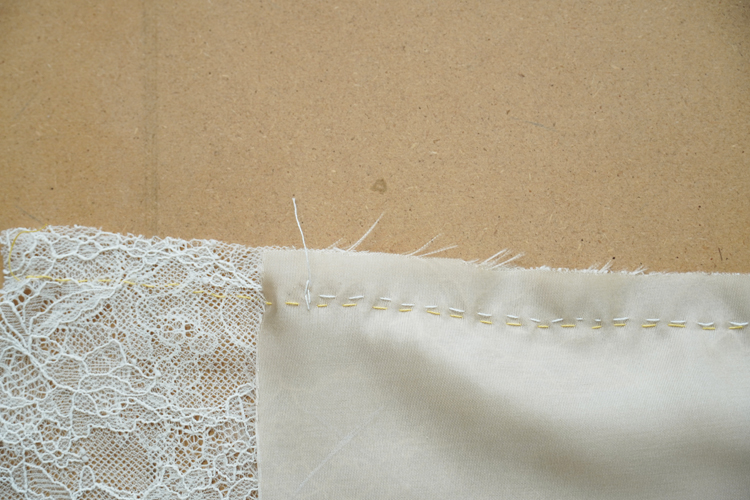
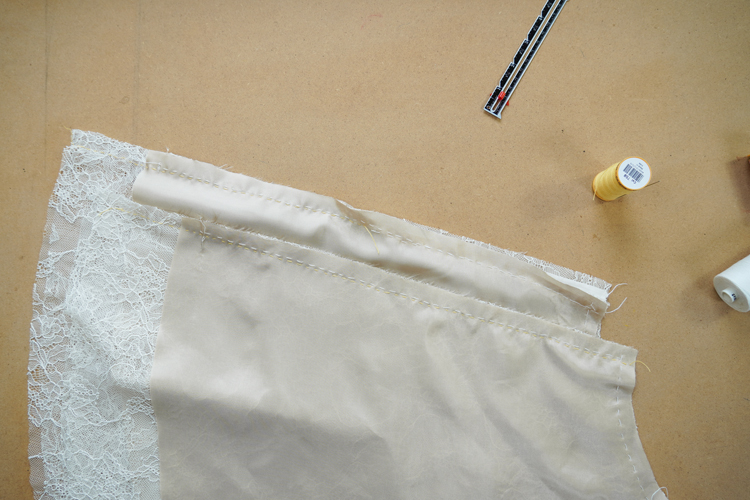
Now let's try on the skirt real quick. Since the skirt doesn't have a belt yet, expect it to be a little loose. When I say “little”, I mean it - it shouldn't fall all the way down to your hips. And in no case should it be too small - the belt will make the skirt tighter and stiffer, so you might not fit into the skirt after sewing it on.
At the same time, you can also evaluate the length of the skirt. If necessary, you can shorten the lining or even the primary fabric skirt (don't forget the seam allowances).
Lining skirt - bottom hem
I decided to shorten the lining skirt a bit. So I pulled the stitching thread from both side seams - not the one that holds the primary and lining pieces together. Good thing they're each a different color, huh? :) Then I folded the front piece in half, tucked the primary piece in so I didn't accidentally cut into it and straightened the cutting edge of the lining. I joined the edges of the lining with pins and used soap and a ruler to mark the new length I also pinned the pieces above the new length line so that the layers of fabric wouldn't slide over each other.
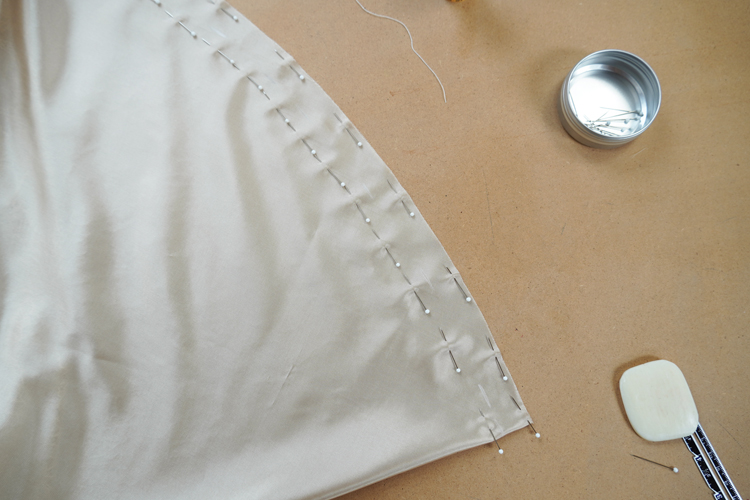
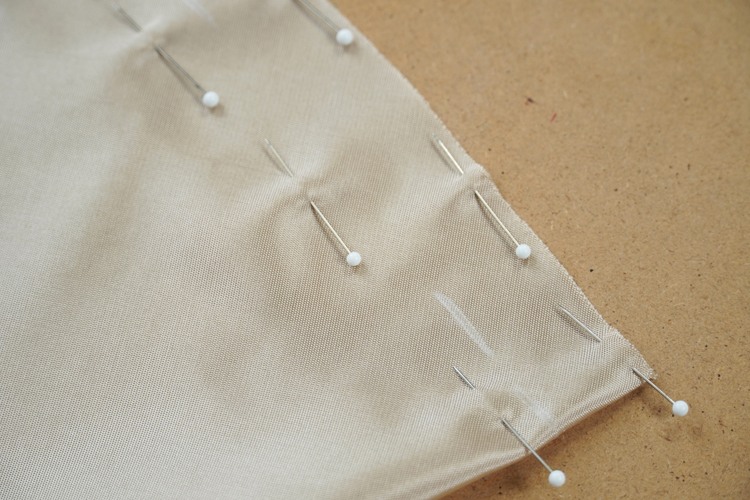
Then I simply cut off the excess fabric. The lining in the back piece also needs to be shortened in the same way. Make sure to align the side seams of both lining pieces.
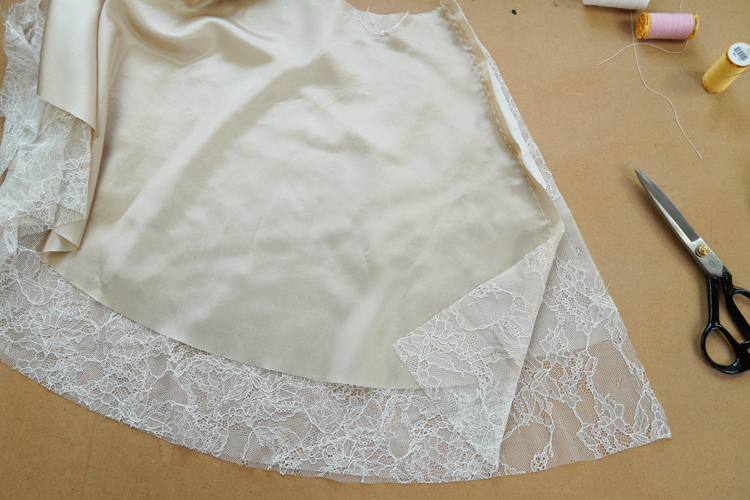
If you decide to shorten the lining skirt a lot, you can pull out the part of the stitching that holds the pieces together - the pieces will be easier to work with.
Clean the bottom edges of both lining pieces... I recommend using an overlocker for this. Fold the edge to the RS and iron it. Iron slowly and patiently - the edge is not a straight line but a curve.
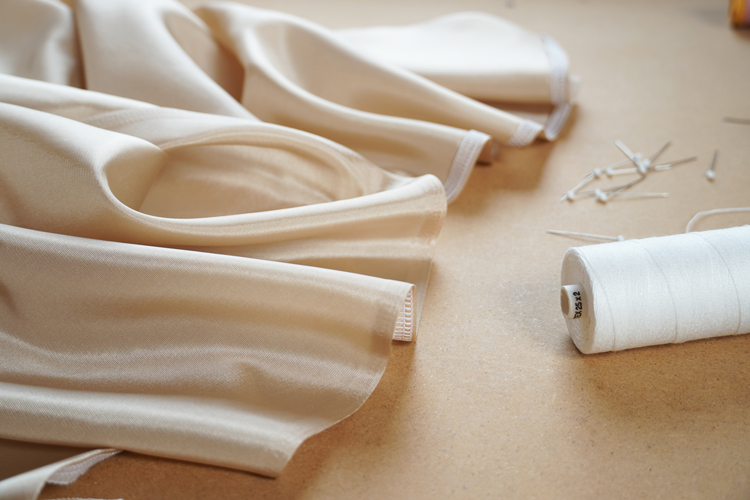
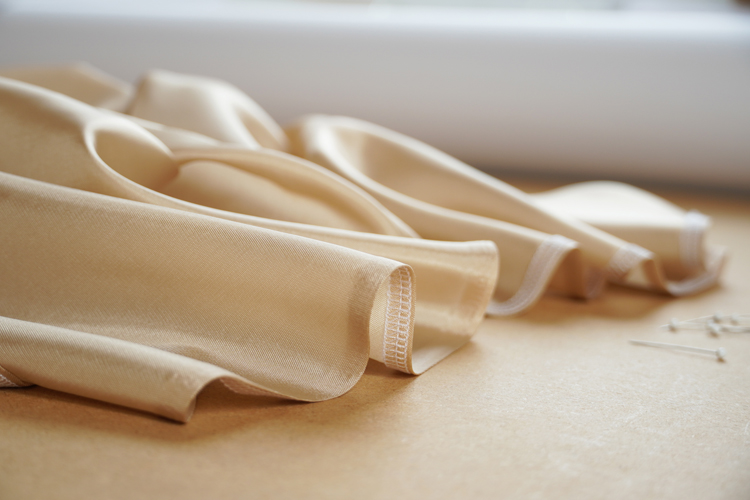
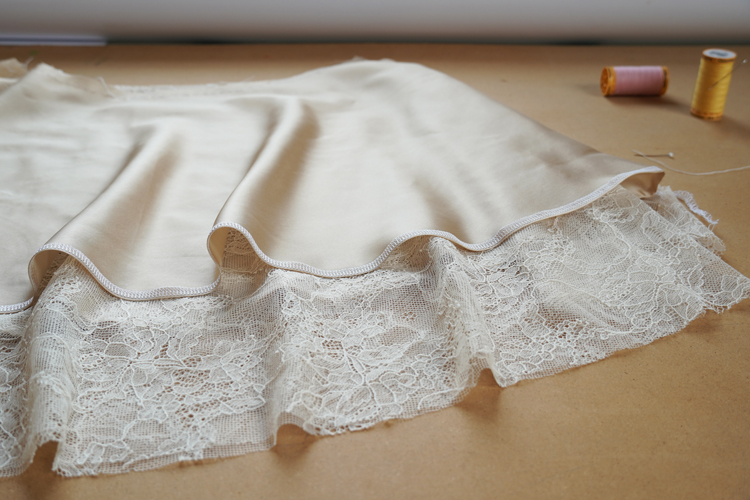
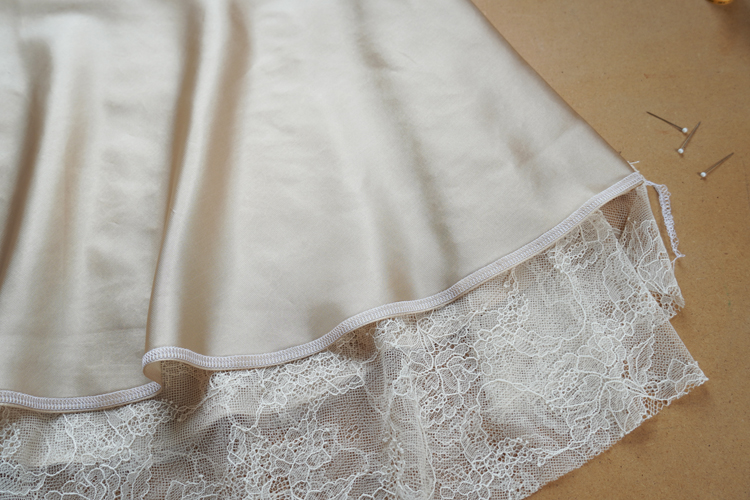
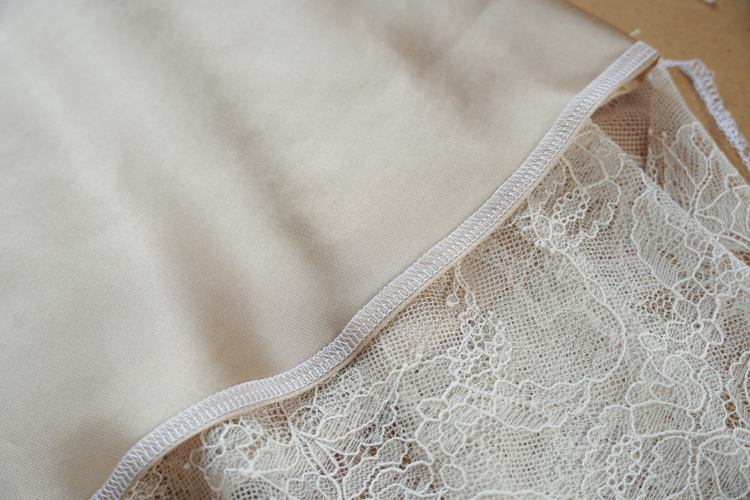
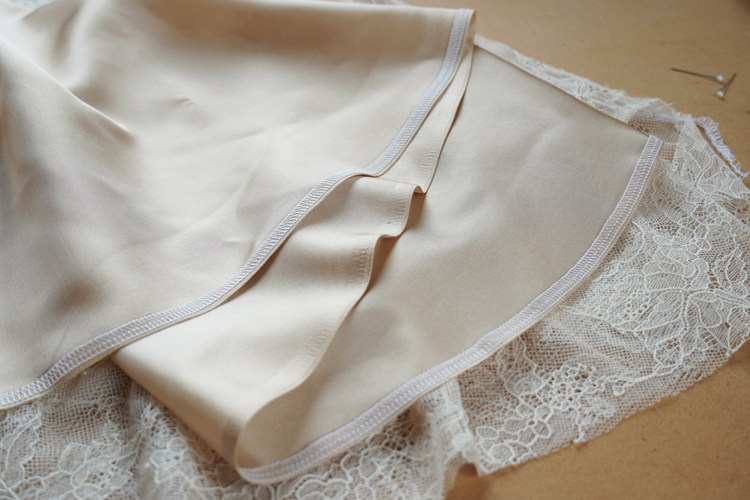
Sew the cleaned and ironed edge on a regular sewing machine. Sew about 3 mm (1/8") from the fold.
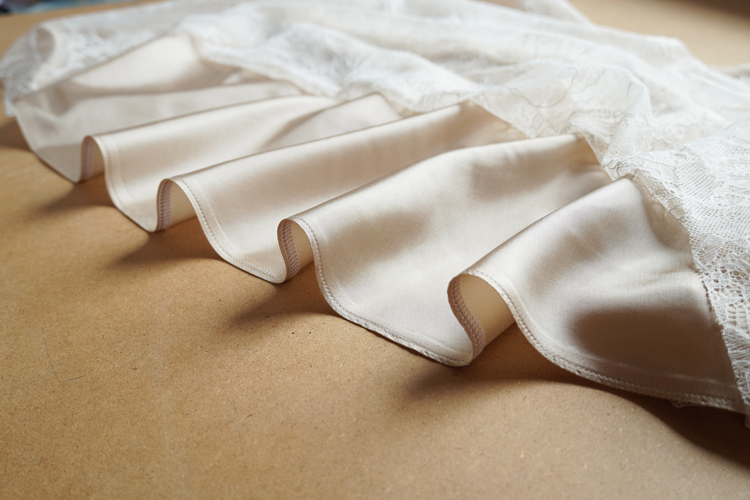
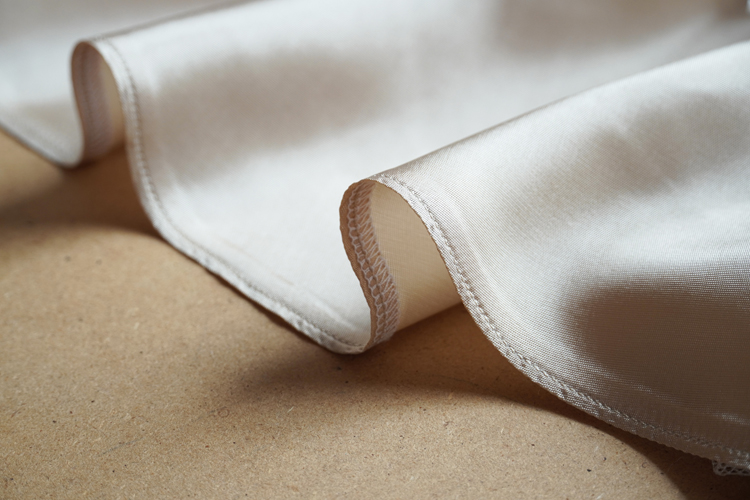
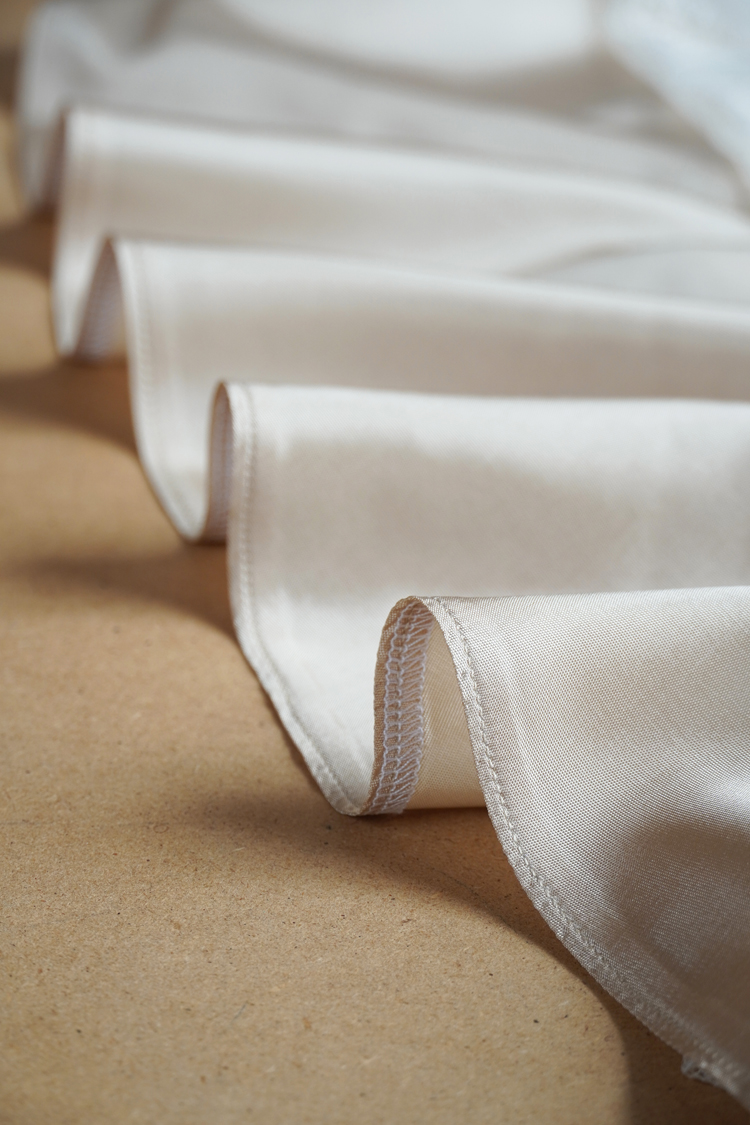
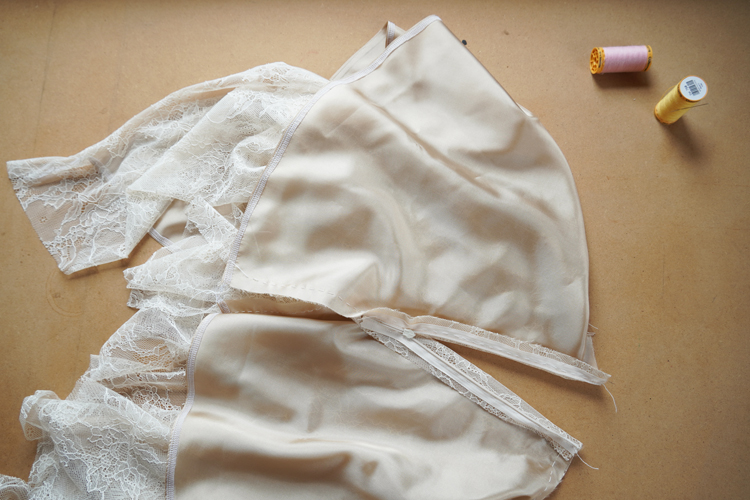
Make sure that the front and back lining pieces are the same length (side seams must be the same length).
Sew the zipper
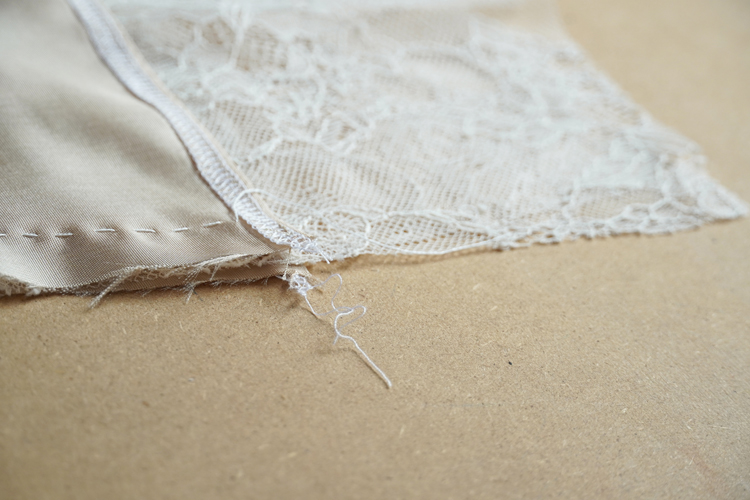
Sew the zipper to the skirt. Sew one side first and then open and close the zipper to make sure it is sewn correctly.
(In the picture the left side is sewn and the right side is only stitched. I'm checking if the zipper is sewn correctly - stitches should be very close to the teeth and at the same time it should be easy to zip/unzip the zipper.)
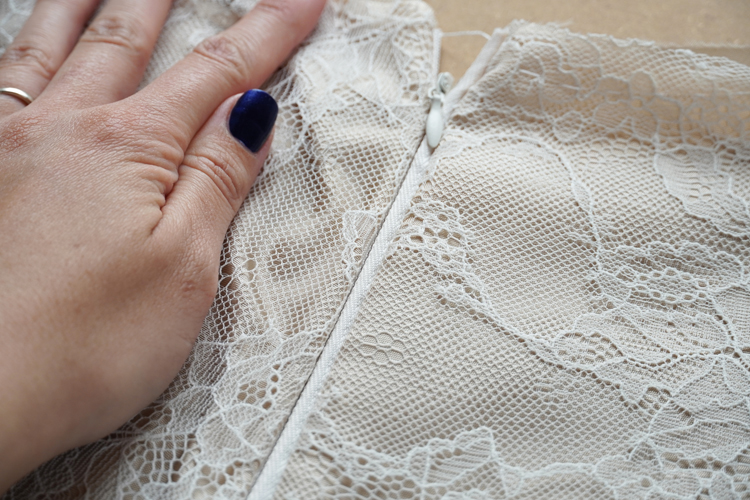
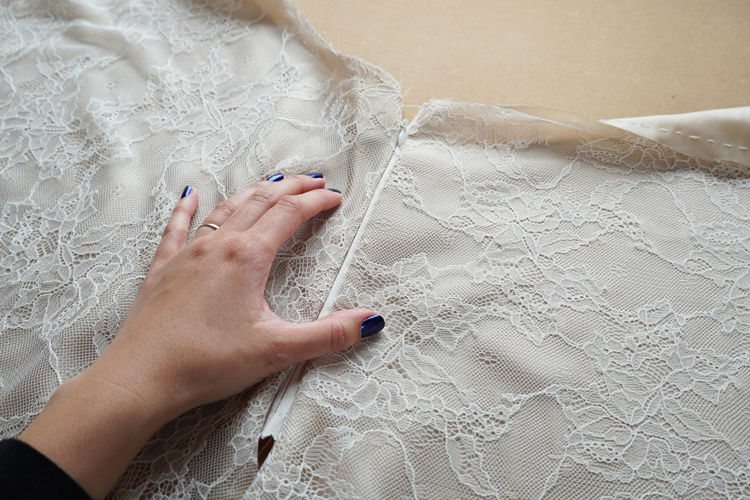
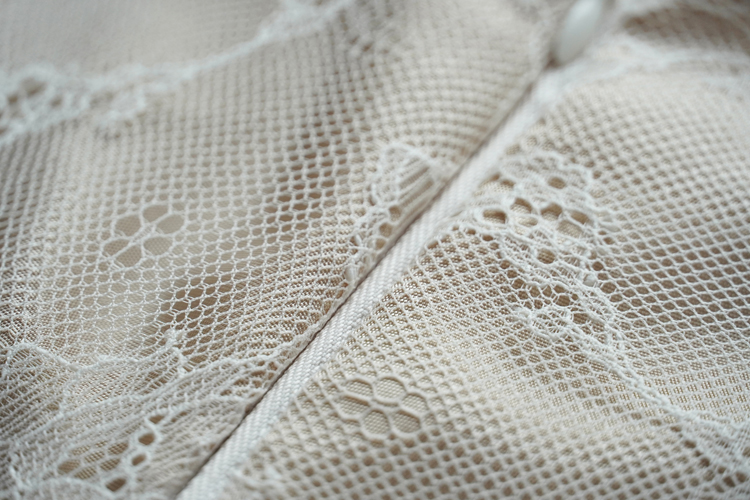
Sew the other half of the zipper in the same way.
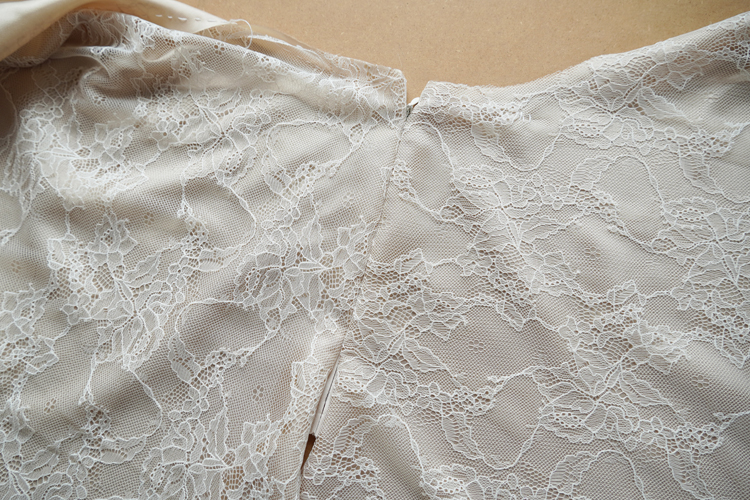
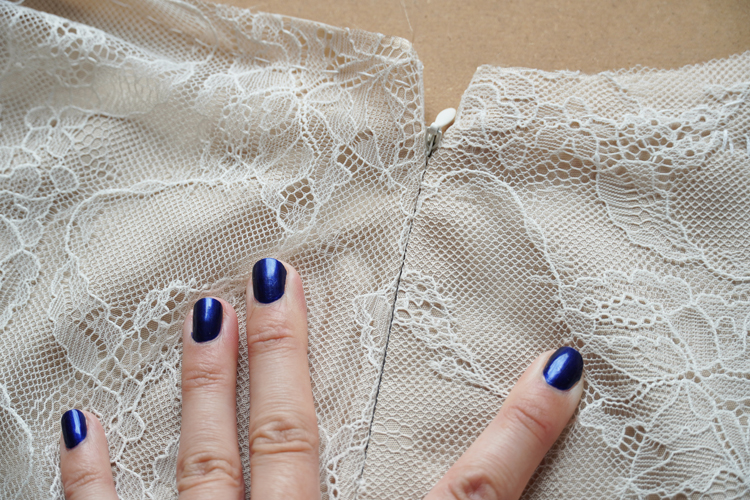
If you can't finish the zipper on your sewing machine, you can simply sew the remaining part by hand.
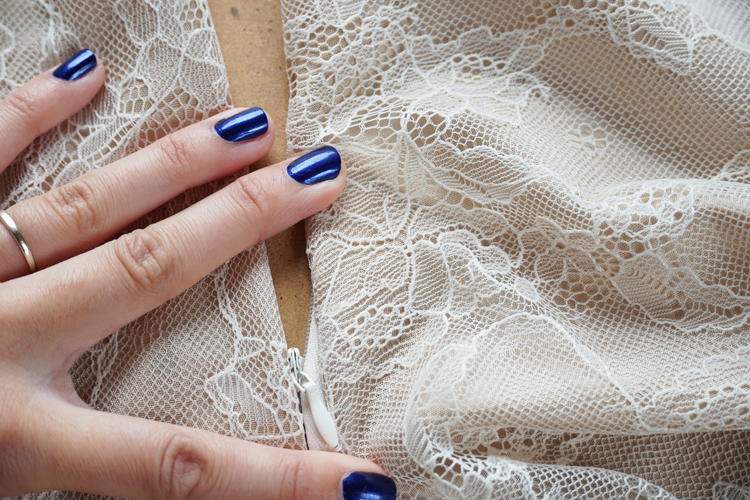
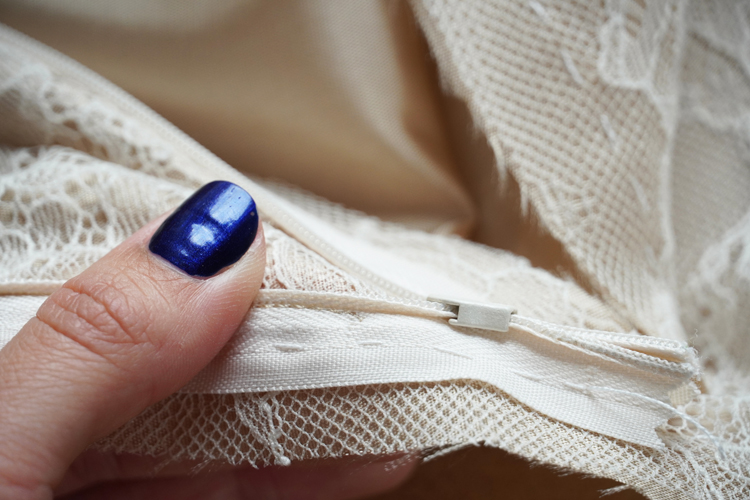
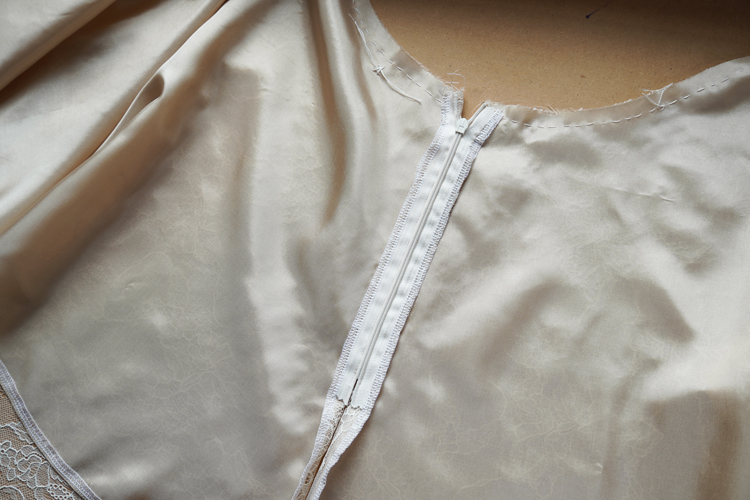
Side seam with the zipper
Once you have sewn the zipper, you can clean the cutting edges of the front and back pieces along both side seams.
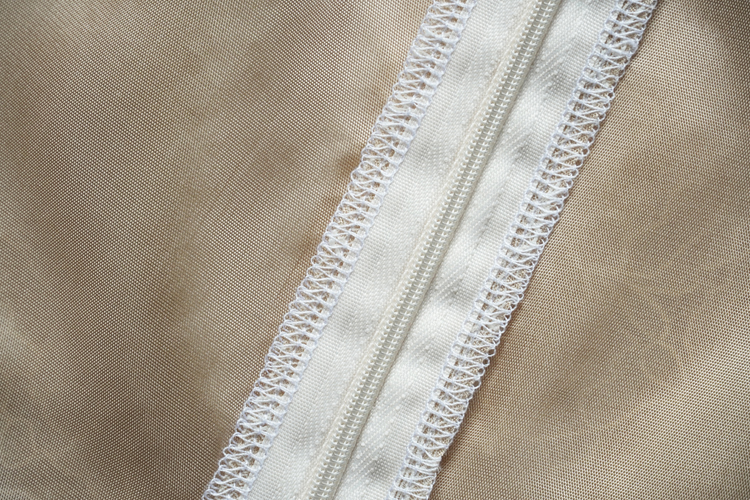
When sewing the part around the zipper, sew through the zipper tape so that it does not come off and everything stays neat and secure.
Clean the edges up to the point where the lining skirt ends. Leave longer thread chains at the end of the seams (and pull them under the loops) when using the overlock. Clean all the edges along the not-yet-sewn side seams.
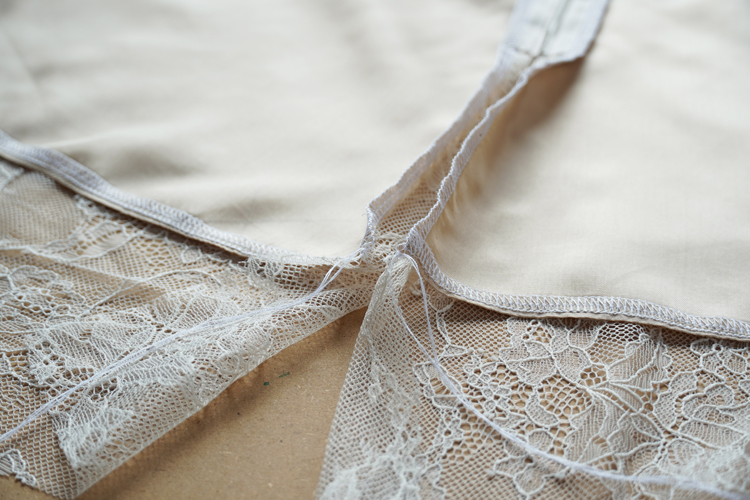
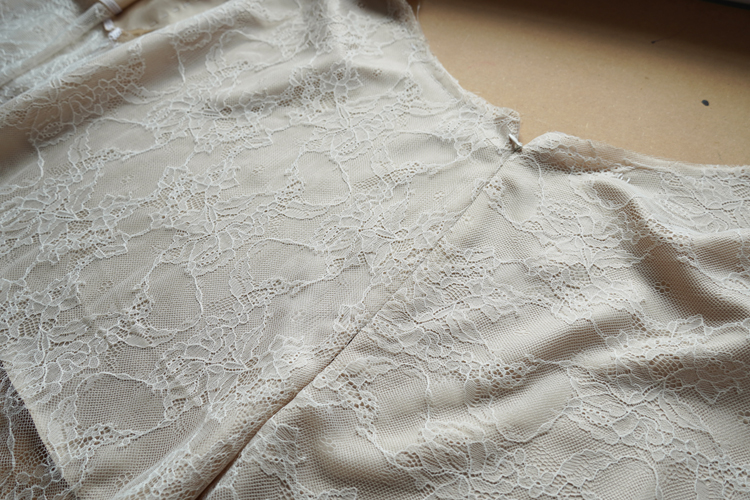
Now you can sew the side seams. Start on the side where the zipper is located. To ensure that the side seam is neatly connected to the zipper and does not form a bulge or unfinished hole, proceed as follows:
Insert the needle about 3–4 mm (1/8”) before the end of the seam (sewn zipper) and about 1–2 mm (0.04") next to the seam towards the skirt. From here sew continuously along the side seam.
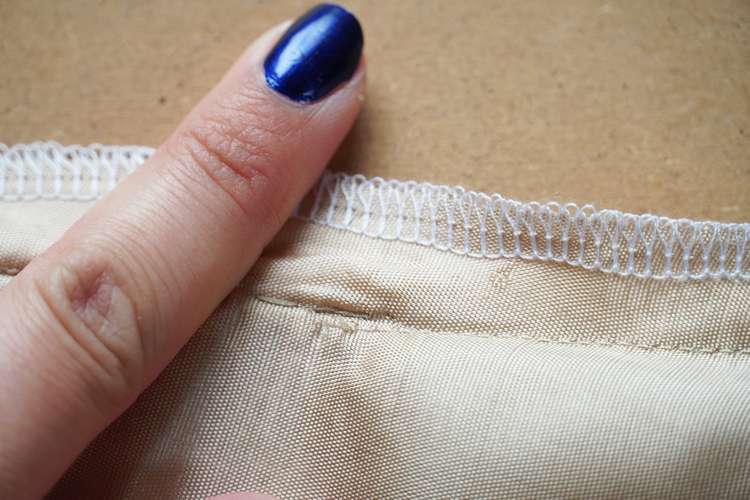
Sew the side seam so that the seam allowance at the edge of the lining piece becomes as wide as the overlock stitch.
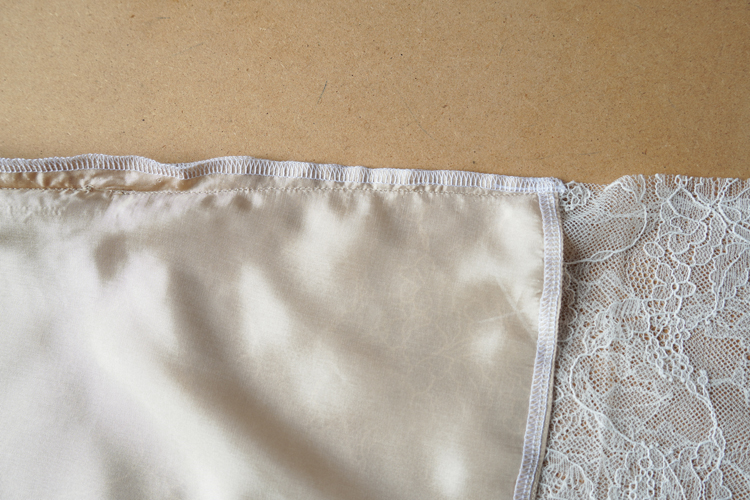
This means that there is a 1.5 cm (5/8") wide seam allowance near the zipper, but it narrows to about 7 mm (0.28").
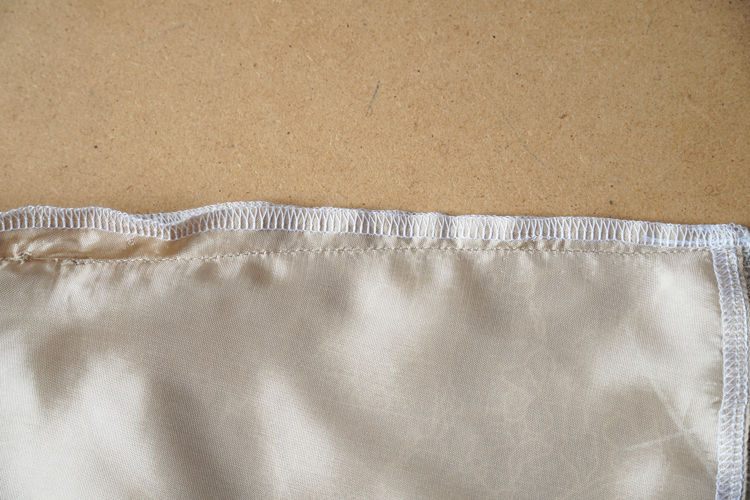
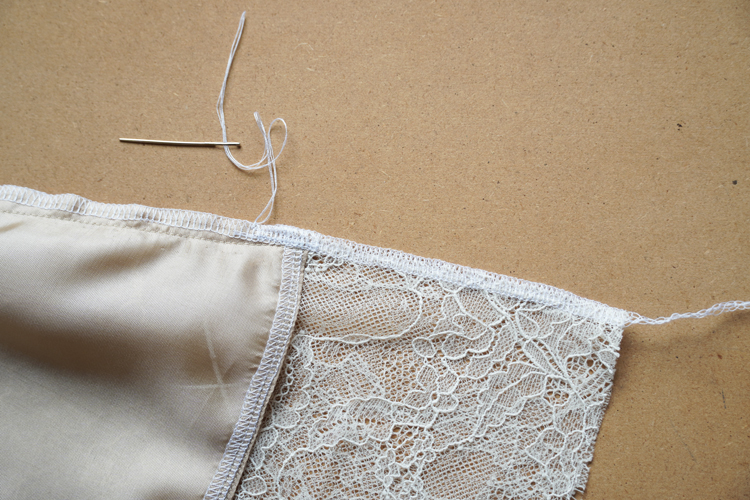
This is so that you can sew the front and back of the primary fabric (lace) directly on the overlock. Use your overlock to sew the bottom part of the side seam - go about 2 cm (3/4") over the lining skirt. Leave longer thread chains at the end of the seam and pull them under the loops.
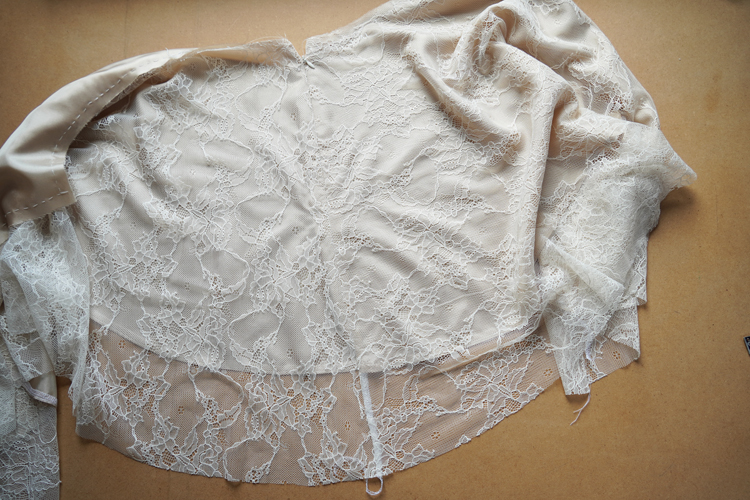
Press the seam allowances open and fold the bottom lace part towards the back piece.
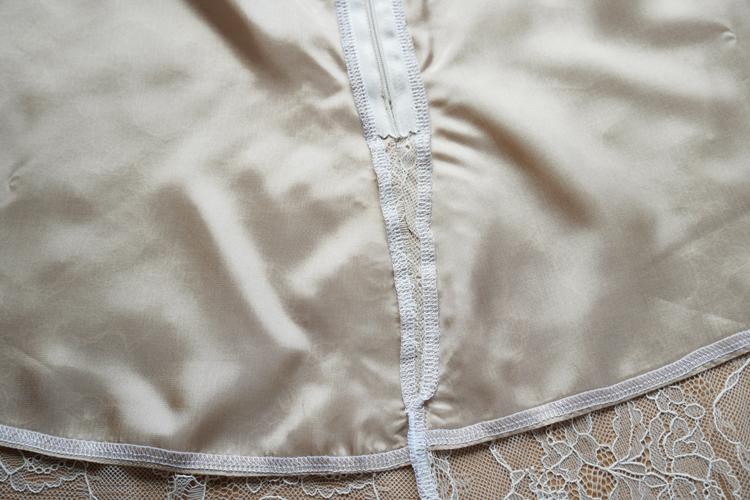
You will sew the other side seam very similarly, but before you do that you should sew the belt on. I also recommend you perform one more fitting test. Proceed as follows:
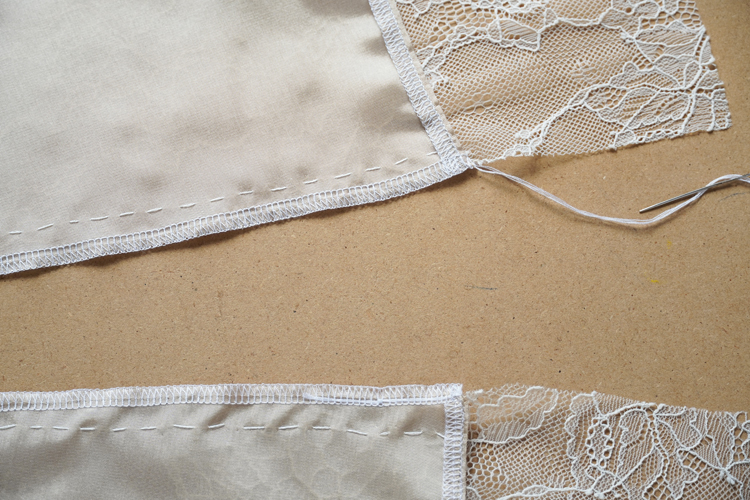
Clean cutting edges of both lace pieces (one at a time)...
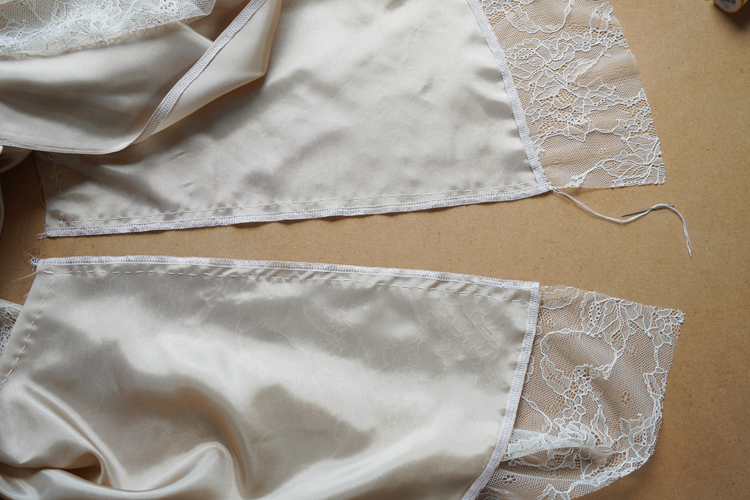
Stop at the bottom edge of the lining skirt and pull the ends of the thread chain under the loops.
Belt
Take both pieces of the belt and temporarily connect them - baste one set of their shorter sides (seam allowances are 1.5 cm / 5/8" wide).
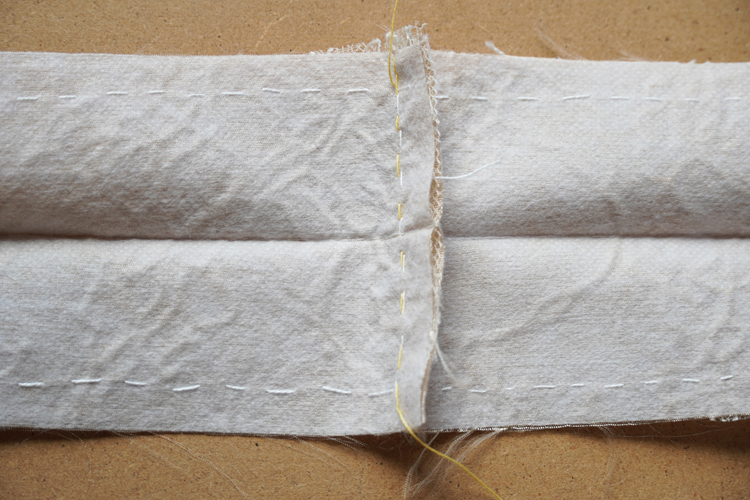
Fold the belt in half (lengthwise) and check the correct length - wrap the belt around your waist. Use a pin to indicate how long the final belt should be - it should be neither too loose nor uncomfortably tight.
Measure the appropriate length at the waist, not below. The belt of the finished garment should wrap around your waist, if you wanted a skirt with a lowered waist you would have to use a shaped belt piece (this pattern has a straight belt piece).
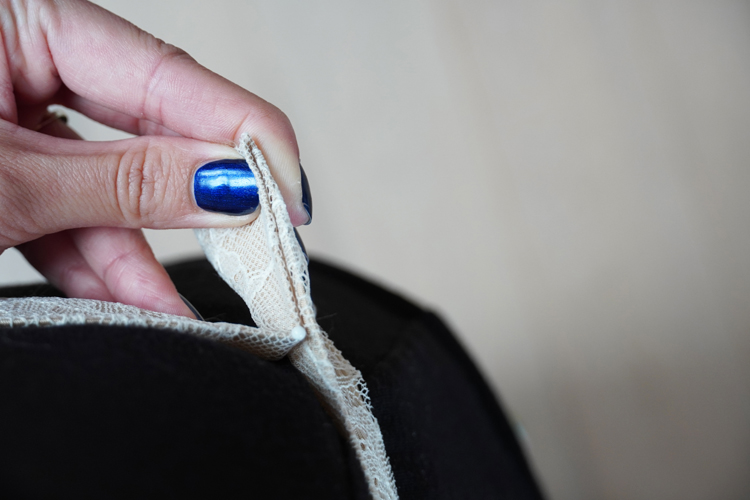
Measure 4 cm (1 5/8") from your marker (pin) towards the ends, make another mark here, and cut everything behind it.
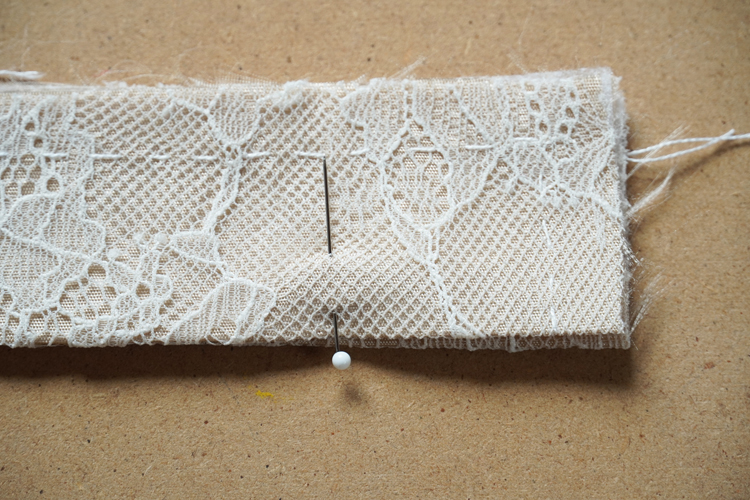
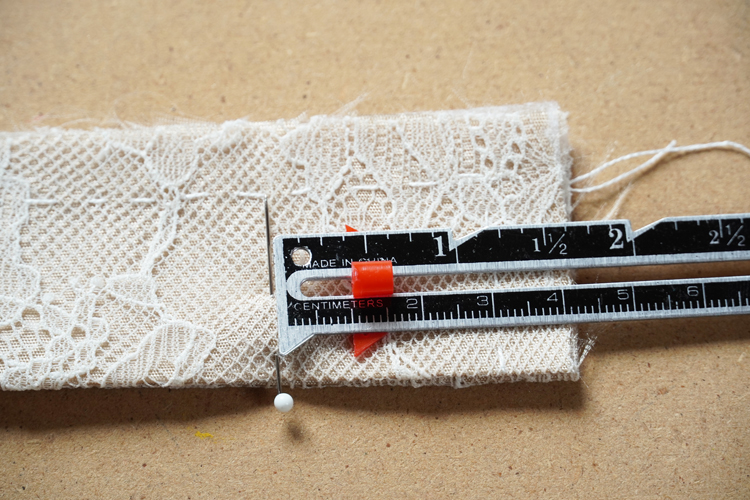
So you will have a 1.5 cm (5/8") wide seam allowance on one side of the belt and a 4 cm (1 5/8") wide seam allowance on the other side. This is where the button/buttonhole will be. The extra material can also come in handy if you want to loosen the waist of the skirt after the last fitting test.
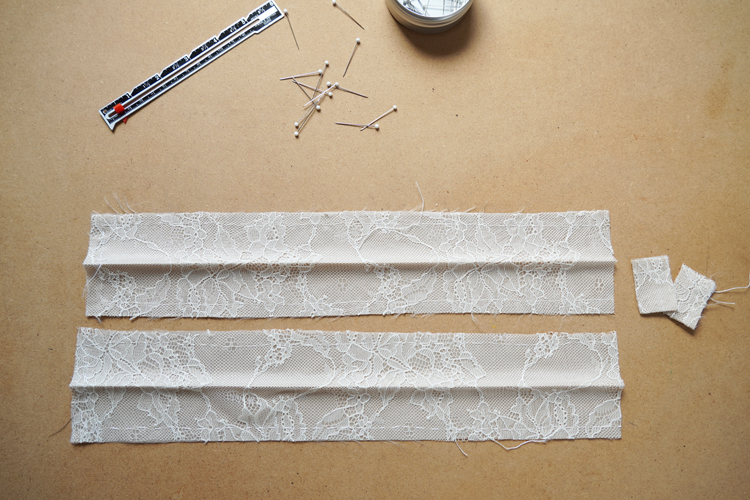
Find the center lines on the top edge of the skirt (front and back) and mark these places. You can use notches or pins...
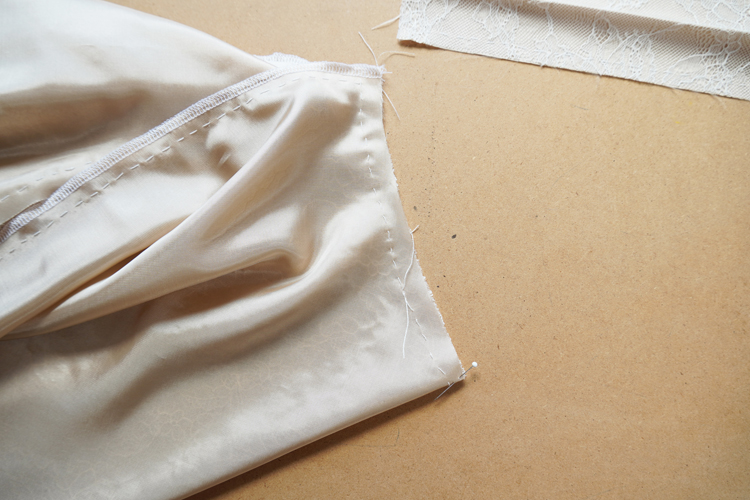
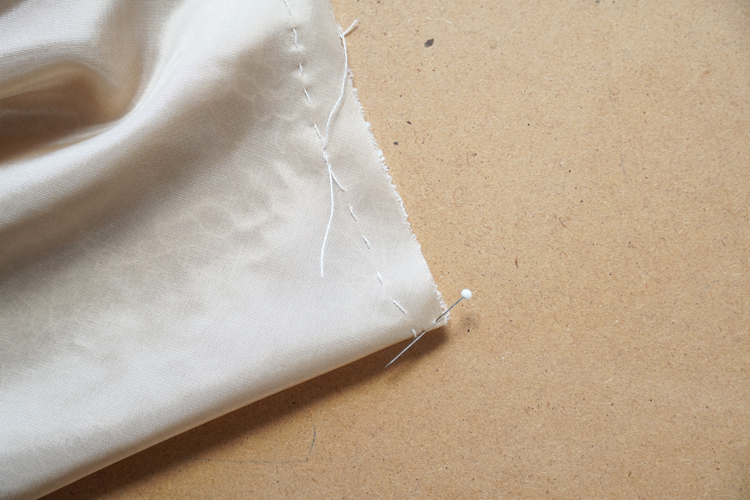
Also, find the "midpoints" on both pieces of the belt. Just to be sure, there is a 1.5 cm (5/8") wide seam allowance on one side and a 4 cm (1 5/8") wide seam allowance on the other side – there is a 2.5 cm (1") difference - so fold the belt pieces "in half" so that there is a 2.5 cm (1") wide overlap on one side. At the fold are the centers of the belt pieces – mark them.
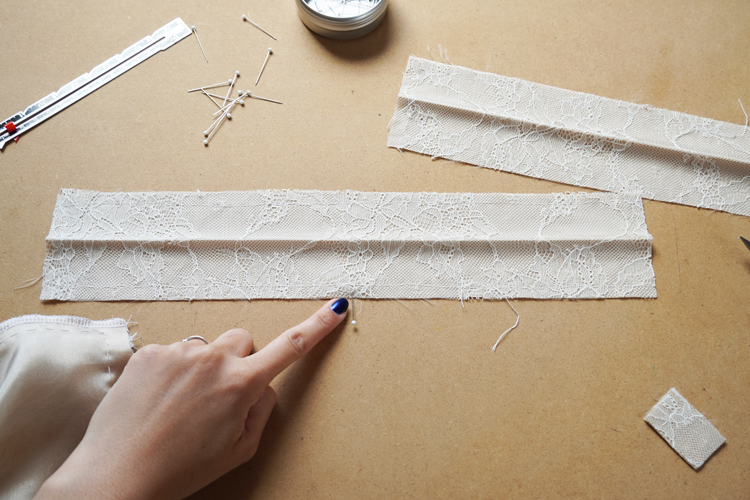
Place the belt pieces on the skirt (RS to RS) and pin the centers of the belt pieces to the centers of the skirt pieces.
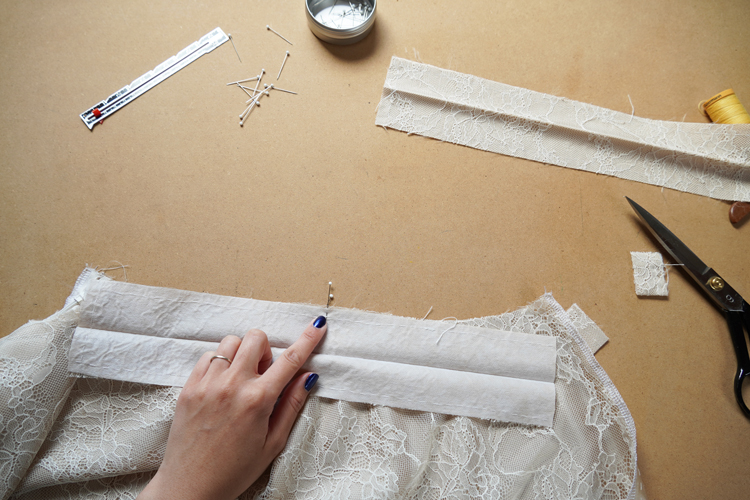
Then pin the belt to the sides of the skirt - on the side where the zipper is, the belt must overlap the side seam allowances of the skirt by approx. 2.5 cm (1").
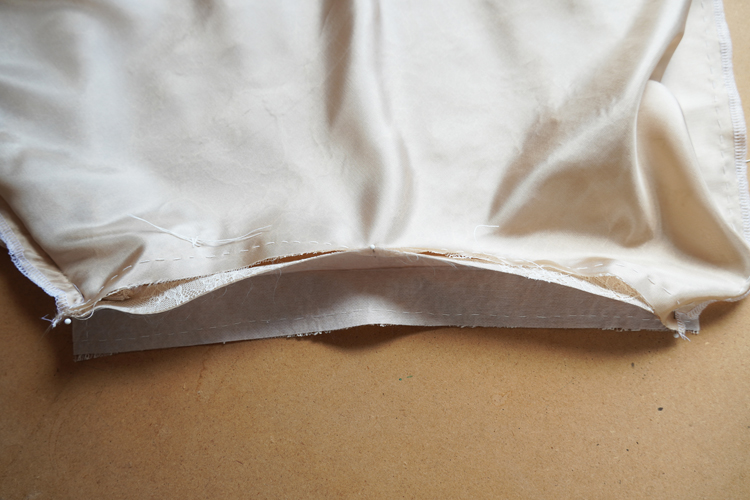
Baste the belt to the skirt. Again, I recommend using a thread of a different color.
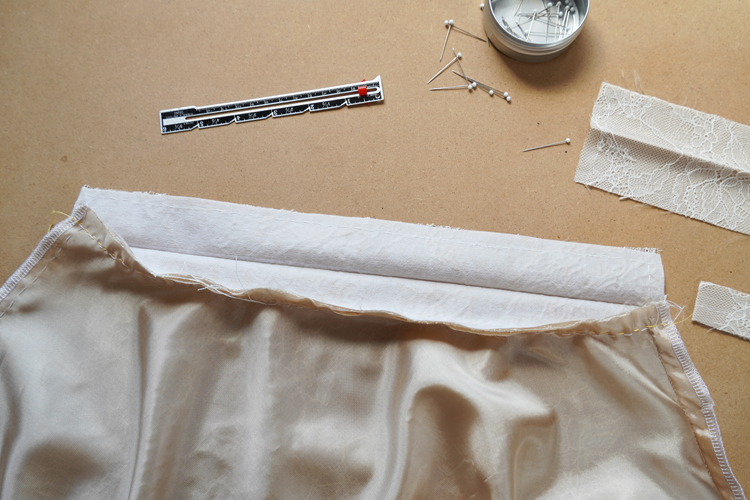
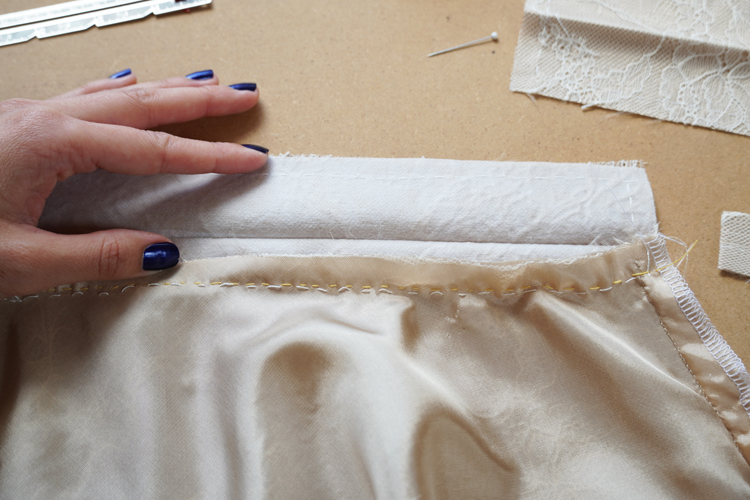
Sew the front part of the belt to the front of the skirt, and the back part of the belt to the back of the skirt.
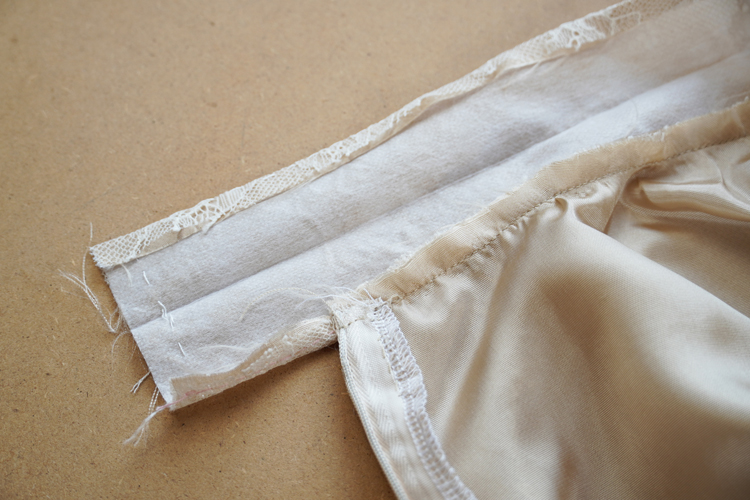
Fitting test No.2
Baste the entire second side seam along with the belt. Baste 1.5 cm (5/8") from the cutting edge.
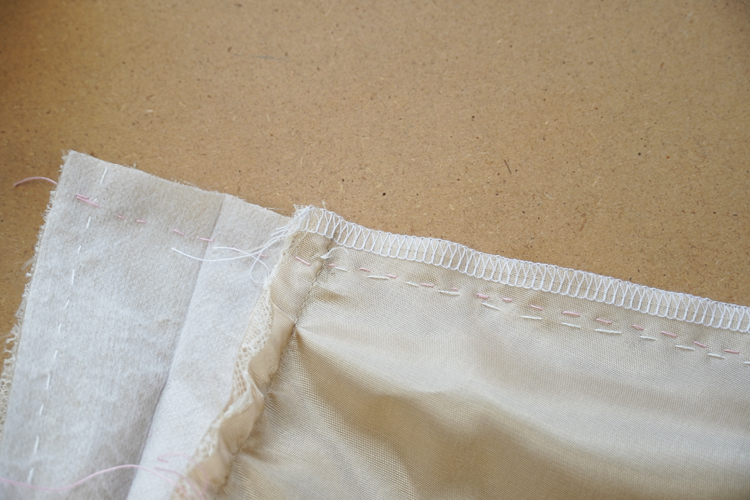
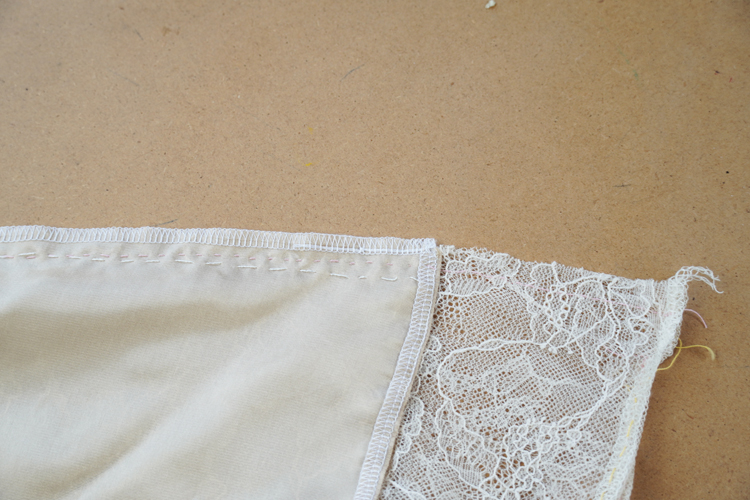
Perform the last fitting test. Now you need to evaluate how the skirt with the belt fits, whether it is not tight or loose at the waist. Adjust the side seam accordingly. If your skirt feels loose, you can, for example, increase the seam allowances at the waist by 0.5 cm (0.2") (this will reduce the total circumference of the waistband by 1 cm / 0.4"). If you have the opposite problem (the skirt is too tight), then you have about 1 cm (0.4") of potential slack in the front and back, so the belt can loosen by about 2 cm (3/4") in total if needed.
Second side seam
Make the necessary adjustments and sew the second side seam (sew over the belt too). Work the bottom of the side seam as you did on the other side of the skirt. Gradually bring the side seam closer to the lining skirt so that the seam allowance near the bottom edge of the lining is the same width as the overlock stitch. Use your overlock to finish the seam and iron the seam allowances (press them open at the top and fold the bottom part towards the back piece).
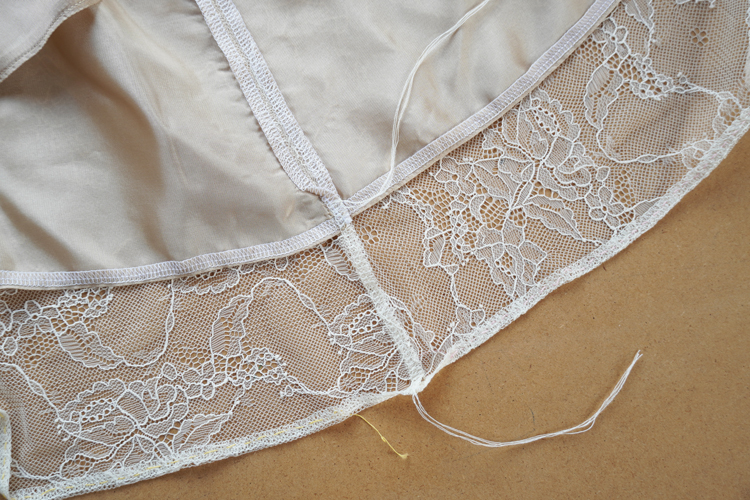
Finish the belt
Fold the upper edge of the belt about 0.5–0.7 cm (0.2”–0.28") towards the WS of the belt and iron it.
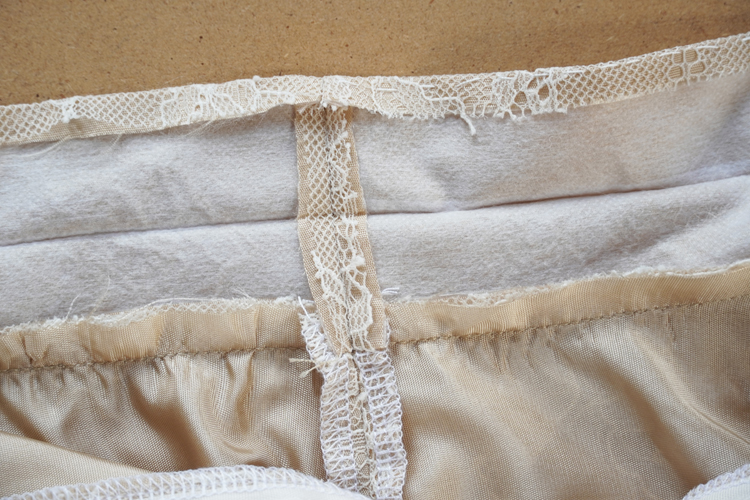
Now cut both ends of the belt according to how you want to fasten the belt. In any case, the back part of the belt should be hidden under the front part.
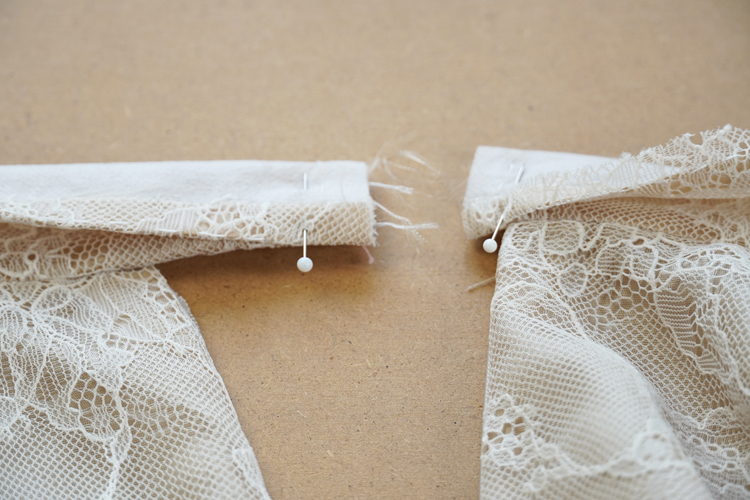
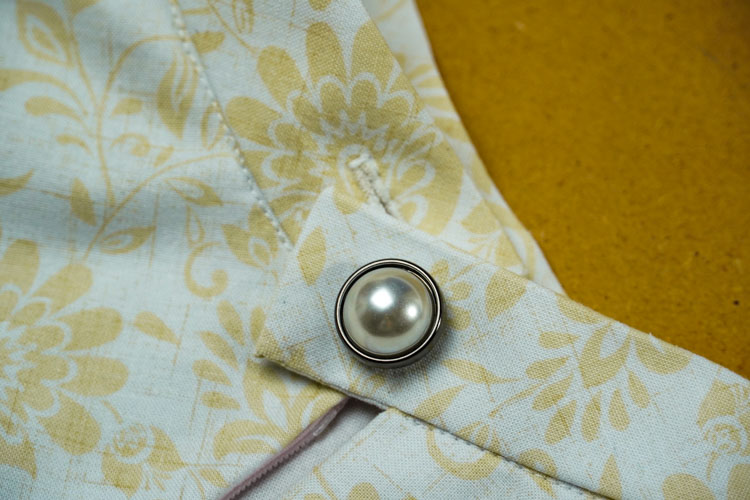
You can leave the back of the belt long(ish), which creates an "underlap" to which you can sew a button. You can then create a buttonhole in the front “extra” part of the belt. This is how I finished the waistband of a cotton canvas mini skirt that I sewed using the same pattern.
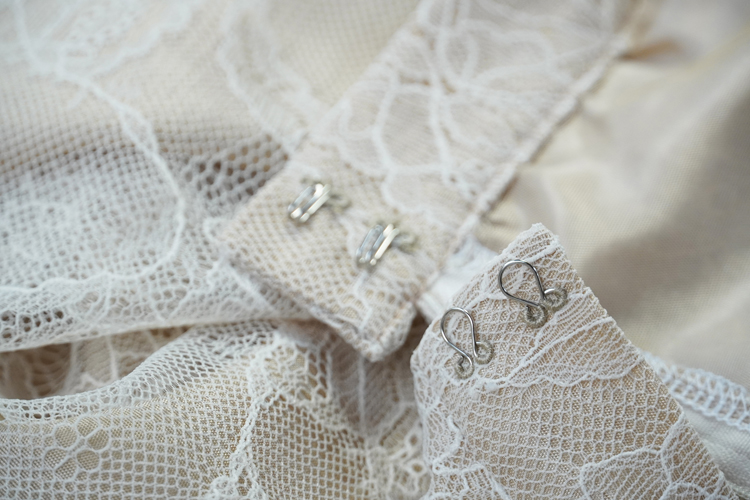
Or you can leave the long belt in the front and cut the back part so that it ends at the edge of the back piece of the skirt. The front part of the belt will then overlap the back part and you can hide the hook fastening under it. This is the option I chose for this particular skirt.
Fold the belt in half (lengthwise, RS in).

I cut the back of the belt so that it was flush with the edge of the zipper tape and I left the front of the band hanging 2 cm (3/4") over the edge.
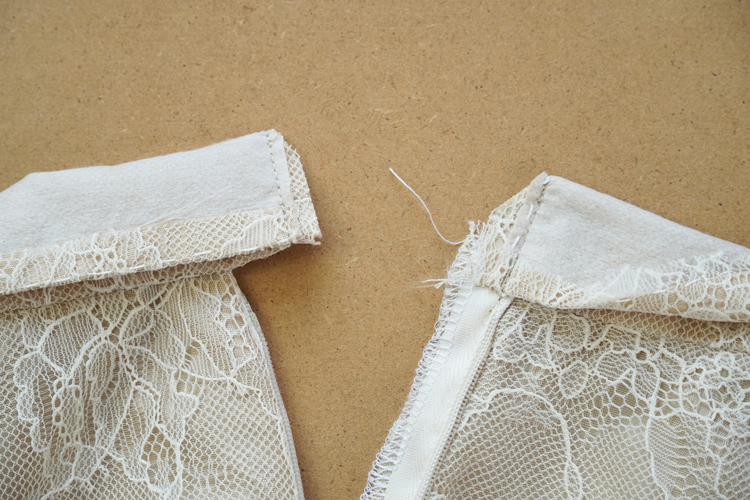
Whichever way you do it, be sure to cut off the top corners of the belt and grade its seam allowances so that the ends aren’t too thick.
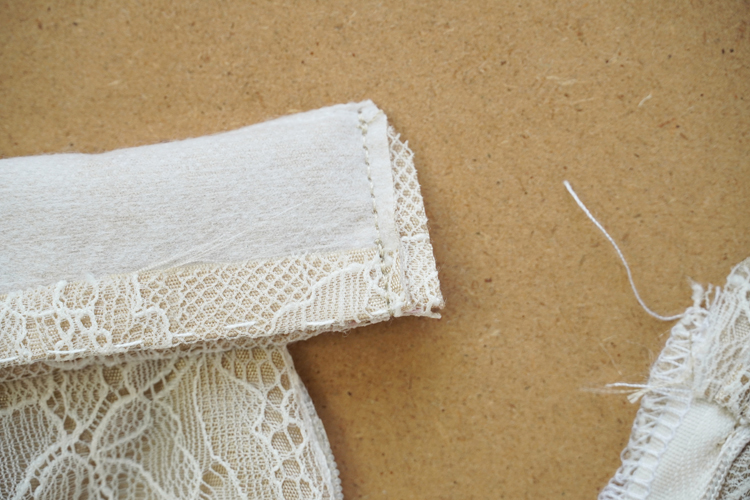
Turn the belt RS out and shape its corners. Now I recommend you baste the free edge of the belt (previously folded to towards the wrong side).
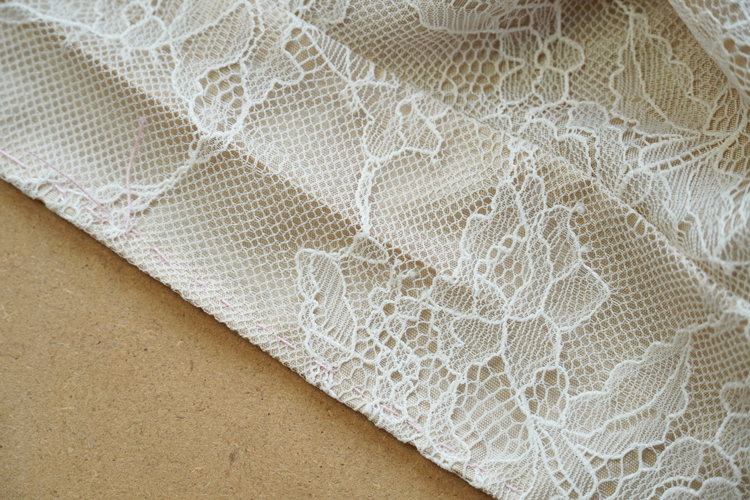
Fold seam allowances front and back towards the belt. If you have a basting thread somewhere under the belt, pull it out - it's the last chance, otherwise, it will stay sewn under the belt...
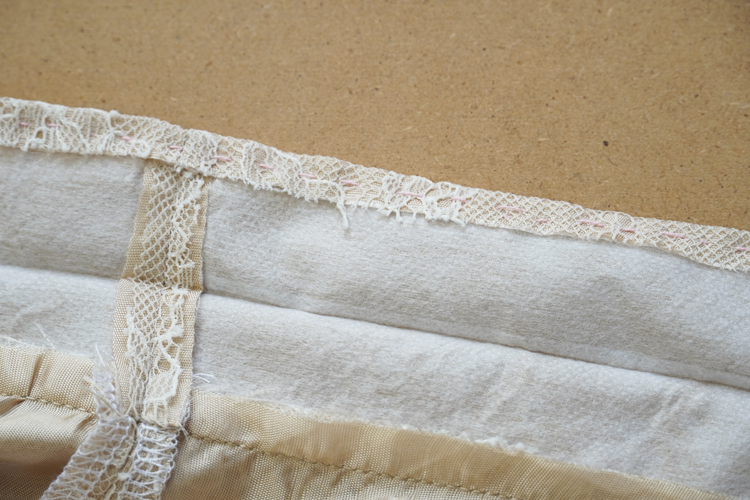
Fold the belt (WS in) and place its top edge on the seam allowances of the skirt pieces.
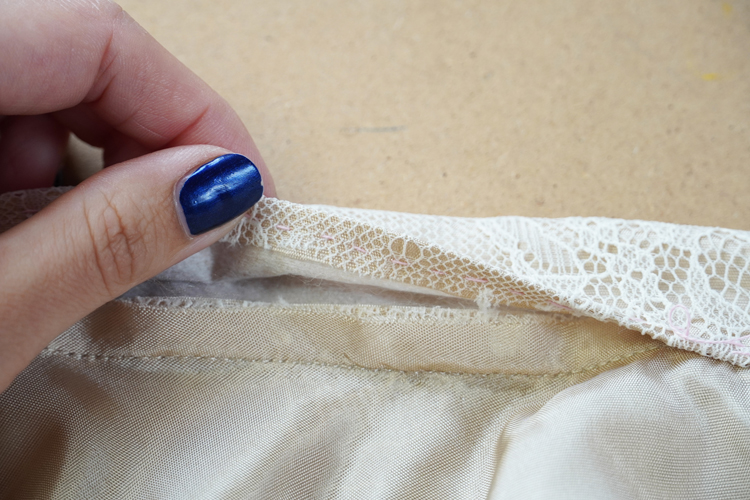
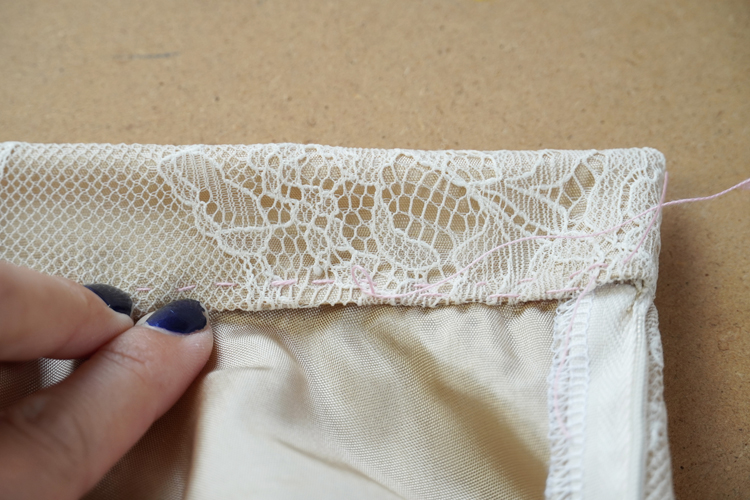
Baste (temporarily stitch) the edge of the belt to the skirt. Later you will try to sew so that the seam of the belt is "invisible", so you need to baste so that your stitches are exactly at the first seam that connects the belt to the skirt (RS view).
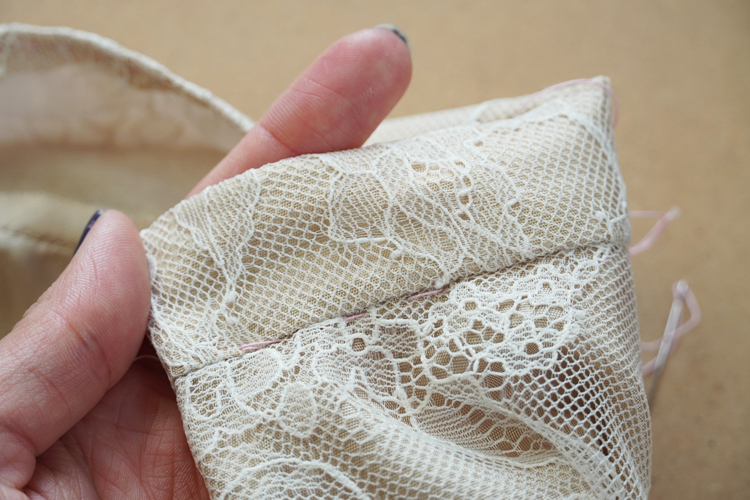
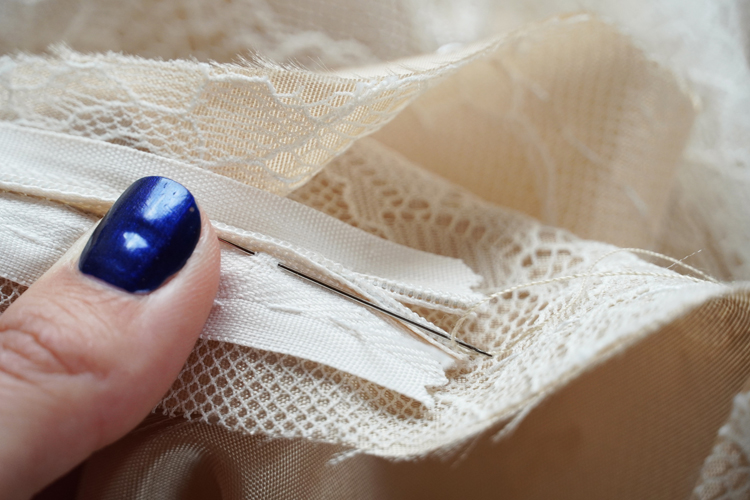
Stick the needle in the edge of the tape (close to the fold) on the wrong side of the skirt.
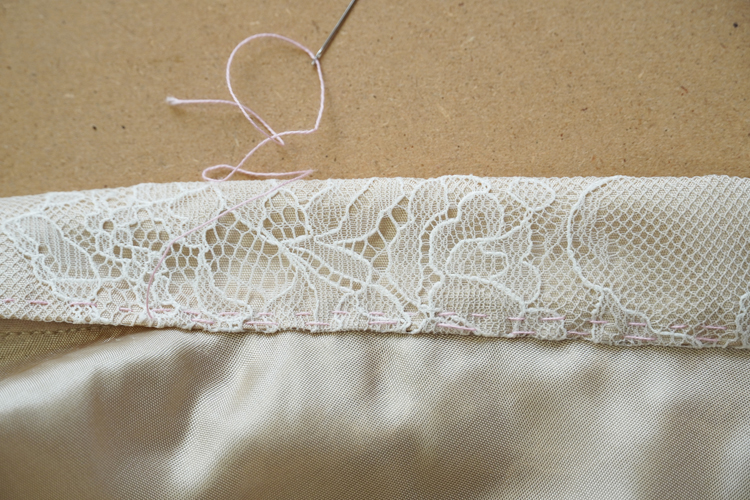
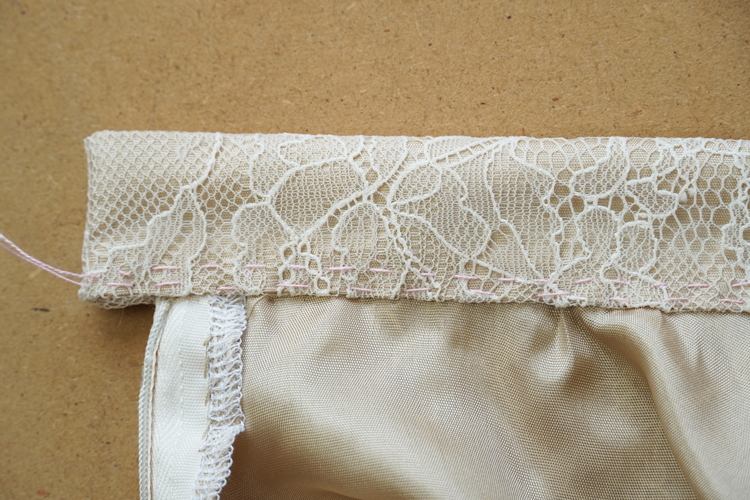
Sew the belt to the skirt - from the right side. Sew right at the top of the original seam.
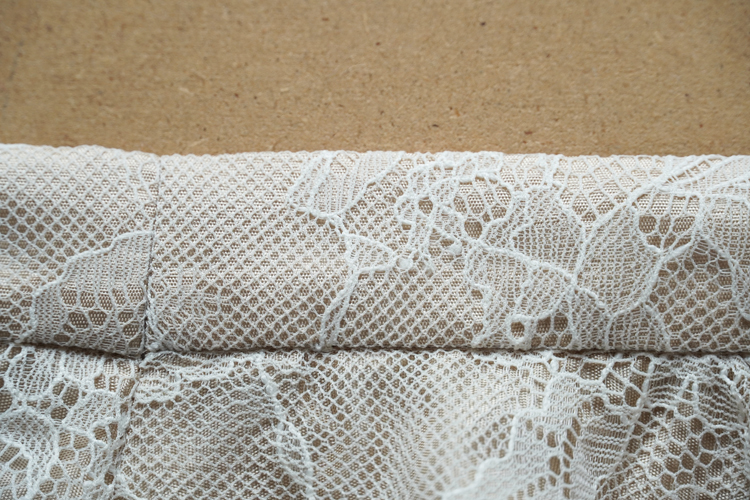
This is the wrong side of the skirt:
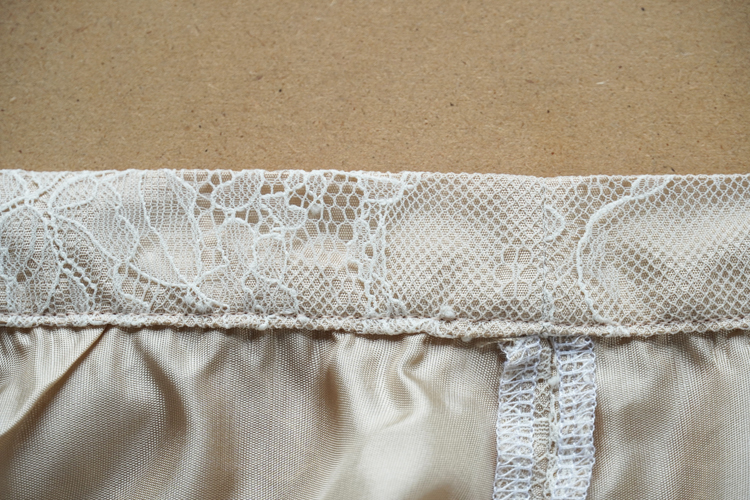
Bottom hem
Now you need to finish the bottom hem of the skirt. Clean the cutting edge (use your overlock machine).
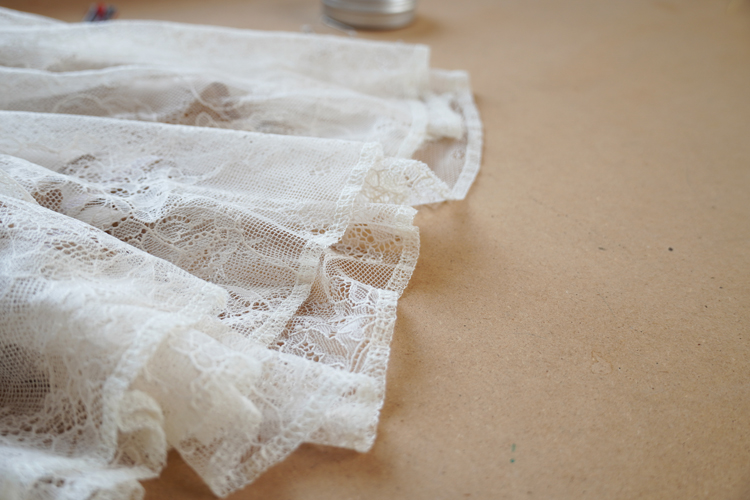
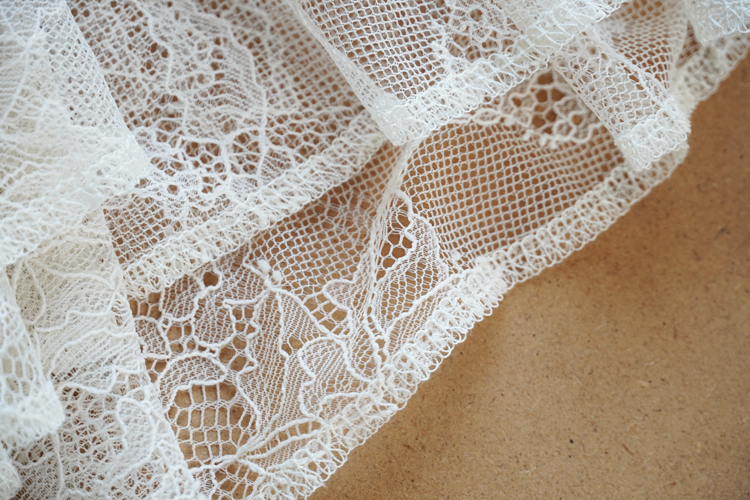
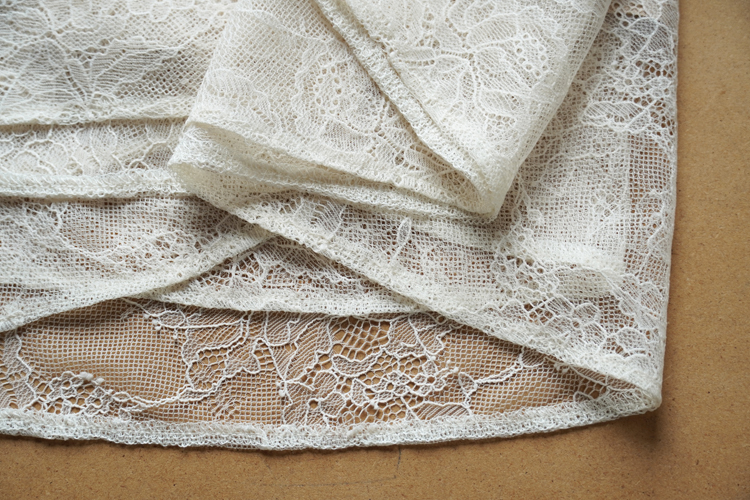
Fold the edge to the inside of the skirt and iron it. Baste the entire bottom edge of the skirt and then sew through it - use a regular sewing machine and sew about 4 mm (0.16") above the fold.
Fastening
Finish the fastening. Either make a buttonhole and sew on a button or sew on hooks and eyes. That’s it - your new skirt is finished! :)
How do you like this skirt pattern and today's tutorial? Will you try to sew this skirt?
Have a nice day!
Petra
The pattern
You can get the pattern for women’s skirt RACHEL here:
Don't forget to share your joy with others!
Do you like this article? If so, share it with your friends and tell me about it in the comments section below. I will be glad for any feedback! ♥
PS: Did you know that there are other FREE PATTERNS available on my blog?


