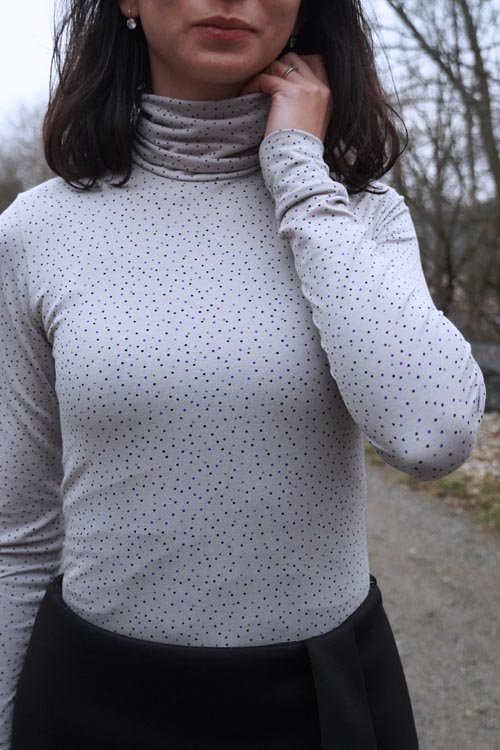
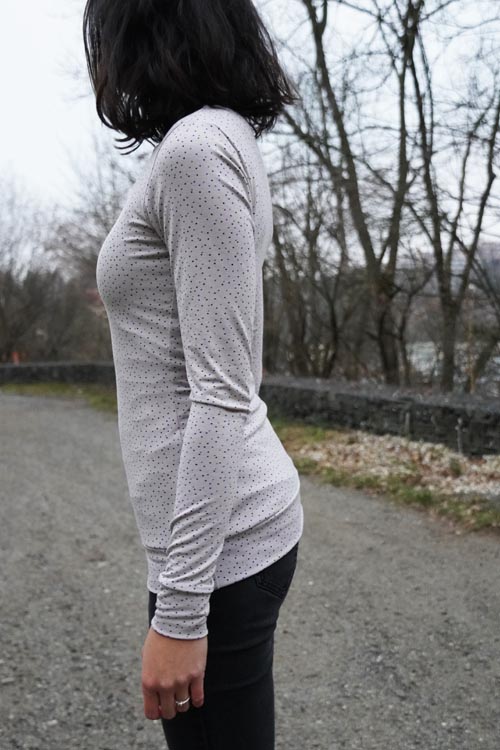
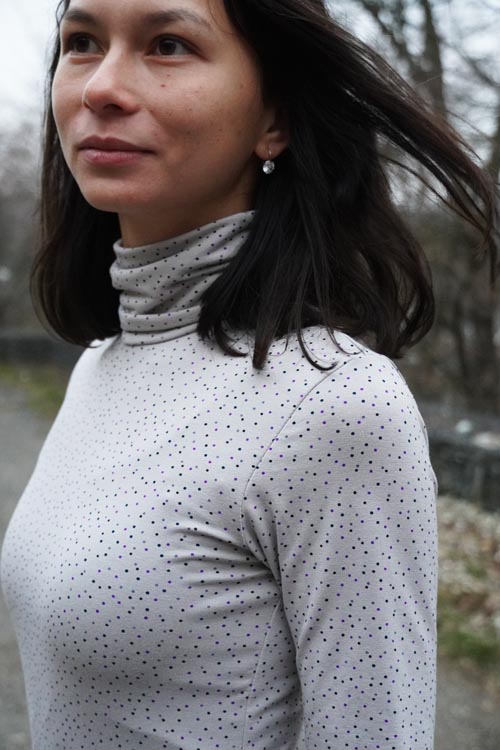
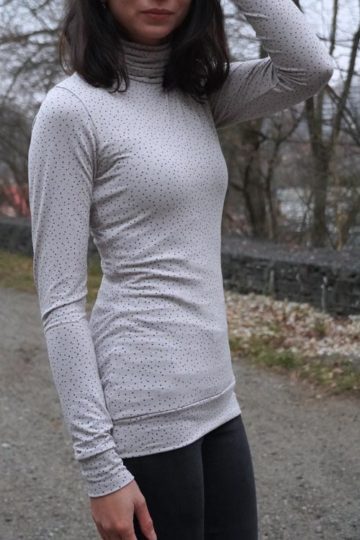
In today's article, I bring you simple instructions for sewing a turtleneck T-shirt.
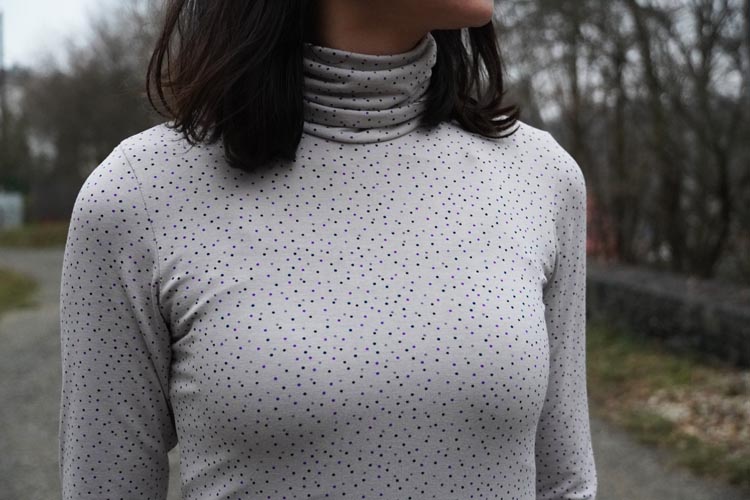
The pattern
The pattern for women’s turtleneck ROLL UP (sizes 32–60) is available here:
Recommended material
Use thinner knits (elastic materials) with a high content of elastic fibers (elastane, lycra, spandex, etc.). For example:
- Cotton or viscose knits
- French Terry knits
Examples:
- Viscose knits (many different colors)
- Those are very thin - great for an autumn turtleneck or turtleneck to wear with a shirt or blouse. You can go with a smaller size of the pattern (if you are between two sizes) thanks to the high elasticity of viscose knits.
- French Terry (many different colors)
- Thicker stretchy fabrics - great for winter turtleneck. The elasticity is close to the limit, so if you are hesitating between two sizes, choose a larger one in this case.
- Modal (many different colors)
- Modal is great for close-fitting clothes, but it’s a bit thicker than standard viscose knit - a great choice if you aren’t particularly fond of very thin materials.
- Merino/bamboo knits, fine-rib knits - each manufacturer operates with different material parameters, so it is important to check the elasticity of your material with a simple test (you will receive more information with the pattern).
Choose fabrics with a weight (grammage) below 230g/m2.
Suggestion:
I’ve used an overlock to sew my turtleneck, but don't worry if you only have a regular sewing machine. Just follow few rules described in this article:
Sewing knits on a regular sewing machine - 4 steps to success
Sewing instructions
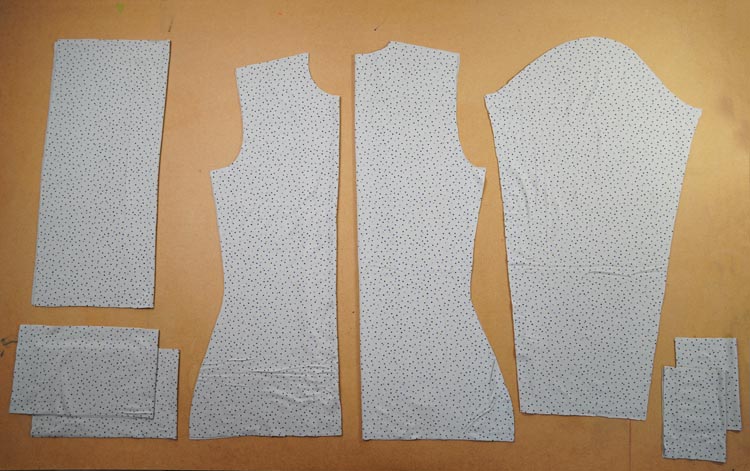
Pattern layout
Prepare:
- 1x front piece (cut on the fold)
- 1x back piece (cut on the fold)
- 1x turtleneck collar (cut on the fold)
- 2x sleeve piece
- 2x bottom hem
- 2x sleeve hem ("cuff")
Sewing
Lay the front piece over the back piece (face side to face side) and pin both shoulder seams.
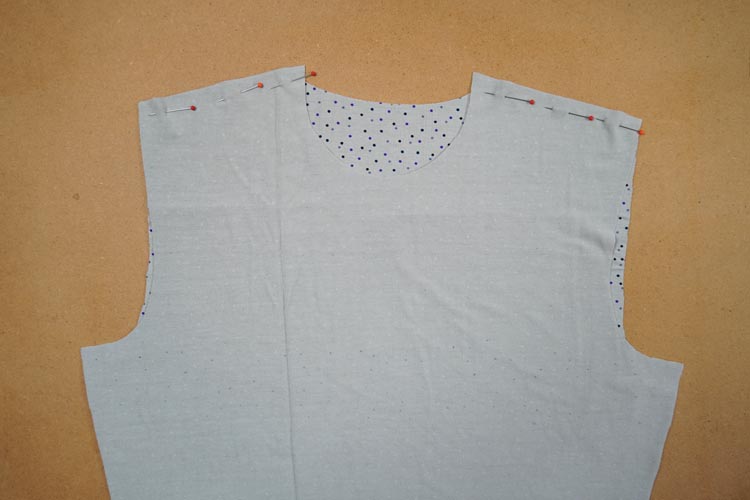
Sew shoulder seams and press seam allowances towards the back piece.

Fold collar in half (face side in) along its original fold and sew sides opposite the fold.
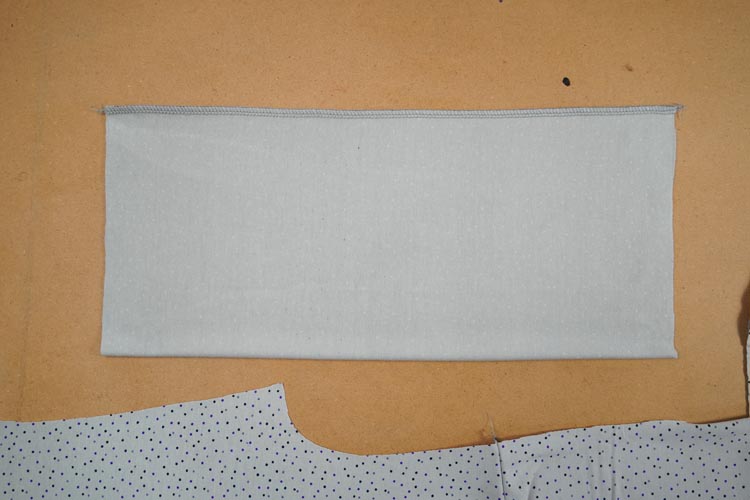
Fold (roll) the collar in half (face side out) to form its final shape...
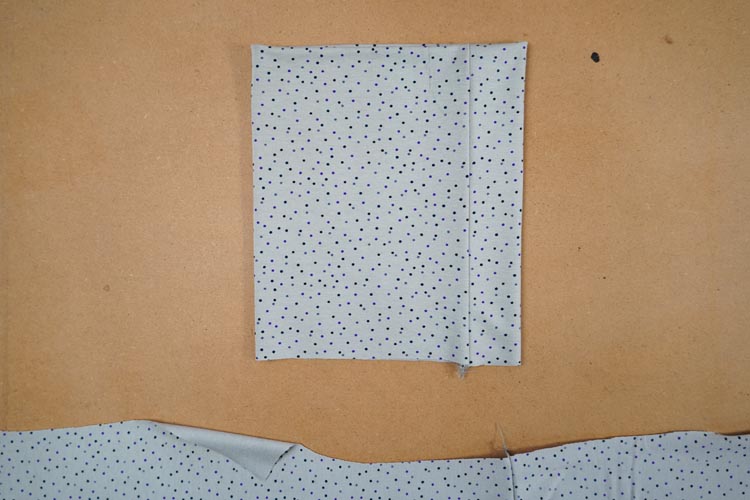
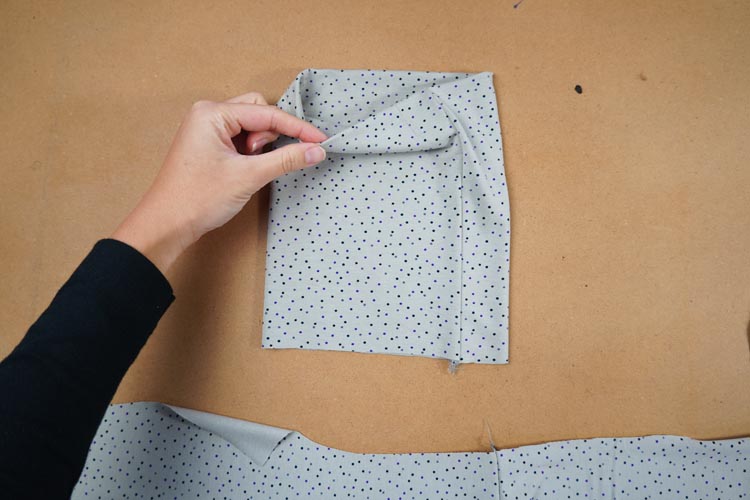
...and pin it to the neck opening. The seam on the collar should be aligned with the centerline of the back piece.
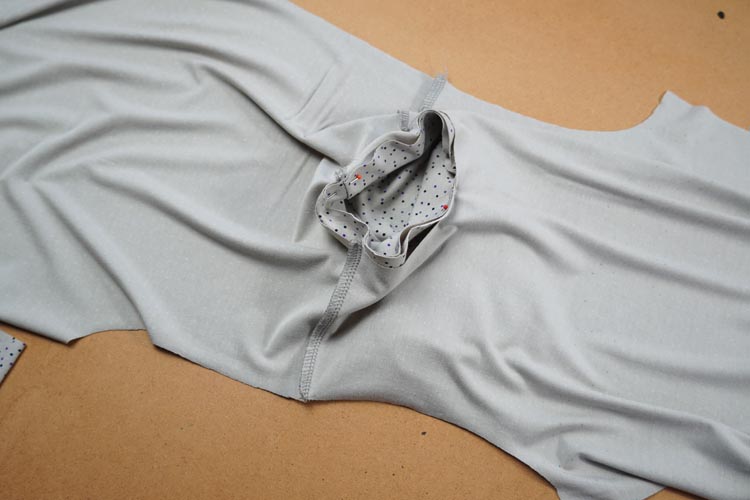
Sew the collar to the neck opening. Pull free ends of thread chain under the loops when sewing on the overlock.
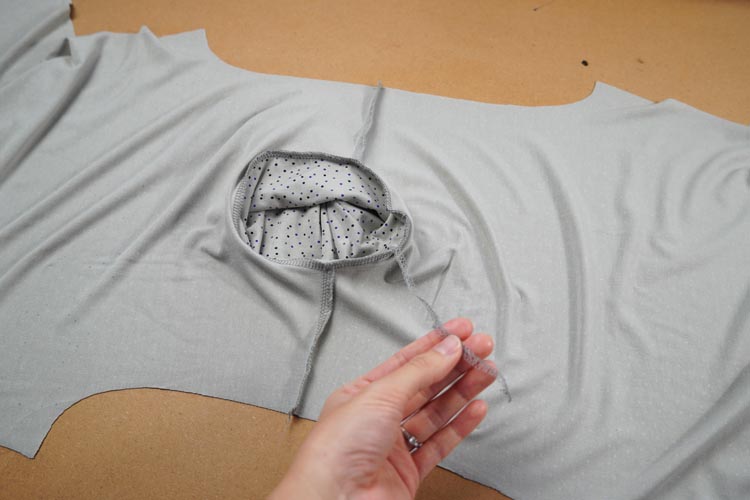
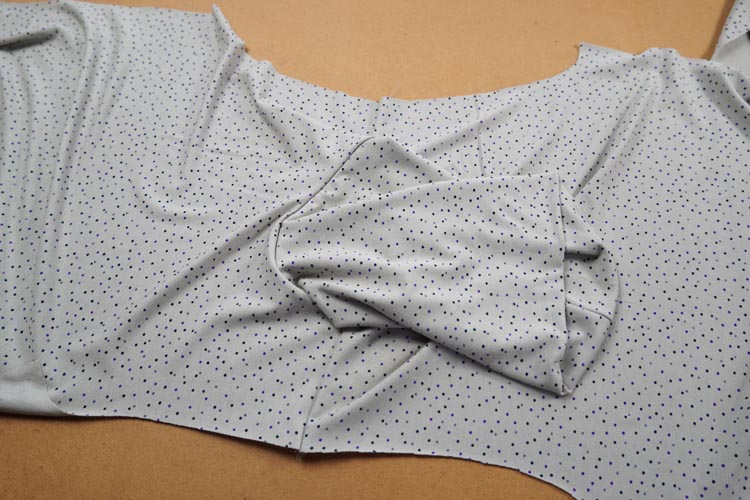
Spread one of the open armholes on the table...
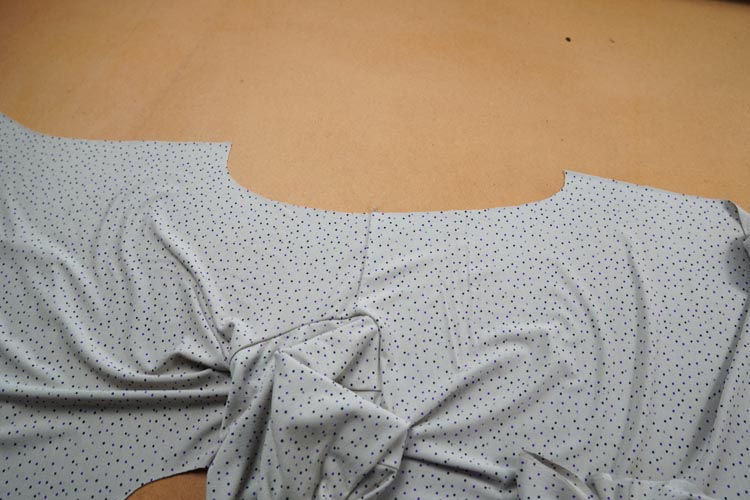
...and pin one of the sleeves to it. Use marks on the paper pattern to position the sleeve correctly.
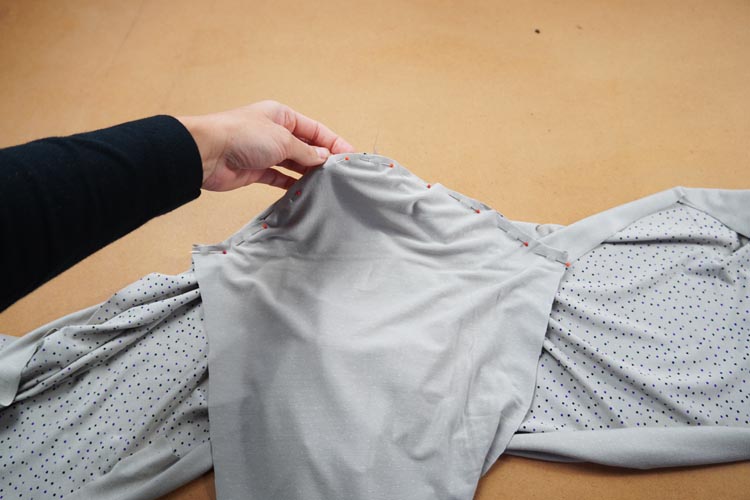
Sew the sleeve to the torso.
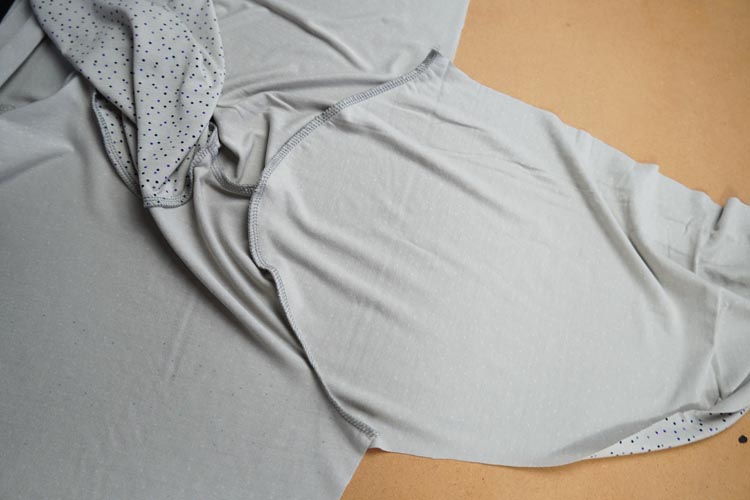
Sew the other sleeve in the same way. Next, pin the side seam and the sleeve seam and sew them in one go.
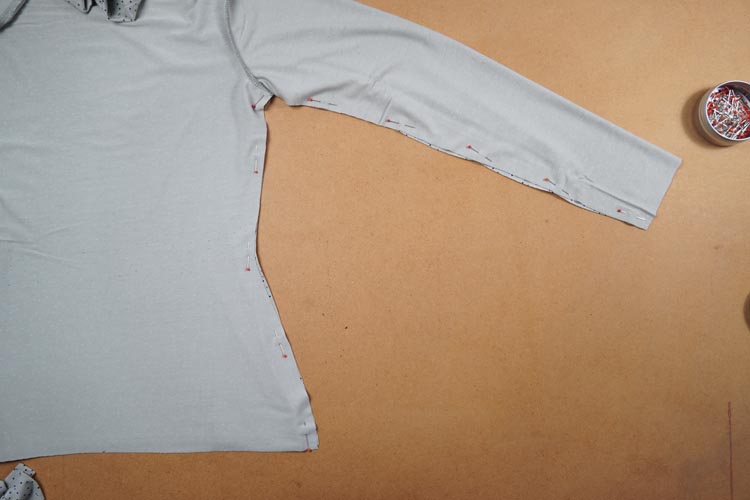
Do the same on the other side of your shirt.
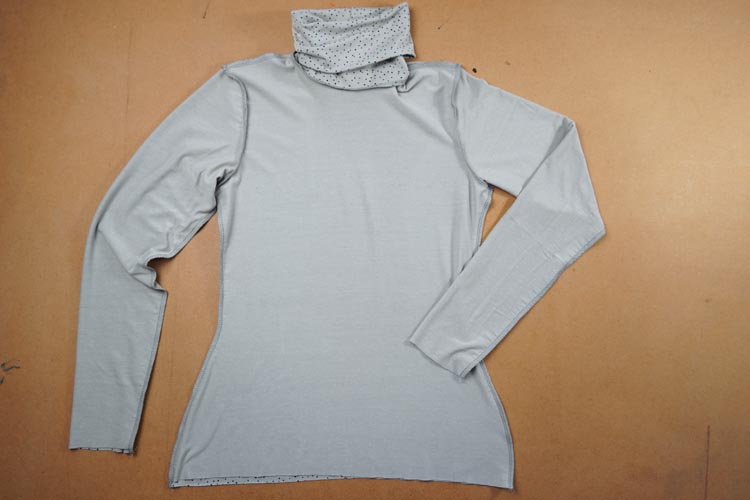
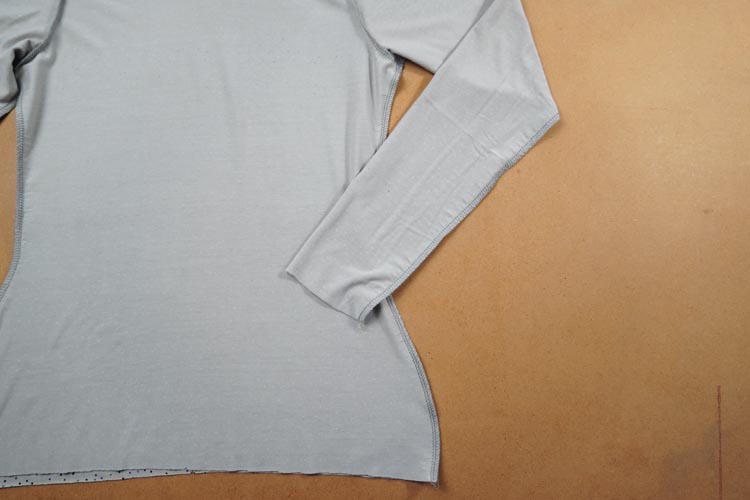
Now is the time to prepare hems. Lay bottom hem pieces on each other (face side to face side) and pin their side seams. Fold sleeve hems in half and pin the seams opposite the folds.
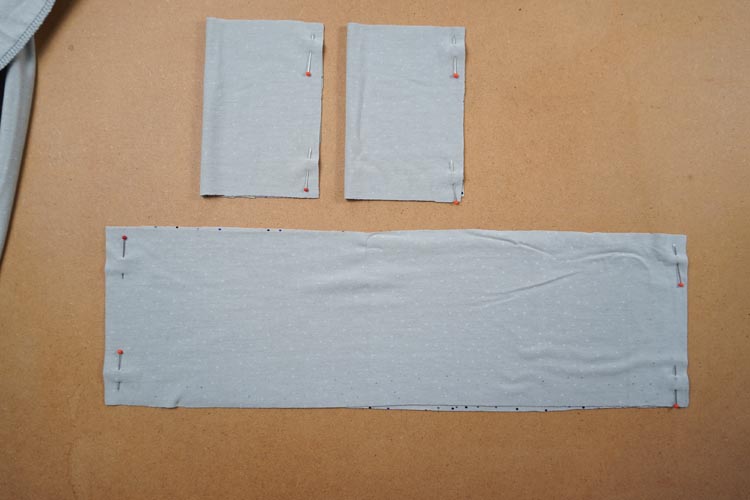
Sew previously pinned seams on the hem pieces.
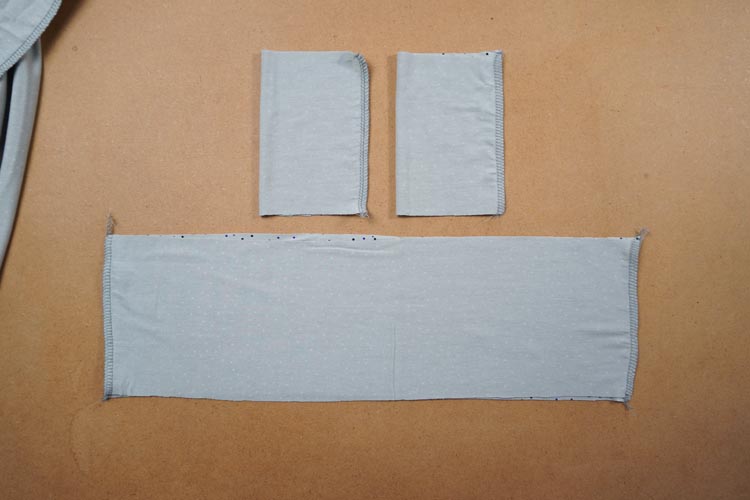
Fold (roll) the hem pieces in half (face sides out).
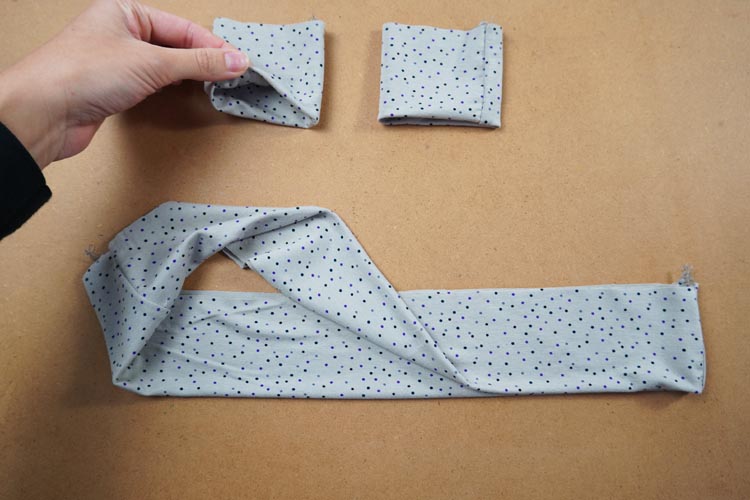
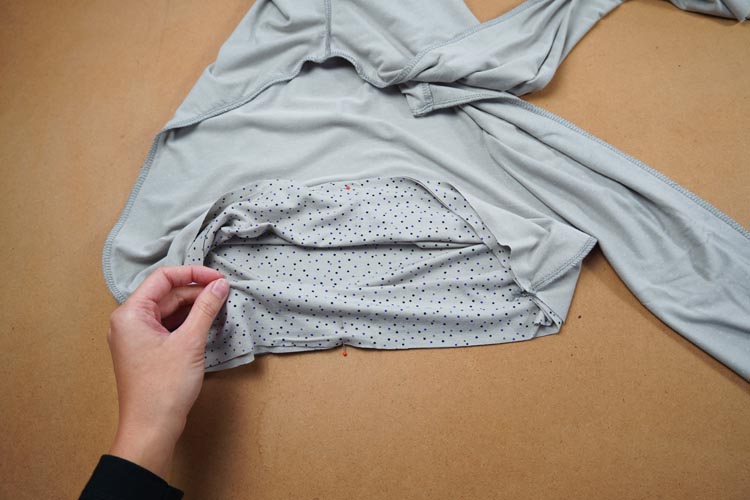
Pin the bottom hem to the bottom edge of your T-shirt.
And sleeve hems to the sleeves.
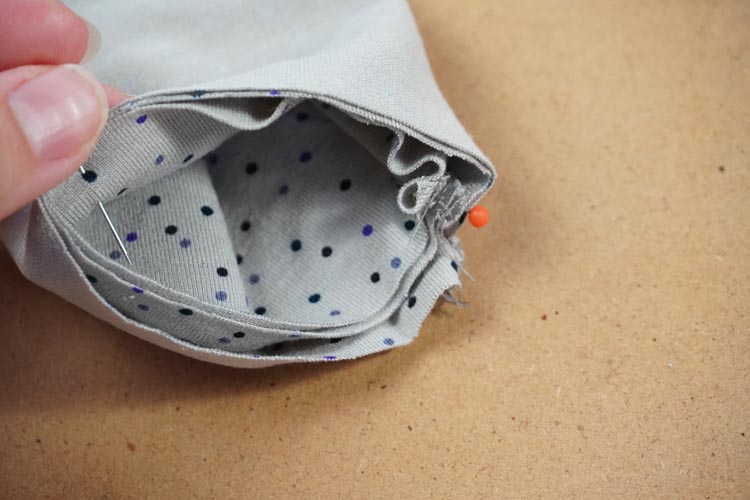
Sew the hems to the T-shirt. Pull free ends of the thread chains under the loops when sewing on the overlock.
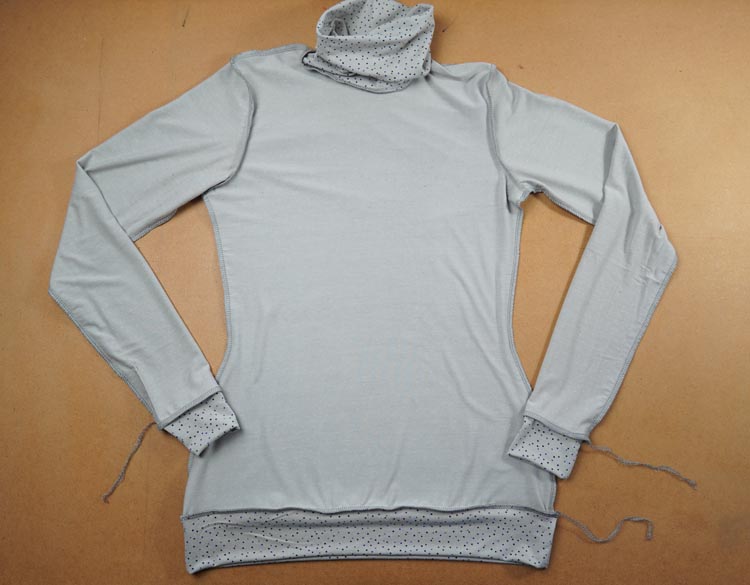
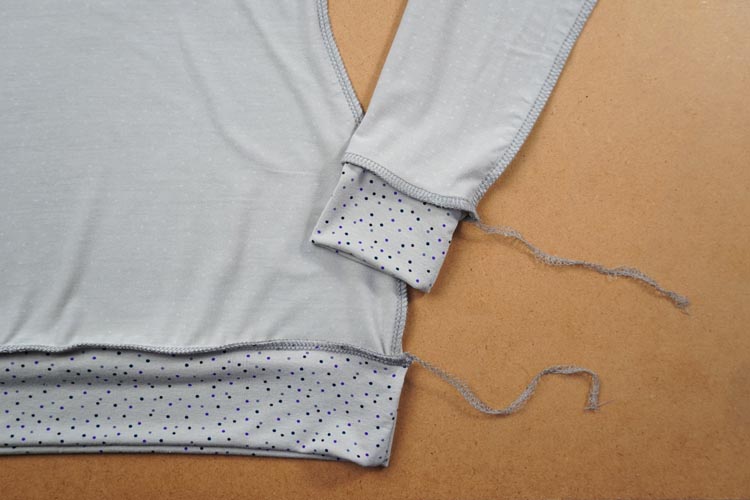
Your new turtleneck is ready! :)
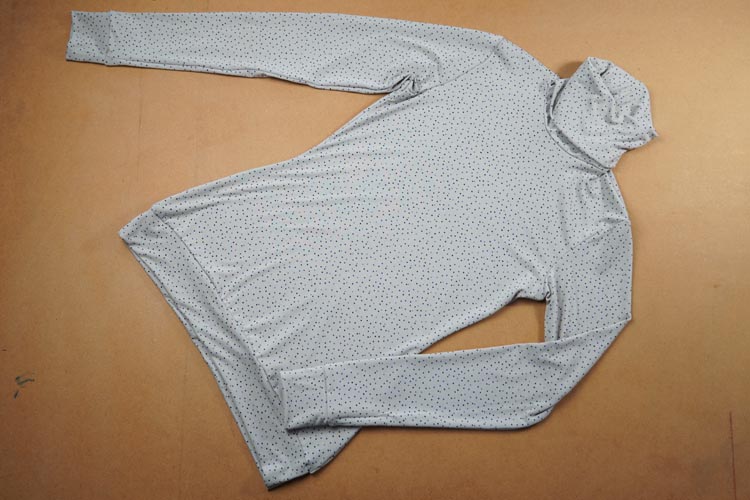
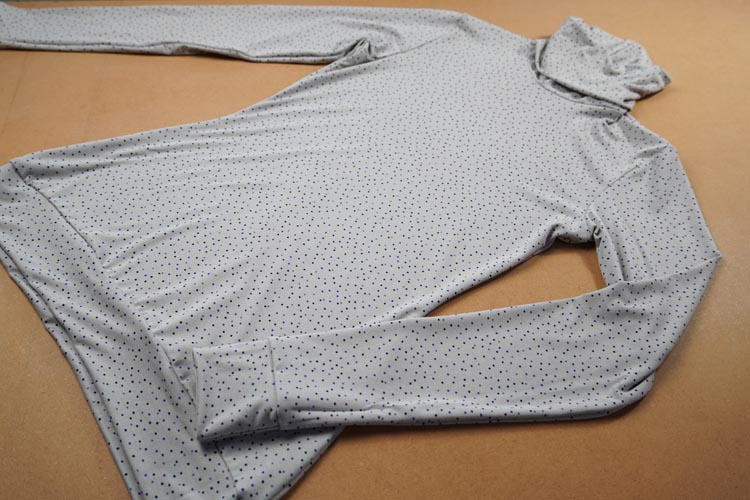
You can get this pattern here:
Have a nice day, Peťa
Don't forget to share your joy with others!
Do you like this article? If so, share it with your friends and tell me about it in the comments section below. I will be glad for any feedback! ♥
PS: Did you know that there are FREE PATTERNS available on my blog?


