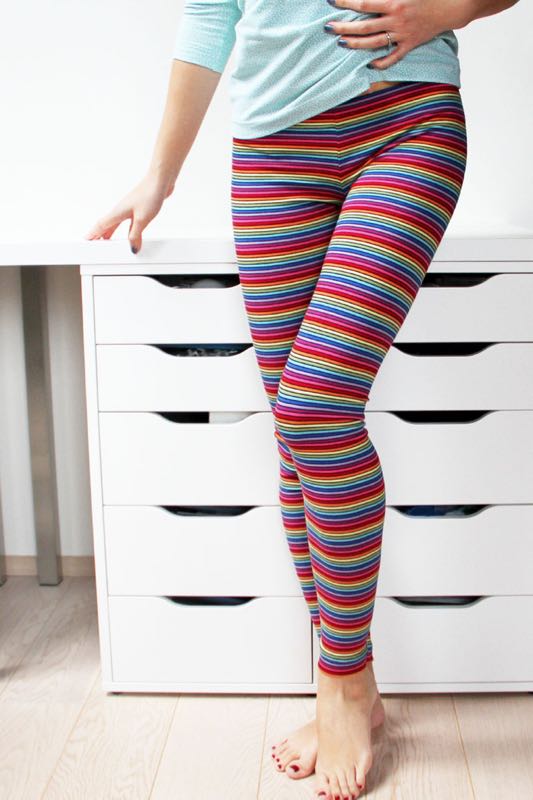
I'm not a big fan of wearing leggings in public, but I like to wear them at home or for exercise. And recently I noticed that all my leggings are black and I decided to change that. I sewed one pair of these cheerful leggings for myself and one for my daughter Terulka. I photographed the whole process and added patterns for leggings to my online store, so in today's article, I can show you how to sew leggings in 5 steps.

My tip: I used my overlock machine, but it can be done with a regular sewing machine too. Just follow a few simple rules described in this article: Sewing elastic fabrics with a regular sewing machine - 4 steps to success
Material for leggings
You need some very stretchy material. You can go with cotton knit (it must contain elastic fibers) or functional knit (sports knit, active knit...), which is great for sports - does not stretch out at all - on the other hand, these materials are mainly made of synthetic fibers, and are therefore not that great for all-day wear.

I sewed my cheerful striped leggings from a cotton knit with an admixture of elastane, which I bought on Unuodesign.cz: Knit - Stripes.
Leggings patterns
How to sew leggings in five steps
There are several ways to sew leggings. It always depends on the specific pattern (some are segmented in various ways, others have yokes and other features) but today we will look at the simplest way.
Step No.1 - Crotch seams
There are two types of patterns for leggings. Each of the two legs can be a single piece, or it can be composed of two pieces - front and back. In the case of the second type, you must prepare a total of four pieces. If you use the second type, you must first sew the side seams to prepare two legs. If you use the simplified version (first type), then you start with two parts that look like the one in the photo below.
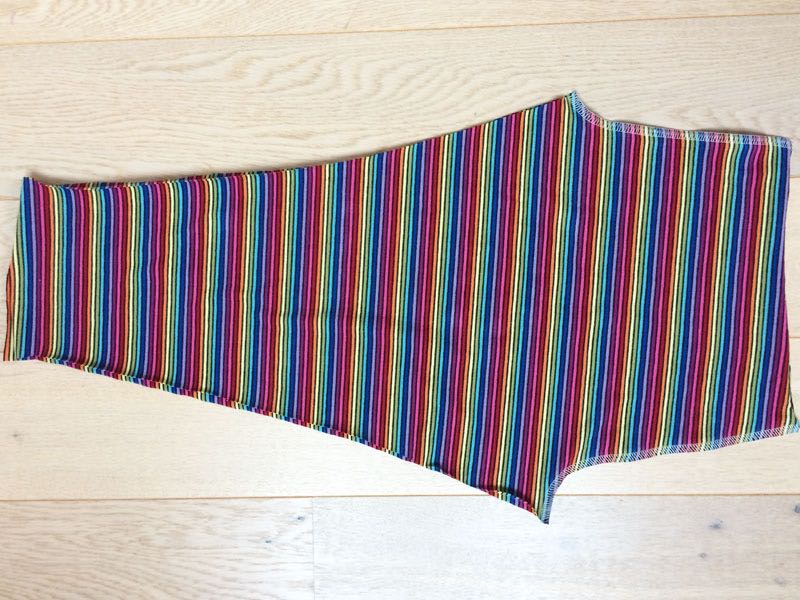
The rest of the procedure is the same for both types. Place the pieces on top of each other (face side to face side) and sew the front and back crotch seam.
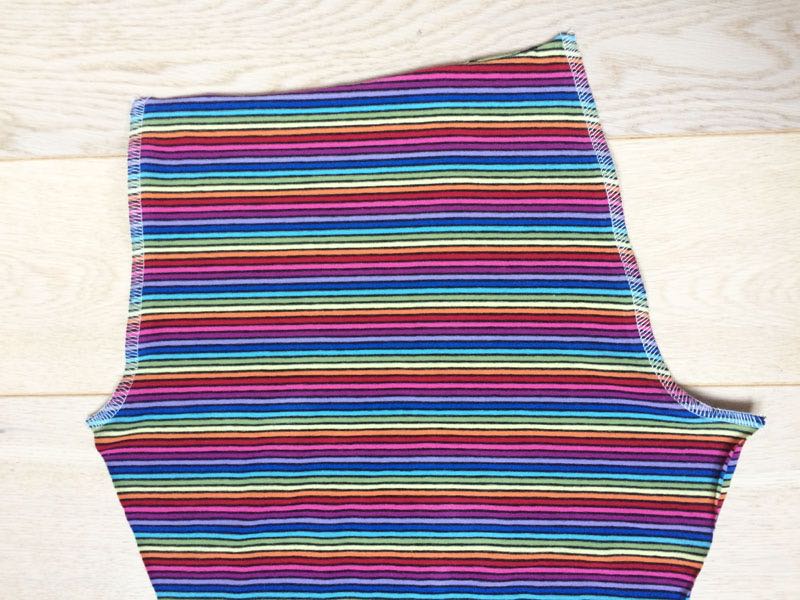
If you have a patterned fabric, like me, then pay extra attention when cutting and sewing so you can match the pattern and create a “seamless” connection.
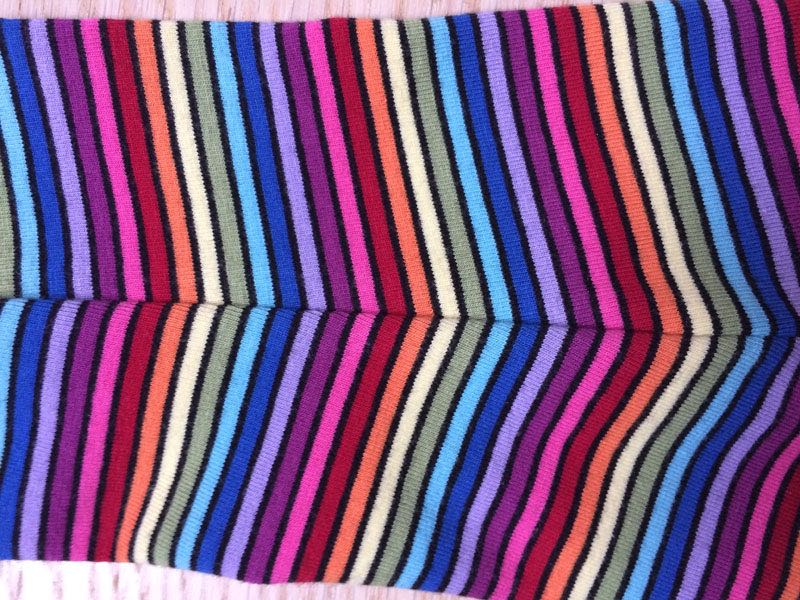
Step No.2 - Instep seams
Fold the leggings so that you can work on the instep seams. Pin the instep seams before sewing (especially if you are using a patterned fabric).
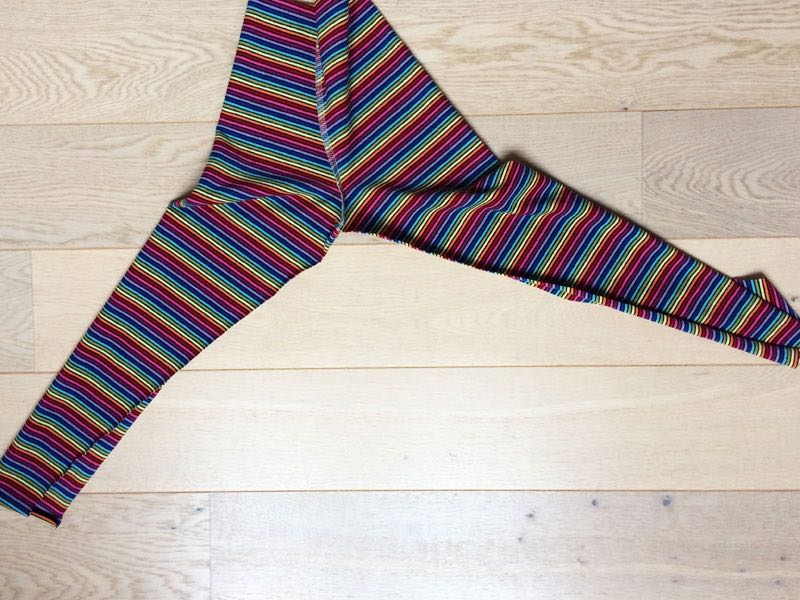
Align the bottom ends of the two crotch seams and spread their seam allowances in opposite directions to make this part of the instep seam a little flatter.
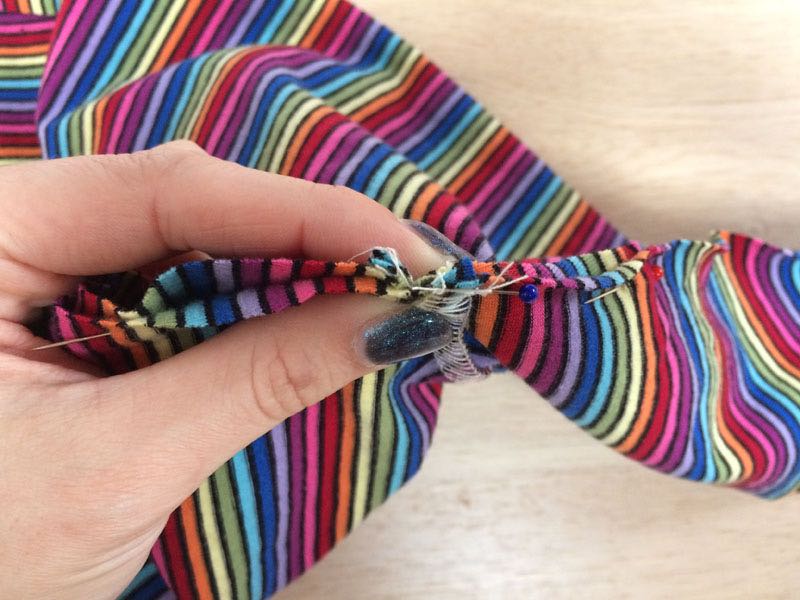
Sew both instep seams. If you feel like it, you can sew both instep seams in one go. Simply start on one leg, sew up, over the crotch seams, and then down the other leg. If your machine tends to snag on the fabric, I recommend sewing the seams one by one. Start at the crotch seam and continue down to the end of the first leg, then sew the other leg in the same way.
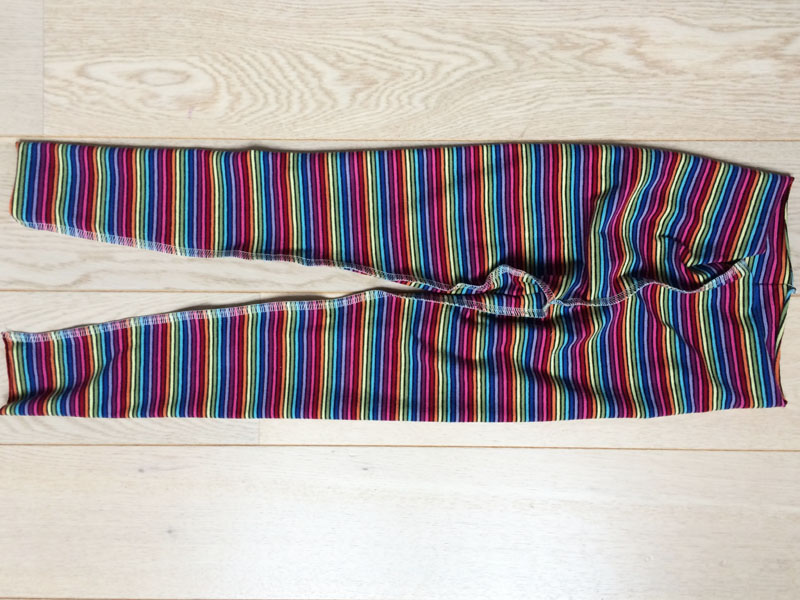
Step No.3 - Clean the cutting edges
Whether you have an overlock machine or not, it's a breeze. Clean the bottom edges of both legs and the waistline. Pull free ends of thread chains under the loops when using a serger. If you are using a regular sewing machine, you can clean the cutting edges with an overcast seam/zig-zag stitch.
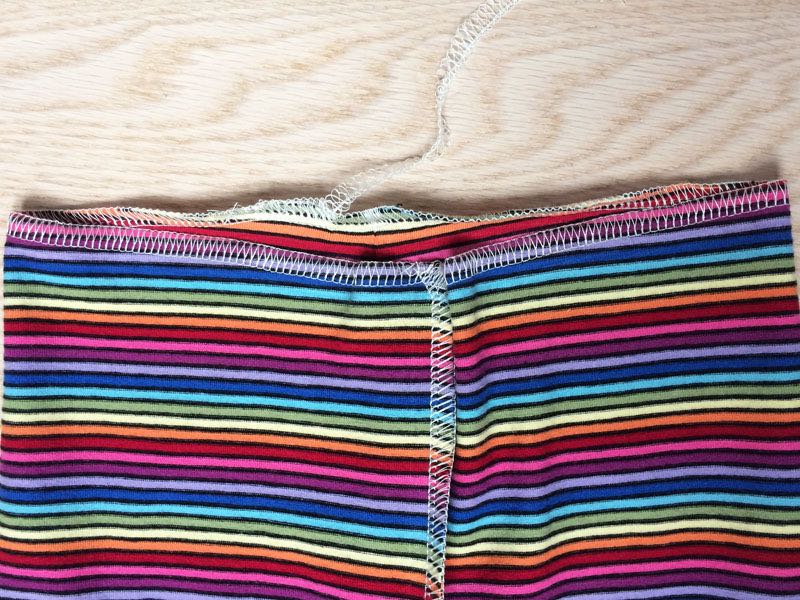
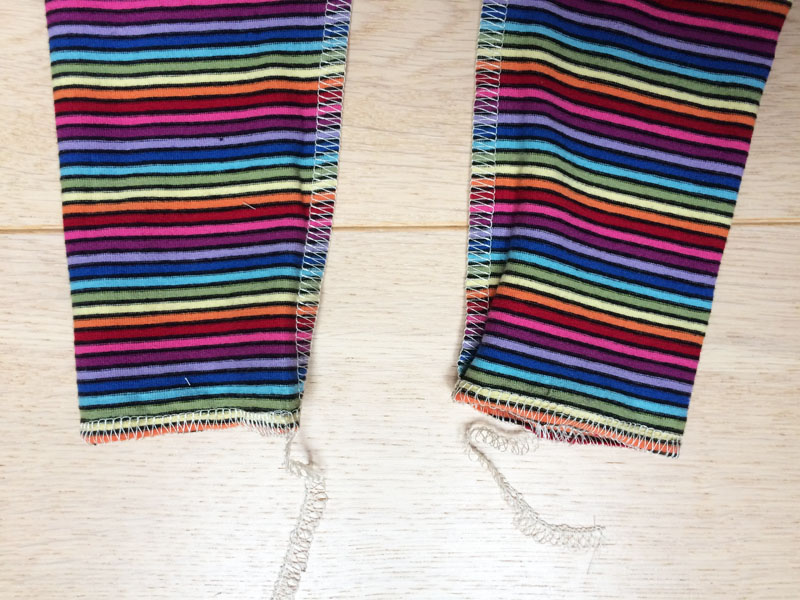
Step No.4 - Waistband
At this stage, I recommend trying on the leggings. Find out how they fit (and adjust them if necessary) and measure the circumference of the legging’s waistline on your body. Subtract 2 cm from the measured value to find out the recommended length of the elastic band for the waistline. I like wider bands - about 3 cm wide - because I think they work better, but it's more or less a question of personal preferences.
Cut the elastic band to the desired length, make a circle out of it and sew the ends. Try to make this connection as flat as possible - no knots, please! :D The band should not twist and thanks to the flat connection, the leggings will be more comfortable.
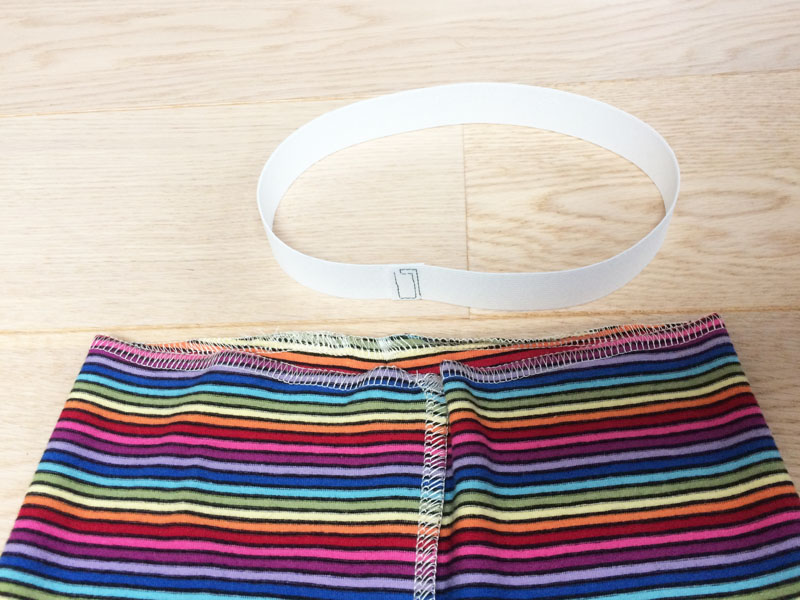
Put the waistband on the leggings (which are inside out).
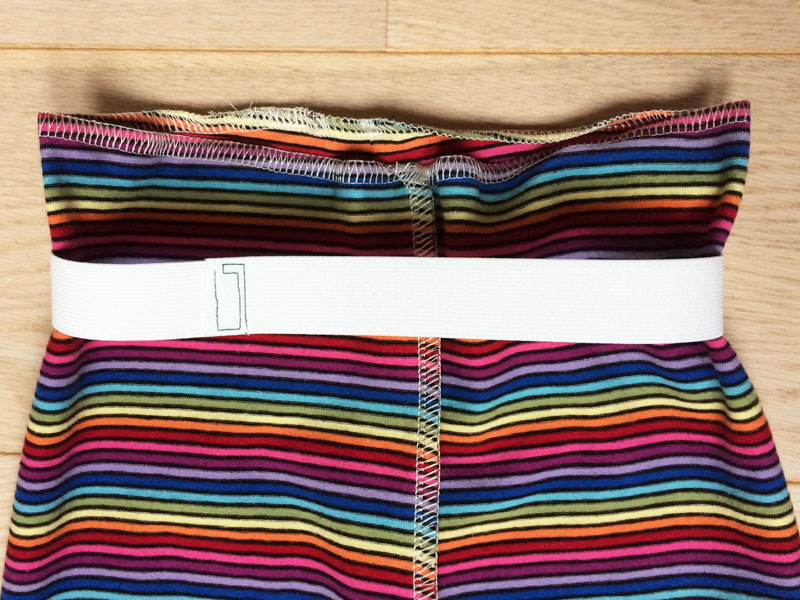
Fold (“roll”) the edge of the leggings over the band so that it reaches about 0.5 - 1 cm over the lower edge of the band.
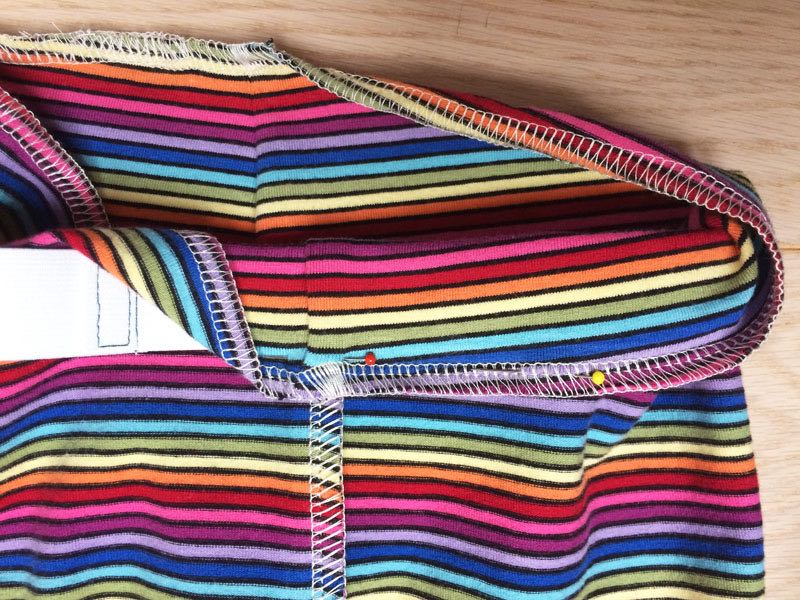
I recommend checking that the hem is folded evenly around the entire circumference.
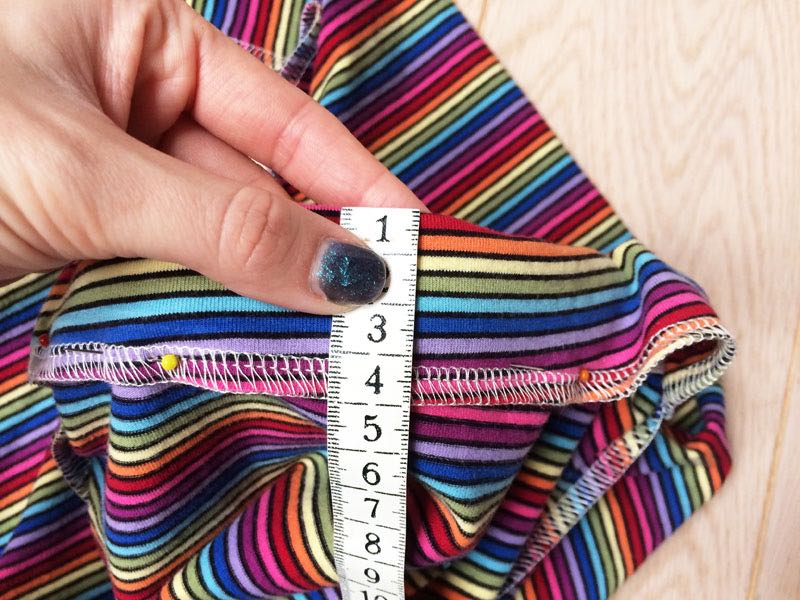
If you pinned the hem from the reverse side, as I did, I recommend carefully moving the pins (one by one) to the face side of the leggings - in the next step you will sew on the face side.
Step No.5 - Hems
Now all you have to do is sew the hems. Sew on the face side so you have full control over the seam. I probably don't have to say that, but make sure you use an elastic stitch. I like to use the twin needle for this purpose, but for it to work as it should, it is necessary to tweak the settings of the machine a little. It is necessary to reduce the presser foot pressure, to reduce the bobbin tension, and ideally to use a walking foot. Try your new settings on some scraps to avoid unpleasant surprises.
In the case of a waistline, sew right next to the elastic band and be careful not to sew through it.
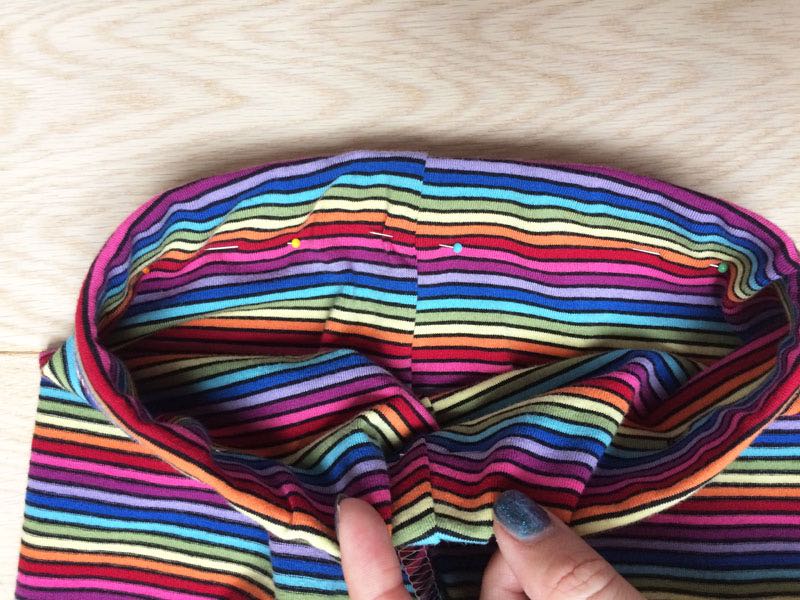
Fold the bottom hems of the legs to the reverse side. I usually use 3 cm wide hem allowances. You won’t be able to fit small leg openings of children's leggings over the bed of your machine, but that’s not a huge problem. Turn the pants inside out and sew "inside the legs" (on the face side). Sew a few seams, rotate the leg, and sew a few seams again until the hem is done. If the leg openings are large enough, simply slip them on the bed of your machine and sew on the face side.

Suggestion:
In conclusion, I would like to note that there are many ways and techniques for sewing leggings. It always depends on the specific pattern, material, and personal preferences of the sewer.
That's why I want to show you this older video tutorial, which shows a slightly different way of sewing leggings:

Have a nice day, Petra
Don't forget to share your joy with others!
Do you like this article? If so, share it with your friends and tell me about it in the comments section below. I will be glad for any feedback! ♥
PS: Did you know that there are FREE PATTERNS available on my blog?


