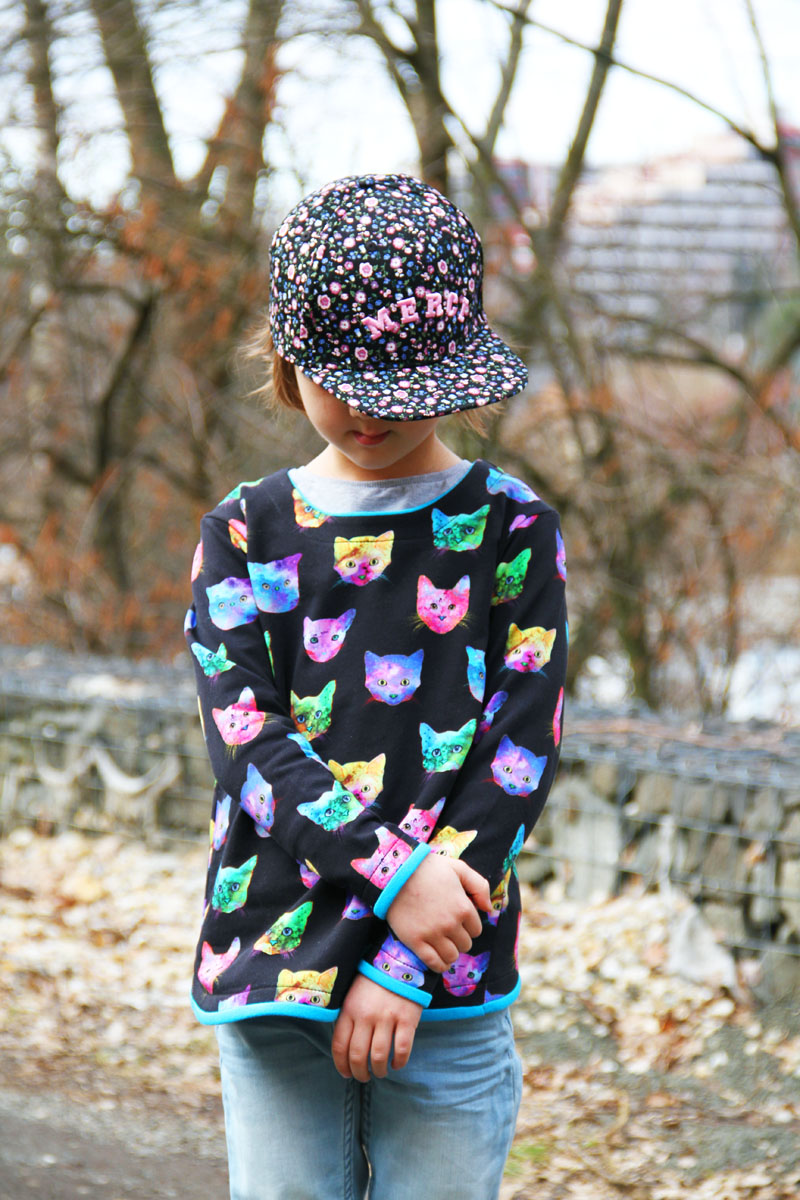
I recently published a new pattern for girls' sweatshirt (WILD CAT), and in today's article, I will show you another (slightly different) way to sew this sweatshirt.
The pattern
Sewing pattern for this sweatshirt can be found here:
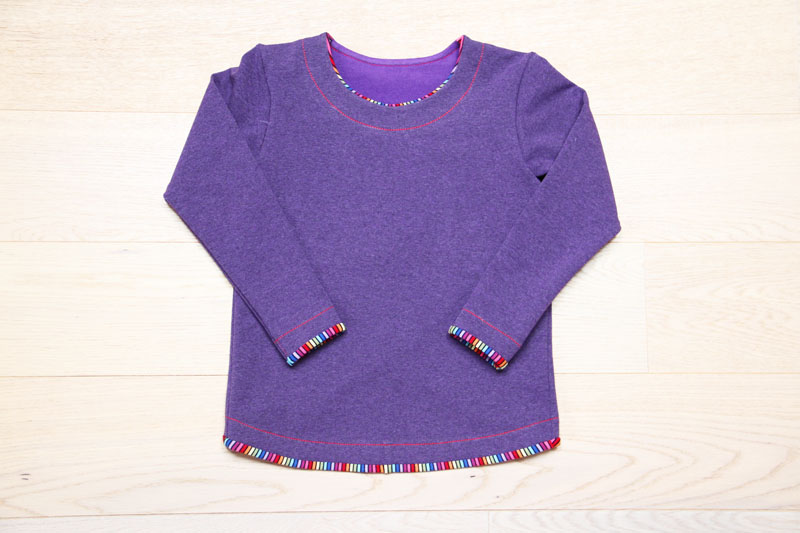
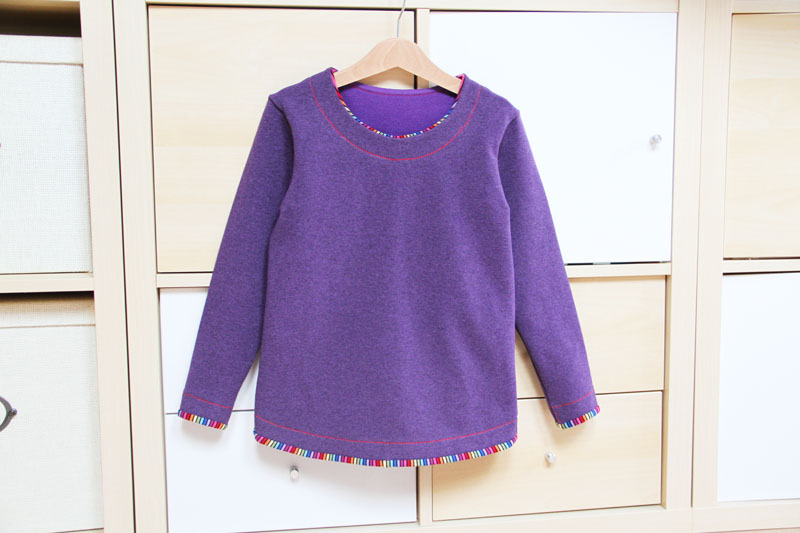
This loose-fitting sweatshirt is great for little girls as well as teenage ladies.
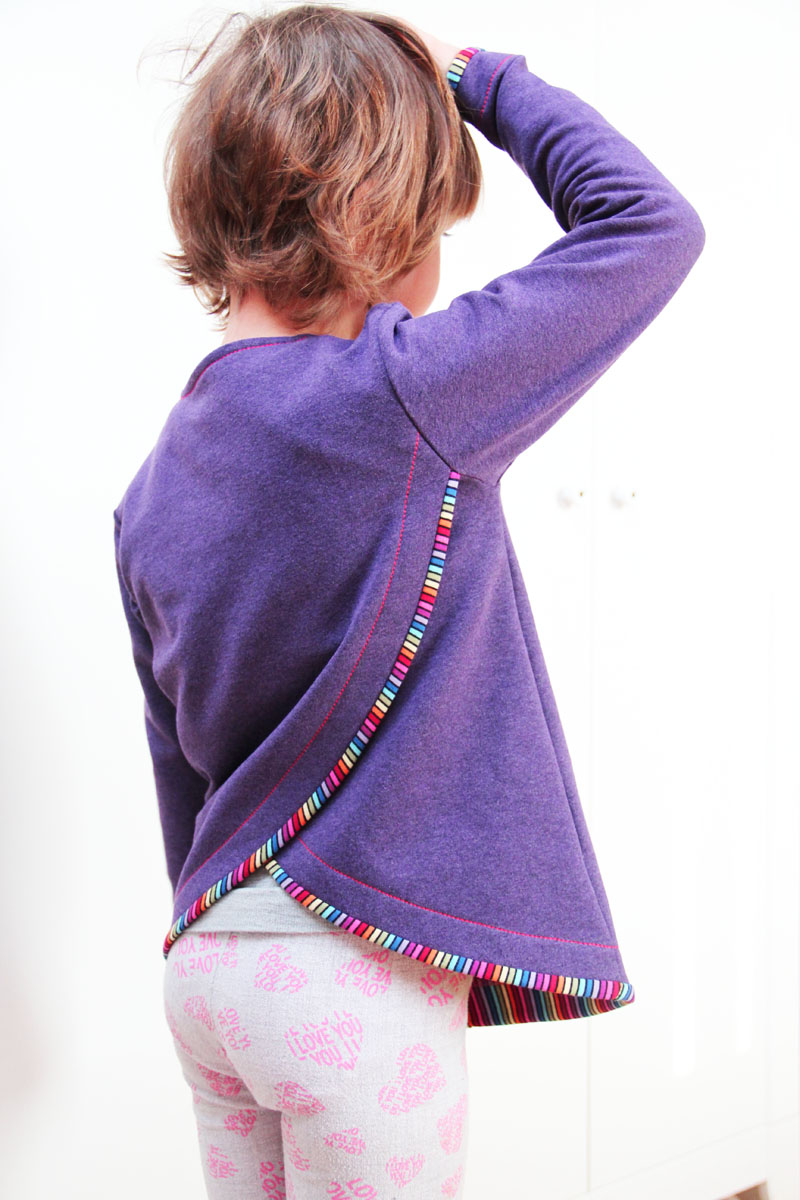
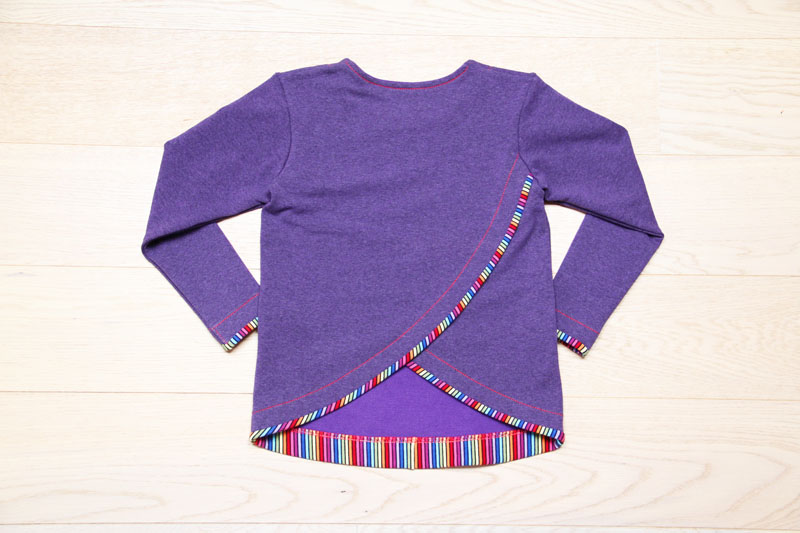
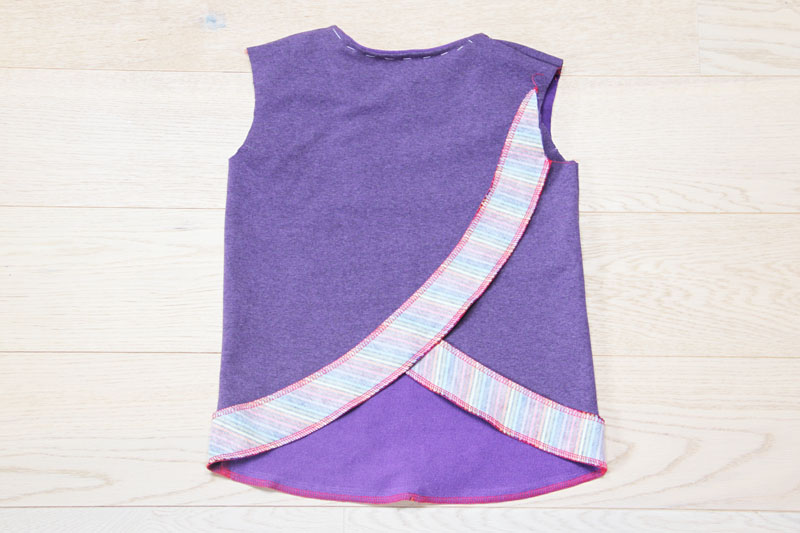
The back of this sweatshirt has a unique style.
Recommended material
- I recommend using knits (stretchy materials) of medium thickness such as Laid-in knitsFrench Terry knits and light elastic fleece.
- I bought materials featured in this article at Dumlatek.cz.
Sewing instructions
Suggestion
You can sew this sweatshirt on an overlocker or a regular sewing machine. If you plan to use a regular sewing machine, I recommend reading this article first:
I have already published sewing instructions for this pattern, but today we will look at an alternative sewing process. Let's get started.
Pattern layout
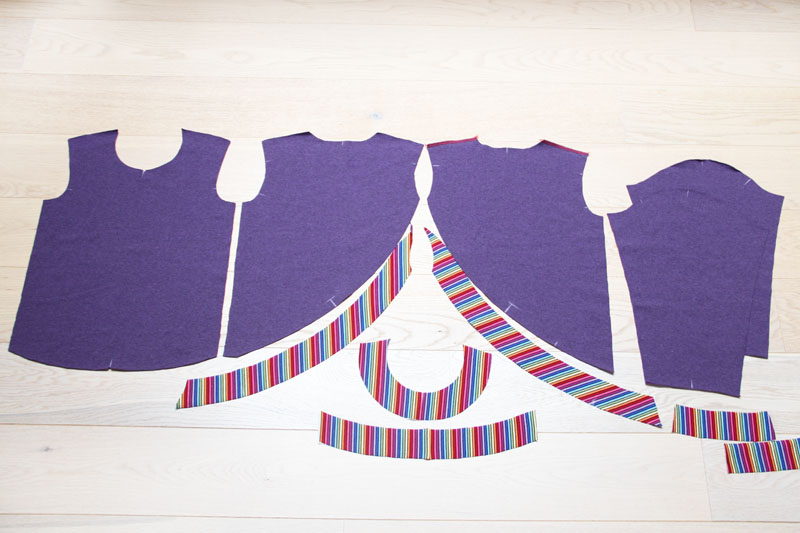
Prepare:
- Primary fabric:
- 1x front piece (cut on the fold)
- 2x back piece
- 2x sleeve piece
- Secondary fabric:
- 2x bottom hem facing (back)
- 1x bottom hem facing (front)
- 2x sleeve hem facing
- 1x neckline facing
Prepare the pieces
Use one-sided fusible interfacing to reinforce all facing pieces. Don't forget to transfer all the important marks to the fabric so that you can align the individual pieces correctly.
Clean the cutting edges of the shoulder seams of one of the back pieces (the one that will form the "inner layer" when the sweatshirt is finished), and shorter edges of the neckline facing.
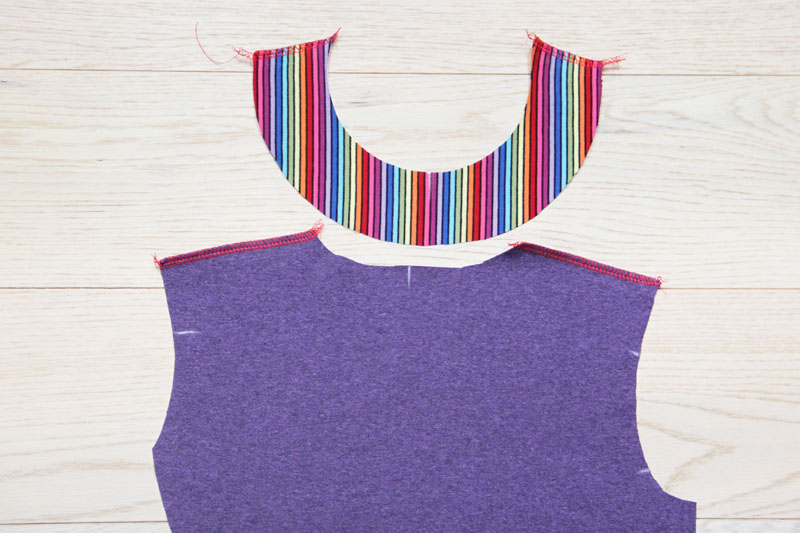
Clean the outer curve of the neckline facing too.
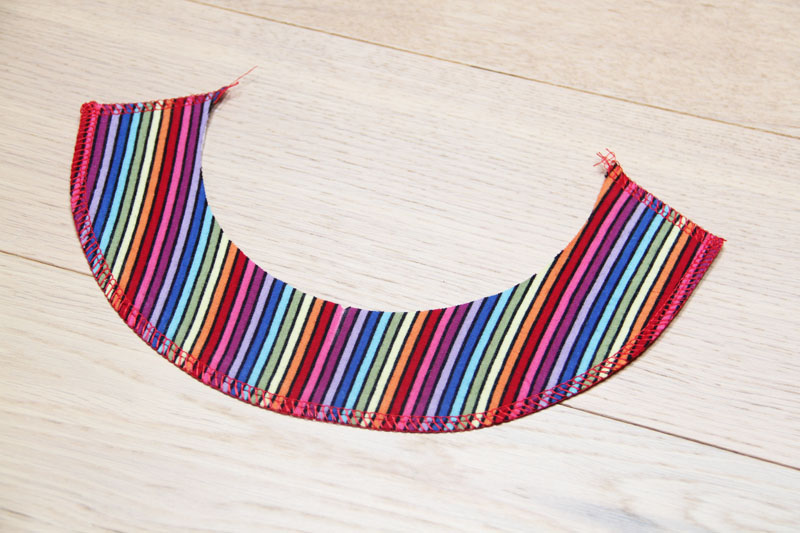
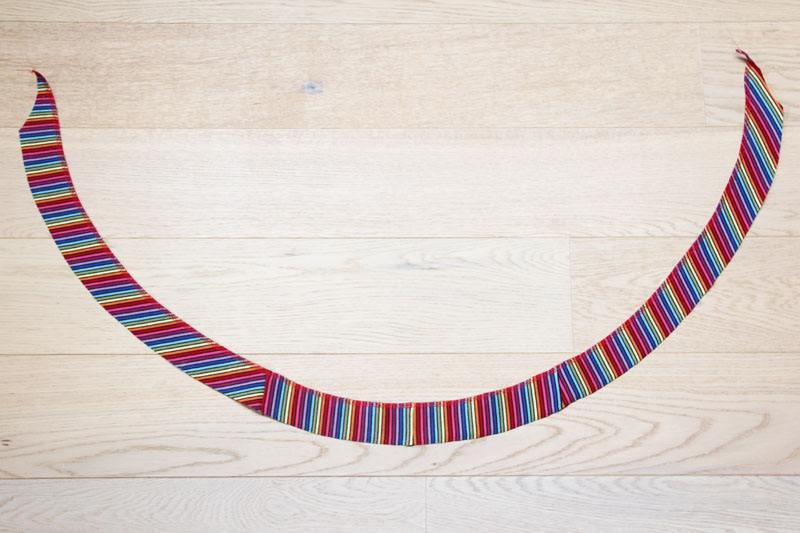
Connect all three bottom hem facings into one large facing piece. Press the seam allowances towards the middle of this large piece. Clean the inner curve of the bottom hem facing.
Neckline
Sew the shoulder seams like this:
- Place the front piece on the back piece that will form the "outer layer" when the sweatshirt is finished (face side to face side).
- Place the neckline facing on the other back piece - both pieces should be oriented reverse side up.
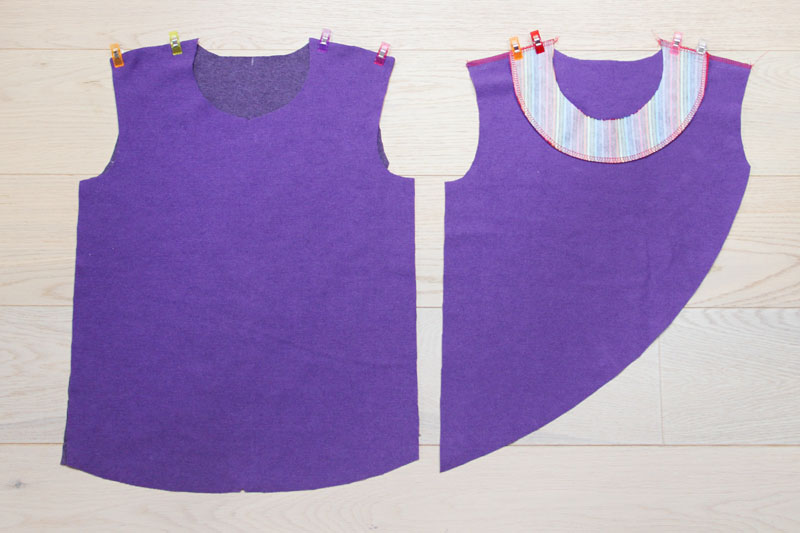
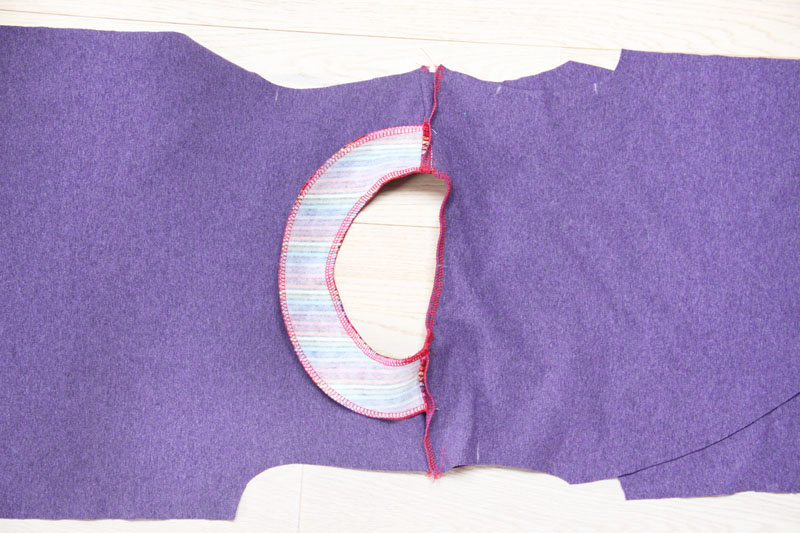
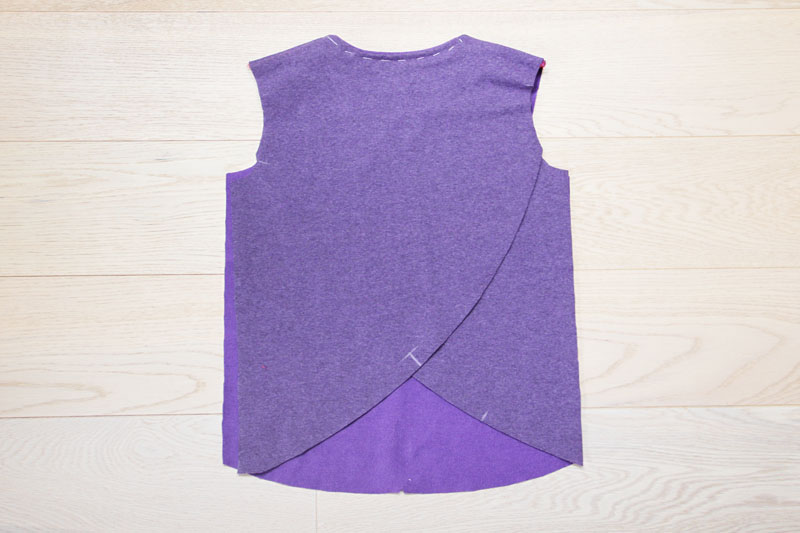
Sew shoulder seams of both sets of pieces. Spread the first set of pieces (front piece & one of the back pieces) on your table Then place the second set (back piece & neckline facing) on top of it. Arrange the facing so that it lies (face side down) on the front piece. Both back pieces should be oriented face side up.

Sew around the neckline and connect all pieces. Pull free ends of thread chain under the loops (when using an overlock machine).
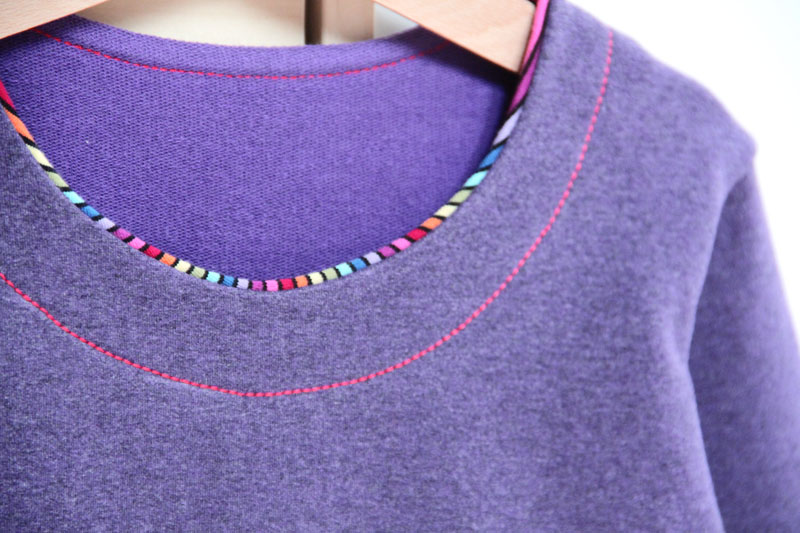
Turn the sweatshirt face side out. Slide the facing about 3 mm (1/8 ") upwards to make it visible from the face side view. You can do the same in the back of the neckline (if your primary fabric has the same color on both sides).
If the reverse side of your primary fabric does not look very good, follow instructions from this article:
(Slide inner back piece about 1 mm / 0.04" down - lower into the sweatshirt - so that it is not visible from the face side.)

Baste the neckline to make all the layers stay in place.
You can learn more about basting (temporary stitching) here:
Side seams
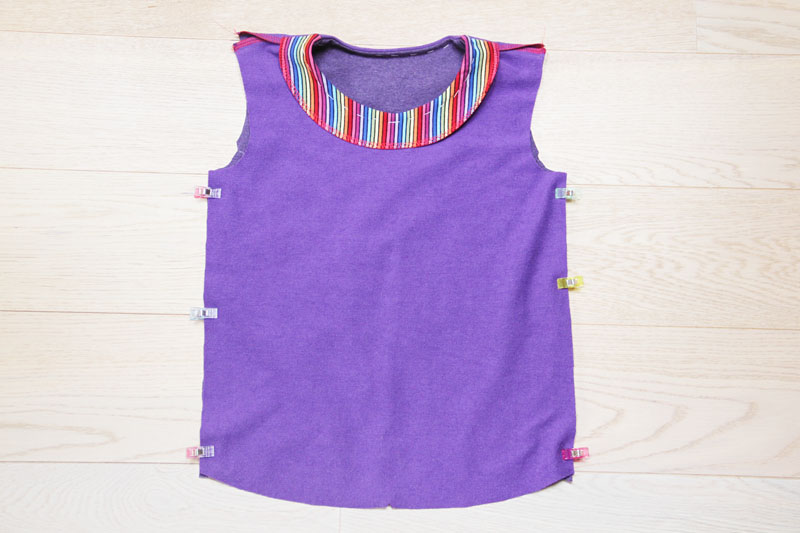
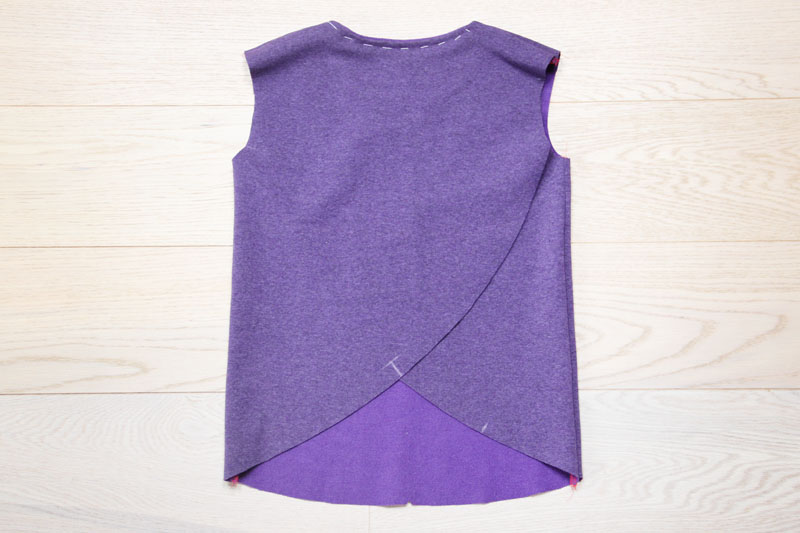
Turn the sweatshirt inside out and pin both side seams. Sew the side seams.
Hems
Turn the sweatshirt face side out and pin the bottom hem facing to the bottom edges of the sweatshirt. Follow the marks on the facing and the individual parts of the sweatshirt.
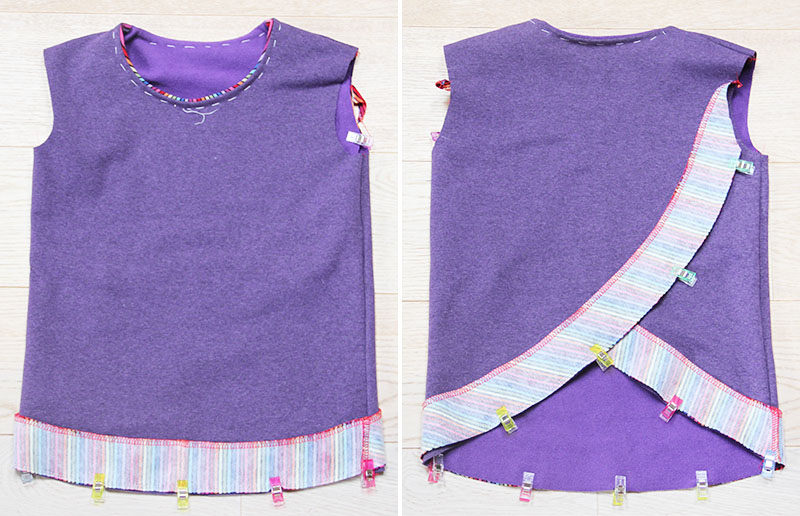
Sew the facing to the sweatshirt.
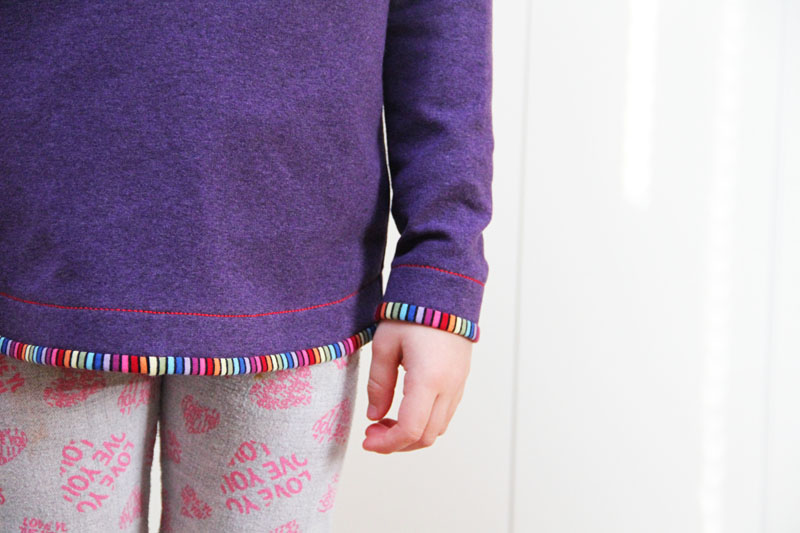
Fold the facing over the seam allowances and to the inside of the sweatshirt to create a decorative hem. You can take a closer look at this part of the sewing process here:
Baste the facing.
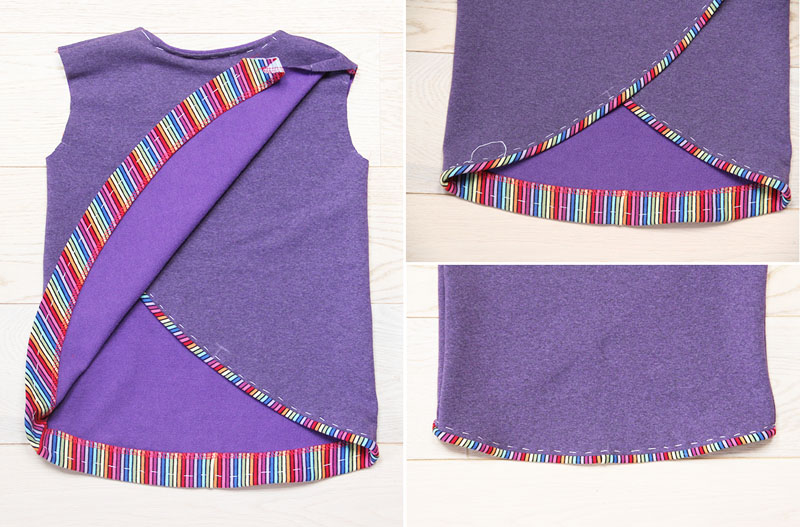
Cut off excess parts of the bottom hem facing near both armscyes.

Topstitching
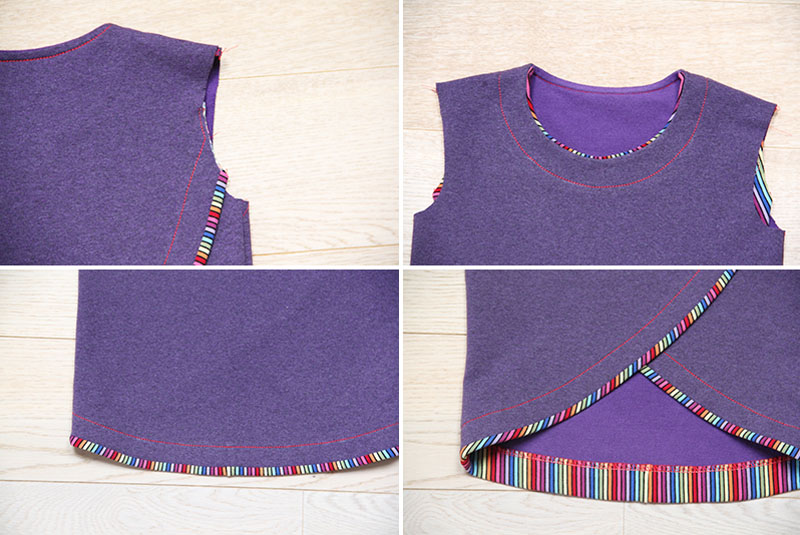
Use tailor's soap/chalk to mark topstitching seamline along the bottom hem (about 3 cm / 1.18” from the edge).
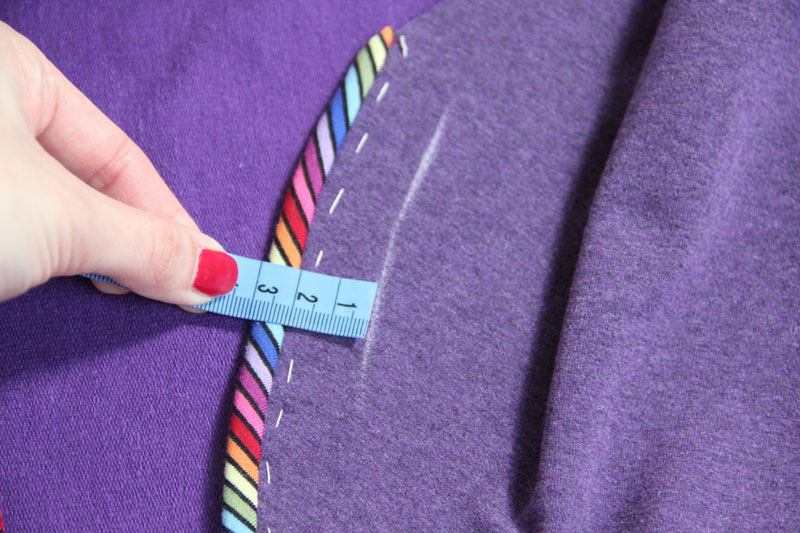
Do the same in the front part of the neckline.
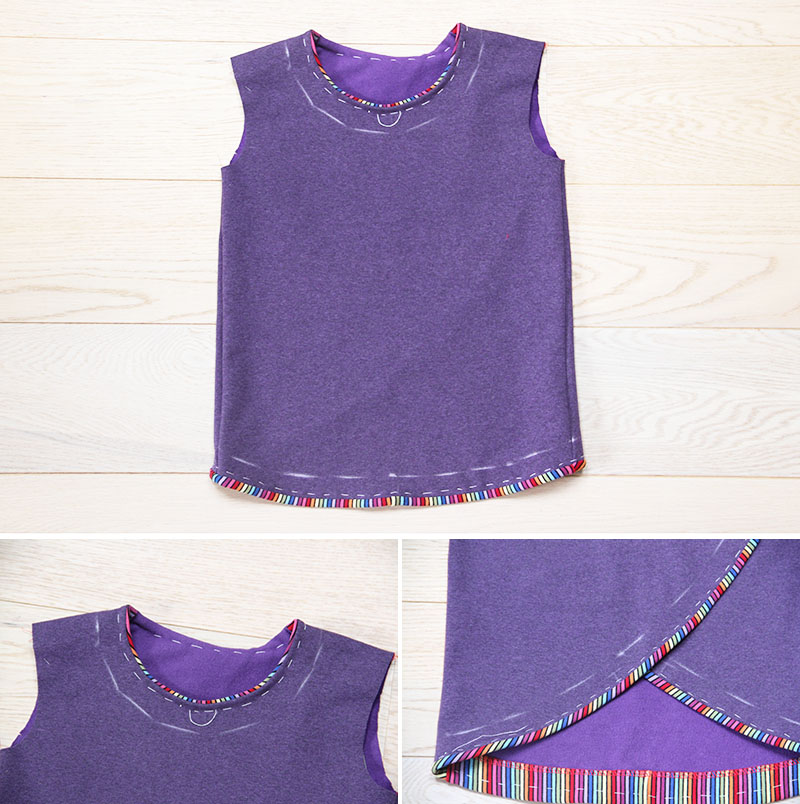
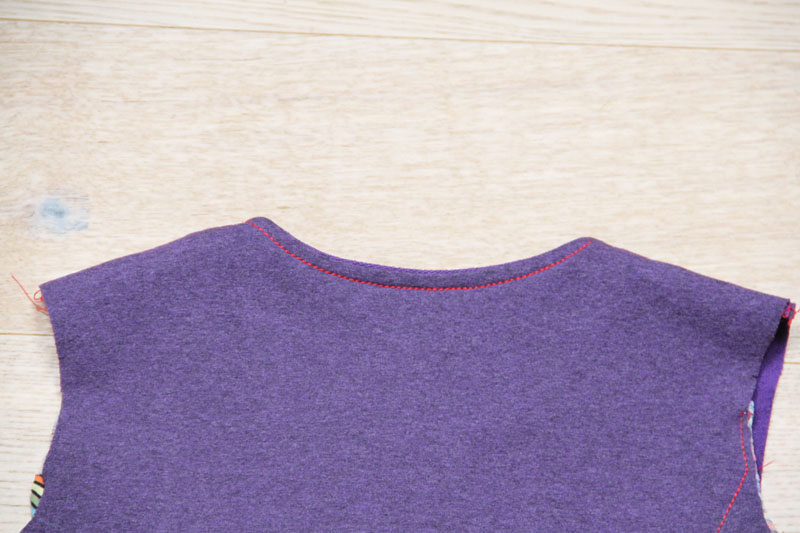
Topstitch the back part of the neckline. Sew about 1 cm / 0.4” from the edge.
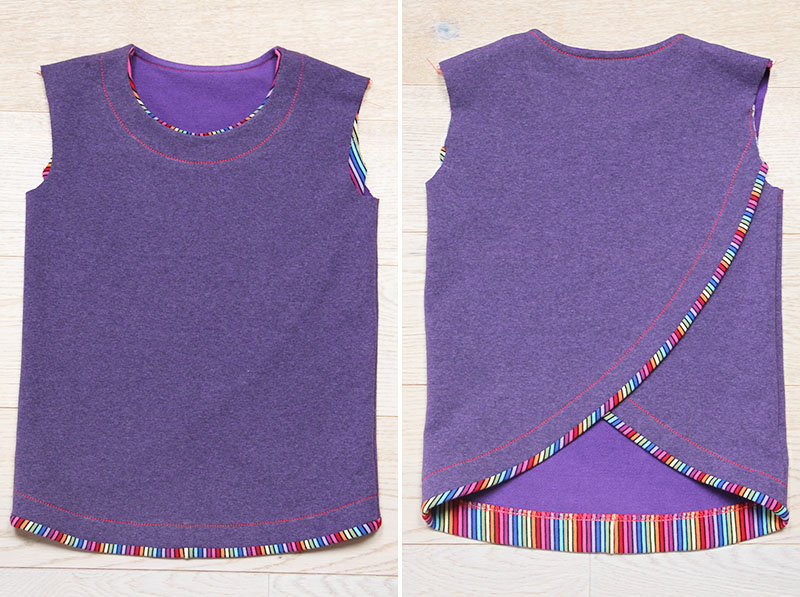
Then topstitch the front part of the neckline and bottom hem (follow the lines you drew).
Sleeves
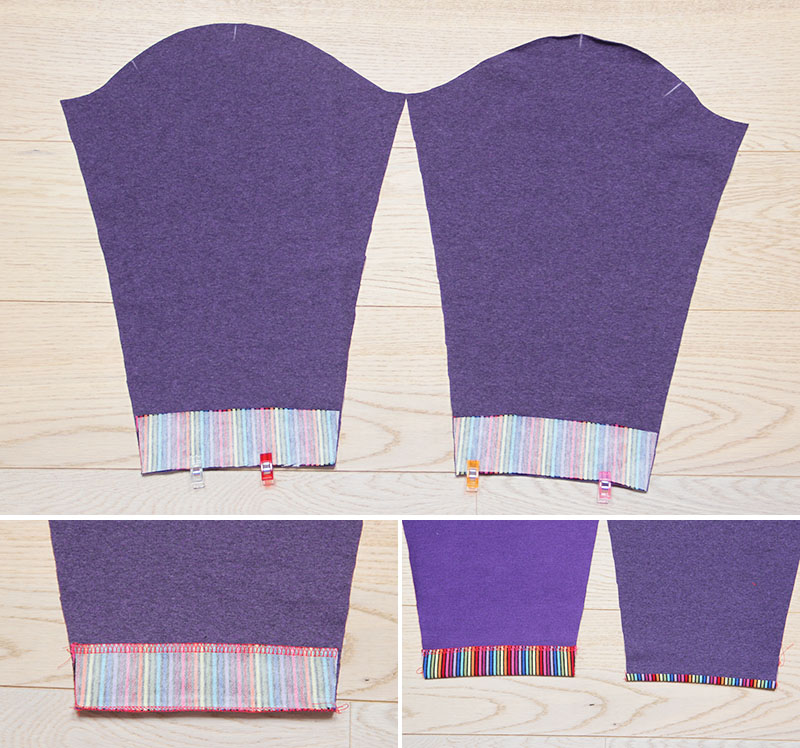
Clean bottom edges of both sleeve pieces. Sew both facings to the sleeves and fold them over their seam allowances to create decorative hems. Baste both hems and topstitch them about 3 cm / 1.18” from the edge.
Fold the sleeves face side in and sew their sleeve seams. Pull free ends of thread chains under the loops when using your overlock machine.

Flatten the bottom part of the sleeve seam allowances with a few small stitches.
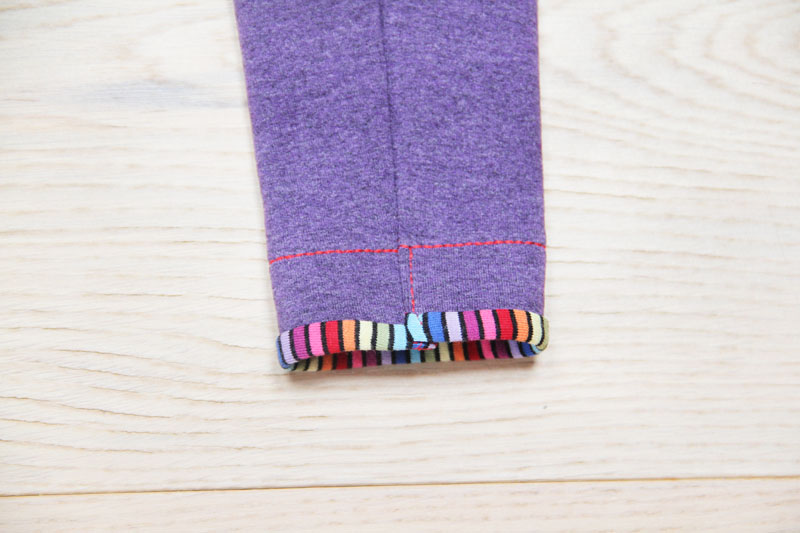
Prepare both armscyes - align the edges of back pieces and facings and pin them (basting may be a better choice...).
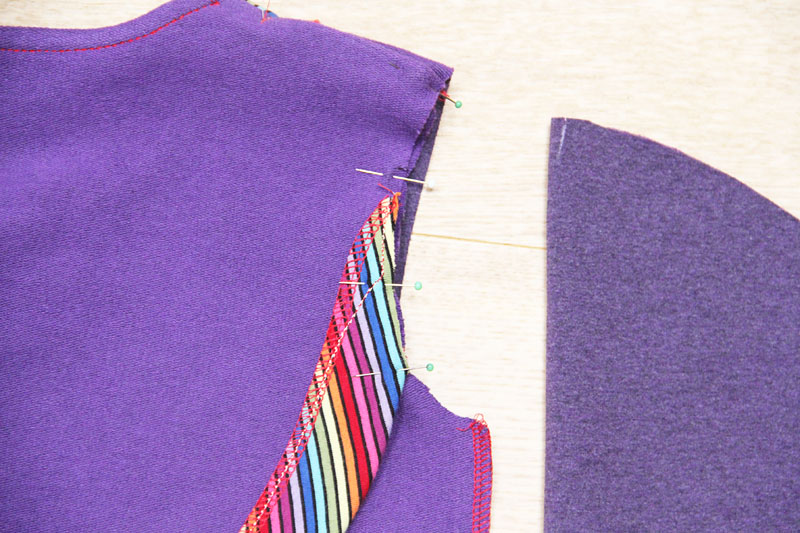
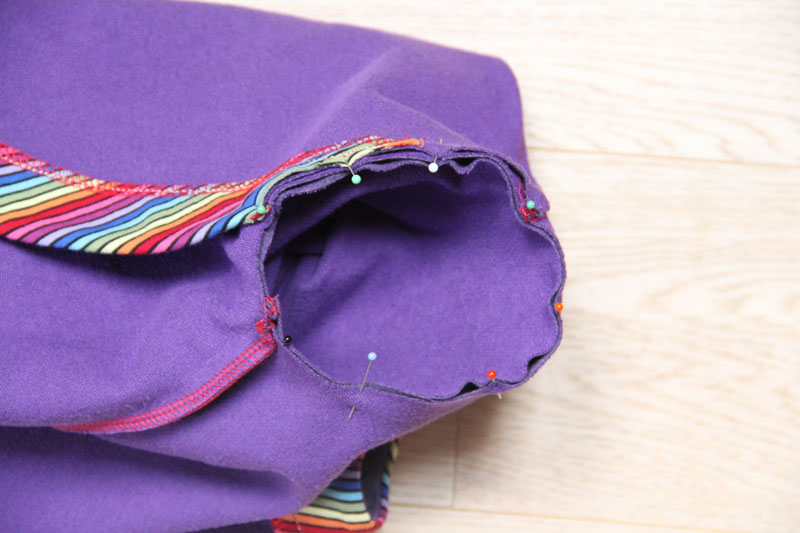
Pin & sew the sleeves to the torso. Pull free ends of thread chains under the loops if you use your overlock machine.
And that's it, the sweatshirt is finished! :)
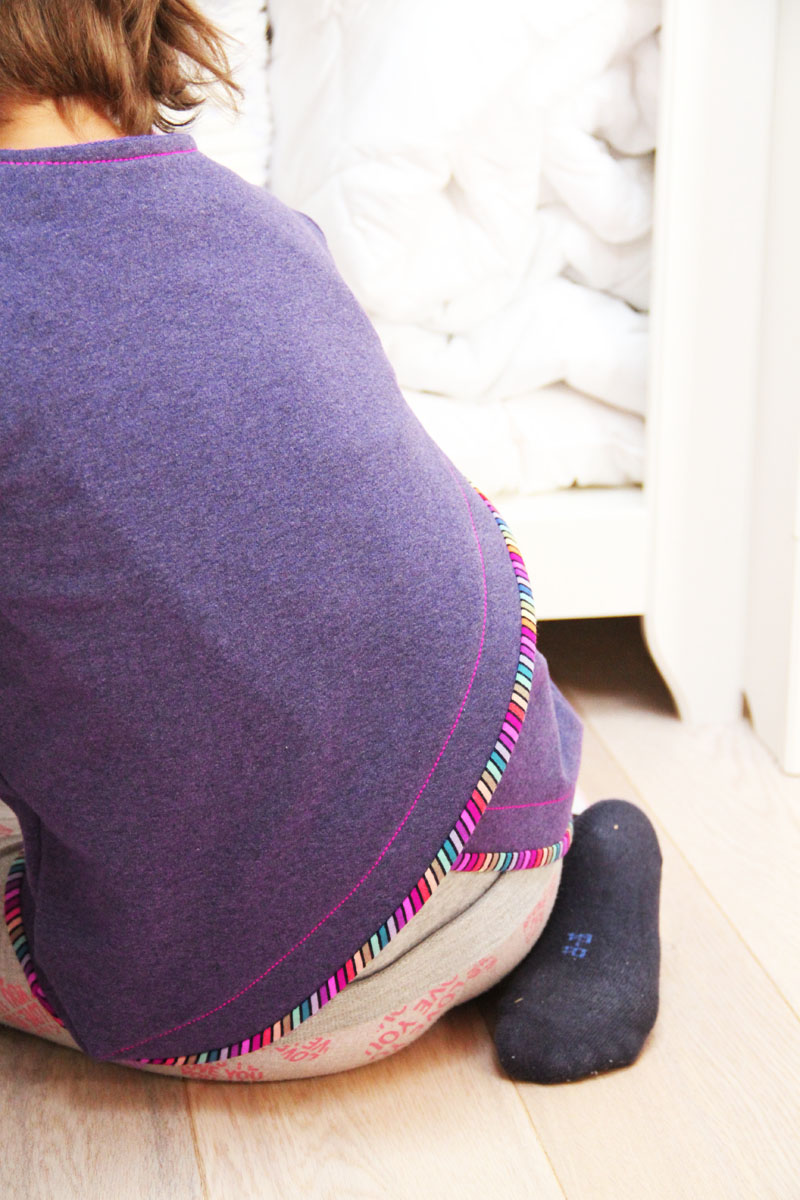
I hope that you liked today's instructions and that you learned something new.
Don't forget to share your joy with others!
Do you like this article? If so, share it with your friends and tell me about it in the comments section below. I will be glad for any feedback! ♥
PS: Did you know that there are FREE PATTERNS available on my blog?


