I am designing a new dress pattern for light fabrics (American cotton, poplin, but also chiffon, silk, etc.), and I thought it would be nice to have an article explaining how works with such materials. In today's article, we will look at how to prepare fine fabric, how to position the pattern piece on it, and how to cut it. Let’s jump right in!
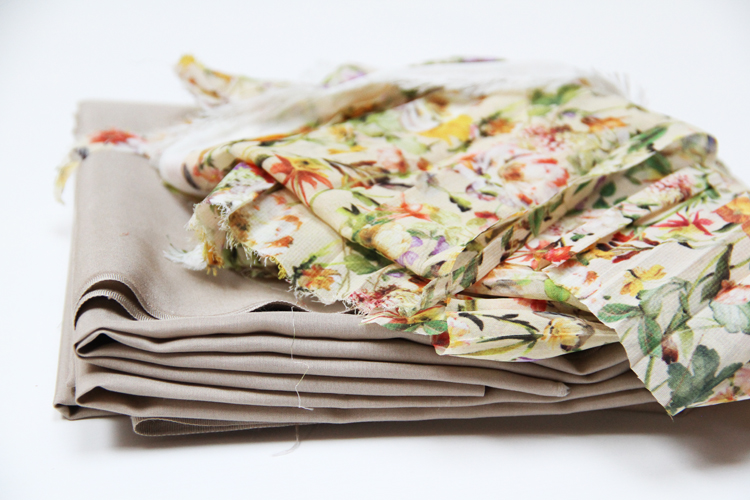
How to sew fine fabrics
Think before you buy
Fine materials are usually very lively, so it is necessary to take into account that the fabric can easily slip during the pattern layout/cutting process. It is also necessary to find a weft before sewing these fabrics, and this is done by tearing the fabric... Therefore, pay attention to the quantity when buying. For those who usually “eyeball” it and then hope it works out - please don't do this when buying delicate fabrics. When using chiffon, silk, etc., it is necessary to be careful when laying out the pattern, so that you do not deform the overall appearance of your garment with poorly positioned pieces. Fabrics aren’t very forgiving - don’t try to count on that "this here will stretch" and "that over there will eventually fit”... That’s just not the right mindset for sewing woven fabrics.
My tip: If you have only sewn knits so far and you are just starting to sew woven fabrics, then you probably have a slightly distorted idea of how to work with fabrics correctly. You may rely too much on the material stretching and shrinking without any issues. I always recommend starting with woven fabrics. Plain cotton canvas is a perfect starting point. Although this involves working on more “boring” projects, such as placemats, tablecloths, bedding, etc., you will learn a lot. But we'll talk about it on another occasion... Today just a note: When sewing woven fabrics, every millimeter counts, and the materials discussed in today's article are not suitable for beginners' experiments.
Therefore, always buy a bit more than you think you will need. Unfortunately, I can't tell you how much more - it is different for each garment and material. The good news is that over time you will learn to guesstimate it quite accurately, all you have to do is sew, sew and sew some more. Take even more than you think you will need when buying chiffon, silk, and similar fabrics. Depending on the complexity of the garment, I usually add 15 - 40 centimeters. For simpler patterns, which consist only of the front, back and sleeves, an extra 15 cm is usually enough. But I may add up to 40 cm for more complex garments with a large number of parts (dresses with princess seams, skirts consisting of several panels, etc.).
Also, check the width of the fabric roll - if you come across one that is only 110 cm wide (instead of the usual 140 cm), then you have to buy a little more still.You can find out how to easily calculate the required amount of material in this article: How to calculate the required amount of material
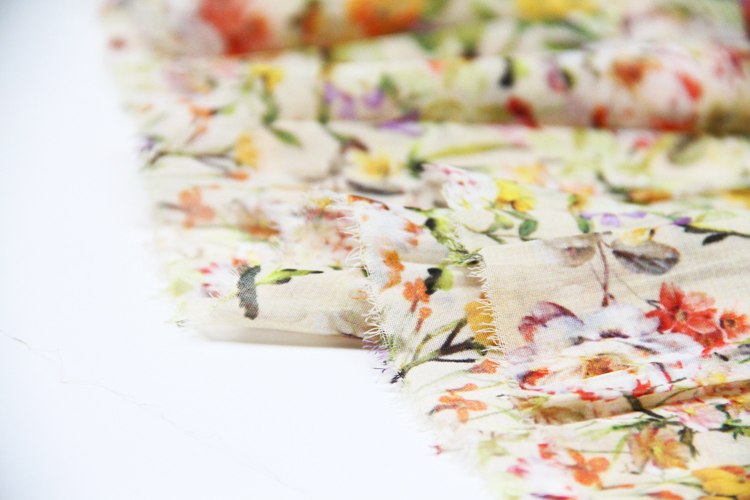
You can find a large selection of chiffon and other fine fabrics here: Dumlatek.cz.
Get tools & other materials
Thin pins
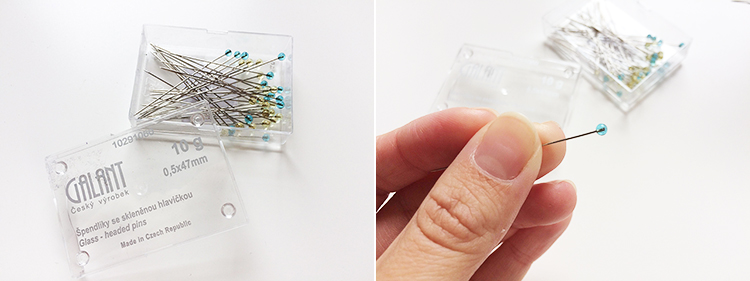
Go through your toolbox and find the thinnest pins you have. You can also buy special “Lace pins”, which are great for working with delicate materials. I recommend checking pins for deformities and rough spots. If you have some old pins that are a bit rusty here and there, throw them away. They might damage your fabric.
I like to use extra-long pins by Galant for delicate fabrics. They are 0.5 mm thick and 47 mm long. Their disadvantage is that they are very soft - they bend easily - so they are not suitable for thicker materials. But for light chiffons? Absolutely perfect! Just so you know, standard pins are 0.6 mm thick and 25 mm long.
Basting thread
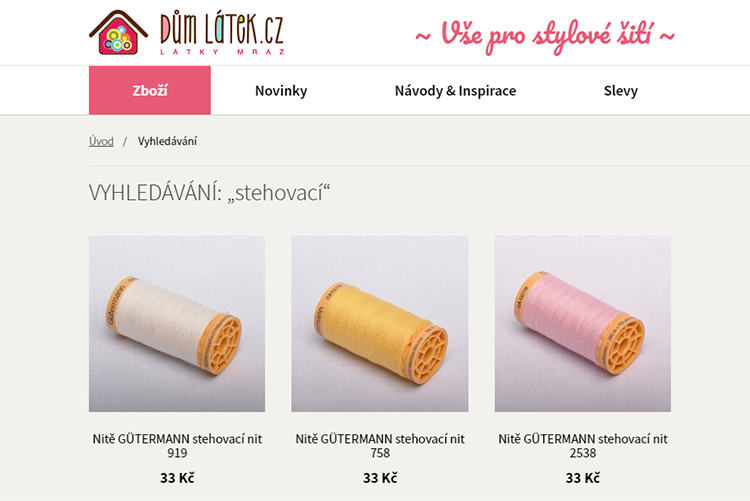
Basting thread is needed for sewing most clothes, but with chiffon and other lightweight materials, you will need it more often. If you do not have a basting thread yet, you can get it in Dumlatek.cz in several different shades – Basting threads.
My tip: You can read a detailed article on proper basting technique here: How to baste
Pattern with seam allowances
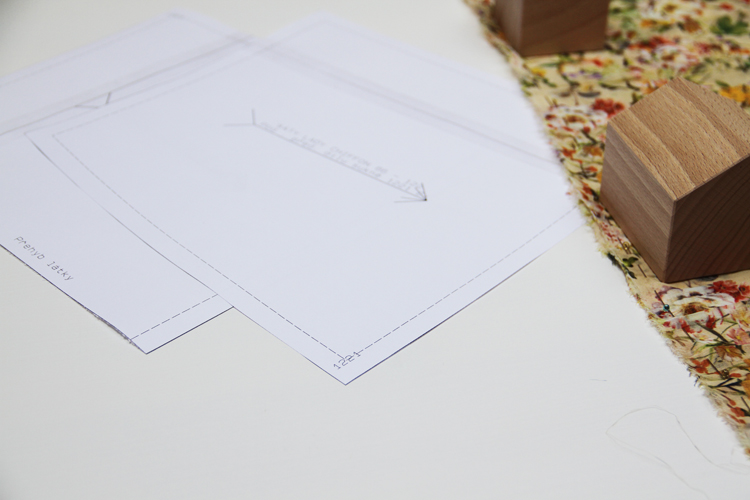
It is important to use paper patterns with outlined seam allowances. If your pattern doesn’t have seam allowances, then redraw it on some thicker paper and add them yourself. If you use my patterns, then you know that you will always receive them in two versions - one with and one without seam allowances.
So, why is it important to use patterns with seam allowances? Because you will later cut the pieces according to a pattern pinned to the fabric - no chalk, soap, or a pencil this time. With each stroke of chalk or pencil, the fabric would move a little and that would drive you crazy very soon.
Get into it
Prepare the fabric
You may not like hearing (reading) this, but you must first tear the fabric. Yeah, I know... So far, you have brought the fabric home, washed it, pre-shrinked, and ironed it - basic stuff. It is very important to straighten out the fabric no matter how you plan to position the pattern pieces (lengthwise, bias, crosswise...).
For general info, visit the tips & tricks section here: “Tips & Tricks”.
More basic information about fabrics and their "anatomy" can be found here: Types of textile materials
Finding a warp thread is not difficult, it goes in the same direction as selvage (edge of the roll). With a weft thread, it is a bit more complicated. The direction of the weft may not be obvious at first glance - manufacturers and sellers often cut fabrics at strange angles. :)
So take the fabric and make +/- 3 cm long cut (perpendicular to the selvage) about 4 - 8 cm from the place where the roll was cut.
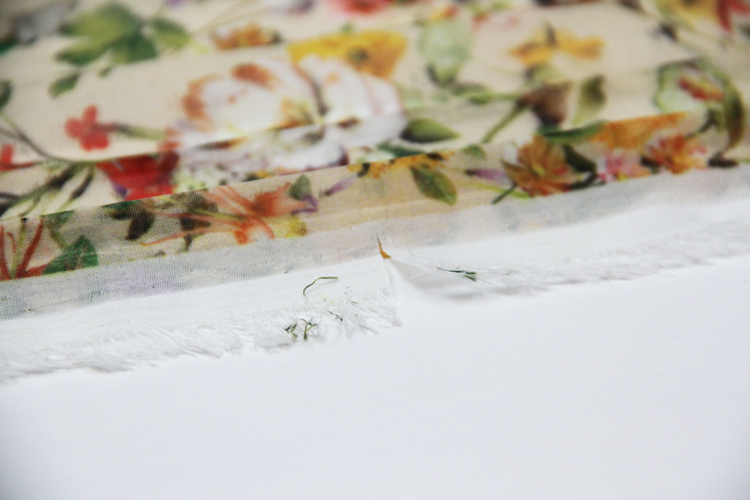
Then grab the fabric on both sides of your cut and tear it. This will give you a new straight edge (a bit “hairy”, but at a right angle) that runs exactly along the weft. I recommend treating the other side of the fabric in the same way. So, now you know why it's good to buy a little more fabric than you think you'll need for sewing. If you make your initial cut too close to the edge of the roll, for example only 2 cm, the tear will propagate in the wrong direction (towards the edge) and you will have to repeat the process, losing another piece of fabric. It is better to cut at least 4 cm from the edge of the roll so that you can tear the fabric correctly on the first try.
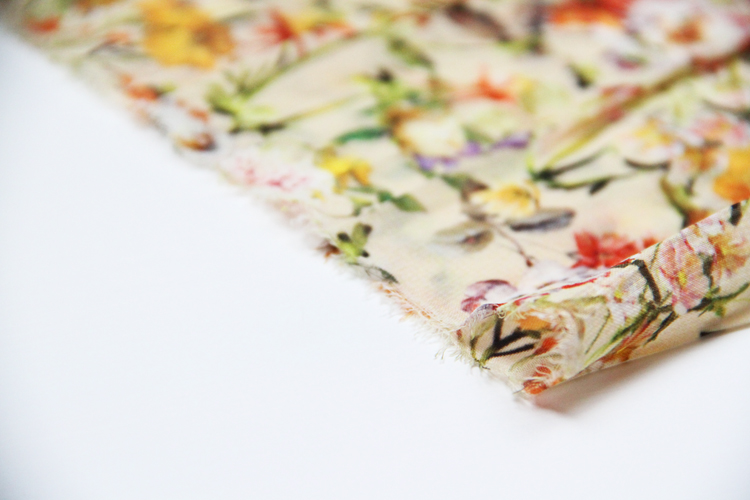
After tearing both ends of the roll, you get a regular shape - a rectangle or a square. Now fold the fabric in half (selvage to selvage). Align and both torn edges and pin the fabric in this position. Start with selvages and pin densely. Use as many pins as needed and then some more, selvages must be well connected. Then pin the two torn edges and I also recommend pinning the fold.
My tip: I usually fold the fabrics so that I can see their face side (with print). This is important for proper pattern matching. It may not be so obvious here, but the flowers go in one direction and you need to pay attention to such things - you don't want to sew whole dresses with motif upside down. Besides, I can more easily check for fabric defects, torn threads, and printing errors. It is better to spend some time thoroughly inspecting the fabric than to find out that you have a stain or hole on the finished piece. Of course, you will not always be able to use this method - for example, when sewing a suit (you need to draw a lot of marks on individual pieces), or maybe when you're worried that the marks won't be easy to wash. But you will not draw anything on chiffon, silk, and similar fabrics, so you can fold the fabric face side out and put the paper pattern on top.
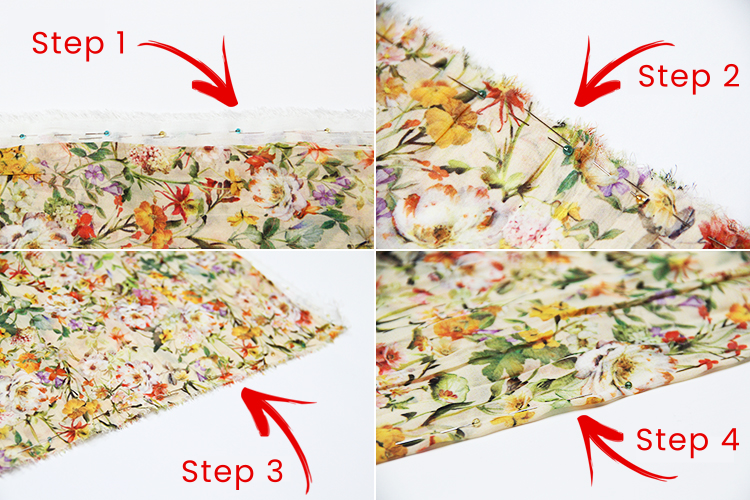
Once you have the edges of the fabric well connected, align them with the edges of your table.
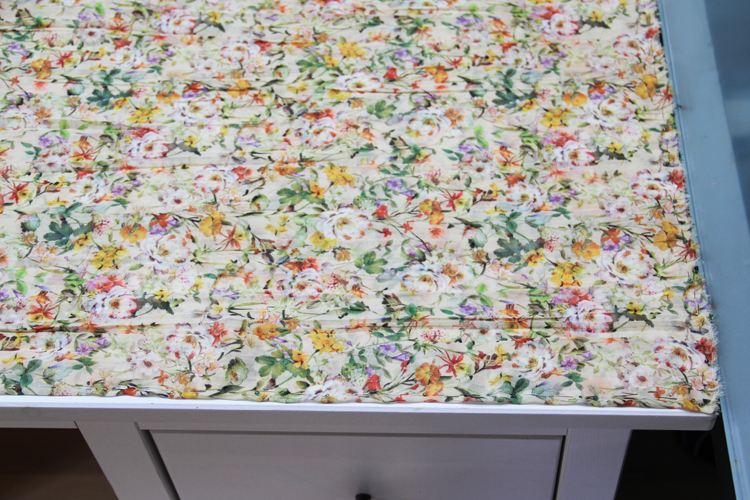
Weigh down the fabric so that it stays put.

Position the pattern pieces
Start with the pieces that should be cut on the fold and proceed from the largest pieces to the smallest. For "on the fold" pieces, the "fold" should always be pinned first.
I started with the back piece of the skirt and the back piece of the bodice. Don’t place the pieces too close to each other - always leave a gap (at least 1 cm wide) between them in case something goes wrong. After the skirt and the bodice, I progressed from the largest pieces to the smallest ones. Pin the paper pattern densely so that the pieces do not move during the cutting phase.
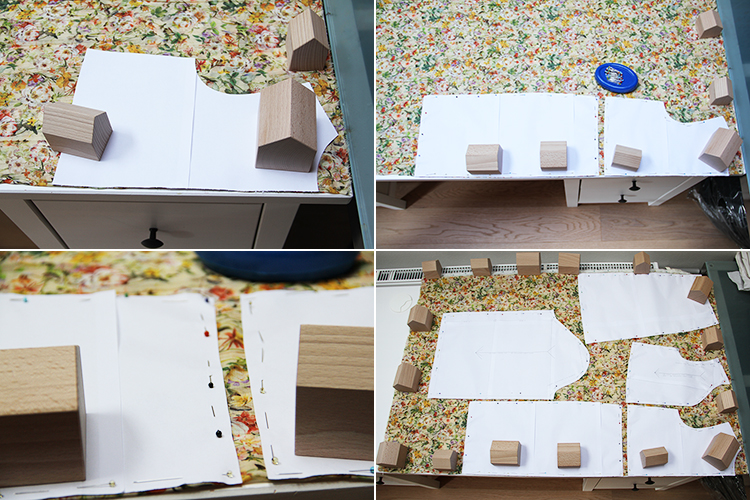
Cut the pieces right away - do not draw on the fabric, do not transfer seam allowances, and keep the pattern pieces pinned to the fabric ones until you need to sew them. This will help you easily identify the individual pieces. You could, for example, sew the skirt pieces in the wrong way - the side seam and the centerline seam are similar - but thanks to the attached pattern pieces, it is almost impossible to mess up like this. Chiffon and similar fabrics are also very lively and the extra layer of paper will make them easier to handle.
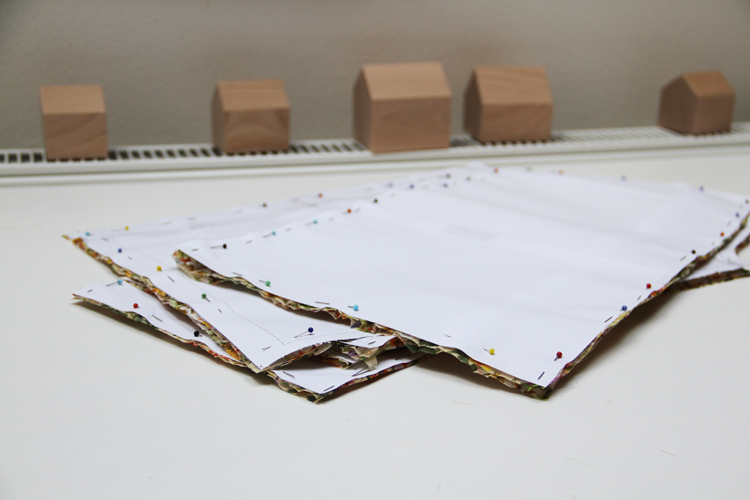
If you need to cut some part twice - if you need a facing piece, for example - just put it on the fabric with the pinned top-fabric piece still in place, pin all layers and cut around the paper piece as before.
Treat lining fabrics in the same way as you would treat chiffon. Some lining fabrics are stiffer and do not require as much care, but finer linings tend to slide around and can be difficult to cut.

Choose the right sewing machine settings
When sewing delicate fabrics, you may encounter specific problems, but you can (mostly) prevent them by making a few minor tweaks. For everything to go smoothly, I recommend buying a special thin “microtex” needle, which can handle fine and densely woven threads. As far as the setting of the machine goes, it is often necessary to reduce the tension of the bobbin thread and top thread. Otherwise, the longer stitches will contract and curl the fabric…
I hope you enjoyed today's article (even if you don't plan to use delicate materials any time soon), and that you've learned something new.
Remember, sewing is a craft like any other - you need the practice to master it - so sew, sew & sew, but don't forget to do it with love and passion.
Have a nice day, Petra ♥


