With a little melancholy I was momentarily transported a few years back, to the time when I was still sewing toys. At the time of my first pregnancy I made them for Terula. When Terulka was born, I started sewing some clothes for her and then when I was pregnant with Tomík, I sewed a few toys again. Since then, however, I almost forgot about hand-sewn toys and mainly focused on clothing. Now I have the opportunity to remember and to introduce this free cuddly toy pattern to you. As usual, it includes step-by-step sewing instructions, although I believe that you would be able to make this simple toy even without the instructions…
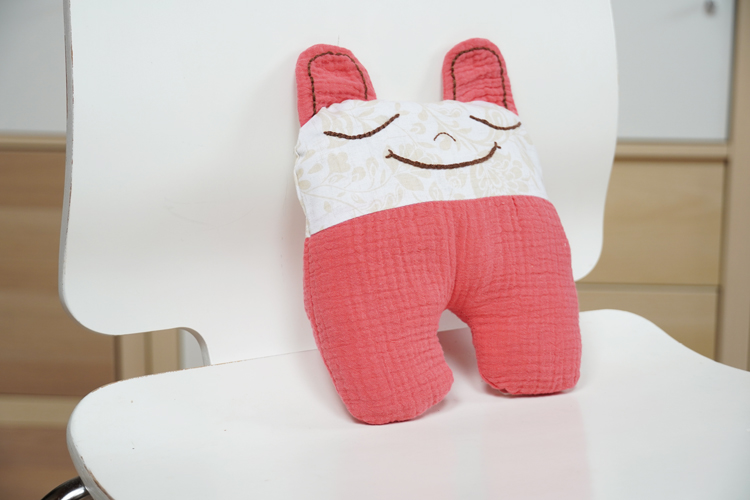
How to sew the cuddly toy - recommended material:
We should not neglect the health aspect when sewing the toys. I recommend using fabrics and material with safety certificate for children under three years. When it comes to certified fabrics and wadding, there are plenty of options.
If you are making this toy for an older child or just as a decoration, you do not have to limit yourself. You can even use leftover scrap fabric, cut up worn out t-shirt, or even breathe new life into a torn tablecloth from grandma.
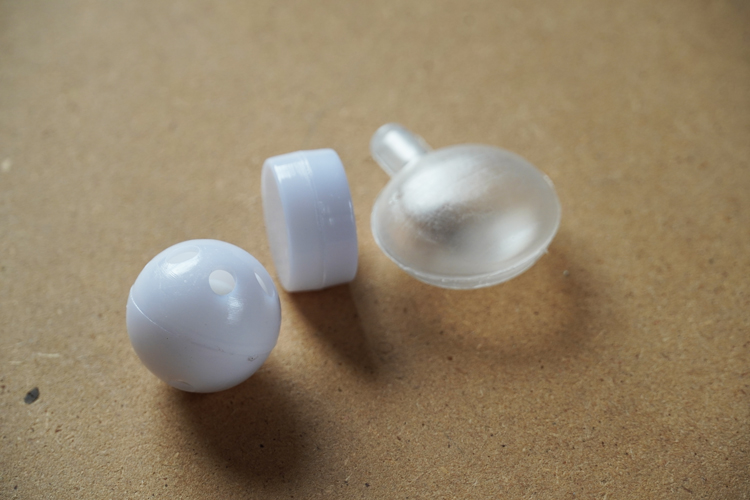
If you are making the toy for a baby, infant or toddler, then avoid using various beads, buttons and other frills that the baby could chew, swallow or inhale. But you can make this toy more attractive for them by adding different components. You can sew in various rattles, squeakers and even a small automated music box.
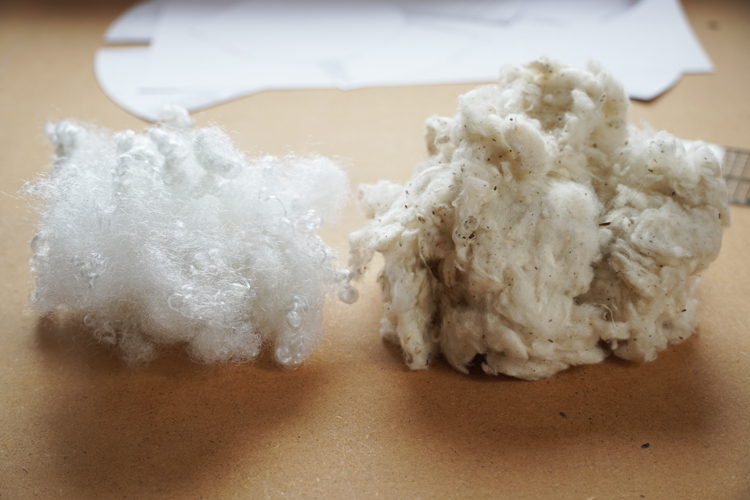
As for the wadding, we have several options too. I can recommend the so-called hollow fiber (polyester) if you don’t mind using artificial fibers. Its advantage is that it is durable, and you can wash it in the washing machine. If you prefer natural materials (and I highly recommend them), then definitely try the cotton wool - it is 100% natural and pleasant and soft to the touch. You can wash the toy stuffed with the cotton wool in the washing machine too (at 40 °C). Do not forget to check the safety certification of the wadding when sewing for toddlers!
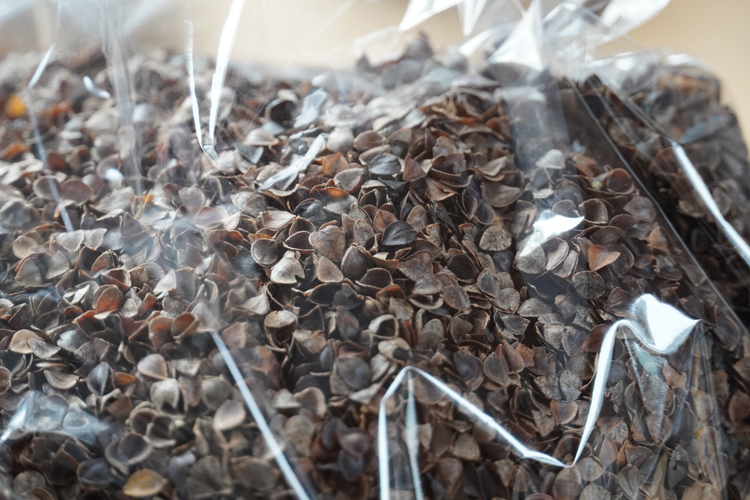
Another option I highly recommend is buckwheat peels. In addition to being 100% natural material, buckwheat peels have another wonderful property, which is an excellent temperature retention. So, if, for example, a cuddly toy filled with buckwheat peels is heated (in the sun in summer, in winter with heating, on tiled stove or even in a microwave), then you have a warm cushion that you can put on baby’s tummy. Because buckwheat peels hold the temperature well, it works the other way around too. You can put a toy with a buckwheat peels filling into a freezer, or leave it out in winter, and then you have a cool cushion for all sorts of small child’s aches and pains.
How to sew the cuddly toy - you will also need:
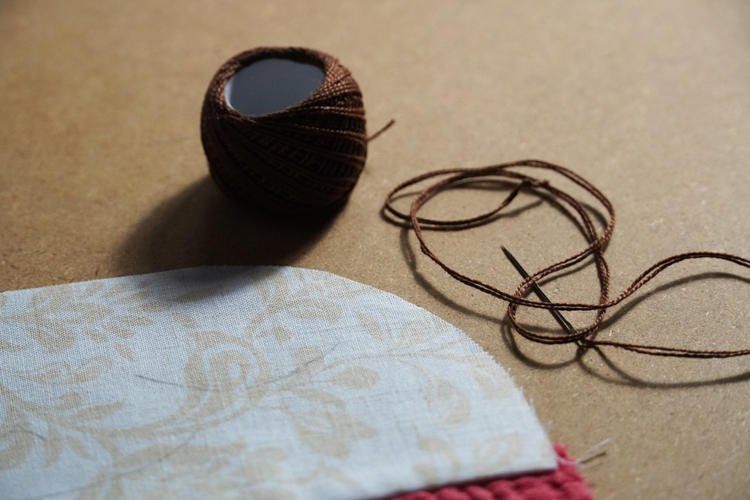
I use colored cotton threads to embroider face and ears. It can be pearl yarn or mouline thread. They have an advantage - you can separate the fibers from each other to control the thickness of the embroidered line or curve.
You will find other cool and useful things for sewing toys in the haberdashery these days, such as eyes, noses, etc. But avoid such things when sewing for baby, infant or toddler. No one wants the nose or eye on your toy to have a hidden defect and fall off. Again, there is a risk of swallowing or inhaling such a part. When sewing for babies, concentrate on embroidery.
You can also use various textile dyes to do the face. It does not matter if they are water-based paints in jars or special markers. But please consider who you are sewing the toy for. Laboriously painted face on the toy might not survive several days of baby sucking on it.
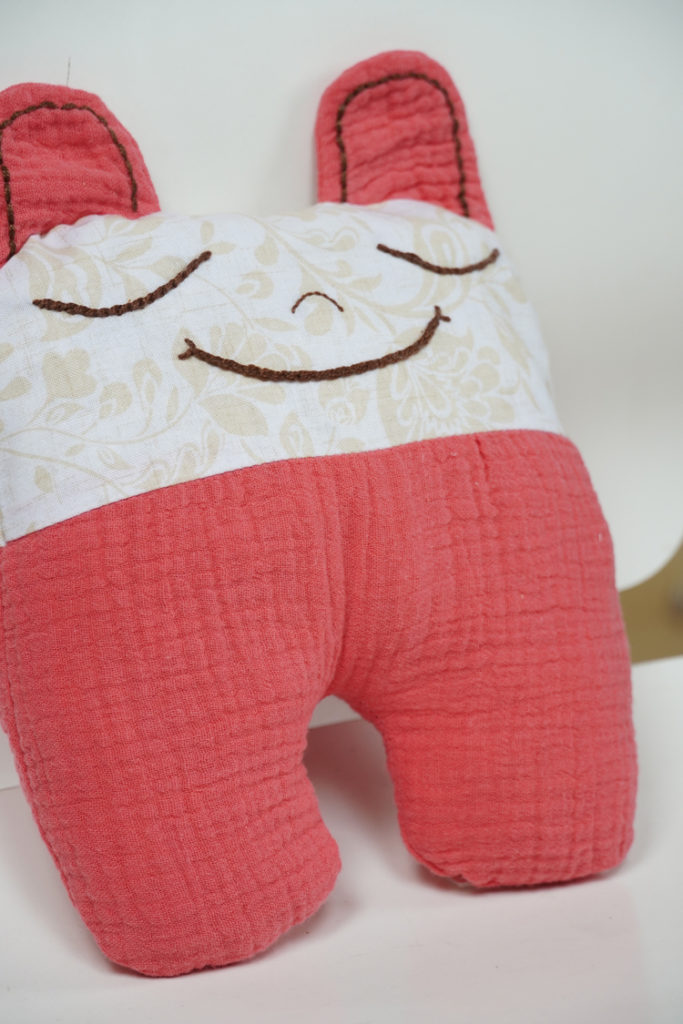
Before we get to the tutorial, download the free pattern. I made this pattern a few years ago to sew simple toys for my kids and kids of my friends, and now it is time to share this simple pattern with you.
How to sew the cuddly toy - sewing:
According to the paper pattern, prepare: 2x legs piece, 2x head piece and 4x ear piece.
Lay the head piece over the legs piece (face side to face side) and sew in the connecting seam.
You can now also sew two pairs of ear pieces.
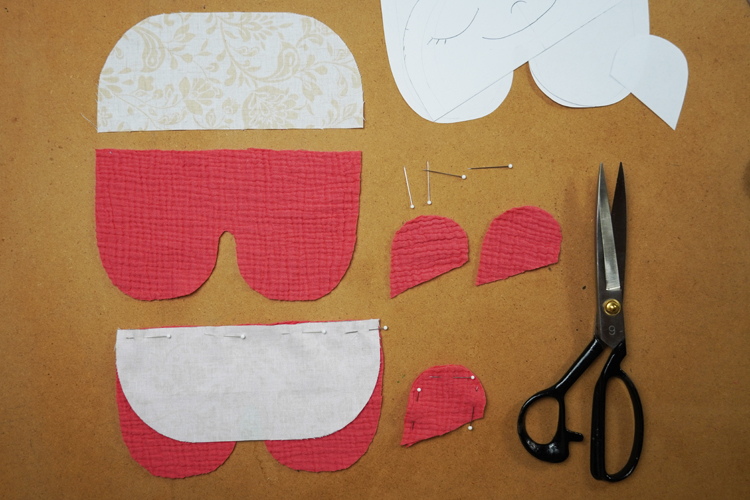
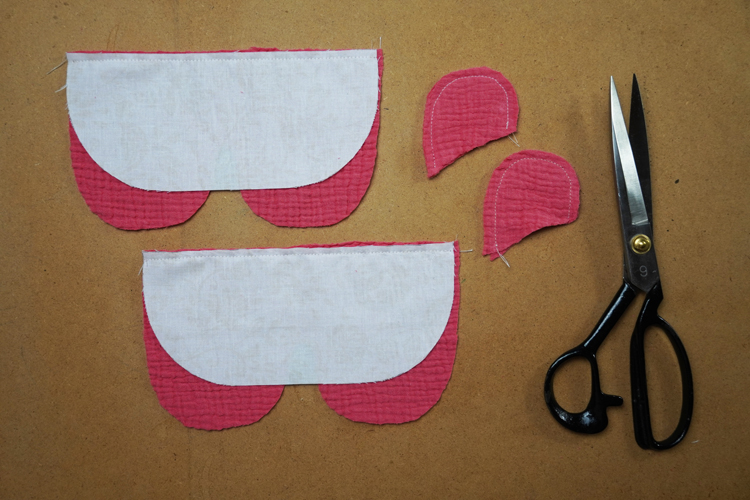
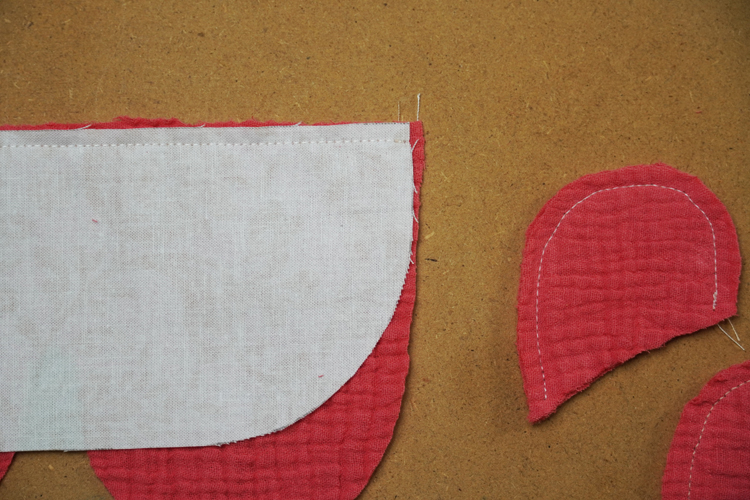
Iron both back and front parts of the toy, then turn ear pieces face side out and iron them too.
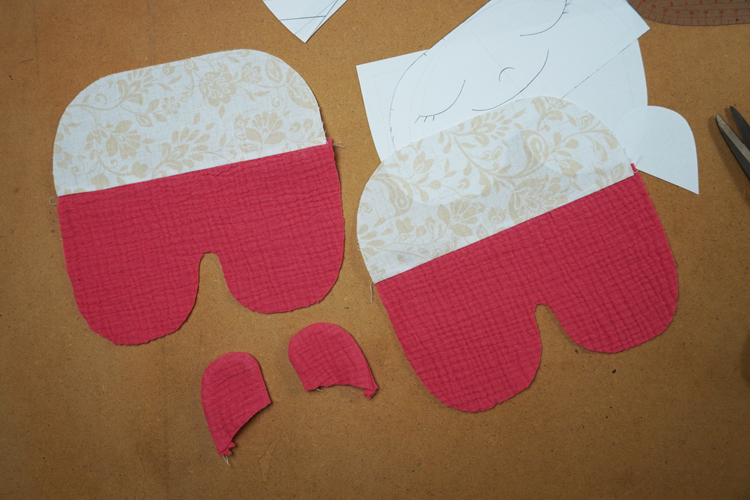
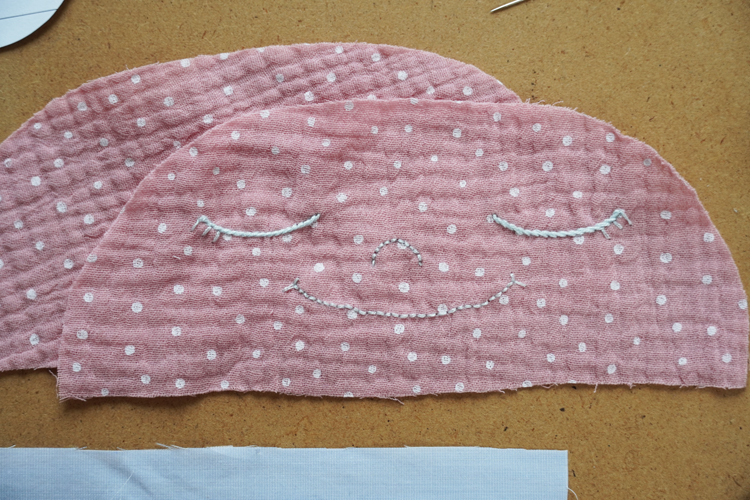
Draw face on the front side of the head piece, you can use your imagination or lines from the pattern. Use soft pencil (6B or 8B). The advantage of a pencil is that it can be washed easily. The softness of the pencil will allow you to draw smooth lines without pressing too much. Of course, you can also use traditional sartorial tools such as sartorial chalk or soap.
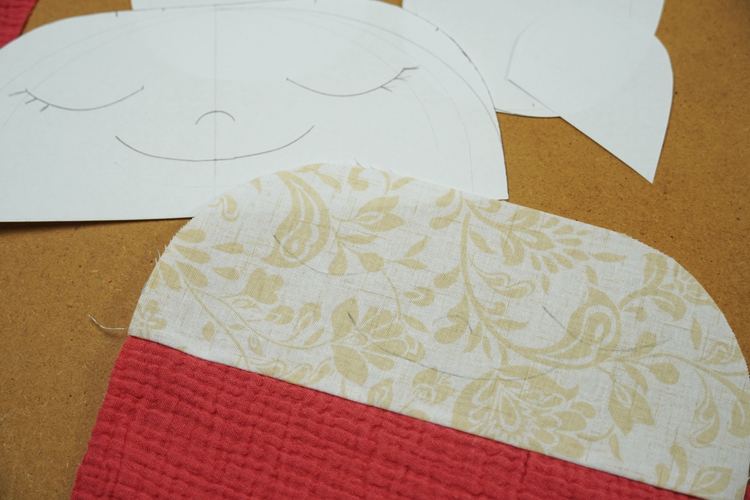
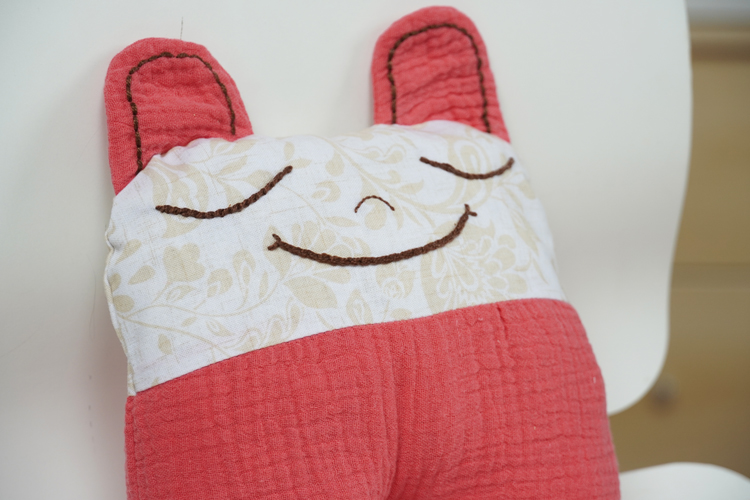
I used cotton threads to embroider the face. It can be pearl yarn or mouline thread, with which you can separate the fibers from each other and choose the thickness of the embroidered line or curve. As I wrote above in the recommended material section, there are many ways to create the face.
I embroider the eyes with a stem stitch so that the fibers follow the natural shape of the eyelashes. You must guide the thread in the opposite direction on the other side so that the stitches of both eyes are symmetrical.
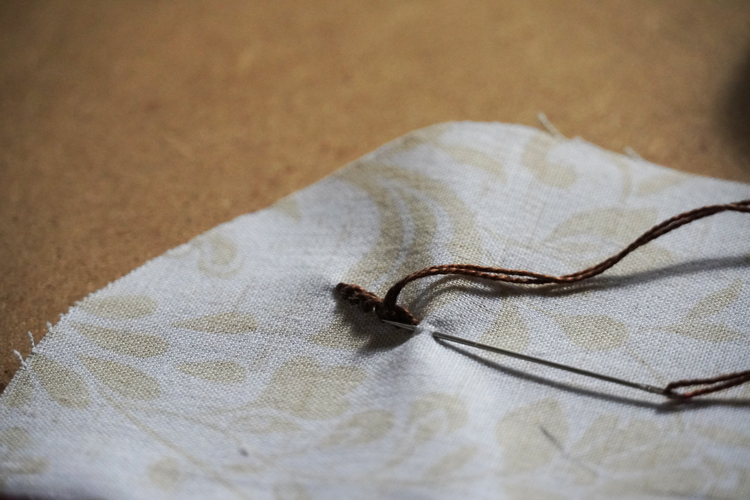
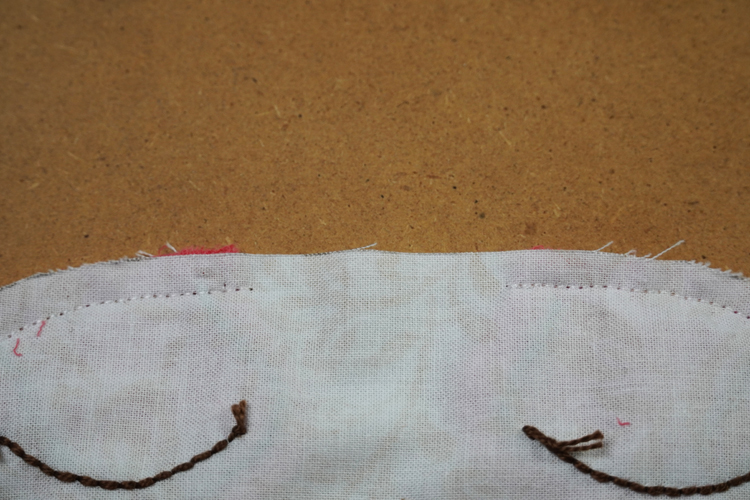
This is the eye stitching from the reverse side of the piece.
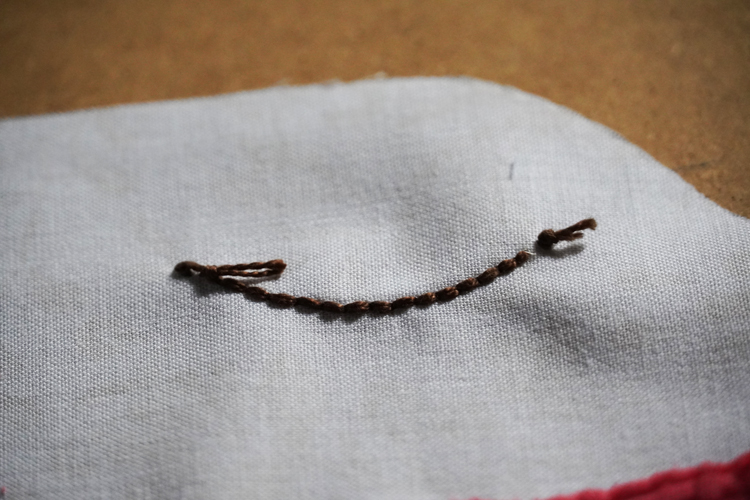
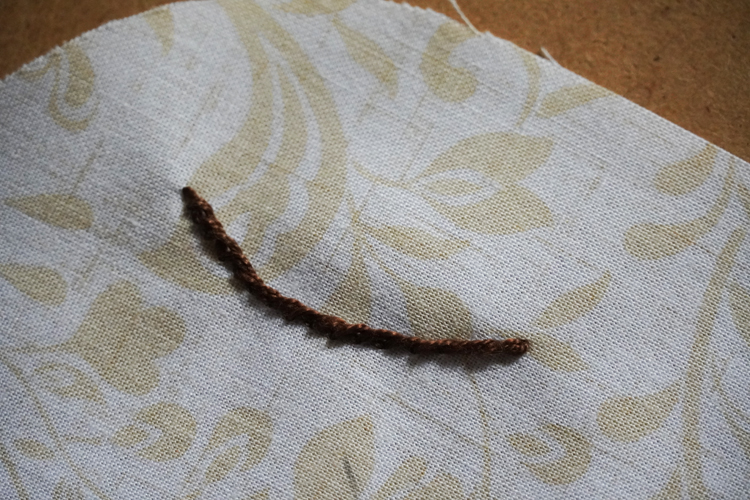
You can embroider the mouth with double-threaded cotton thread. Sew as if you were doing the stem stitch, but instead of stitching on one side or the other, guide the needle in the middle between the threads. However, there are no limits to imagination, use whatever embroidery stitches you want.
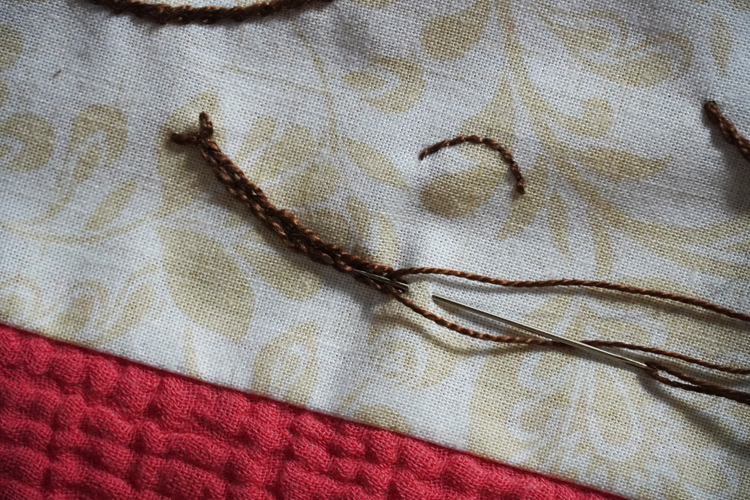
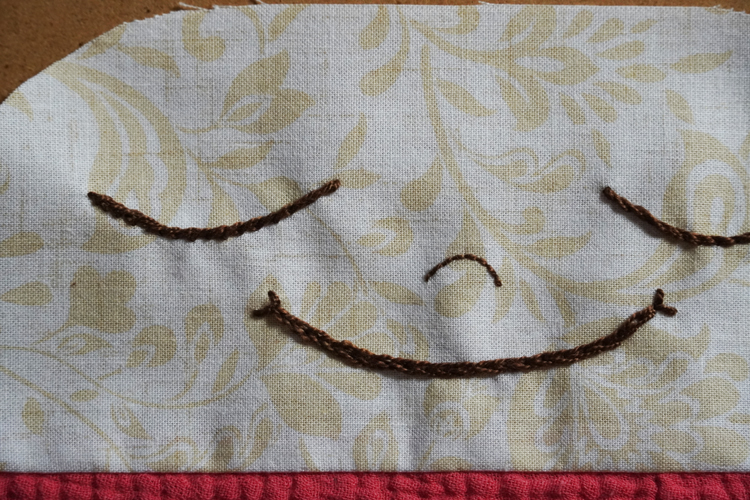
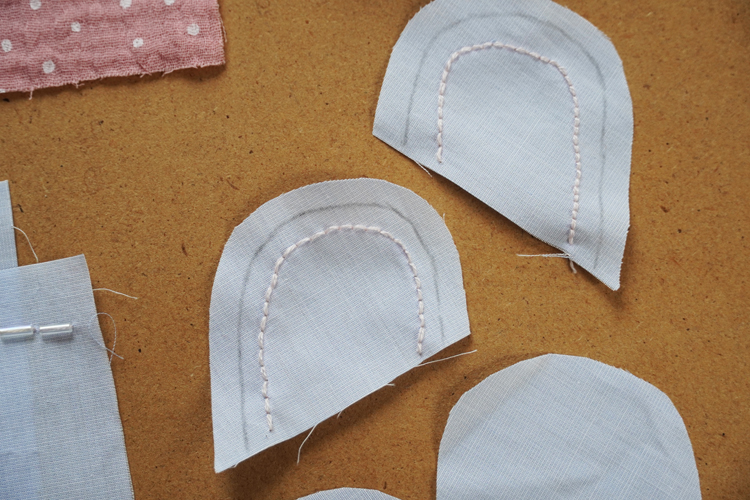
Embroider inner part of the ear too. You have two options, either to embroider the ear when you have a well-defined shape of the ear (ear is sewn together)…
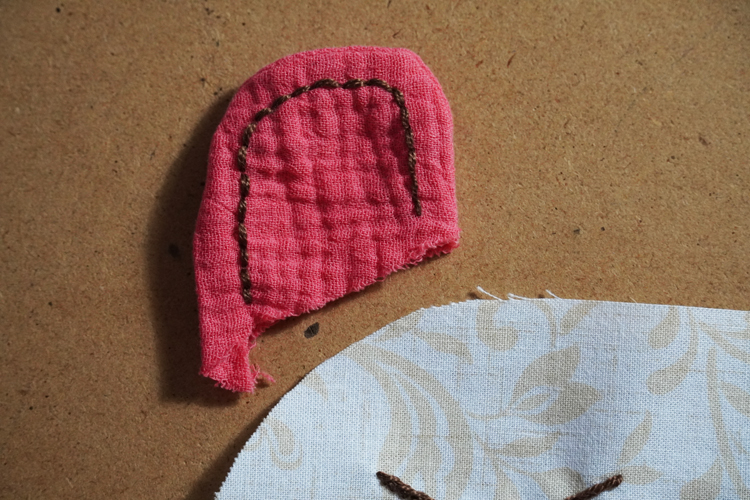

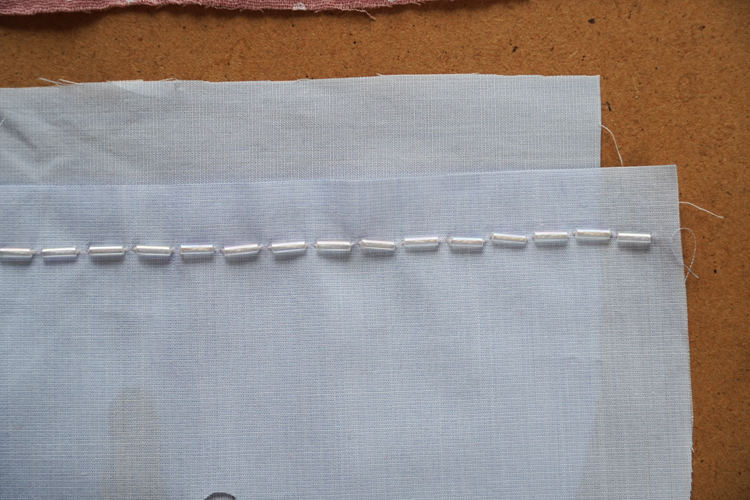
....or embroider inner part before sewing the ear together. In the picture below, I made the cuddly toy with decorative embroidery from glass beads. This is a variant not suitable for babies. Anyway, if you want to embroider the toy or sew anything on it, then this is the time to do it - the toy is not closed shut with the perimeter seam yet.
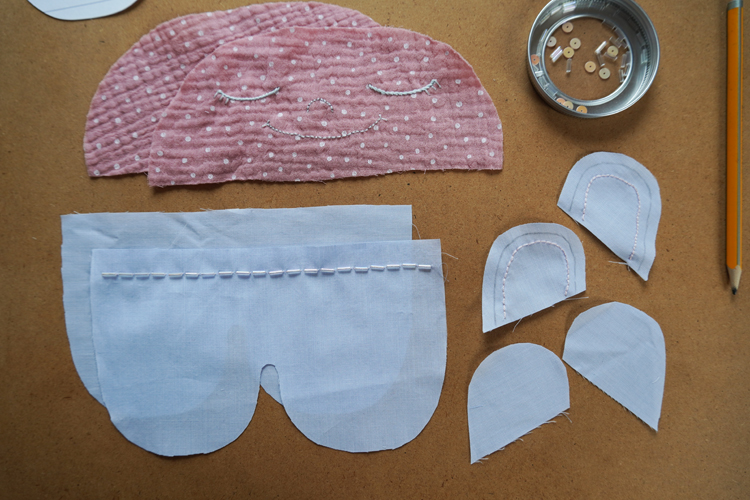
The ears can stay flat, but you can also stuff them with wadding a little to make them more plastic.

Pin the ears to the front piece of the toy, embroidered side of the ear to the face side of the head piece.
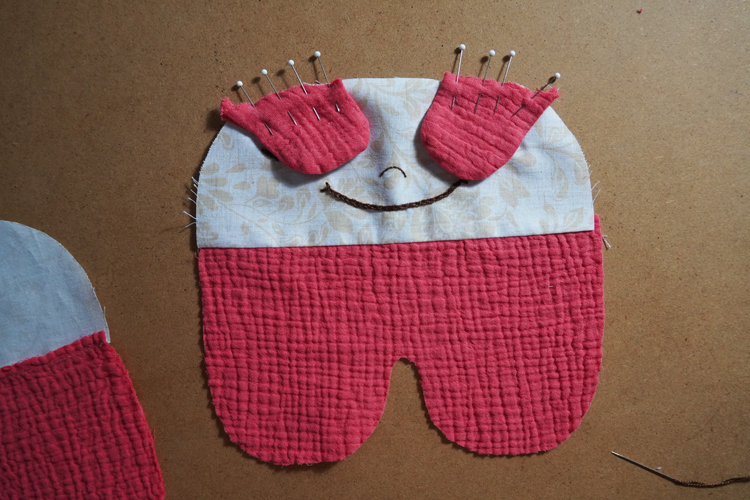
Lay the back side of the toy over the ears (face side down) and pin around the perimeter. Leave a small opening at the top of the head between the ears.
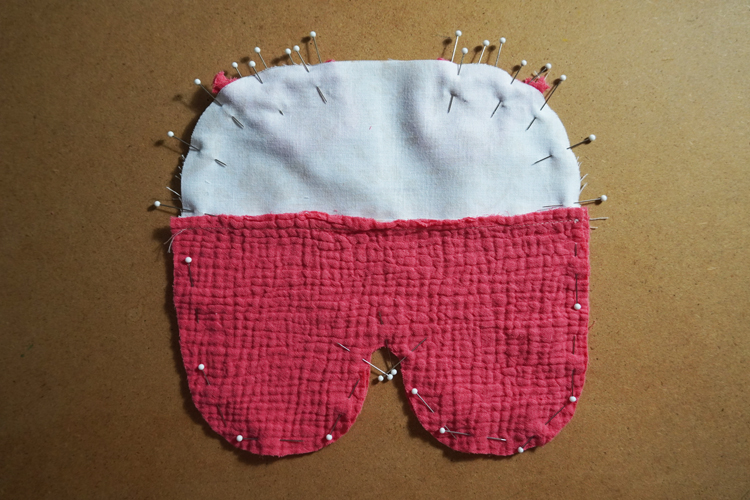
Sew around the perimeter but leave that small hole at the top of the head.
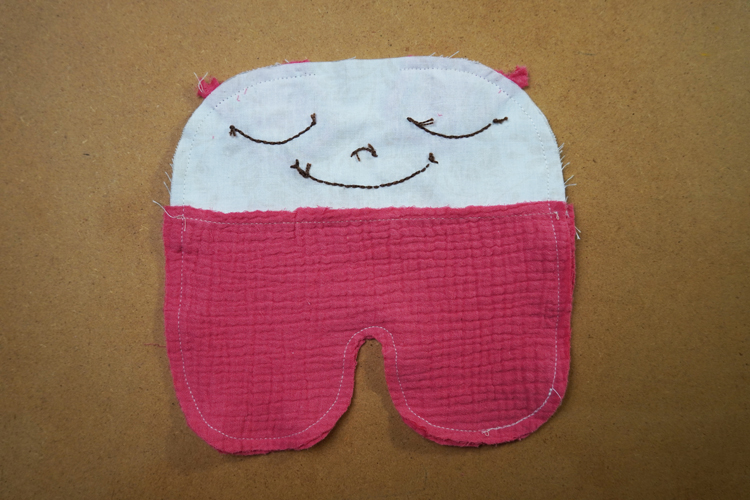
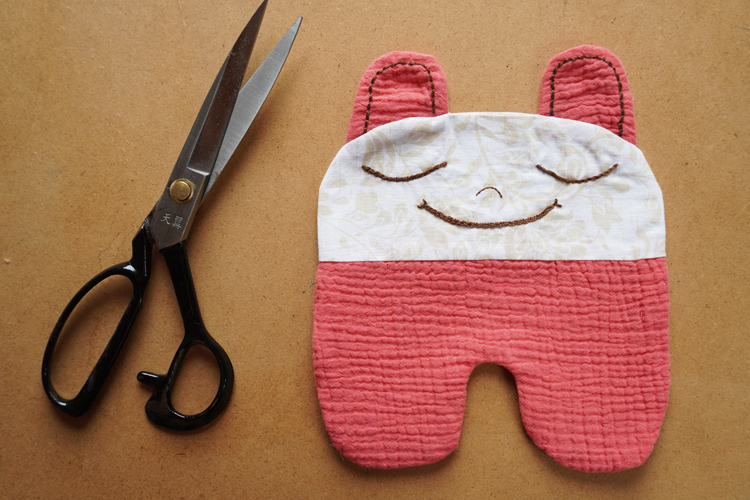
I recommend cutting the seam allowances at the arch between the legs so that the fabric does not warp here after turning the toy face side out.

Turn the toy face side out through the opening and fill it with wadding.
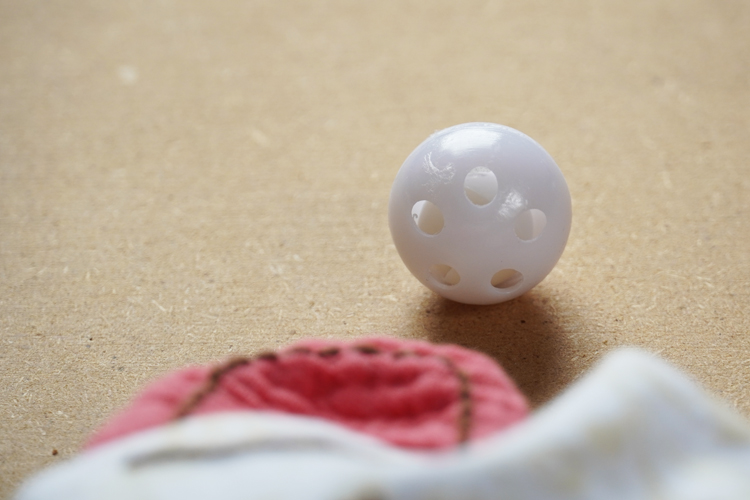
You can also insert a rattle or squeaker now.
My toy partially stuffed with natural cotton wool.
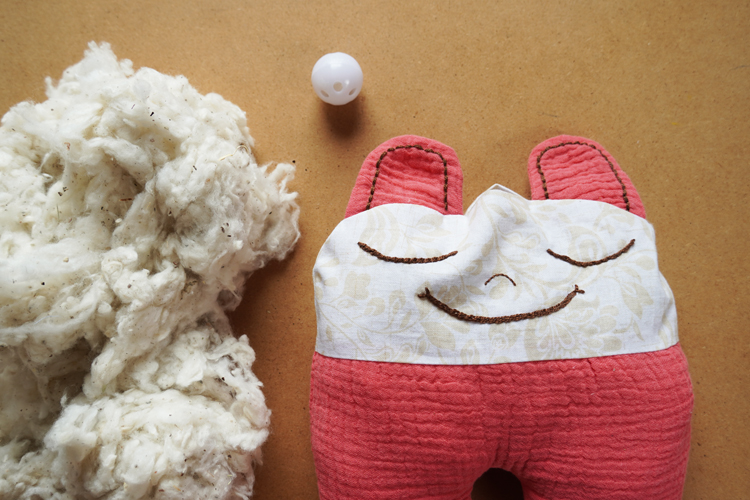
Finally, hand stitch the opening using small stitches and you are done.
What do you think about this simple cuddly toy? Will you try to sew it for your children?
Have a nice day, Peťa.


