For today I have prepared a new pattern and this time it is a pattern for a children's coat. I have been thinking about this pattern for a long time and I finally managed to design it. As always, to make it easier for you, I took a pictures of the process and wrote detailed step-by-step instructions on how to sew the children’s coat.

Pattern for children’s coat in sizes 80 - 164 is now available in our online store:
Pattern for children’s coat ROMANCE
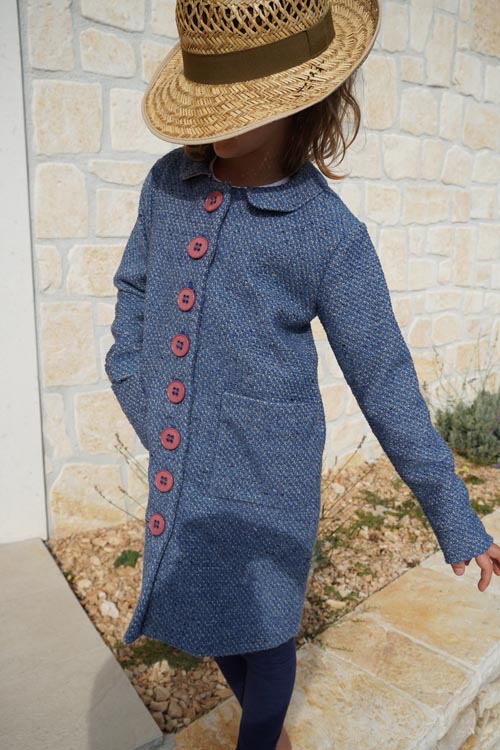
Recommended material
For sewing a children's coat, I recommend using jacket fabrics, bouclé and other strong but flowing fabrics. For a sportier version, for example without a collar, you can even use a thick fleece sweater fabric, but it is not as flowing as jacket fabrics, so take into consideration that such a coat will look slightly "unsuited".
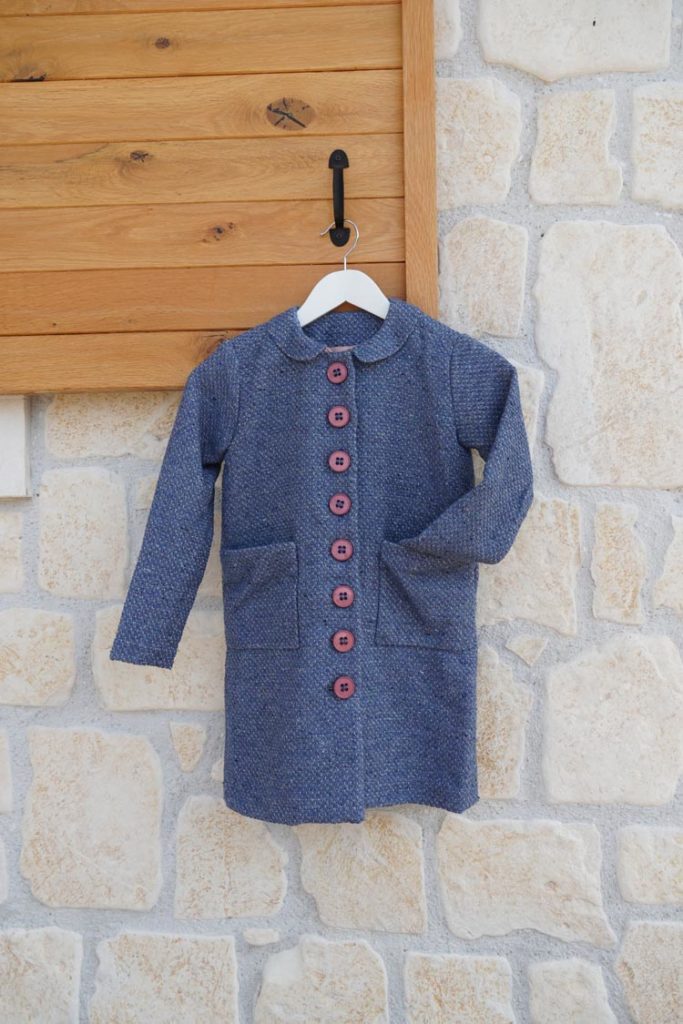
What else do you need
You will need some lining fabric and larger buttons. Number of buttons depends on their size. The smaller the buttons, the more you need. I recommend using buttons with a diameter of 2 - 3 cm. I used 7 buttons with a diameter of 25 mm for my coat (size 128).
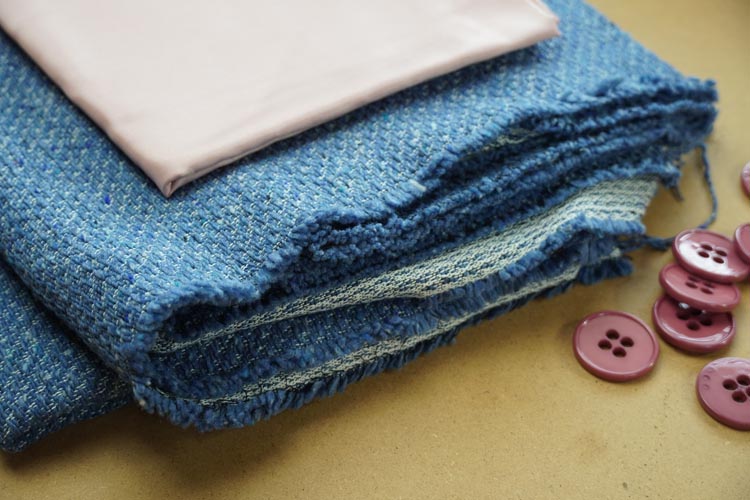
It is also necessary to use the interfacing for reinforcement. For lighter coats, I use rasted adhesive reinforcement to interface all or larger parts. Depending on the color of your top fabric, choose a white or black reinforcement:

You will also need form tape strip for the reinforcement. It will be used to reinforce curves such as neck opening, arm openings, etc.
I recommend using fusible facing with warp threads for straight parts reinforcement (along the buttons for example).
You can use any type of fusible facing to reinforce the pockets, but the type with warp threads works best (depending on stiffness of your top fabric)
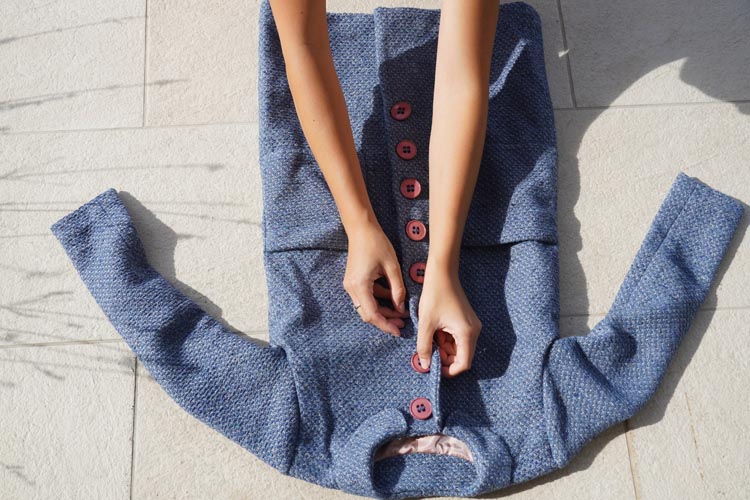
My tip
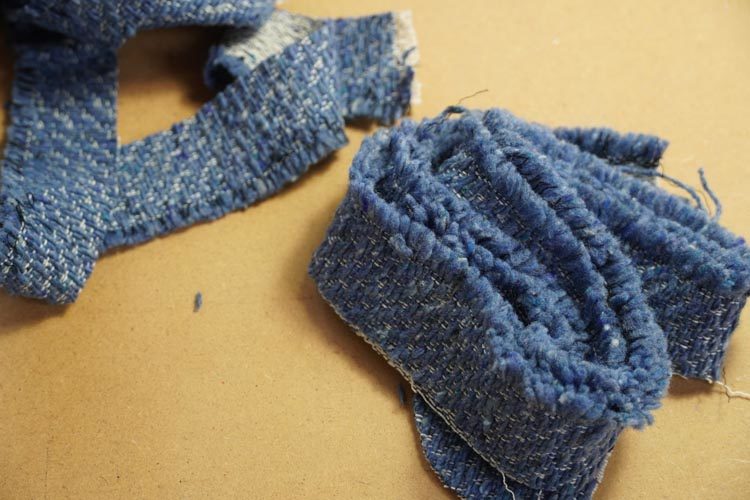
As I mentioned in one of the articles on creative sewing, it is good to note the fabric's cutting edges. Some are really worth noting and you can later use them to upgrade your clothes, like here:
Creative sewing – How to sew original patch pockets
If you like the cutting edge, cut it off before positioning the parts so that you don't accidentally cut it later…
How to sew children’s coat with lining
Not feeling like sewing the version with lining? Take a look at the simplified instructions on how to sew a children's coat without lining and collar using the same pattern:
ROMANCE – simplified version + sewing pattern

Cuts preparation
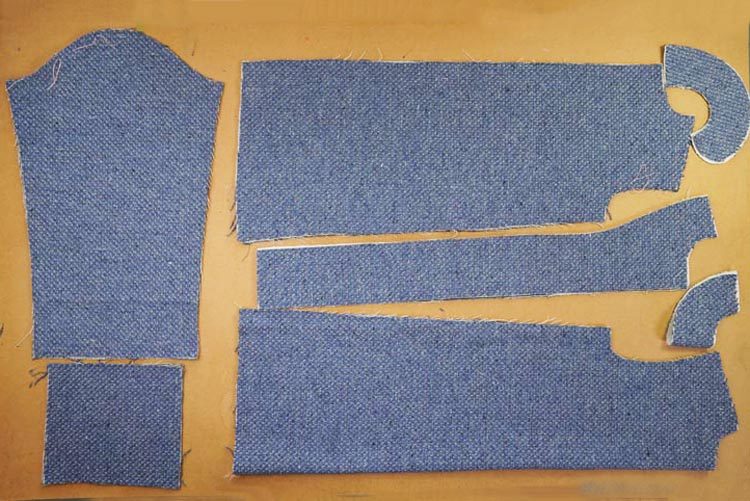
According to the paper pattern prepare following pieces from the top fabric:
- 1x back piece (folded fabric cut)
- 2x front piece
- 2x sleeve piece
- 2x collar piece
- 1x back piece of the neck opening facing
- 2x front piece facing
- 2x pocket piece
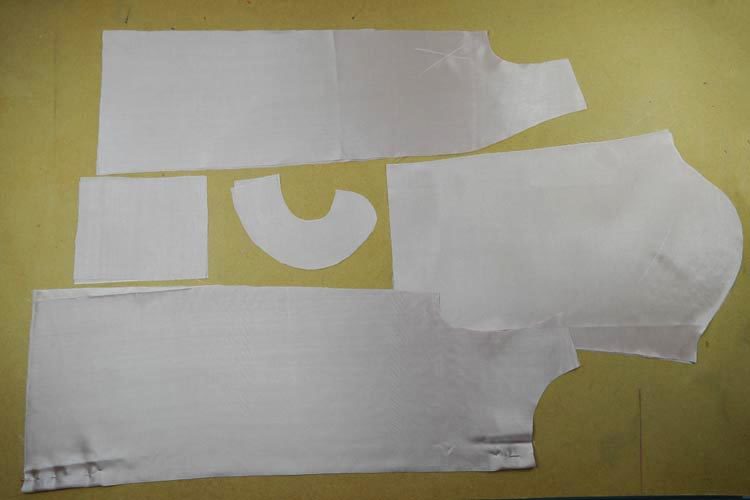
You will need following pieces from the lining fabric (these pieces are marked in the pattern as “podš.” - abbreviation of the Czech word for lining):
- 1x back piece (folded fabric cut)
- 2x front piece
- 2x sleeve piece
- 2x collar piece
- 2x pocket piece
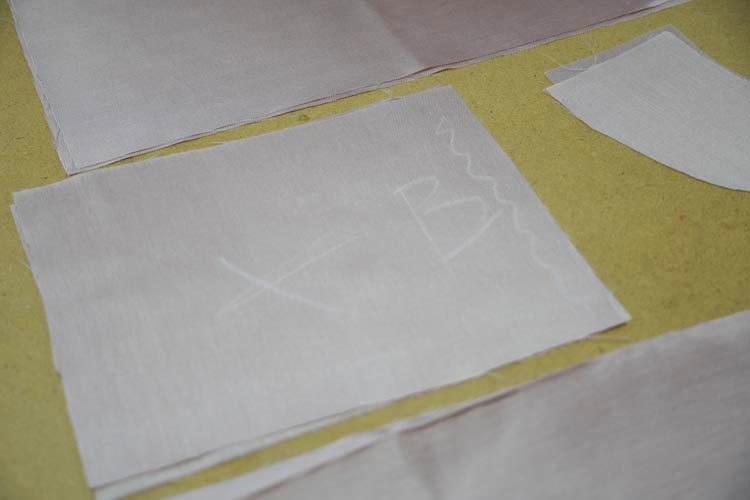
Mark the orientation of the pocket pieces. lining fabric is sometimes a little crazy to work with. It can be difficult to tell correct orientation of each piece.
For example, I use soap to make a cross on all lining parts so that I know which side is the reverse side and I wrote "B" on one edge of my pocket to know that this edge of the pocket should go towards the side (“B” as “bok” which is Czech word for side) ...
Reinforcing the pieces
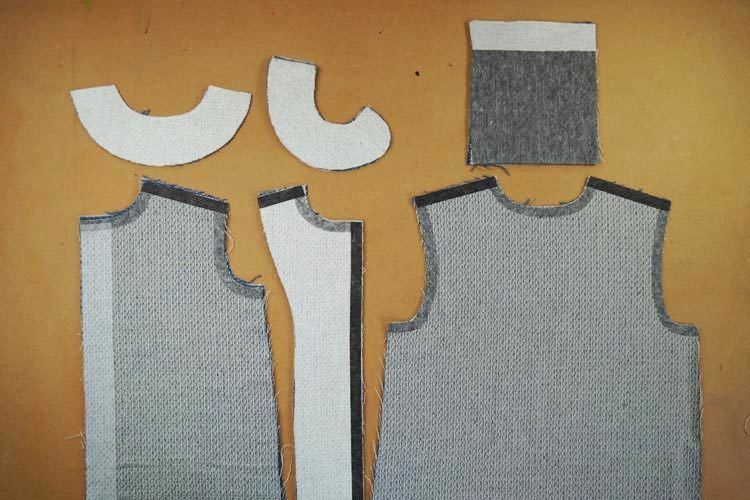
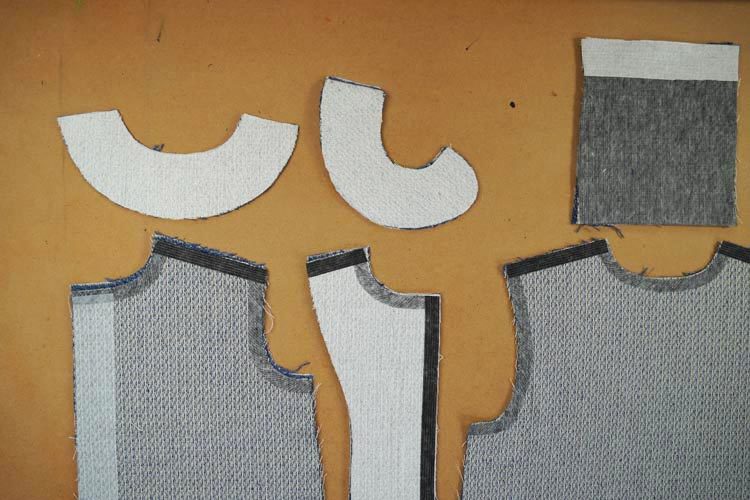
Use rasted reinforcement (white in the pictures) to reinforce whole facing of the back piece neck opening, both collar pieces from the top fabric, and both facing pieces of the front piece.
You can do pockets with it too, but rasted reinforcement is a bit expensive so I use it only where I absolutely need to. I used fusible facing with warp threads for pocket pieces (grey in the pictures below). I reinforced the seam flap of the pocket one more time. I used a little piece of rasted reinforcement that would otherwise end up in the trash, but you can use any stronger interfacing.
Further, I reinforced the front piece facing with a strip of fusible facing with warp threads along the center line and in the shoulder seam areas (black in the picture below).
I also interfaced the front parts in the shoulder seam with a fusible facing with warp threads and in the neck opening and arm openings I used form tape strip (gray in the picture below). Along the center line I have interfaced the front pieces with a thinner fusible facing, you can use any type of reinforcement.
I reinforced the back piece in the neck opening and arm openings with the form tape and in the shoulder seams with fusible facing with warp threads.
Because I used bouclé for Terula’s coat, the chalk and soap marks would not be visible on it. That's why I made all the necessary marks with a thread.
Most important are the marks for placing the pocket pieces, mark at the center of the back piece, the center line on the front pieces, and the sleeve connection marks.
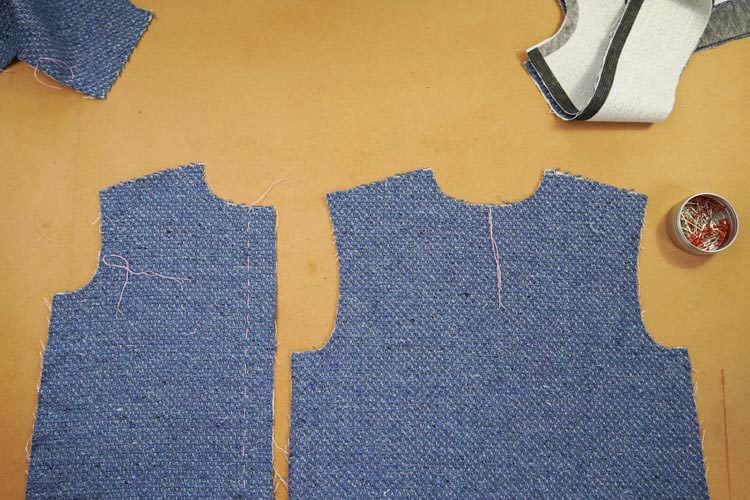
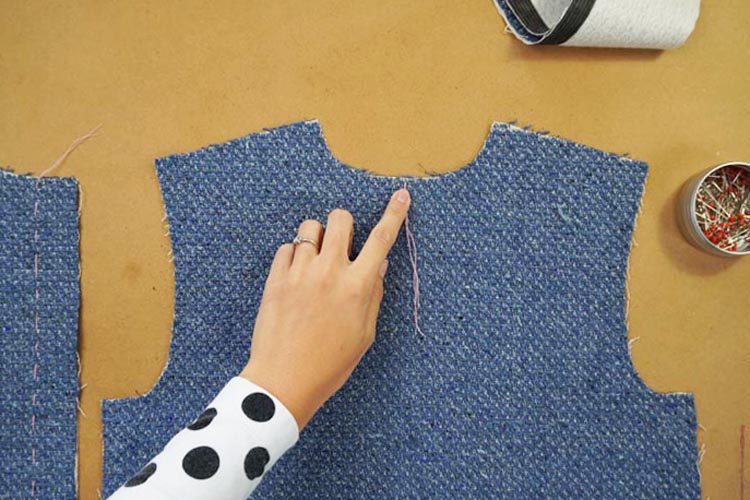
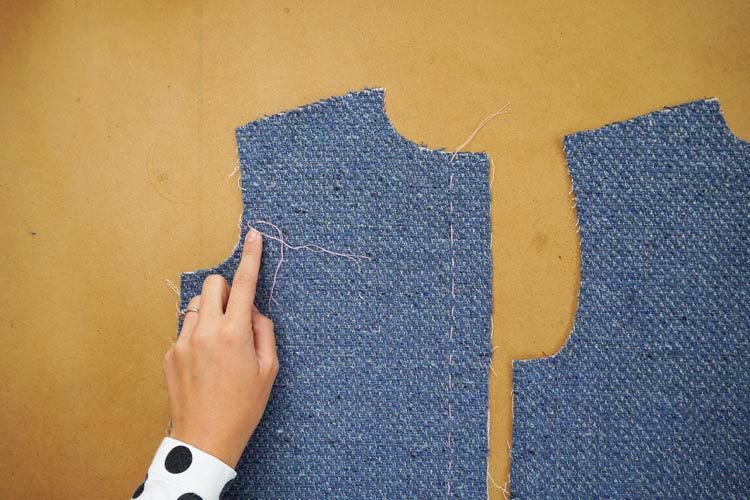
But do not forget other marks, such as the center of the back piece facing, marks on the sleeves, etc.
How to sew the children’s coat - sewing
Pockets
Let’s do the pocket pieces first.
Fold the seam flap of the pocket opening on the pieces from the top fabric towards the reverse side and iron the fold.

Then lay the pocket piece from the top fabric and from the lining fabric over each other (face side to face side). Sew pieces together along the cutting edge of the seam flap.
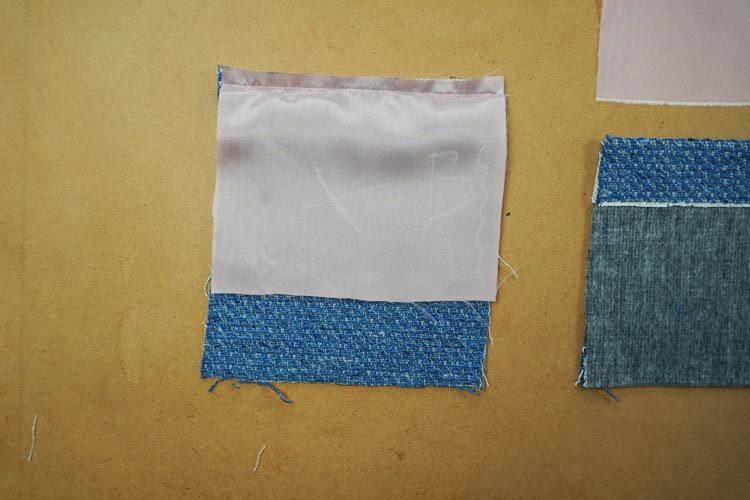
It should look something like this, iron the pieces.
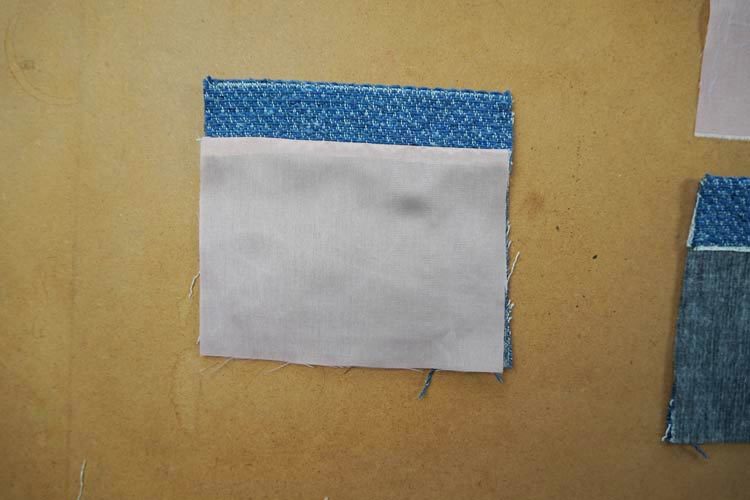
Turn the pockets inside out again and sew one of the pocket sides (the one facing away from the side seam) and the bottom side.
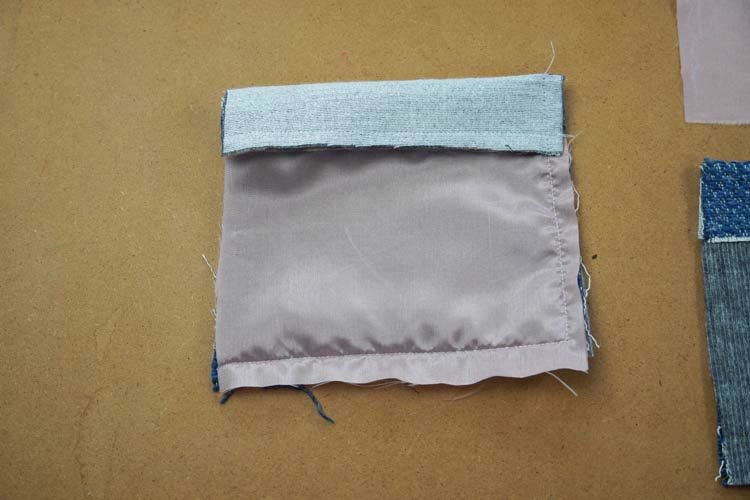
Cut the corners of the seam allowances so you can now turn the pocket “outside out” easily.
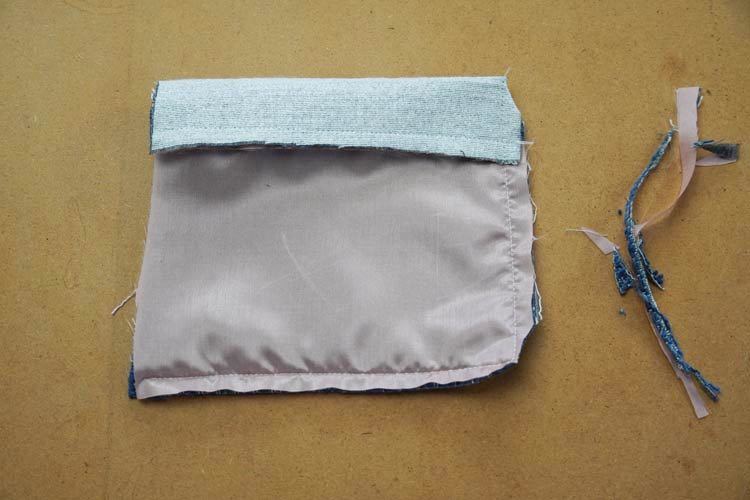
Turn the pockets “outside out” and iron them.
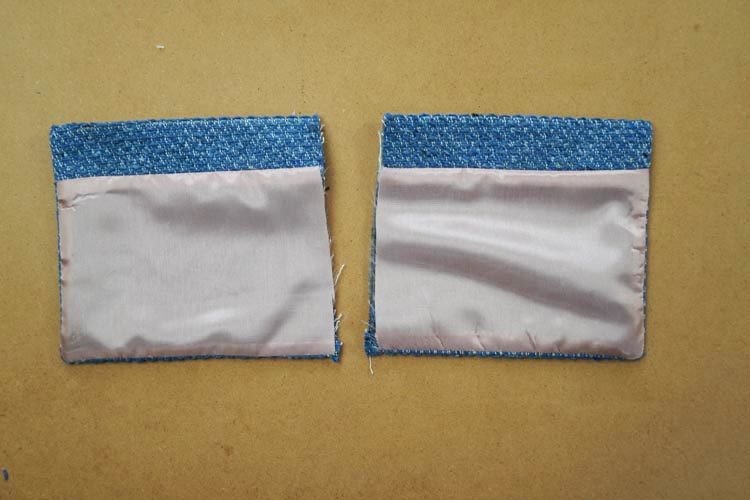
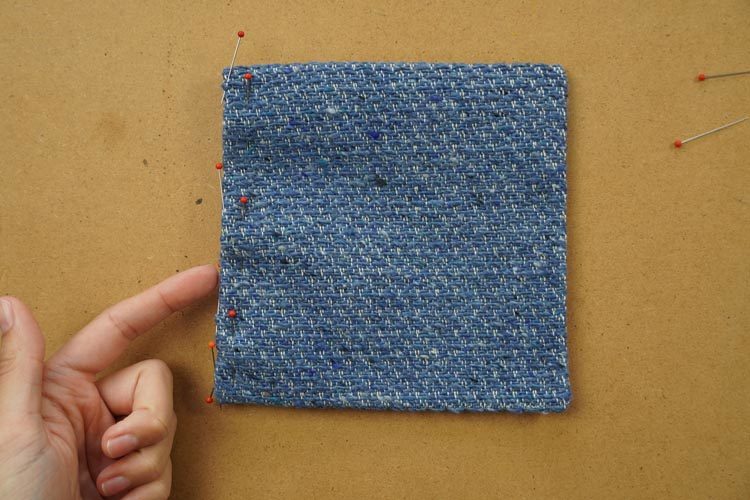
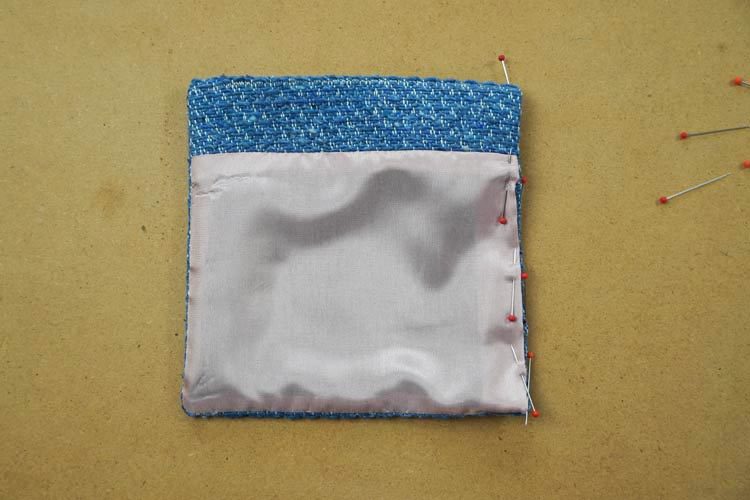
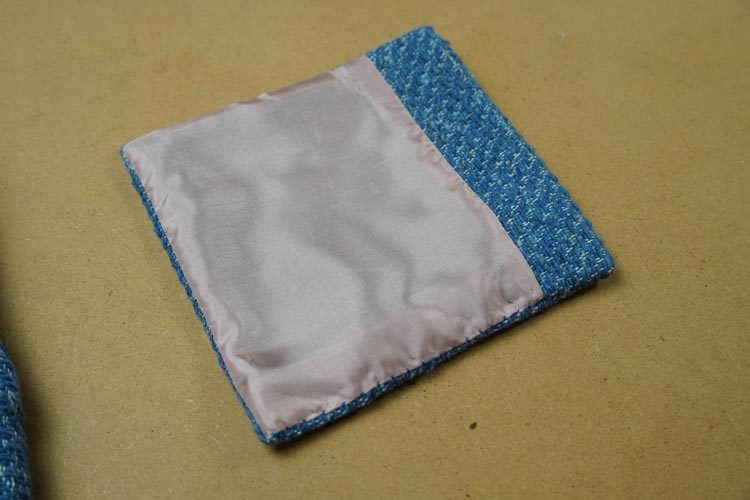
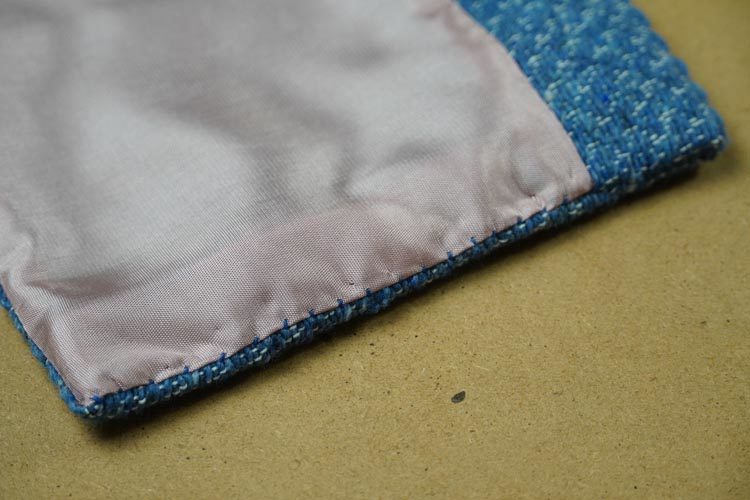
Leave the pockets like this if you are going to sew them directly to the side seam.
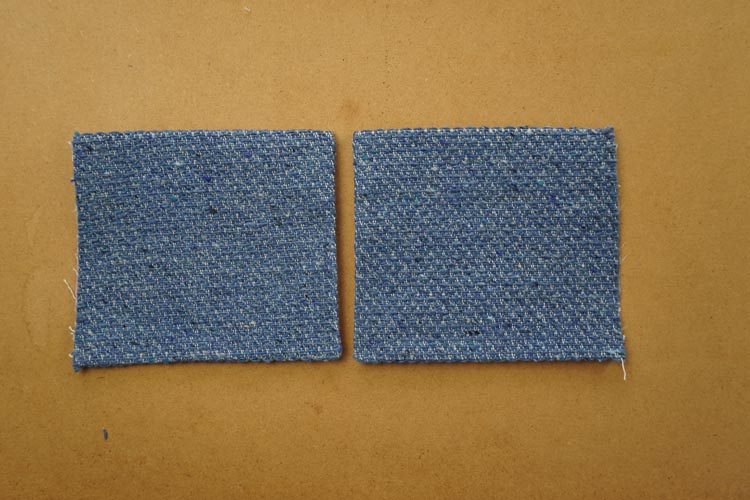
If you want to sew it to the coat later (for example, when you know exact pocket location after trying on the coat), then mark the final pocket size (2 cm from the cutting edge).
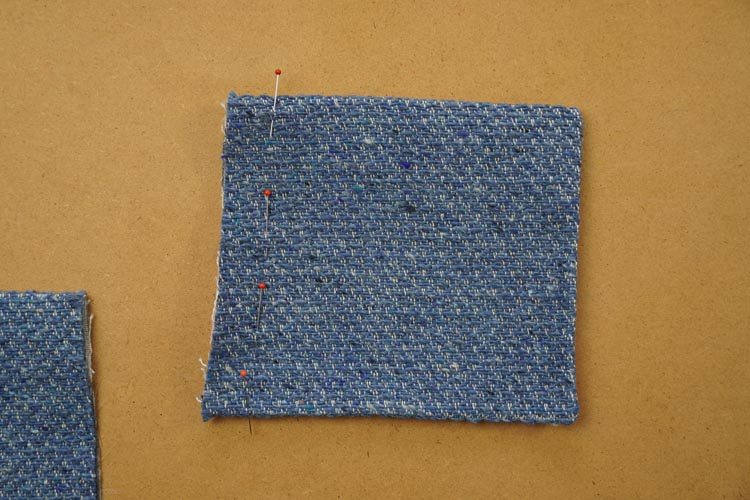
Fold the front and back layers of the pocket to the inside of the pocket, pin them and sew the side shut by hand.
Torso
Pockets are ready.
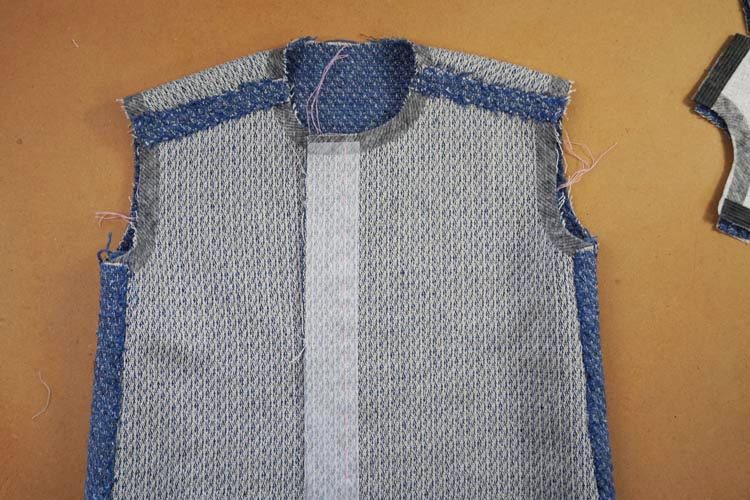
Lay front pieces over the back piece (face sides to the face side) and stitch the shoulder seams. Stitch side seams too and try the coat for the first time.
This is a basic test in which you should evaluate the overall shape, whether it is not necessary to widen or narrow the coat, move the shoulder seams, adjust the shape or size of the arm openings or the neck opening.
Mark eventual adjustments into the paper pattern so that you can be relatively “sure” when using the pattern again.
Sew shoulder seams after trying the coat on.
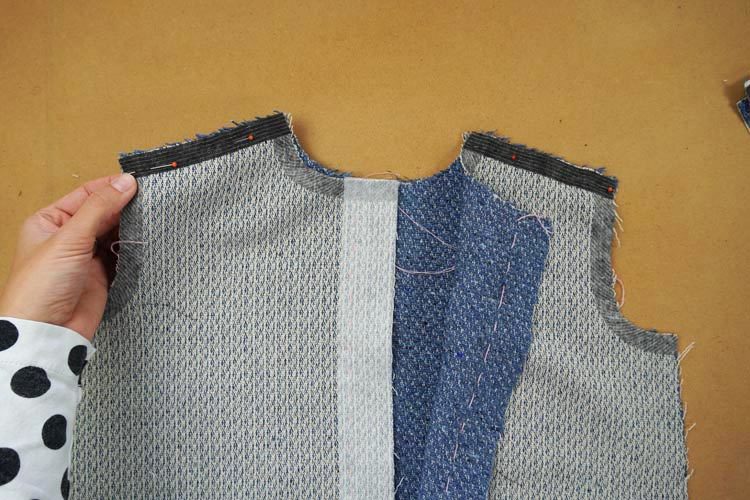
Press the seam allowances open.
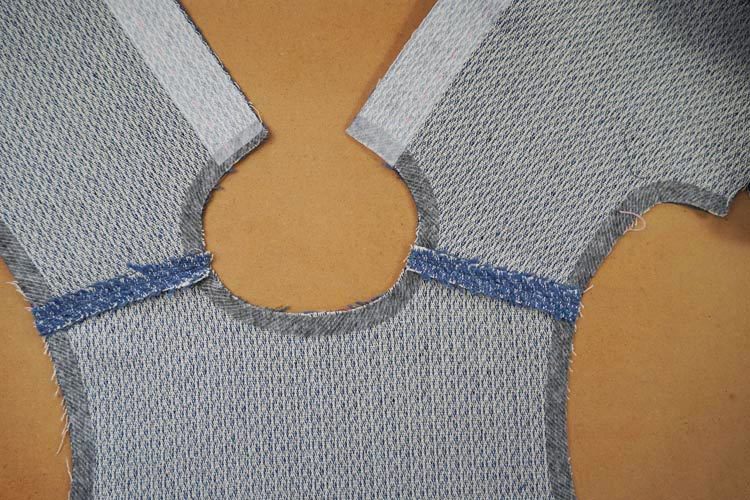
If you want to sew the pockets into the side seam, then stitch them into the front pieces, align the cutting edges of the pockets and the front pieces. Place the back piece over the front piece (with the pocket attached) and sew both pieces together in the side seam - one side of the pocket will be sewn between them. Sew the other two sides of the pockets into the front pieces, preferably by hand, with a small stitch so it is not visible.
If you want to sew the pockets later, you will only sew the side seams of the coat now.

Press the side seam allowances open too. If you know in advance that you are sewing a piece that really deserves all the care and labor, then I recommend attaching all the seam allowances to their place with small herringbone stitch. Simply pour yourself a glass or a cup of something good and give it a whole evening.
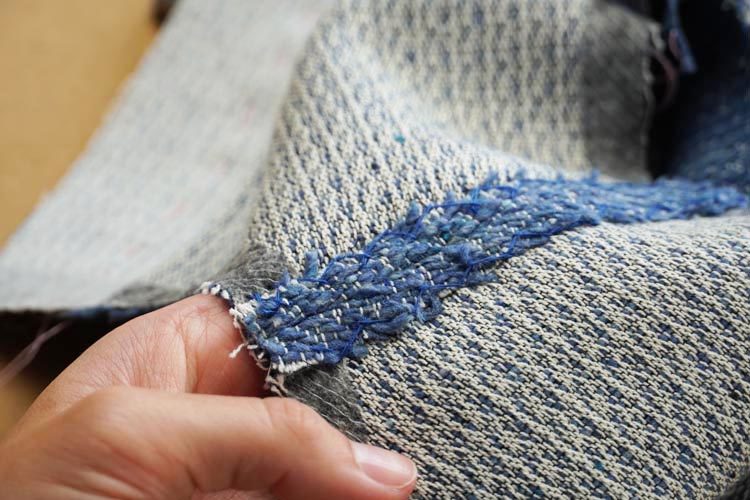
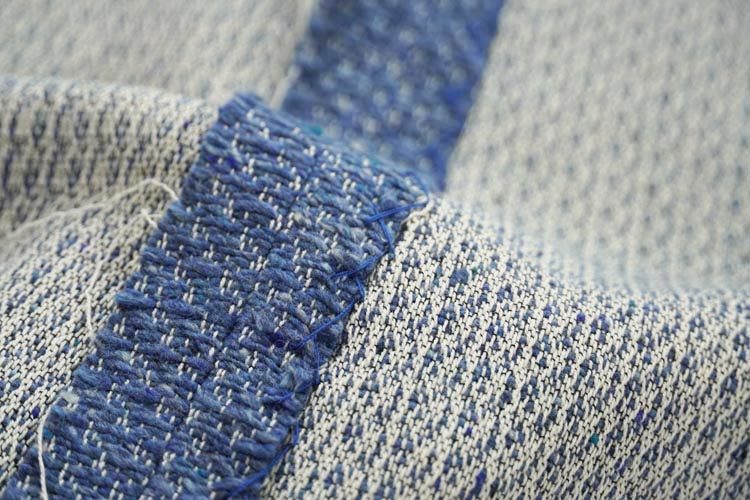
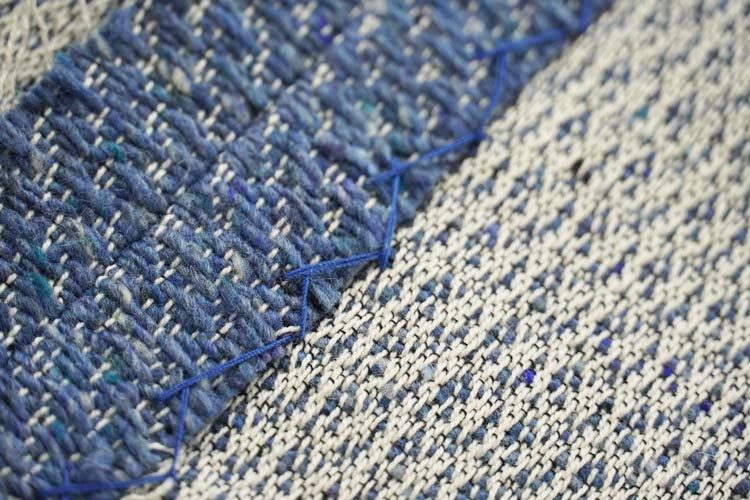
I’ve attached the seam allowances in both the side and shoulder seams this way.
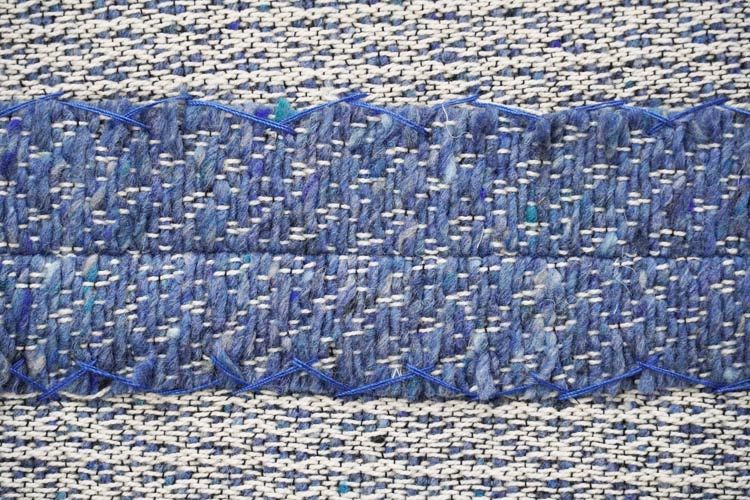
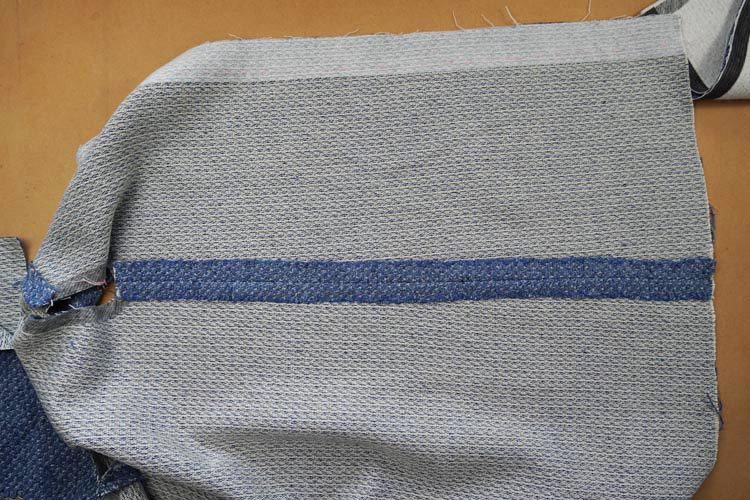
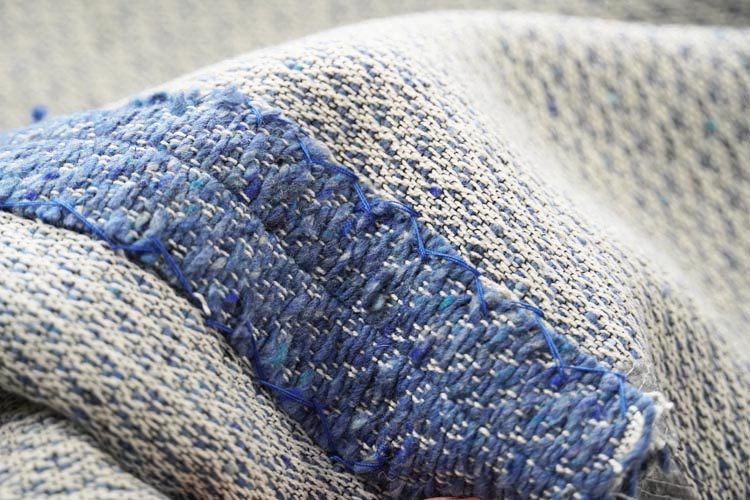
Collar
Prepare both collars. Lay the half-collar pieces on top of each other (face side to face side) and sew them together in the center seam. You will end up with lining collar and top fabric collar. Press the seam allowances open.
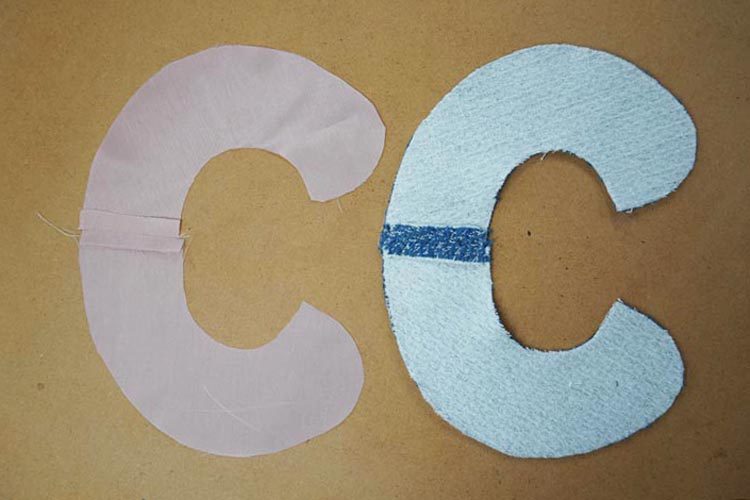
Then lay the lining collar over the top fabric collar (face side to face side) and pin them together along the outer edge.
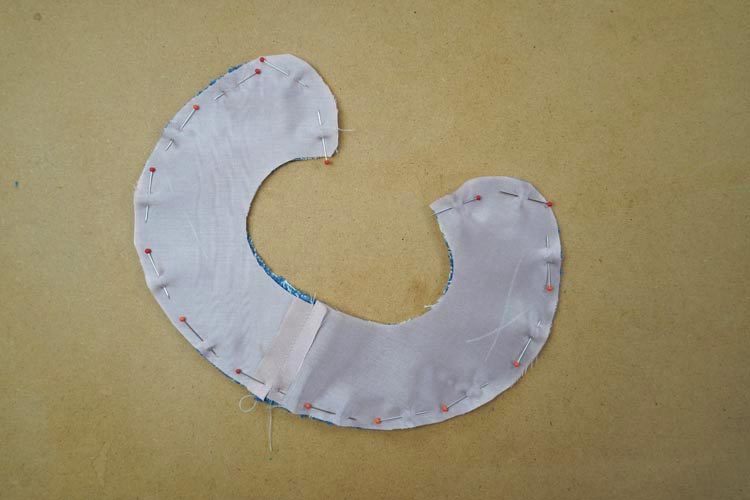
Sew the outer edge of the collar.

The seam allowances must be shortened, and their edge cut along zig-zag line, so that there aren’t any lumps along the edge after turning the collar “outside out”. Pinking shears are a big help in this case…
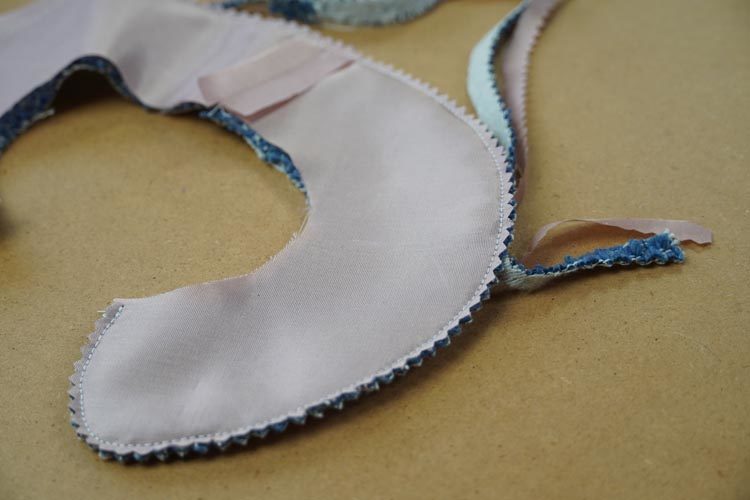
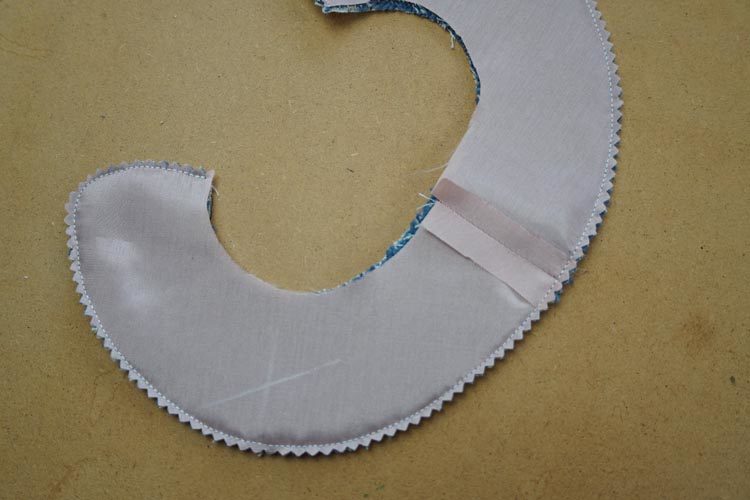
Subsequently, turn the collar outside out and stitch the outer edge so that the lining does not peek out.
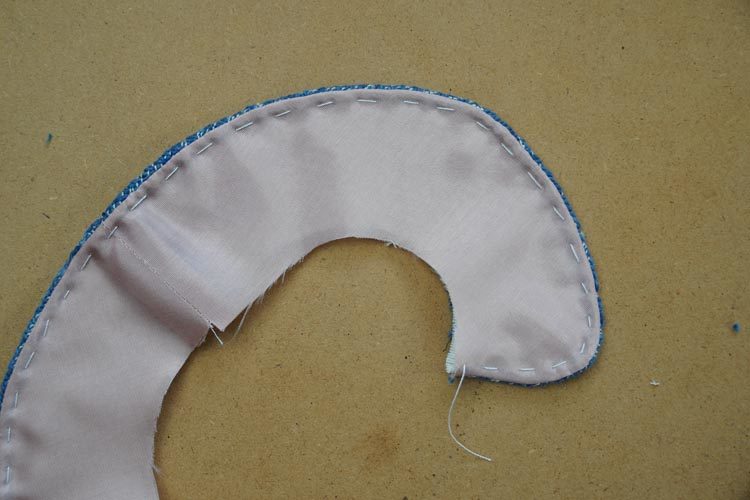
This will extend the lining over the inner edge (along the neck opening). Cut off the unnecessary lining overlap along to the shape of the top fabric collar.
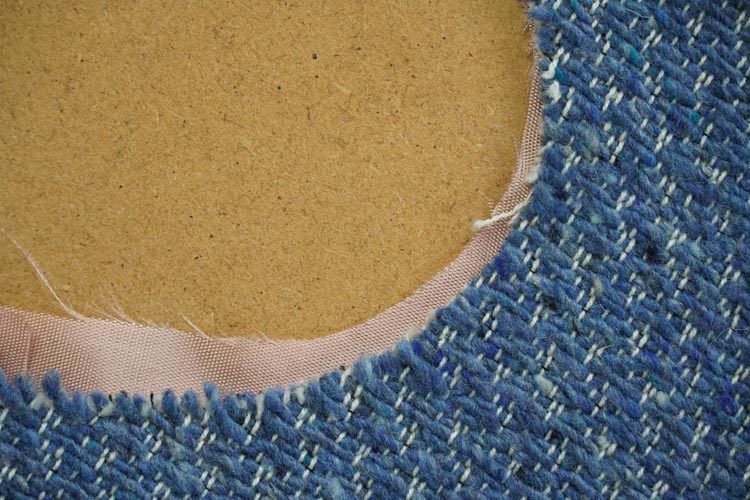
Now stitch along the inner edge.
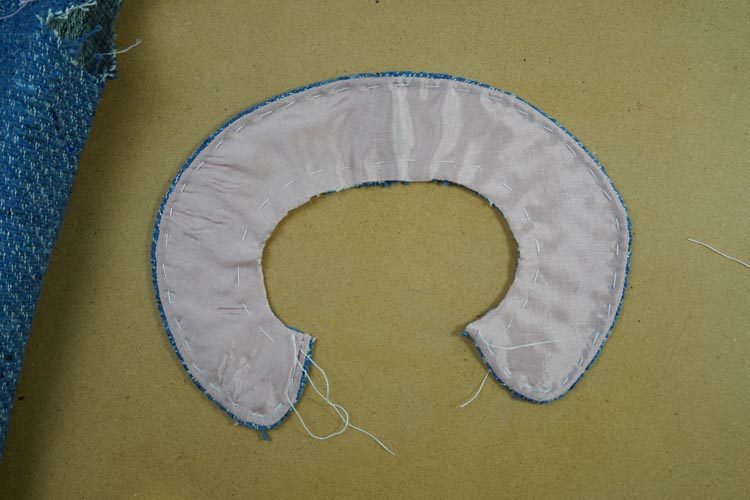
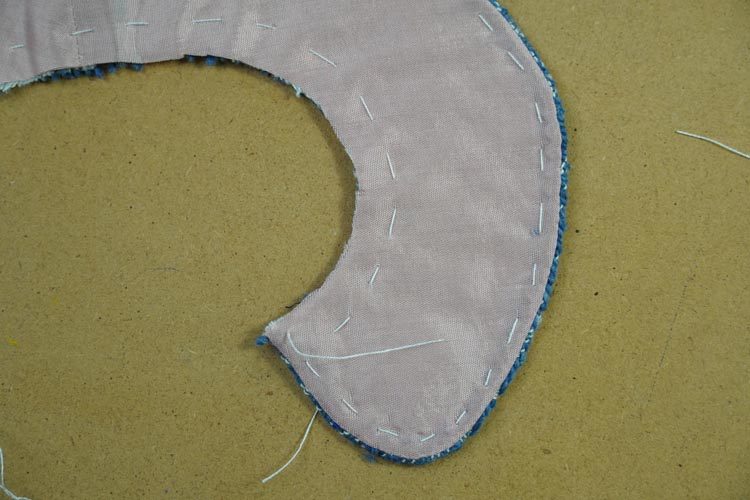
Lay the collar over the face side of the coat. Place it around the neck opening. Edges of the collar should be 2 cm away from the center line of the front pieces.
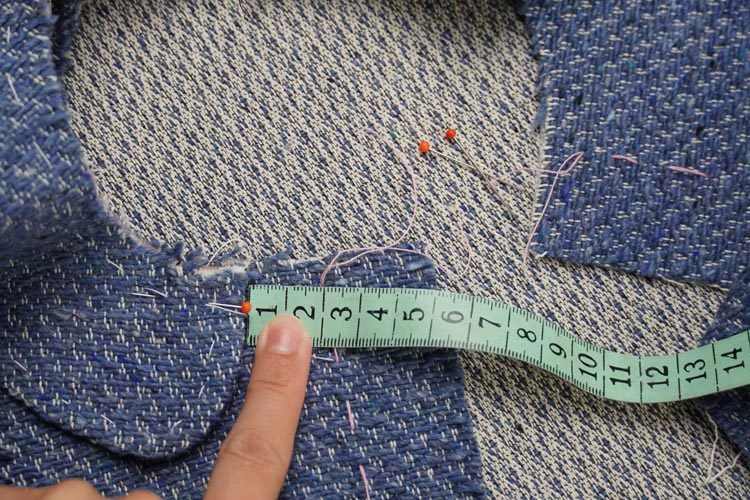
The center seam of the collar should lie exactly in the middle of the back piece, which is marked with a thread.
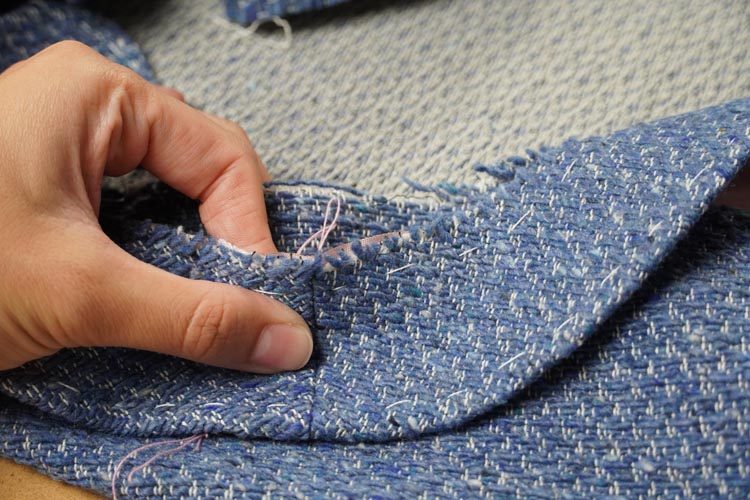
Pin and then stitch the collar to the neck opening. Inner edge of the collar may seem smaller than the neck opening but it's not. This is because the collar is more arched in the inner edge, and thus the cutting edge itself is shorter than the cutting edges of the front and back pieces. Therefore, take care when pinning and pay attention to the correct collar placement.
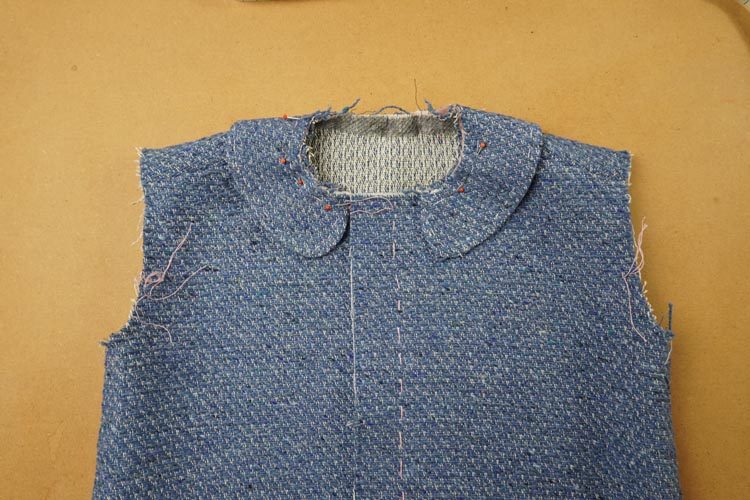
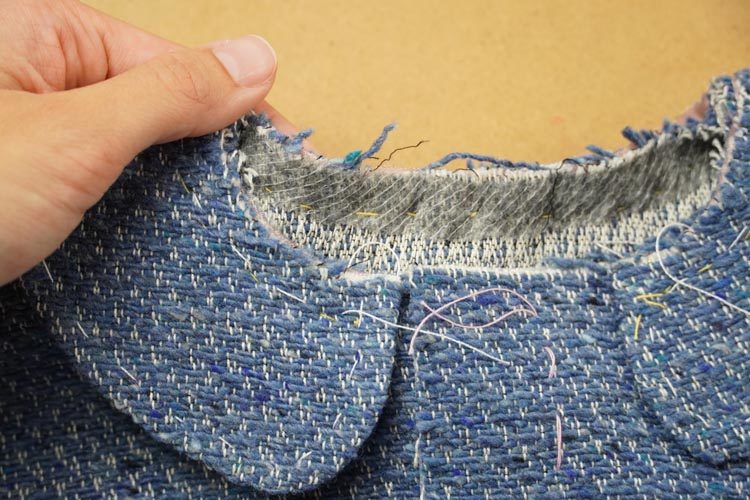
Do a quick trial after stitching the collar to the coat. Concentrate on size and shape of the collar. The neck opening may appear small or too tight, but that is because the seam allowances are still there. Neck opening of the finished coat will be looser.
Sleeves
I recommend preparing the sleeves before you sew the collar and therefore the facing. Do the sleeve seams and press the seam allowances open. Here I also recommend using the herringbone stitch to fix the seam allowances in place.
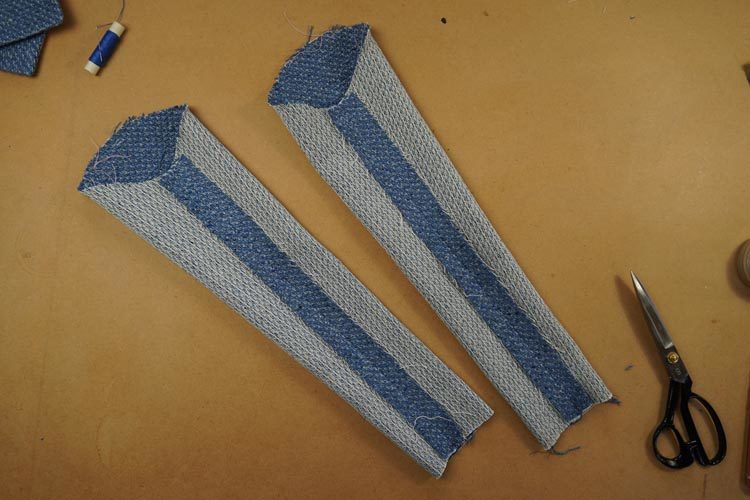
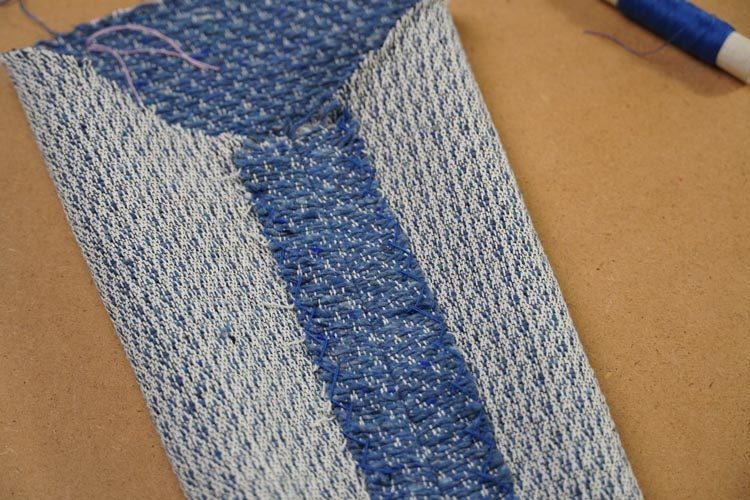
Pin the sleeves to the arm openings. Since it is a children's coat, you need to ease stitch the sleeve. With a little patience, you should be able to pin the sleeve into the arm opening without having to ease stitch the sleeve with two parallel stitches. If you are unable to do it correctly, use classic ease stitching. Before you start sewing the sleeve itself, it is good idea to carefully stitch the sleeve into the arm opening and try the coat on. Concentrate on the shape of the sleeve near arm opening and sleeve length.
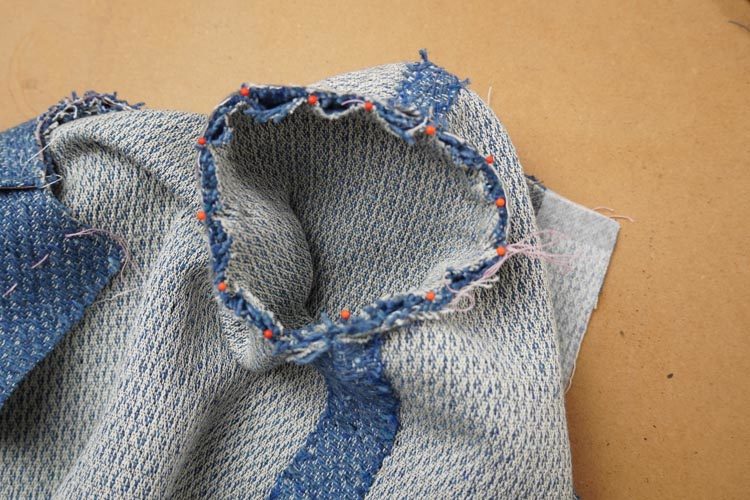
Sew the sleeves into the arm openings.
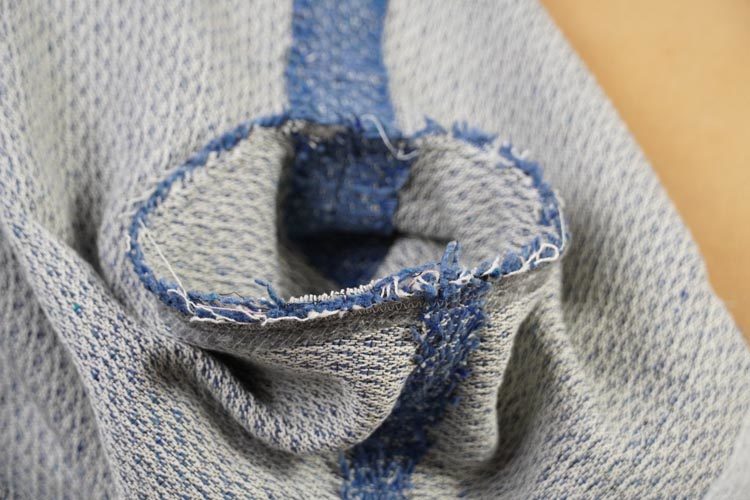
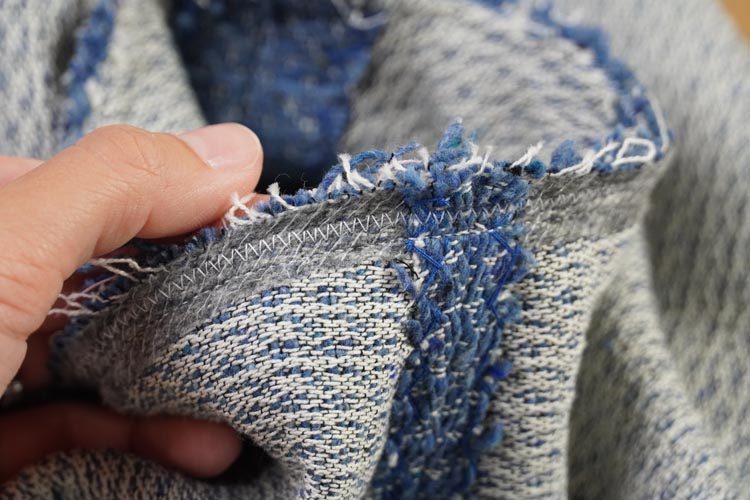
Since I used bouclé, which is a relatively thin fabric, I secured the sleeves with a zigzag seam in the seam allowances. This is to avoid too much loosening after frequent wear.
If you found out the right sleeve length during the trial, you can now fold (roll) the sleeve hems to the inside of the sleeves.
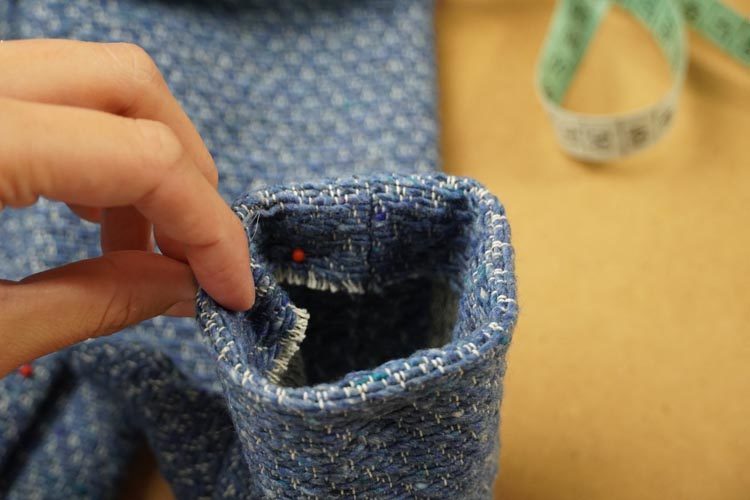
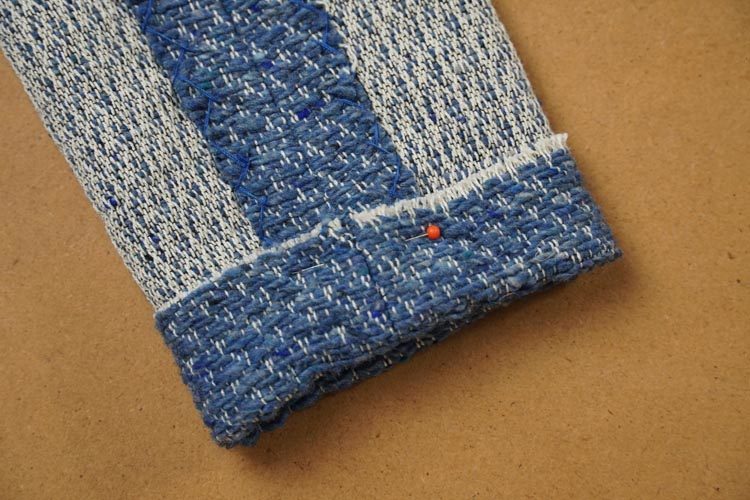
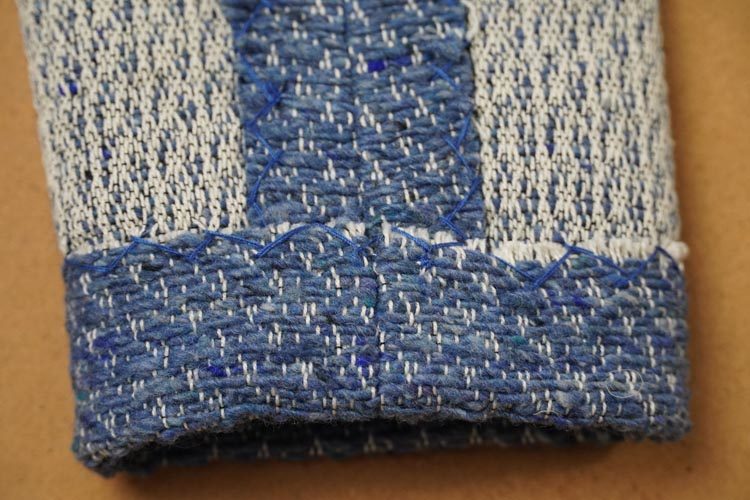
Fix the sleeve hem in place with herringbone stitch.
Facing
Now is the right time to do the facing. Sew the front pieces to the back one in the shoulder seams.
Press the seam allowances open.
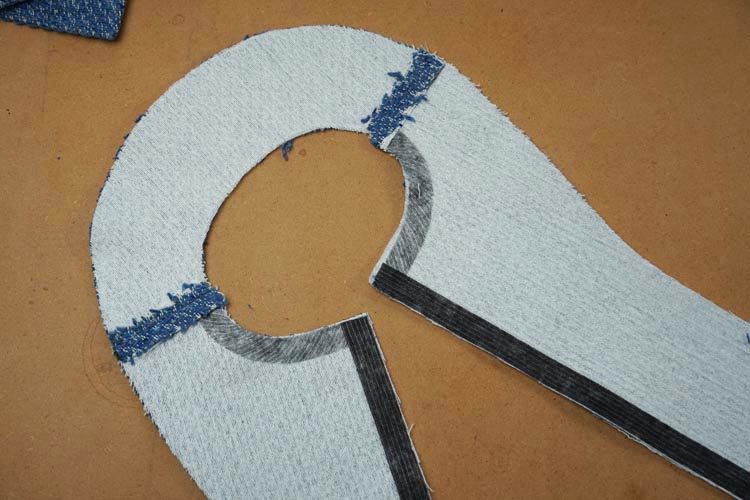
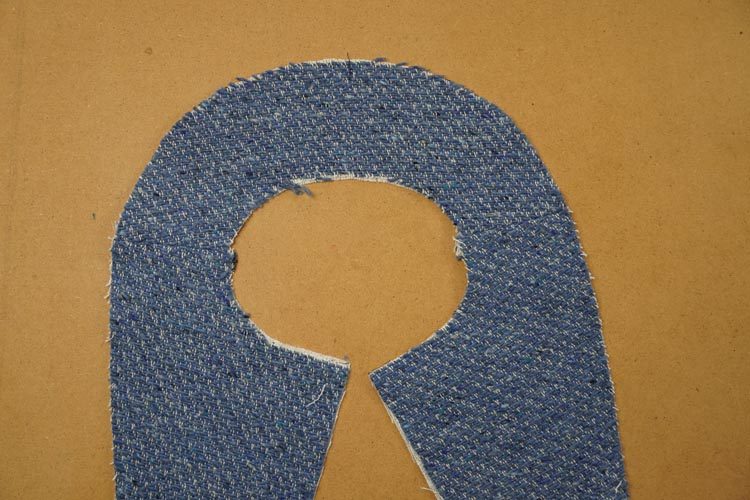
Pin facing to the coat. Pin along the whole neck opening and along front pieces.
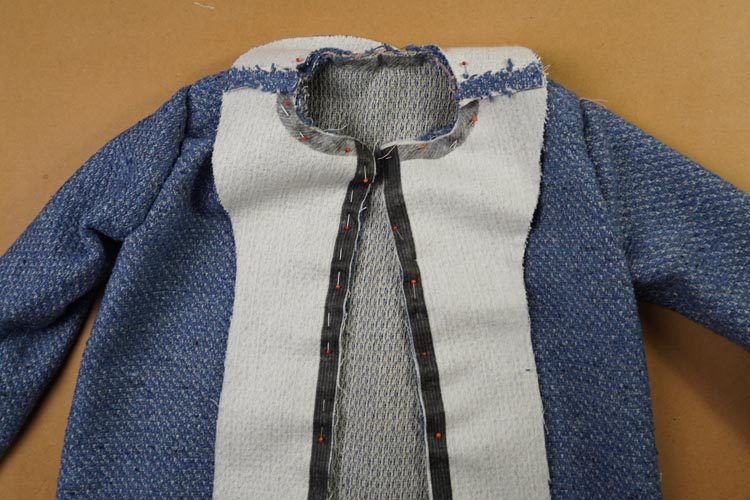
Collar should be between the facing and the coat itself.
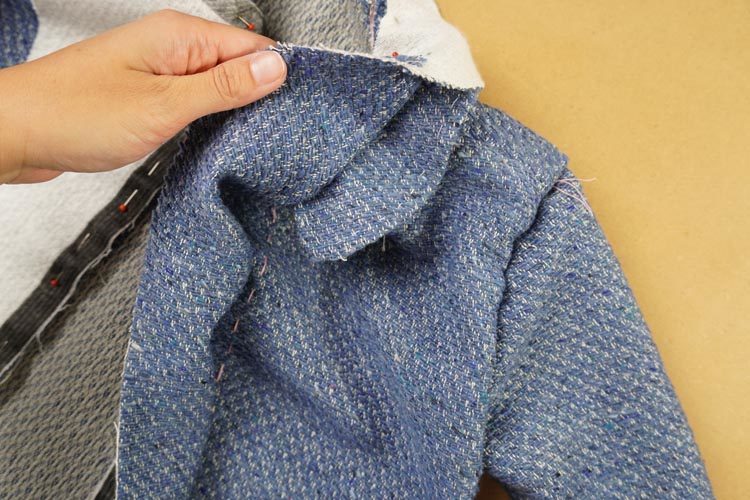
Sew the facing to the coat along all pinned edges.
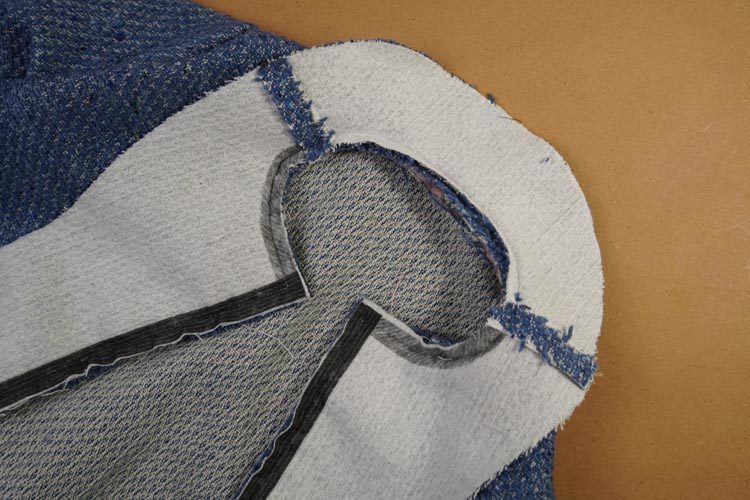
Cut off the corners of the seam allowances in the neck opening up to the seam itself.
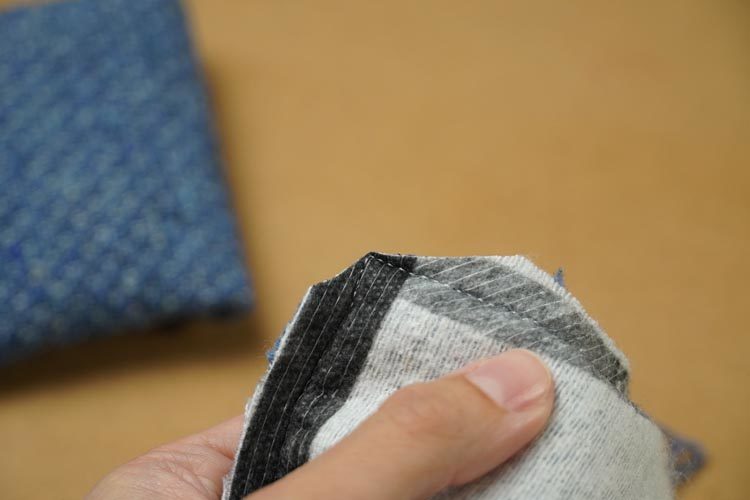
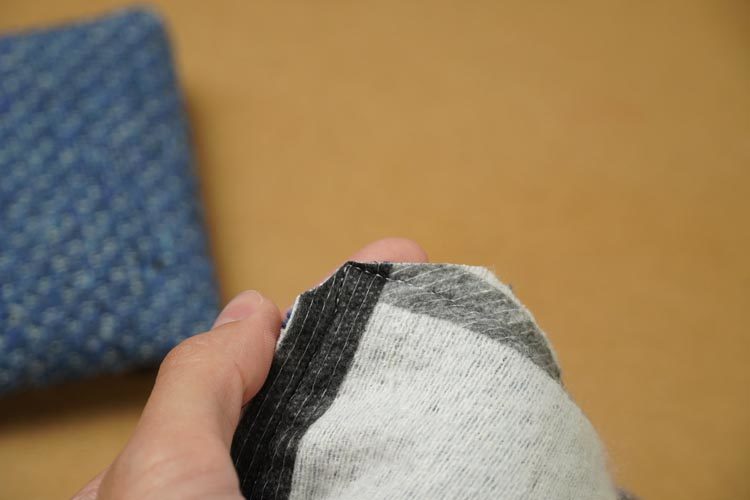
Cut off the corners of the seam allowances on the facing up to the seam itself.
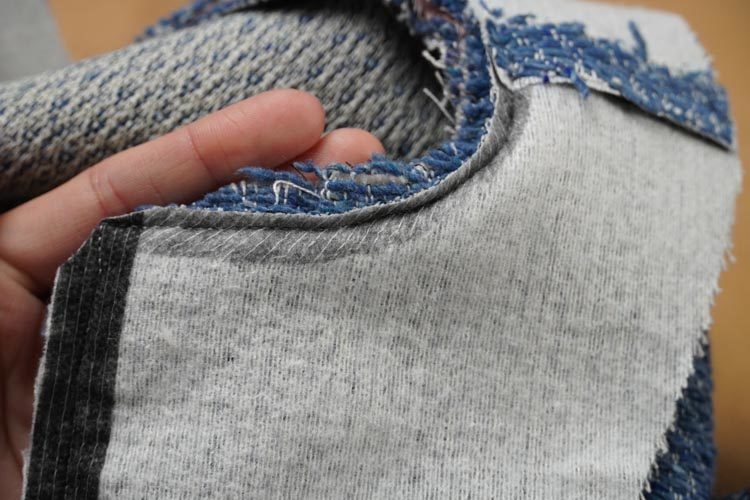
Cut the rest of the seam allowances perpendicular to the seam to make the neck opening looser. Make a cut every centimeter or so.
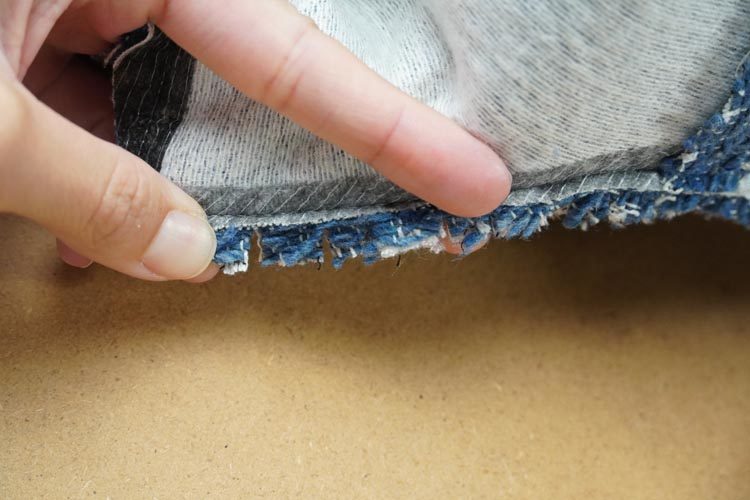
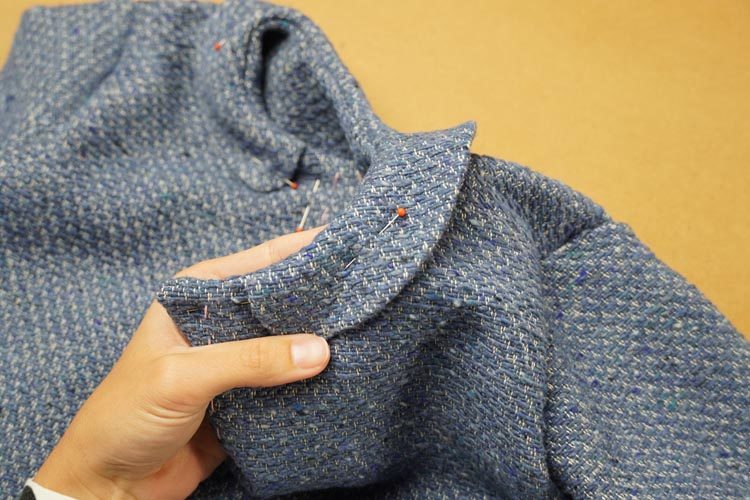
Fold the facing towards to the inside of the coat.
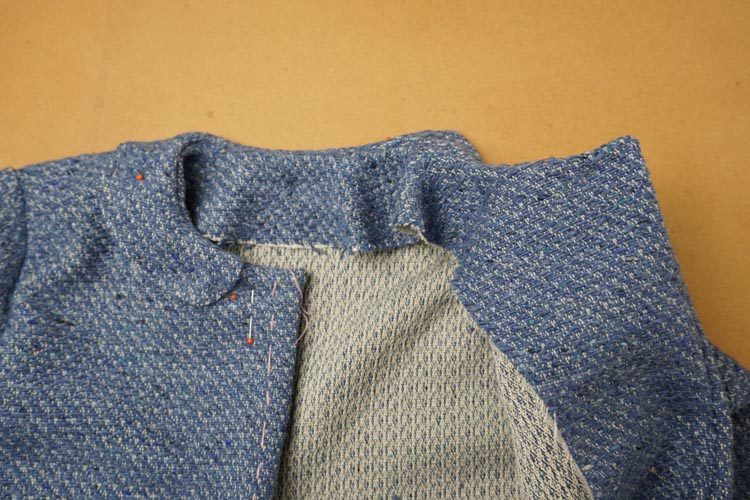
Fix the facing and the collar in place with a few pins.
It is good idea to stop at this moment and carefully check that the front pieces are aligned, the collar is symmetrical, and everything is as it should be. Even a small mistake can spoil your results...
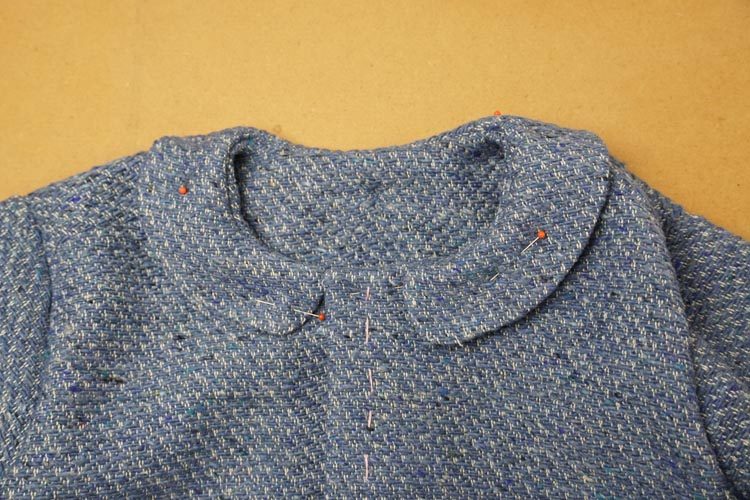
Now it’s a good time to place the pockets, because you will be sewing in the lining soon. I recommend checking that the pockets are in the same places on both front pieces, so that the coat is not asymmetrical.
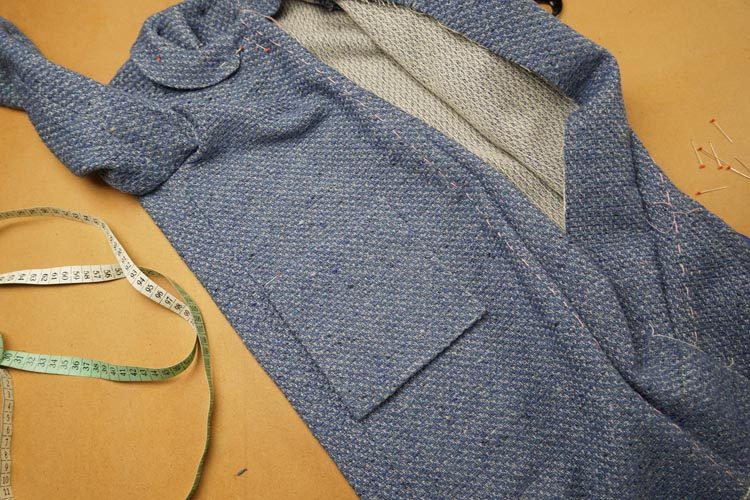
Pin the pockets and stitch them in place. If you are 100% sure of their positioning, you can sew them to the coat. Do this by hand with small stitches so that the seam is not visible.
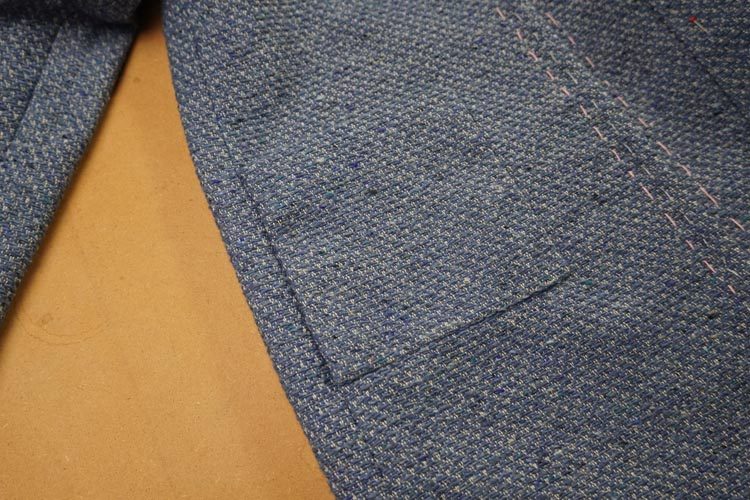
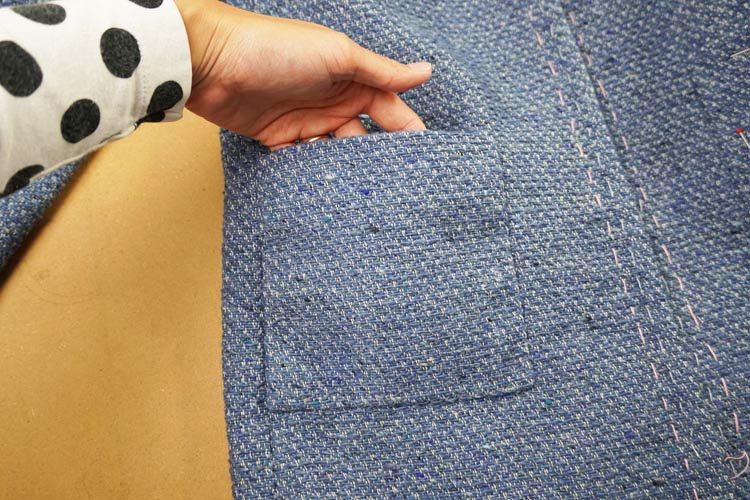
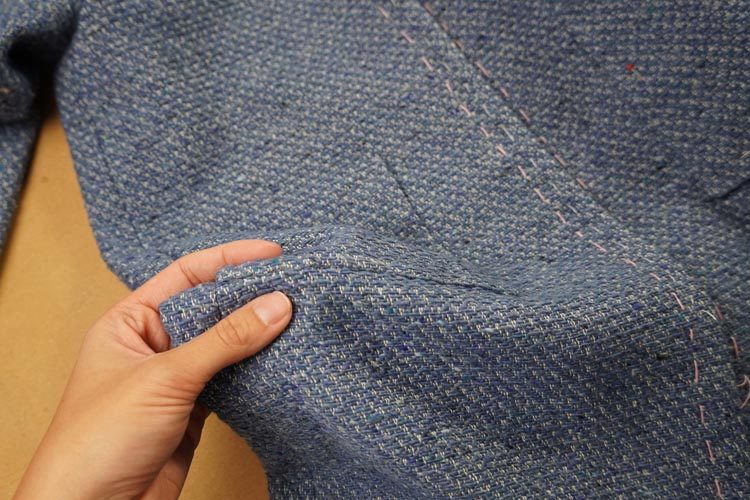
Stitch the facing to the top fabric along the center line. It is important to ensure that the facing isn’t peeking out.
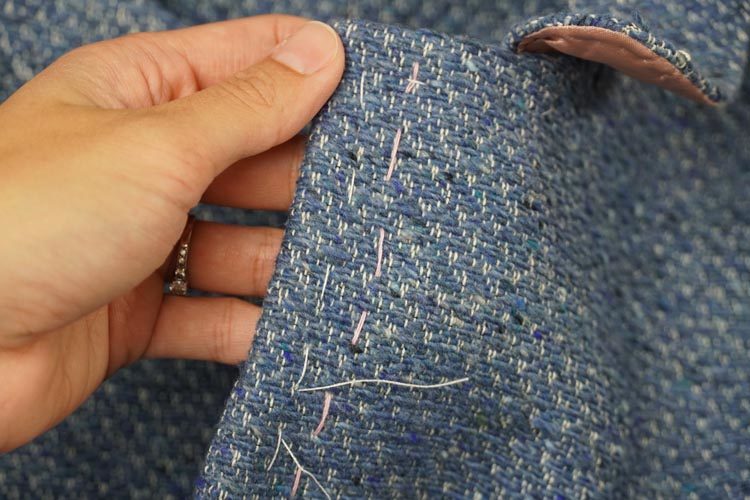
I recommend stitching the facing under the collar too.
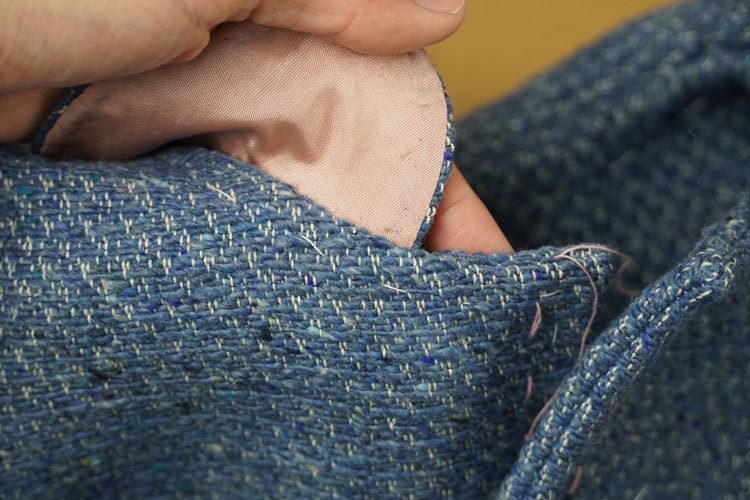
Top part of your coat is ready. Now is the time to do the lining.
Lining
Back piece was the folded fabric cut. If you have noticed, the back lining is wider than the top fabric cut. This is because the lining is a very rigid material that does not usually stretch in its length or width. It is necessary to sew a counter-fold into the lining for freedom of movement.
Marks on the paper pattern will tell you where to sew these counter-folds. Measure 5 cm downwards from the neck opening mark (from its cutting edge).
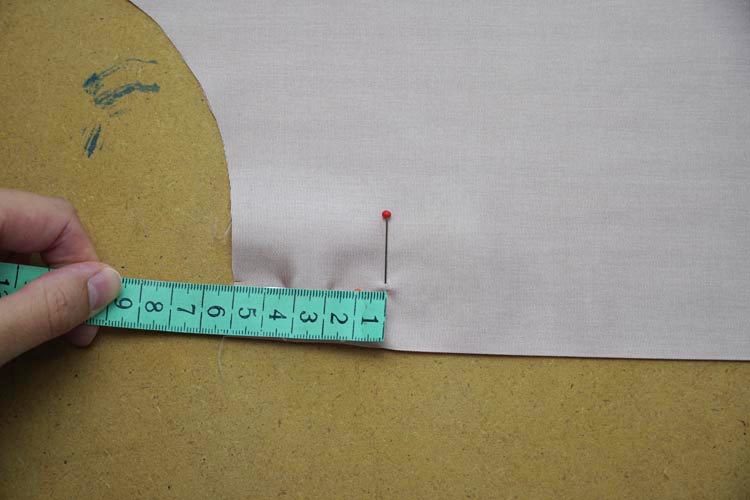
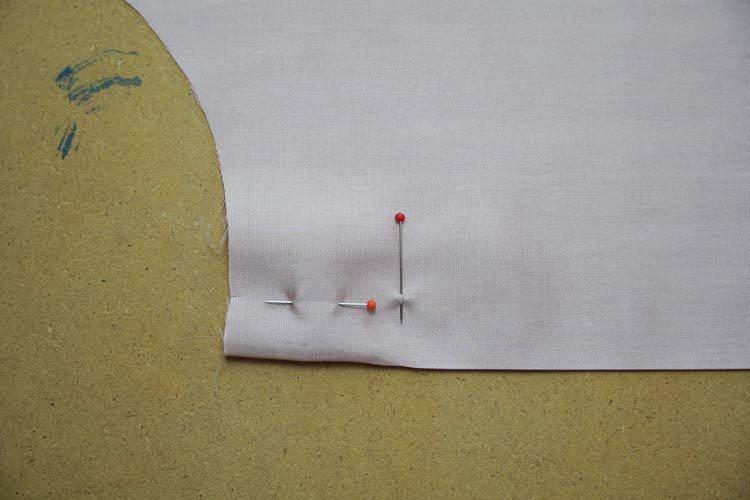
And sew with the straight stitching.
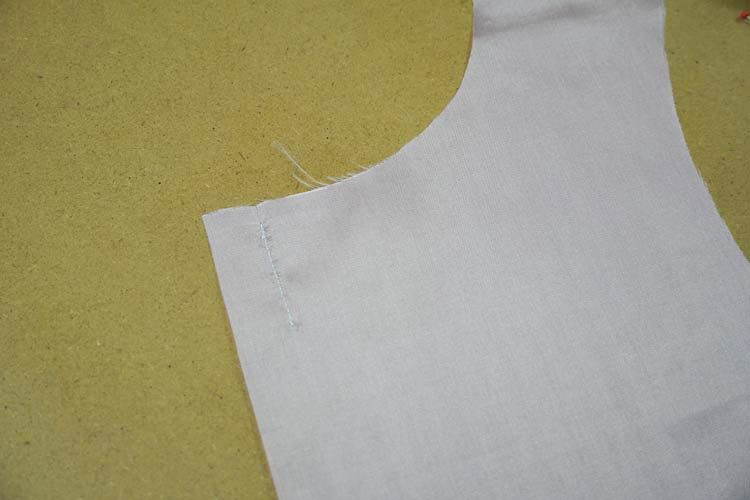
Then measure 10 cm upwards from the mark on the bottom of the back piece.
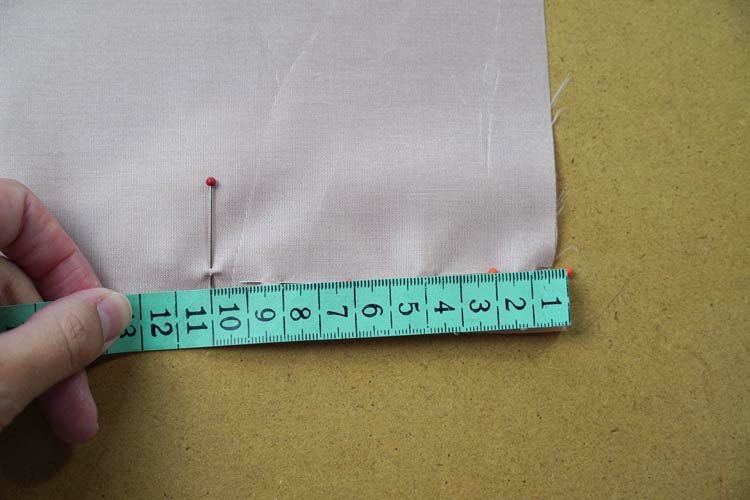
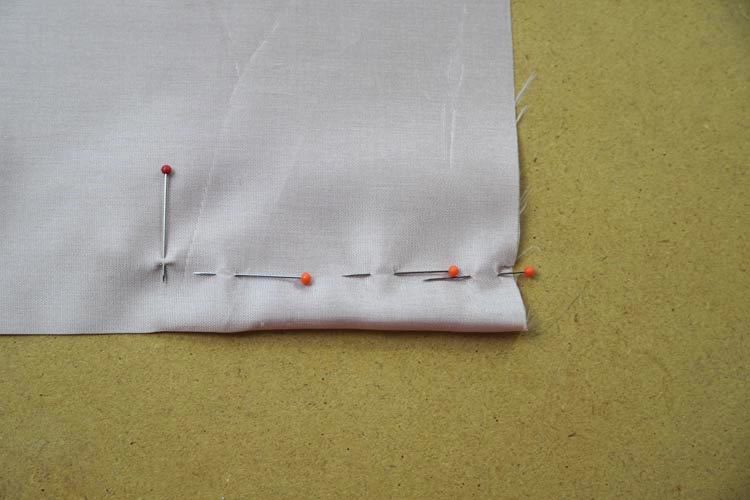
And sew.
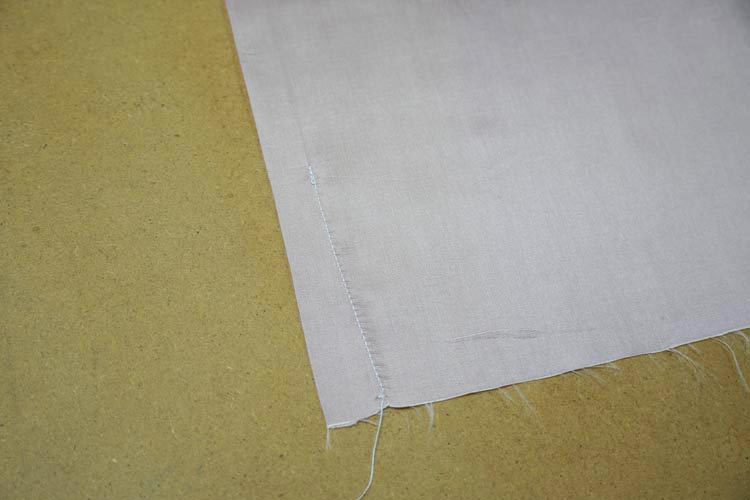
Now iron the entire back piece so that you will create a fold in its center.
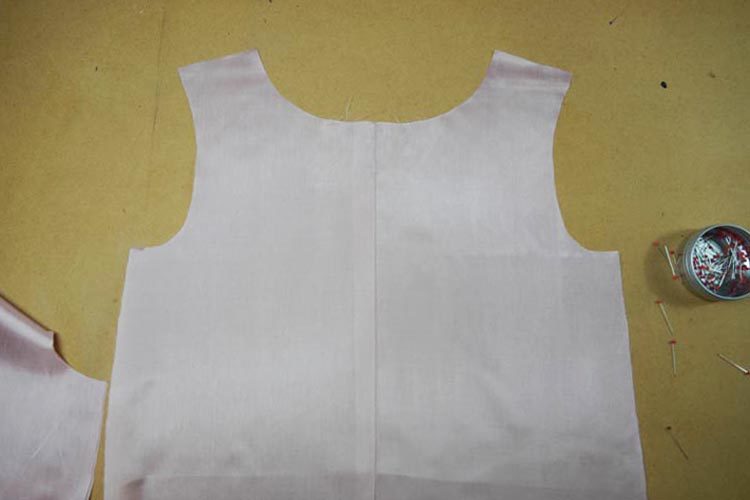
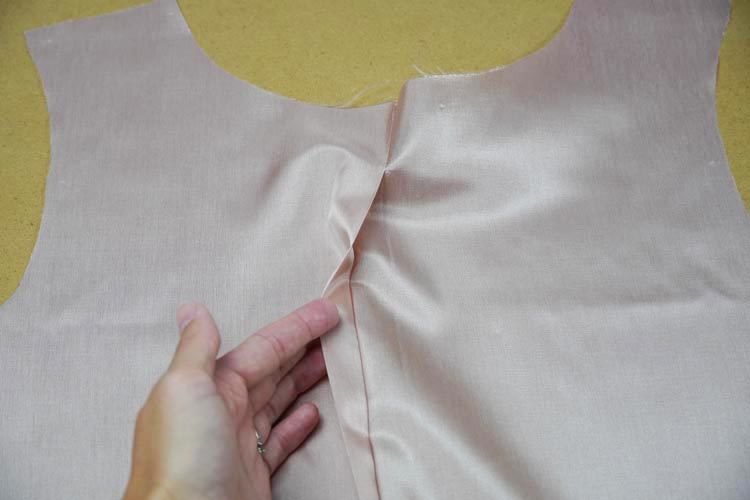
Place both front pieces over the back piece (face sides to face side). Sew pieces together in shoulder seams and in the side seams.
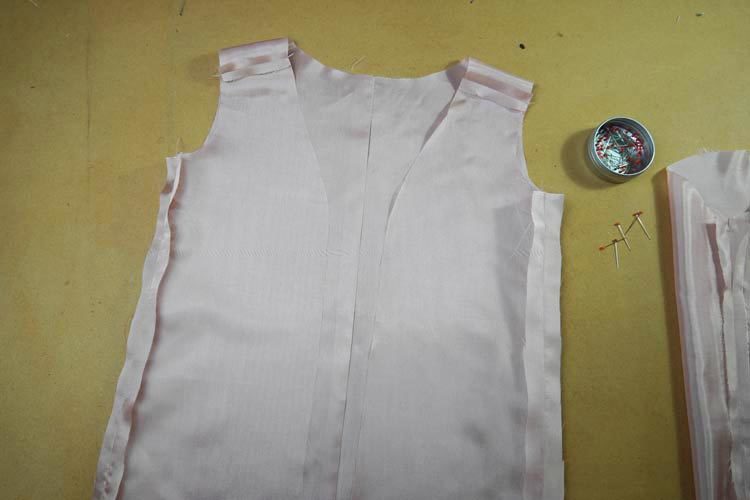
Press the seam allowances open.

Sew the sleeve seams on the sleeves. Press sleeve seam allowances open too.
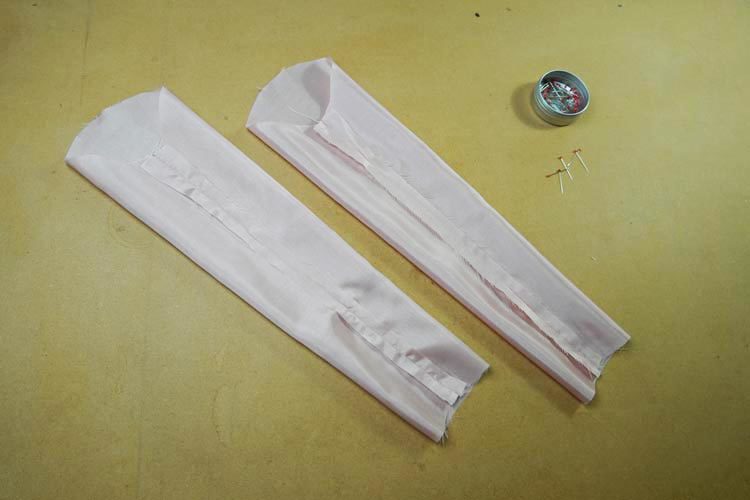
Pin the sleeves to the arm openings. It’s a bit harder with the lining, but with a little effort you should be able to do it without ease stitching. But if you are struggling with it, feel free to use classic ease stitching.
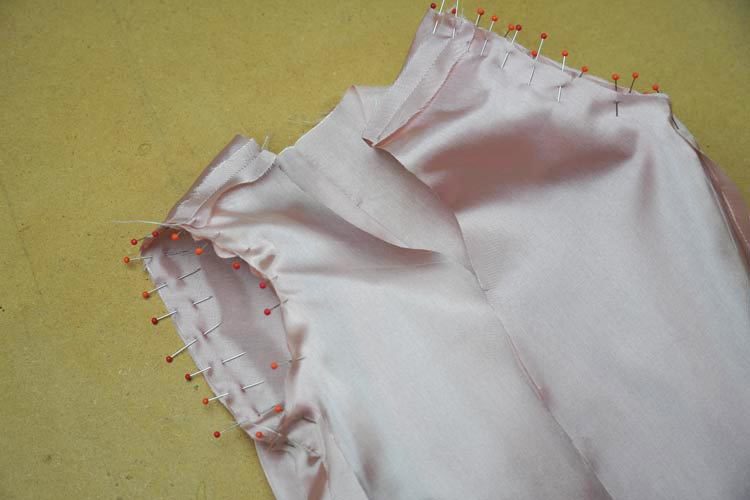
Sew the sleeves to the arm openings.
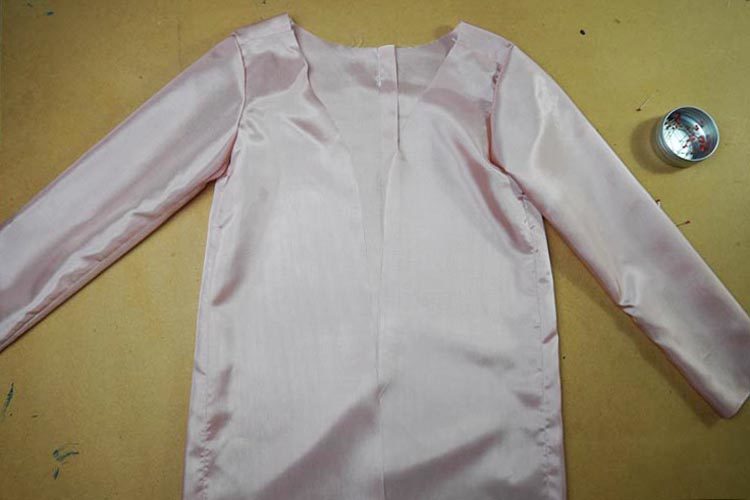
Fold the sleeve hems to the inside of the sleeves and iron them.

Fold and iron the bottom edges of the back and front pieces towards the reverse side (1 cm).

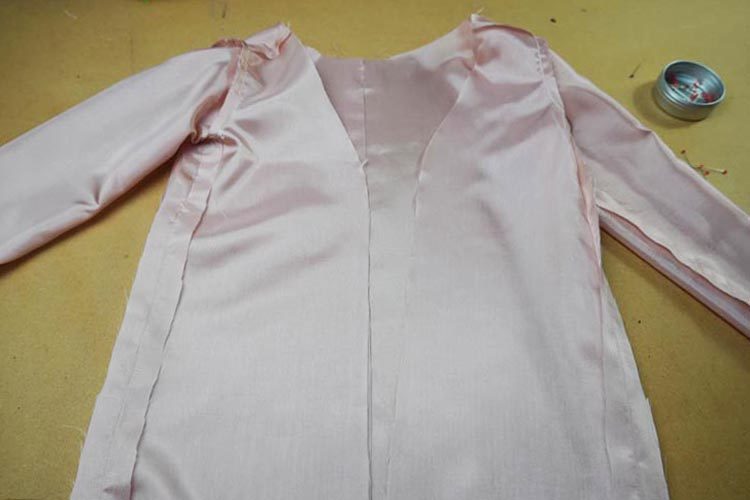
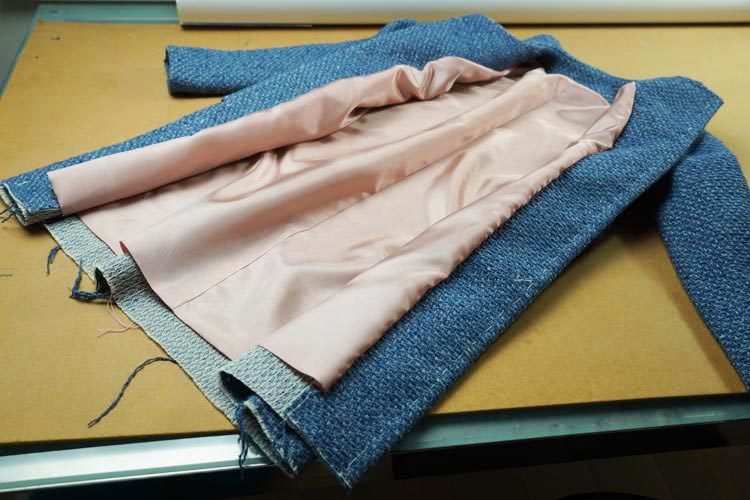
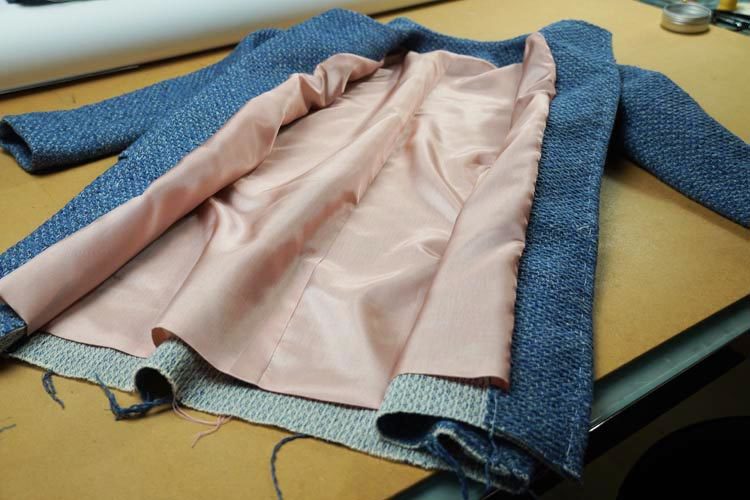
Spread the lining on the coat (face side to face side). Pin the front lining pieces to the facings of the front pieces of the coat and back lining piece to the facing of the back piece of the coat.

Pin around.
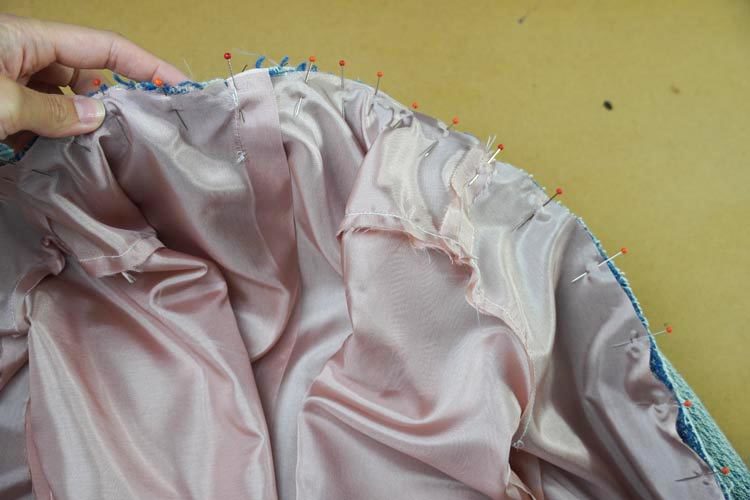
Face sides of the coat and lining are facing in.
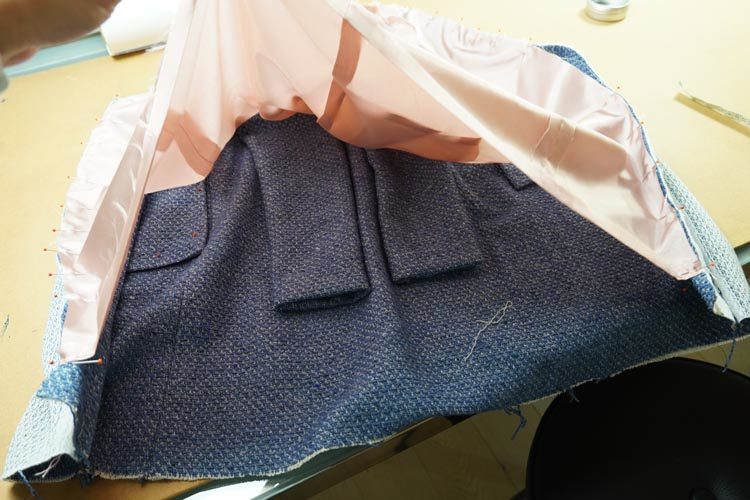
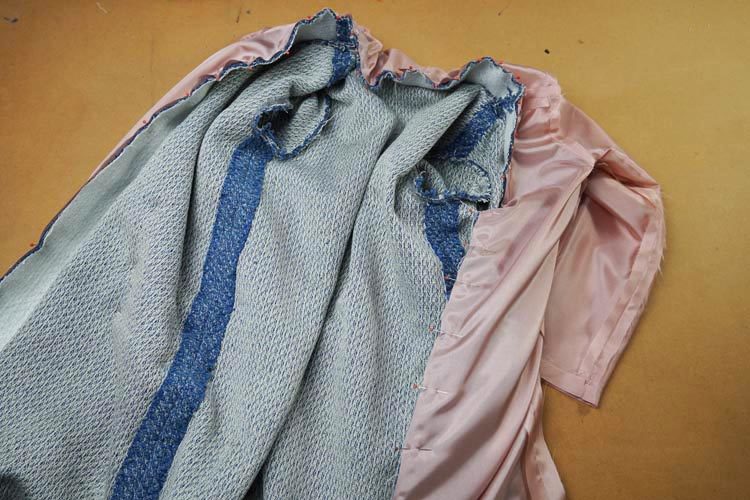
Do the bottom hem of the coat this way. Bottom hem of the lining is still folded. Facing (top fabric) extends 3 cm beyond the lining.
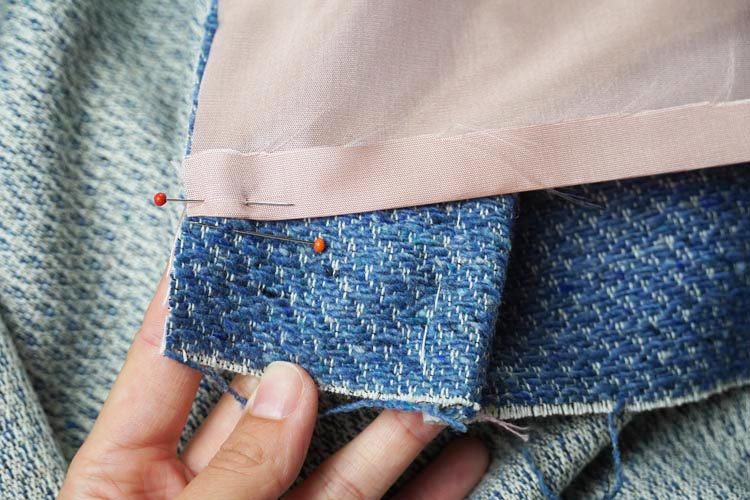
Sew the lining to the coat along the pined edges.
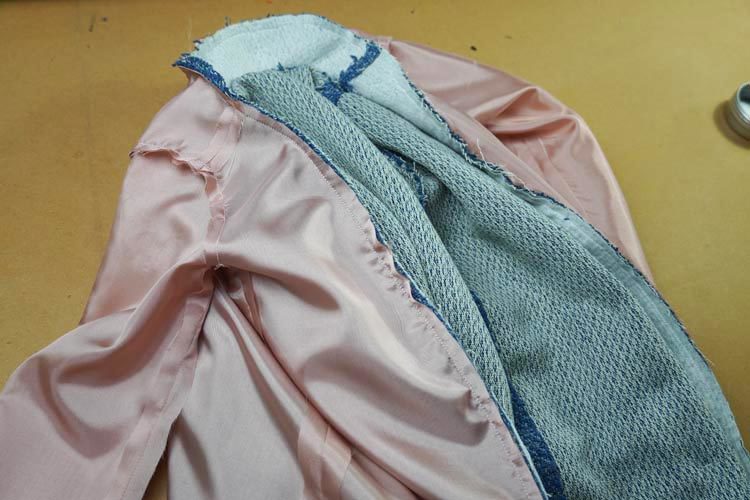
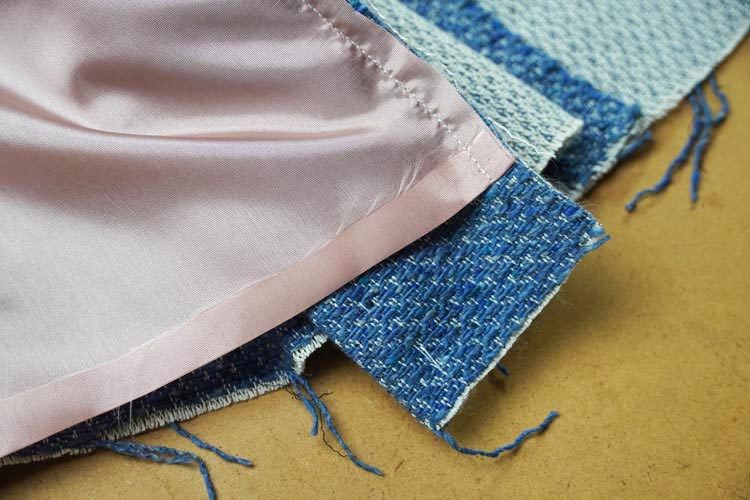
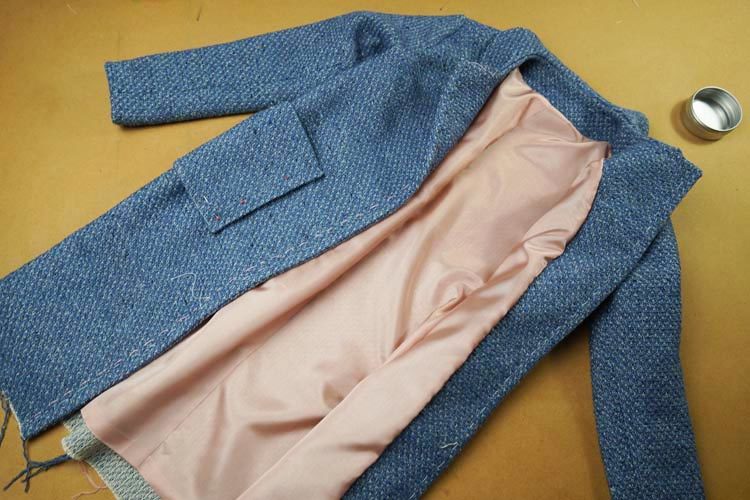
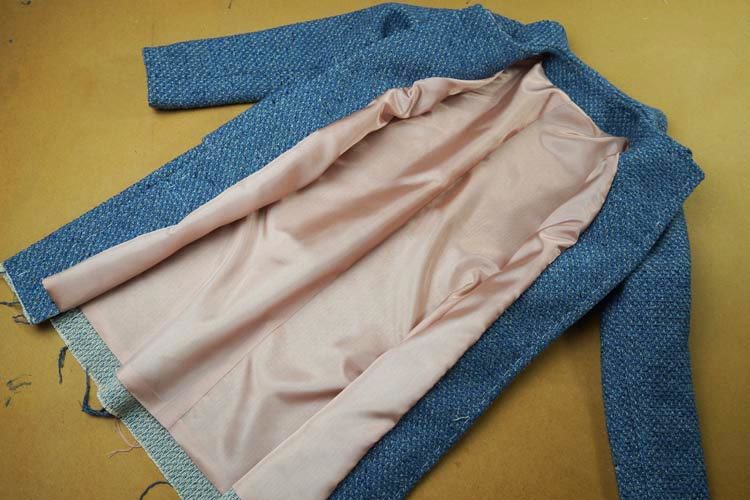
Fold the front piece facing over the front piece.
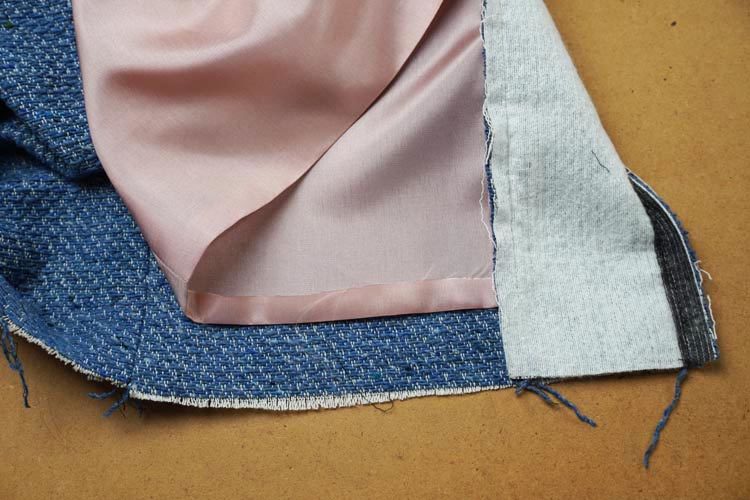
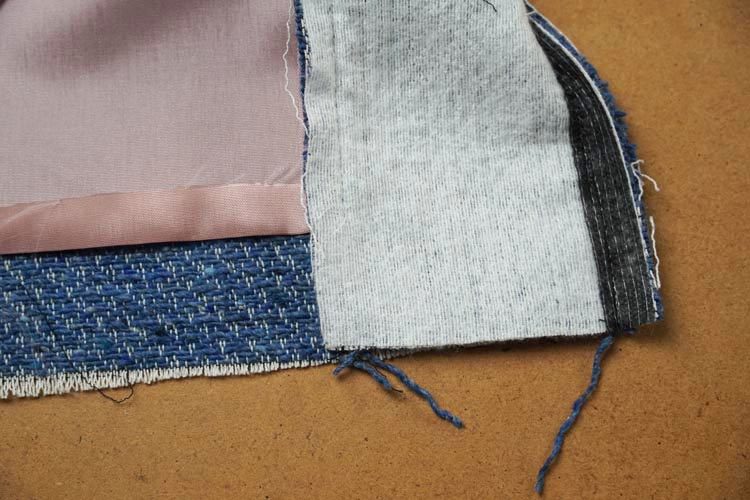
Sew the facing to the front piece 3 cm away from the cutting edge.
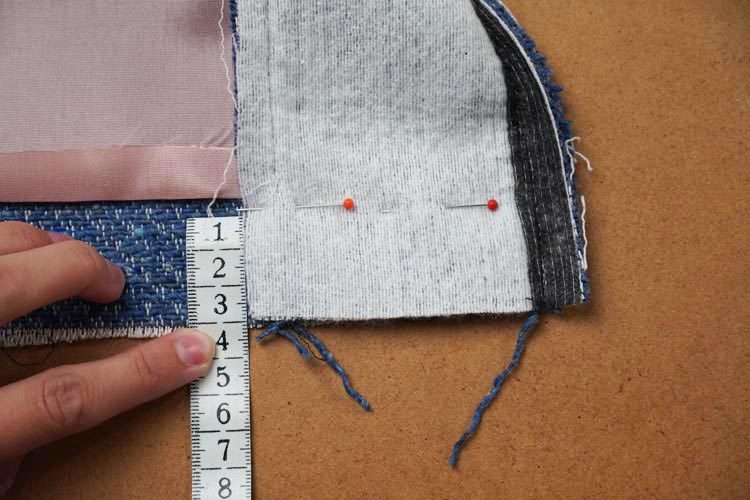
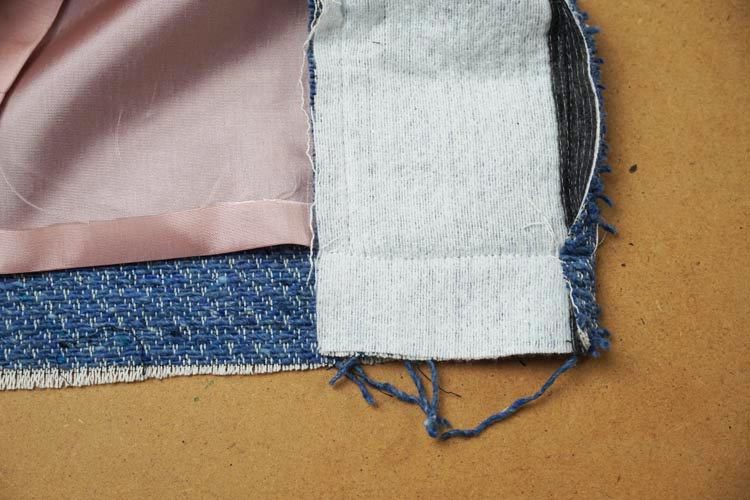
Cut off the corner. Then cut off half of the seam flap on the bottom of the facing.
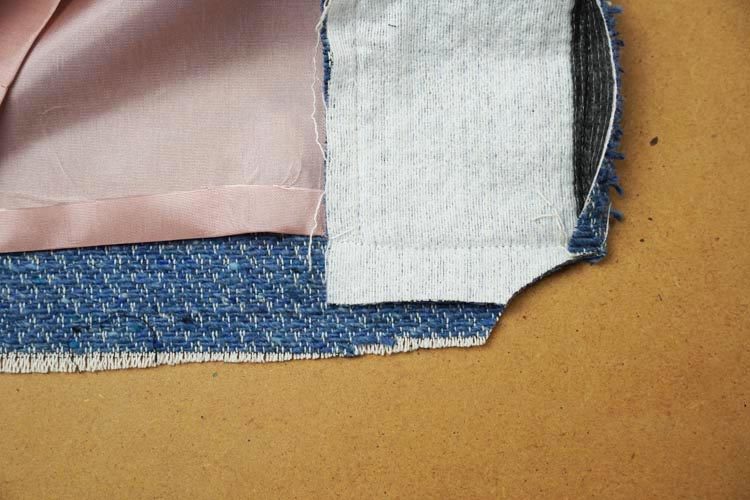
Turn the corner “outside out”. It should look something like this:
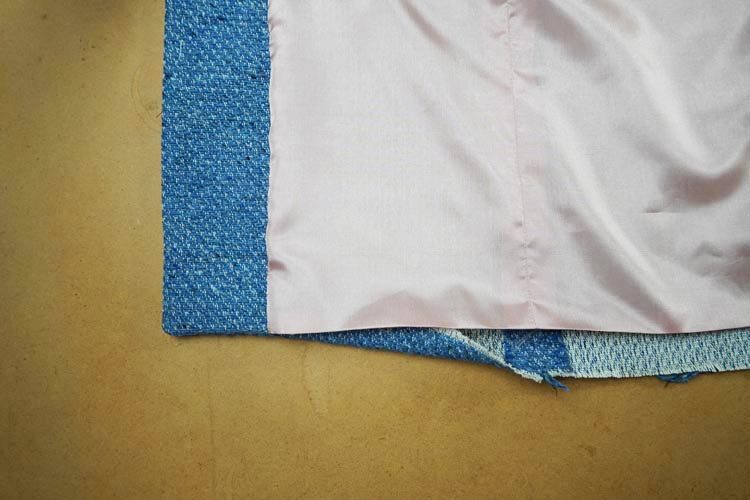
Fold entire bottom hem of the top fabric 3 cm to the inside.
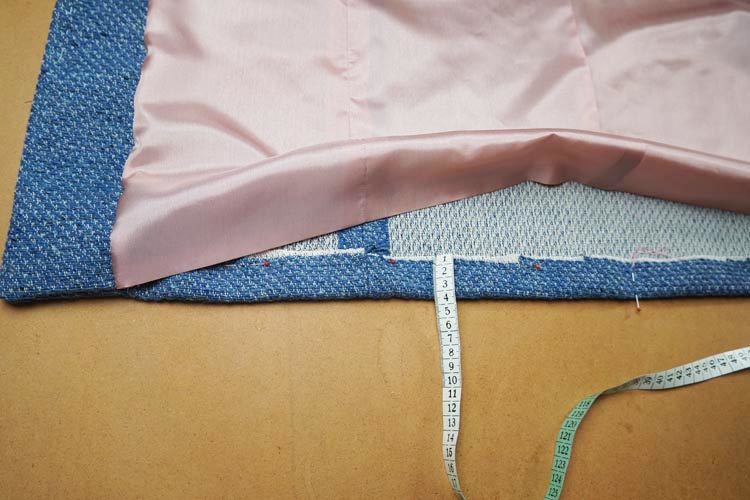
Fix it in place with herringbone stitch.
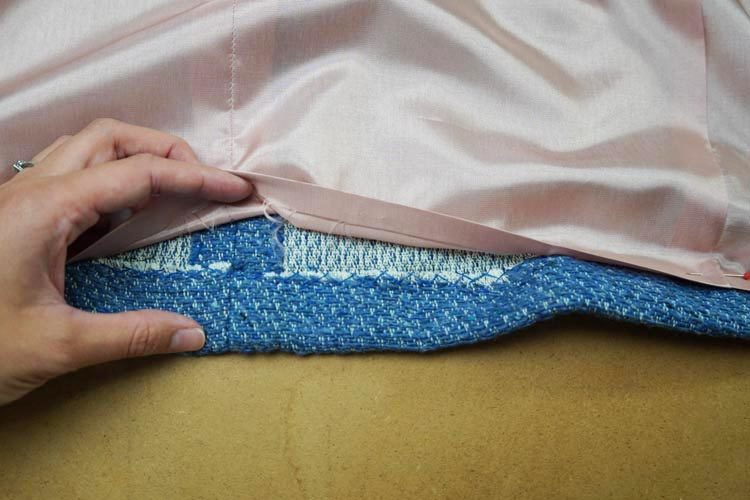
Pin the liner over the folded top fabric hem. You need to “curve” it a little around the facing.
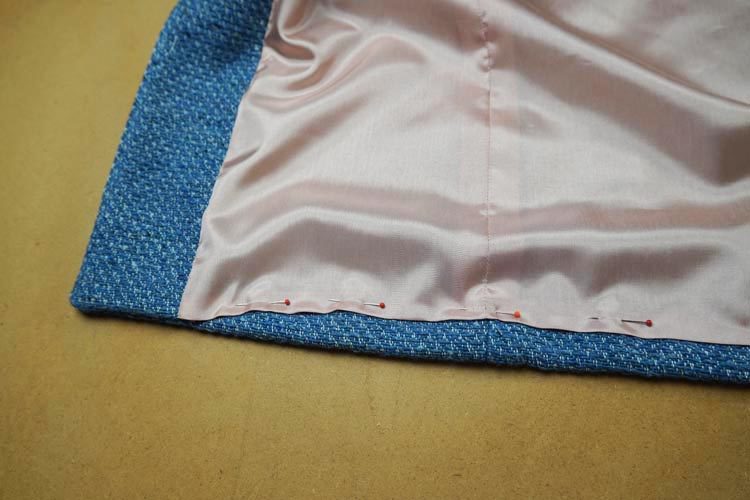
Sew folded lining hem to the edge of the folded top fabric hem. Use small hand stitches (pearl stitch for example).
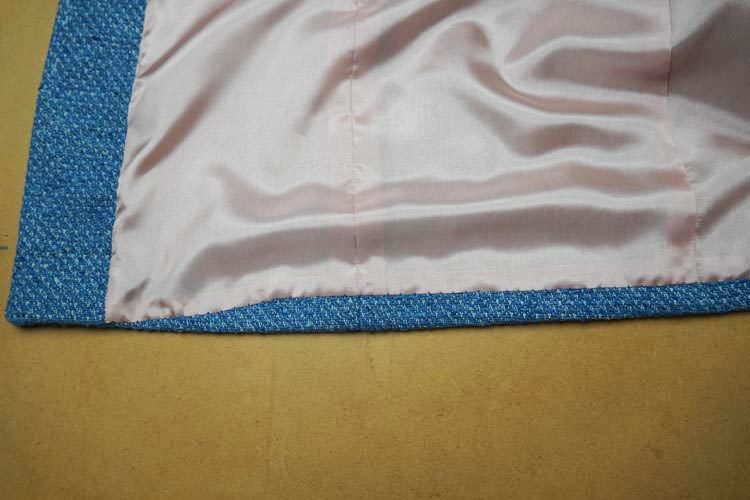
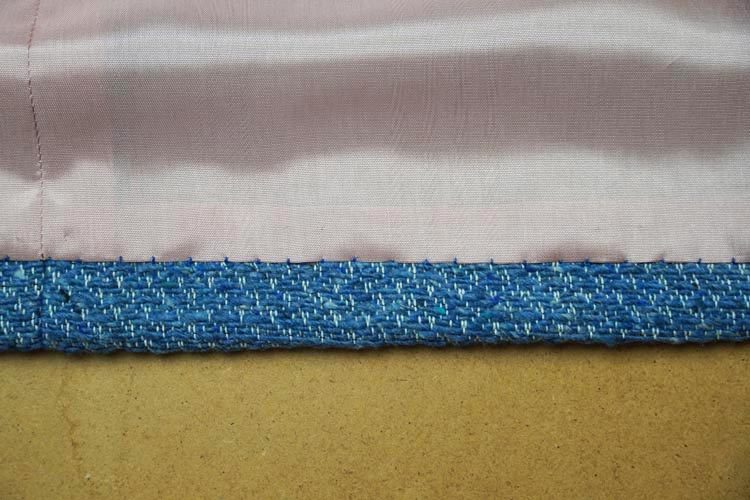
Sew the lining to the top fabric sleeves in the same way.
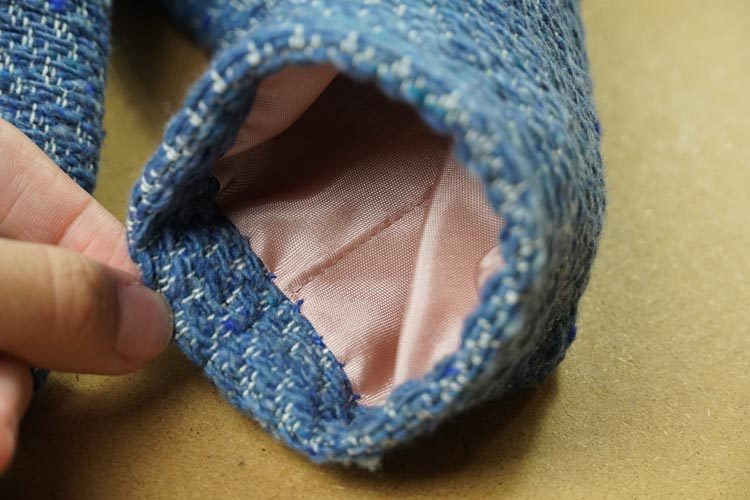
Coat is almost finished. You can try it on one more time, just to be sure. Now you need to do the buttonholes.
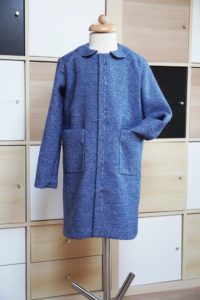
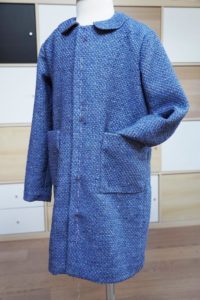
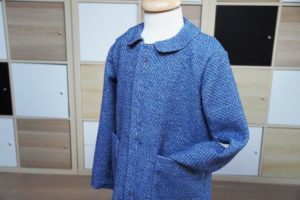
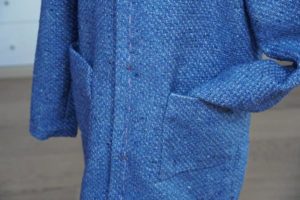
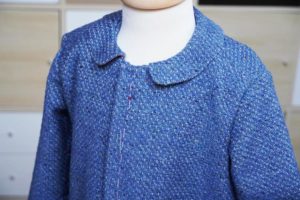
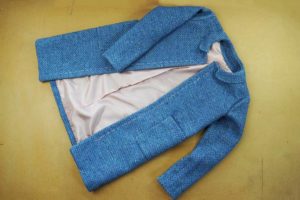
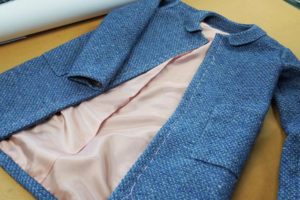
“Correct” placement of the buttons is very individual. It depends on the personal taste and size of the buttons.
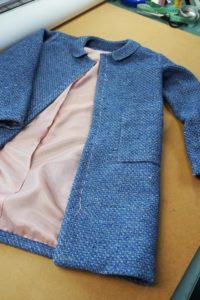
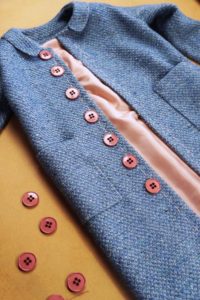
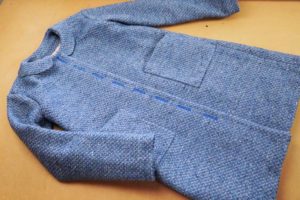
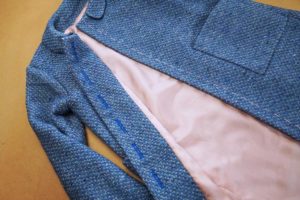
I’ve used threads from the top fabric itself to do the buttonholes. To strengthen it, I always threaded one top fabric thread together with the classic thread.
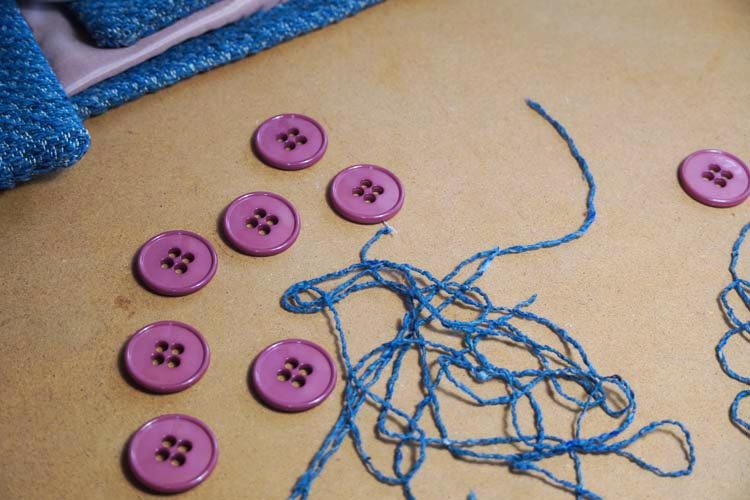
I’ve placed the buttons along the whole front piece.
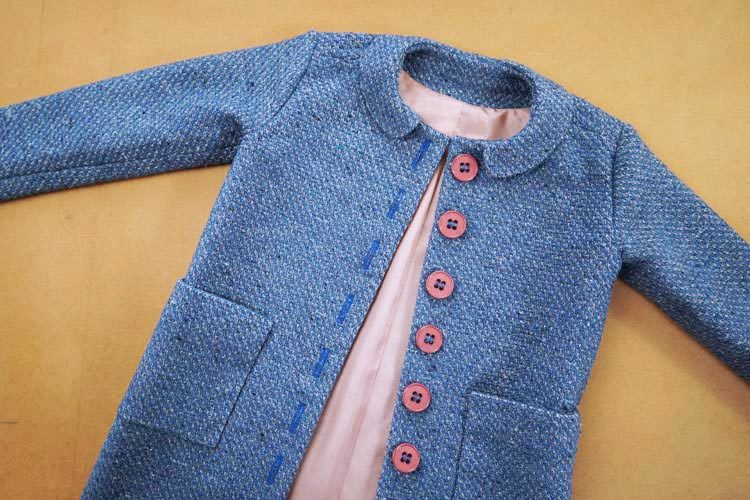
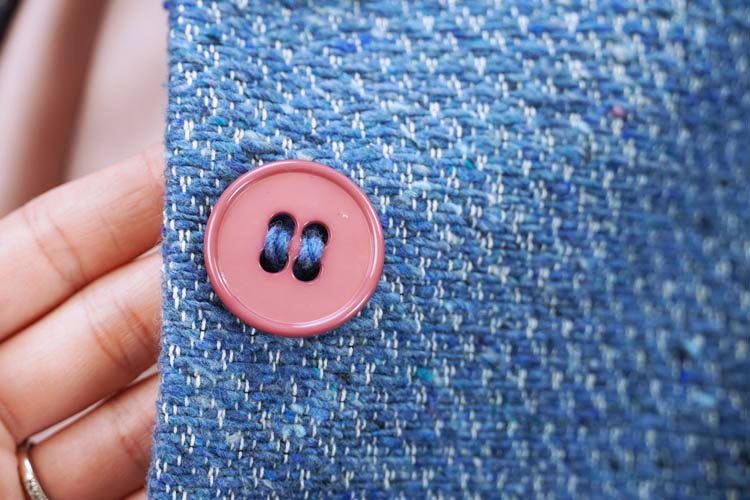
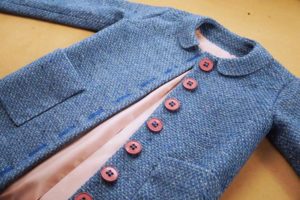
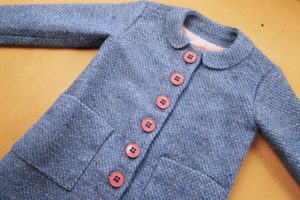
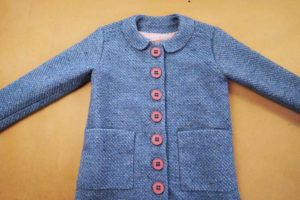
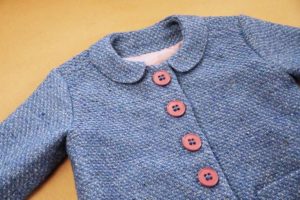
And that’s it! Your coat is finished.
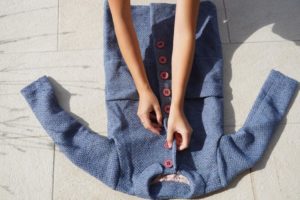
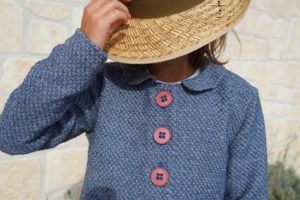
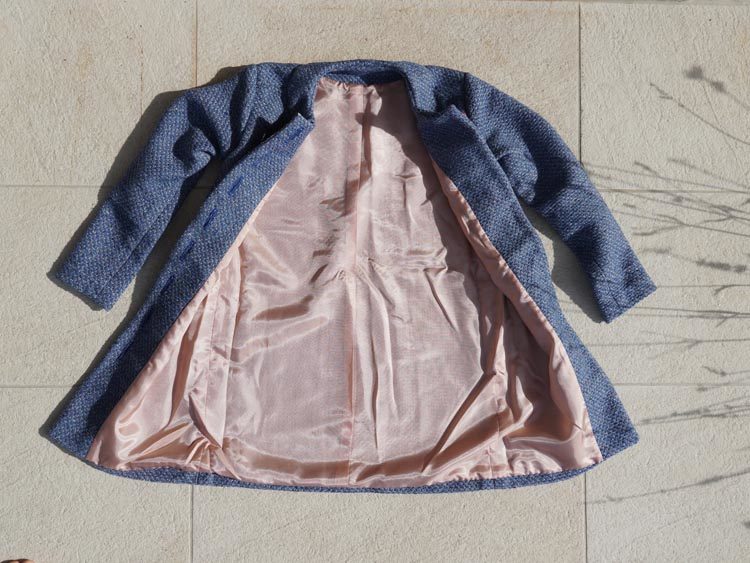
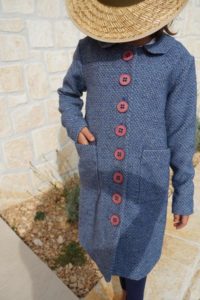
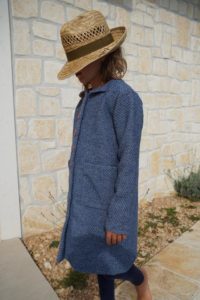

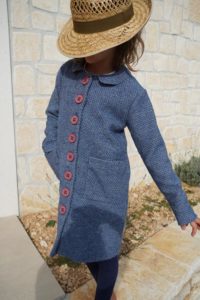
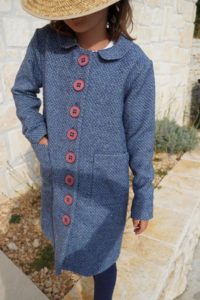
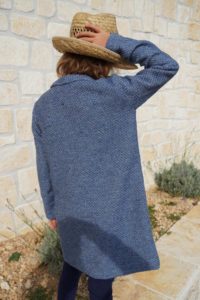
Pattern for children’s coat
Did you like today's instructions? I will be glad if you let me know in the comments below the article.
If you like this tutorial and you would like to try to sew it, then you can buy the pattern for the children's coat ROMANCE (sizes 80 - 164) and other original patterns in my online store:
Pattern for children’s coat ROMANCE
Have a nice day, Peťa
PS: Did you know there are also free patterns on my blog? You can find free to download patterns here:


