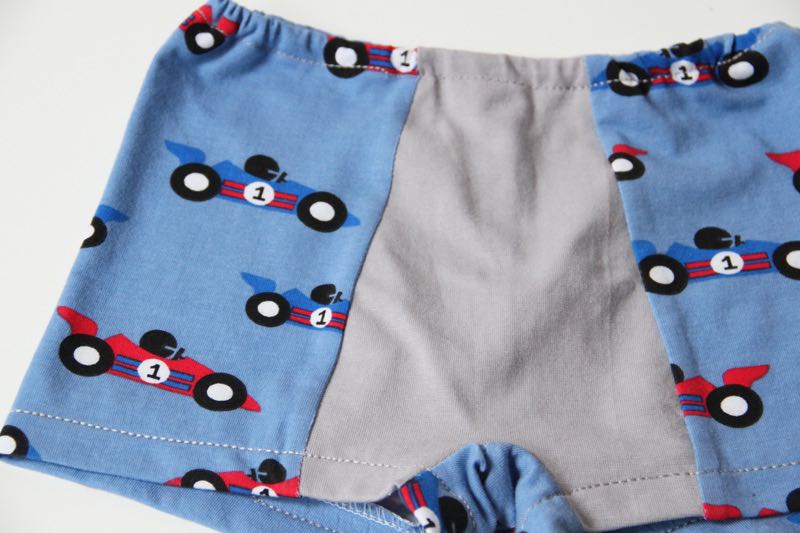
In today's article, we will show you how to sew children's boxer shorts.
The pattern
The tutorial is dedicated to our pattern for boxer shorts TOM, which you can explore here:
Recommended material
This pattern is designed for light knits. You can use cotton knit with elastane, for example.
Suggestions
You can sew on an overlocker or a regular sewing machine. If you choose to sew on a classic machine, I recommend using a stretch needle (you can read more about sewing machine needles in this article: How to Choose the Right Sewing Machine Needle), sew with a stretch stitch (e.g. a narrow zigzag or three-step straight stitch), and reduce the presser foot pressure and lower the tension of the bobbin thread.
Before you start sewing, I recommend reading this article:

This pattern is available in individual sizes view (showing sewing lines and seam allowances for each of the available sizes) and in classic view (showing all sizes without seam allowances in one picture each in its own color). You can choose what works best for you. The advantage of the classic view (where all the sizes are shown) is that you can easily customize your pattern to fit body types in between the chart sizes. One size view saves time during preparation - you do not have to think where and how much to add for the seams, because everything is already there.
Not sure how to assemble a paper pattern? It's easy, check out our guide:
Sewing instructions
Prepare:
- 2x back & side piece
- 1x front piece (cut on the fold)
- 1x waistband (cut on the fold)
- (The waistband is optional - cut it only if you want to sew high-waisted shorts.)
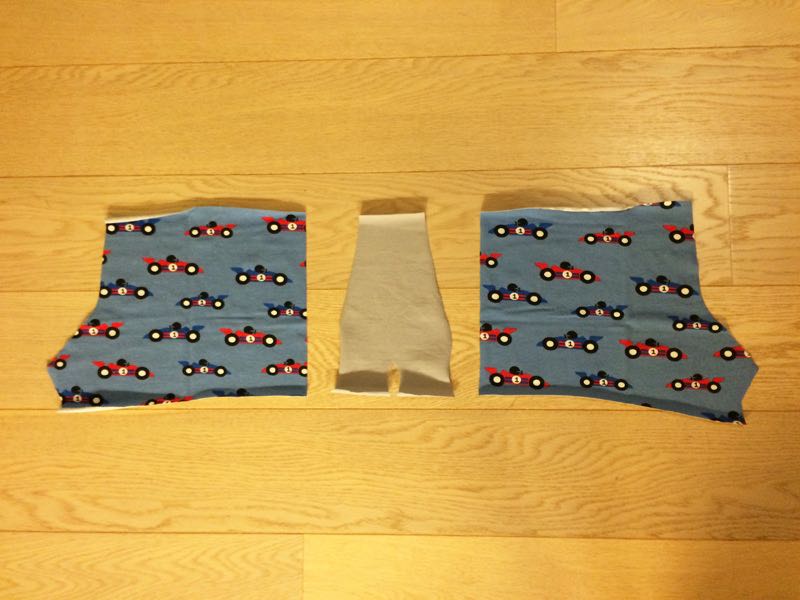
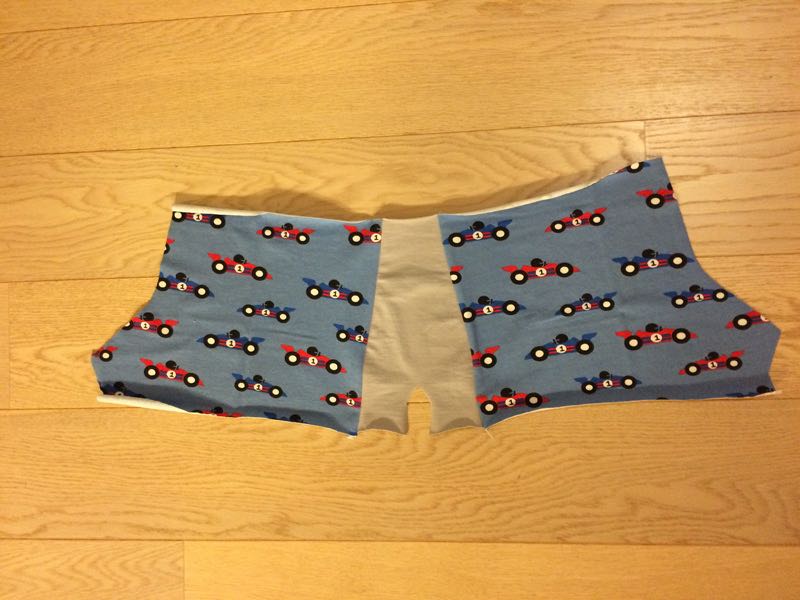
Sew both back pieces to the front piece.
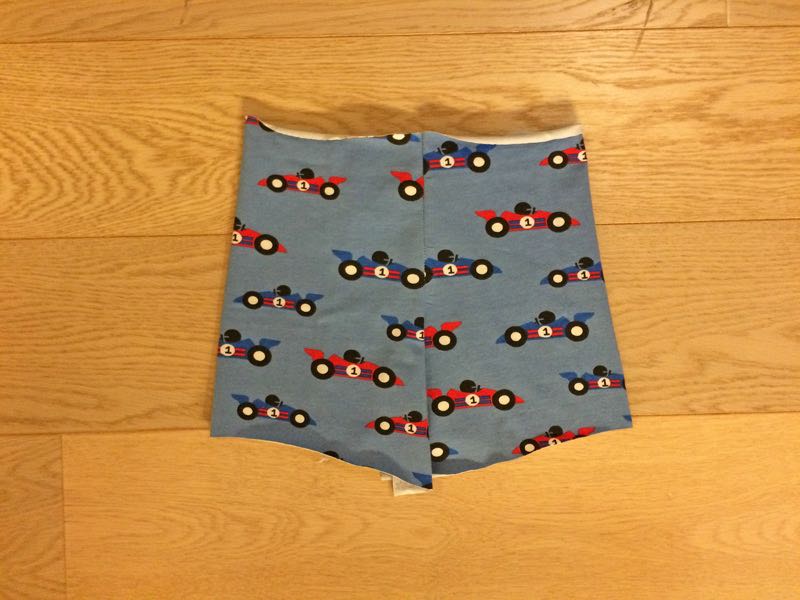
Sew the back crotch seam.
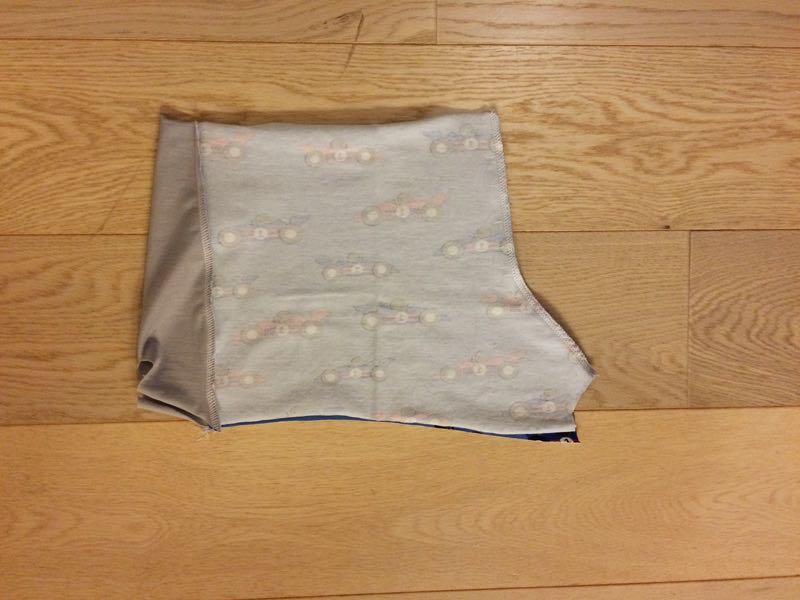
Clean bottom edges of all pieces.
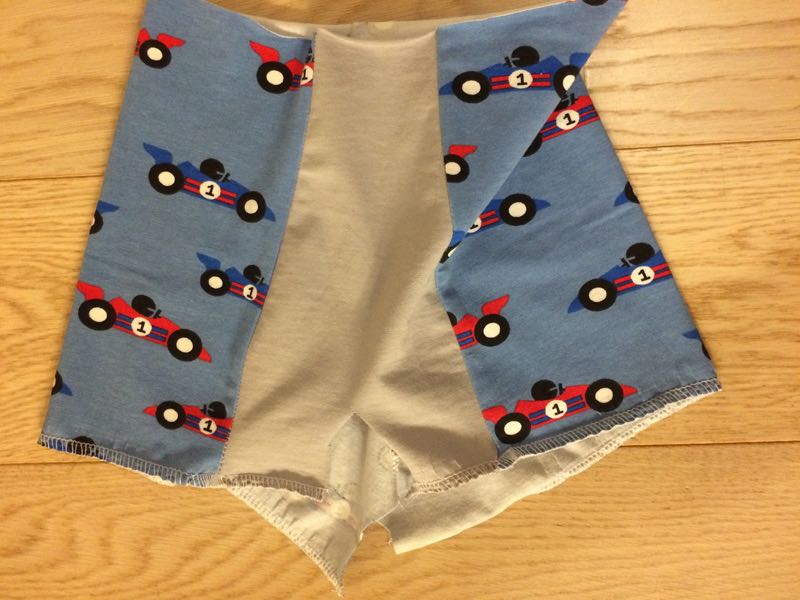
Sew both sides of the instep seam.
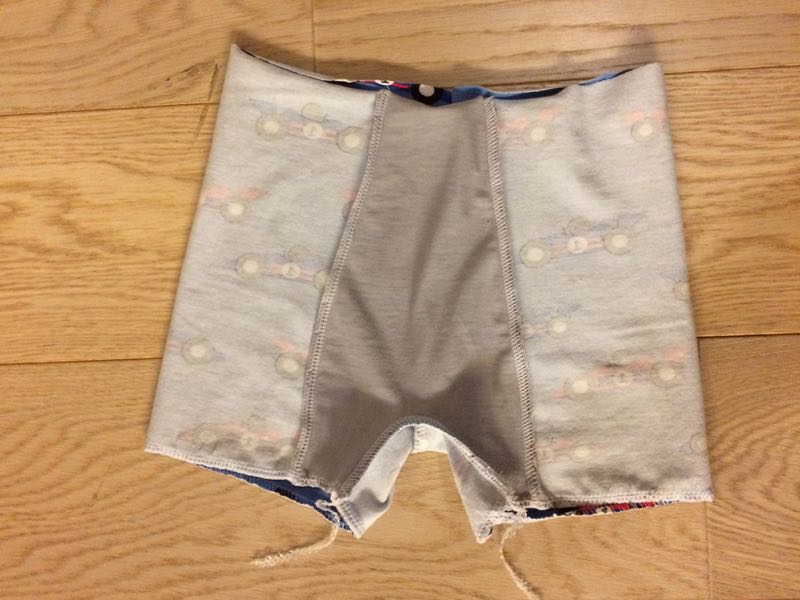
Fold bottom edges of both legs 3 cm (1.18") to the inside of the shorts. Sew around each leg to form their hems.
Clean the waistline and fold it 1–1.5 cm (0.4”–5/8") to the inside of the shorts. Sew around the waist to create a hem, but don't sew all the way around - leave a small gap so you can insert the elastic band.
Insert your elastic band, sew its ends together and then you can close the gap.
Aaand it's done! :)
Don't forget to share your joy with others!
Do you like this article? If so, share it with your friends and tell me about it in the comments section below. I will be glad for any feedback! ♥
PS: Did you know that there are other FREE PATTERNS available on my blog?


