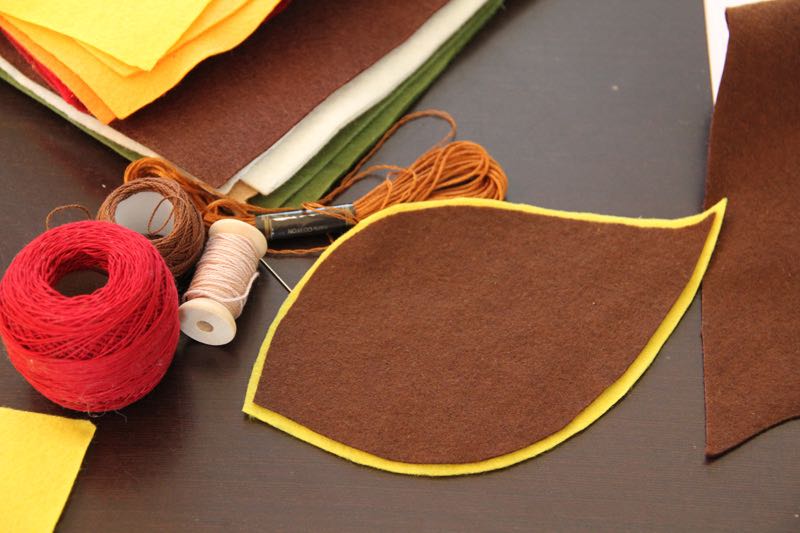
Autumn is here, there is no doubt about it. So, tune in to the autumn wave with me. You are going to need just a few pieces of felt, scissors, needle and thread. Today’s sewing is so simple that you can let your children do it. But do not forget to check on them every now and then, so that there is no disaster… ?


How to sew autumn cup pads from felt
You are going to need some felt sheets (ideally in autumn colors).

If you don't want to draw directly on the felt, you can put your favorite mug on the paper and trace it with pencil.

Then draw leaf (or different shape) around the circle.

Cut out the leaf and use it as a template. Trace template on the felt of the main color (mine is brown). This will be the top part of the cup pad.

Cut out the leaf from the felt and lay it on the felt of the second color (in my case it is yellow), which will serve as “background” of the cup pad.

“Trace” the leaf on this sheet too but make the outline about half a centimeter larger than the top part in all directions (inflate it).

Cut out the second leaf as well. Draw lines (midrib and veins) on the top part and cut them out of the leaf.


Place the top leaf on top of the background leaf and pin them together.


Sew top leaf to the background one by hand. Use small stitches. Sew around all edges of the top leaf (even around midrib and veins) to keep both parts together neatly.


Now is the time to clean the bottom side of the cup pad. Cut one more bottom leaf (yellow one in my case).

Sew this layer to the bottom side of the cup bad around the whole perimeter.

This will clean the entire bottom side.

Your cup pad is finished!

Check out different creative ideas or look to the embroidery section for articles filled with instructions and inspiration. Great place to start is my embroidery tutorial.
All articles with sewing instructions can be found here: Sewing instructions.
Have a nice day, Peťa
PS: Did you know there are also free patterns on my blog? You can find free to download patterns here:


