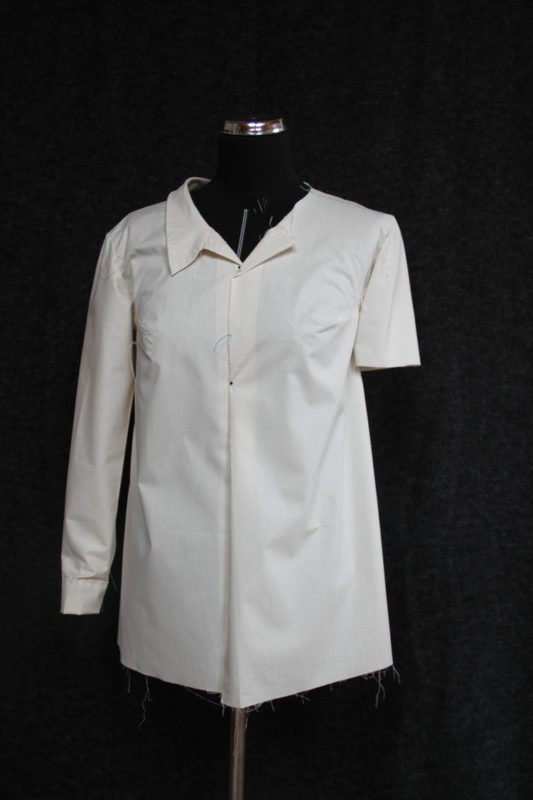
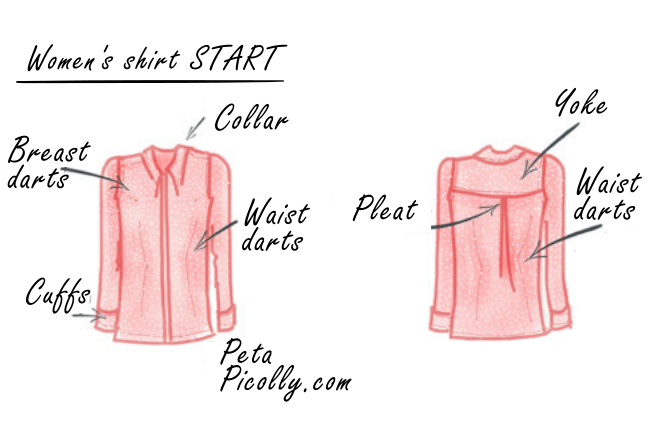
Today I have prepared a new pattern for you. It’s a simple pattern for a women's shirt, which is accompanied by a detailed video tutorial. It is a loose-fitting shirt with a one-piece collar. Together we will look at how to sew breast darts, waist darts, button placket, sleeve cuffs, and collar.
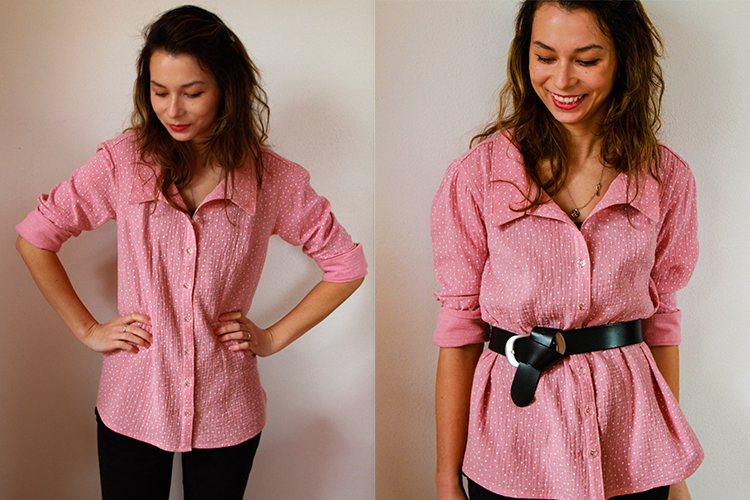
You can get the pattern for this shirt in my online store:
The pattern for women's shirt START
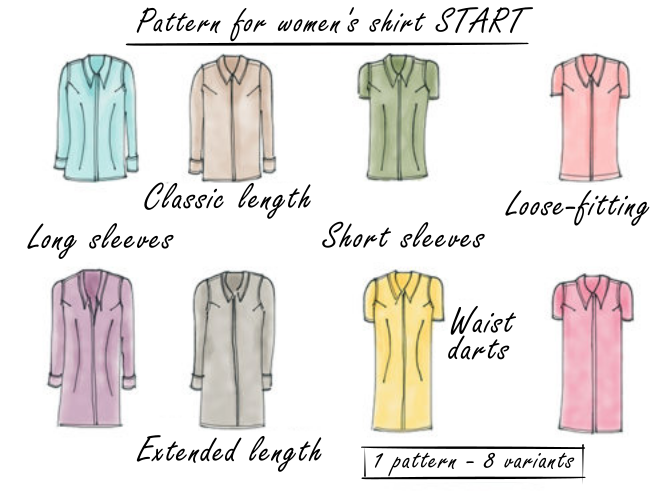
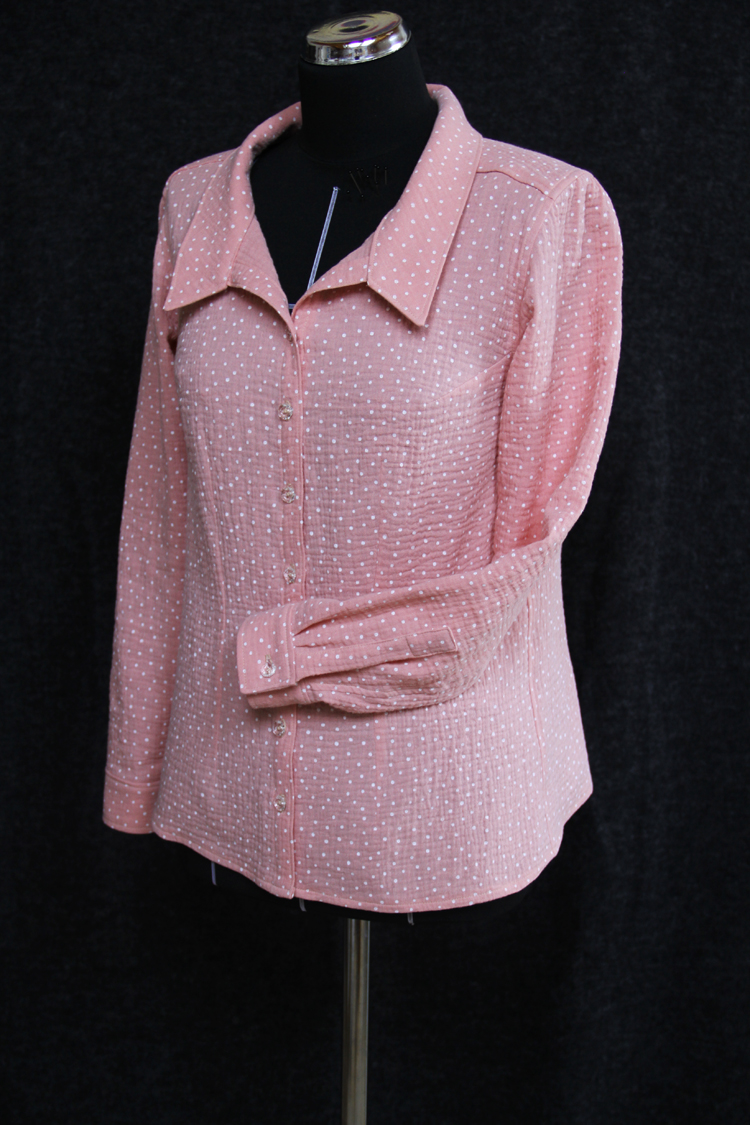
In this article, you can see a shorter variant with long sleeves, but the pattern also includes a longer variant with short sleeves (→tunic). The shirt is supposed to be loose-fitting and you can sew it without waist darts if you want to. However, I like to give my looser pieces some form too, so I sewed waist darts.
Eight-In-One
You can use this pattern to sew at least 8 variants of a women's shirt. :)
Recommended material
Use light and flowing fabrics for this piece. Ideally poplin and other shirt fabrics and blouse fabrics. You can also sew a summer shirt from light viscose, for example. I used double gauze to sew my shirt for colder weather. You can get this material here: Double Gauze – Salmon / Polka dots (Double gauze - Various styles). This material is not entirely suitable for beginners because it is very lively. But if you are intermediate sewers (or a brave beginner), then go for it. :) All the materials I mentioned can be found in the Dumlatek.cz store.
I recommend using fusible canvas to reinforce the collar and cuffs, and one-sided fusible facing to reinforce the button placket.
How to sew a women's shirt - Video tutorial
Below is my video tutorial for the shirt. Don't forget to turn on captions.
AAnd here is also a video where you can see how I sewed a test piece of this pattern:
If you are working with a new pattern, I definitely recommend sewing a test piece/muslin first. Especially if you plan to use woven fabrics (rigid materials).
You can find more detailed information about the process of sewing a test piece in this article:
How and why to make a muslin (+ VIDEO)
How to sew a women's shirt
Pattern layout
At first, this pattern only included a collar made from two folded fabric cuts (inner and outer collar), but for my shirt, I converted it into a collar made from one piece of fabric, and in the end, I decided to add this variant to the pattern. So now you can find two variants of the collar in the pattern files. You can sew your shirt with a collar made of two pieces of fabric, or with a collar made of one piece of fabric. Choose according to what works better for you, or according to what will be more suitable depending on the material used.
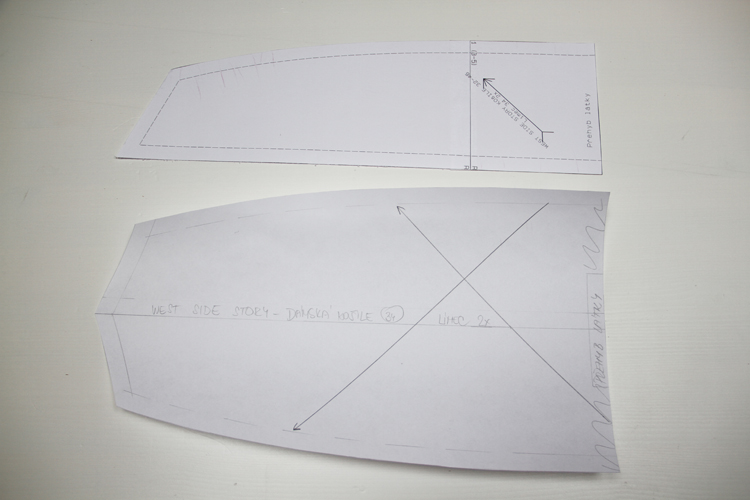
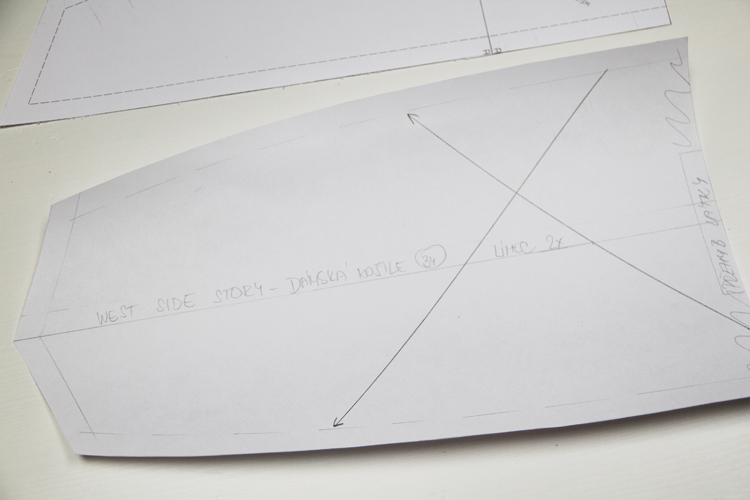
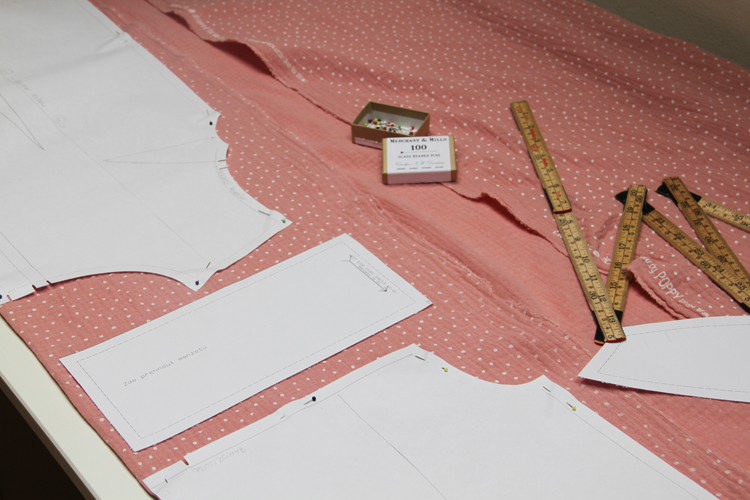
Start by positioning the paper pattern pieces on the fabric. The golden rule is "start with the biggest piece". Position large pieces first and fill in the gaps with smaller pieces.
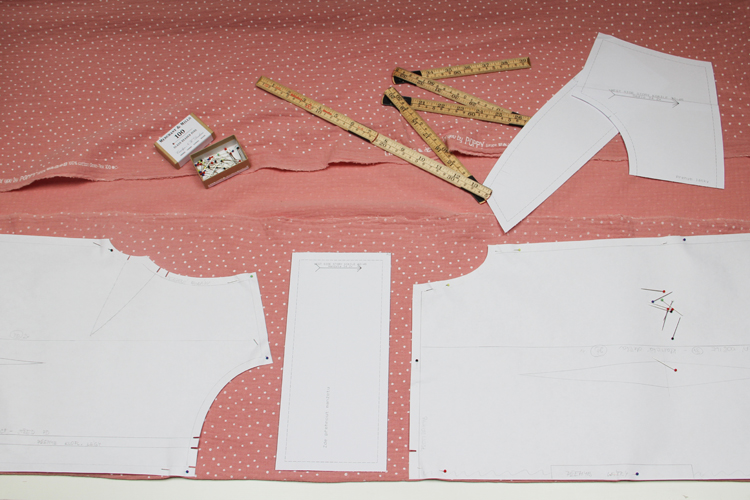
Don’t forget to transfer all the important marks and lines to the fabric. You can use thread tracing or tracing wheel. I almost always use thread tracing, but this time I used a tracing wheel.
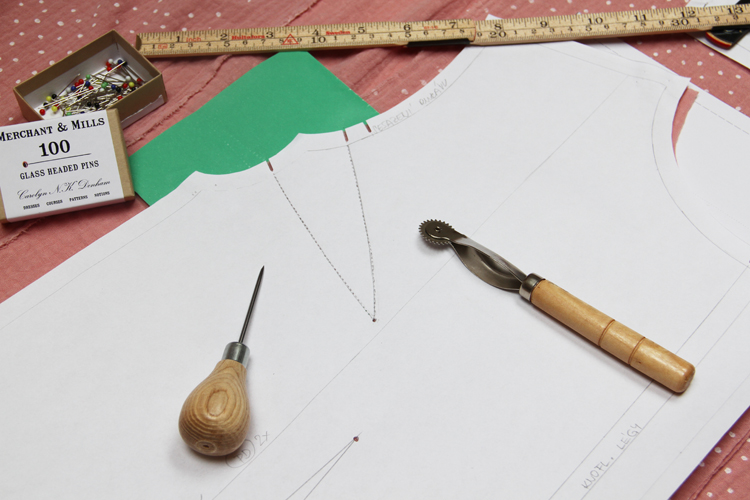
The image below shows the indicated waist darts. You may even spot small holes created by an awl. If you intend to use your awl, first check that it is sharp. An awl is used to create small holes in woven fabrics (yes, it is used only for woven fabrics), but these holes should not be created by breaking the fibers - the awl should just move them to the sides a bit. If you then iron the fabric (or rub it in your hand), the hole will close itself. If you don't usually use an awl, try it on a piece of scrap fabric first.
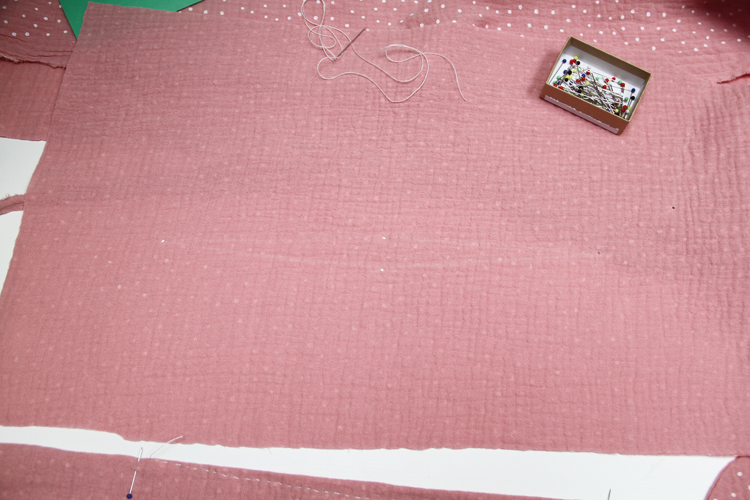
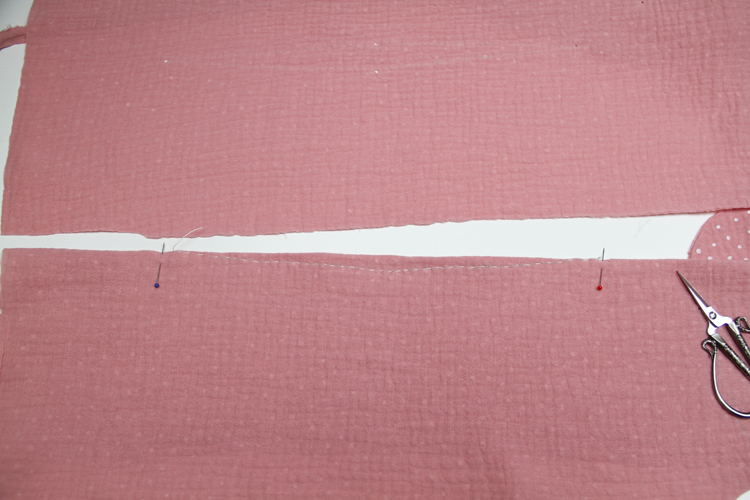
The next photo shows that I have already stitched some parts. If you do not have much experience with sewing, I definitely recommend temporarily stitching all the darts and marking their tops with pins. This will allow you to clearly see where the dart ends or begins, and your seams will be positioned correctly.
Also, don't forget to reinforce the button packets on both front pieces. A rotary cutter can make this easier for you. Cut about 4 cm wide strips of one-sided fusible facing. I usually prepare more of them so that I can have them on hand for other sewing projects. Today, you will only need two strips, which will be the same length as the front piece - the length of the button placket.
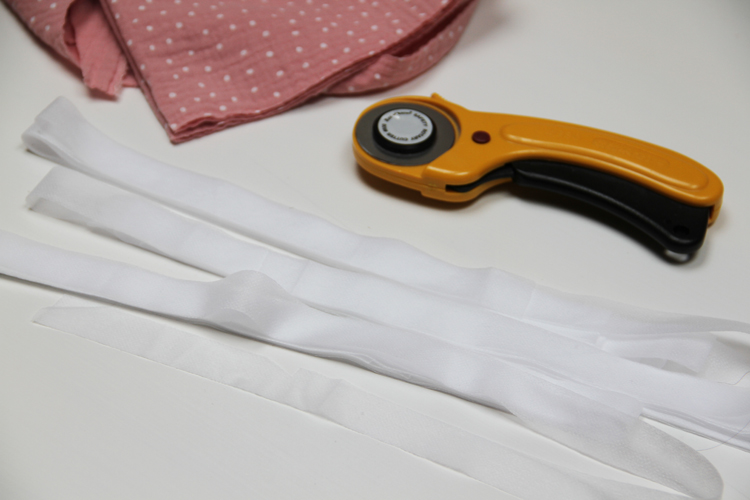
Use the strips to reinforce the edges of the front pieces.
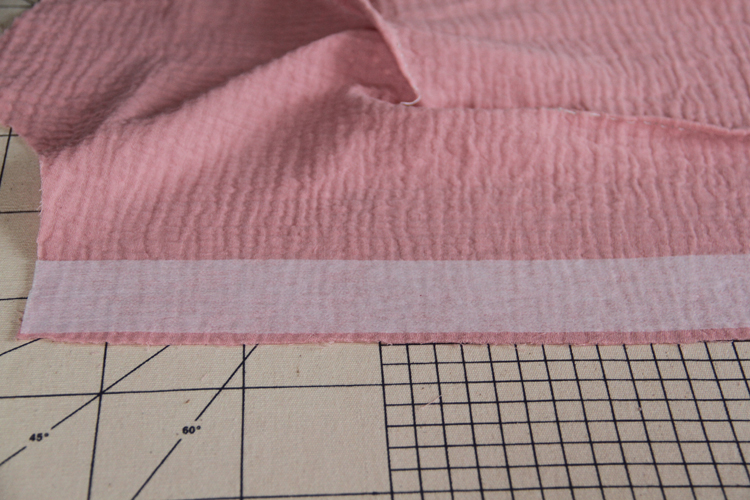
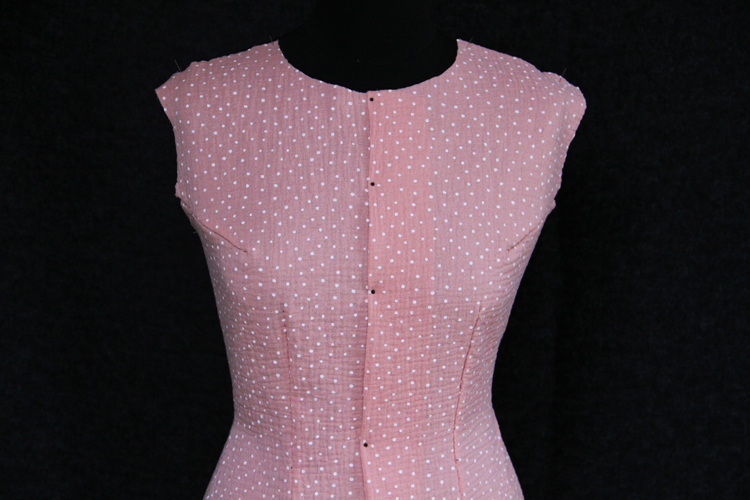
My front pieces are reinforced, breast darts and waist darts are stitched. At this stage, it's a good idea to try to “put on” the front piece(s) to see if the darts are more or less well placed. It's just a quick check.
If you have a mannequin, you can pin the pieces to it.
Sewing
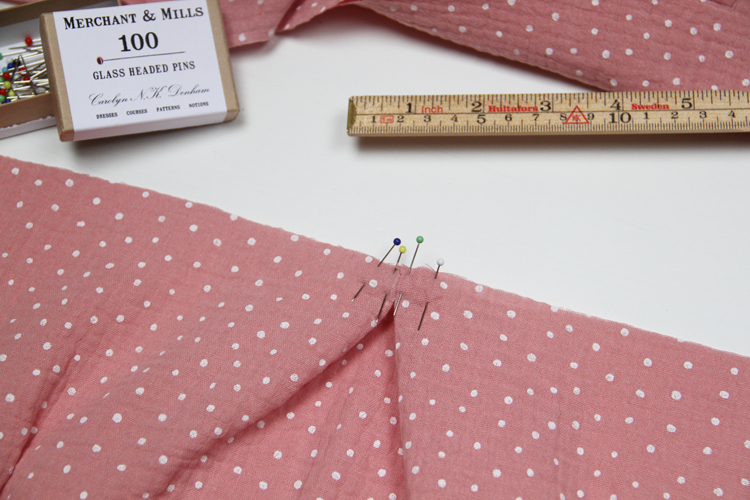
If everything looks good, you can sew the darts. Then work on the back piece - create a pleat first. You can see that my pleat is reversed. I prefer it this way. But it's subjective, it's up to you what pleat you make on your shirt.
Next, sew the yoke to the back piece.
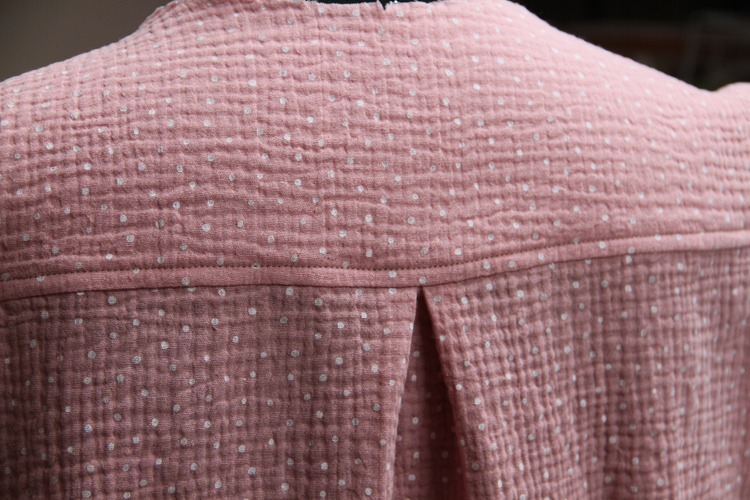
And then you just need to sew the shoulder seams and the torso of your shirt is almost ready.
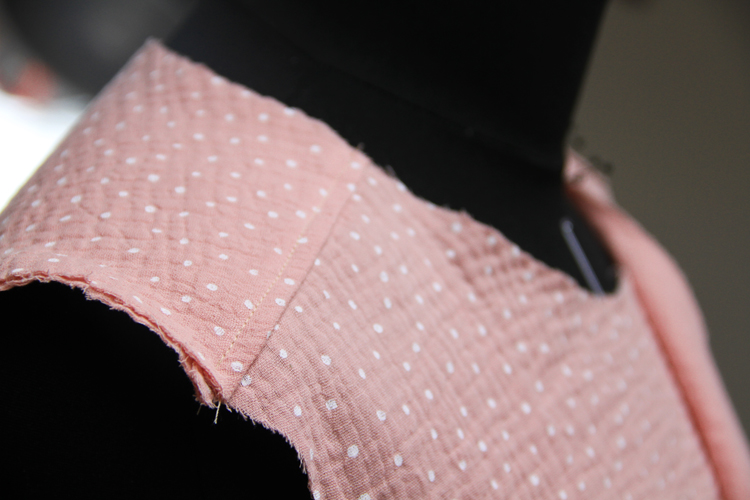
Now is a good time to do another fitting test to make sure everything is OK.
I will tell you more about sewing sleeves and collar in my video tutorial.
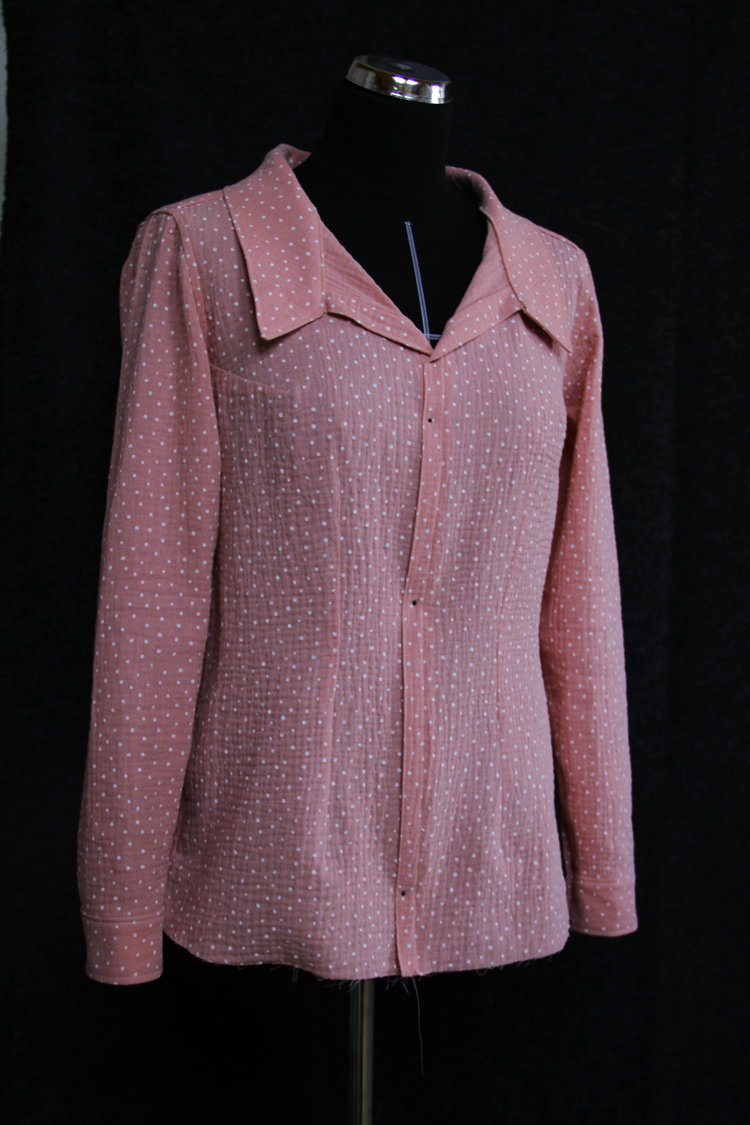
Then the bottom hem and buttons and your shirt will be ready.
You can get this pattern here:
The pattern for women's shirt START
Have a nice day, Peťa
Don't forget to share your joy with others!
Do you like this article? If so, share it with your friends and tell me about it in the comments section below. I will be glad for any feedback! ♥
PS: Did you know that there are FREE PATTERNS available on my blog?


