


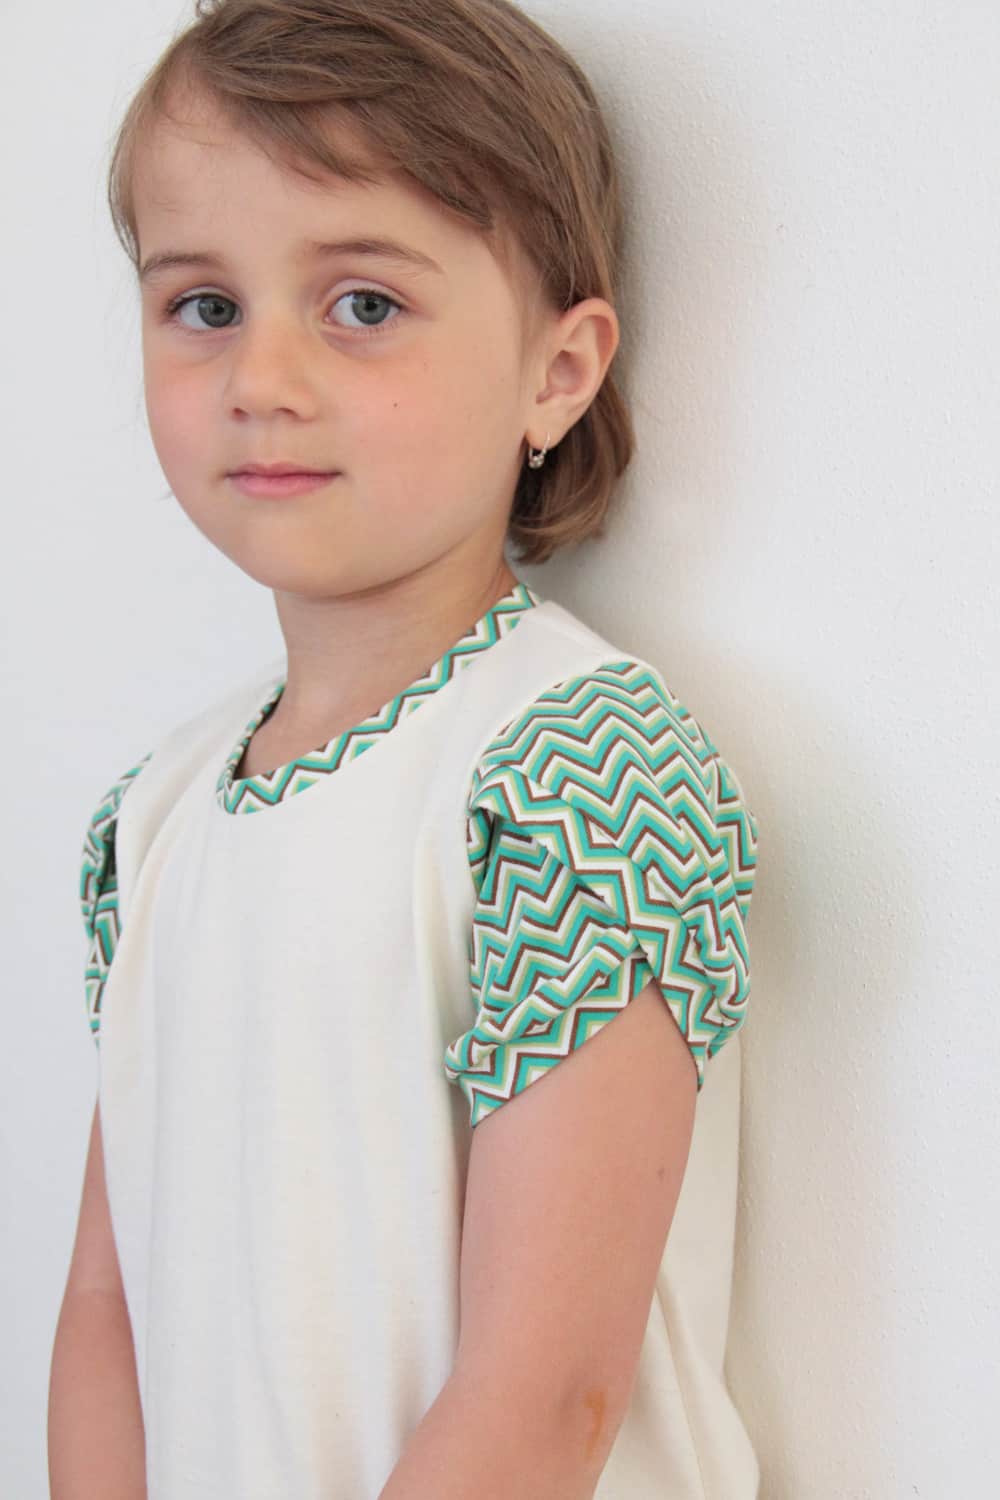
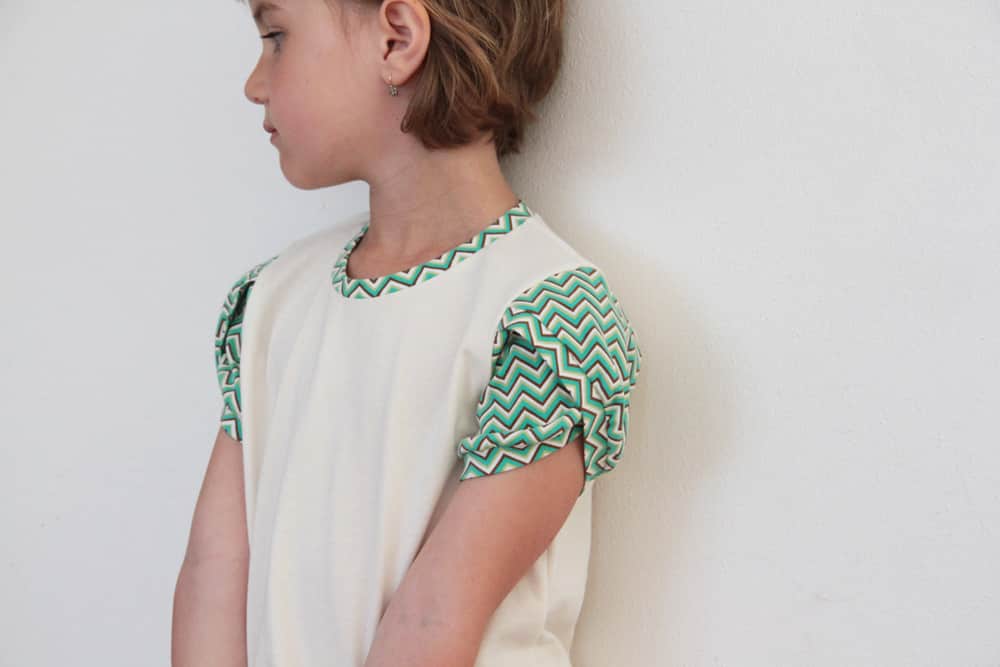
For today, I have prepared instructions for sewing tulip sleeves and a free pattern for a tulip sleeve. You can download the pattern for children's sizes 98 -122 here: Tulip sleeve for kid’s patterns

How to sew a tulip sleeve
Step No.1 - Transfer the pattern
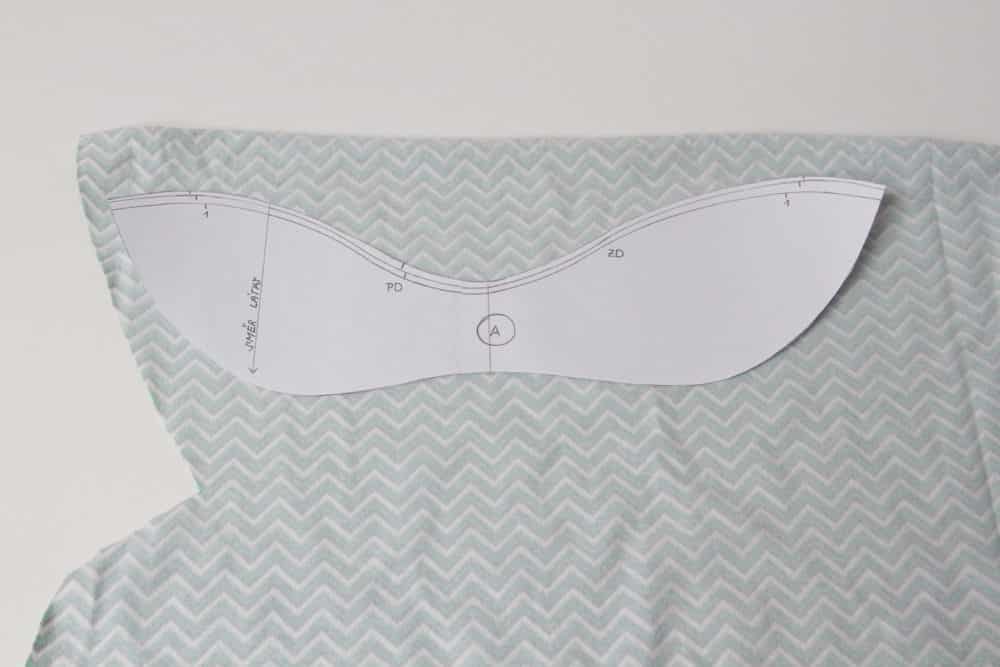
1. TRANSFER THE PATTERN TO THE FABRIC
The pattern piece isn’t symmetrical - the front and back of the sleeve do not have the same shape, so you have to position the piece on the unfolded fabric. Draw one sleeve, flip the paper piece over, and draw the second sleeve. Prepare two sleeve pieces.
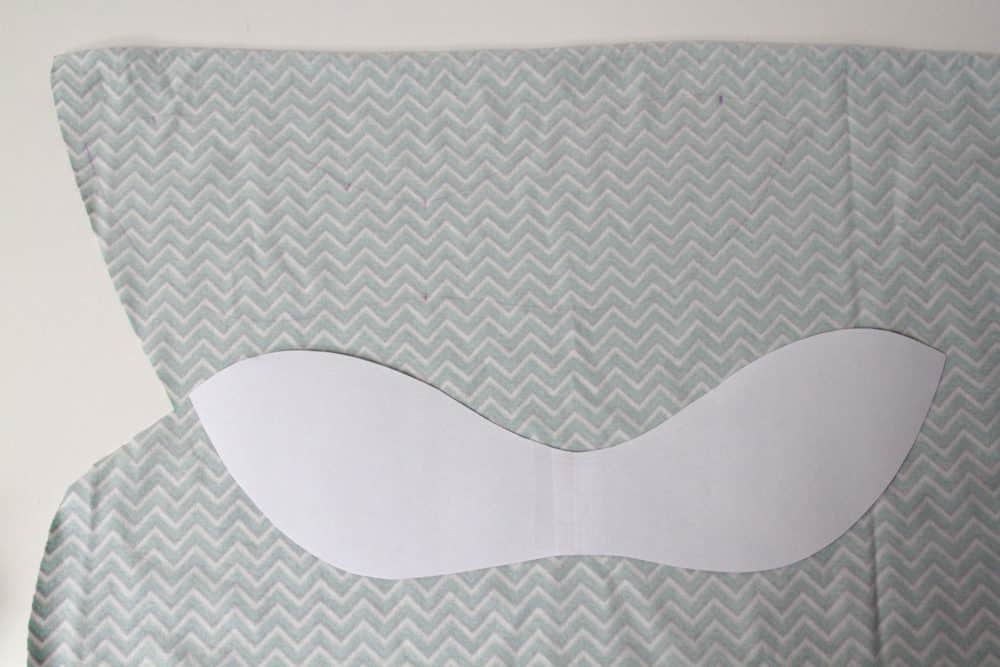
2. FLIP THE PAPER PIECE OVER AND DRAW THE SECOND SLEEVE
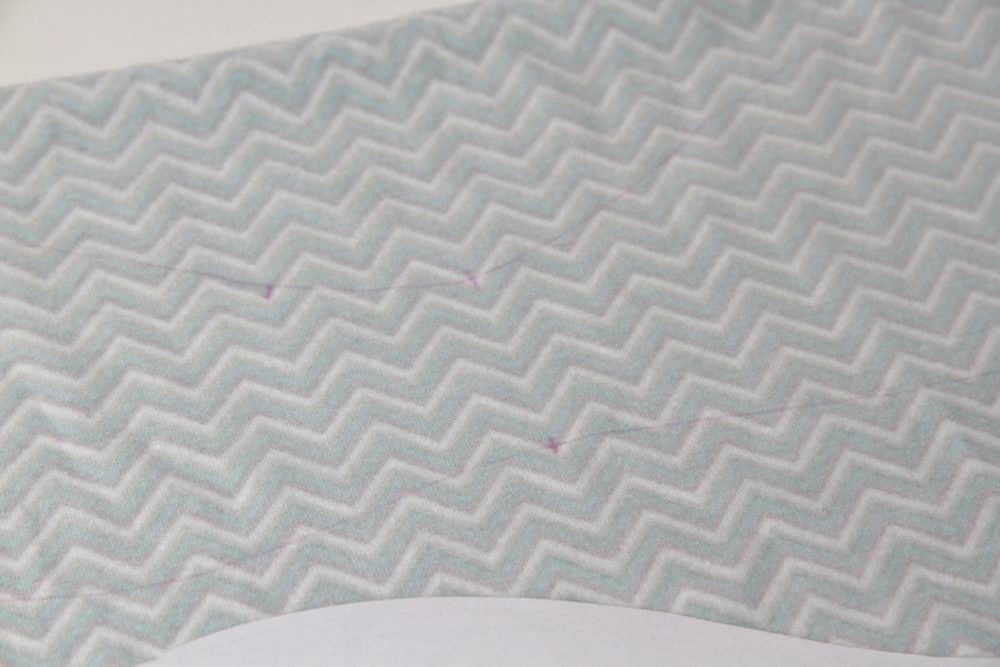
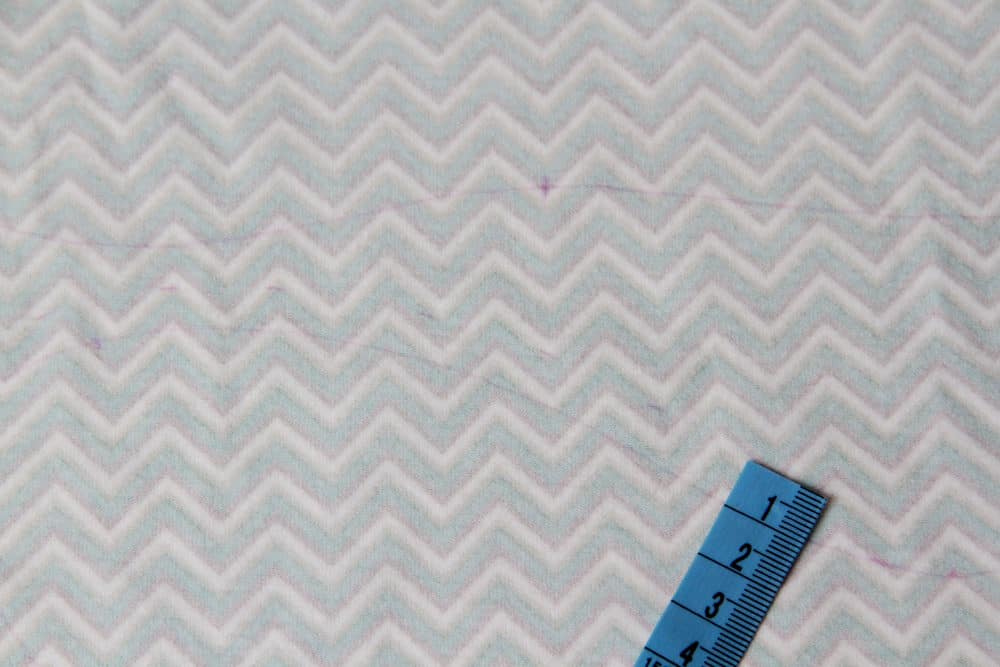
3. DON’T FORGET TO TRANSFER ALL IMPORTANT MARKS
4. ADD SEAM ALLOWANCES TO BOTH PIECES (I RECOMMEND MAKING THEM 1 CM WIDE)
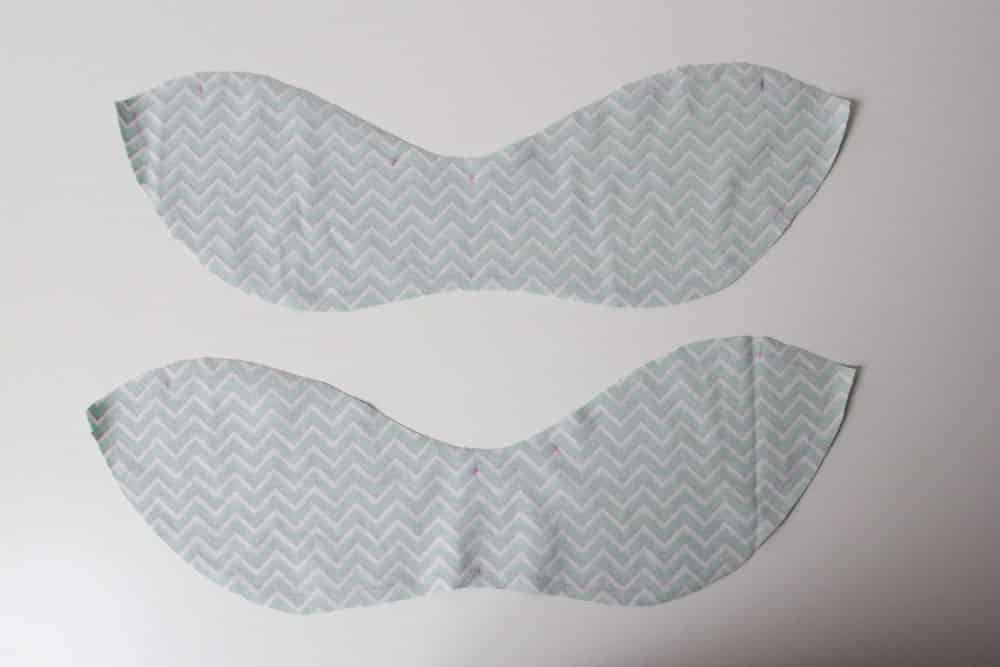
5. CUT BOTH PIECES
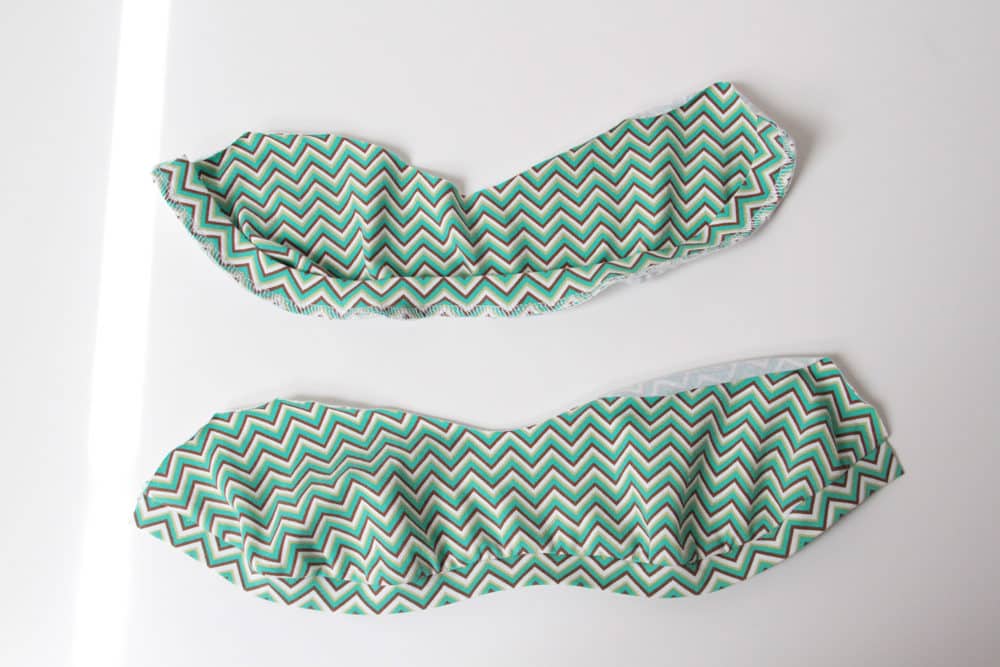
Step No.2 - Prepare a strip that will form the hem of the sleeve
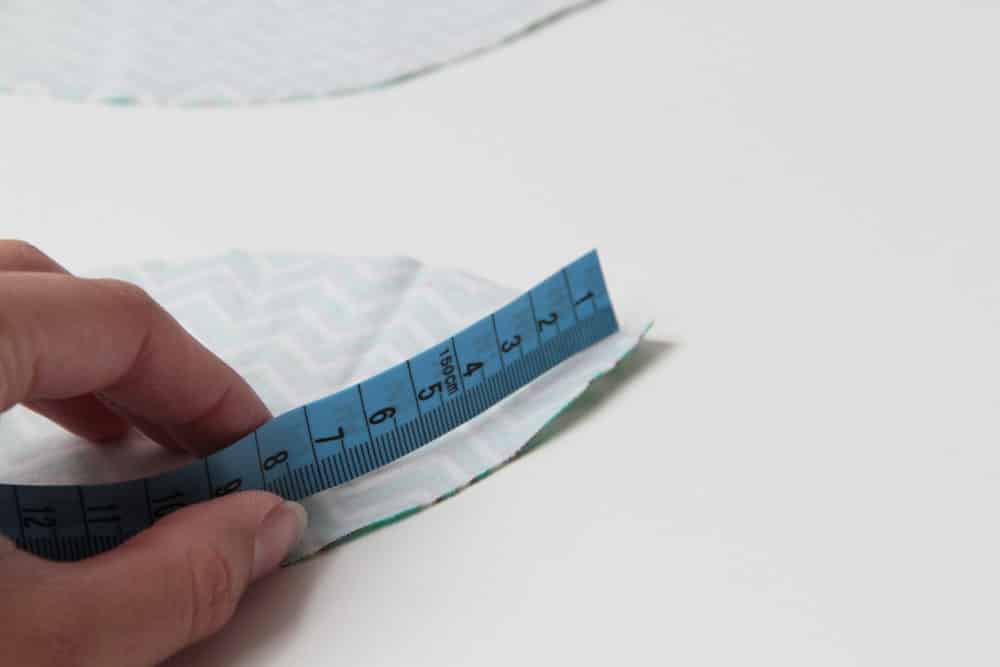
6. MEASURE THE BOTTOM EDGE OF THE SLEEVE
Measure with a tailor's tape laid on its side. Measure along the actual seamline (not along the seam allowance - edge). Multiply the result by 0.8 and add 2 cm for seam allowances. The resulting number is the recommended length of the strip. Its width should be 3-4 cm (less than 3 is too hard to work with and more than 4 is too wide). Cut two such strips - one for each sleeve.
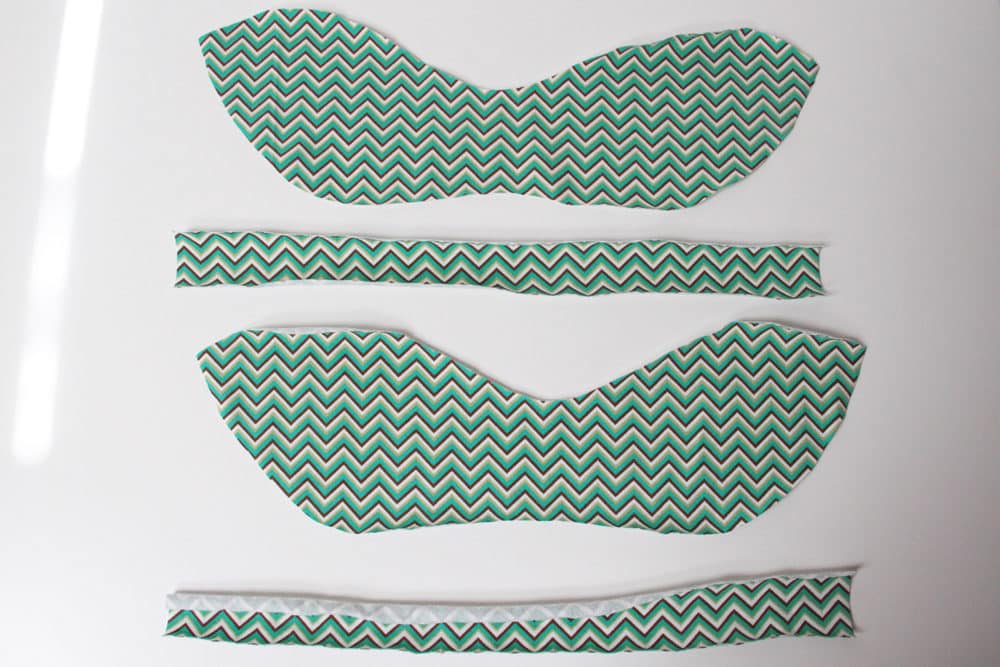
7. SLEEVE PIECES & HEMS
Strips have to be elastic along the length.

8. HEM IRONING
Fold the strips in half (lengthwise) and iron them.

9. IRONED HEMS
Step No.3 - Sew the hems
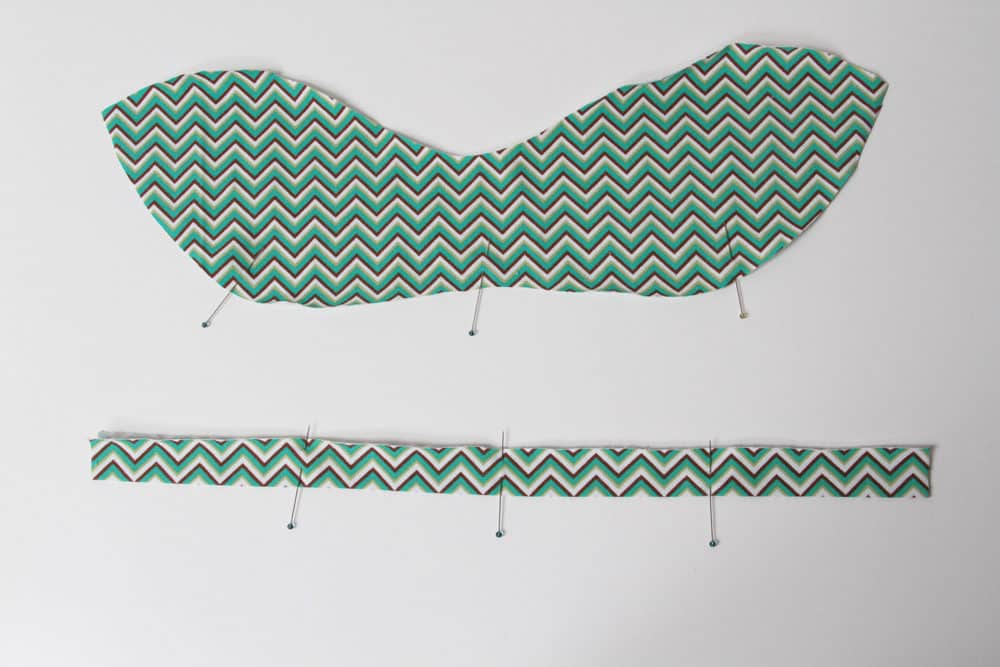
10. PREPARE THE PIECES
Divide the strips into 4 equal parts using pins. Mark the edge of the sleeve piece in a similar way - mark half point and two quarter points - and connect both pieces using your marks as a guide.

11. PIN THE STRIPs TO THE SLEEVEs
Sew the strips to the sleeves on an overlock or a regular sewing machine. When sewing with a regular sewing machine, use some kind of elastic stitch, such as a zig-zag.
12. SLEEVE PIECES WITH HEMS - THE BOTTOM ONE HAS BEEN IRONED
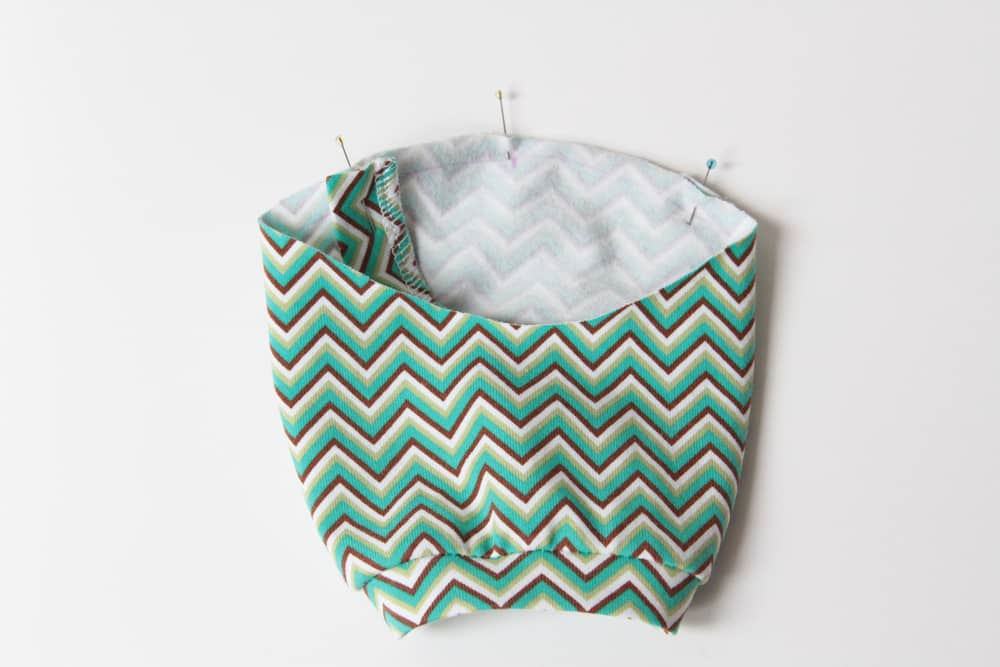
Step No.4 - Sew the sleeves to the T-shirt
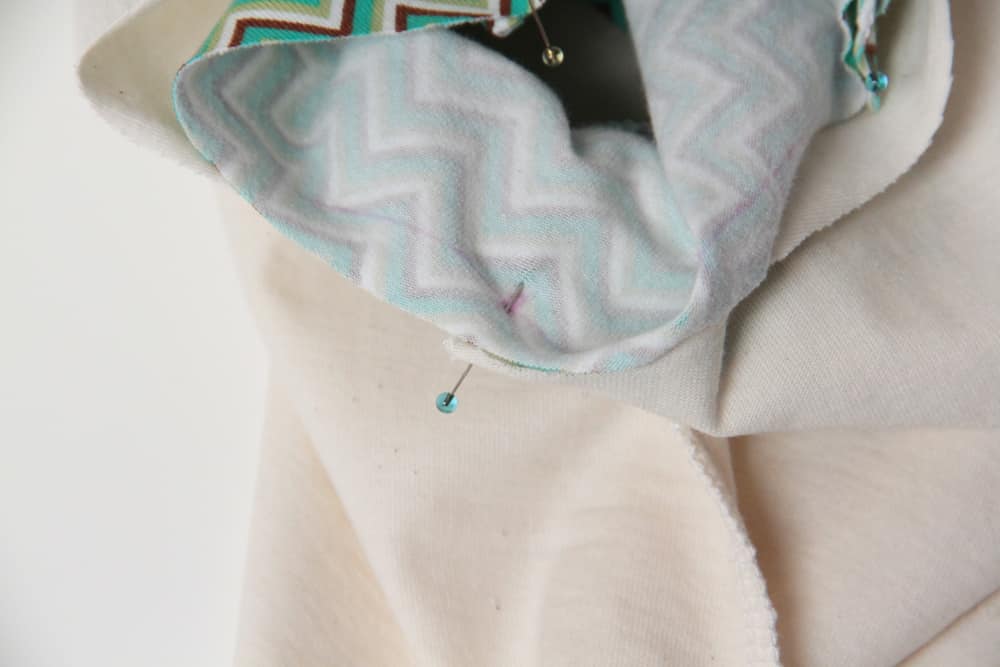
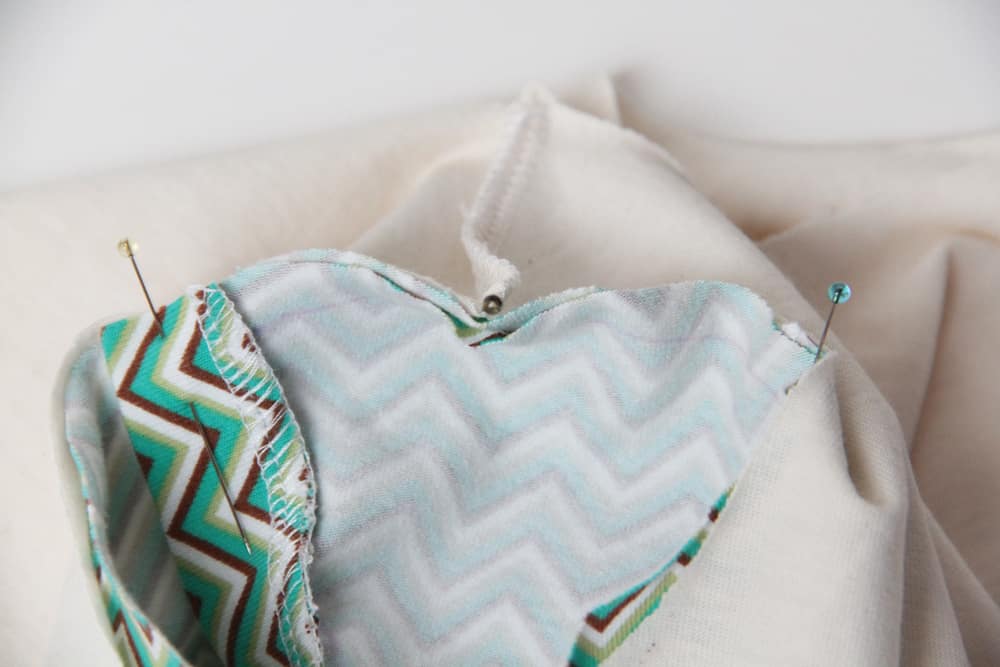
Fold both sleeves according to the marks.
13. INNER SIDE OF THE SLEEVE
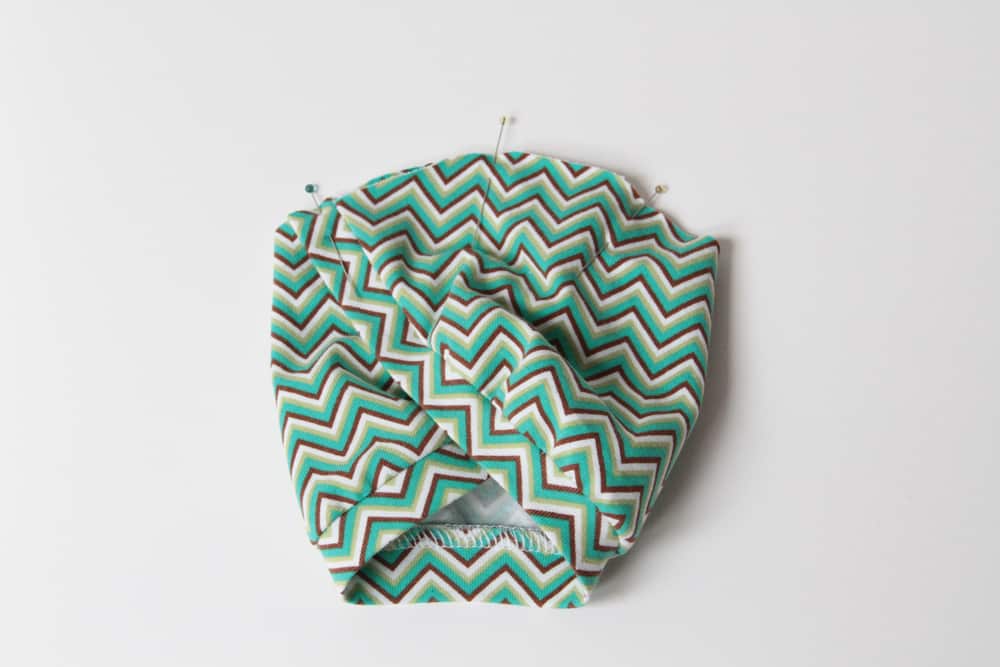
14. OUTER SIDE OF THE SLEEVE
Both sleeves must be folded in the same way. In my case, the back is folded over the front, if you prefer to fold the front over the back, go for it, just do it the same way on both sides.
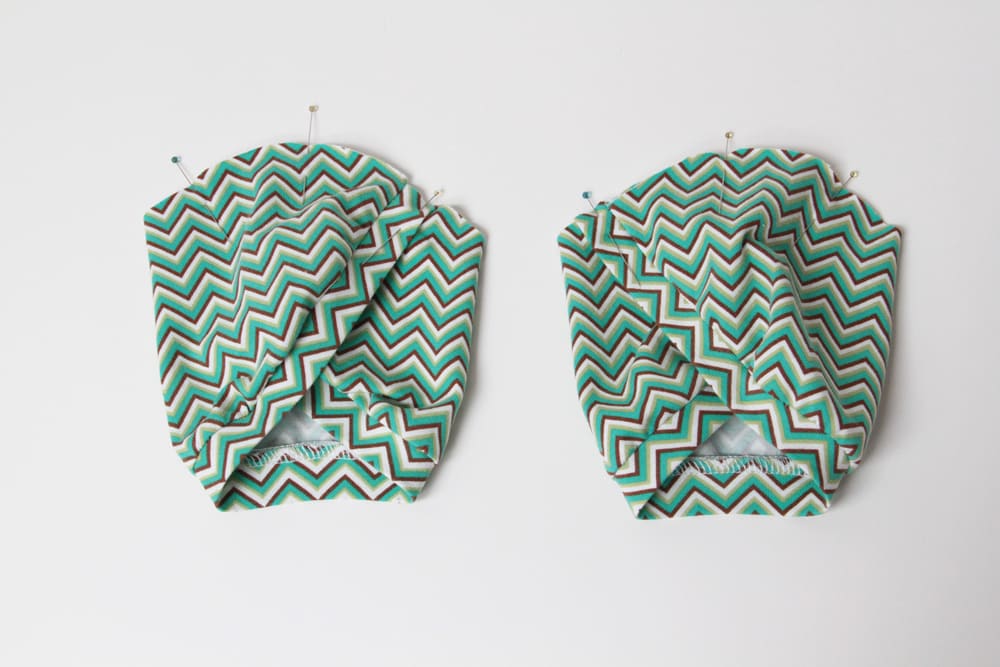
15. FOLDED SLEEVES
Before you sew the sleeves to the T-shirt, you should already have the shoulder seams and side seams finished. Insert the sleeves into the correct armholes (T-shirt is face side in), align the marks on the sleeves and side/shoulder seam of the T-shirt. Pin the sleeves.
16. PIN SLEEVES TO THE ARMHOLES
17. PIN THOROUGHLY TO KEEP THE SLEEVES IN THE RIGHT POSITION
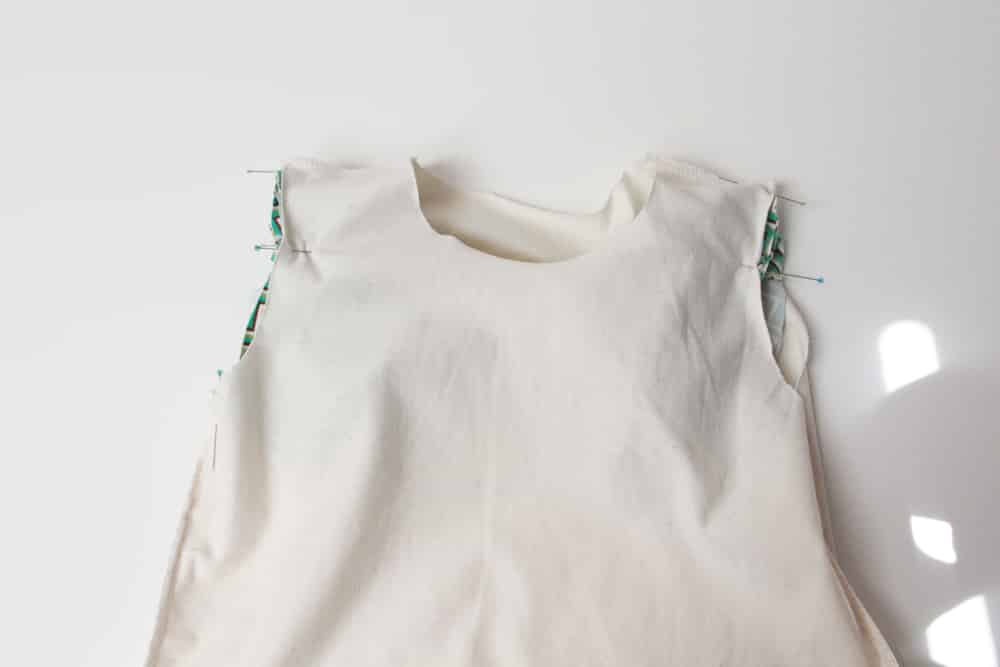
18. SLEEVES ARE READY TO BE SEWN
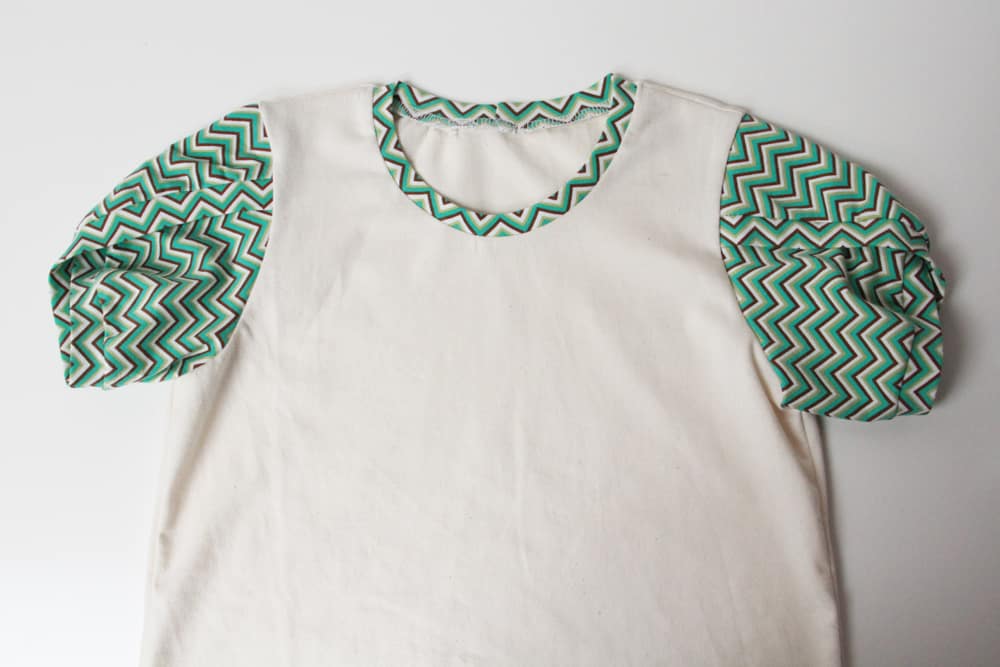
19. FINISHED SLEEVES
And that’s it! :)
This pattern for tulip sleeves is designed for children's T-shirt, which you can find here:
Children’s T-shirt BASIC - Short sleeves
If you want to learn more about sewing T-shirts, you can read this article on how to sew a T-shirt.
Have a nice day, Petra