One of my previous articles contains a lot of info about T-shirts, fabric preparation, and other useful tips. Today I would like to show you how to sew a T-shirt using the accelerated "shirt method” and also how to deal with twisted edges of washed knits.


T-shirt pattern & suggestion
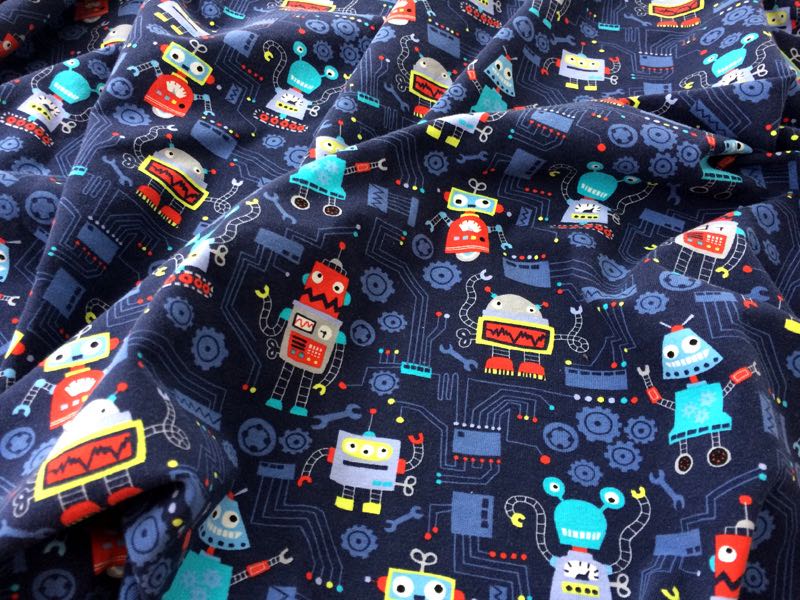
For today's project, I have prepared an amazing knit with a beautiful motif.
I bought it at the Unuodesign.cz store:
Knit – Robots.
I have reworked the pattern for children's long-sleeved T-shirt (sizes 80 - 164) in a professional program for clothing pattern development and you can get it here:
The pattern for children’s T-shirt with long sleeves
Before you start sewing, I recommend reading this article:
Sewing elastic fabrics with a regular sewing machine - 4 steps to success
How to tame twisted edges
If you have washed your knit before sewing, its edges are probably twisted. I recommend straightening the fabric out and fixing it in place with pins. You shouldn’t stretch it, just spread it so it’s flat. Pin the edges as shown below. Don’t use pins with plastic heads, the iron could melt them. Steam the edges well and iron them (until dry). Leave the pins in place and let the knit cool down. After cooling, you can take out the pins, and the edges of your knit should remain flat and straight.
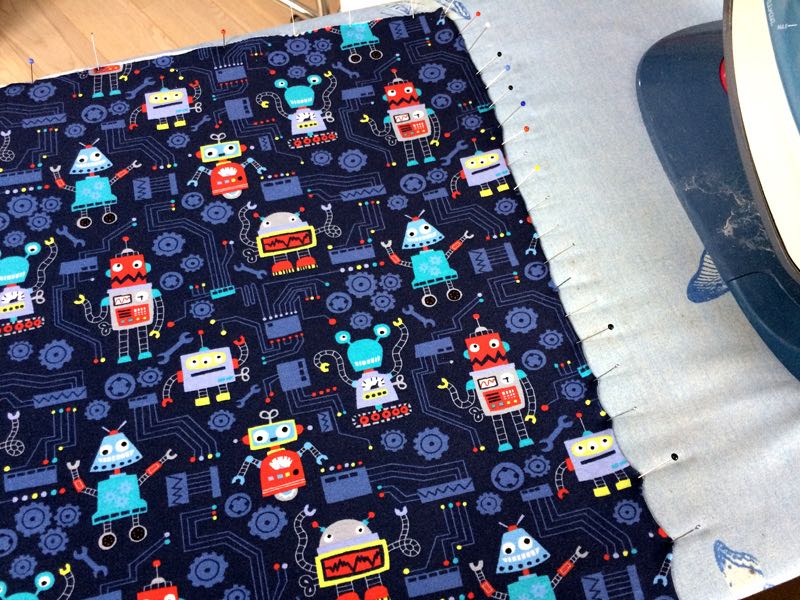
I made a short video about this method:
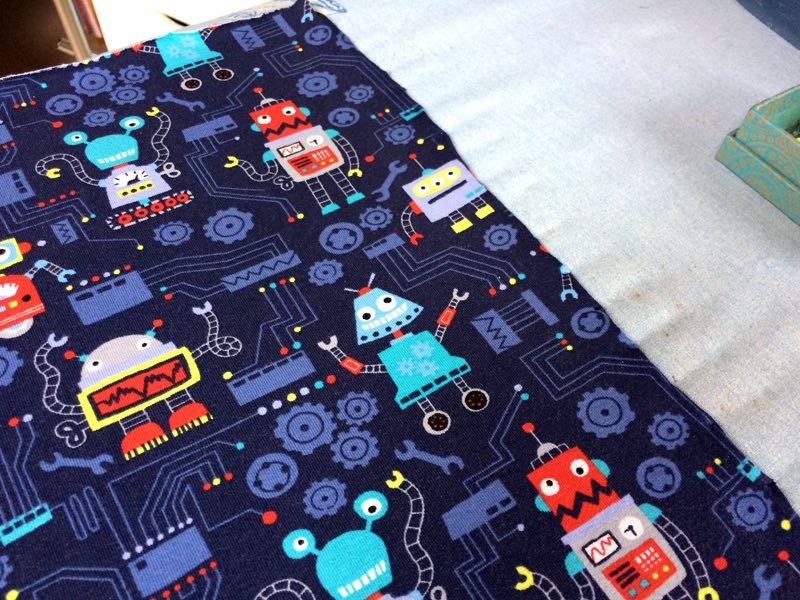
This is what it should look like after you pull out the pins:
So when you have the fabric ready (learn more in this article: How to sew a T-shirt – Fabric preparation), you can start sewing. As I said, today we will look at sewing a T-shirt using the accelerated "shirt method” - I don't like to use it very much, but I want to show it to you mainly because it’s very quick. Most ready-made T-shirts are sewn using this industrial method. Large manufacturers always try to produce as quickly as possible...


How to sew a T-shirt in a few minutes
First, sew one of the shoulder seams. Pin folded knit strip (hem) into the open neckline (my strips are usually 3.5 cm wide and “0.85 times the neckline circumference” long).
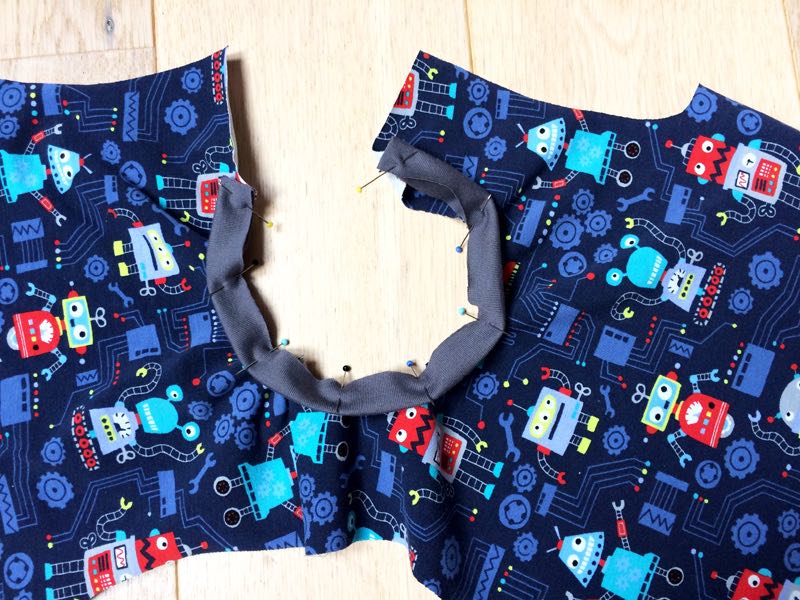
Sew the hem to the neckline and iron it.
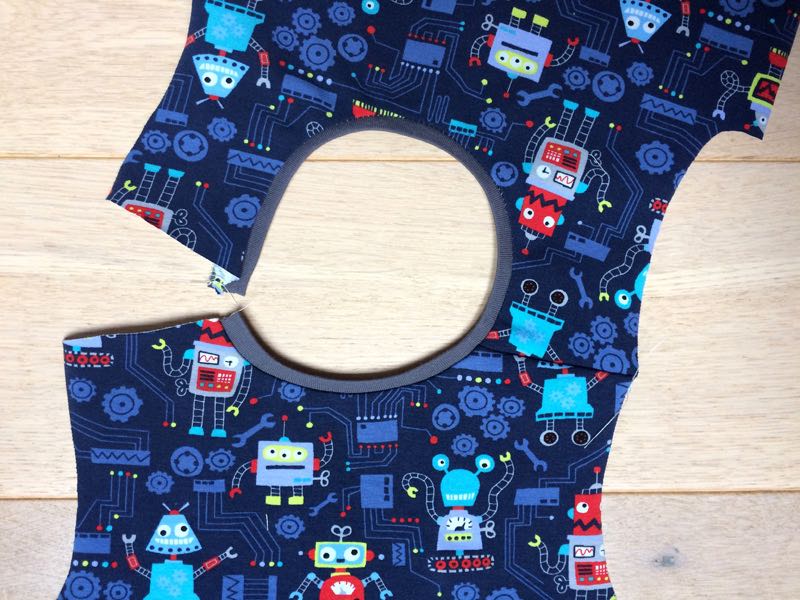
Now sew the other shoulder seam. It takes a bit of practice to make both ends of the neckline hem nicely aligned.
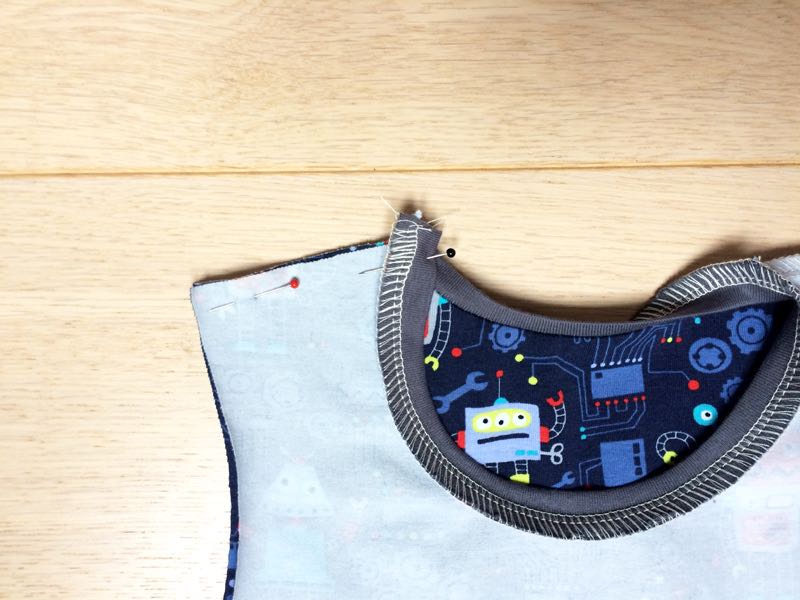
Do not cut the free end of the thread chain right next to the seam - make it longer and pull it under the loops.
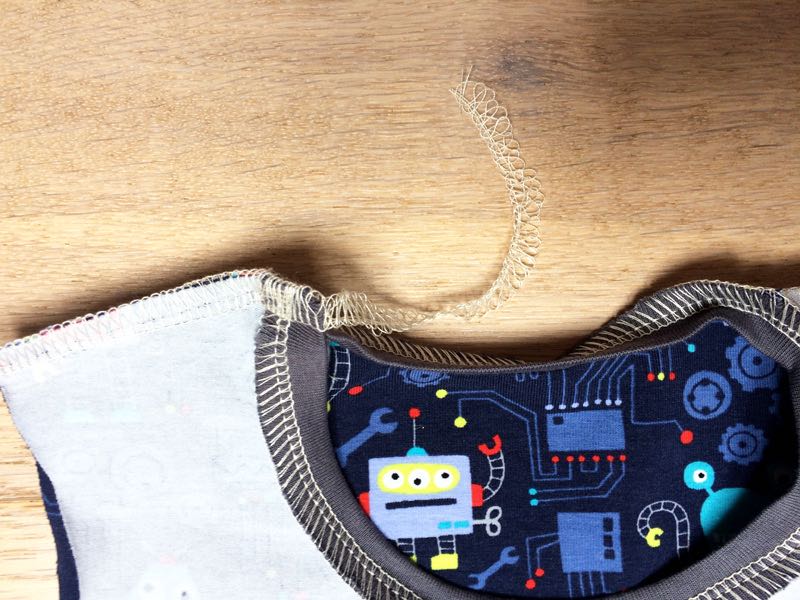
This is my neckline hem. As you can see, it's far from perfect... As I said, I don't use this method much. :D However, you can often find similar mistakes on cheap T-shirts from stores. If you want to use this sewing method, you will need some practice to make it look great.
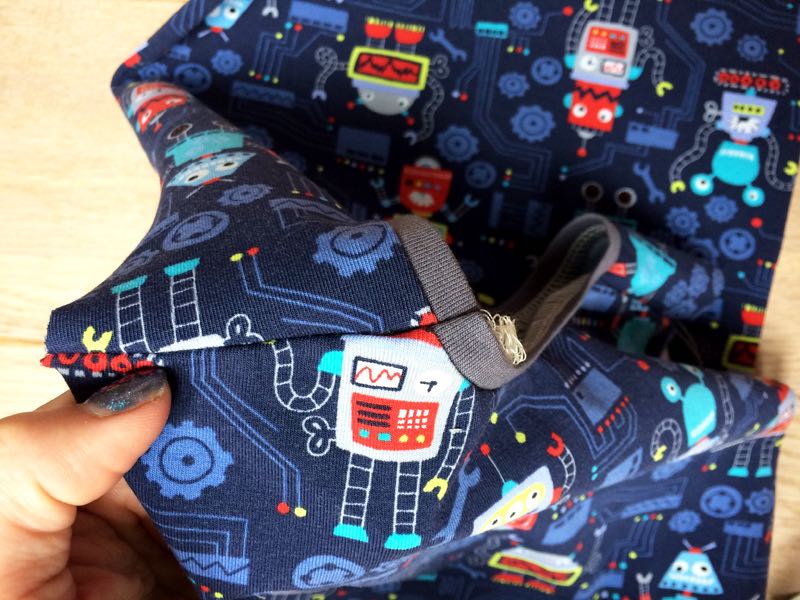
Press the seam allowances towards the back piece and fix it in place with a few stitches. This will flatten the connection.
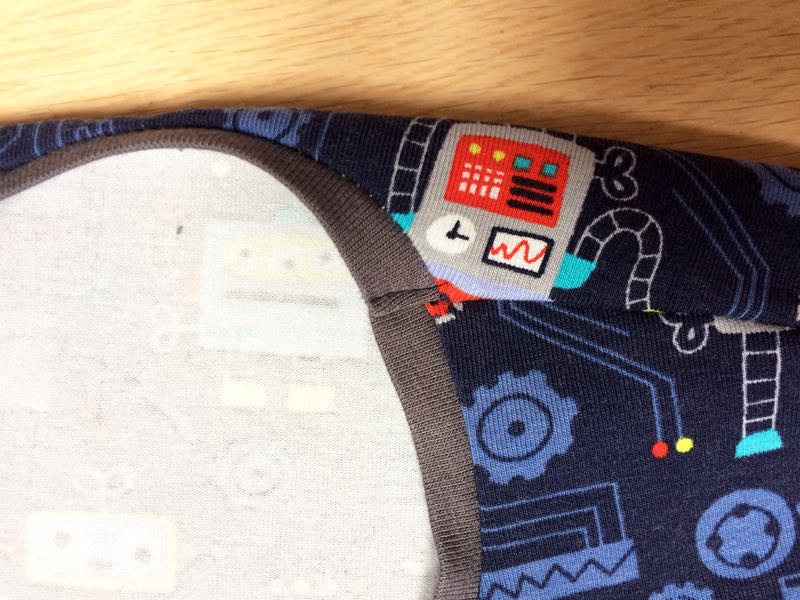
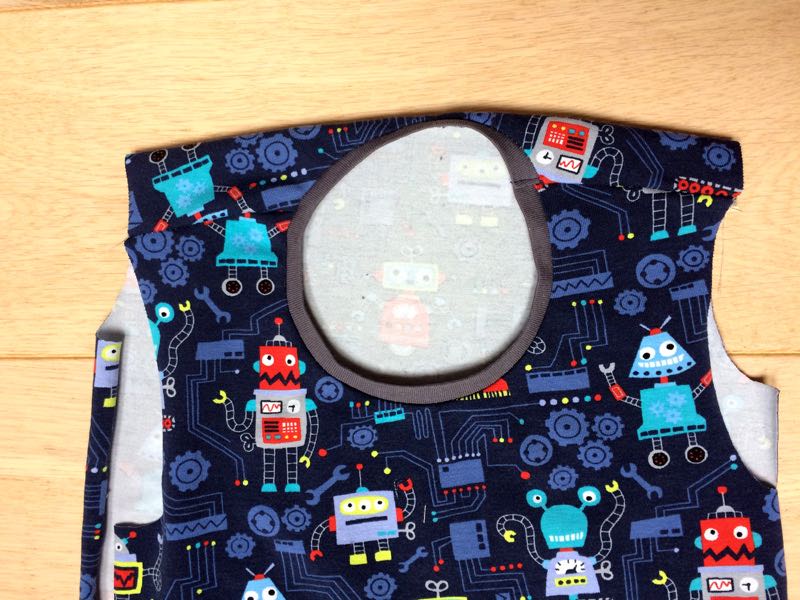
Now sew the sleeves to open armscyes. Start by pinning the top of the sleeve head to the shoulder seam. Make sure you pin the right sleeve into the right armhole. The sharply curved part of the sleeve head connects to the front piece of the T-shirt (but this should be indicated in the pattern itself).
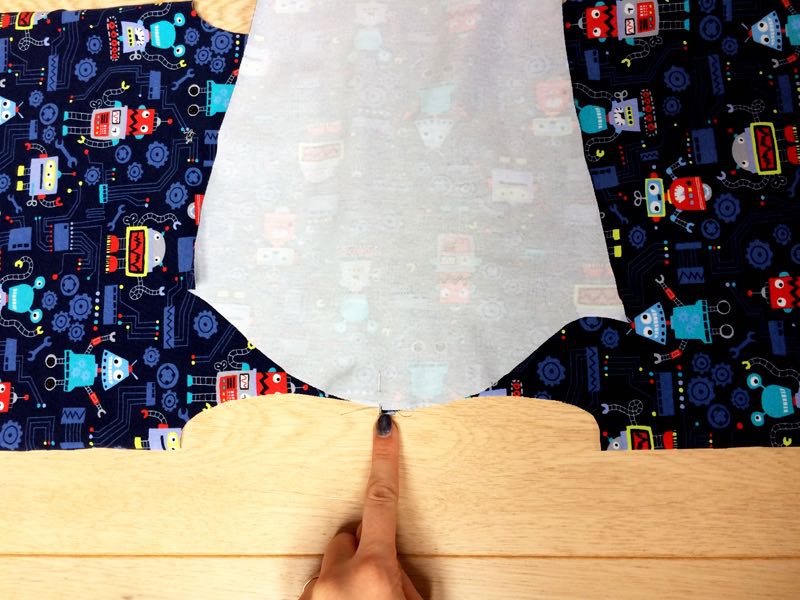
Now pin on of the corners of the sleeve to the edge of the armscye (where the side seam ends)...
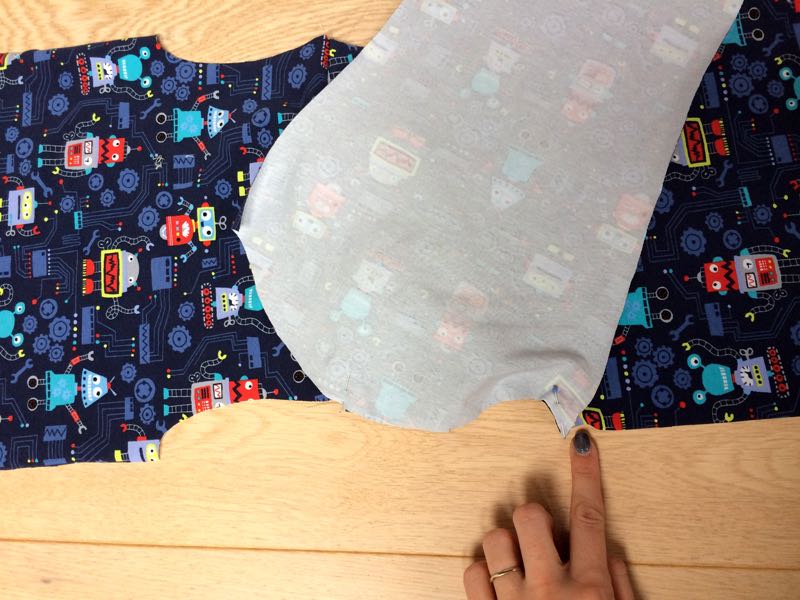
...then the pin the second corner.
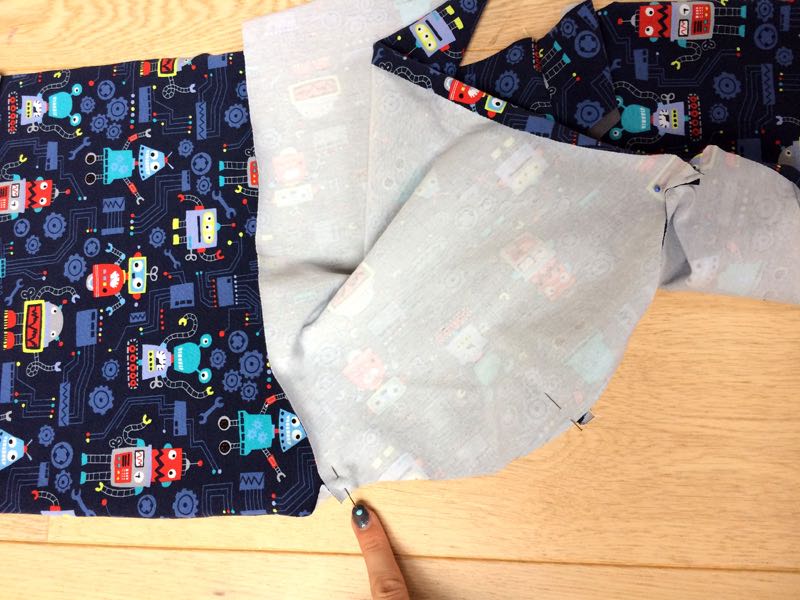
Sew the sleeve to the torso and work on the other side in the same way.
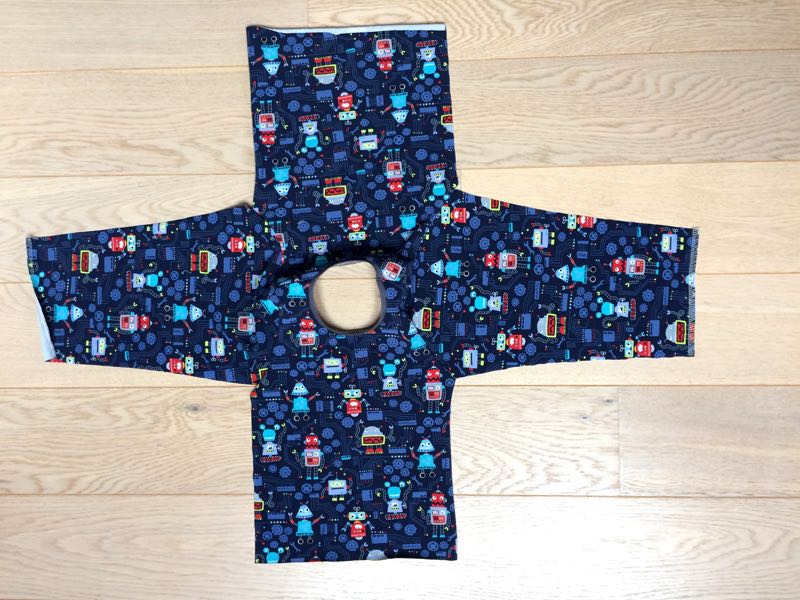
Now clean the cutting edges of the sleeves (big manufacturers usually clean the bottom hem of the T-shirt too, but that's too much for me :) )
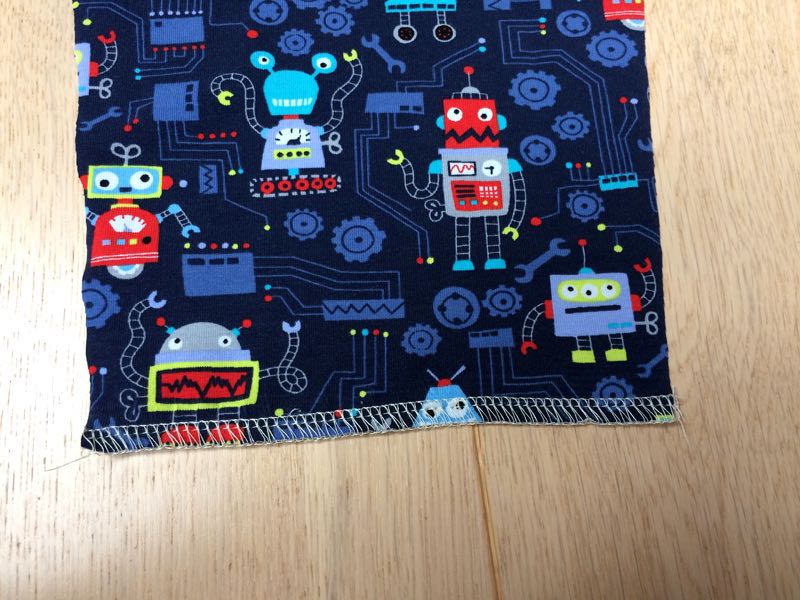
Fold the bottom edges of the sleeves to the reverse side. The size of the folded part depends on how large the bottom seam allowances are, I recommend making them 3 cm wide.
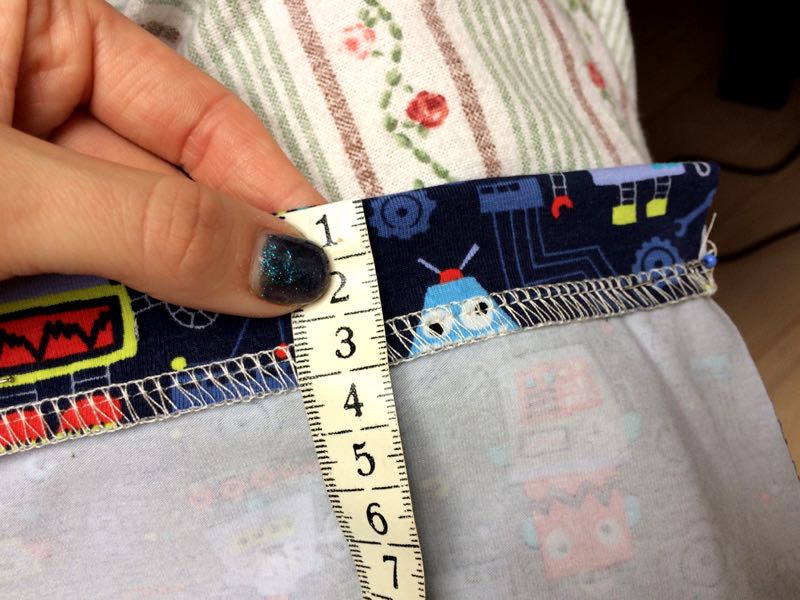
Topstitch the hems, I used a twin needle, but you can use some other type of elastic stitch. You can also use a coverlock (if you have one) to finish the sleeves.
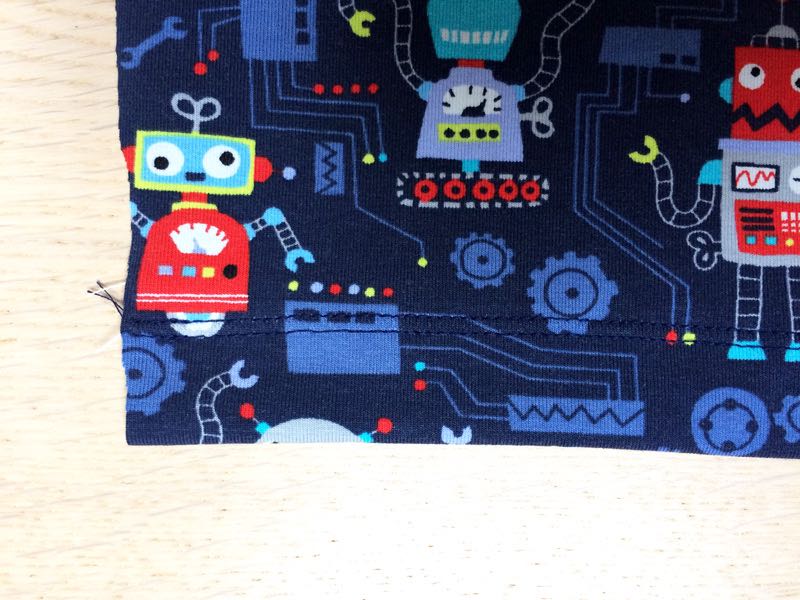
Next, sew the sleeve seam and the side seam in one go.
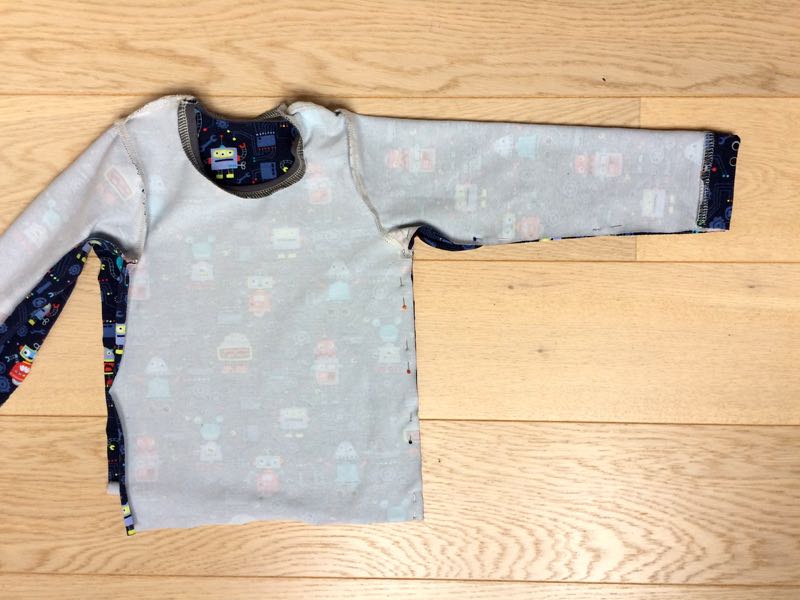
Finishing touches
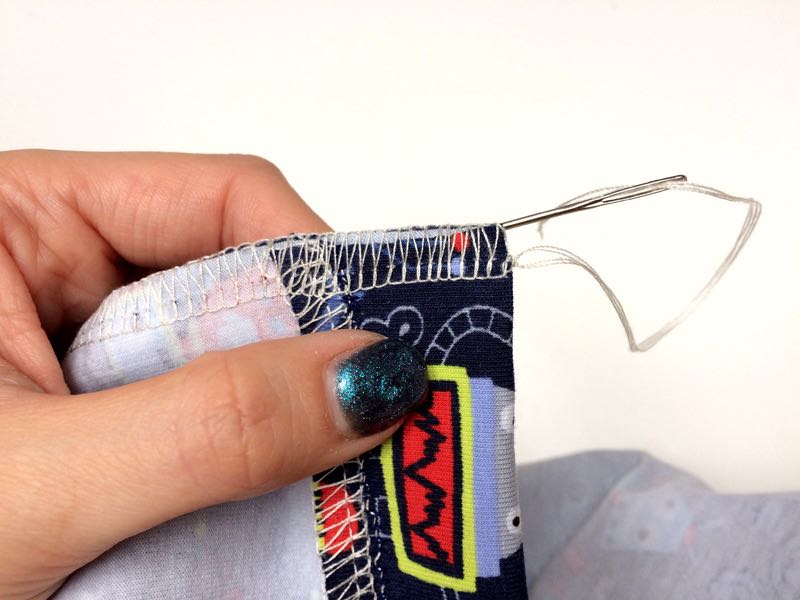
Pull free ends of thread chains (near the sleeve hems) under the loops.
Big manufacturers would now ship the T-shirt, but I haven't finished the bottom hem of the T-shirt yet. Let’s do that now...
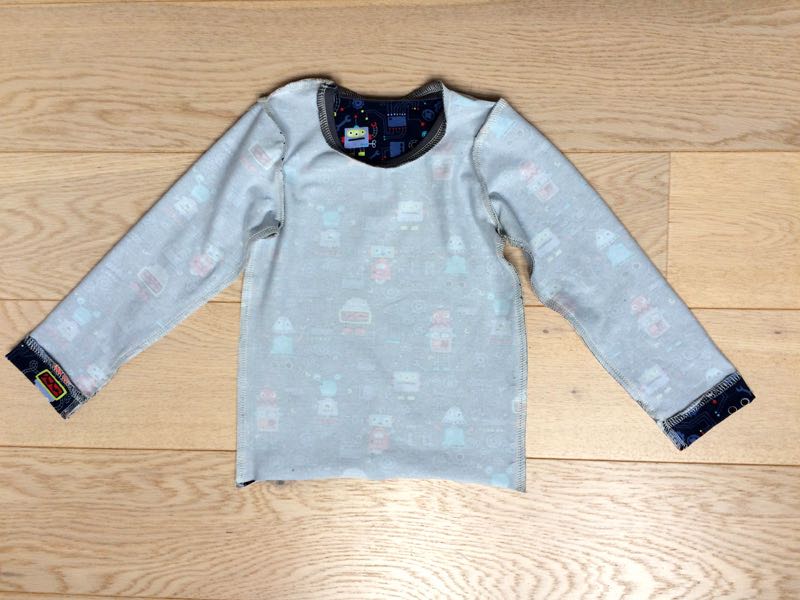
...Fold the bottom edge of the T-shirt and topstitch it.
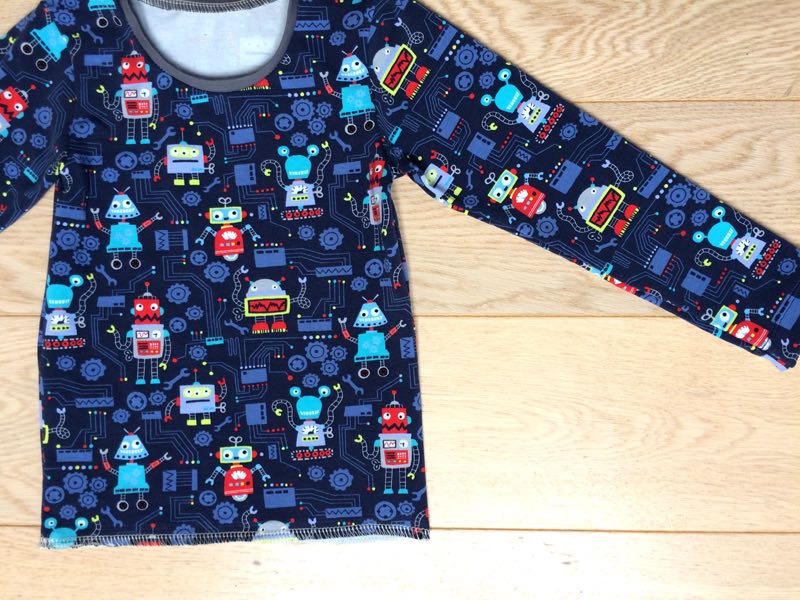
Now, you may be wondering what's wrong with this method. Well, from a practical point of view, there’s nothing wrong with it - the T-shirt will be as wearable as the one sewed using the classic "blouse method”. The main difference is that it won't be as nice as it could be.
In large factories, several workers (and machines) work on one T-shirt at any given moment, and sewing straight seams is easier and faster than sewing curves and closed circular seams. Sewing a T-shirt doesn’t take long and this method speeds up the whole process even more. As a result, manufacturers reduce their costs by a relatively large percentage. But I think it is pointless to try to save a few minutes when sewing at home, take all the time you need to sew a beautiful piece. After all, you are probably working with materials that cost twice as much as a finished T-shirt from some retail chain. Sewing machines, threads, and other supplies also do not grow on trees... We all spend time preparing fabrics and learning skills, so why waste all that by rushing the last and most entertaining step? :)
How to sew a T-shirt “the right way”
If you are interested in other ways of sewing a T-shirt, take a look at this comprehensive article:
How to sew a T-shirt - Everything you need to know

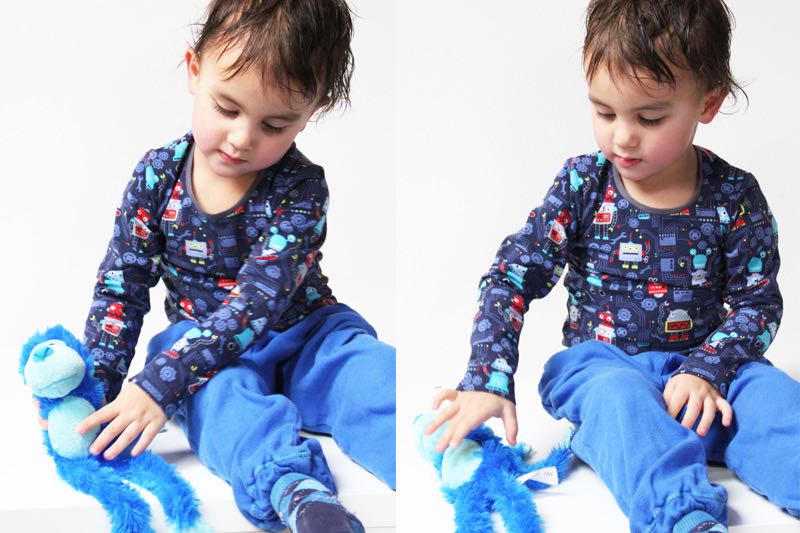

I hope that today's article was useful for you and I will be looking forward to seeing you again. If you liked today’s article, leave me a comment below. I'm also always listening to your suggestions, so tell me what interests you and what would you like to read about next time.
Have a nice day, Petra


