How to sew striped fabric? As you may have noticed, in factories where clothes are sewn for large retail chains, they often do not care about pattern matching at all. They don’t give a damn about misaligned stripes and other prints at all, but I do. We put a lot of energy and money into sewing our clothes, so it's a shame not to try for the best possible results. So today we will look at how to position pattern pieces on a striped fabric and make stripes match up at the seams.

Sewing with stripes
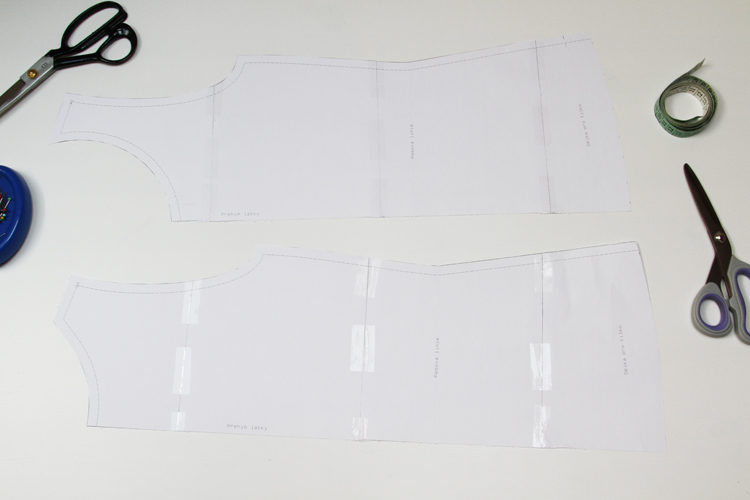
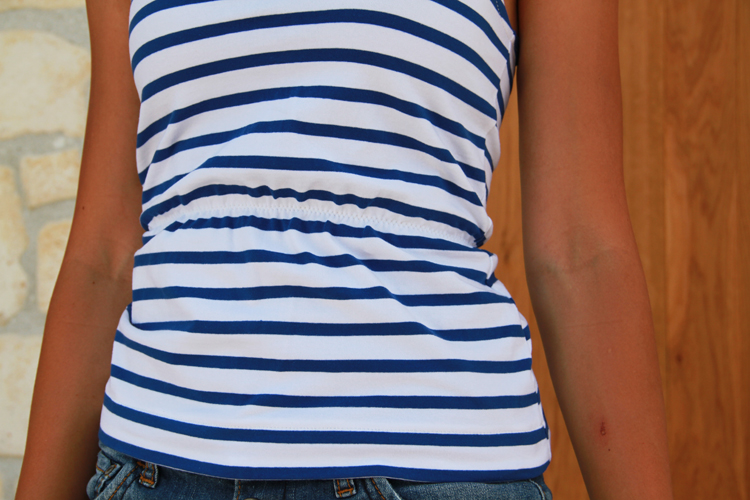
I will show you pattern matching on the simplest example - on a tank top with a front and back part of almost the same shape.
If you want, you can get this pattern here:
Pattern matching - Video tutorial
It is often easier to demonstrate things than to try to describe them, so I shot this video tutorial dedicated to pattern matching. I don't talk in the video (so there aren't any subtitles), because I think the procedure is clear enough. But if you want to know more, go through the rest of this article, which contains detailed photo instructions.
You can find this video tutorial and other videos on my YouTube channel. I suggest you subscribe to my channel so you don't miss anything in the future. :)
Pattern matching - Photo instructions
Front piece
First, lay the paper front piece on the fabric so that it is perpendicular to the stripes (the center line of the piece is perpendicular to the stripes). Pin the paper piece to the fabric.
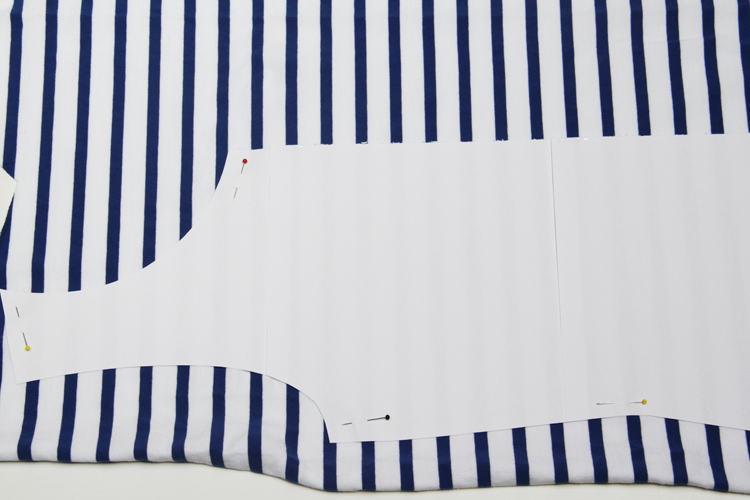
Cut out the piece - except for the centerline (fold), of course.
Take out the pins, remove the paper piece, and fold the fabric piece back on the fabric.
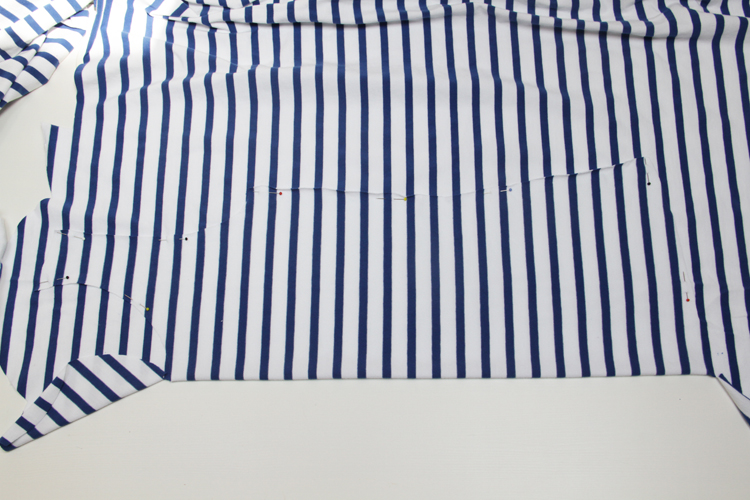
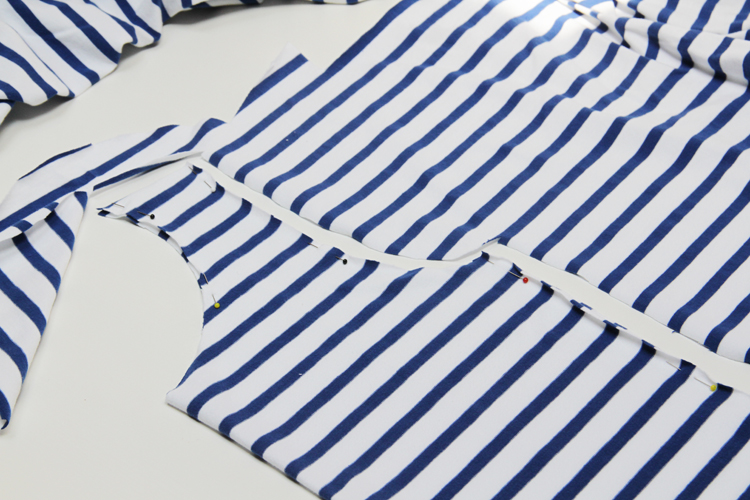
Pin the cut-out half to the fabric so that the stripes match.
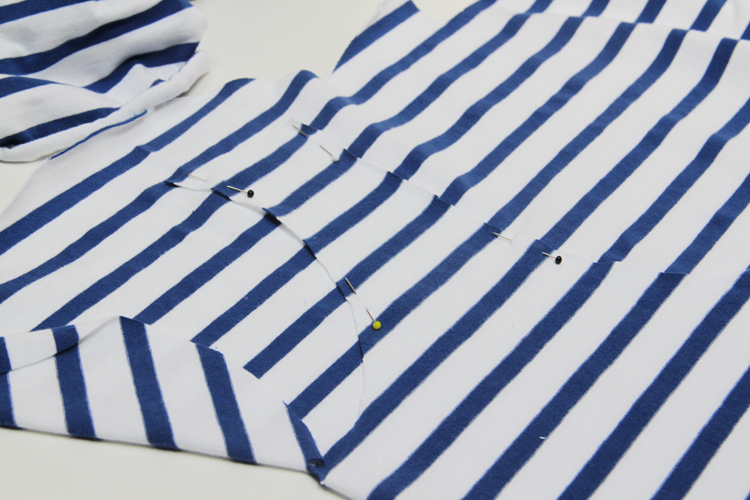
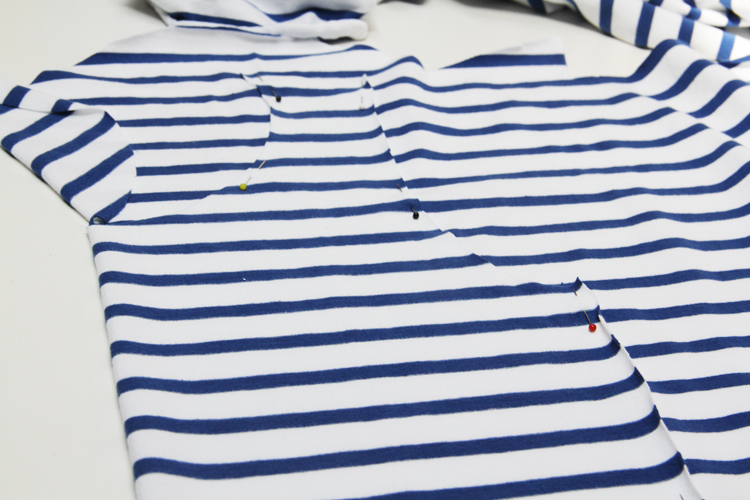
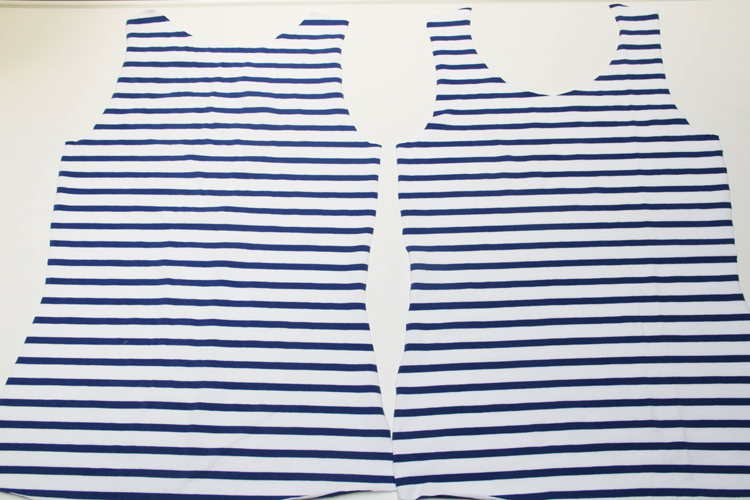
Now cut out the second half of the front piece according to the first one. The print now runs horizontally across the piece and the strips on both sides of the part end "in the same places".
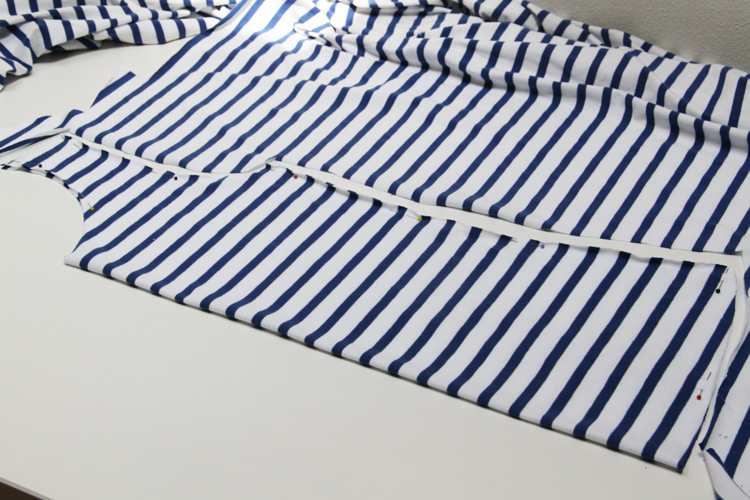
Back piece
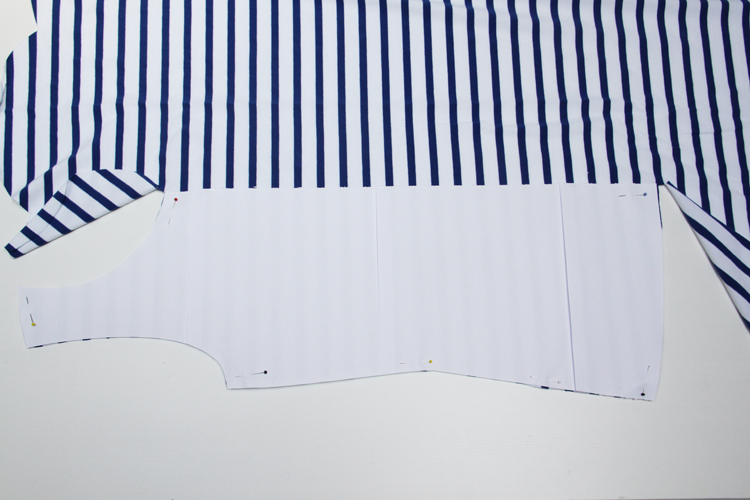
The torso part of the back piece has the same shape as the torso part of the front piece - now you can unfold the front piece, place it on the fabric and use it as a template. Match the stripes on the edges.
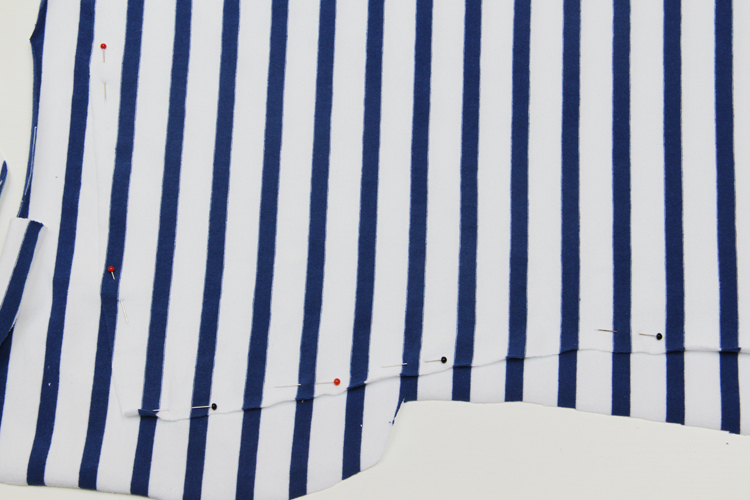
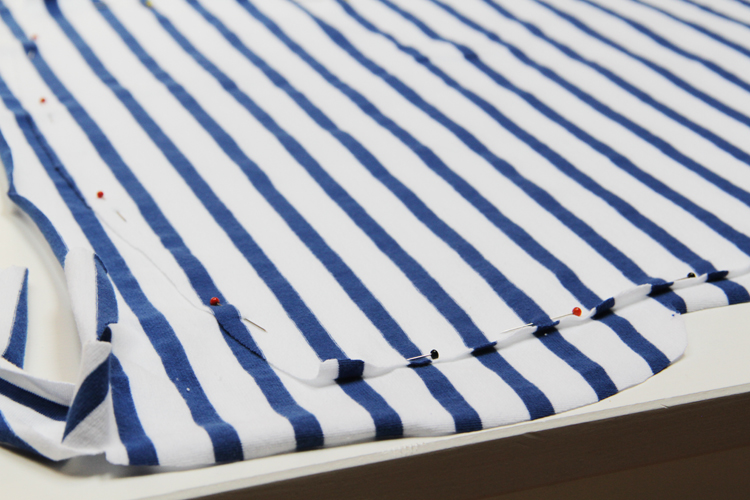
Pin the front piece to the fabric and cut out both side seams & the bottom hem of the back piece.
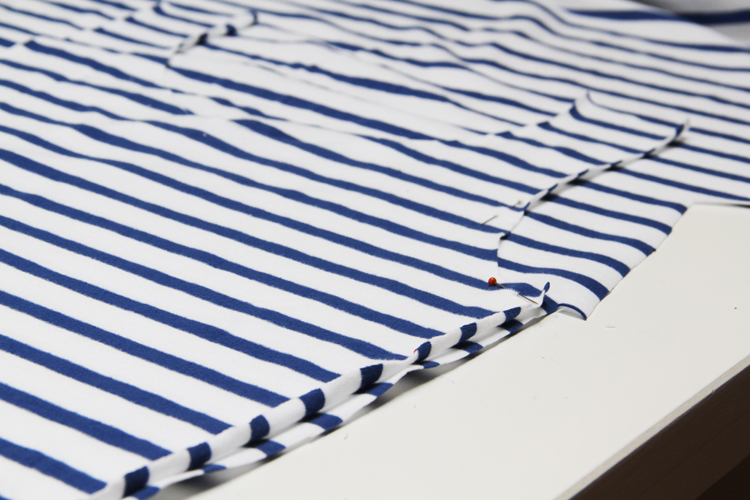
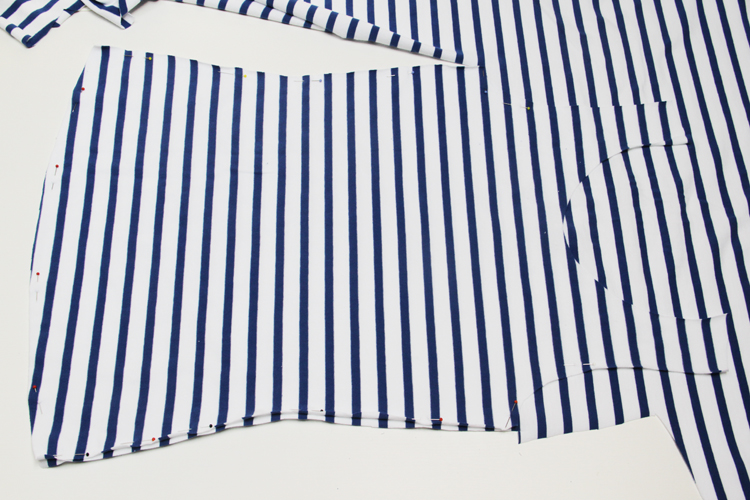
Now remove the front piece and replace it with the paper pattern of the back piece.
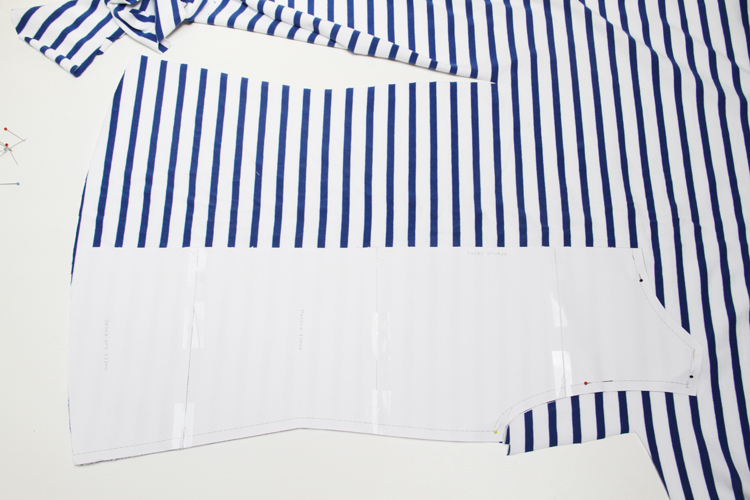
Cut out the armhole, shoulder seam, and half of the neckline according to the paper pattern, then remove it.
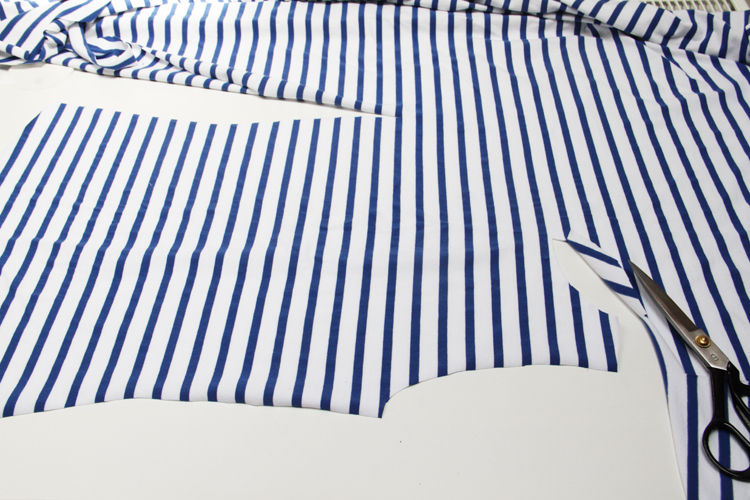
Fold the “free” half of the back piece on the fabric and match the stripes. Pin the shoulder seam, armhole, and neckline.
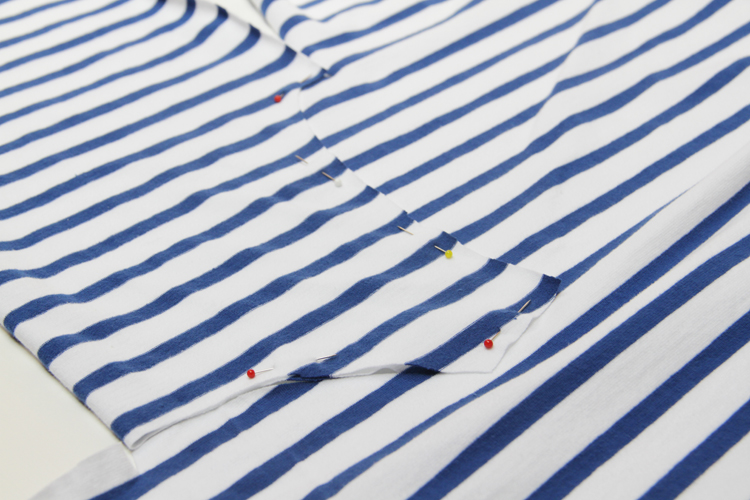
Use the first half as a template and cut out the rest of the second half of the back piece.
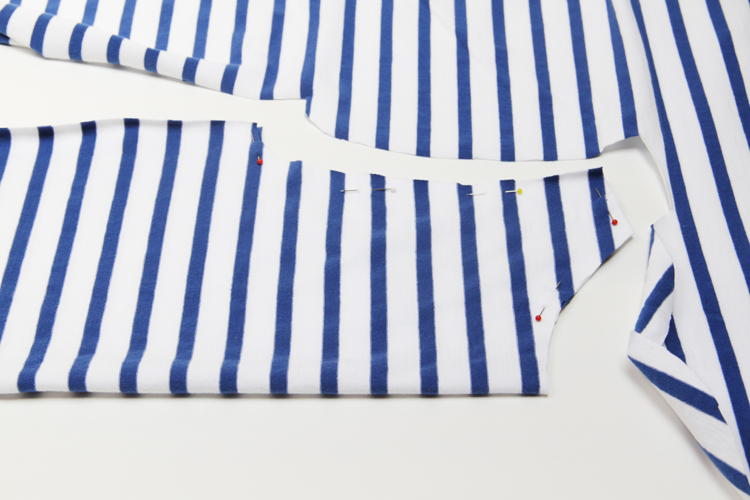
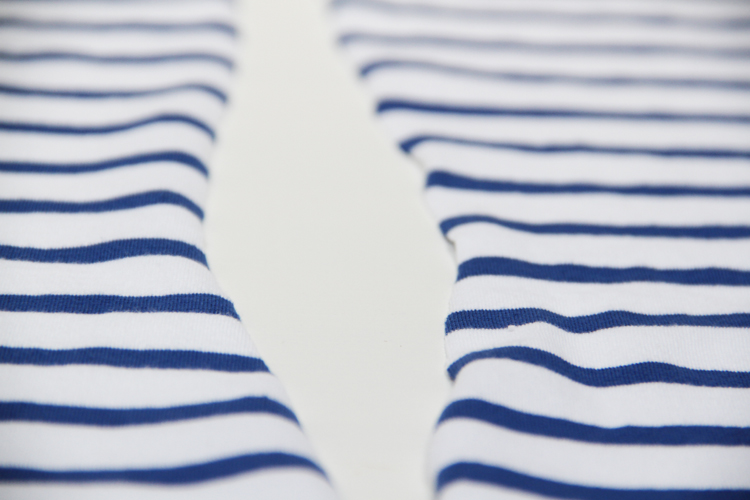
The stripes on both pieces are now running horizontally and ending in the same places on all edges.
If you have a pattern where the back and front pieces do not have the same shape, then cut out the front piece (in the same way as I showed above). Then place the pattern of the back piece on the fabric so that the print runs in the same direction as on the front piece. And place the point where the armscye meets the side seam in the same place "on the print" as the same point on the front piece - the armholes should “carve through the print” in the same way. This will allow you to match up the stripes at the seams.
I also recommend reading this article on sewing with a checked fabric:
You can buy the tank top pattern I used in this tutorial here:
Have a nice day, Petra
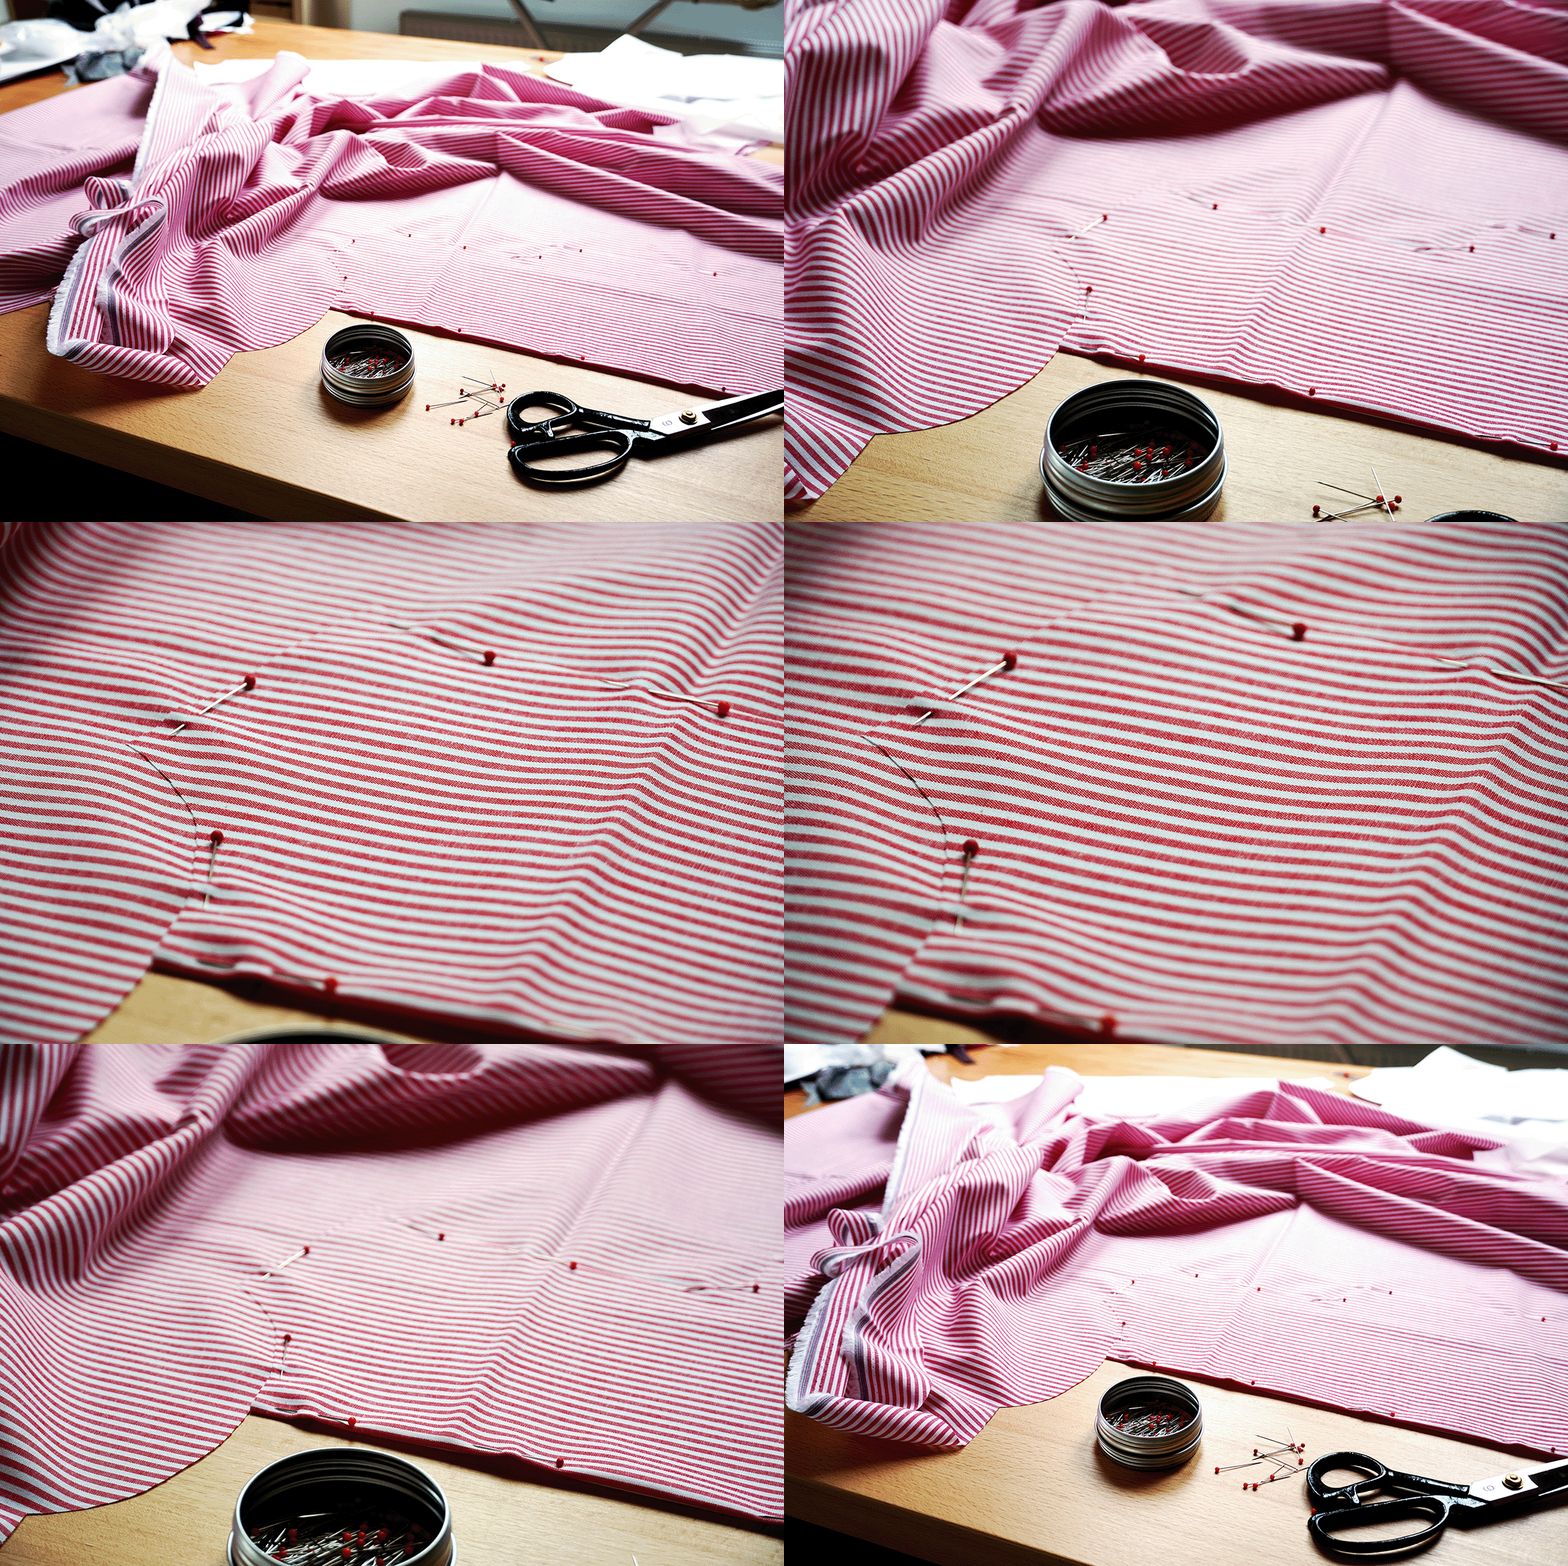
PS: Take a look at this great example of precise pattern matching. The photo shows a patch pocket perfectly matching the print on the rest of the garment. You almost can't see the pocket!
The photo was sent to me by my lovely reader (and a nifty sewer) - Lucie! Thank you. :)

Don't forget to share your joy with others!
Do you like this article? If so, share it with your friends and tell me about it in the comments section below. I will be glad for any feedback! ♥
PS: Did you know that there are FREE PATTERNS available on my blog?


