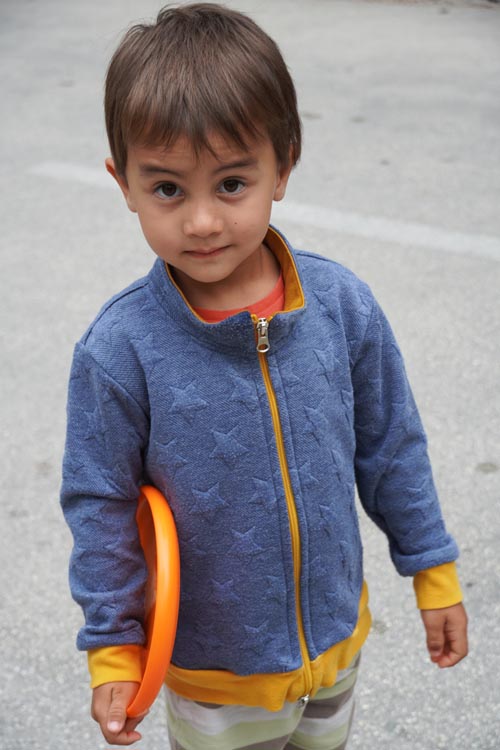
For today, I have prepared instructions on how to sew children's zipper sweatshirt FOREST.

The pattern
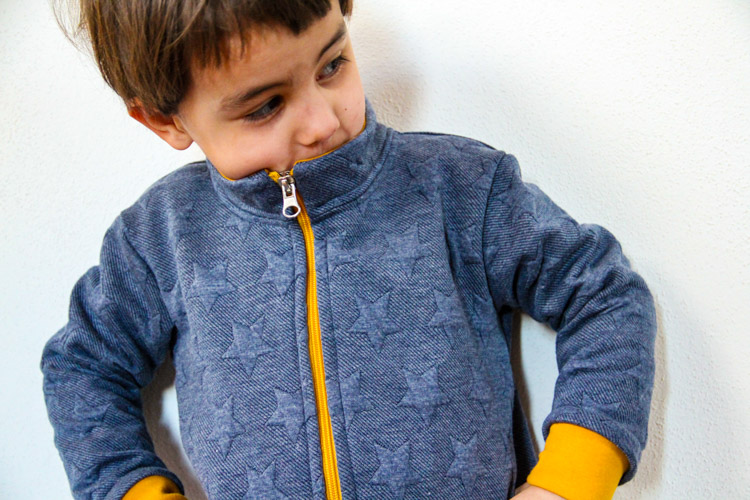
This simple sweatshirt with a stand-up collar is very versatile and can be used year-round. I know that a similar universal pattern has been missing from my offer for a long time, so I am very happy to finally be able to present it to you today. This pattern for children’s sweatshirt is available in sizes 80–164 and you can get it here:
Recommended material
Choose some medium or thick knit (stretchy material). You can use elastic laid-in knits, fleece, double knits, "warmkeepers", etc. I recommend using hem knit for cuffs and bottom hem. You will also need one-sided fusible interfacing and a separating bottom zipper. You can also add a hanging loop to the sweatshirt, you can use a piece of ribbon for that.
You can use leftovers of fabric with properties similar to the primary fabric for contrasting collar and pockets. You will receive additional info (the required amount of material, recommended zipper length, etc.) along with the pattern files.
Suggestion
You can use an overlock machine or a regular sewing machine to sew this sweatshirt.
If you decide to use a regular sewing machine, I recommend reading this article before you start:
Sewing instructions
Pattern layout
Prepare:
- 2x front piece
- 1x back piece (cut on the fold)
- 2x facing - front piece
- 1x facing - back piece (cut on the fold)
- 2x sleeve
- 4x pocket piece
- Four primary fabric pieces or two primary fabric pieces + two secondary fabric pieces)
- 1x collar (cut on the fold)
- (1x primary fabric piece or primary fabric half + secondary fabric half)
- Hems
- (there are pre-cut, ready-made hems in the photo below, but I realized later that they are not suitable for this sweatshirt – prepare the hems yourself)
- Separating bottom zipper
- (recommended lengths are listed in the pattern files).

Pocket pieces
Transfer the shape, size, and position of the pocket openings to the pocket pieces according to the paper pattern.

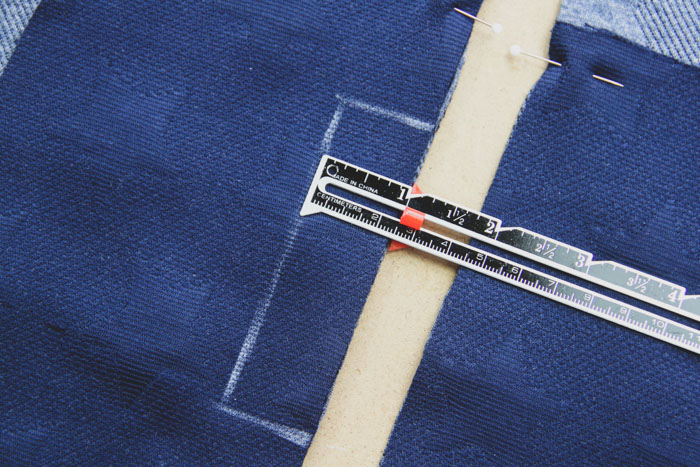

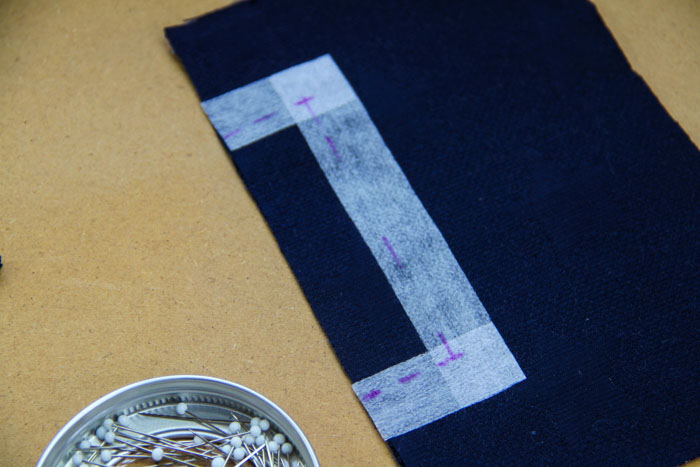
Reinforce the pocket openings with one-sided fusible interfacing so that a little part of it (about 3 mm or 1/8") reaches over the future edge of the opening and the rest (ca. 1,2 cm or 1/2") is inside the pocket pouch. Mark the shape of the pocket opening again, so you can see it.
Collar
Skip this step if you have a collar in one piece (according to the paper pattern). Just reinforce the whole collar piece with one-sided fusible interfacing.
If you want to sew a contrasting inner collar, you need to add a 1 cm (0.4") wide seam allowance to the longer side of the collar piece.
If you don't have enough fabric - my case - and you need to create the inner collar from two fabric pieces, you need to add seam allowance to the shorter side too – that is the area where the fold would normally be.
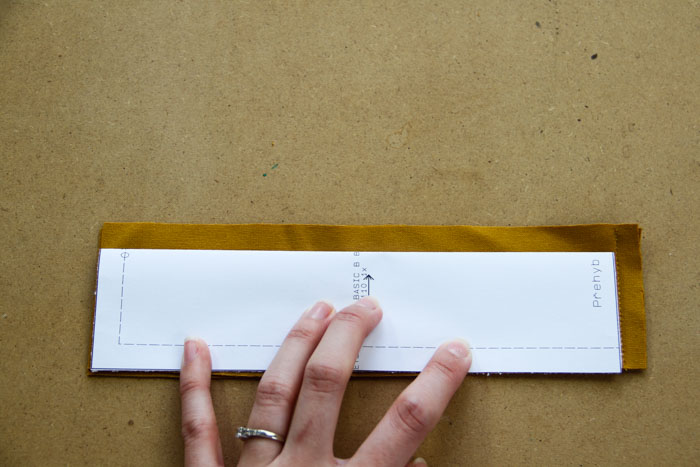
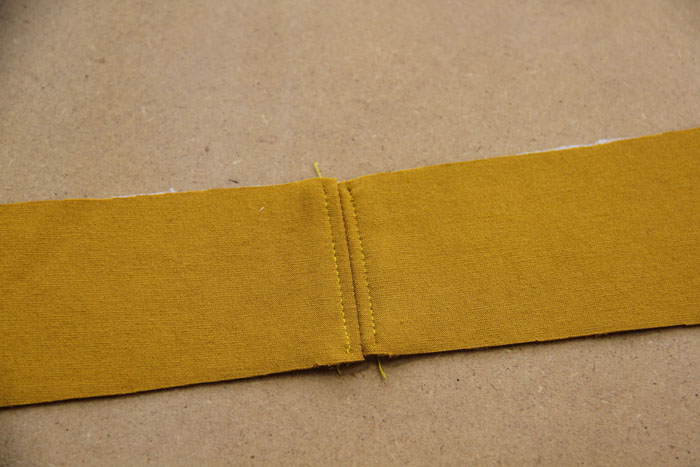
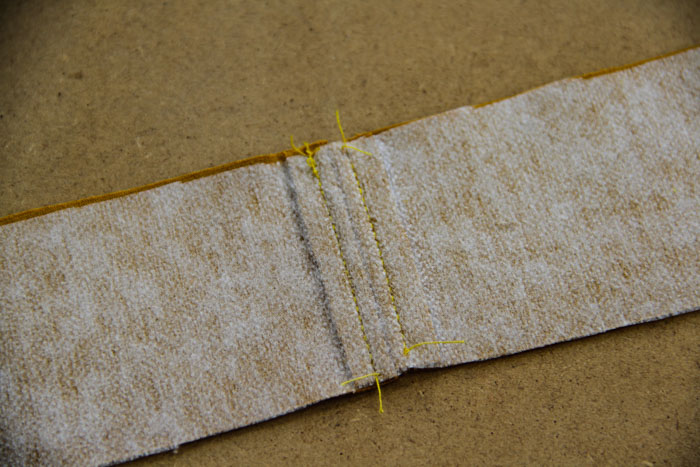
Connect the two inner collar pieces (sew the shorter sides).
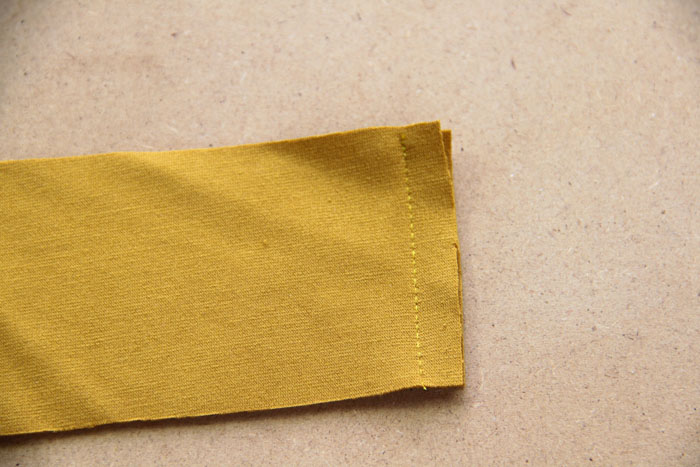
Press the seam allowances open.
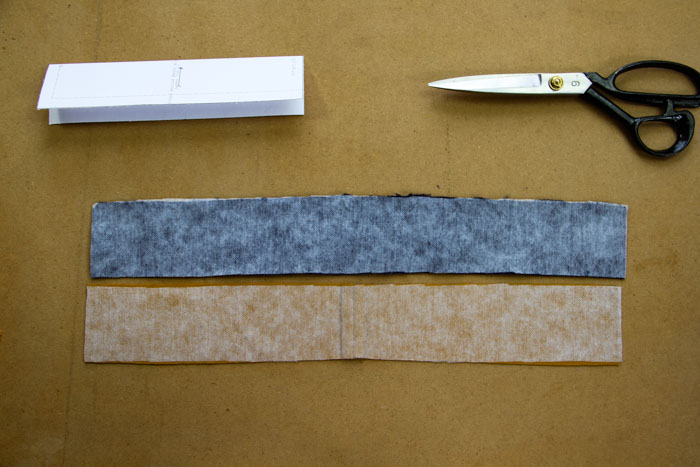
Reinforce both collar pieces (inner and outer) with one-sided fusible interfacing.
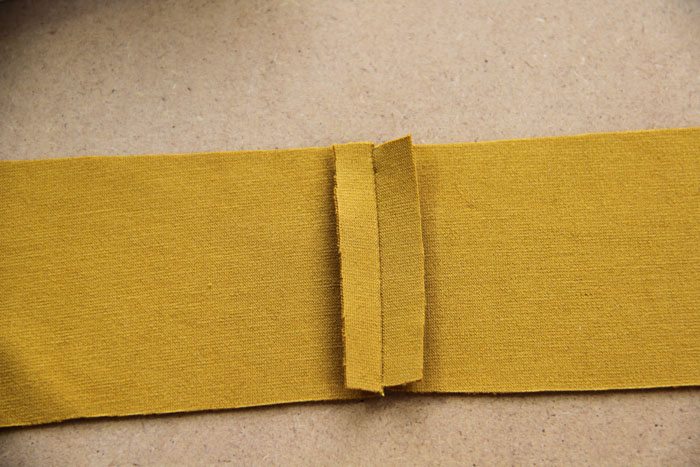
Topstitch both sides of the seam - sew about 5 mm (0.2") from the connecting seam.
Of course, you don't have to do this if you have an inner collar made of one piece of fabric…
Place the inner part of the collar on top of the outer part (face side to face side) and pin (or baste) one set of the longer sides.
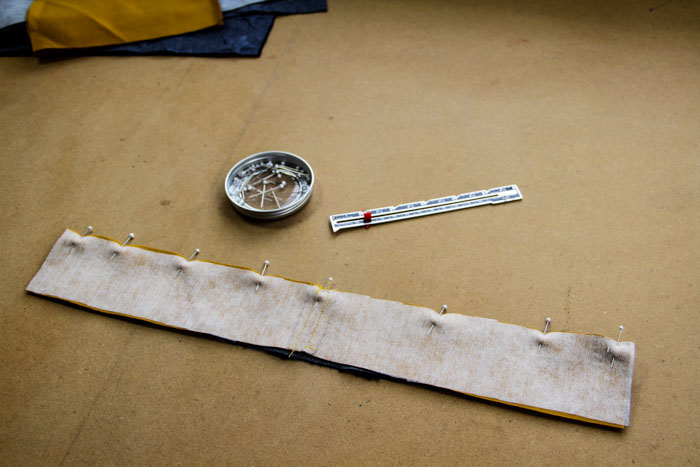
Sew the pieces together.
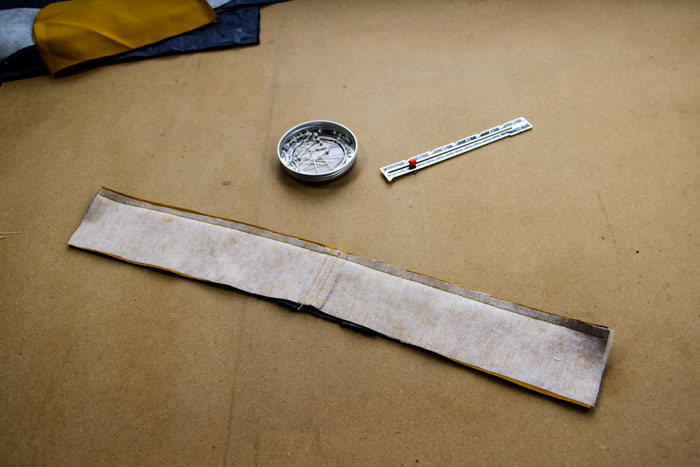
Trim the seam allowance of the inner collar – cut it in half.

Press the seam allowances towards the inner collar.
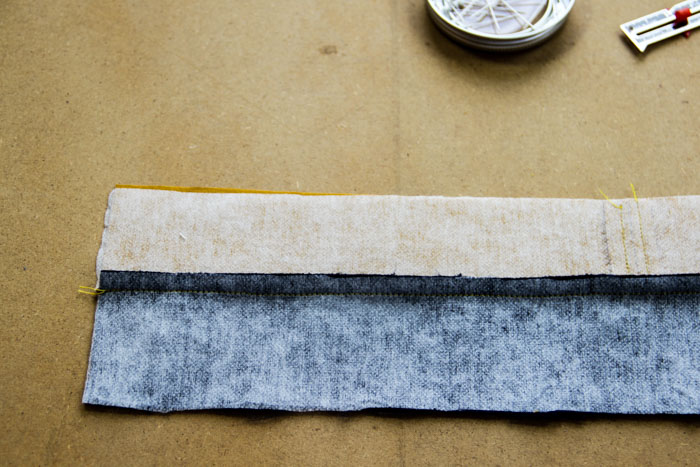
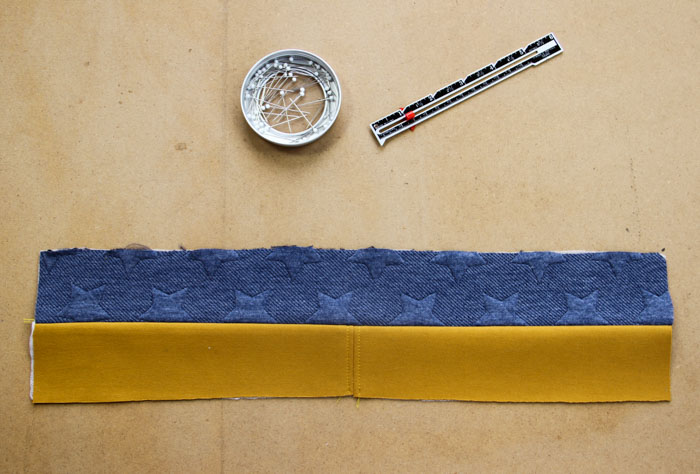
Topstitch the seam - sew about 3 mm (1/8") from the original seam. Topstitching should stabilize the seam and attach the seam allowances to the wrong side of the inner collar. This helps to make the collar rigid and to stop the inner layer from peeking out.
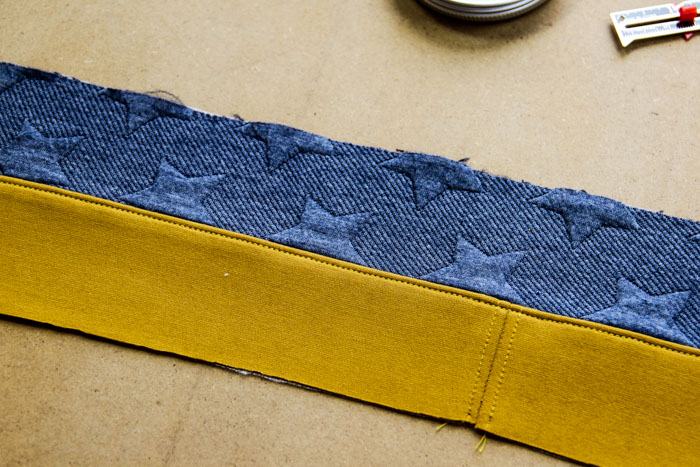
Fold the collar in half (lengthwise, face side out), baste (temporarily stitch) the two pieces near the seam, and iron the collar.
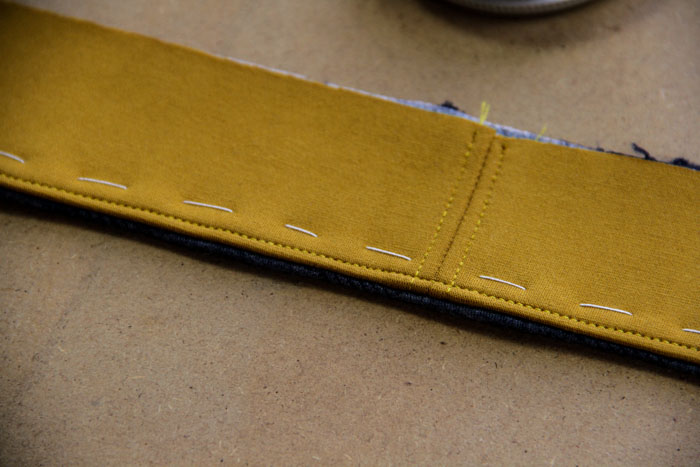
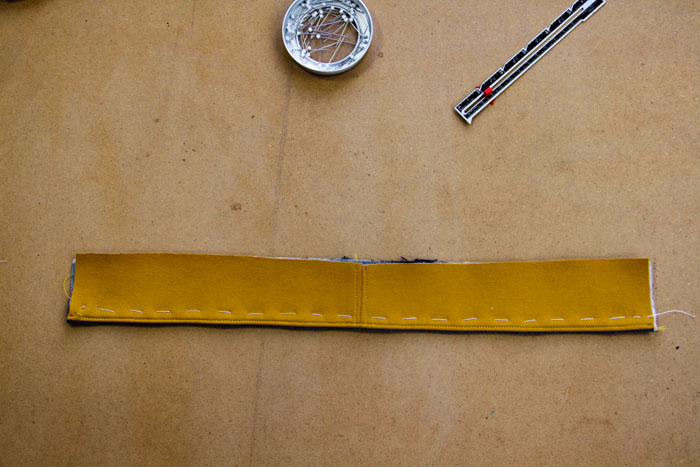
Check the collar from the inside and outside and align/trim uneven cutting edges so that both layers have the same shape and size. Compare shorter sides of the collar too – they need to be of the same length. Any unsolved problems would be very hard to deal with later - when sewing the zipper.
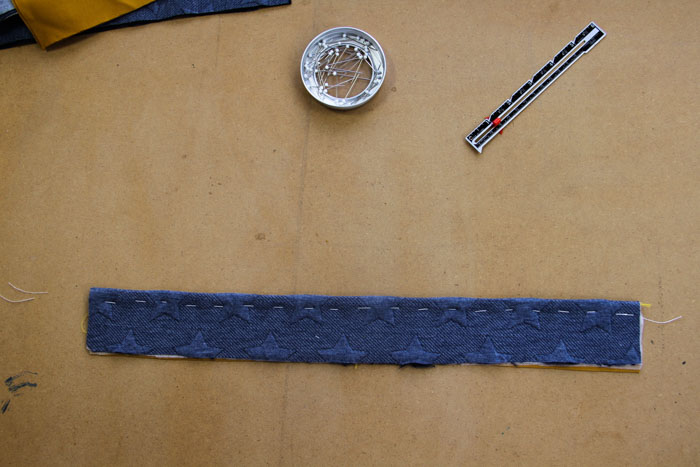
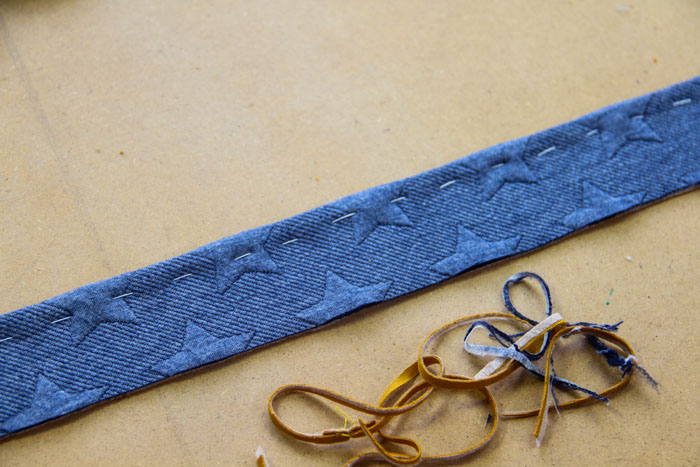
Reinforce other pieces
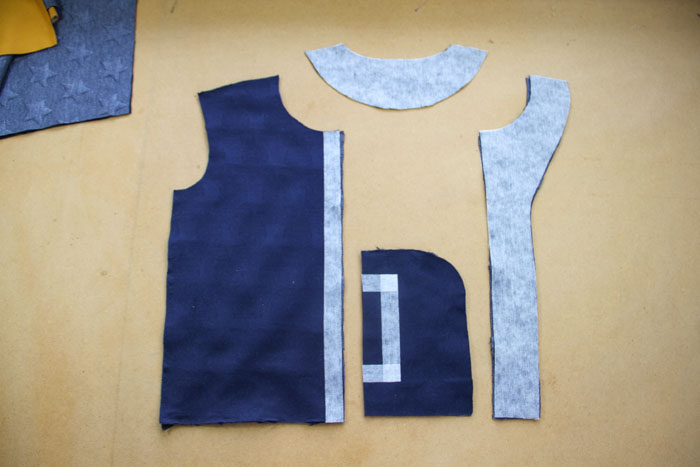
Next, you need to reinforce the front edges of both front pieces with about 2 cm (3/4") wide strips of fusible interfacing. Reinforce all facing pieces too.
Pockets
Put your pocket pieces on top of the front pieces (face side to face side). The exact position is marked on the paper pattern – align bottom edges of the pocket pieces with bottom edges of the front pieces.
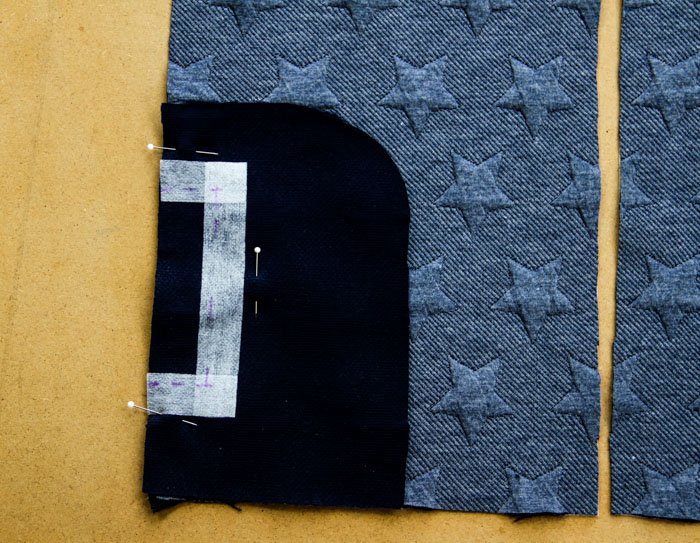
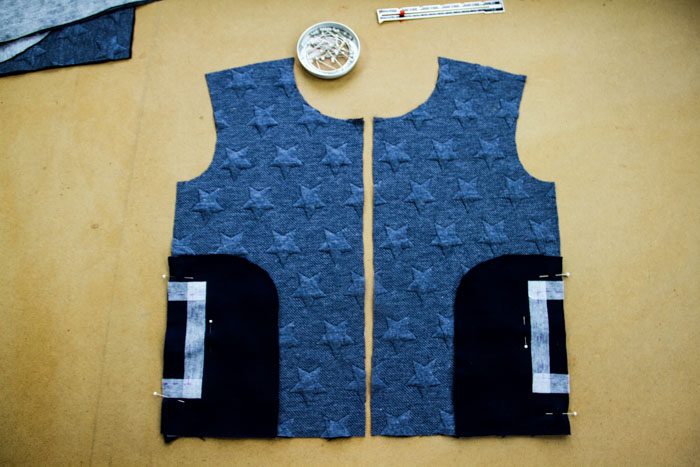
Sew along the line that indicates pocket opening.
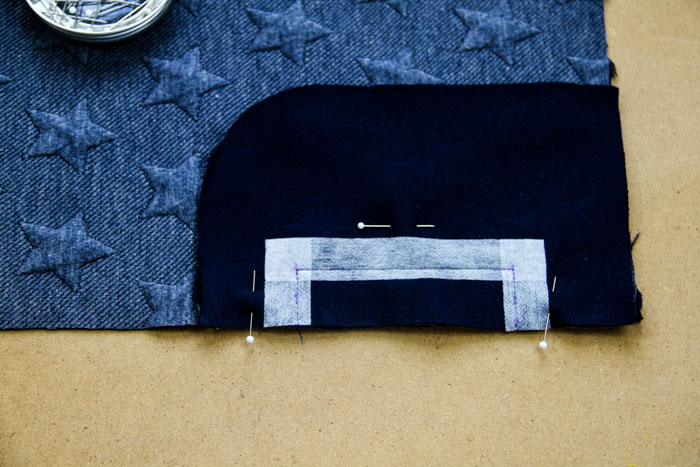
Cut out the inner part of the pocket opening - cut about 1 cm (0.4") from the seam.
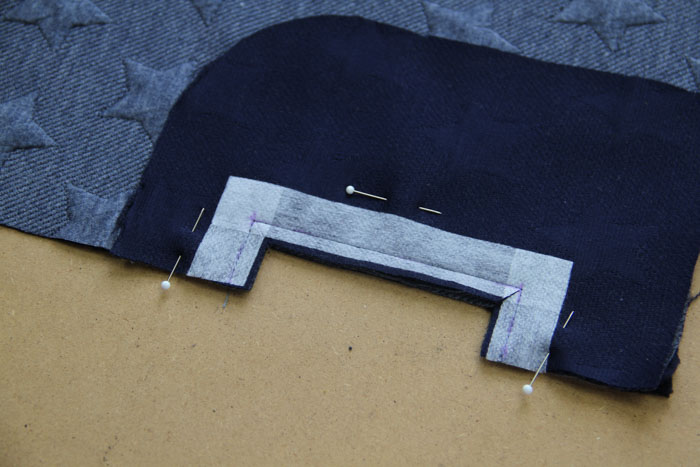
Cut the seam allowances as shown below. It is very important to use sharp scissors and cut the seam allowances as close to the seam as possible without cutting into the seam itself.
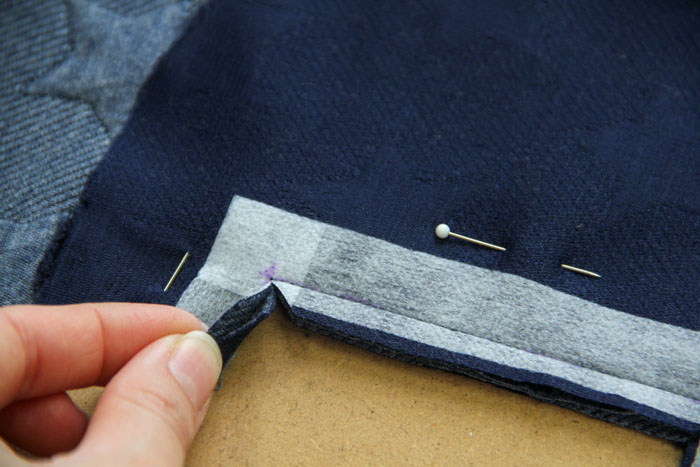
Flip the pocket piece over the edge of the front piece and baste the pocket opening. Slide the front piece about 1 mm (0.04") towards the opening and over the edge of the pocket piece when stitching – thanks to this, the edge of the pocket pouch will remain hidden.
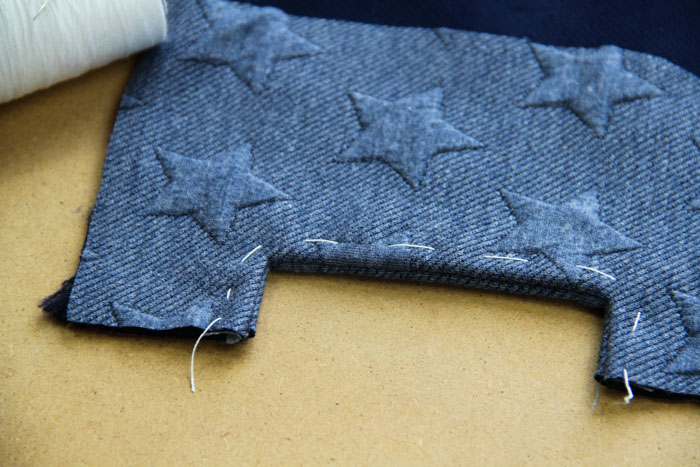
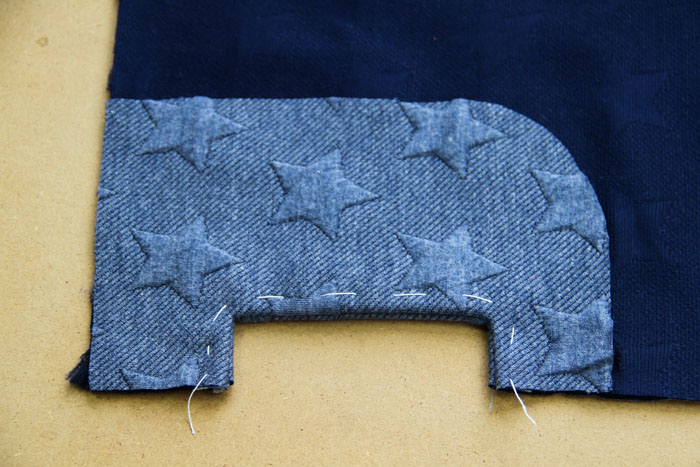
Topstitch the pocket opening. Sew about 3 mm (1/8") from the original seam. Work on the other pocket in the same way.
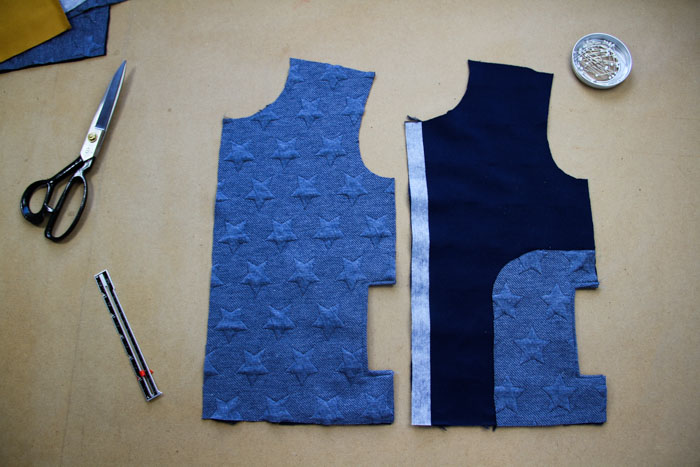
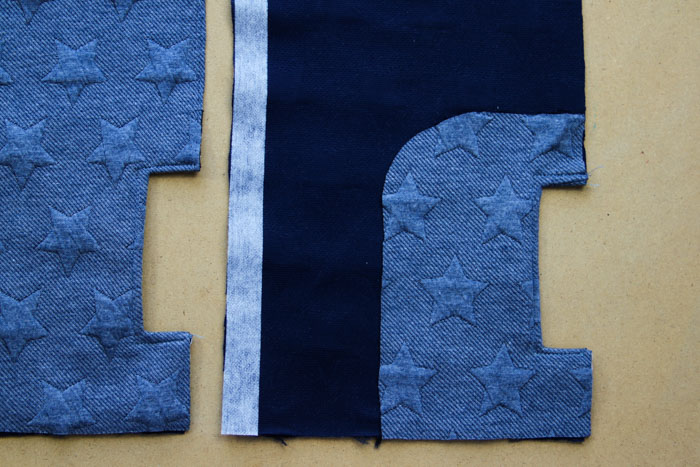
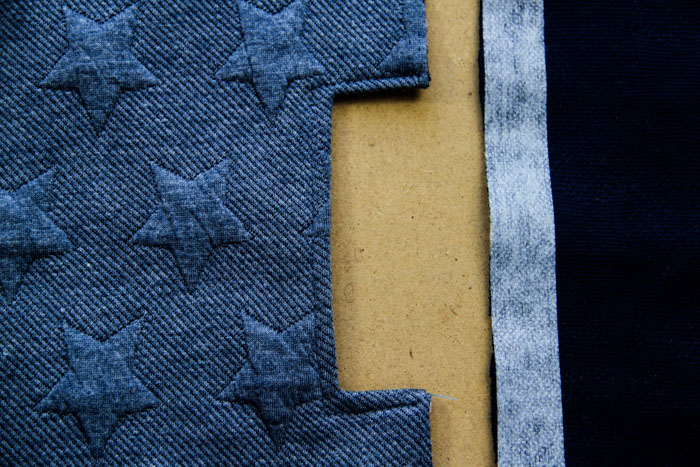
Place both front pieces face side up and cover the pockets with the two remaining pocket pieces.
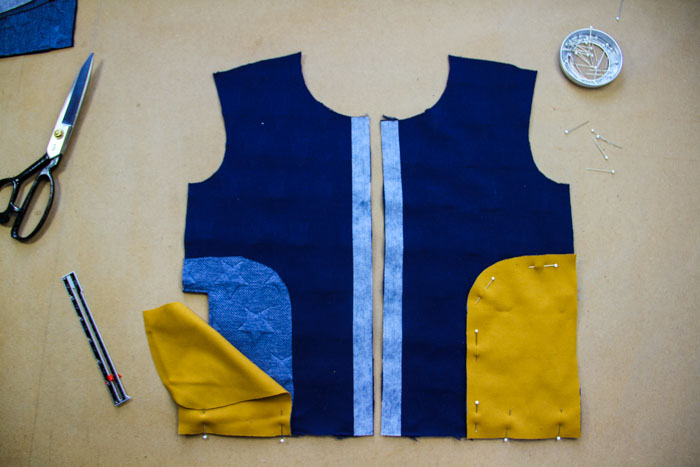
Pin both pocket pouches. (Only pocket pouches - two layers of fabric - not the front piece.)

Sew the pocket pouches. I used my overlock machine but it is possible to use a regular sewing machine too.
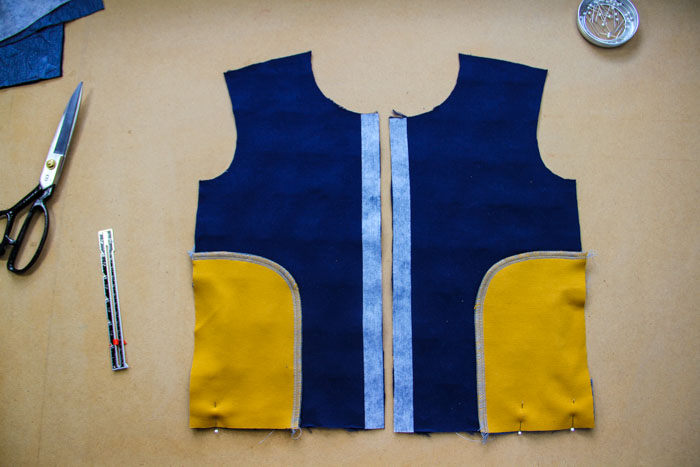
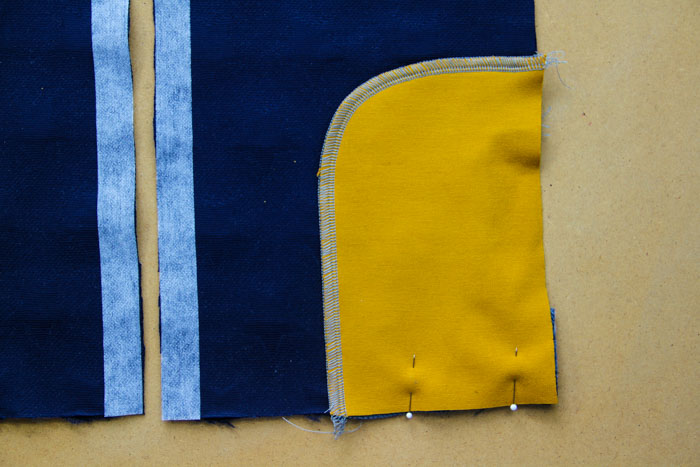
I recommend temporarily stitching the pocket pouch to the cutting edges of the front piece. This will make the front piece easier to handle.
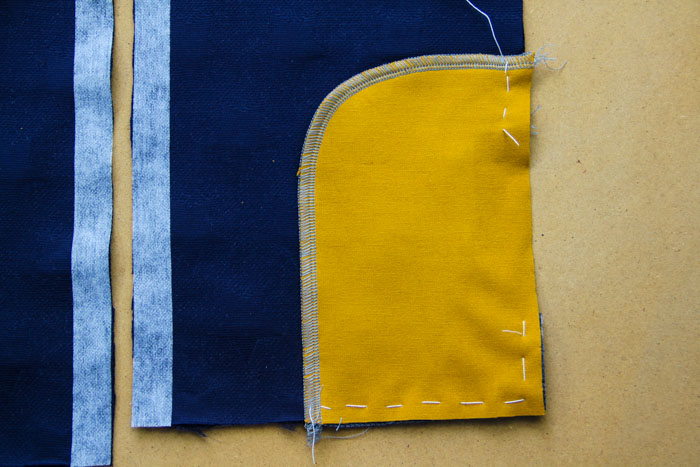
Prepare the other pocket in the same way.
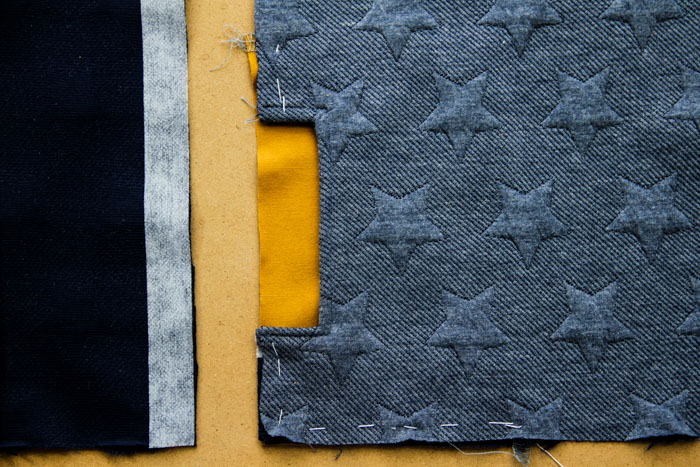
Shoulder seams
The pockets are prepared so we can move on. Place the back piece on your table (face side up).
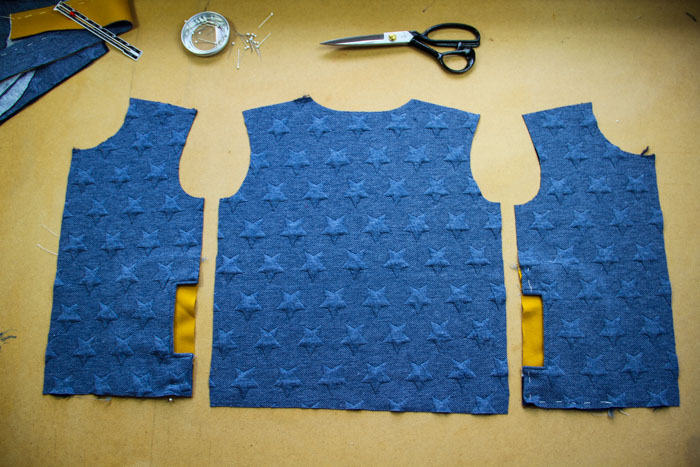
Lay both front pieces over the back piece (face side to face side) and pin both shoulder seams.
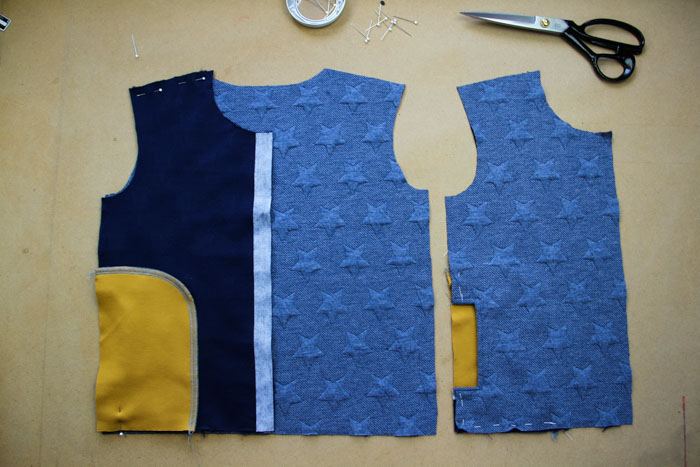
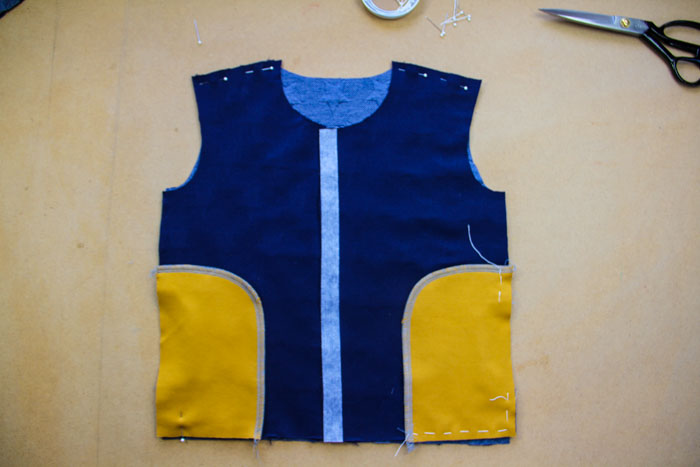
Sew the shoulder seams.
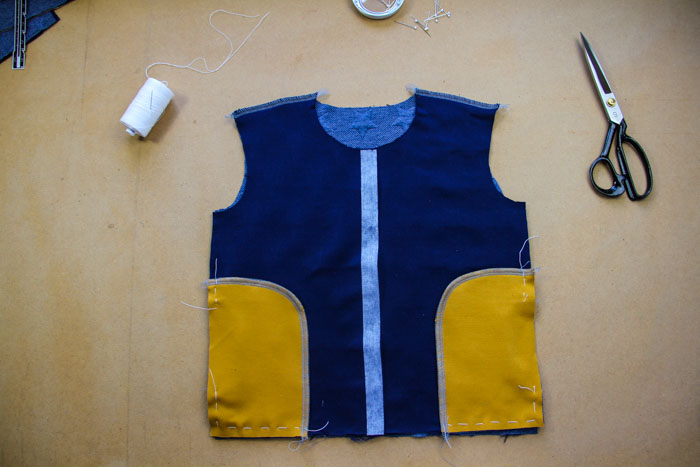
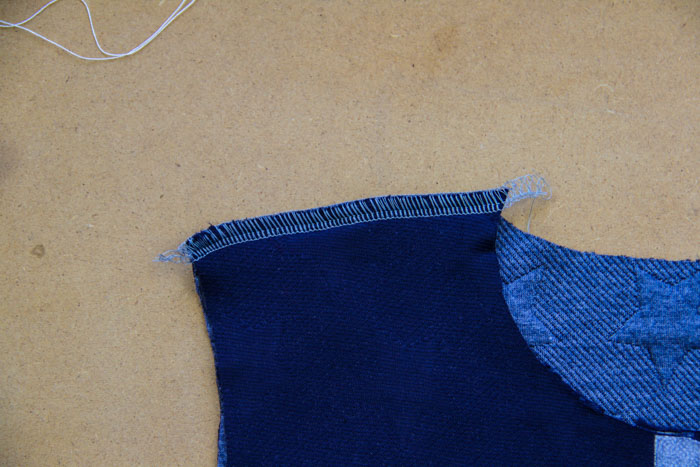
Press the seam allowances of the shoulder seams towards the back piece.
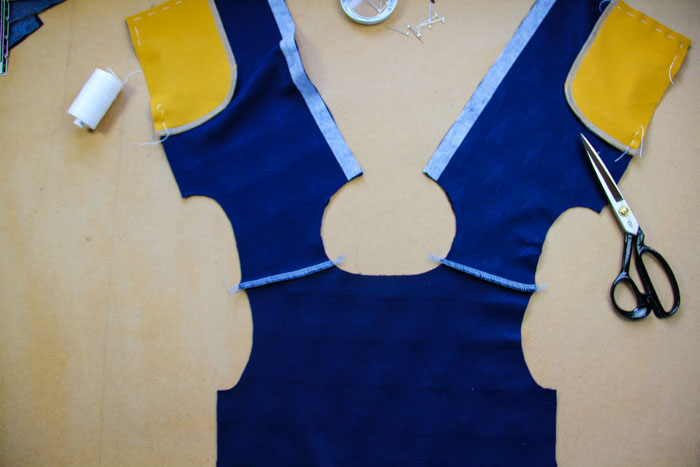
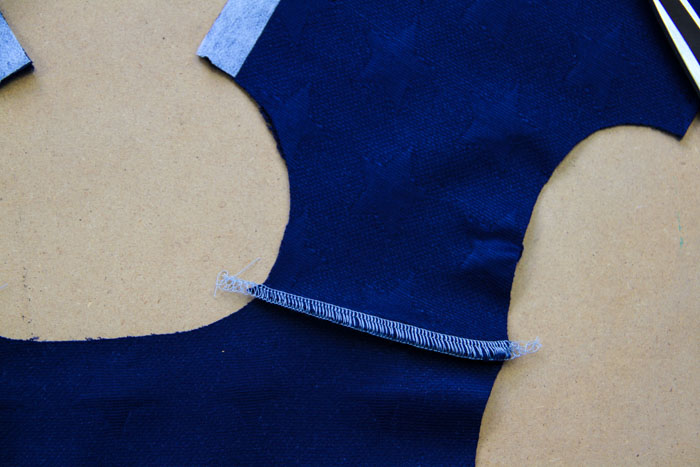
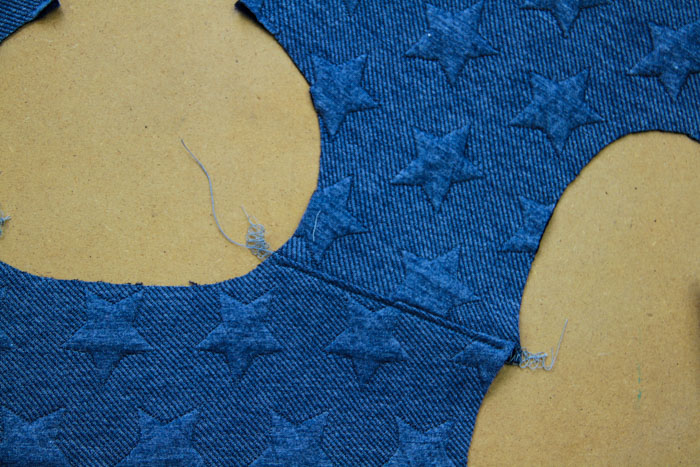
Topstitch both shoulder seams.
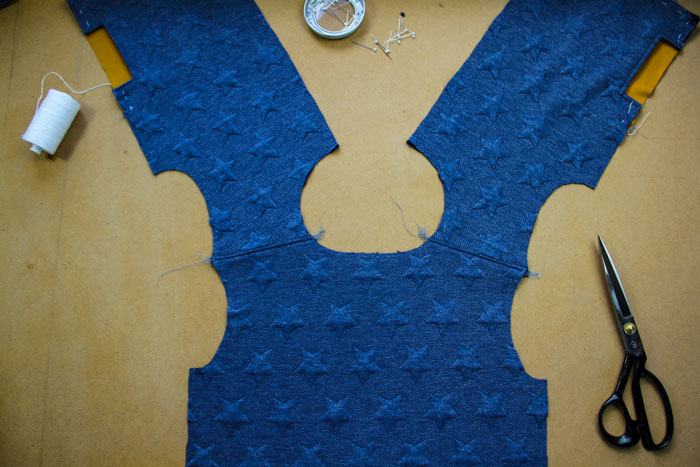
Topstitch about 3 mm (1/8") from the shoulder seams to attach the seam allowances to the reverse side of the back piece.
Sleeves
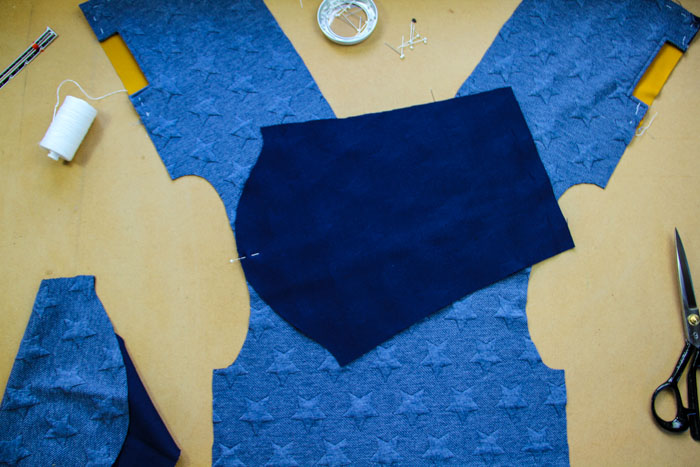
Pin the sleeve piece to the open armscye - pin the top of the sleeve cap to the shoulder seam...
...and then pin the rest of the sleeve cap.
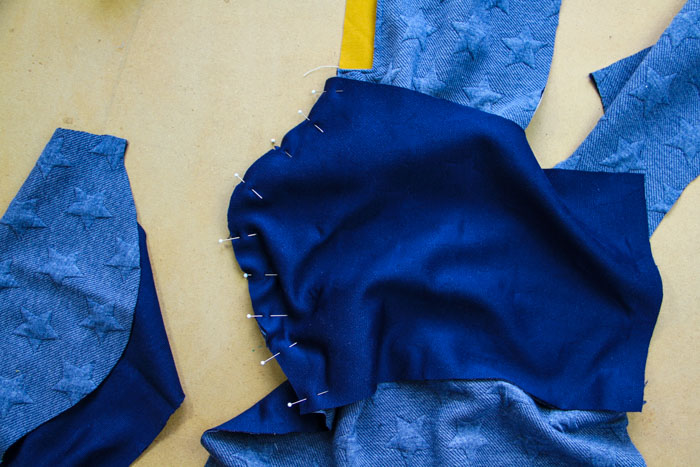
Sew the sleeve to the sweatshirt and then work on the other sleeve in the same way.
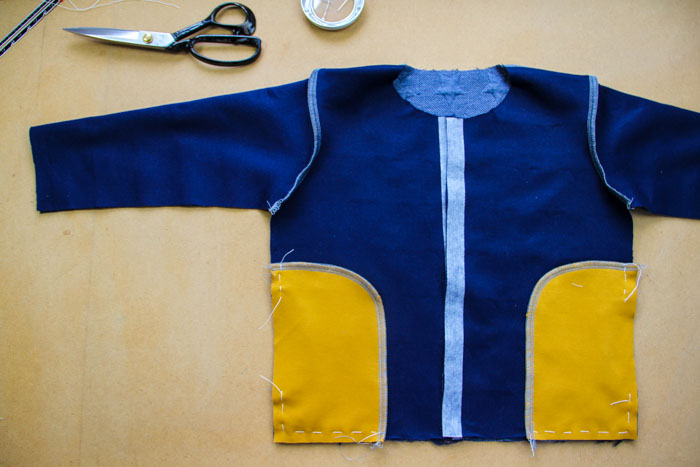
Sleeve seams & side seams
Turn the sweatshirt inside out. Pin the sleeve seams and the side seams.
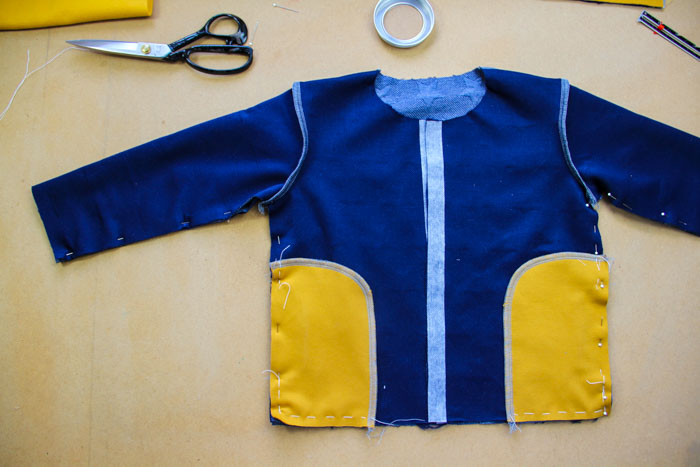
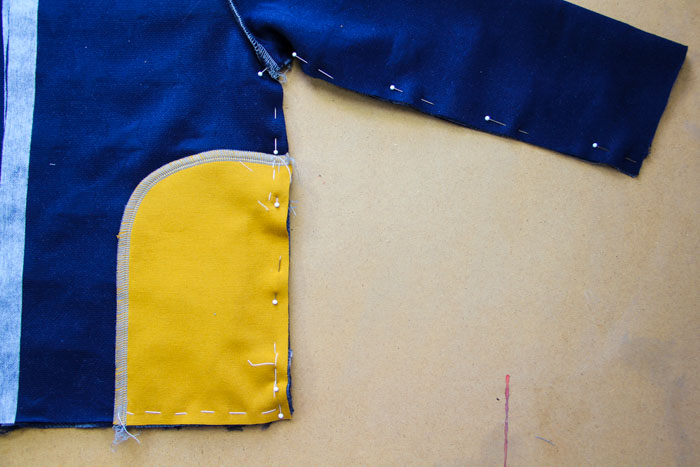
Sew previously pinned seams.
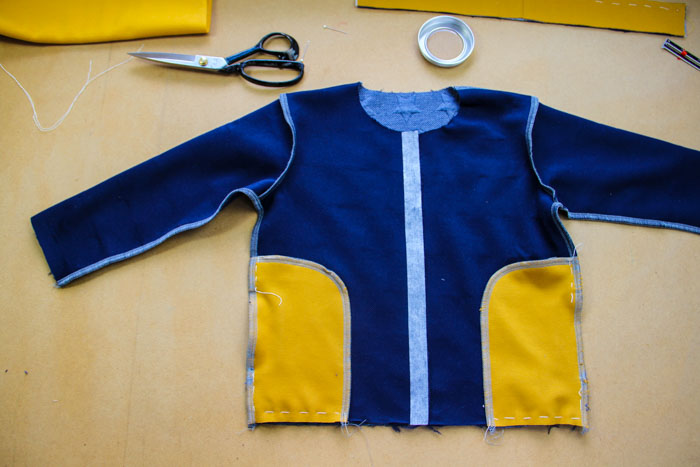
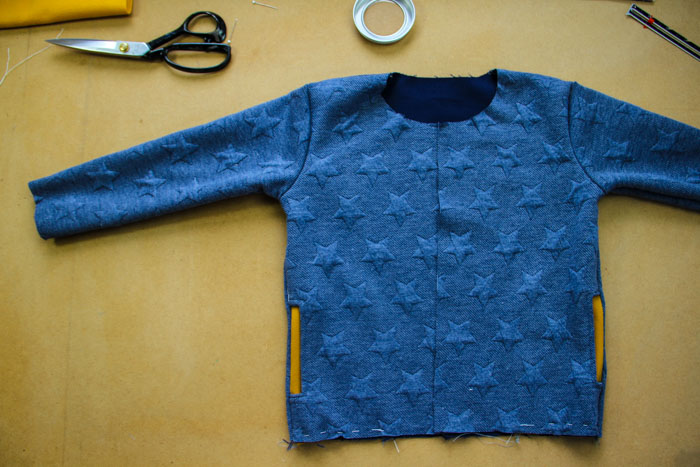
Collar
The easy part is over and now we can start sewing the collar.
Pin the collar to the neck opening – the face side of the outer part of the collar belongs to the face side of the neck opening.
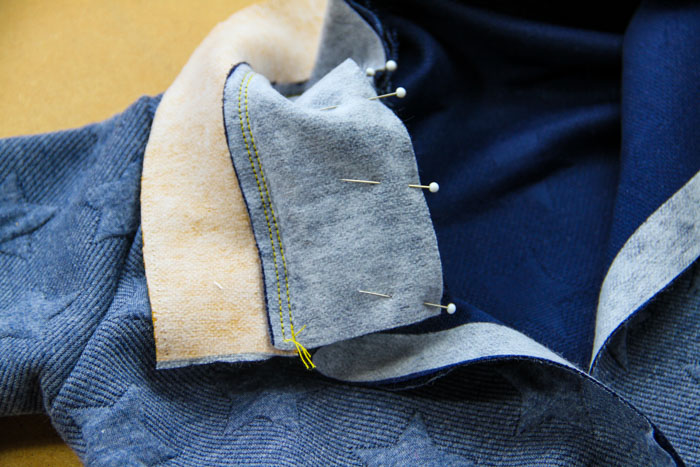
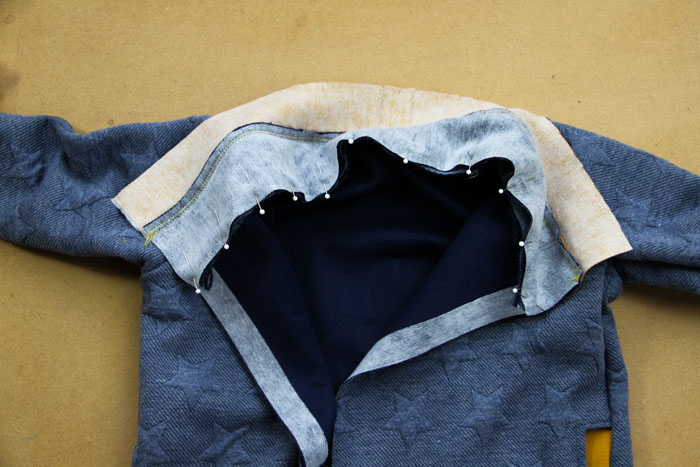
Sew the collar to the neck opening.
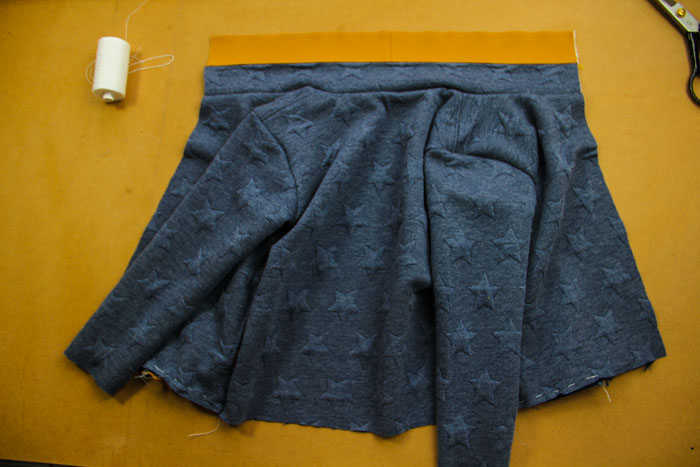
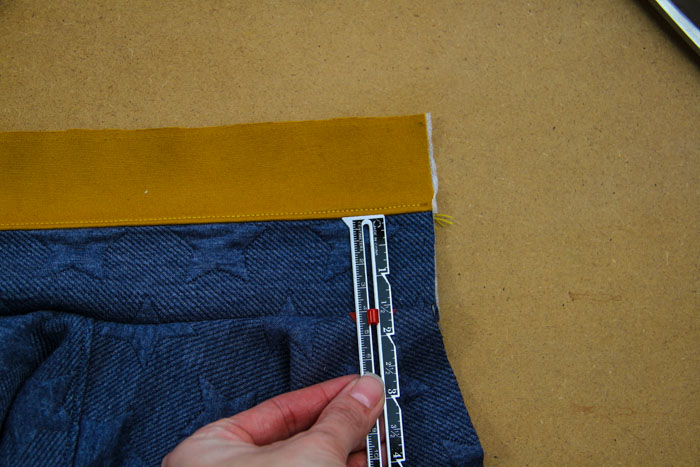
Check the face side of the collar - the distance from the neck opening seam to the seam on the collar must be the same on both sides of the collar, otherwise, you won’t be able to sew the zipper evenly. This mistake would be very noticeable on the finished piece.
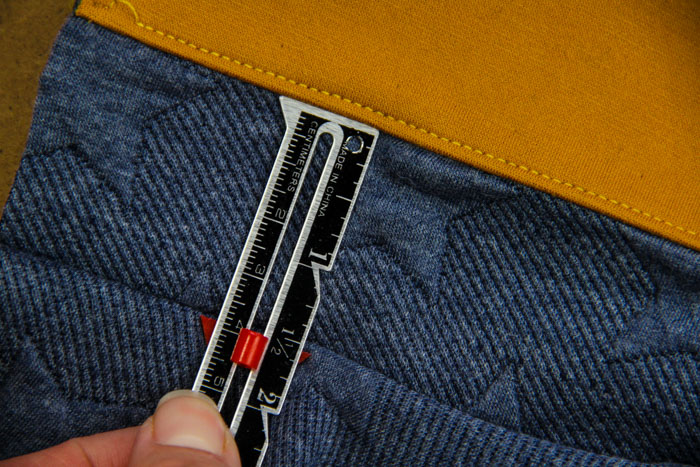
Turn the sweatshirt inside out and trim one of the seam allowances in the neck opening - cut it in half.
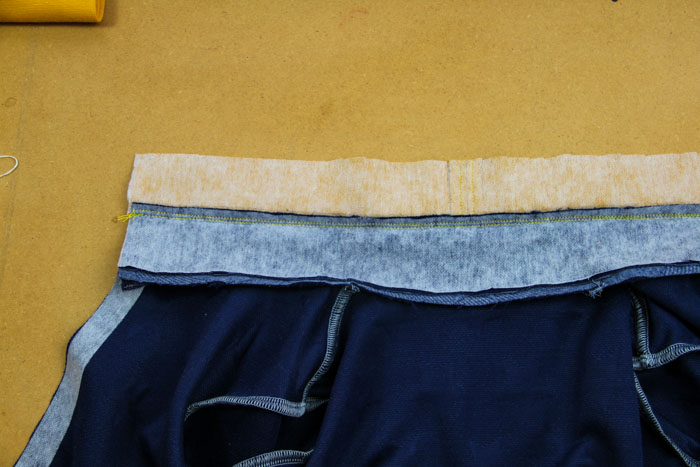
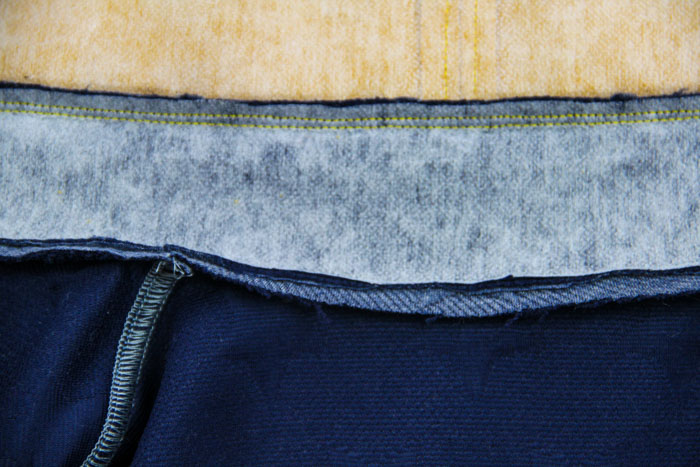
Bottom hem
Before sewing the zipper, we must sew the bottom hem.
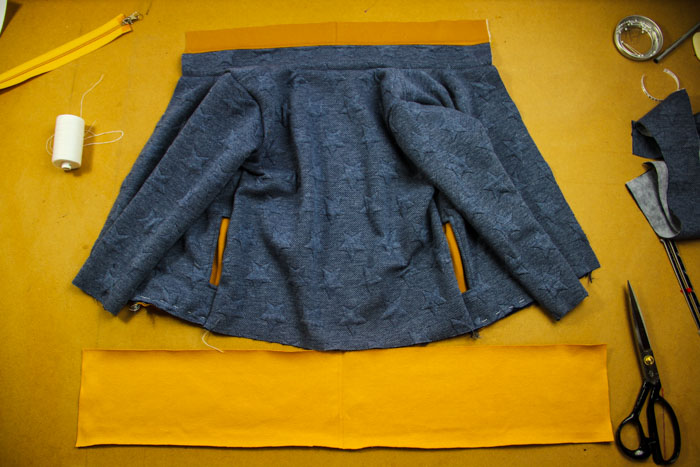
Pin the hem knit to the bottom edge of the sweatshirt (face side to face side). Start where the center of the hem knit meets the center of the back piece...
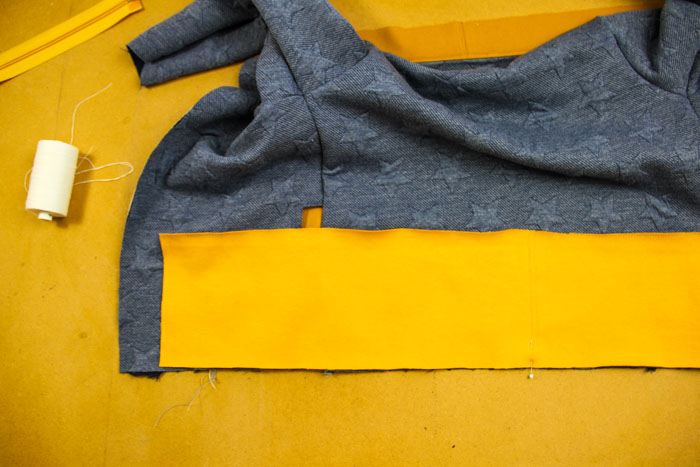

...then pin both corners of the hem to the corners of the front pieces.
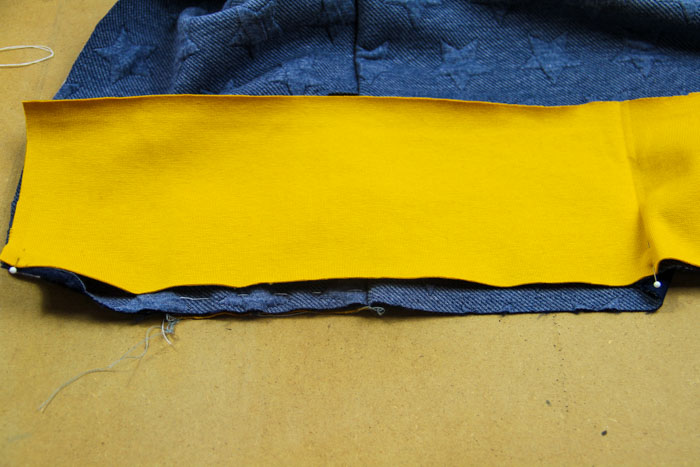
The place where the hem is to meet the side seam is marked on the pattern piece.

Pin the rest of the hem to the sweatshirt.
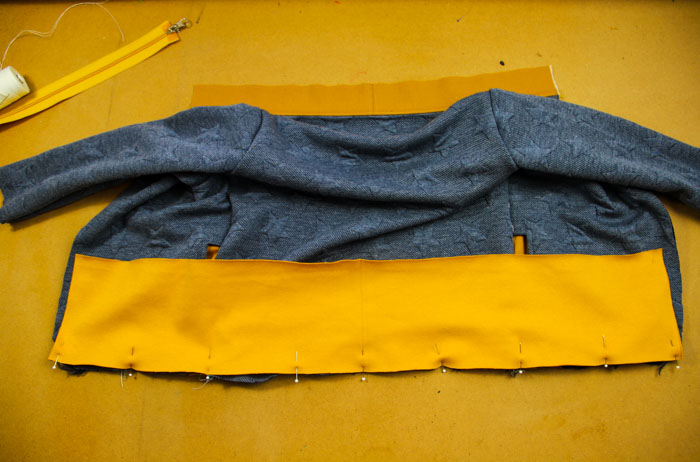
Sew the hem to the sweatshirt. When sewing, gently stretch the hem to sew it evenly.
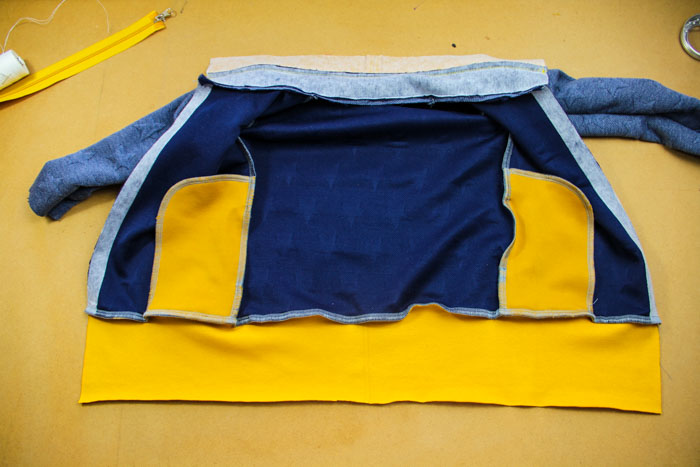
Facing
Let’s prepare the facing - pin both "shoulder seams" (face side to the face side).
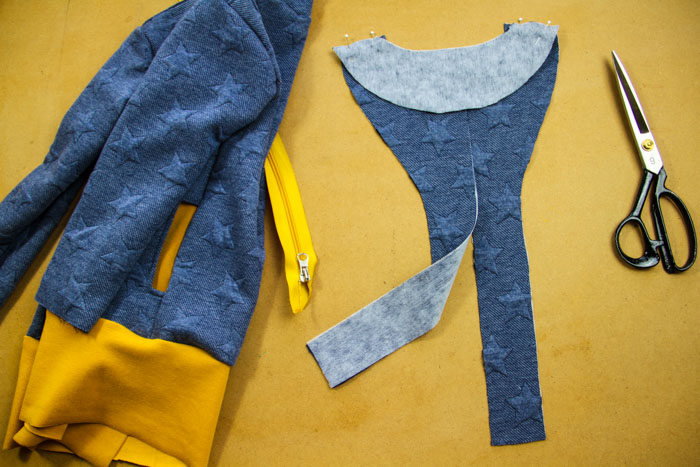
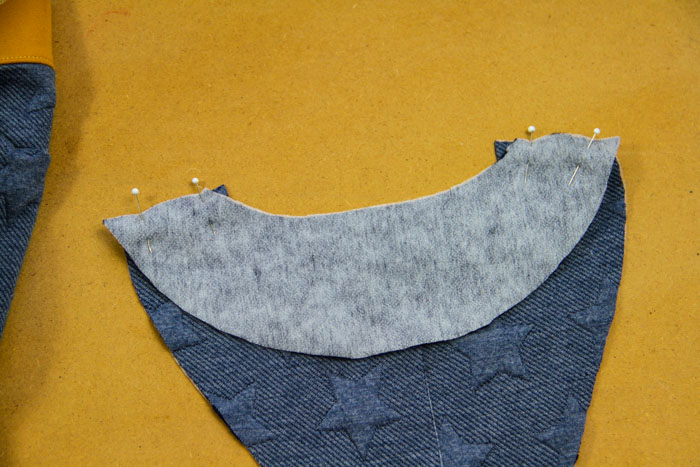
Sew the shoulder seams. Press seam allowances towards the front pieces and topstitch the seams - sew about 3 mm (1/8") from the original seams.
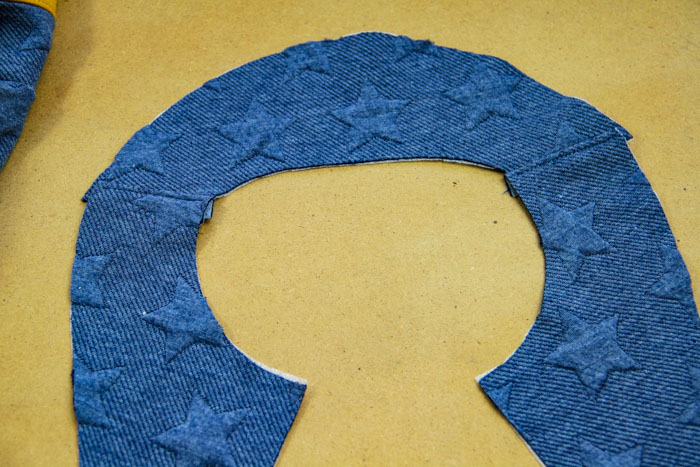
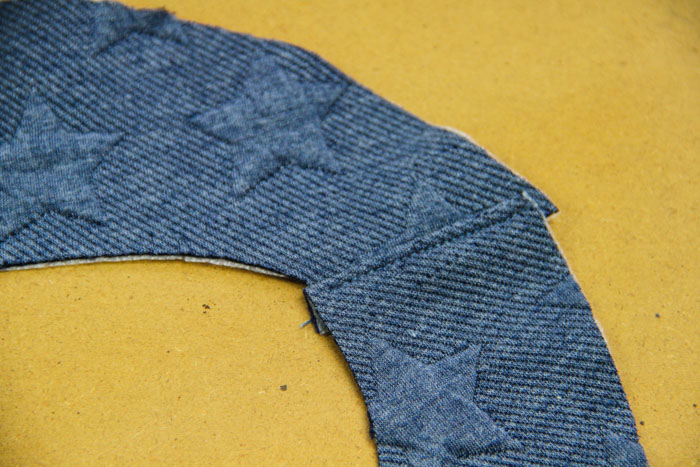
You can also prepare the hanging loop. You can use a piece of ribbon. Pin your hanging loop to the back part of the facing. Both ends of the ribbon need to be the same distance from the middle of the piece.
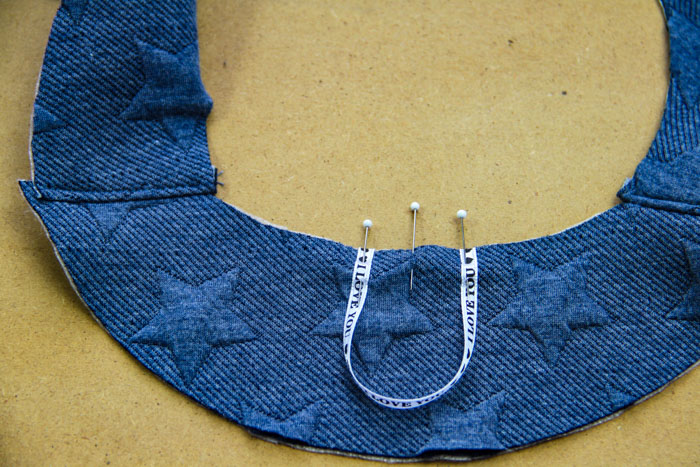
Attach the hanging loop with a few small stitches. Sew close to the cutting edge.
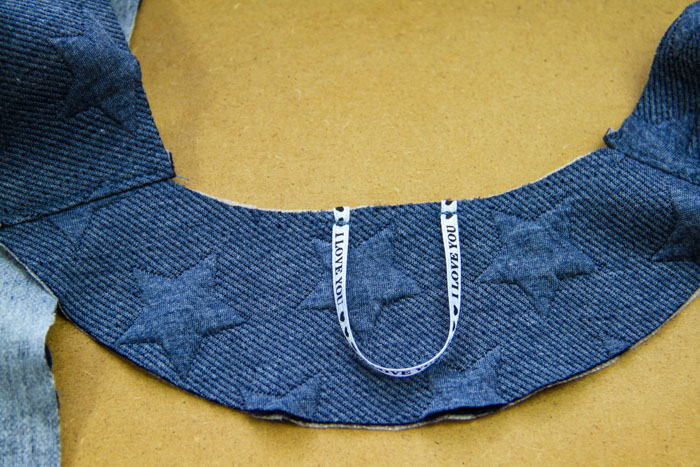
Stitch the top part of the hanging loop to the facing (so that you don't accidentally sew through it when sewing the facing to the sweatshirt).
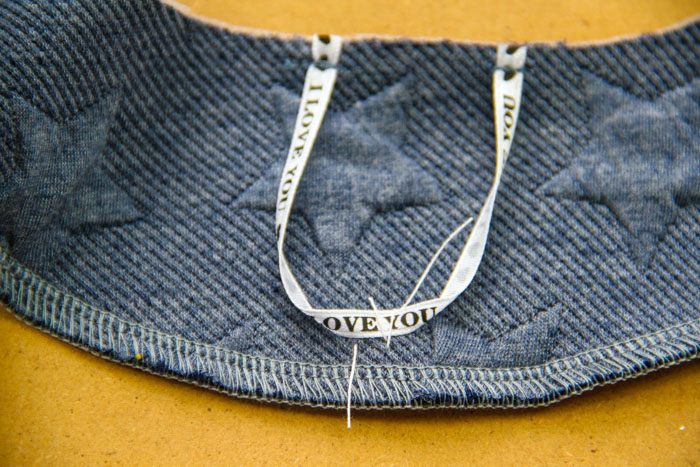
Clean the outer edge of the facing.
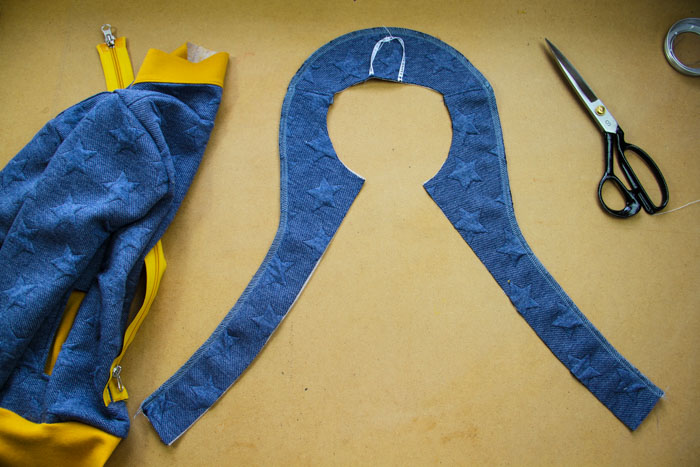
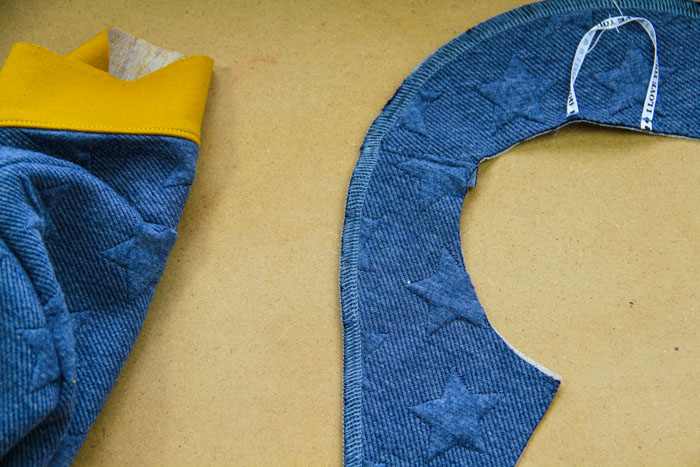
Zipper
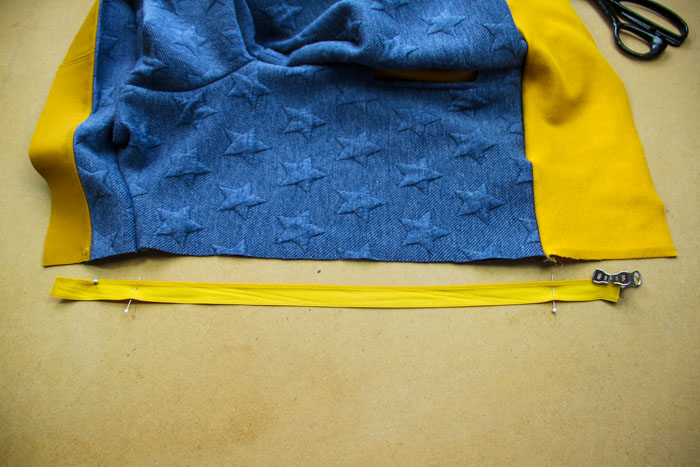
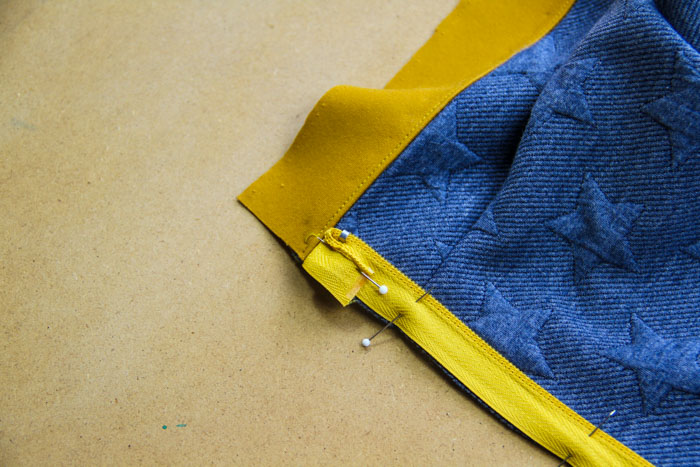
Pin the first half of the zipper to one of the front pieces (face side to face side).
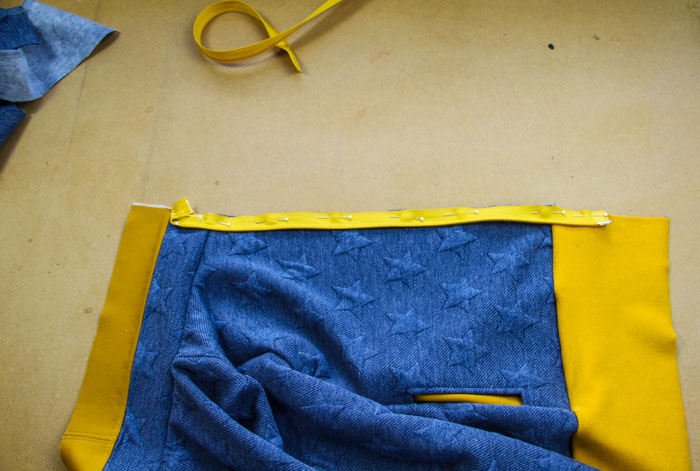
Fold the top part of the zipper tape back on itself.
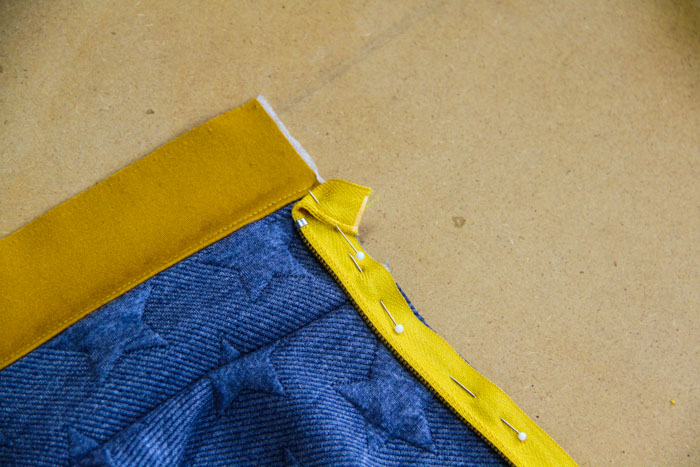
The bottom end of the zipper should reach up to the middle of the bottom hem (don't forget to include the upper seam allowance when finding the middle).
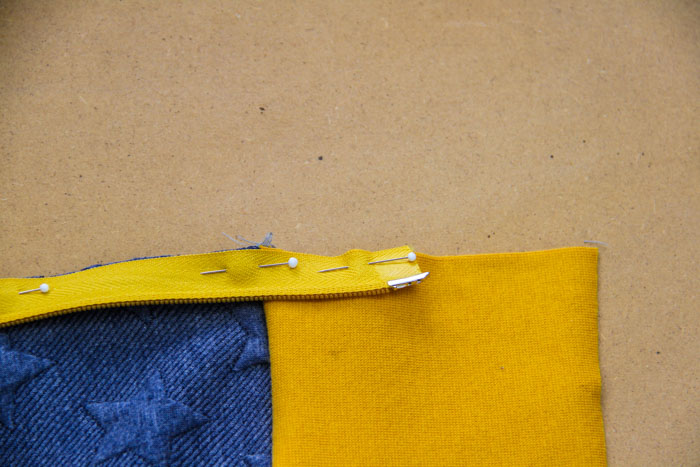
You can now baste (and sew) the zipper to the sweatshirt. I recommend using a zipper foot.
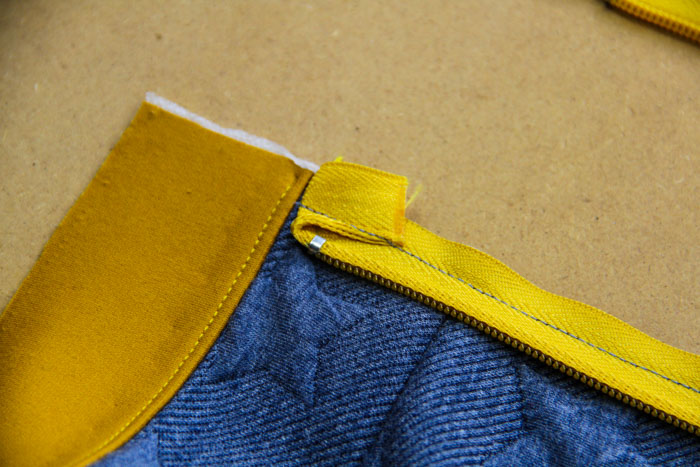
Press the seam allowances of the neck opening towards the collar.
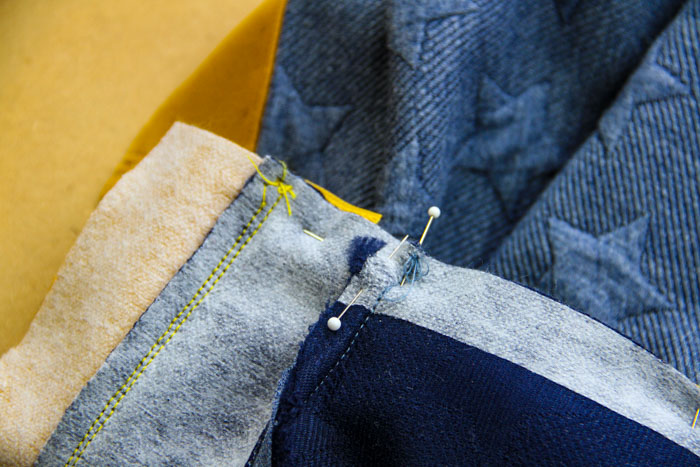
Press the seam allowances of the bottom hem towards the front piece.
(I got this wrong...)
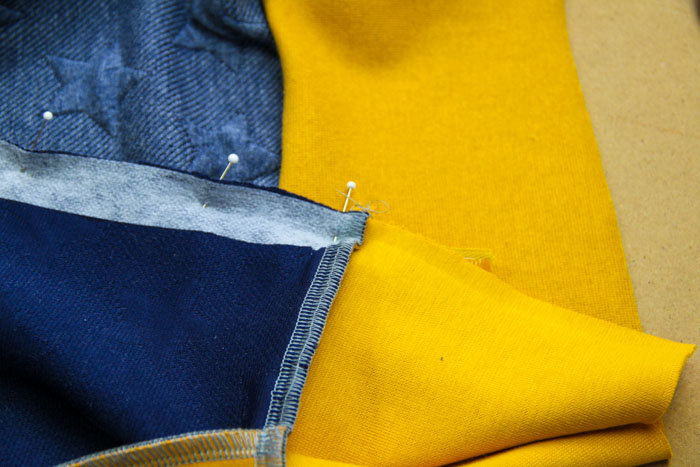
Close the zipper and mark the place where it meets the neck opening seam.
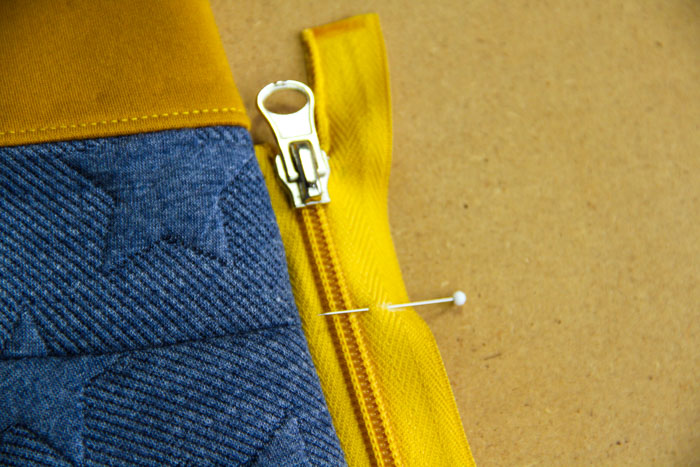
Also, mark the place where it meets the seam of the bottom hem. Both halves of the zipper must be sewn in exactly the same position. If one half is "lower" than the other, it will become evident after you close the zipper (one half will be wavy). It may seem insignificant, but this kind of mistake is very noticeable. Pay close attention when sewing the zipper and do not hesitate to rip out the seam and start again if you notice any mistakes.
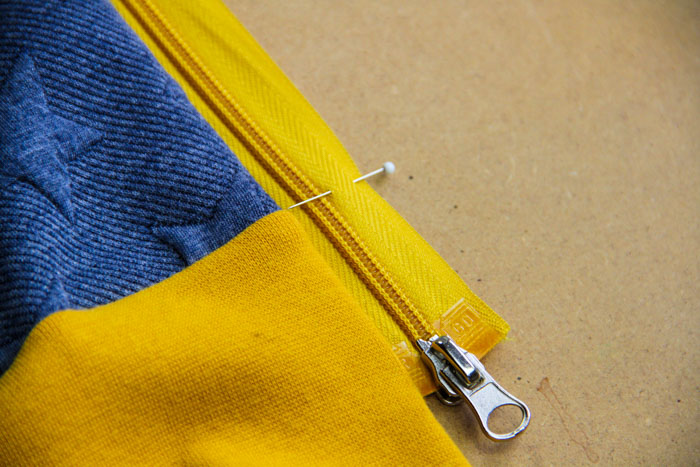
Baste the second half of the zipper to the other front piece. Use your marks to align the zipper correctly.
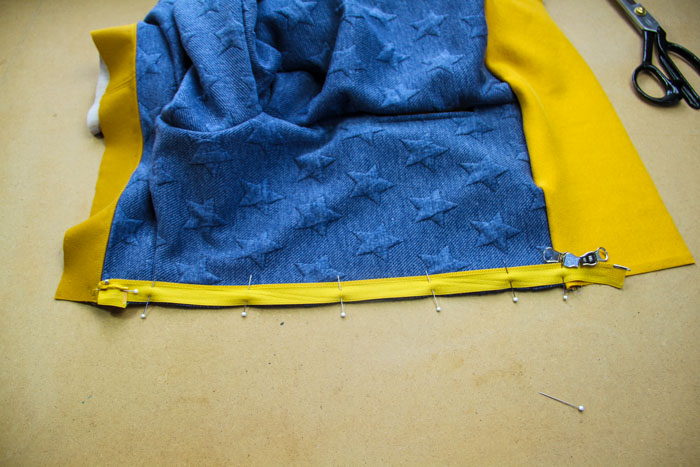
Sew the second half of the zipper to the sweatshirt, close it and check for mistakes.
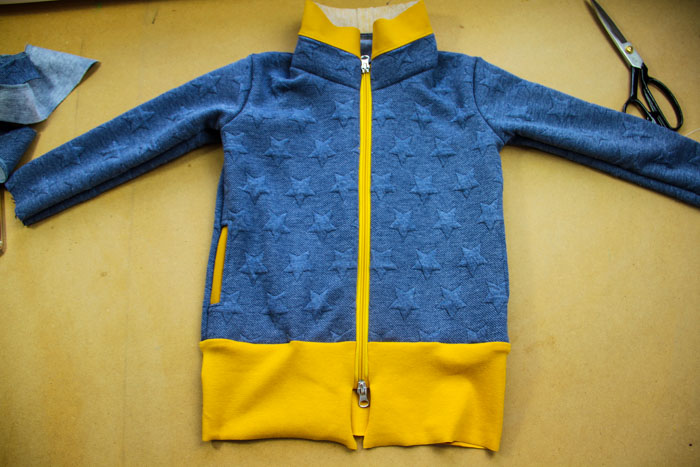
Trim the inner layer of the collar (cut about a 0.5 cm / 0.2 "wide strip of fabric from its upper edge).
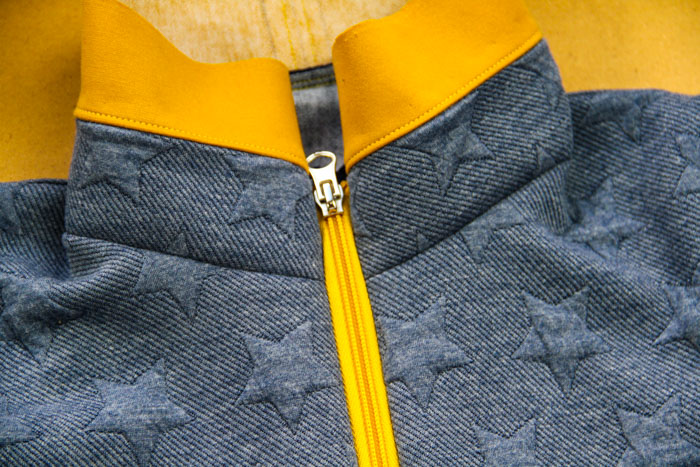
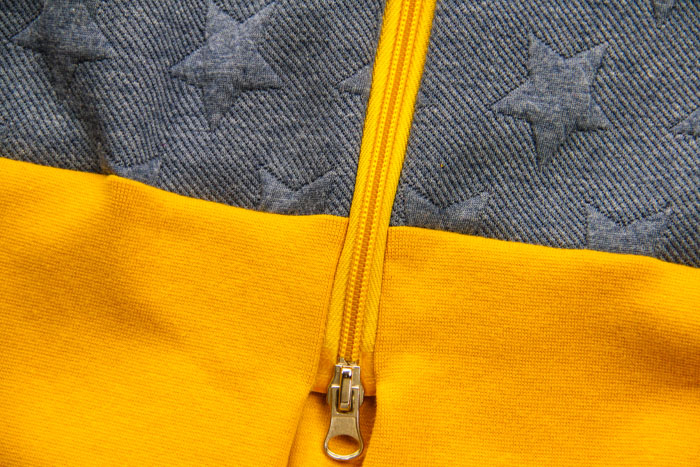
Facing
We have prepared the facing (and hanger tab) in advance so now we just need to pin it to the sweatshirt. Pin the facing to the inner layer of the collar (face side to face side).
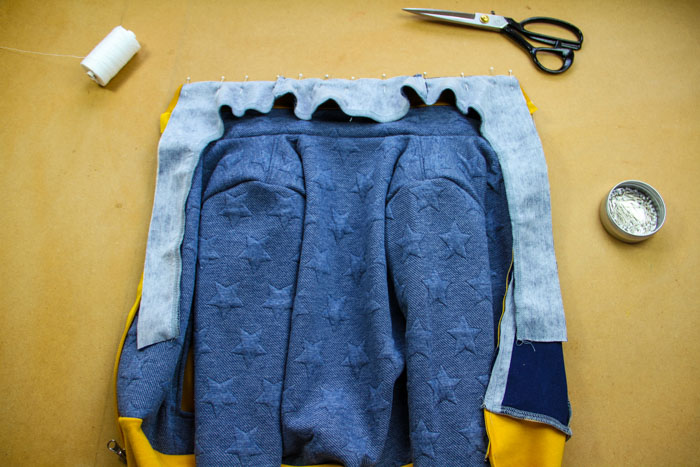
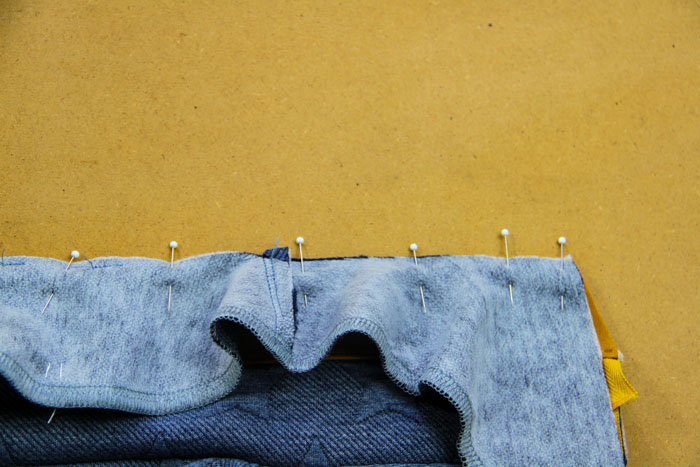
Sew the facing to the collar.

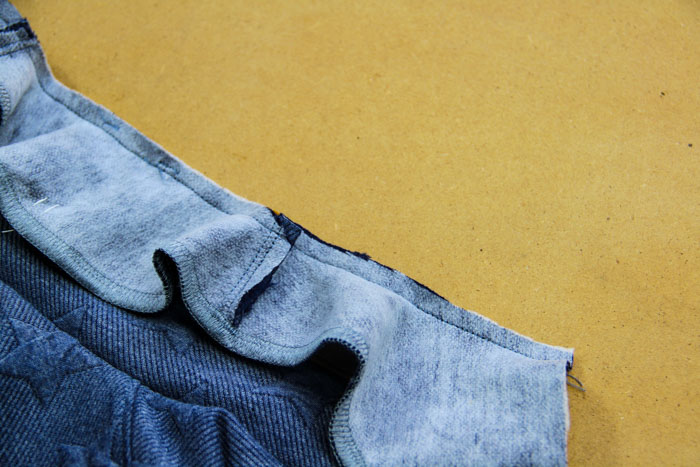
Align the edges of the facing with the edges of the front pieces.
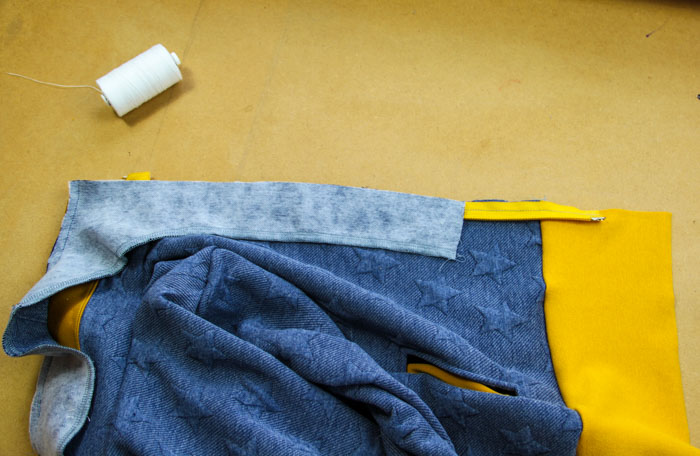
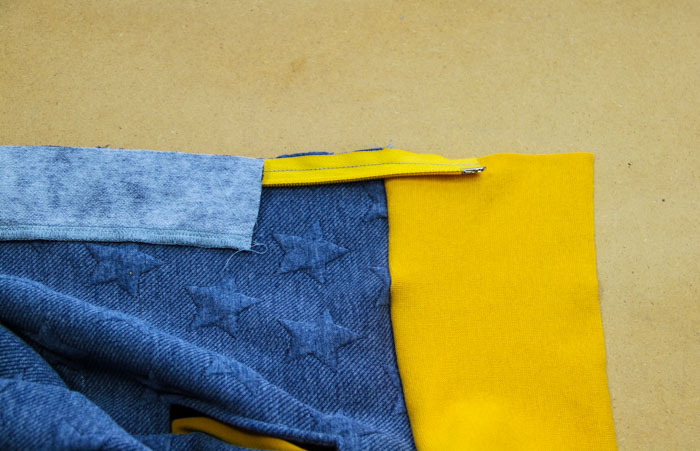
Pin the bottom edge of the facing to the bottom edge of the hem.
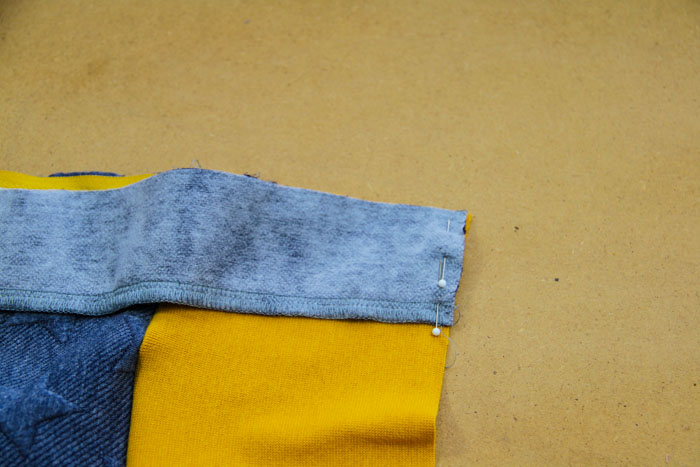
Sew the two pieces.
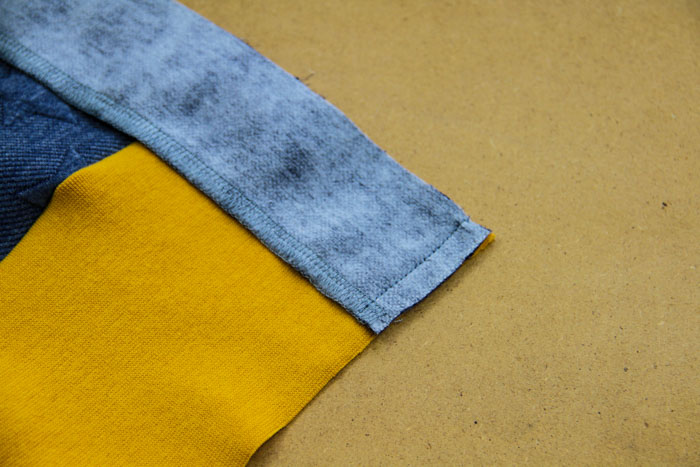
Now fold the collar in half and over the zipper as shown below. Align the neck opening seam with the seam that connects the inner collar to the facing. Fold all seam allowances towards the collar.
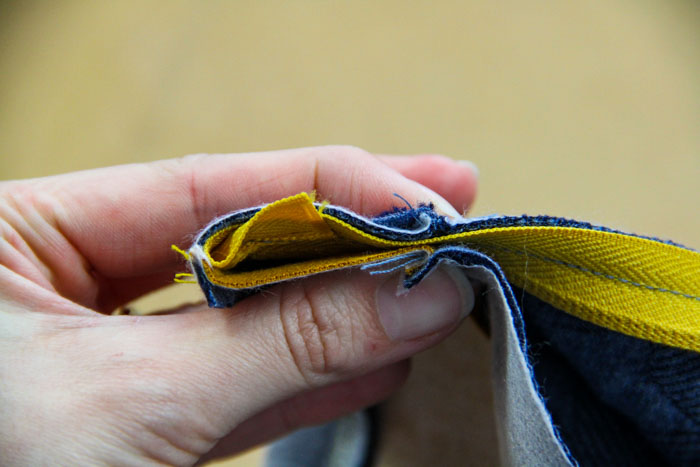
Pin the facing to the front piece (and zipper tape). Fold the bottom hem in half.
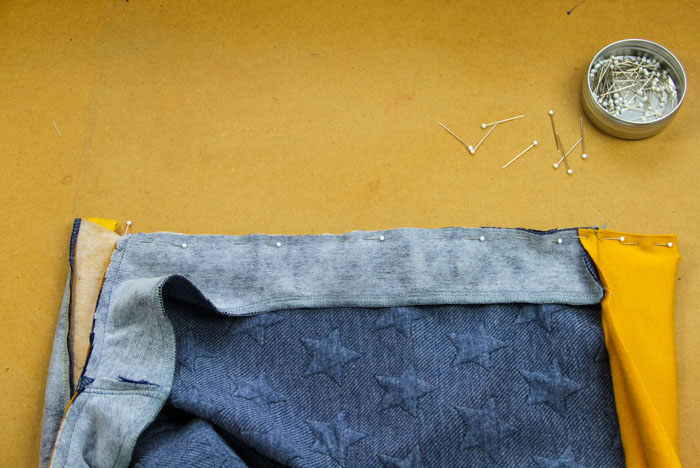
Press the seam allowances of the hem towards the facing (not towards the hem).
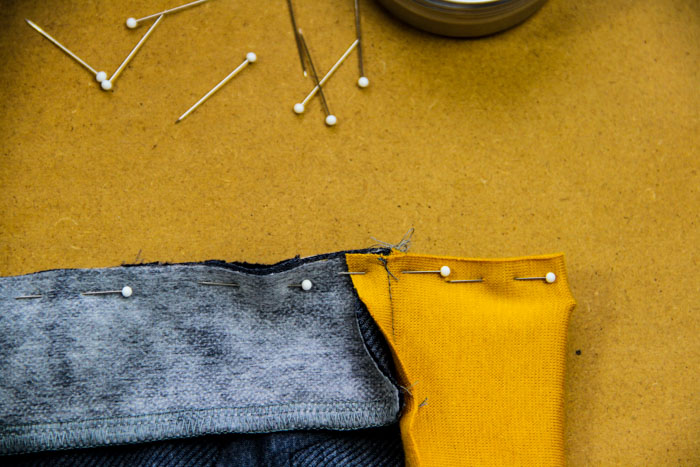
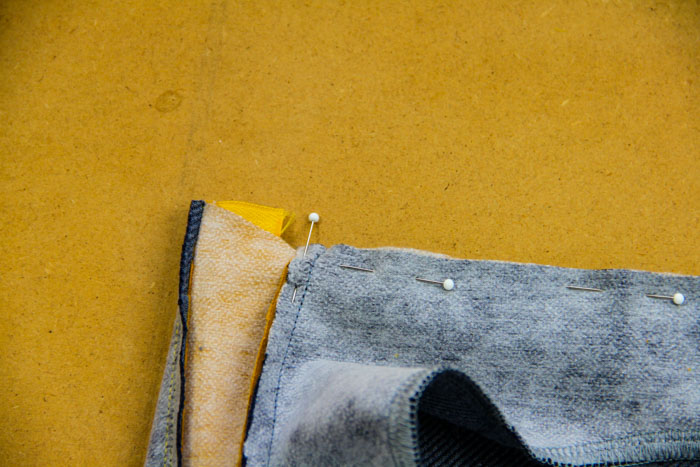
Sew the facing to the front piece along with the inner collar and part of the bottom hem.
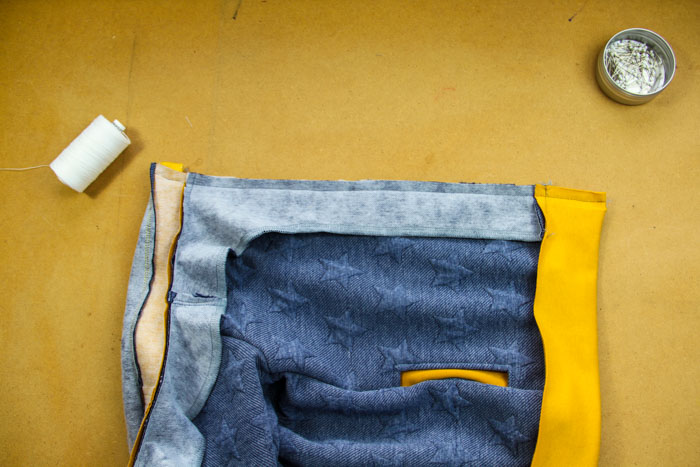
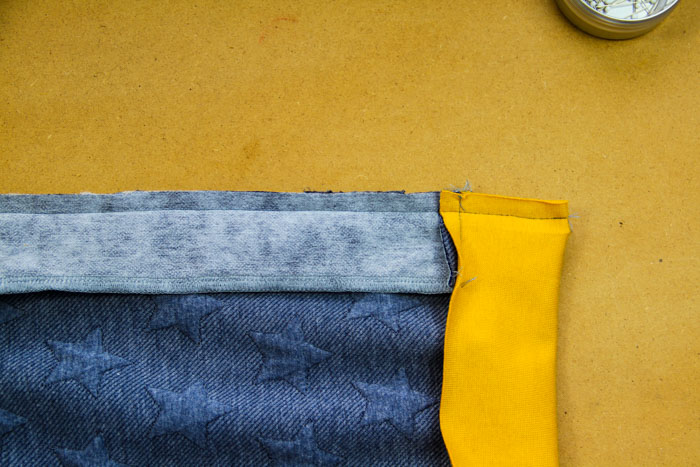
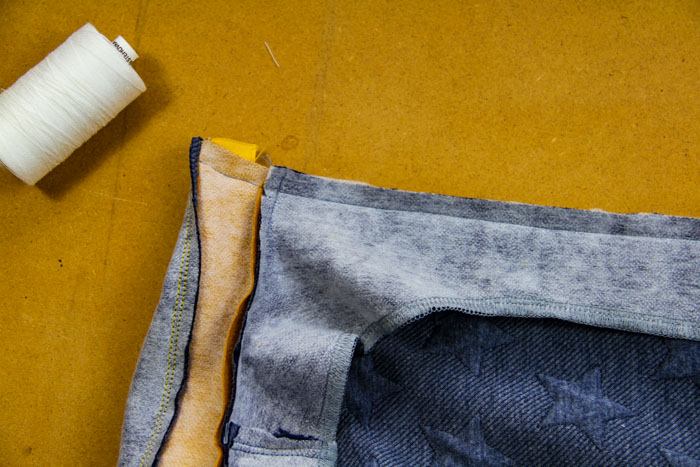
If you now flip the facing over the edge and to the inside of the sweatshirt, it should look like this:
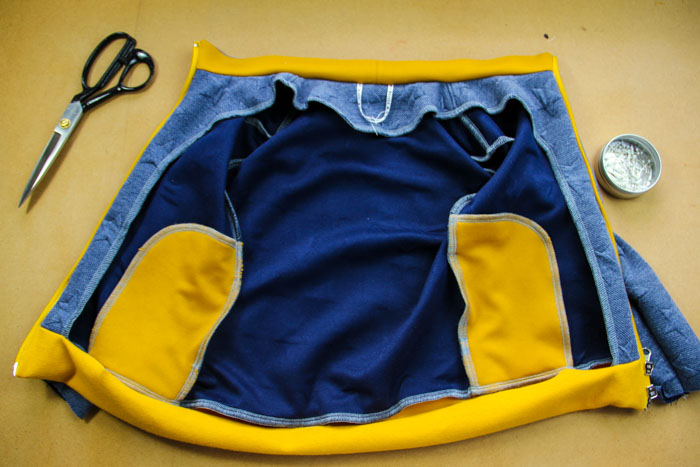
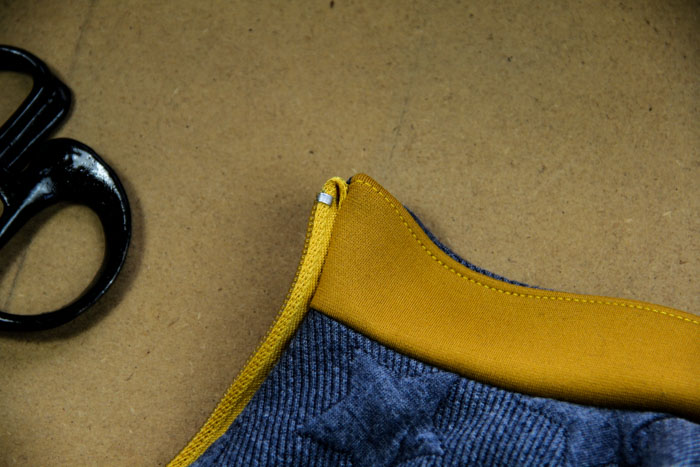
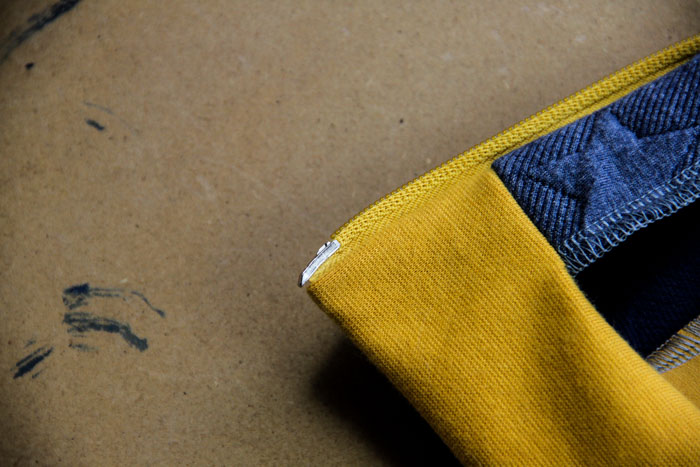
Finish the bottom hem
Fold the hem in half and pin its bottom edge to the existing seam.
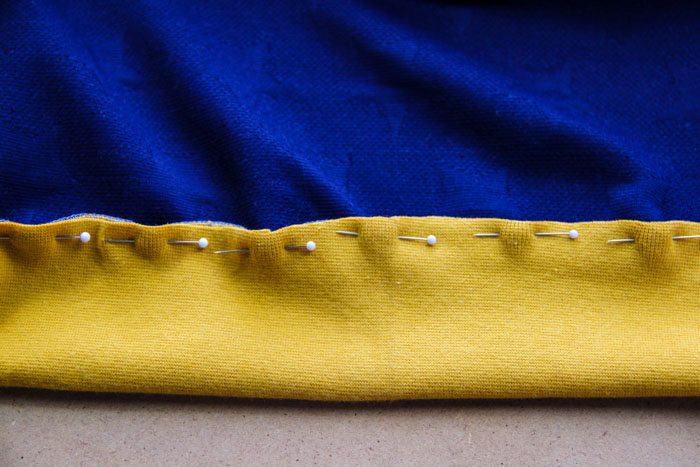
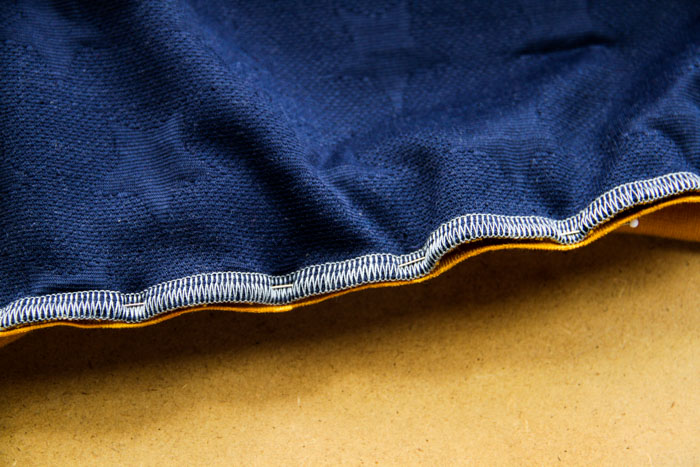

Try to pin as much of the hem as possible. You don't have to get right up to the zipper, but the longer the seam you manage to do, the better.
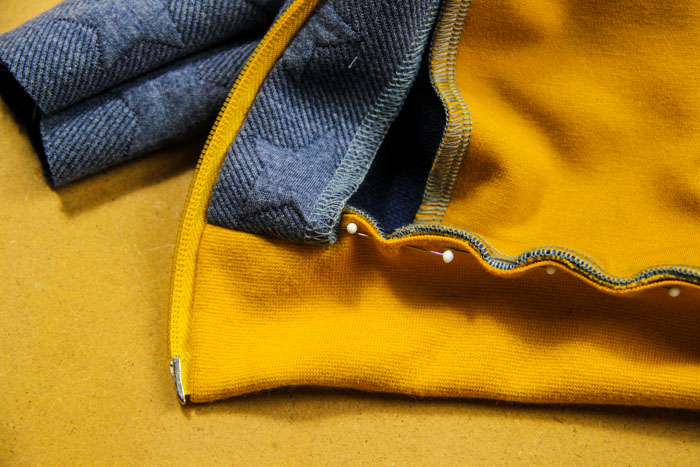
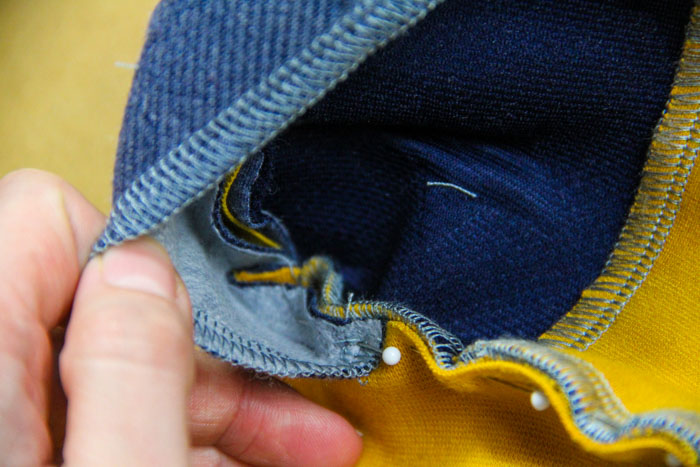
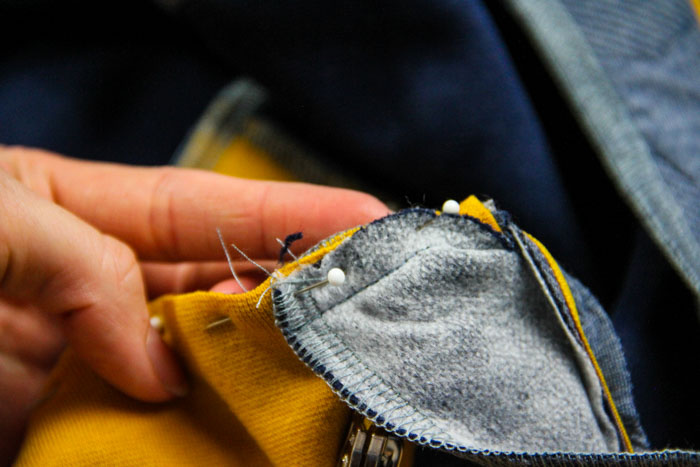
Sew the hem to the existing seam. I recommend using a narrower stitch and turning off cutting when using an overlock machine.
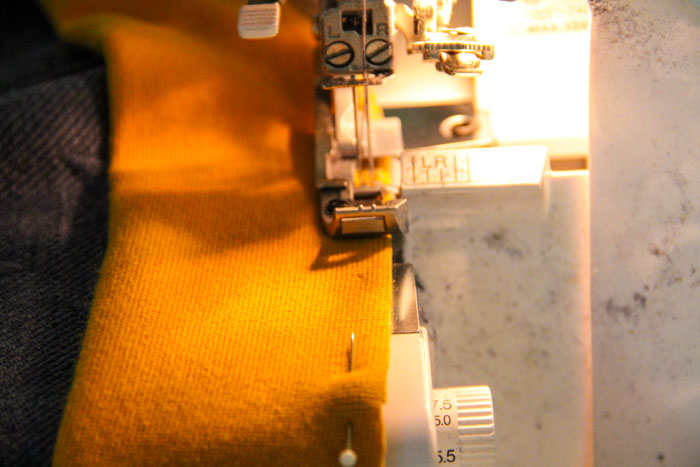
Pull free ends of the thread chain under the loops.
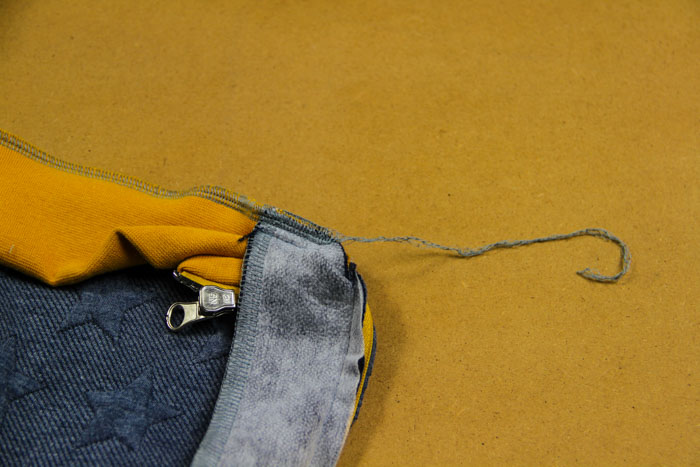
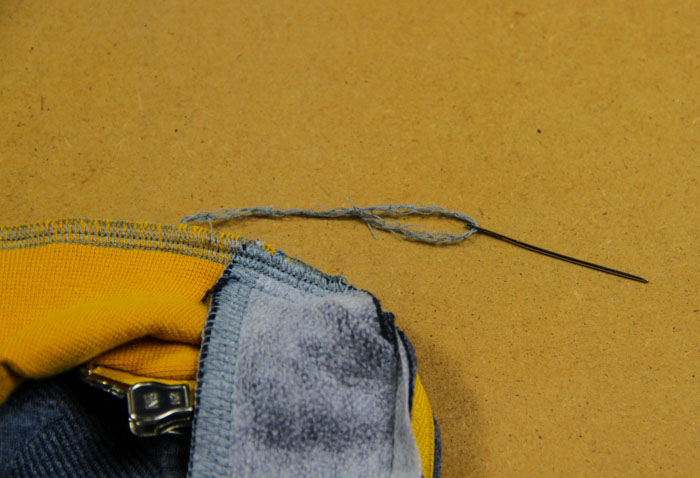
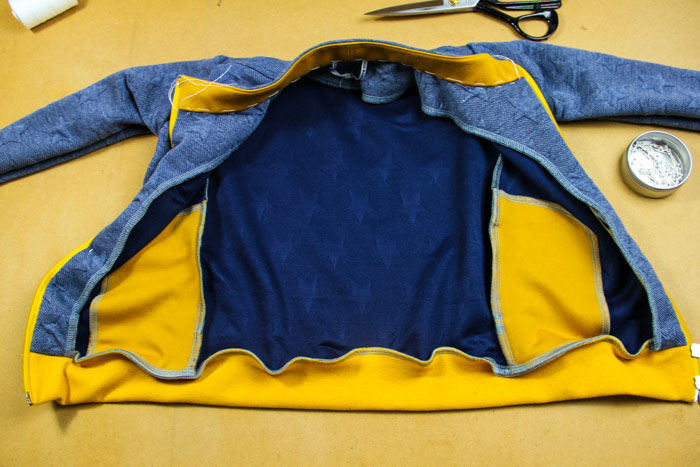
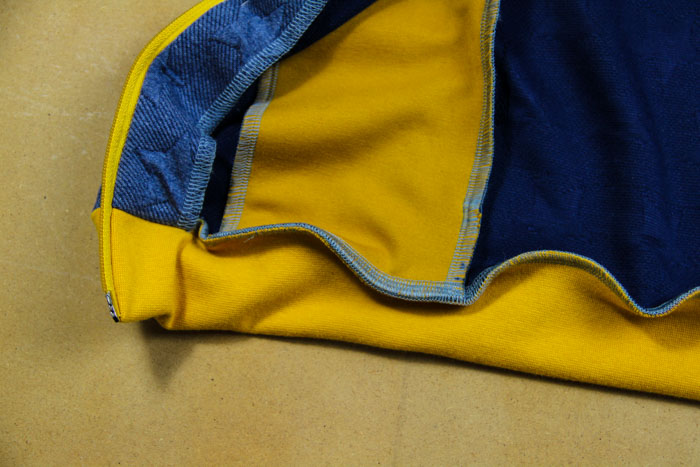
Finish the collar
We can now finish the collar.
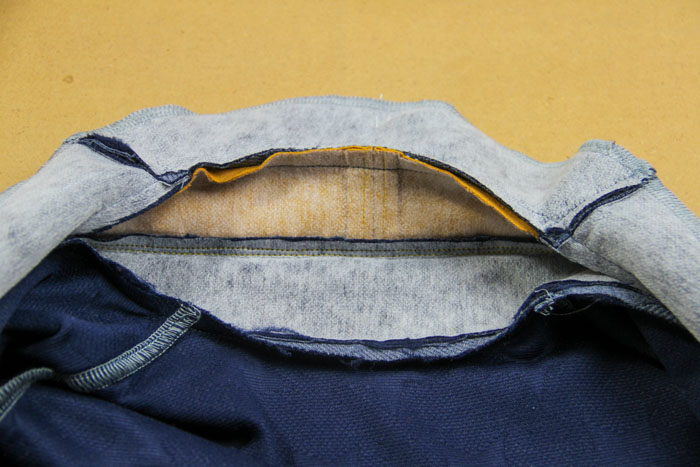
Press the seam allowances of the neck opening towards the collar and stitch them in this position.
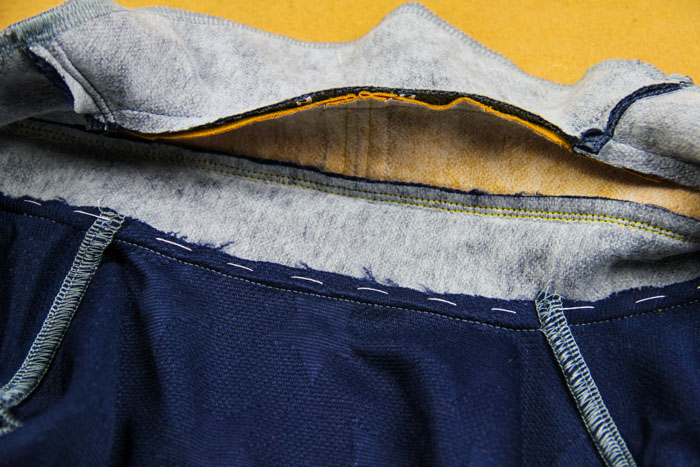
Let the basting thread hang from the face side of the sweatshirt.
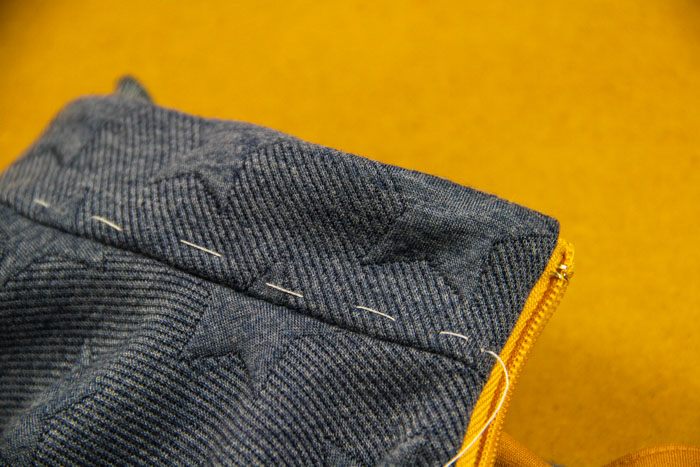
Press the seam allowances of the facing towards the collar and baste them in this position.
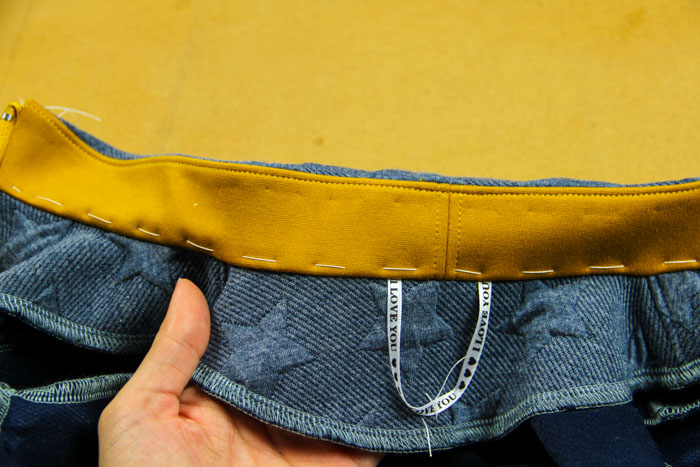
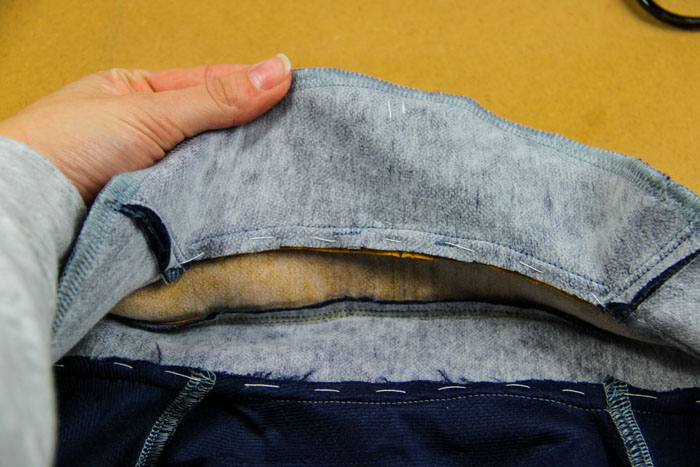
Now put the two collars together. You shortened the inner collar (before sewing facing), which is why its seam is now about 0.3 - 0.5 cm (1/8" - 0.2") higher than connecting seam of the outer collar. Baste both collars - stitch right below the edge of the inner collar...

On the other side, the stitching should appear about 0.3 - 0.5 cm (1/8" - 0.2") above the connecting seam.
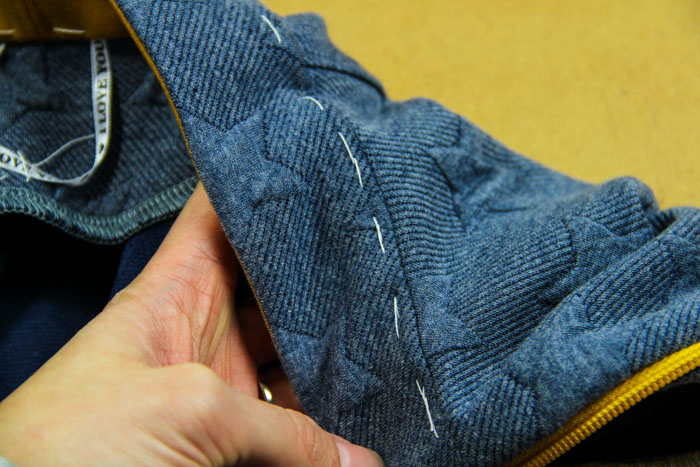
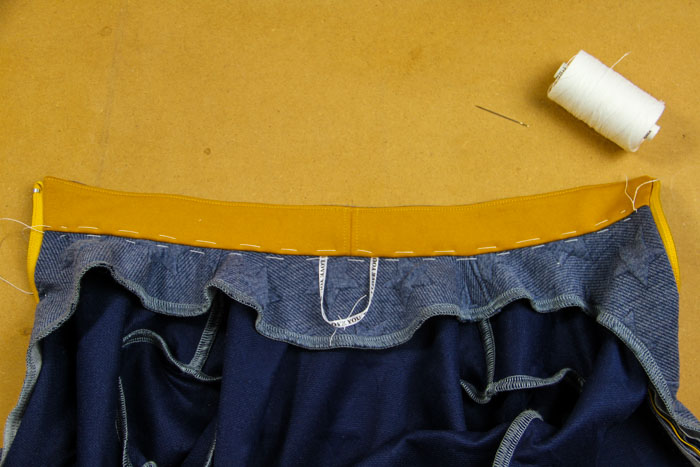
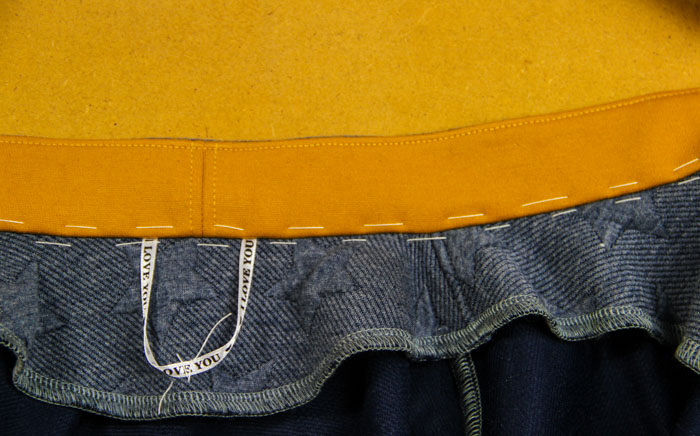
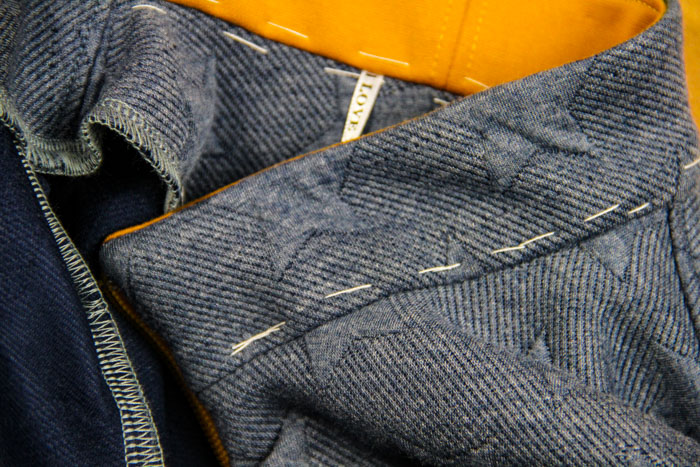
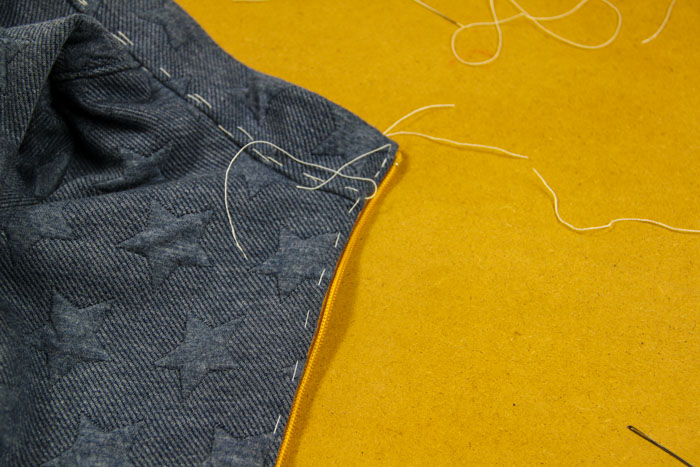
Now sew right in the seam that connects the inner collar to the facing.
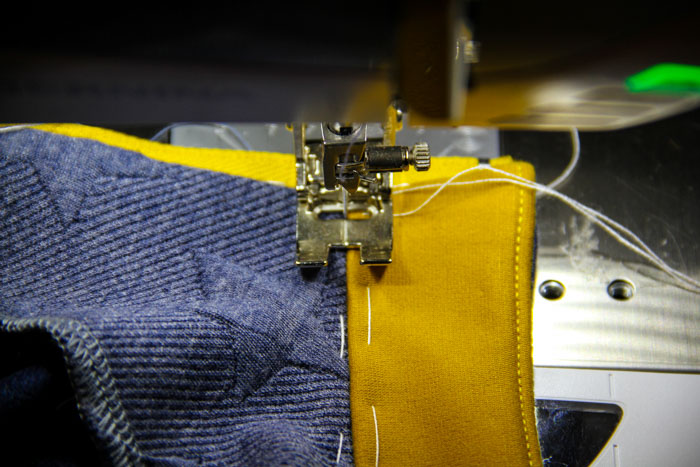
The inner collar is now topstitched. Now topstitch the outer collar - sew on the opposite side of the connecting seam (this new seam and previous topstitching line should be the same distance from the connecting seam). This seam will also attach the facing.

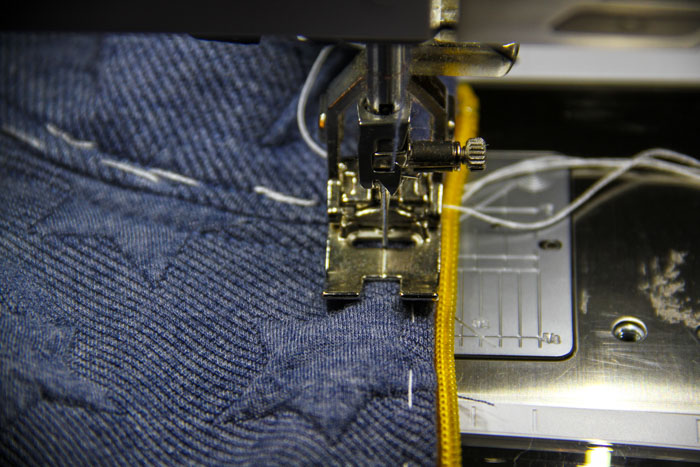
Topstitch the front pieces along the zipper.
Sleeve hems
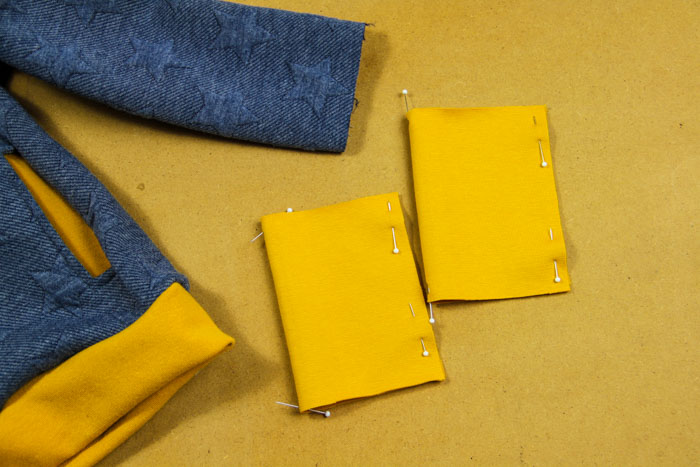
Finally, we can finish the sleeves. Fold the hems in half (face side in). Pin the edges and mark the fold line on the opposite side with pins or notches (cuts).
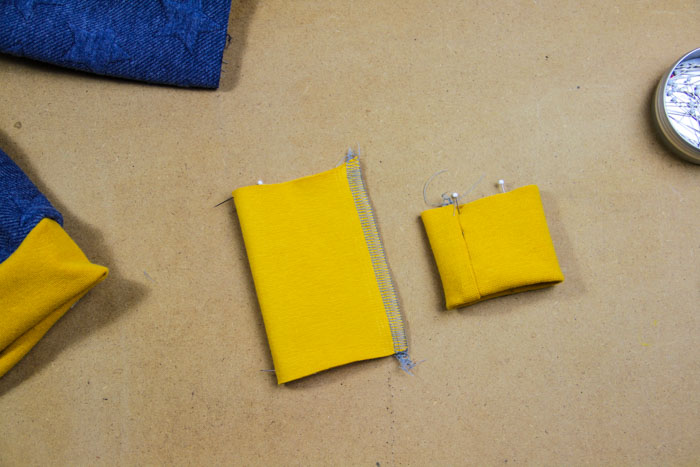
Fold ("roll") the hems in half (face side out).
Put the first hem to the inside of the sleeve (sleeve is inside out).
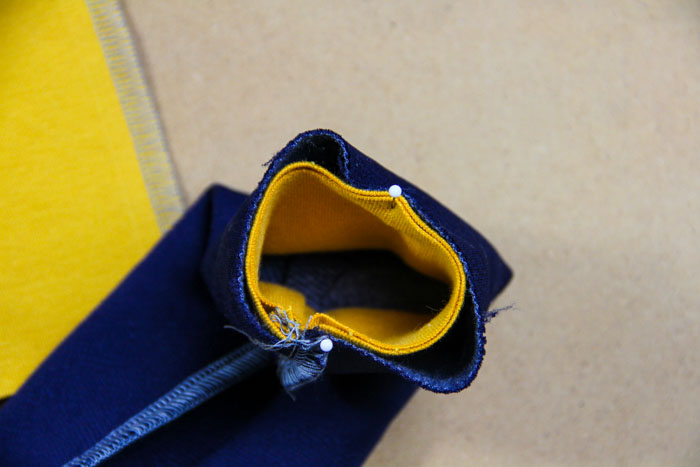
Pin the hem to the sleeve.
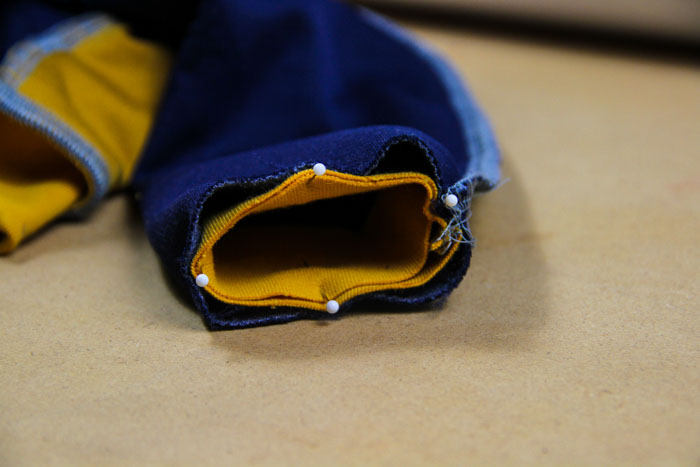
Sew the hem to the sleeve. When sewing, gently stretch the hem to sew it evenly.
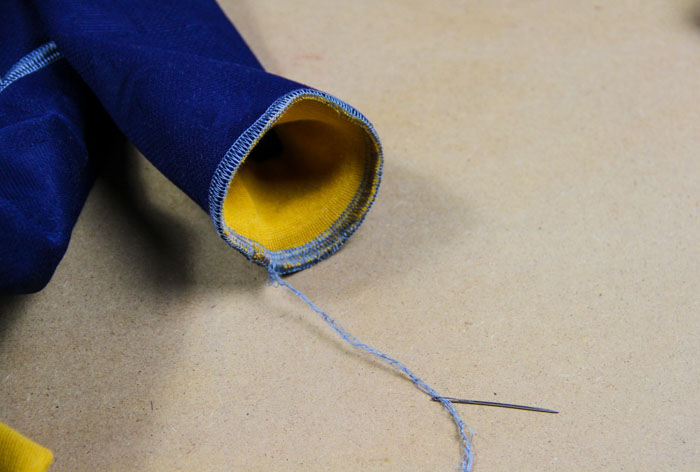
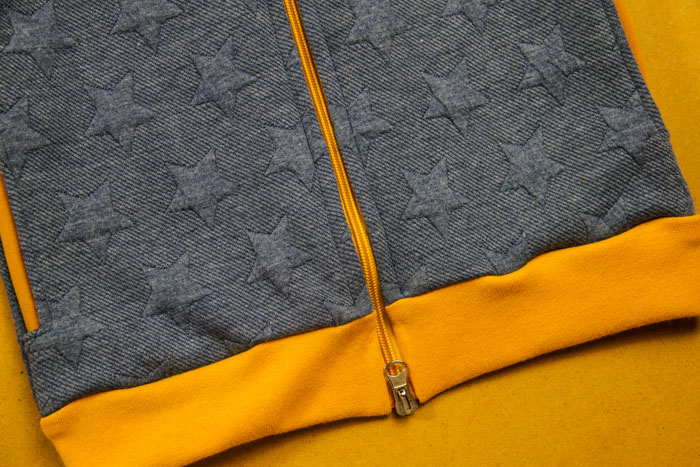
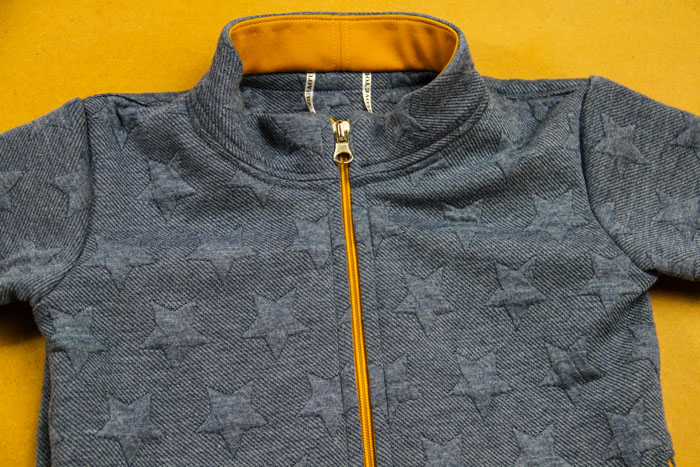
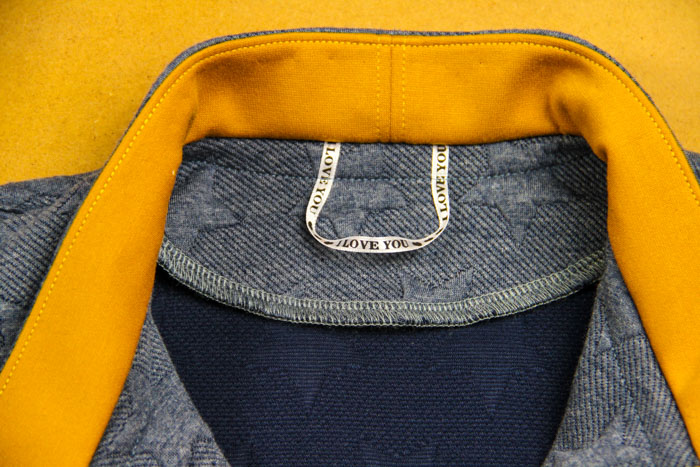
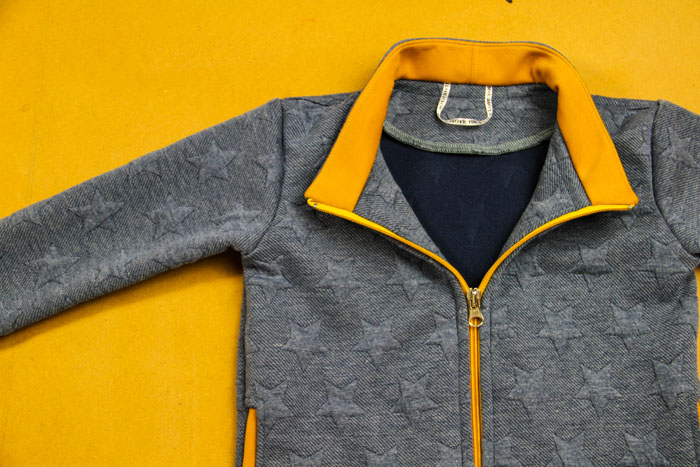
Your sweatshirt is ready!
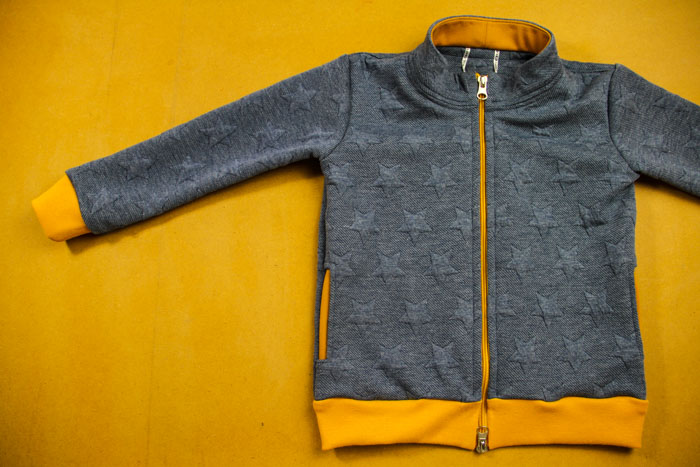
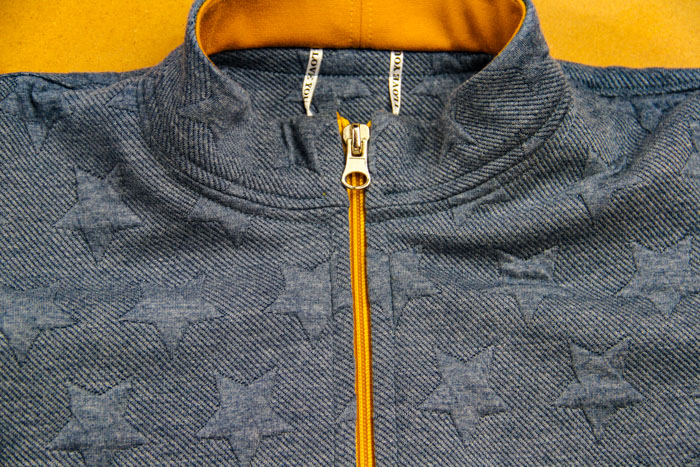
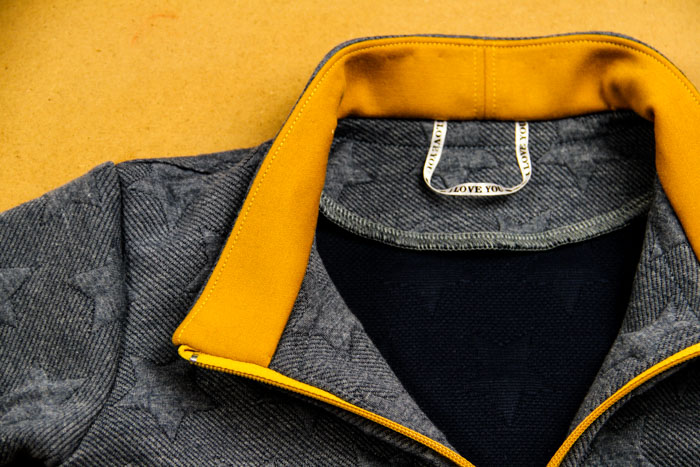
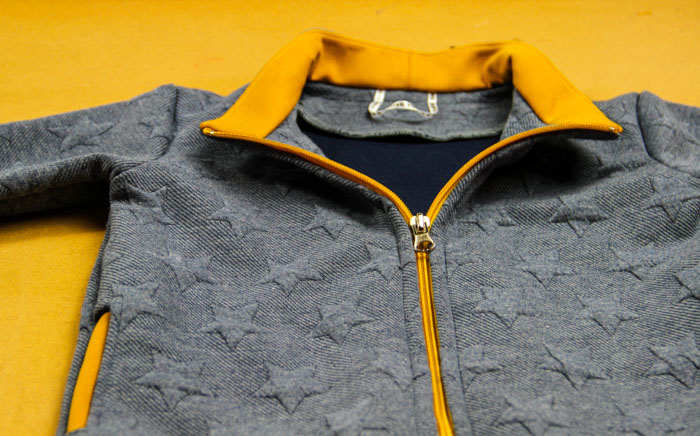
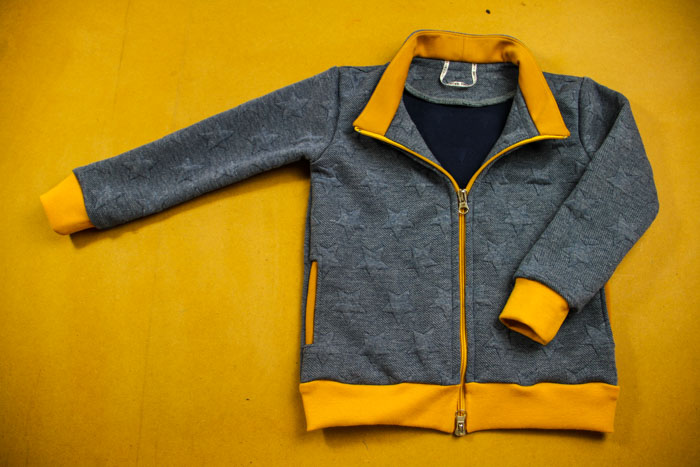
Don't forget to share your joy with others!
Do you like this article? If so, share it with your friends and tell me about it in the comments section below. I will be glad for any feedback! ♥
PS: Did you know that there are FREE PATTERNS available on my blog?


